Welcome to the Zero to Hero course
Andrew sets the scene for the 10-part course: what you'll build, who it's for, and how to get help when you hit a wall.
What you'll build by the end of the course
Welcome to the iMeshh course. It runs across roughly ten videos and takes you from absolute beginner to a finished, rendered image. The final scene is involved in places, but the structure of the course means that even if you're brand new to 3D you can follow every step and end up with a real picture at the end.

Andrew is upfront that first-time 3D artists won't grasp every concept the first time round, and that's expected. Follow the steps, get the result, and trust that the ideas will go in even if they don't all click immediately. They tend to fall into place the second or third time you reach for the same tool on your own project. You'll spot a modifier in a future tutorial and think, I used that one before.
Across the ten parts you'll cover lighting, materials, basic modelling techniques, the modifiers Andrew reaches for daily, an introduction to geometry nodes, and final render settings. By the end you'll have enough of the interface and enough of the core tools under your belt to start your own scene from scratch and recognise those same modifiers the next time they come up.
Course scope and how to ask for help
This is Andrew's first absolute-beginner guide, so feedback is genuinely welcome. If a section drags, races ahead, or leaves you stuck, let him know so the next course can be better paced.
He also flags up front that he's used to teaching people who already know their way around Blender, which means the pace may pick up in the later modules. If something flies past you, pause the video, drop a comment, or jump into the iMeshh Discord and he'll get back to you as quickly as he can.
Even if you're already an intermediate or advanced user, it's worth watching the course through. There's usually at least one shortcut or workflow tucked into a beginner series that you haven't met before, and it's a quick way to fill in the gaps you skipped past when you first picked up Blender.
When you finish your render, share it on Instagram with #iMeshh so Andrew can reshare it on the iMeshh page.
Downloading the right version of Blender
Blender ships in three flavours: the stable release, the LTS, and the experimental daily builds. Here's how to pick the one that matches the course.
Why Blender has so many version numbers
Before you click download, it helps to understand why there are so many versions of Blender to choose from in the first place. Blender is a leading open-source 3D creation tool used by designers, artists and professionals all over the world, and it's constantly being developed by a team of dedicated contributors who push new releases on a very regular schedule.
Each new version brings a mix of new features, refinements, bug fixes and performance optimisations. The point of all that churn is to make Blender more powerful, more efficient and easier to use over time, and it's also the reason the download page can look confusing when you arrive for the first time. Knowing the difference between the flavours on offer makes picking the right one straightforward.
LTS, latest stable, and experimental builds compared
Head over to blender.org and you'll be presented immediately with the latest stable version of Blender, the one front and centre on the homepage. Before you click anything, double-check the address bar actually reads blender.org. Searching Blender download in Google can occasionally surface copy-cat sites that look the part but aren't the real thing, so it's worth that two-second sanity check every time.
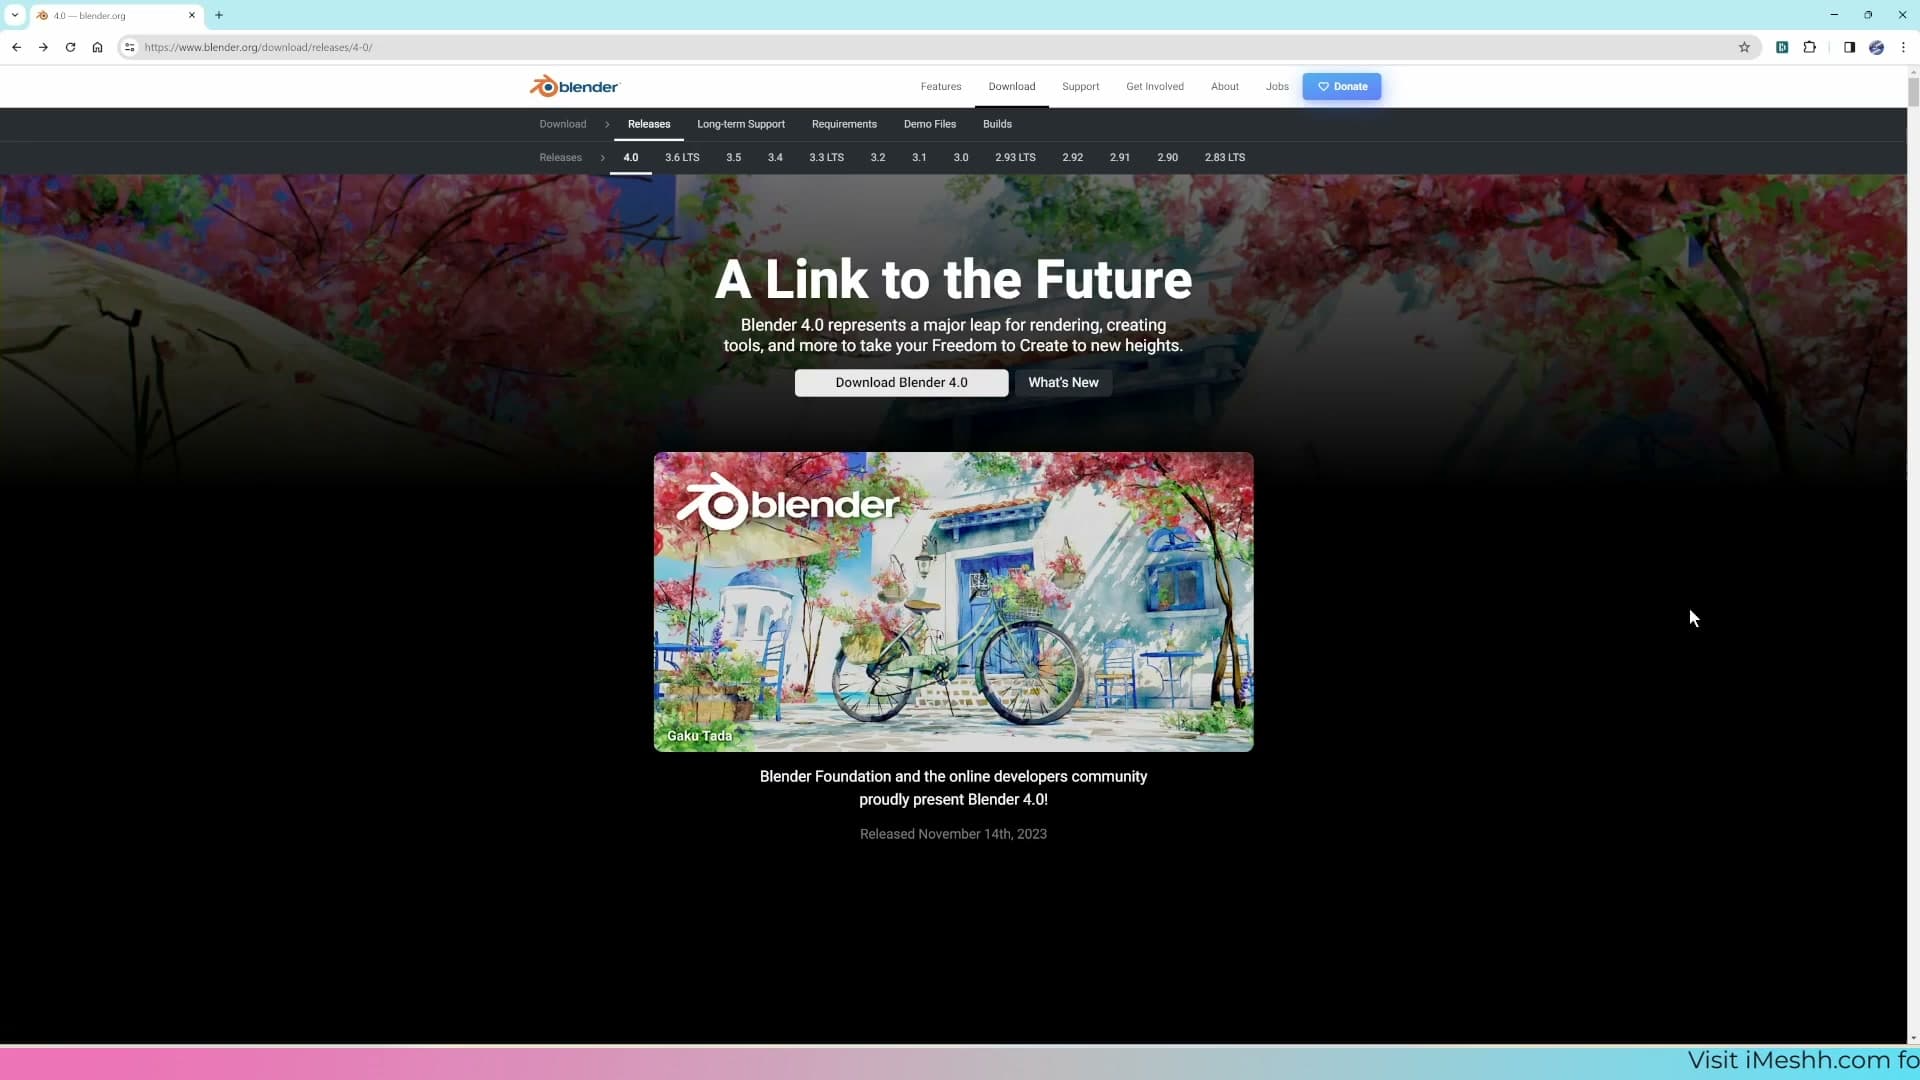
Scroll a little and you'll find a section labelled Long Term Support, or LTS. This is the most stable build of Blender and it's the one production companies tend to standardise on, because it receives critical bug fixes for a two-year span. The trade-off is that LTS does not include the very latest features and changes: it's deliberately conservative. If you regularly work on huge projects with a large team, LTS is the safe pick.
There's also a Builds button, and clicking it reveals a long list of experimental versions. This is where the Blender team puts new tools and features out for the community to test before they're rolled into the next stable release. If you're ever watching a tutorial online and a feature shown doesn't appear in your Blender, there's a good chance that video is using one of these builds.
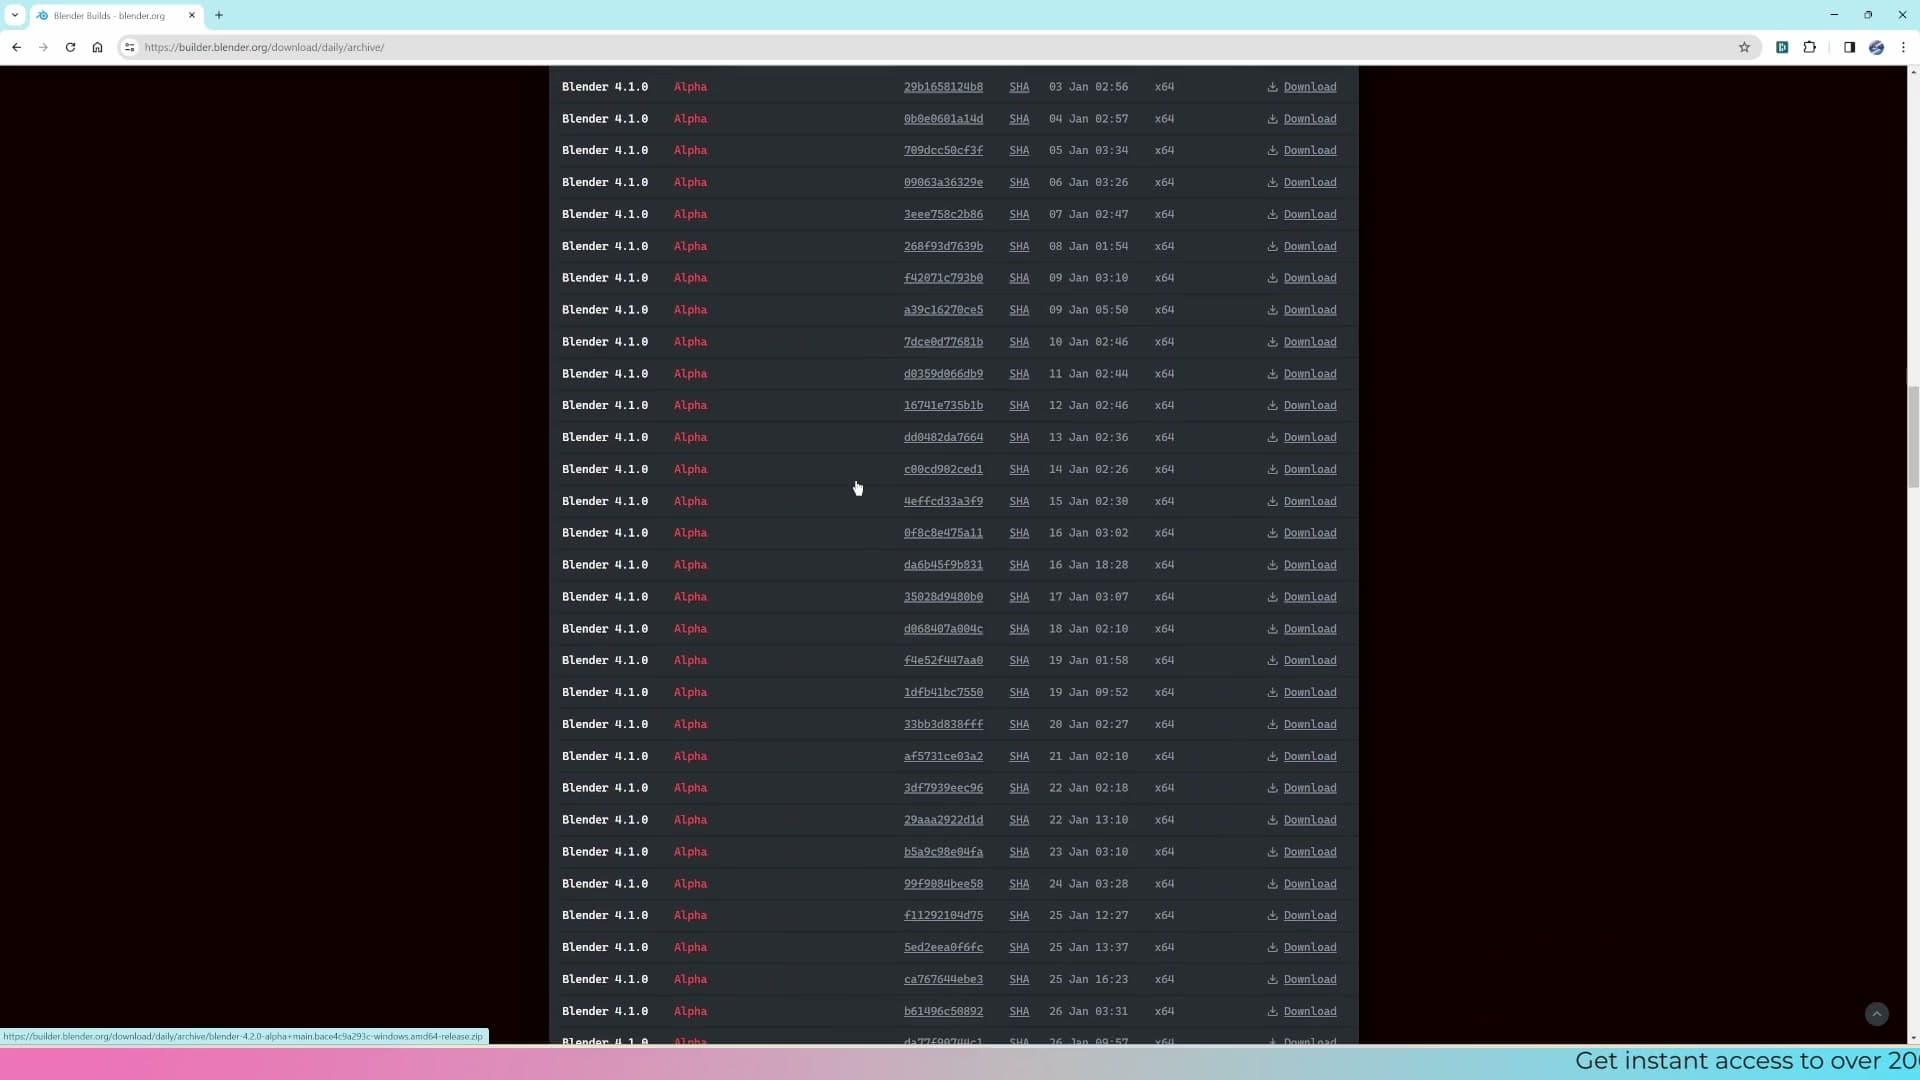
The catch is that builds are inherently unstable. They're great for poking at new features for fun, but they're not the place to start a brand new client project. You'll likely run into bugs that slow your production right down.
Which version to download for this course
For this course, grab the version Blender puts on the homepage. It's the release the developers are most confident in, and it has the latest stable features without the rough edges of the experimental builds. Specifically, we're working in Blender 4.0.
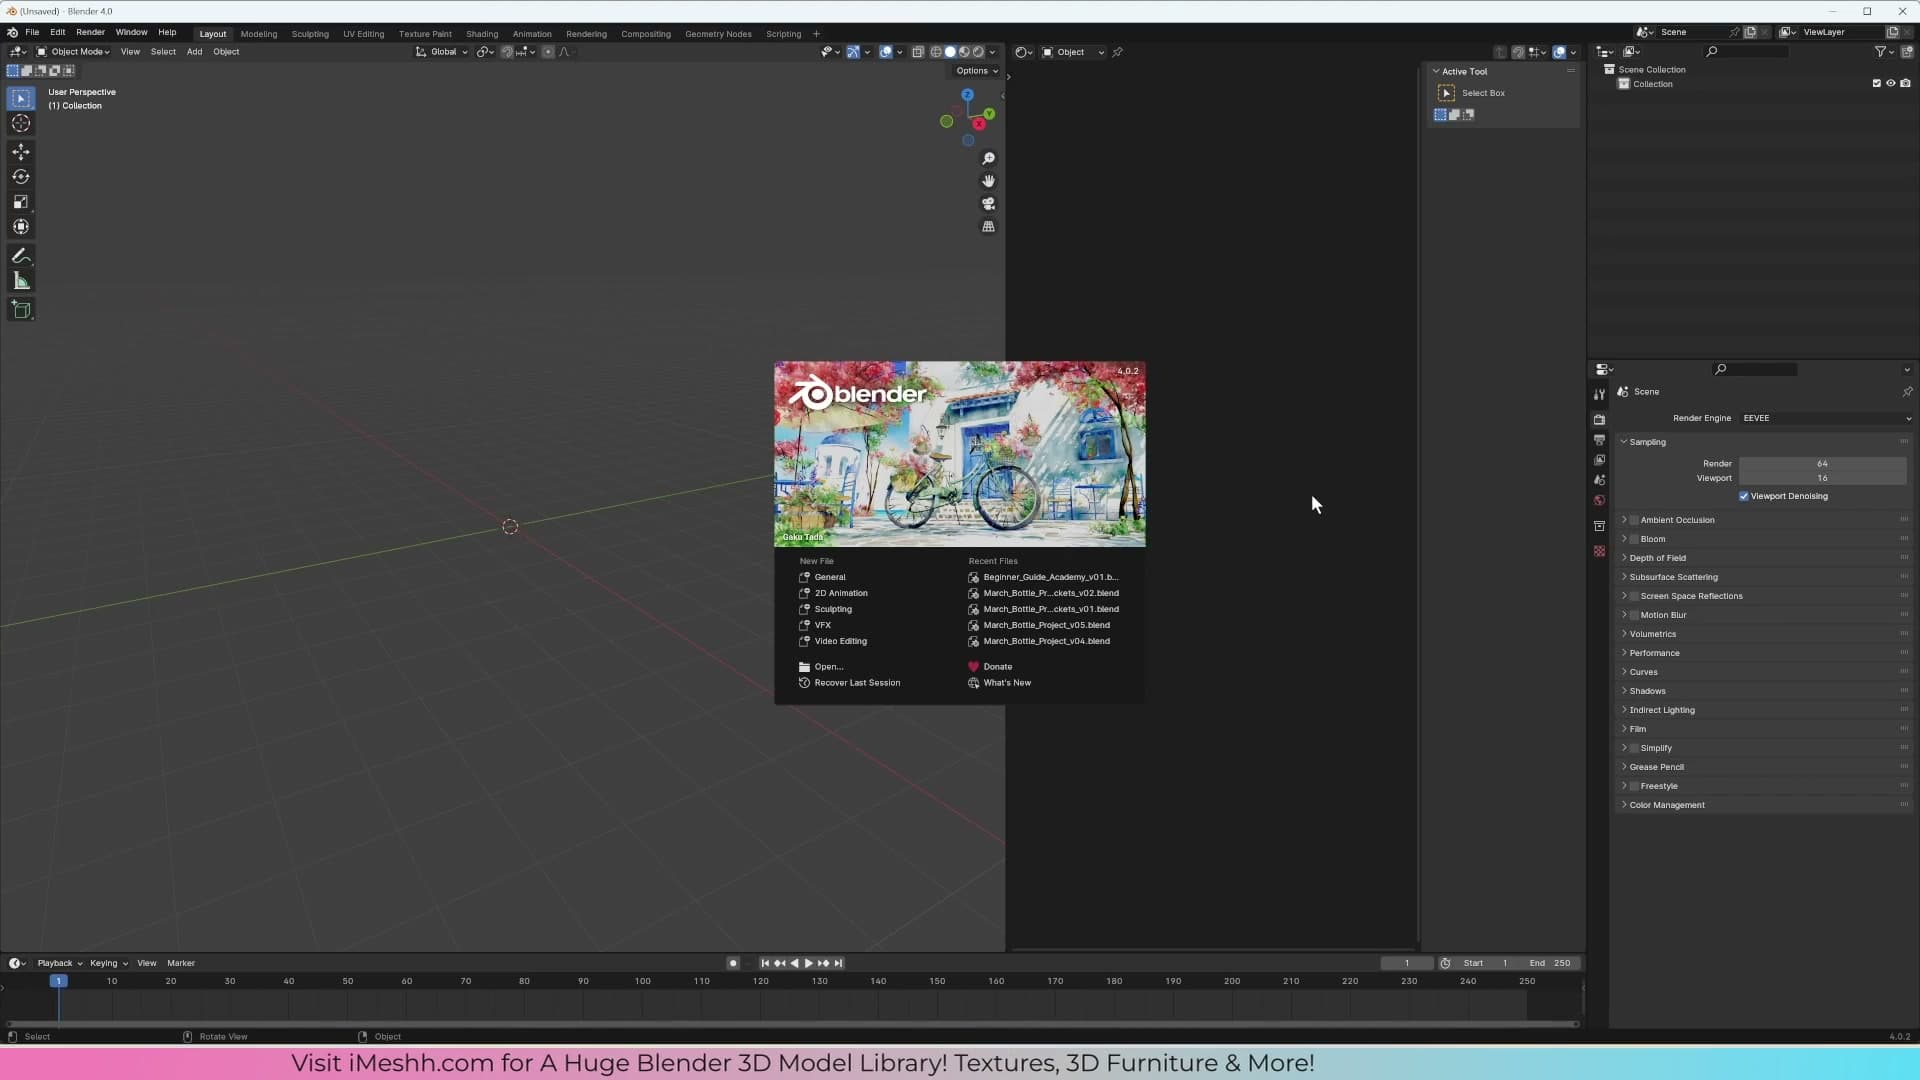
When you look at the site you might notice point releases like 4.0.1, 4.0.2, or later versions such as 4.1 and 4.2. As a rule, the big shifts in Blender come with the first number (Blender 2, Blender 3, Blender 4) and the smaller numbers are incremental improvements on top. The jump from Blender 3 to Blender 4 did not change the interface dramatically, so if you're following along on Blender 4.0 or anything newer (even Blender 5.0 by the time you're reading this), the layout will look almost identical.
Because this series covers the absolute fundamentals, the buttons we use are the ones that stay put release after release. The newer, more complex features that arrive in later versions aren't part of this course anyway, so you can confidently install whatever the latest stable build is and follow along.
If you do hit a snag where a button I'm pointing at simply isn't where I say it is, get in touch and we'll point you in the right direction. In practice you're very unlikely to run into that on the basics.
Opening Blender and the default layout
A guided tour of the splash screen, the 3D viewport, the side toolbars, the Outliner, and the Properties panel. These are the regions you'll be staring at for the next ten parts.
The splash screen and recent files
Once Blender has installed and you launch it for the first time, you'll be greeted by the splash screen. The artwork in the middle changes with every release (the developers ship a new piece of community art with each version), so what you see may differ slightly from the screenshots here.
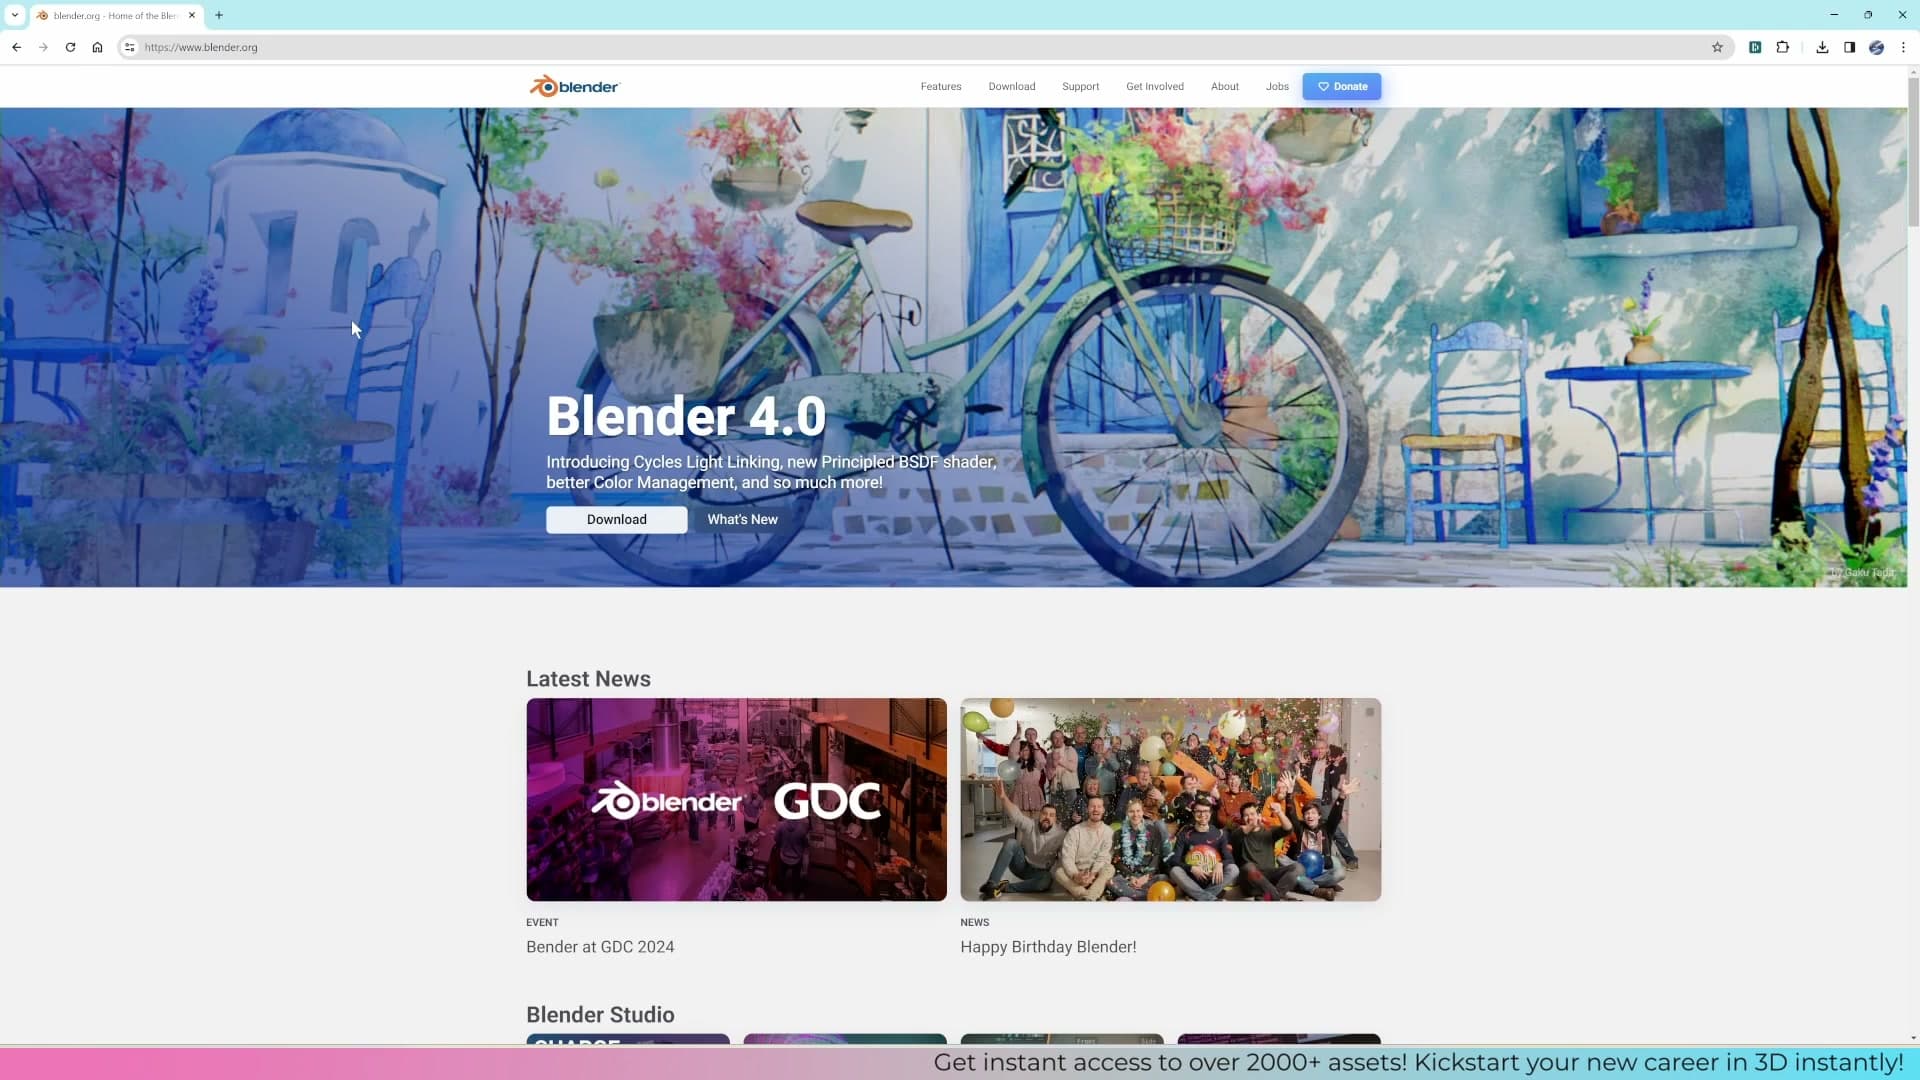
Down the right-hand side the splash screen lists a few recent files along with a handful of shortcut buttons. You don't need any of it on your first launch. Just click anywhere outside the splash panel to dismiss it and drop into the default scene.
If you ever want the splash back, there's a small splash icon at the top of the window that reopens it. In practice you won't need it: to reopen an older project, use File > Open Recent and pick the file from the list.
The 3D viewport, the T toolbar, and the N panel
Blender's default layout is a collection of separate editors sitting side by side: a timeline along the bottom, the 3D viewport in the middle, the Outliner and Properties panel on the right, and a few smaller regions around the edges. The 3D viewport is the big central area, and it's where most of the work happens: you light scenes here, position cameras here, model and edit objects here, and frame up the final render here.
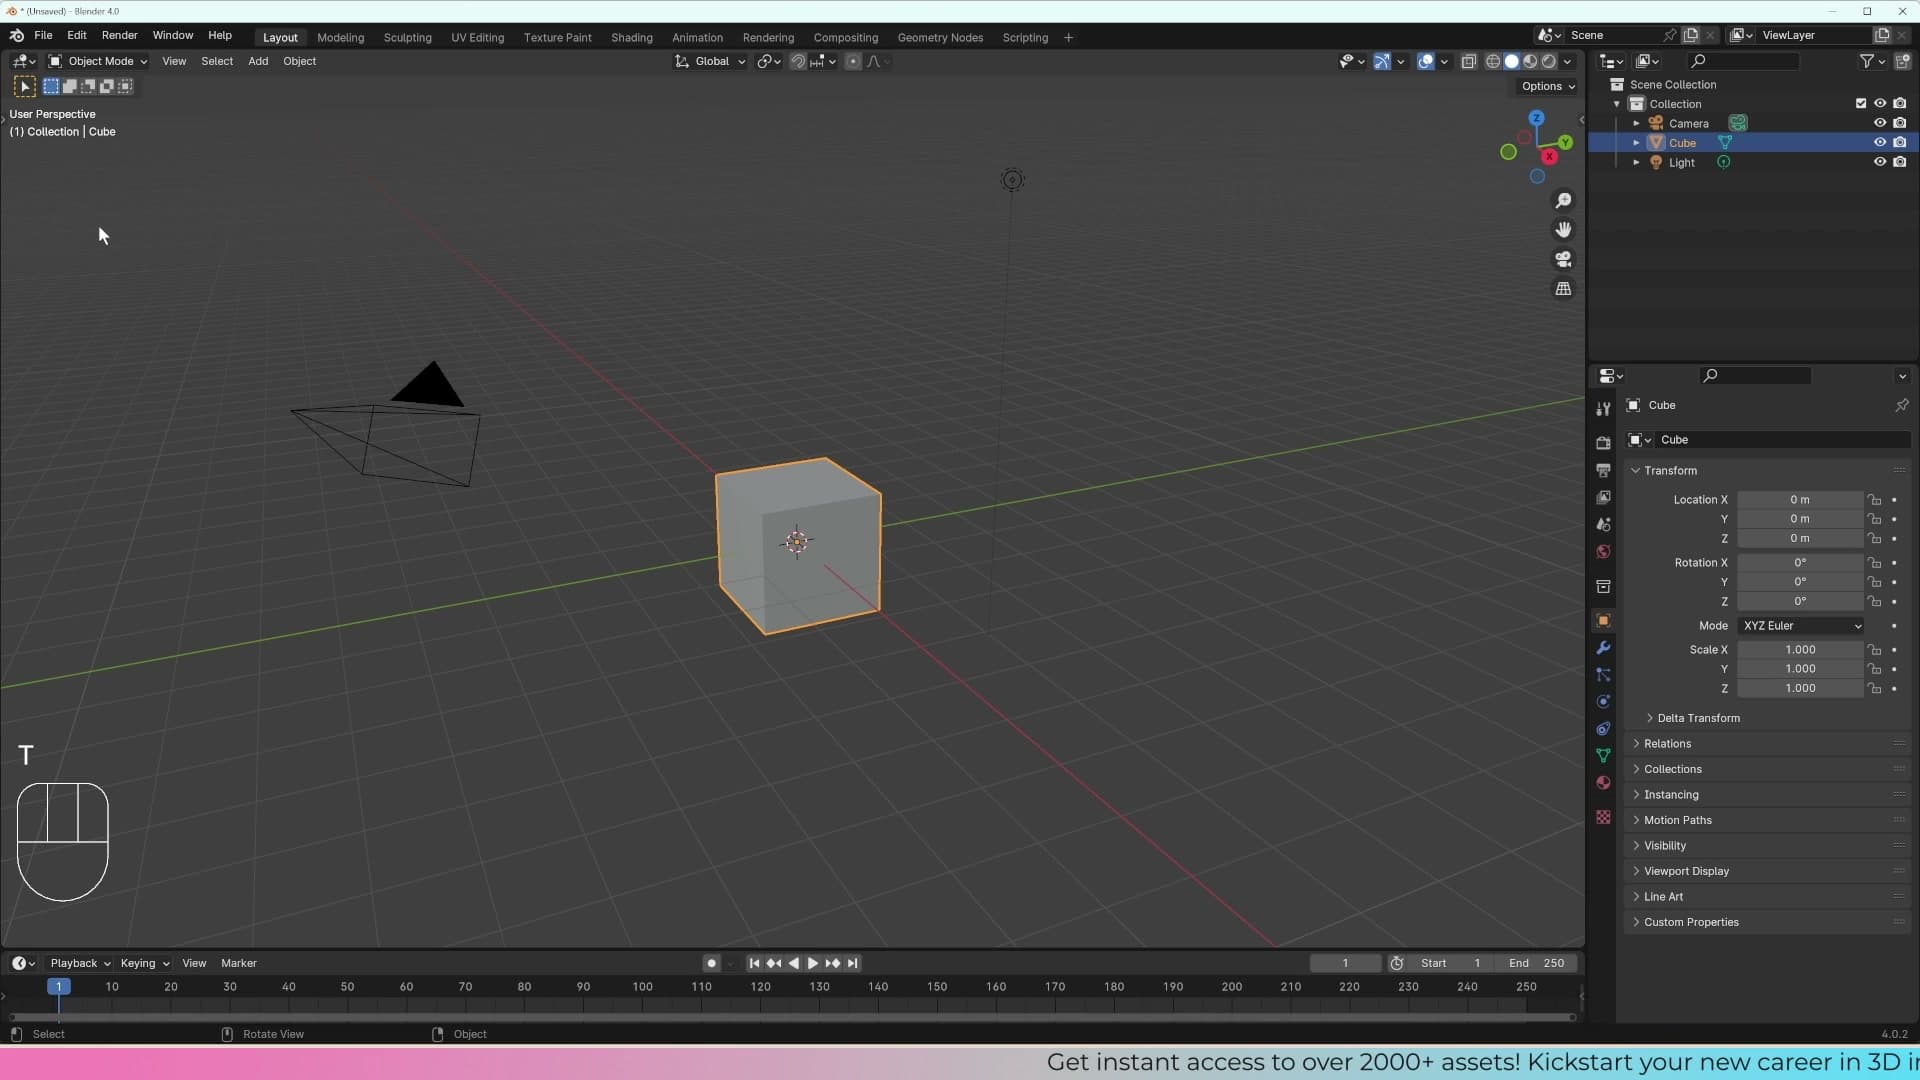
Press T to open the toolbar down the left edge of the viewport. It collapses out of the way the same way it opened: press T a second time to hide it.
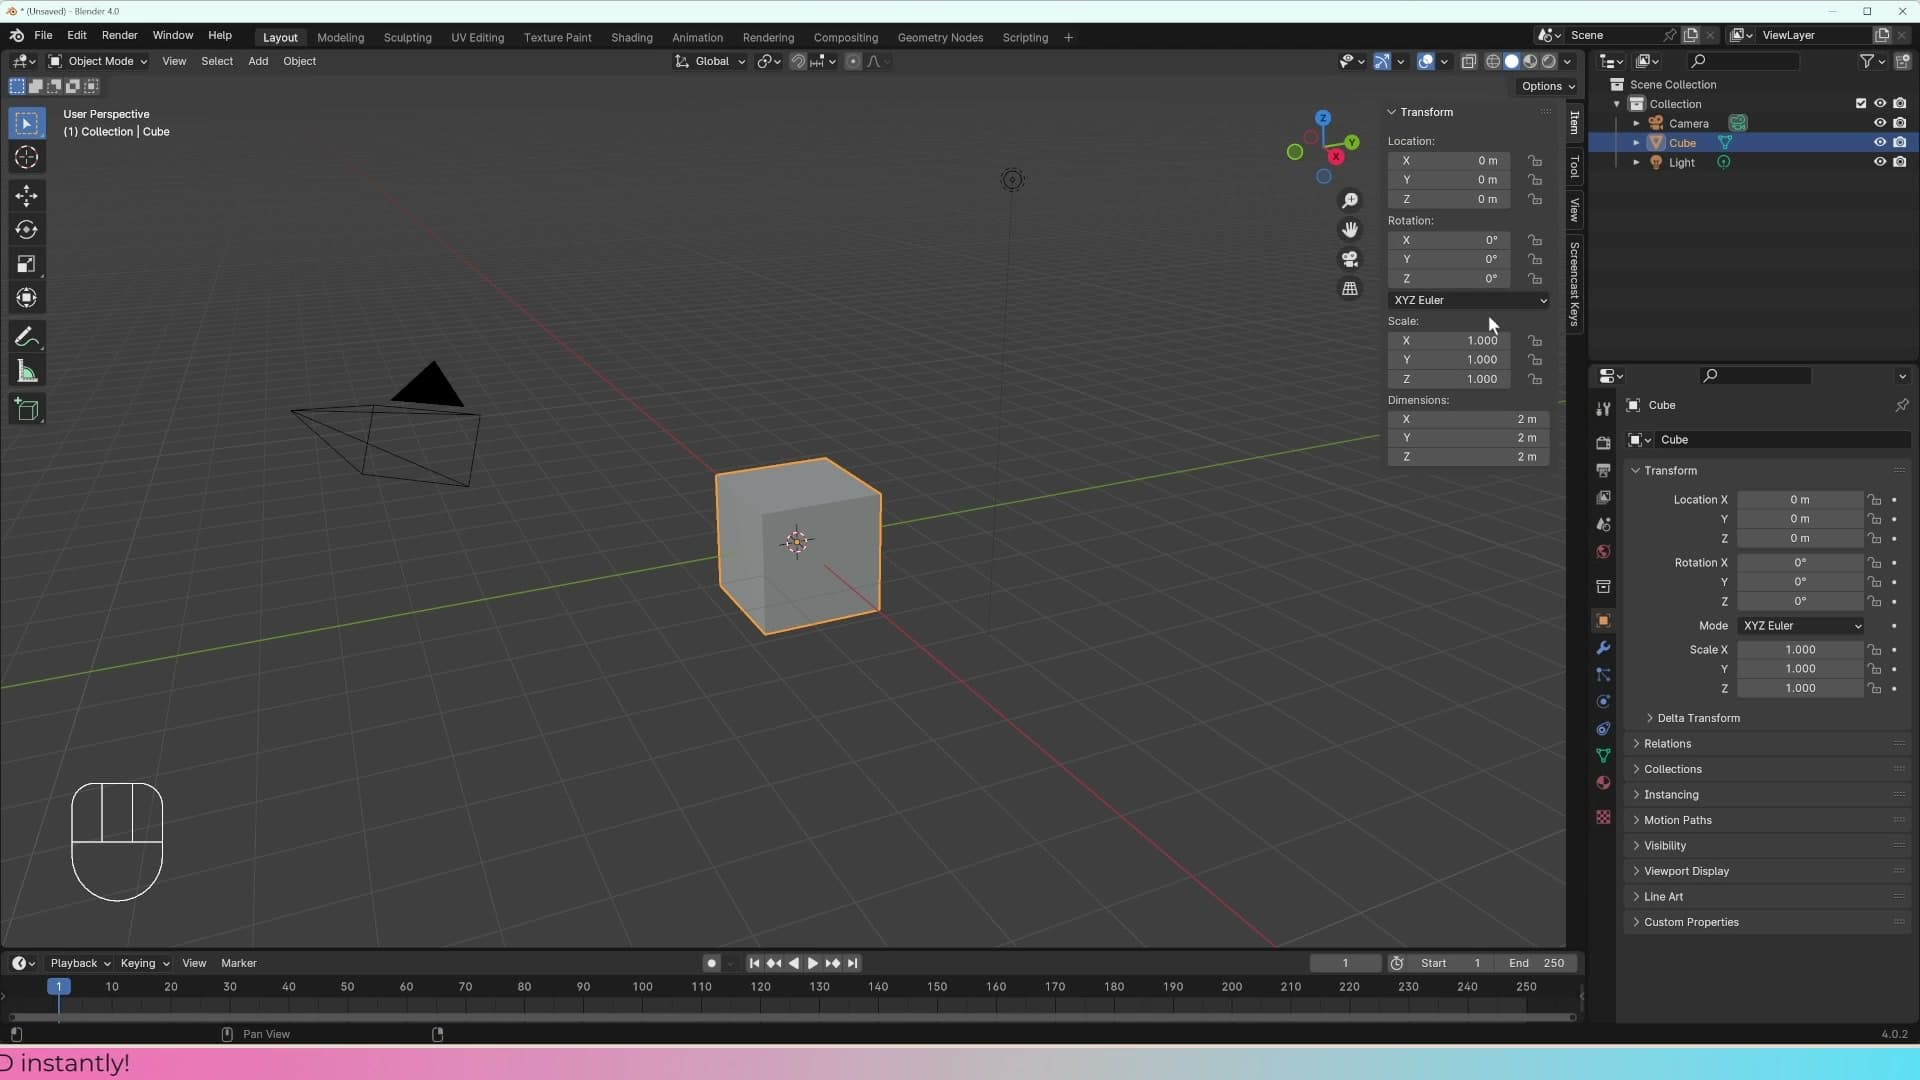
Press N to open the N panel on the right edge of the viewport. This panel holds item properties, view settings, and the tabs that most add-ons attach themselves to, so you'll be opening it constantly once you start installing plugins.
The Outliner and Properties panel
The Outliner sits in the top right of the window. It's a hierarchical list of every object in your scene (names, types, and parent-child relationships), so for the default scene you'll see a cube, a camera, and a light. Anything you click in the Outliner gets selected in the 3D viewport at the same time, and vice versa, so the two views stay in sync.
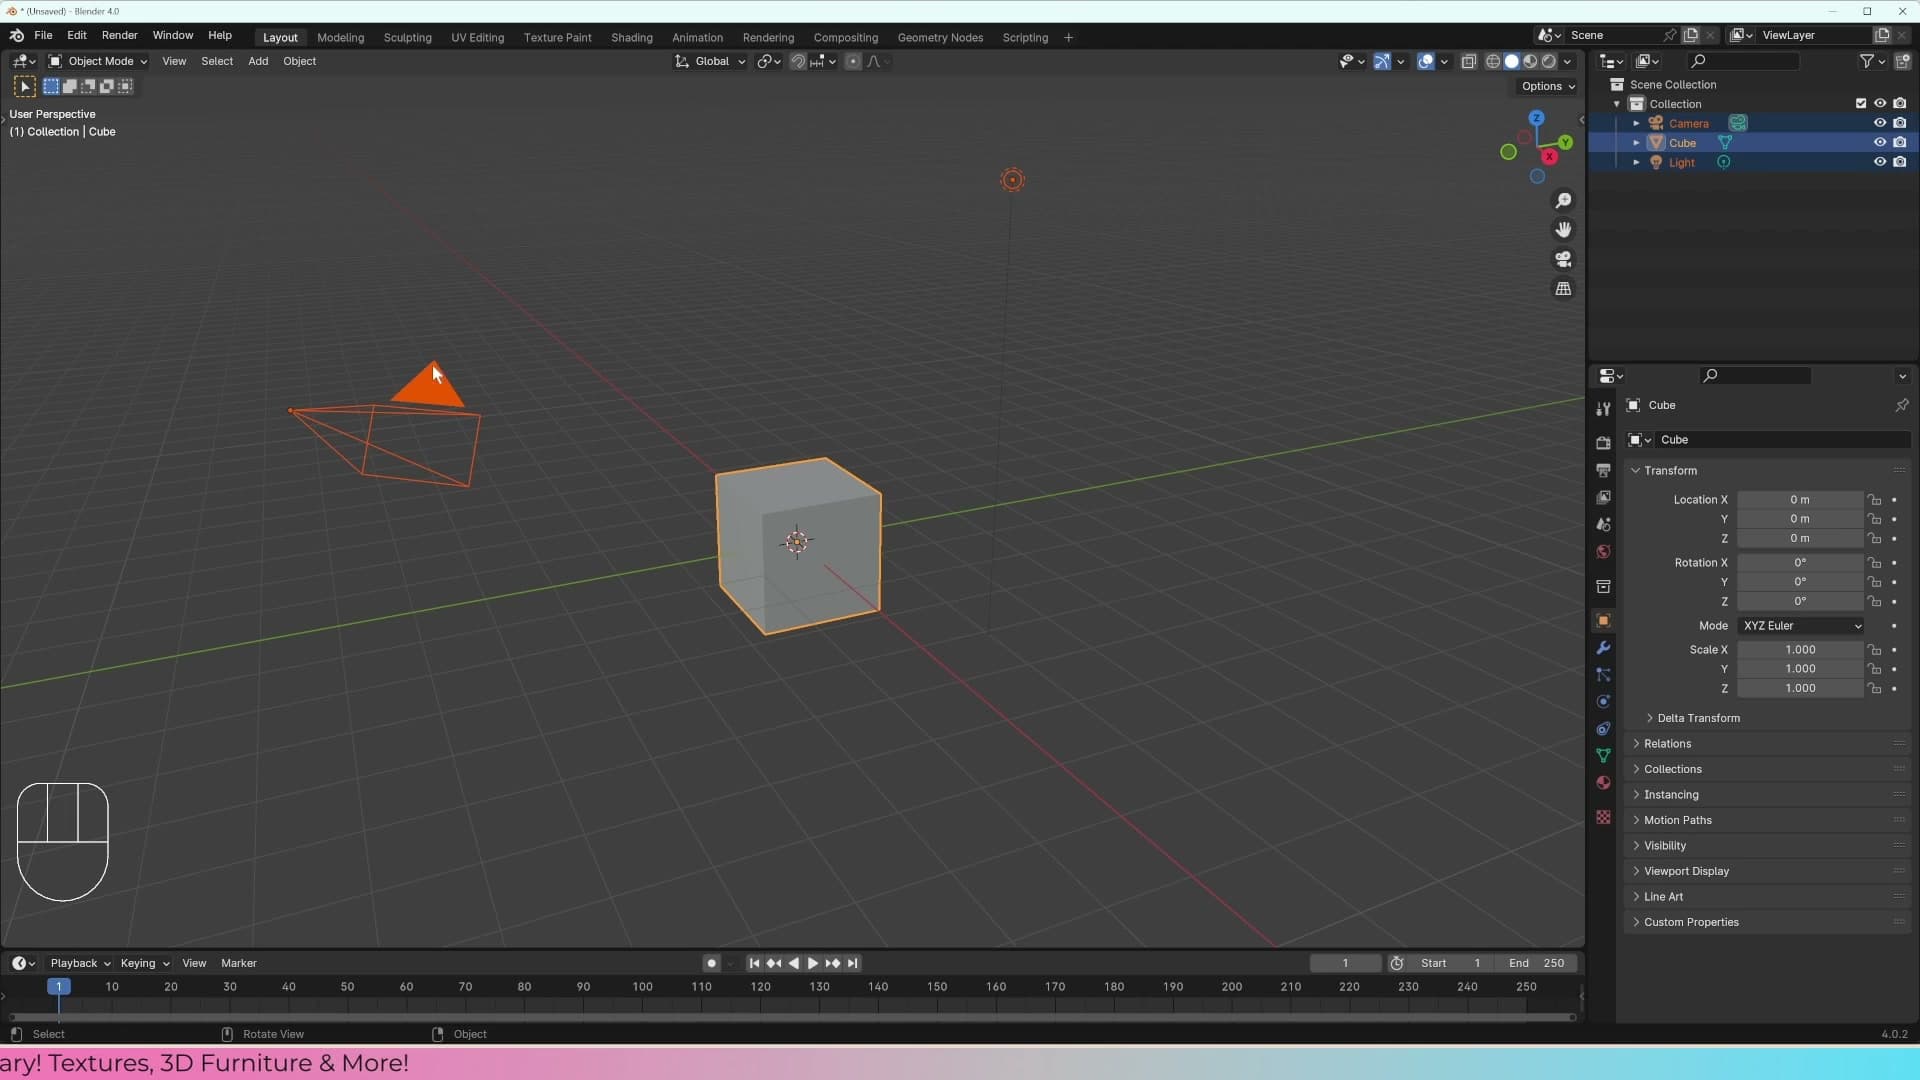
To select an object, left-click its row in the Outliner (or click it directly in the viewport). To select more than one, click the first object, then hold Shift and click each additional object. Selected objects pick up an orange outline in the viewport, but the last one you clicked, the active object, gets a brighter, almost yellow outline to distinguish it from the rest.
That distinction matters because the Properties panel directly below the Outliner always reflects the active object. Shift-select a lamp last and the Properties panel switches to lamp settings; click on the cube last and it switches to the cube. Click between objects and you'll see the panel redraw each time.
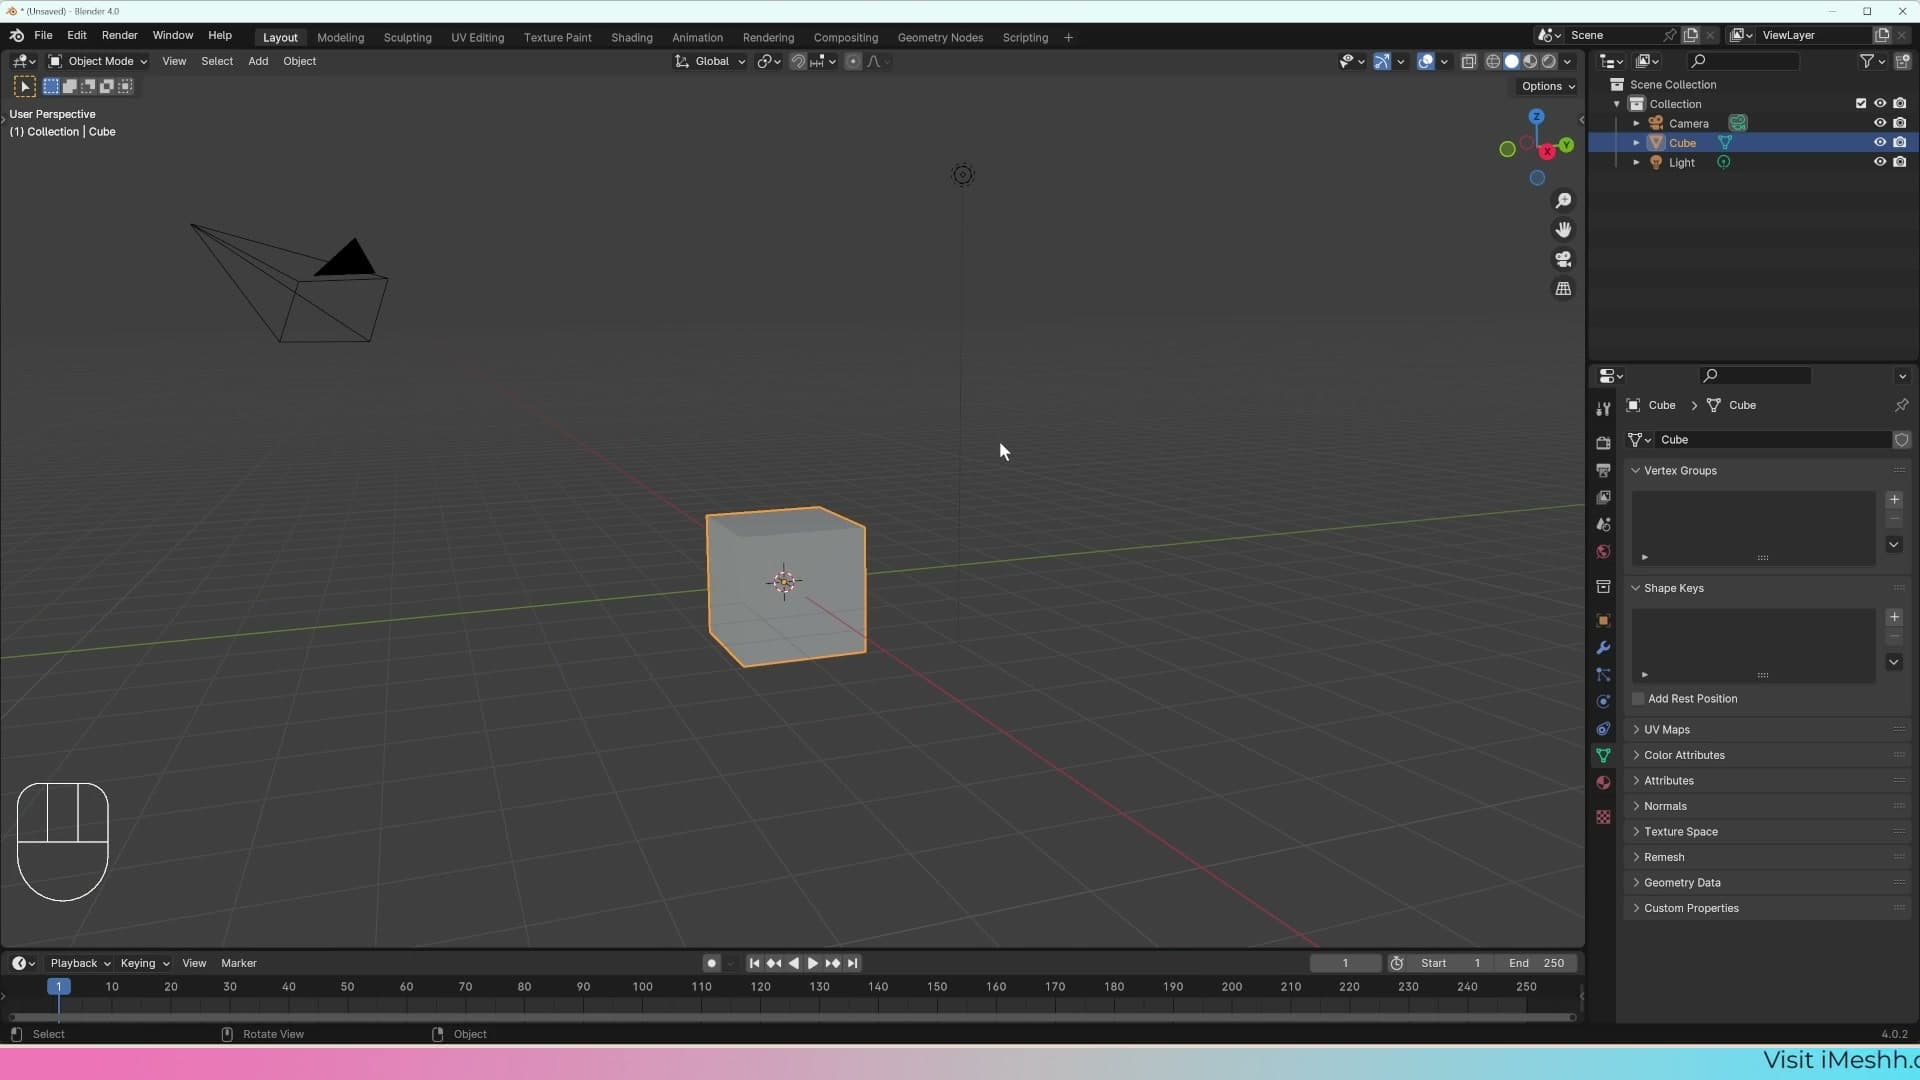
The Properties panel itself is a stack of tabs running down its left edge: render settings, output settings, world settings, modifiers, materials, and a tab for whichever object type you've selected. From here you can change a light's strength, adjust camera focal length, swap render engines, or tweak almost any setting in the scene. Most of the course is spent moving between the viewport and these tabs.
Navigating the 3D viewport
Orbit, pan, zoom, and recentre: the four moves you'll repeat thousands of times. Plus what to do if you don't have a middle mouse button.
Orbit, pan, and zoom with the middle mouse button
Three movements get you everywhere in the 3D viewport, and all three are bound to the middle mouse button. Click and drag the middle mouse button to orbit around the scene. Hold Shift and drag with the middle mouse button to pan, sliding the view sideways without rotating. Scroll the middle mouse wheel forwards and backwards to zoom in and out.
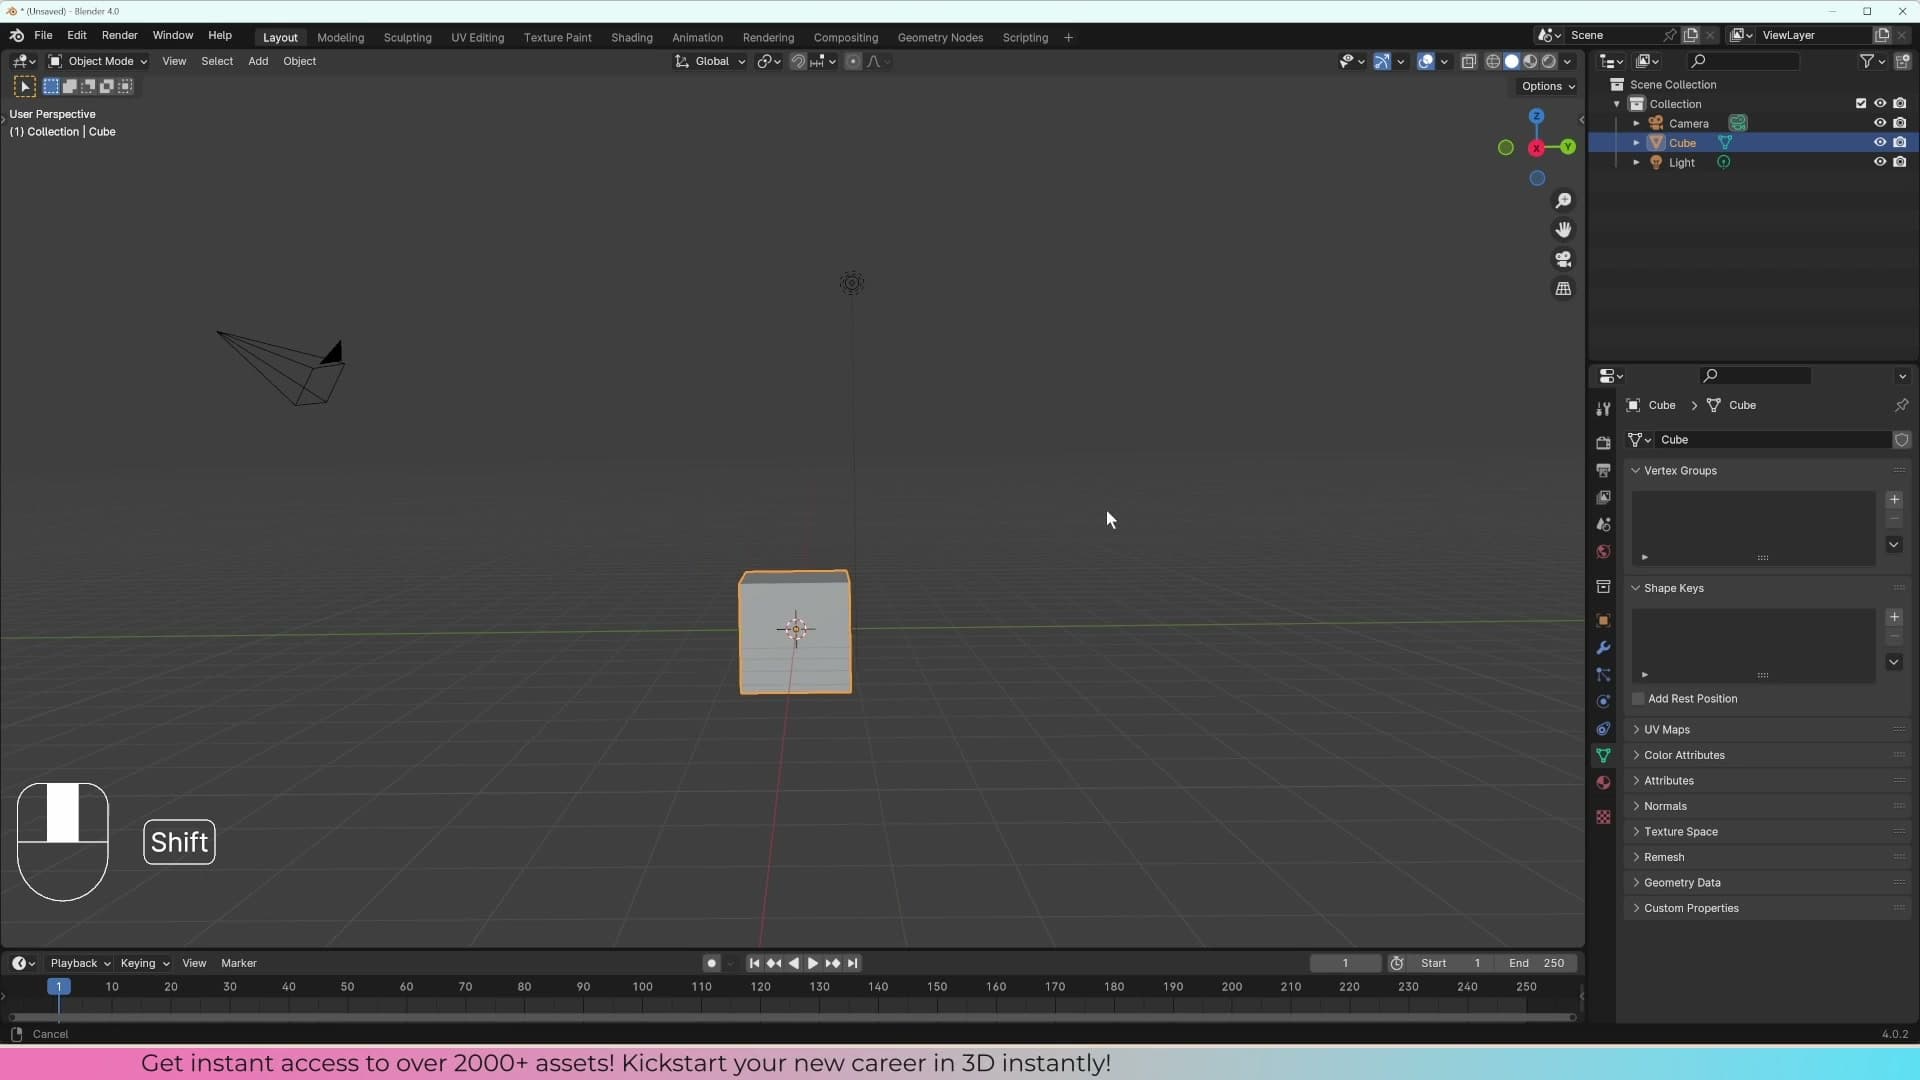
Practise the three gestures together for a moment. Orbit until the default cube is roughly in front of you, pan with Shift + middle drag to bring it dead centre, then scroll forwards to zoom right up to it. Those are the four moves you'll repeat thousands of times across every Blender project you ever open.
If you're working on a laptop without a middle mouse button, Blender has a built-in workaround. Open Edit ▸ Preferences ▸ Input and tick Emulate 3 Button Mouse. With that enabled, the Alt key stands in for the middle button so the same orbit, pan, and zoom gestures still work with just a trackpad.
The imaginary centre point and Frame Selected
The viewport navigation has one quirk worth understanding before it bites you. Blender orbits and zooms around an invisible centre point in the middle of the screen, not around whatever object you happen to be looking at. If an object drifts off centre, you'll find that no matter how hard you scroll forwards, the viewport stops short and you can't quite reach it.
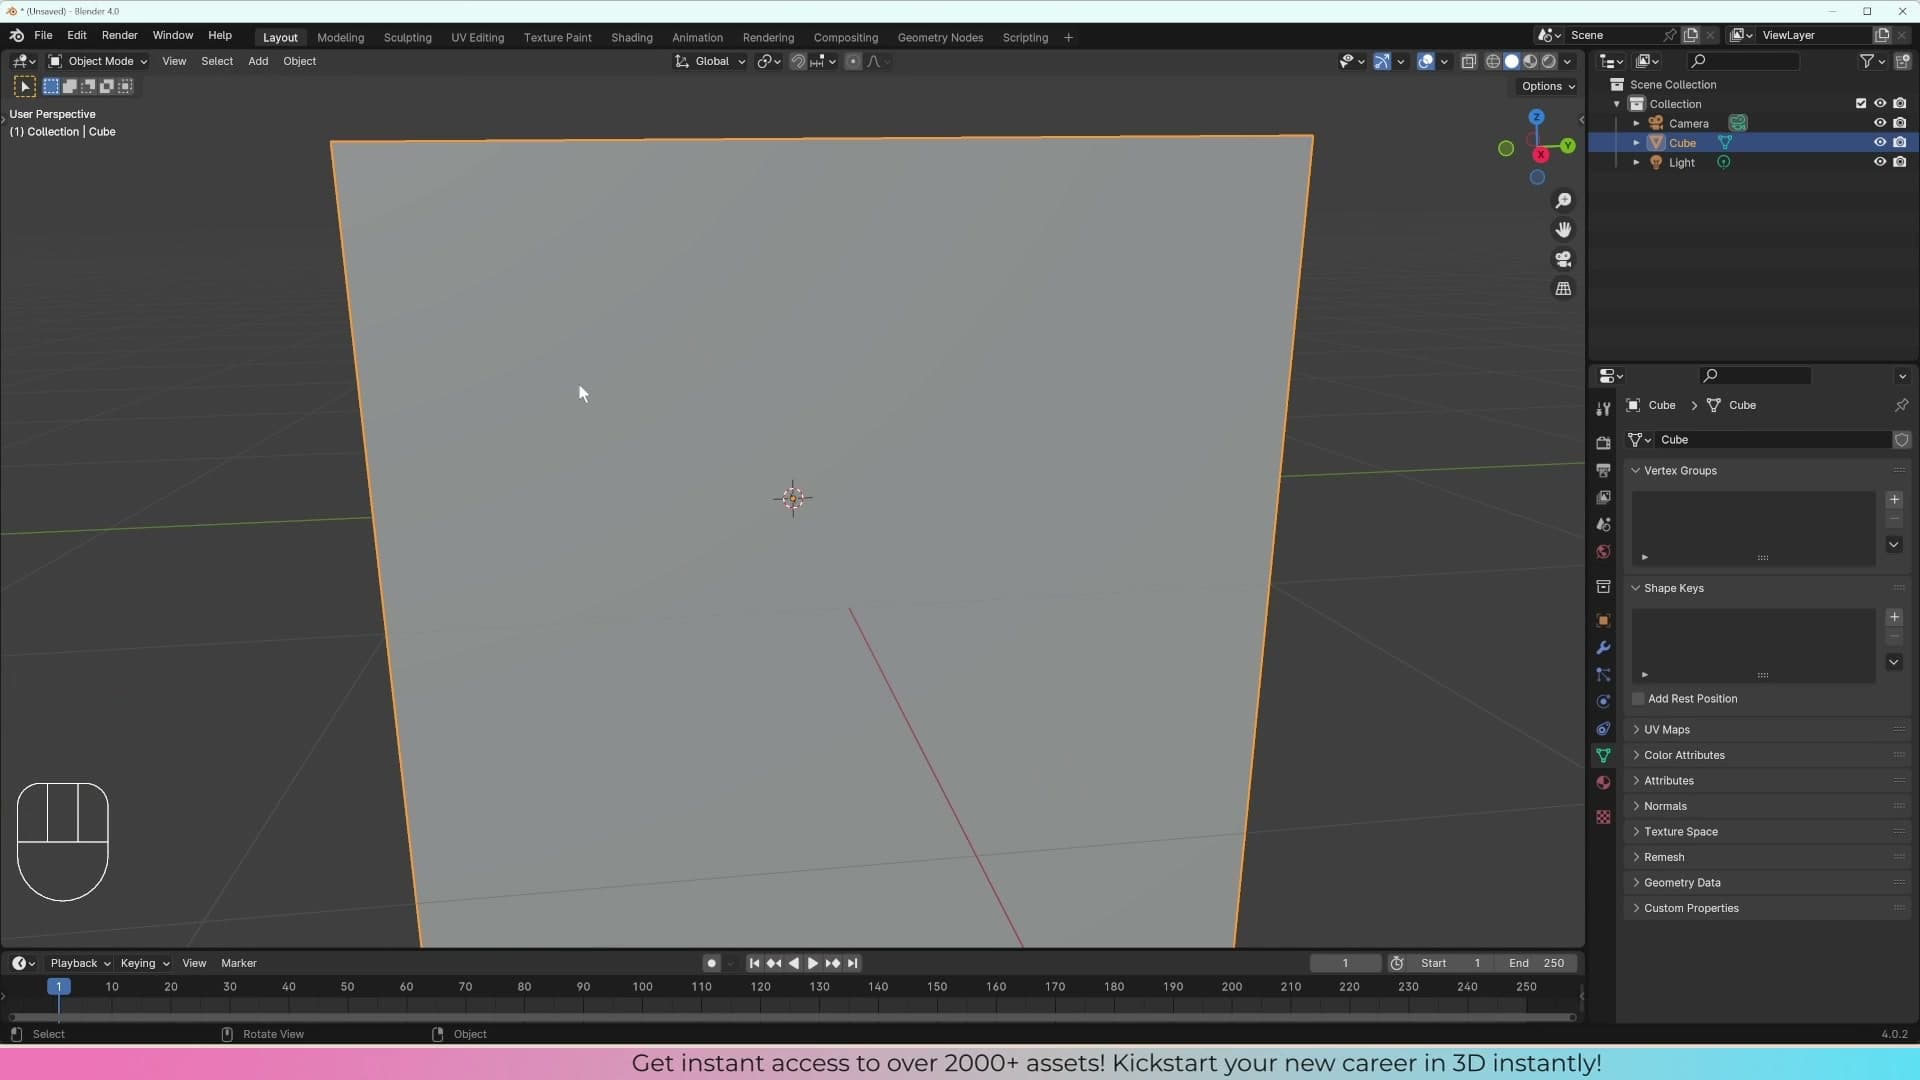
The manual fix is to pan the object you care about back into the middle of the screen using Shift + middle mouse drag, and only then start zooming or orbiting. Once the object is dead centre, the wheel will scroll right up to it. The same is true for the camera, the light, or anything else: if it's not centred, you can't get close to it.
The faster fix is to let Blender do the recentring for you. Select the object you want to focus on and press Numpad . (the decimal key) to frame it. The viewport snaps so the selection is back in the middle of the screen, ready to orbit and zoom around cleanly.
If your keyboard doesn't have a numpad, the same command lives under View ▸ Frame Selected in the viewport header. And if you've completely lost track of where you are in 3D space, View ▸ Frame All zooms out until every object in the scene is back on screen. Useful when you've drifted somewhere strange.
Box select, Select All, and selection tools
While we're moving around the scene, three commands cover almost everything you'll need for selecting objects. Click and drag in empty space to draw a box around objects. Anything caught inside gets selected at once, so a single drag across the default scene picks up the cube, light, and camera together. Press A on its own to select every object in the scene.
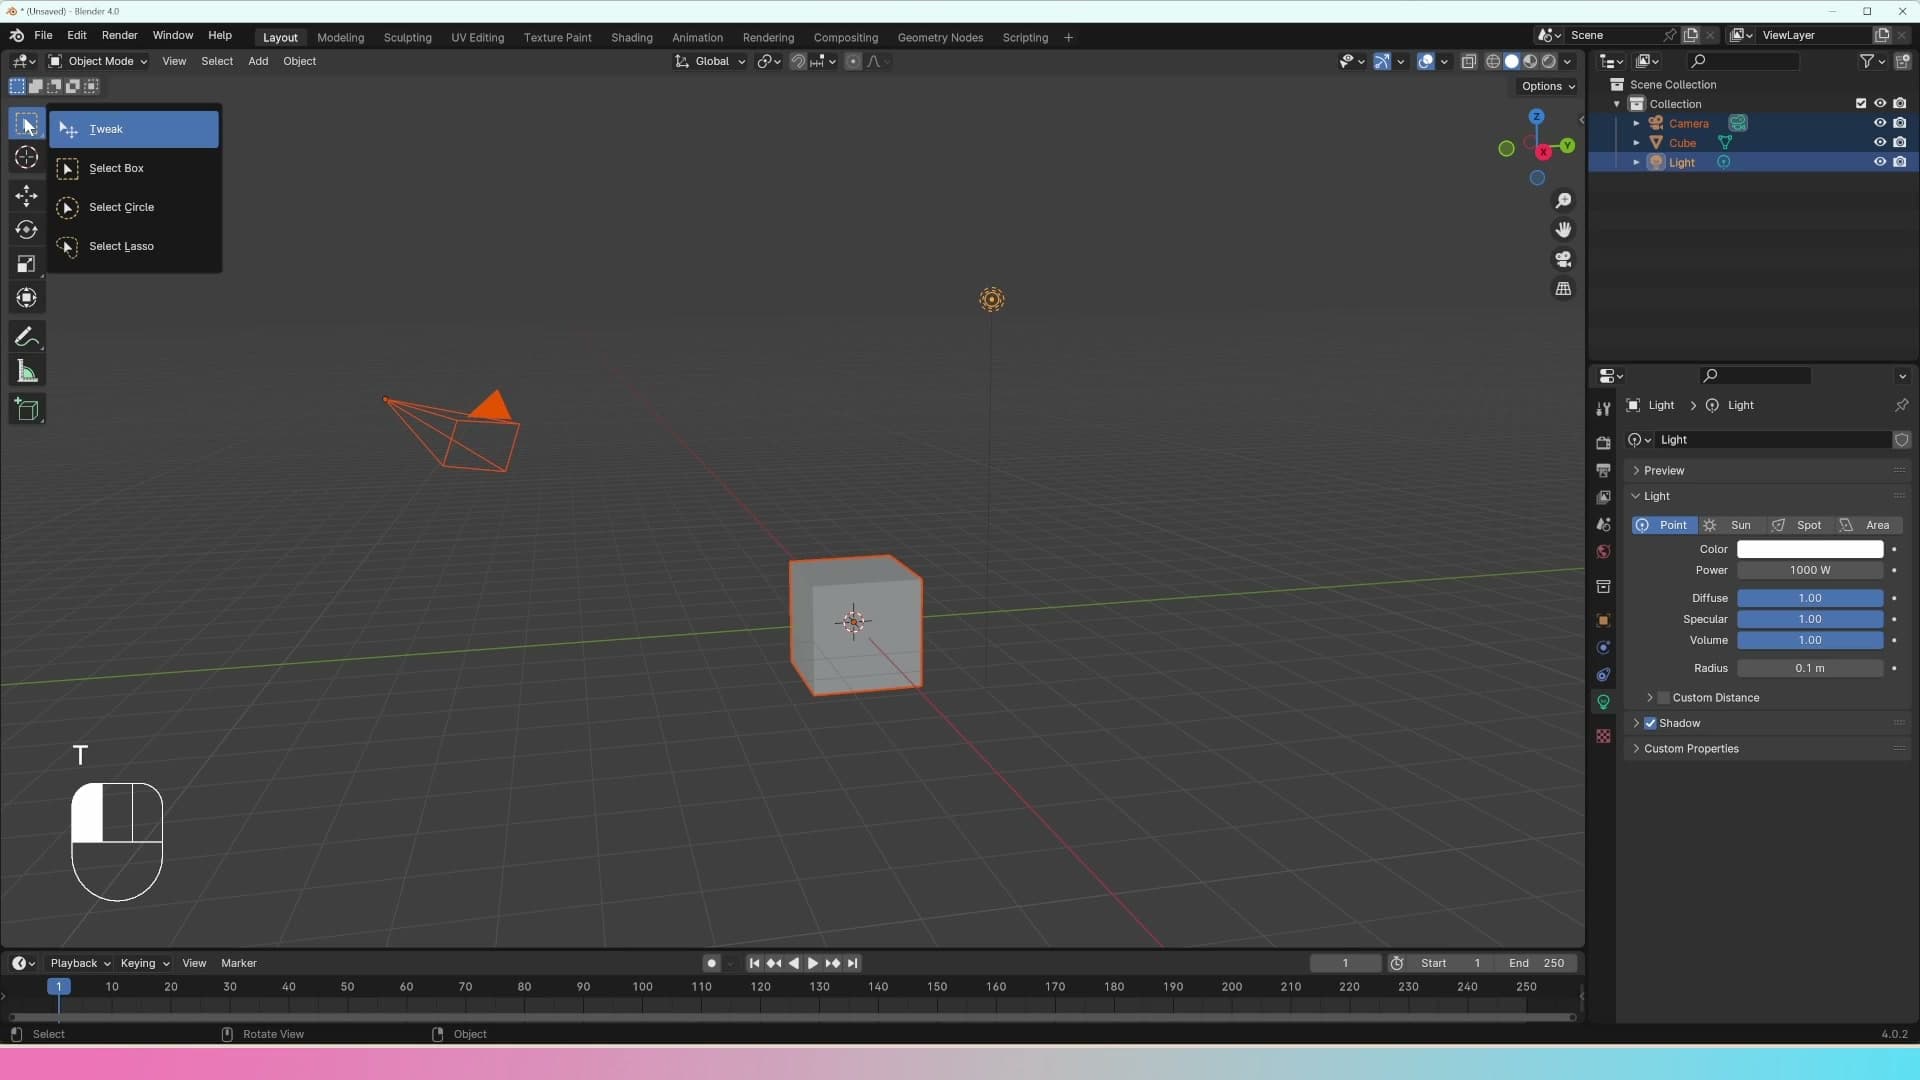
For other selection shapes, press T to bring up the toolbar on the left of the viewport, then click and hold on the select tool to swap to alternatives like the lasso. I almost always leave it set to the default box-select. The lasso has its uses, but box-select handles the vast majority of selection jobs you'll do in Blender.
The 3D cursor and custom pivot points
The 3D cursor is one of Blender's quirkiest tools: a movable crosshair that doubles as a pivot point and a snap target.
Placing the 3D cursor with Shift+Right-click
The 3D cursor is the crosshair icon sitting in the viewport by default. It looks decorative, but it is one of the most useful targets in Blender: a movable reference point you can place anywhere in 3D space and then use as a pivot, a snap destination, or an anchor for new geometry.
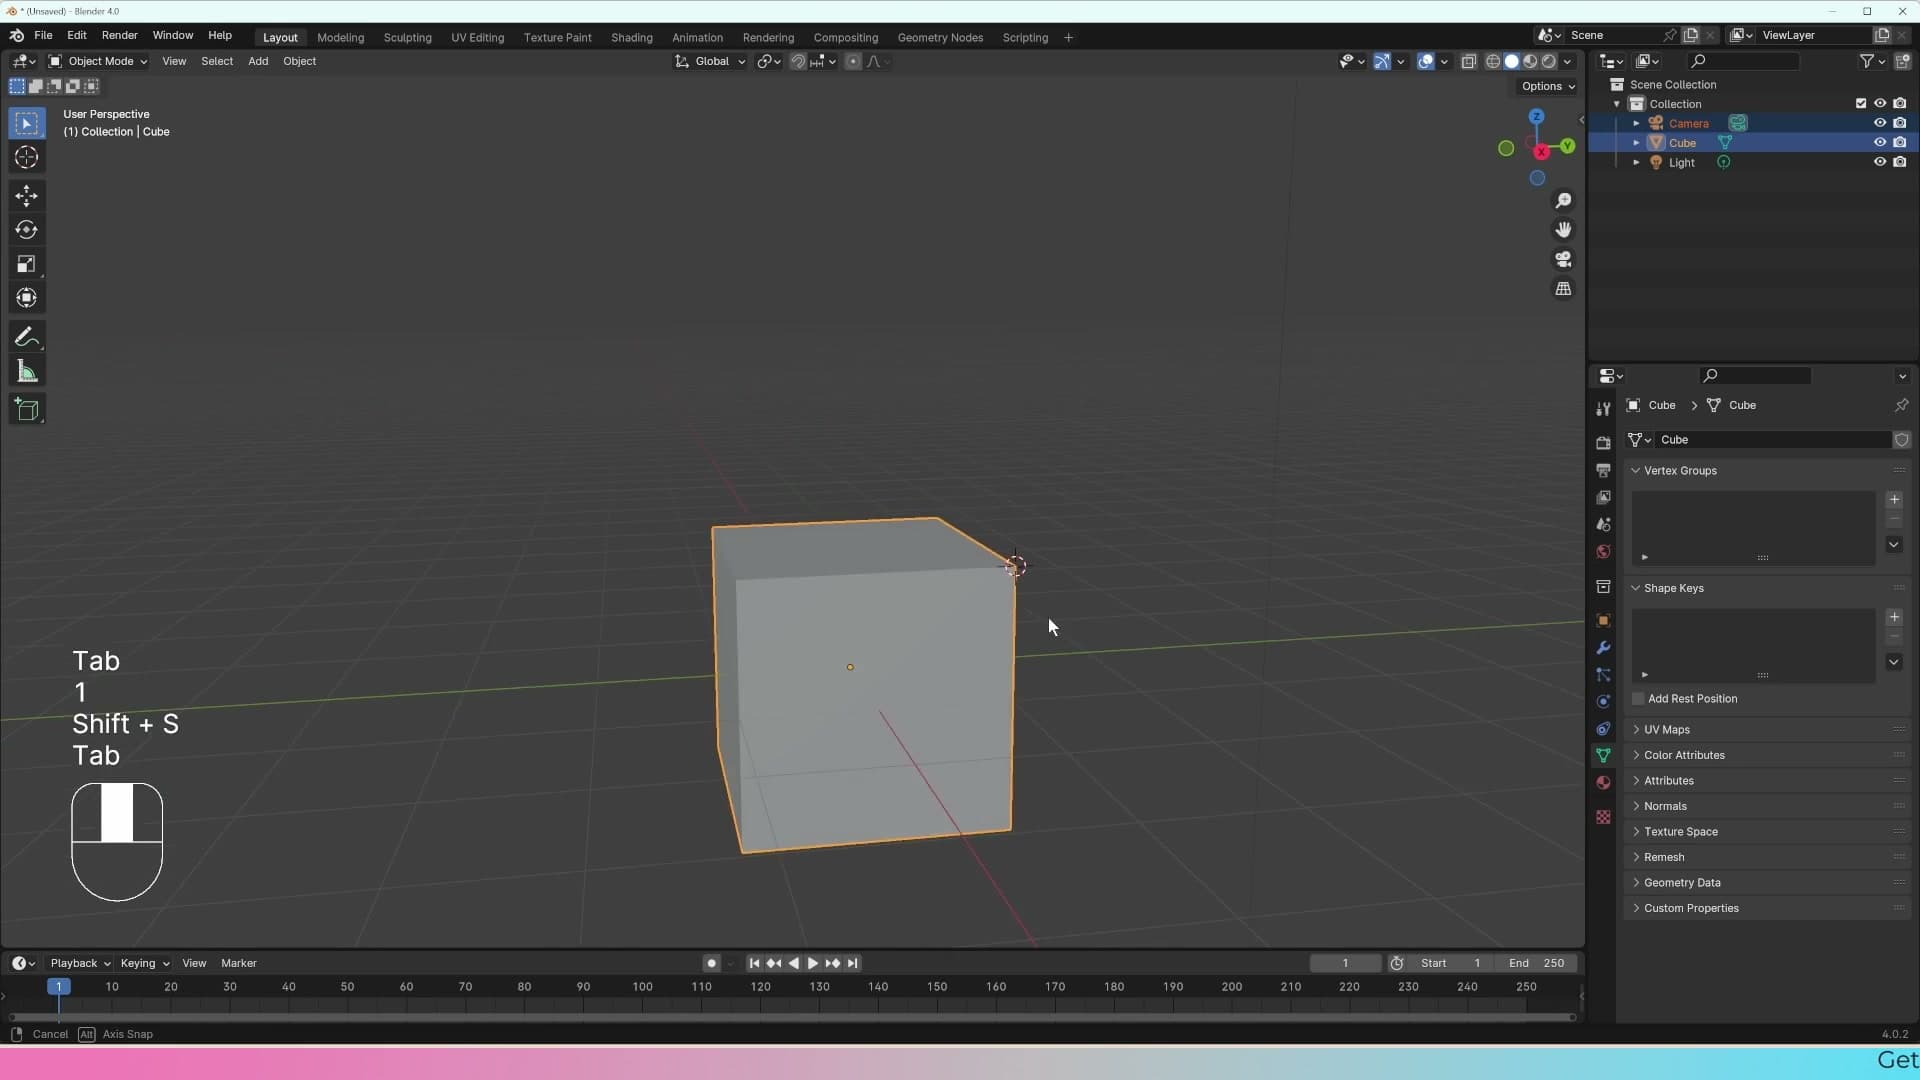
To move it, hold Shift and right-click anywhere in the viewport. If you click out into empty space, Blender guesses a position based on the view angle and the mouse cursor. If you click on an object, the cursor snaps to the surface at that point instead, which is much more predictable than letting Blender guess.
The same shortcut works once you drop into Edit Mode, so you can place the cursor exactly on a vertex, edge or face when you need surgical precision rather than a rough surface guess.
Using the cursor as a pivot point and Snap → Selection to Cursor
Every object in Blender has its own little origin point, that orange dot you see when you select something. By default, rotating or scaling an object pivots around this origin, which Blender calls the Median Point. That is fine for most situations, but sometimes you want to rotate around a specific spot in the scene rather than the centre of the object.
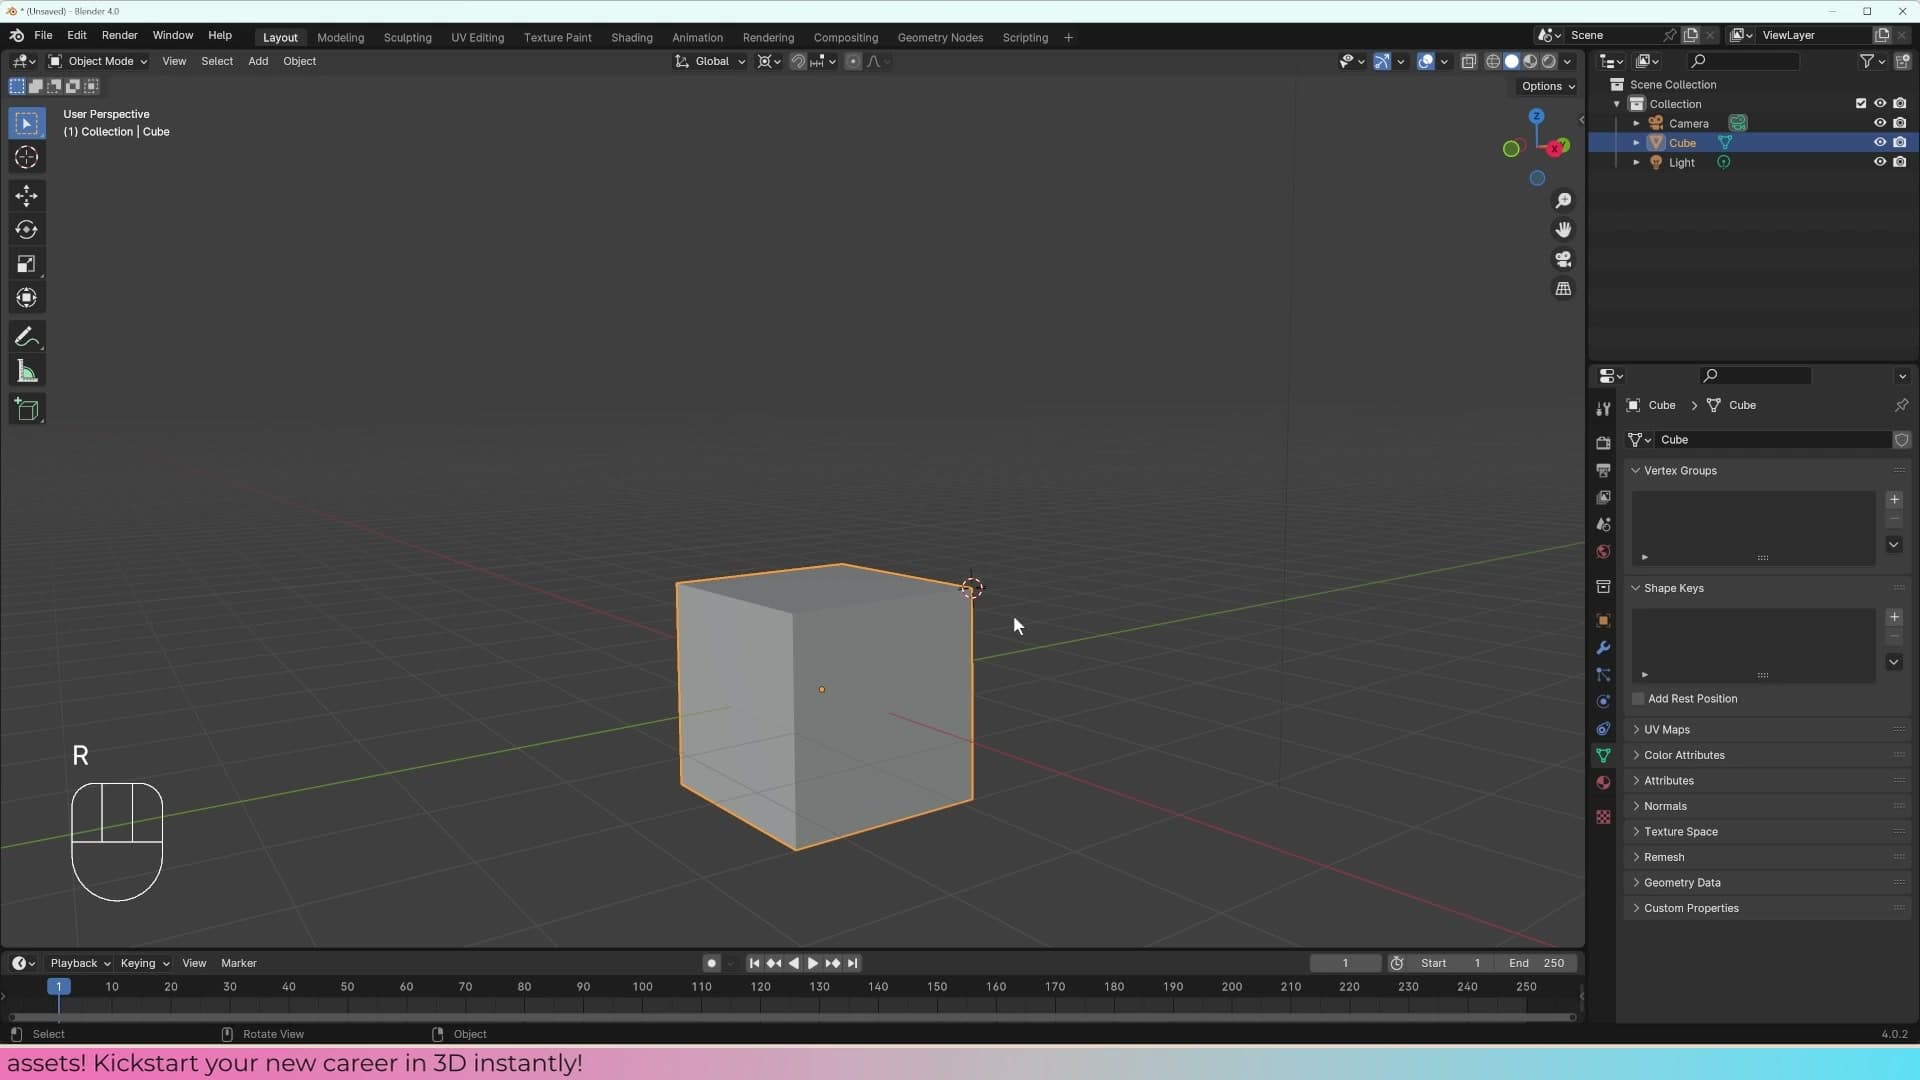
Switch the pivot dropdown at the top of the viewport from Median Point to 3D Cursor, and every rotation and scale now happens around wherever you parked the cursor. Place the cursor on a corner of the cube and rotate, and the cube swings around that corner instead of its own middle.
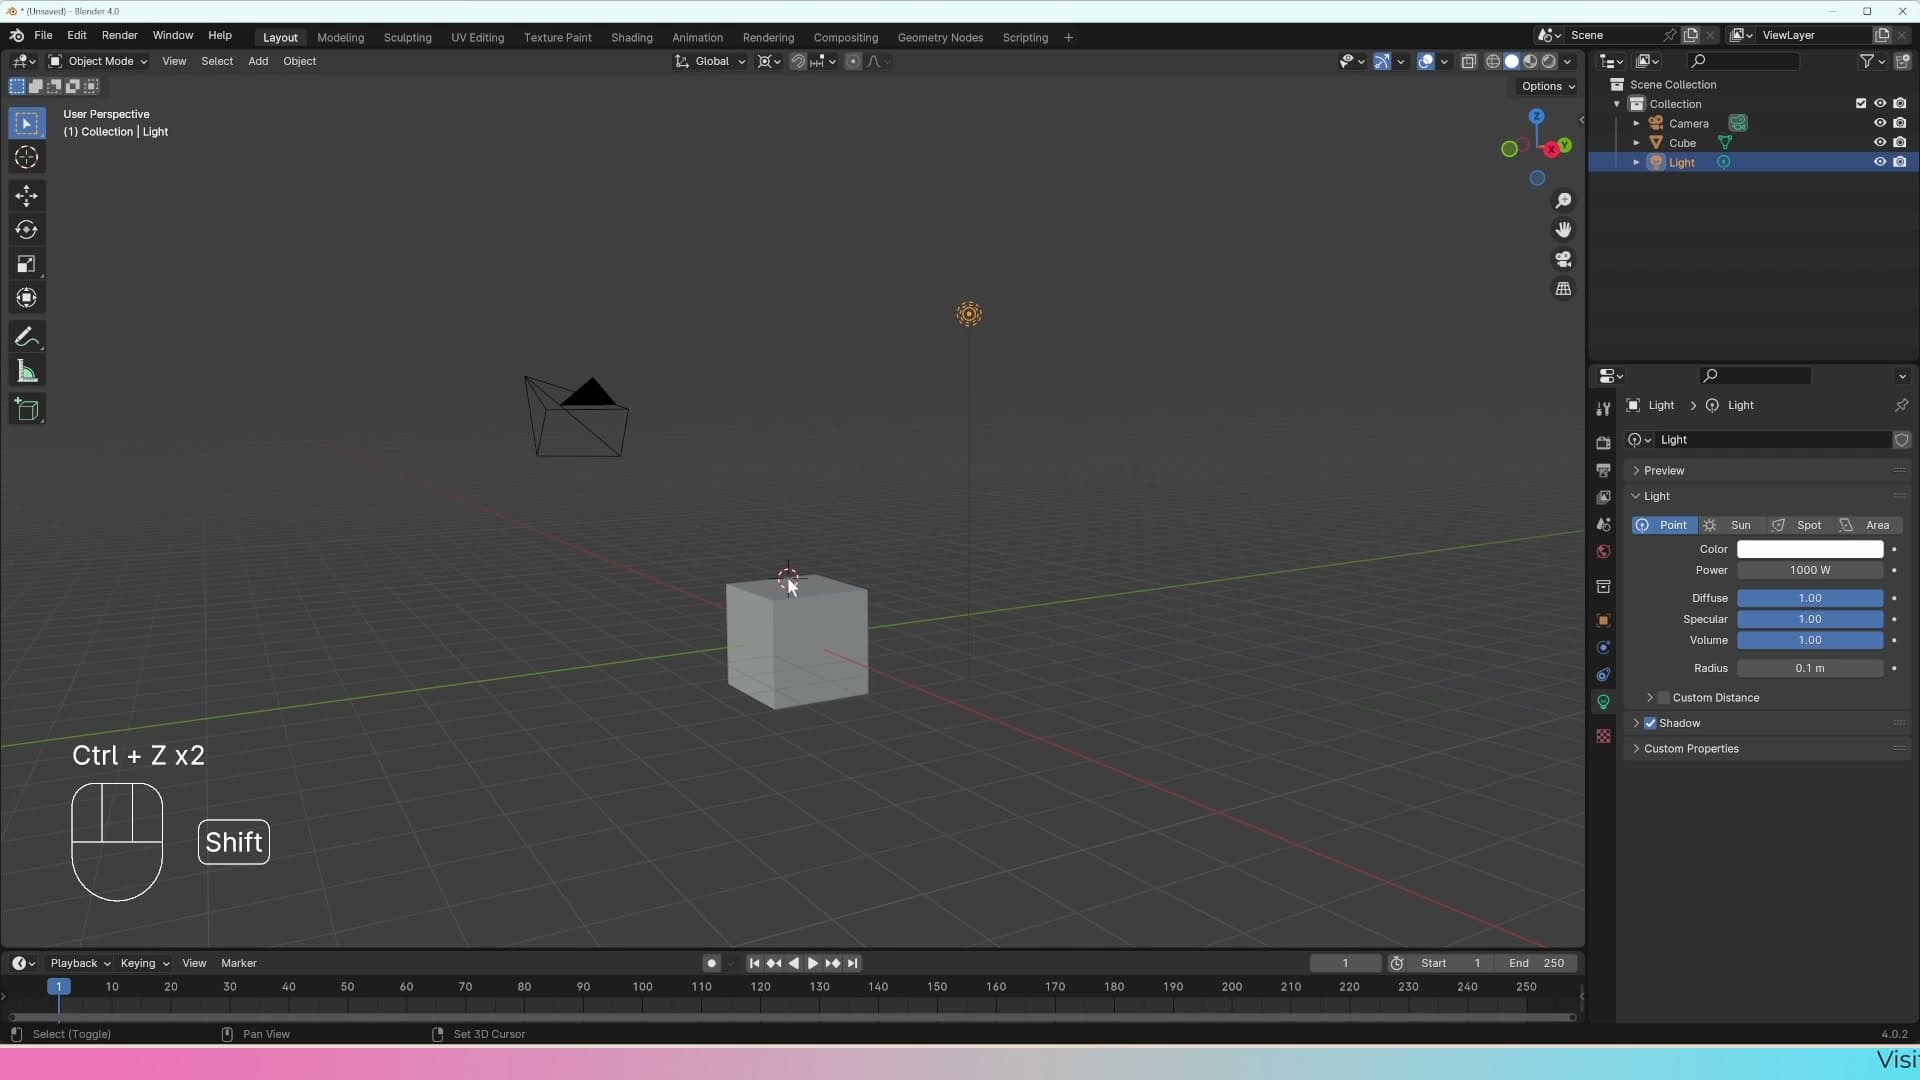
The cursor also doubles as a snap target. Select an object, press Shift+S to bring up the Snap pie menu, and choose Selection to Cursor. The selected object jumps straight to the cursor's position. It is a quick way to line up a light, a camera or any other object with a precise point you have already marked.
Moving, rotating, and scaling with G, R, S
Drop the gizmo and learn the three keys you'll use forever, combined with X/Y/Z to lock to an axis and numeric input for exact distances and angles.
G, R, and S: the three keys that replace the gizmo
The gizmo on screen lets you move, rotate, and scale by dragging its coloured arrows, but reaching for it every time is slow. My advice is to drop it as early as you can and learn the three shortcut keys instead. Once they're muscle memory you'll wonder how anyone uses the widget.
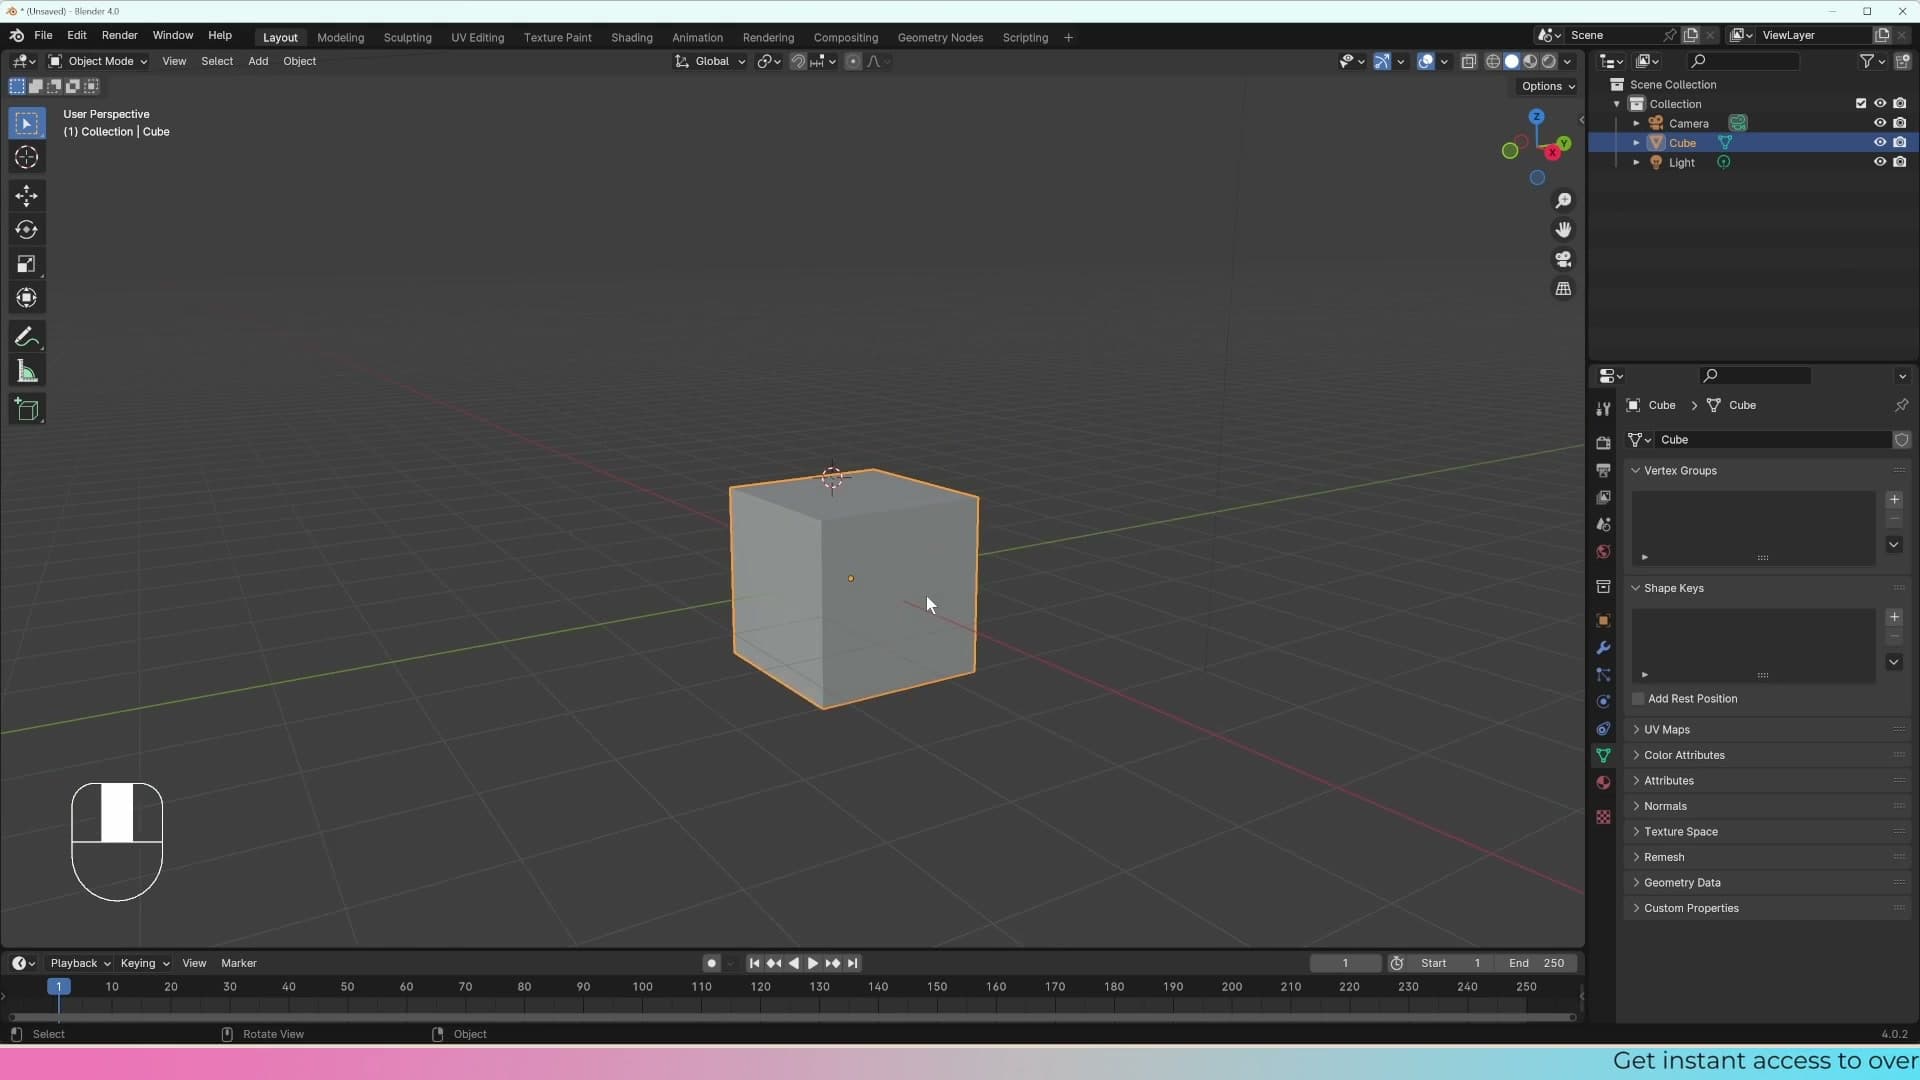
Press G to grab (move), R to rotate, and S to scale. The keys work no matter where your mouse is in the viewport. You don't have to hover over the object first, just have it selected.
By default each transform follows your mouse freely on the screen plane. To lock it to a single axis, tap the axis letter immediately after the shortcut: G X, G Y, or G Z. The same pattern works for R and S. The red gizmo arrow is X, green is Y, and Z is the blue one pointing up (hidden by default; you can enable it in the viewport overlays, but you rarely need to).
Left-click to confirm the transform, or right-click / Esc to cancel and snap the object back to where it started.
Numeric input: metres, degrees, and multipliers
Once you've pressed a transform key and locked an axis, you can type a number to set the value exactly. Each grid square in the viewport represents one metre, so G Y 2 moves the object exactly two metres along the green Y axis. Typing G Y -2 sends it back the other way.
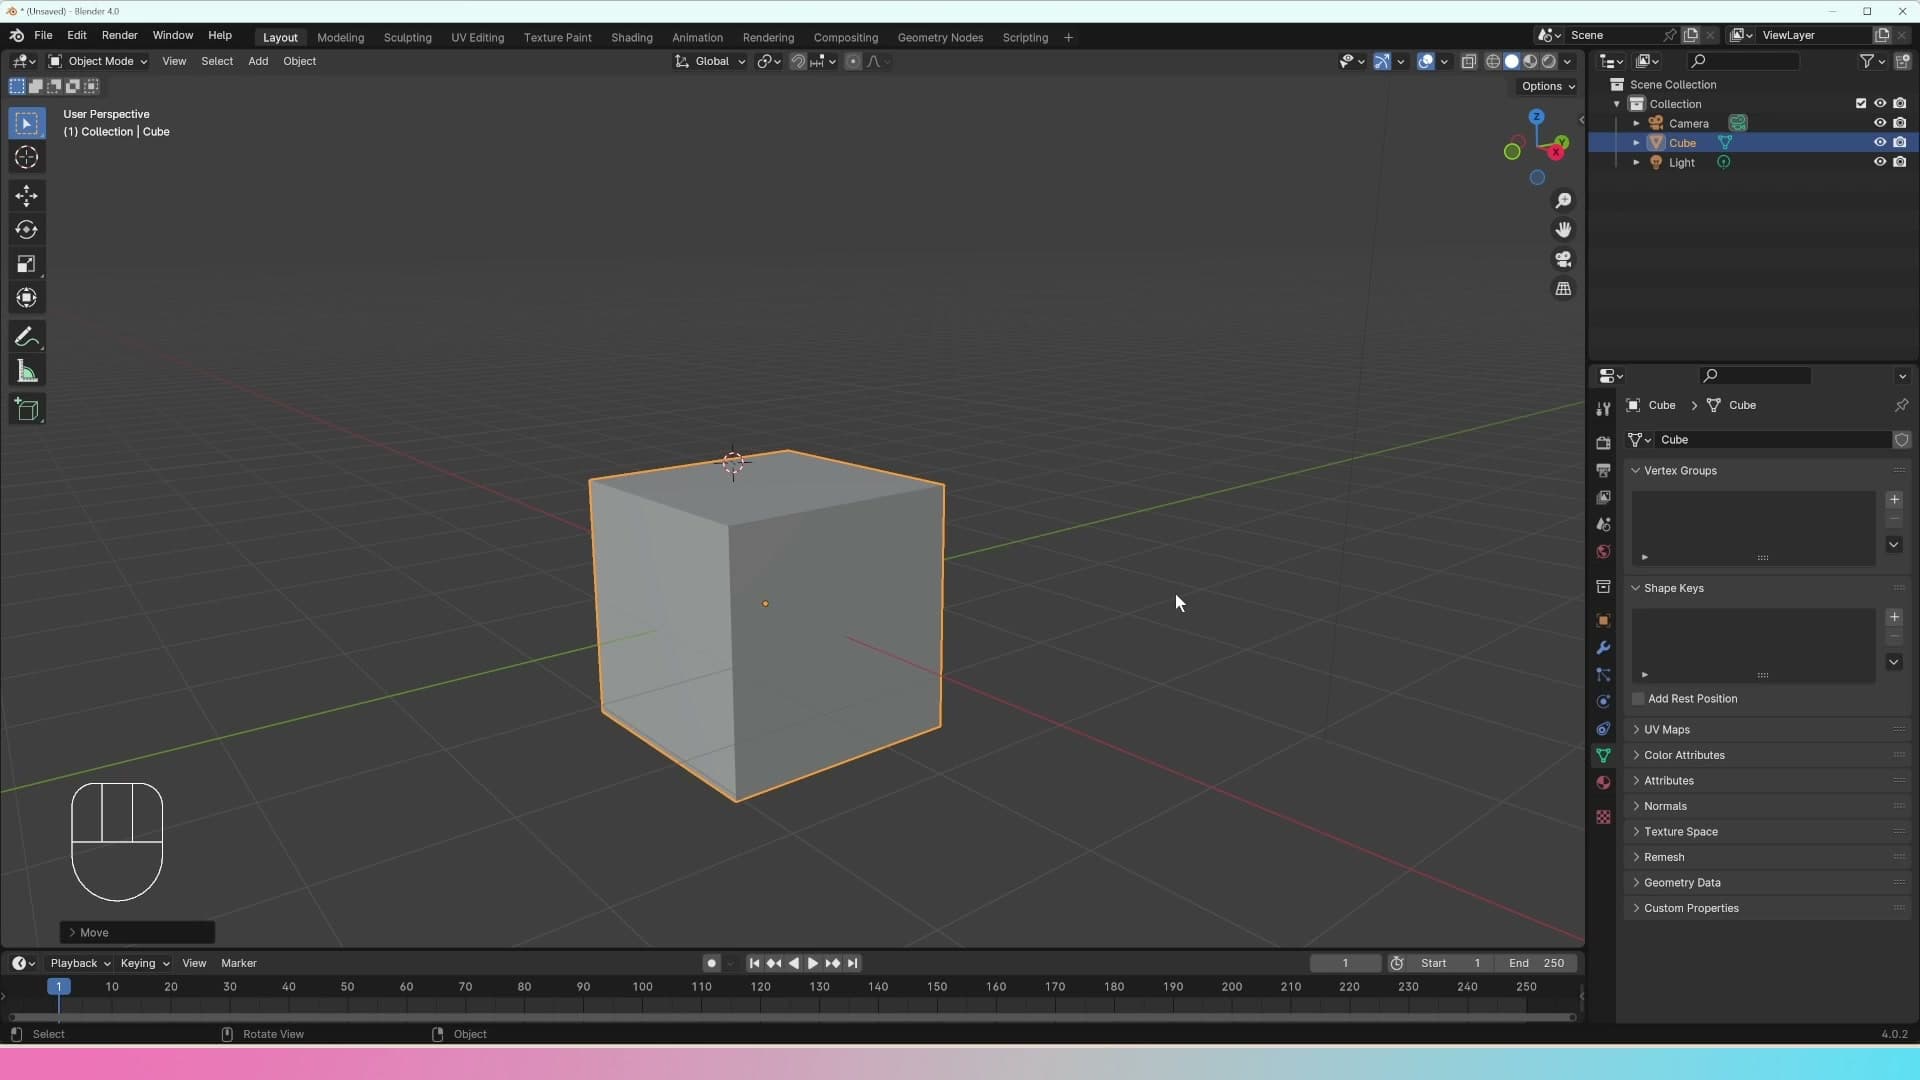
The same trick works for rotation, but the unit switches to degrees. R X 45 rotates the object 45° around X. A full R X 360 brings it back where it started. Rotating in metres wouldn't mean anything, so Blender interprets the number as an angle automatically.
Scale doesn't have a unit at all. Typed values are multipliers. If a cube starts at two metres wide, S X 2 doubles it to four metres on X, and S X 0.5 halves it back to two. Press N to open the side panel and you'll see the dimensions update in real time as you type.
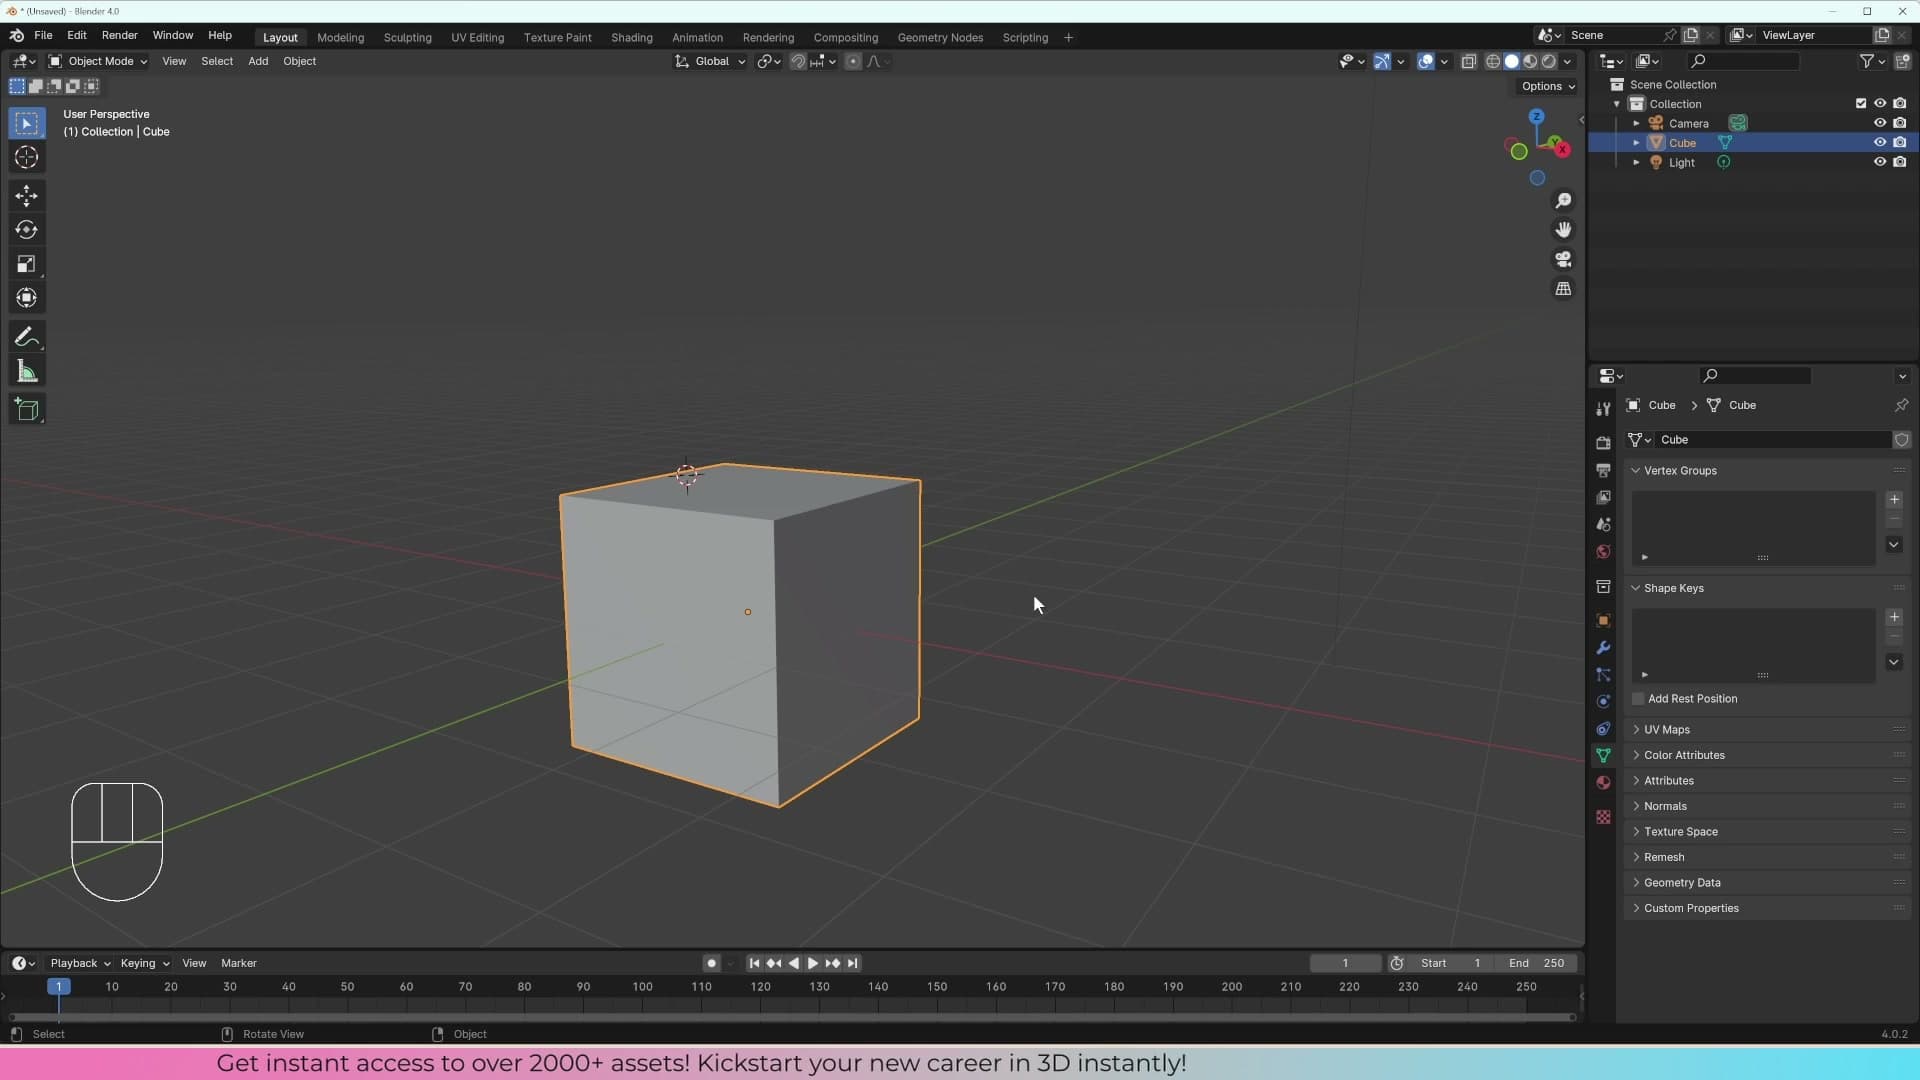
If you mistype, hit Backspace to correct the digits. The value you're entering shows in the top-left corner of the viewport as you press the keys. Enter or a left-click commits the transform.
Scale multipliers and applying scale with Ctrl+A
Open the N panel and you'll see a Scale row alongside Location and Rotation. When you scale an object non-uniformly, Blender doesn't actually change the underlying geometry: it remembers the original shape and multiplies it. So after S X 2, the Scale X value reads 2 even though the visible width has doubled.
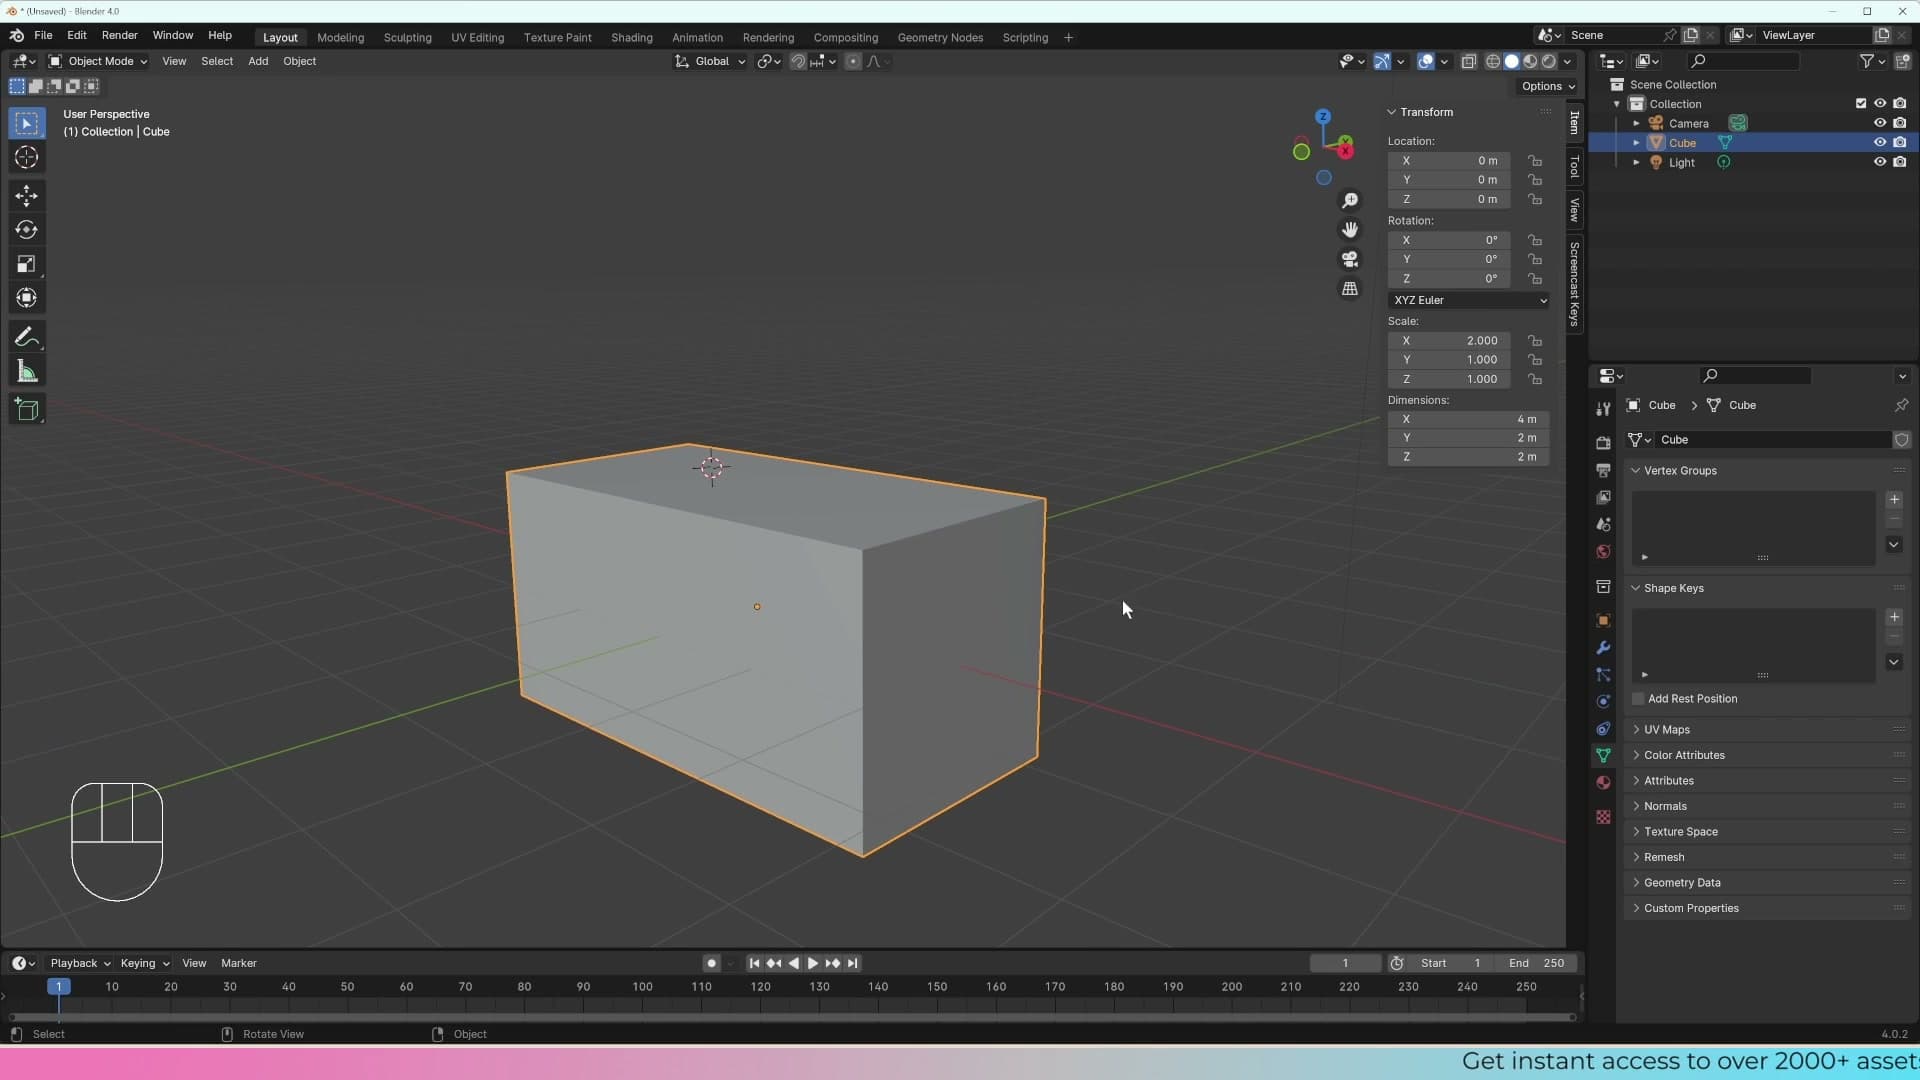
That stored multiplier matters because modifiers inherit it. Add a Bevel to a cube that's been stretched on X and the bevel will look wider on the X-facing edges than on the others. Blender is applying the bevel to the unscaled cube first and then squashing the result. Scaling X back to 0.5 evens the bevel out, but you've lost the stretched shape you wanted in the first place.
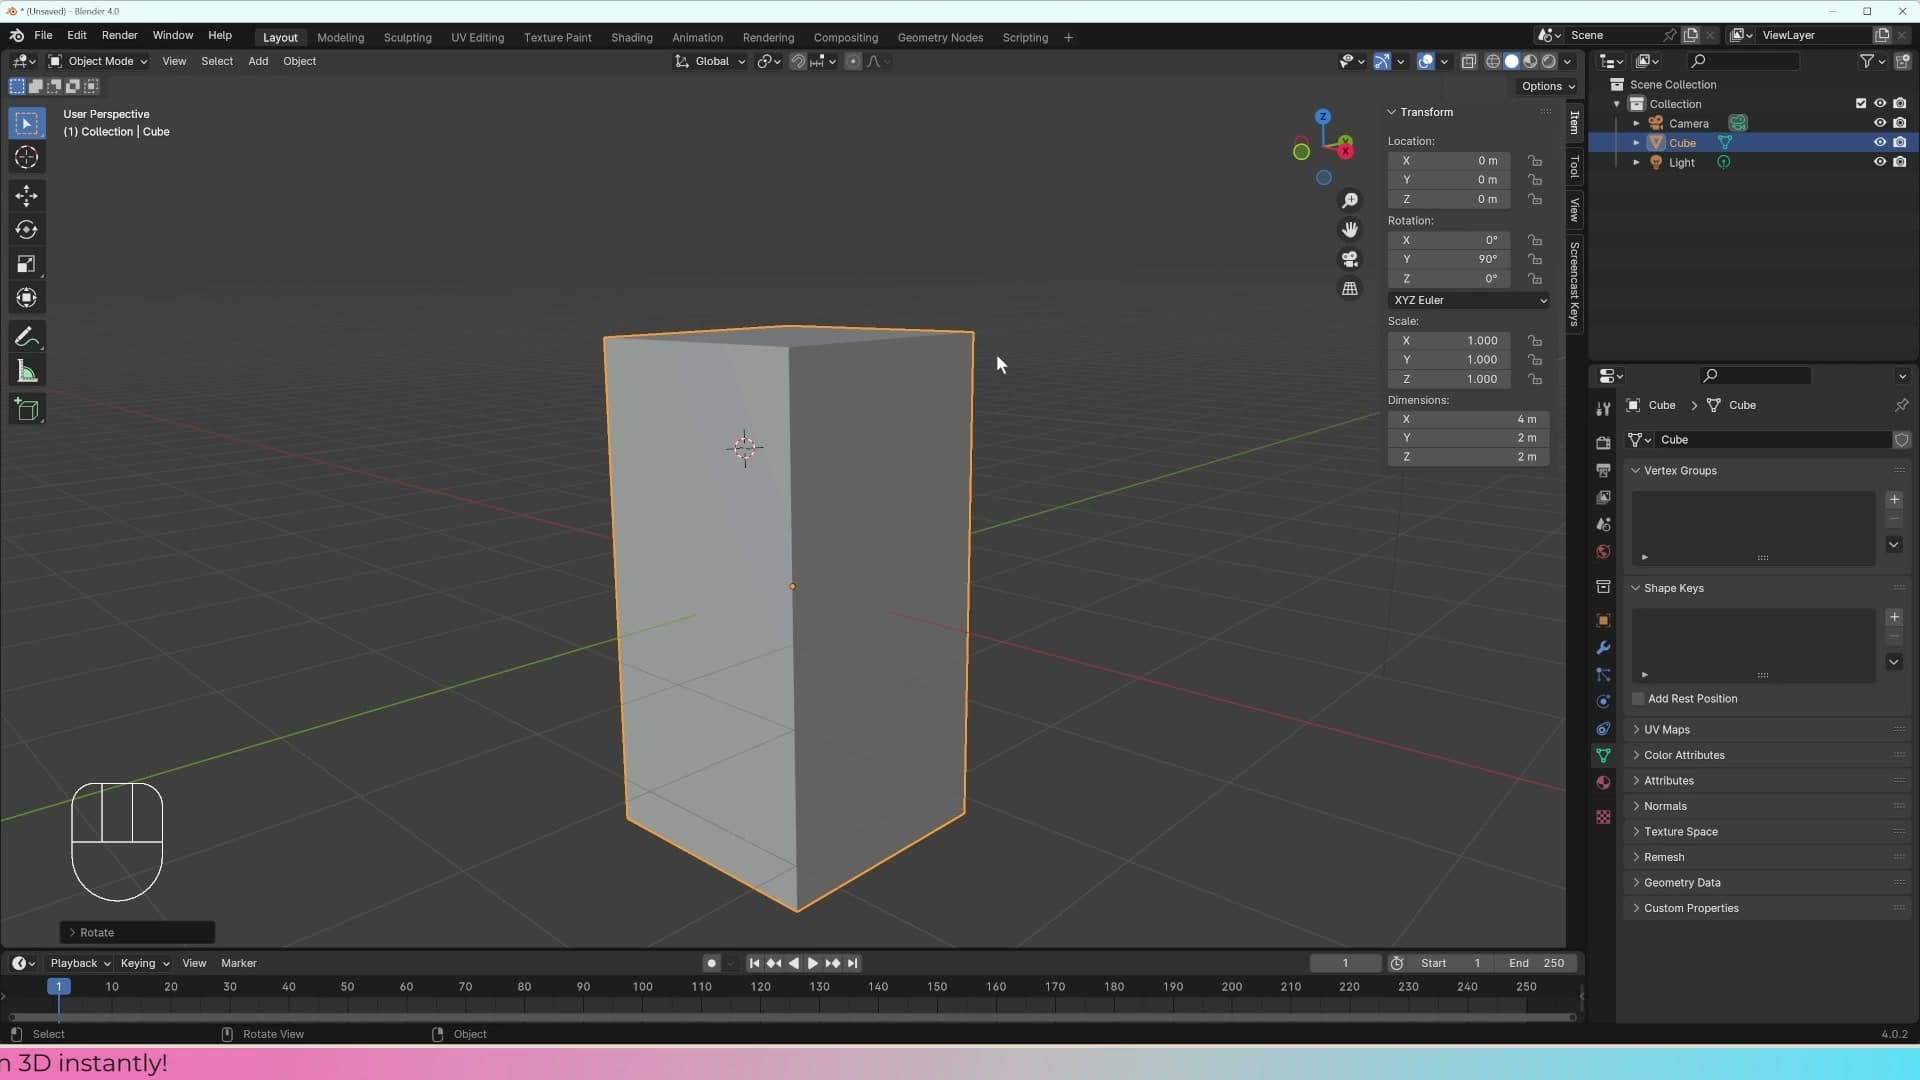
The fix is to apply the scale. With the object selected, press Ctrl+A and choose Scale. The geometry keeps its current dimensions, but the Scale values in the N panel reset to 1, 1, 1. The current shape becomes the new base state, and any modifiers you add from here on behave uniformly on every side.
Apply Rotation and resetting the base state
The same principle applies to rotation. If you've rotated an object 90° on Z, the N panel will show that rotation value baked in, and some tools (snapping, certain modifiers, axis-aligned operations) will work off the original unrotated orientation rather than what you see in the viewport.
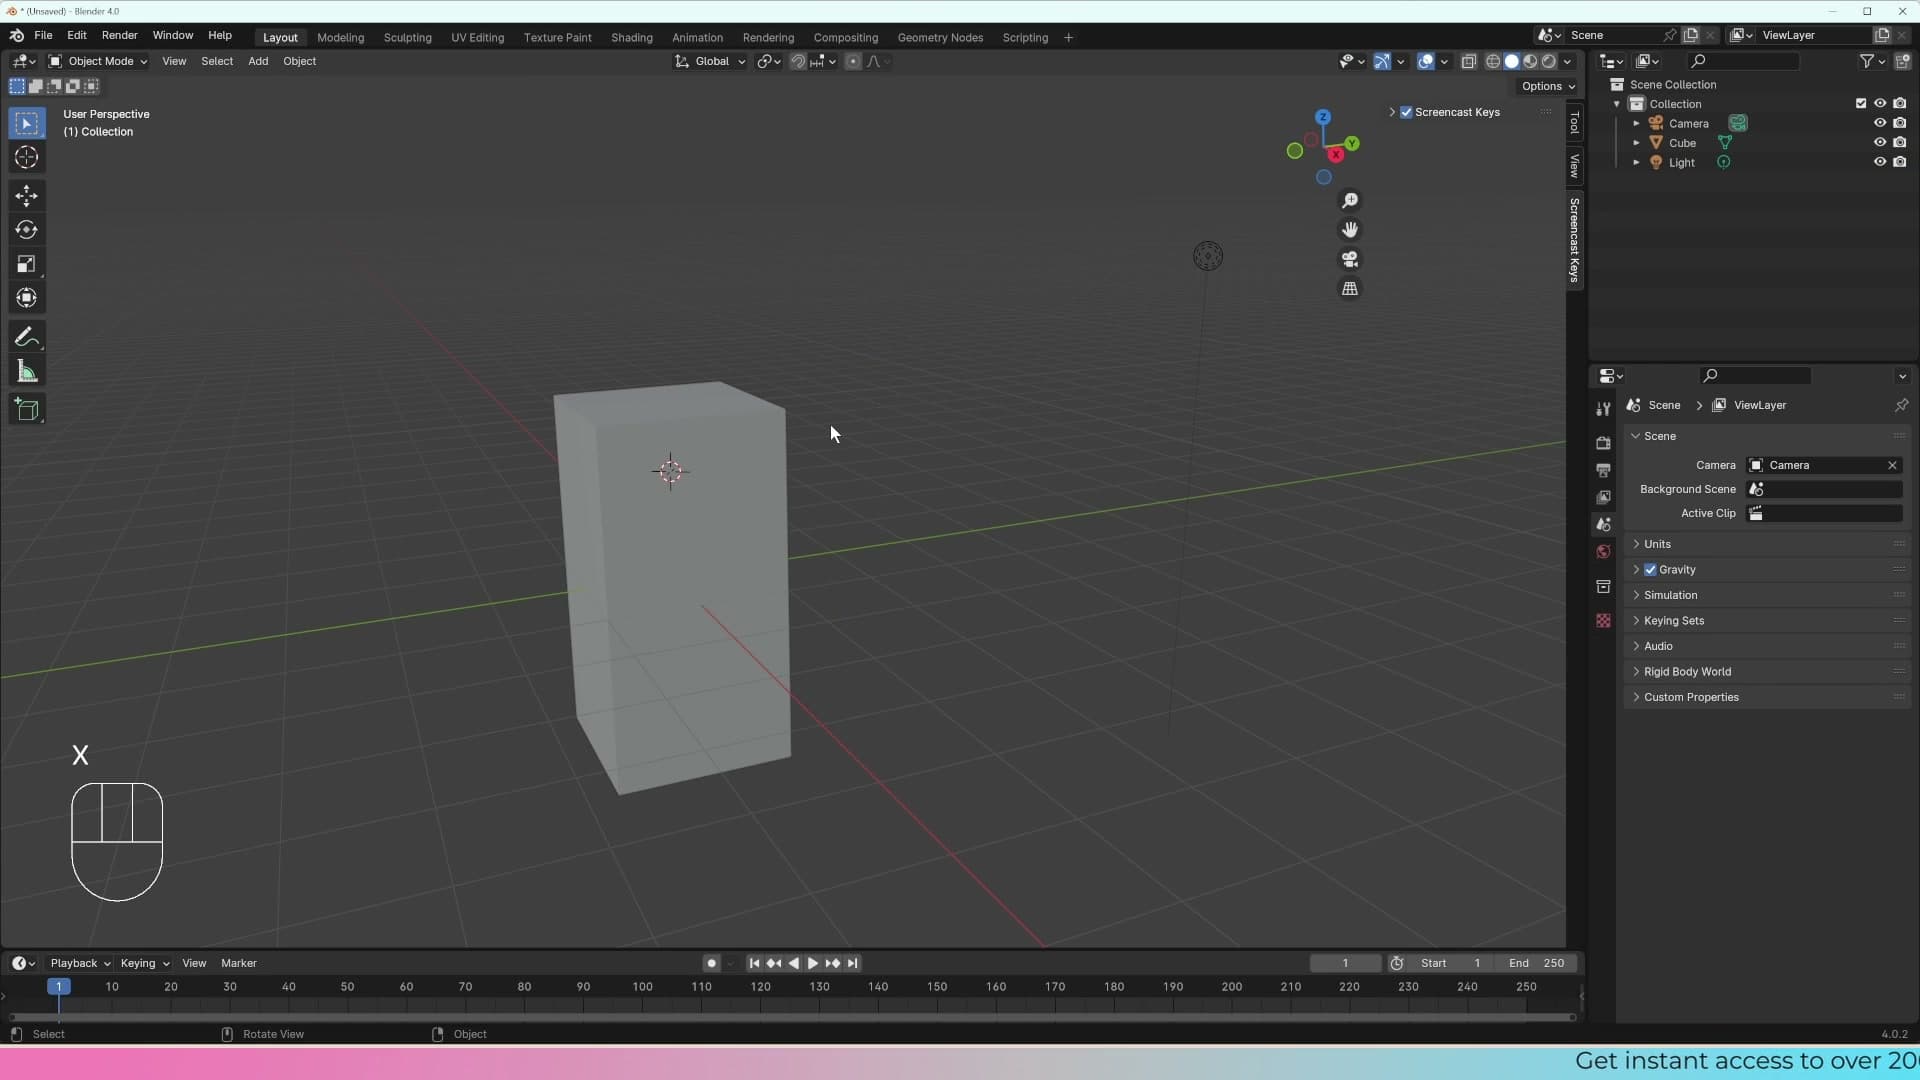
To reset it, press Ctrl+A and choose Rotation. The object stays exactly where it is visually, but the rotation values fall back to 0, 0, 0. Blender now treats the current orientation as the object's base state, and any future transforms build from there. If something feels off, a tool working on the wrong axis or a modifier behaving strangely, applying rotation and scale is usually the first thing to try.
Edit Mode: vertices, edges, and faces
Tab into Edit Mode to manipulate the actual geometry (verts, edges, and faces) and meet the three modelling tools you'll use most: Extrude, Inset, and Bevel.
Duplicating, deleting, and entering Edit Mode
With the cube selected, switch from Object Mode to Edit Mode using the mode dropdown at the top-left of the viewport, or just press Tab to toggle straight in and out. Tab is the shortcut you'll use almost every time.
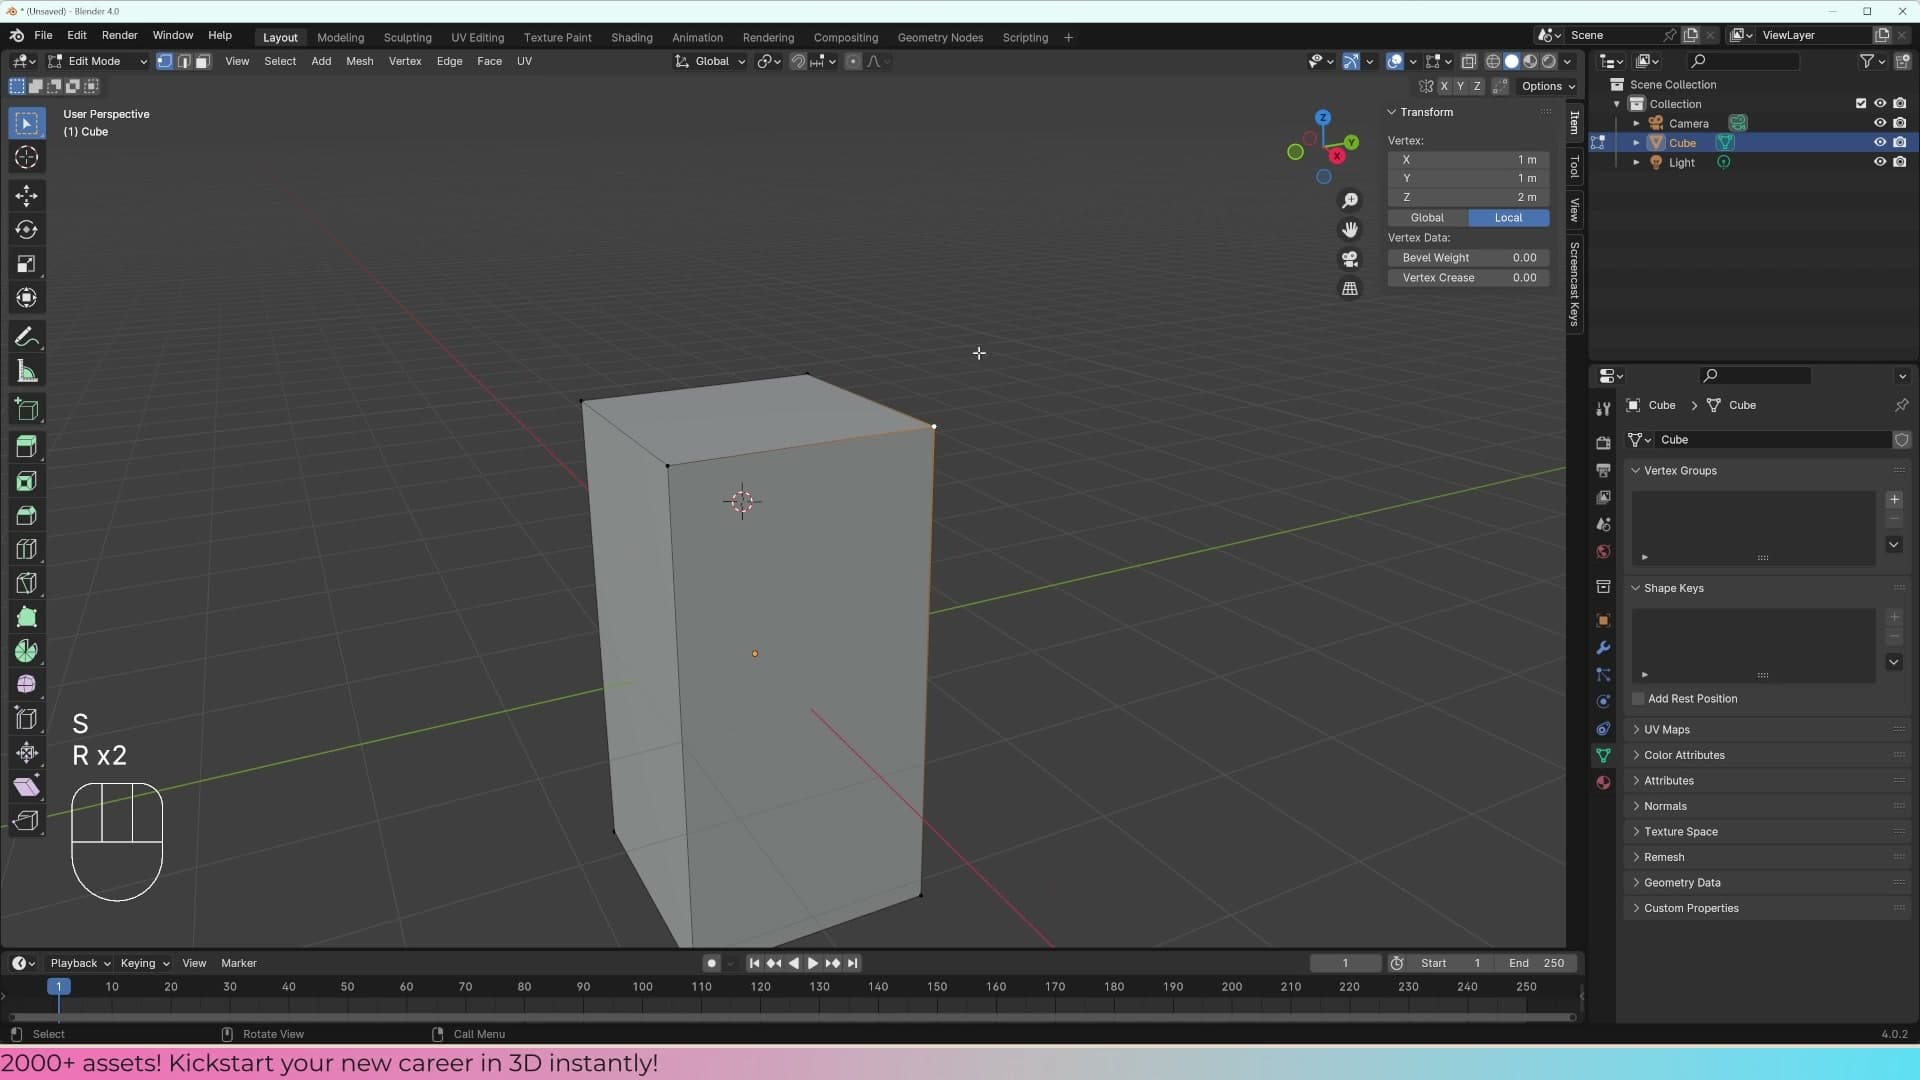
Once you're in, the cube reveals its underlying components. The singular points at each corner are vertices (a single one is a vertex). Click any one to select it on its own.
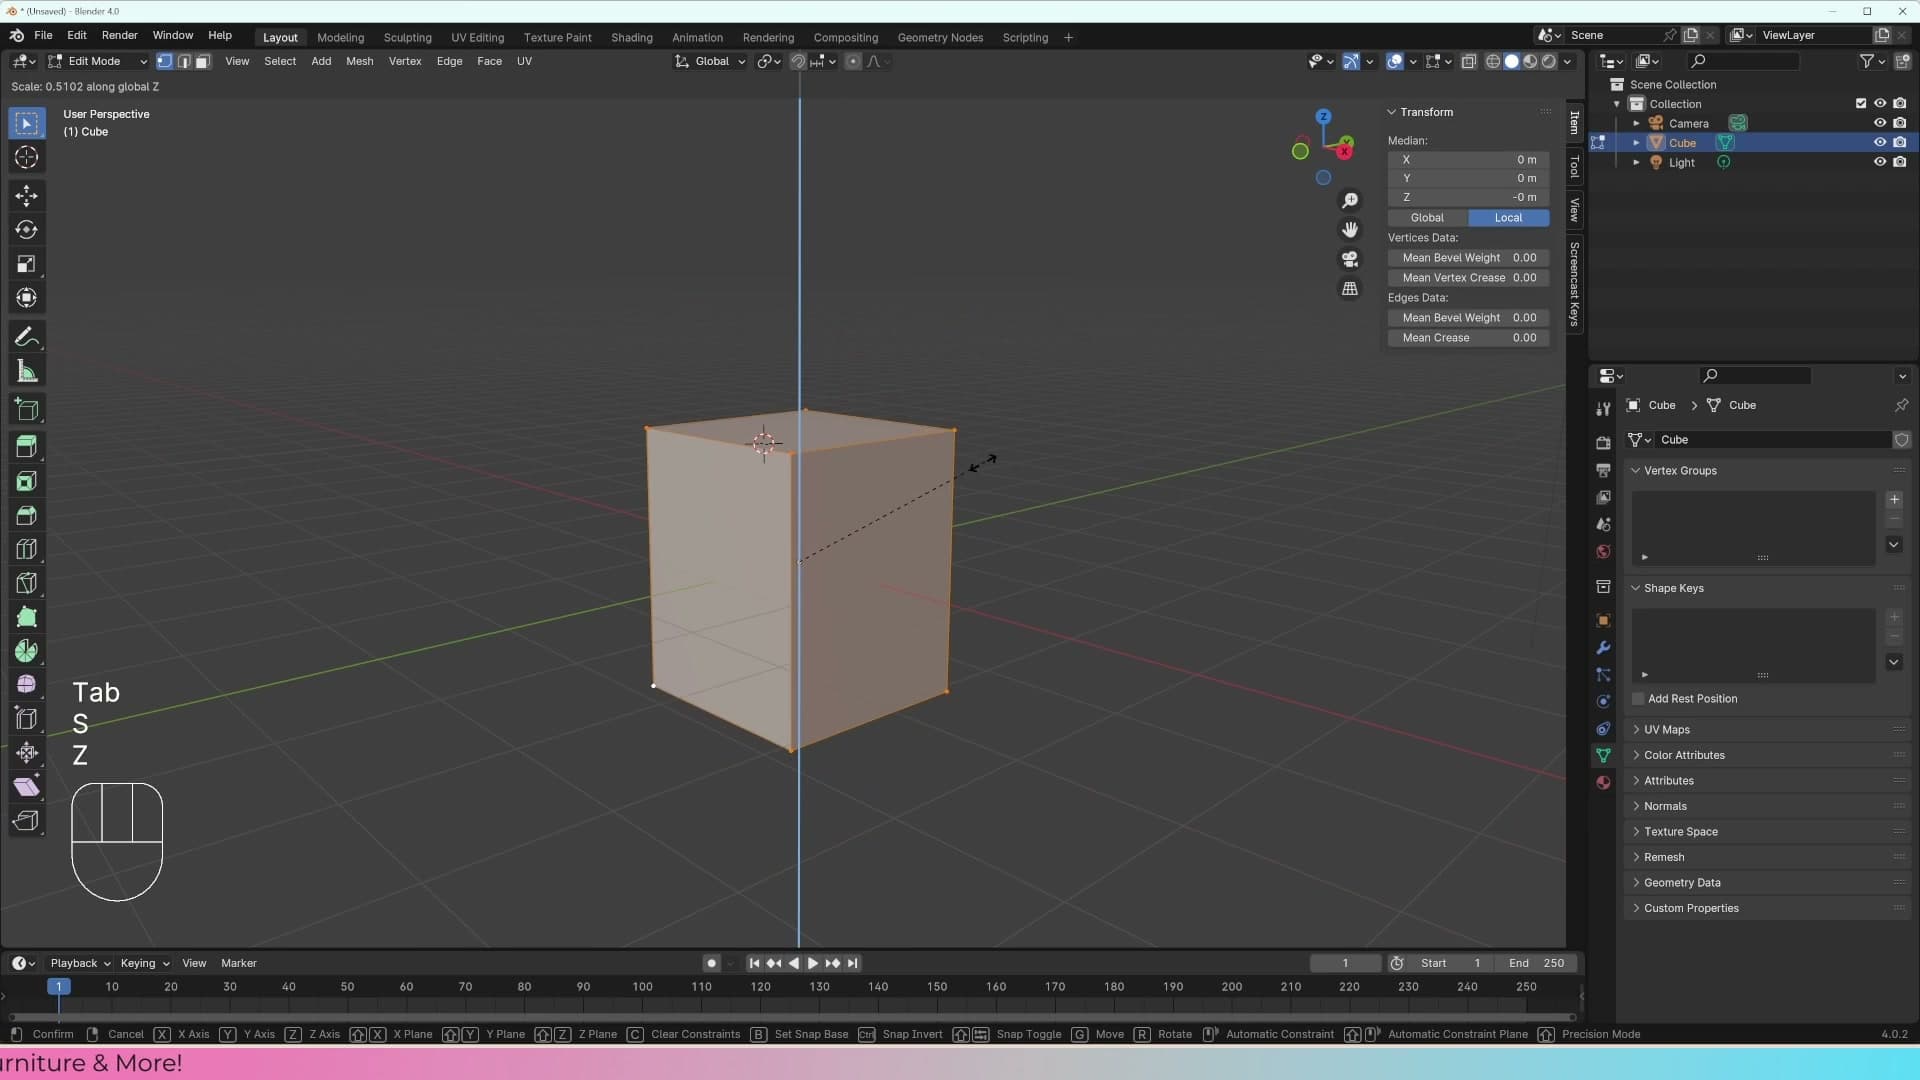
Try the transform shortcuts on a lone vertex. G grabs and moves it as you'd expect, but R and S appear to do nothing at all. That's because a single vertex has no dimension. There's nothing for rotate or scale to act on. Vertices help build space; they don't occupy it.
Selecting and transforming vertices, edges, and faces
Select two vertices and Scale finally has something to work with. It pulls them apart along the axis you confine to. Edges and faces follow the same dimensional logic: scale an edge along its length and it works, but scale it perpendicular to itself and nothing happens, because the edge has no dimension in that direction. Faces, being two-dimensional, scale freely in the plane they sit on.
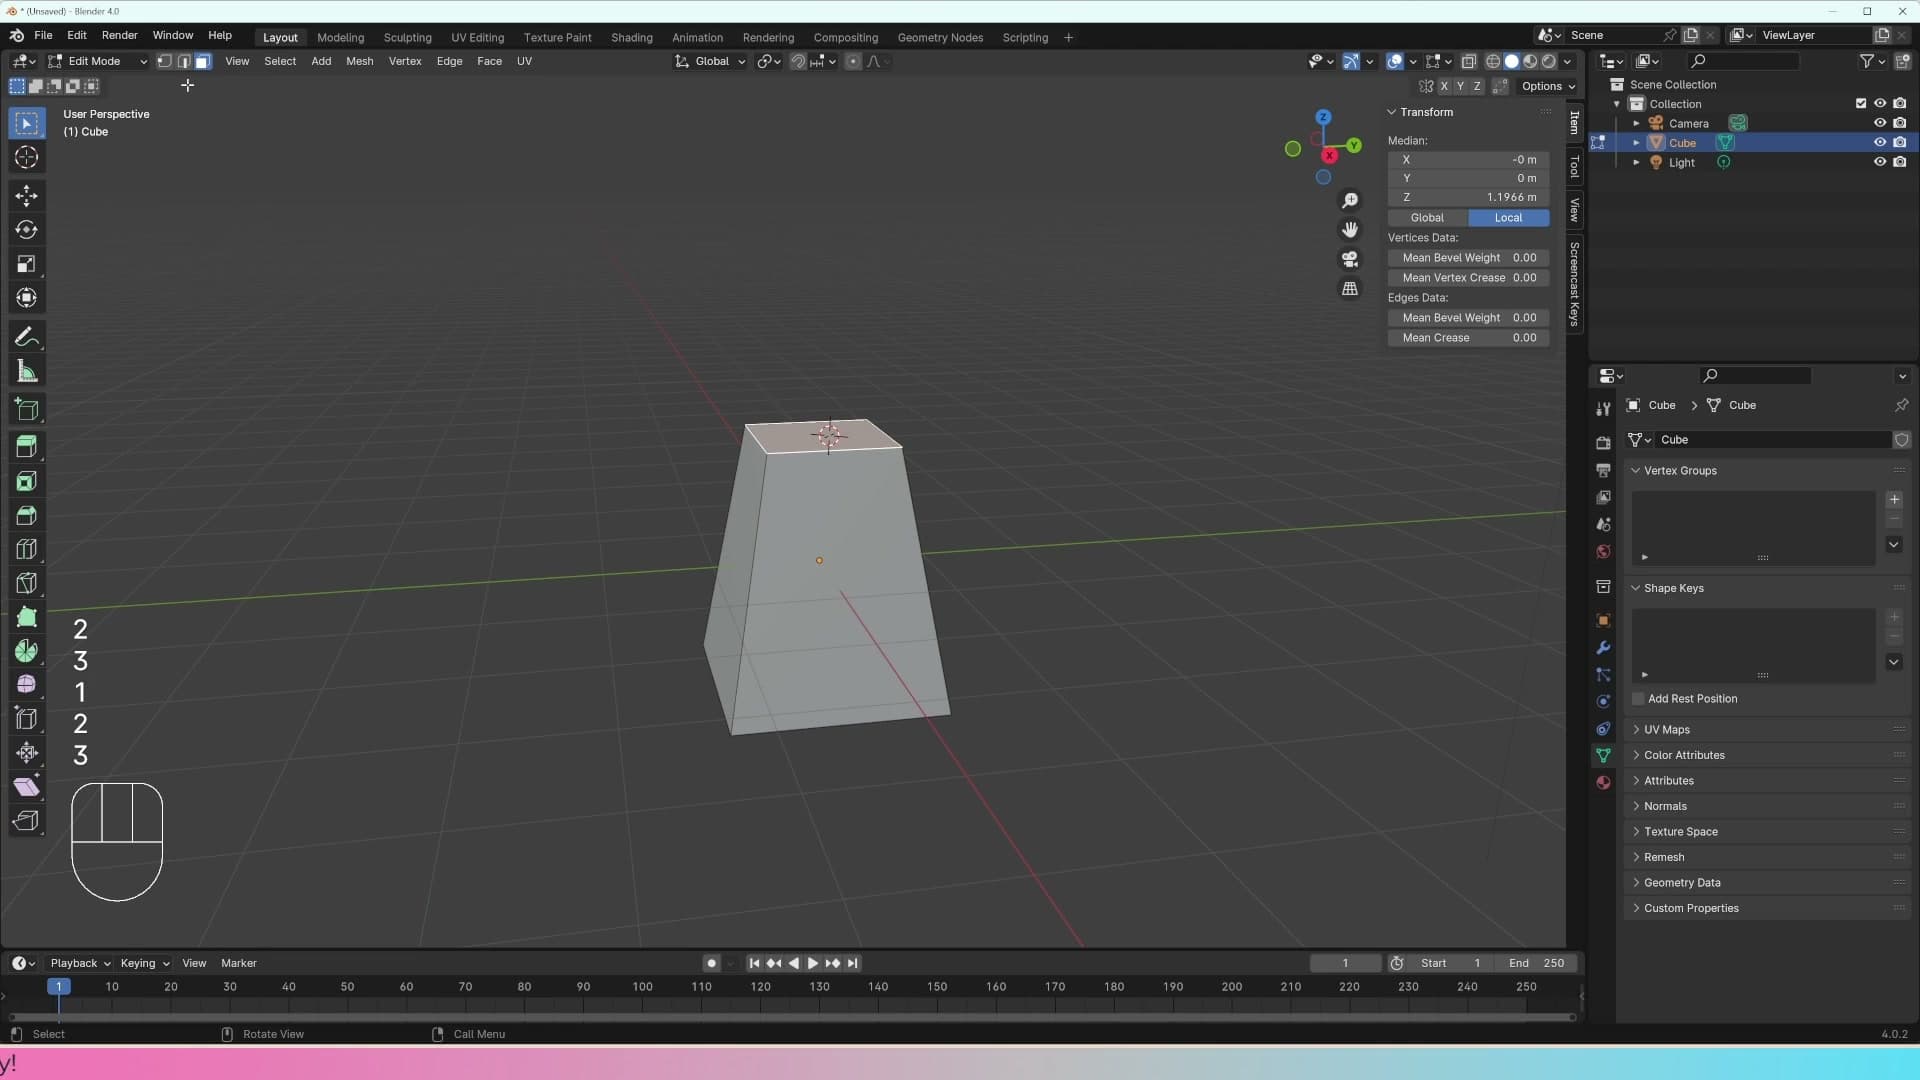
One thing worth knowing about Edit Mode transforms before you go further. Scale a face up by 2 inside Edit Mode, then Tab back to Object Mode, and the N-panel still reports the object's scale as 1, 1, 1. Those values track the object container, not the geometry inside it. Anything you change inside Edit Mode is set in stone on the mesh; Blender doesn't keep a record of it on the object.
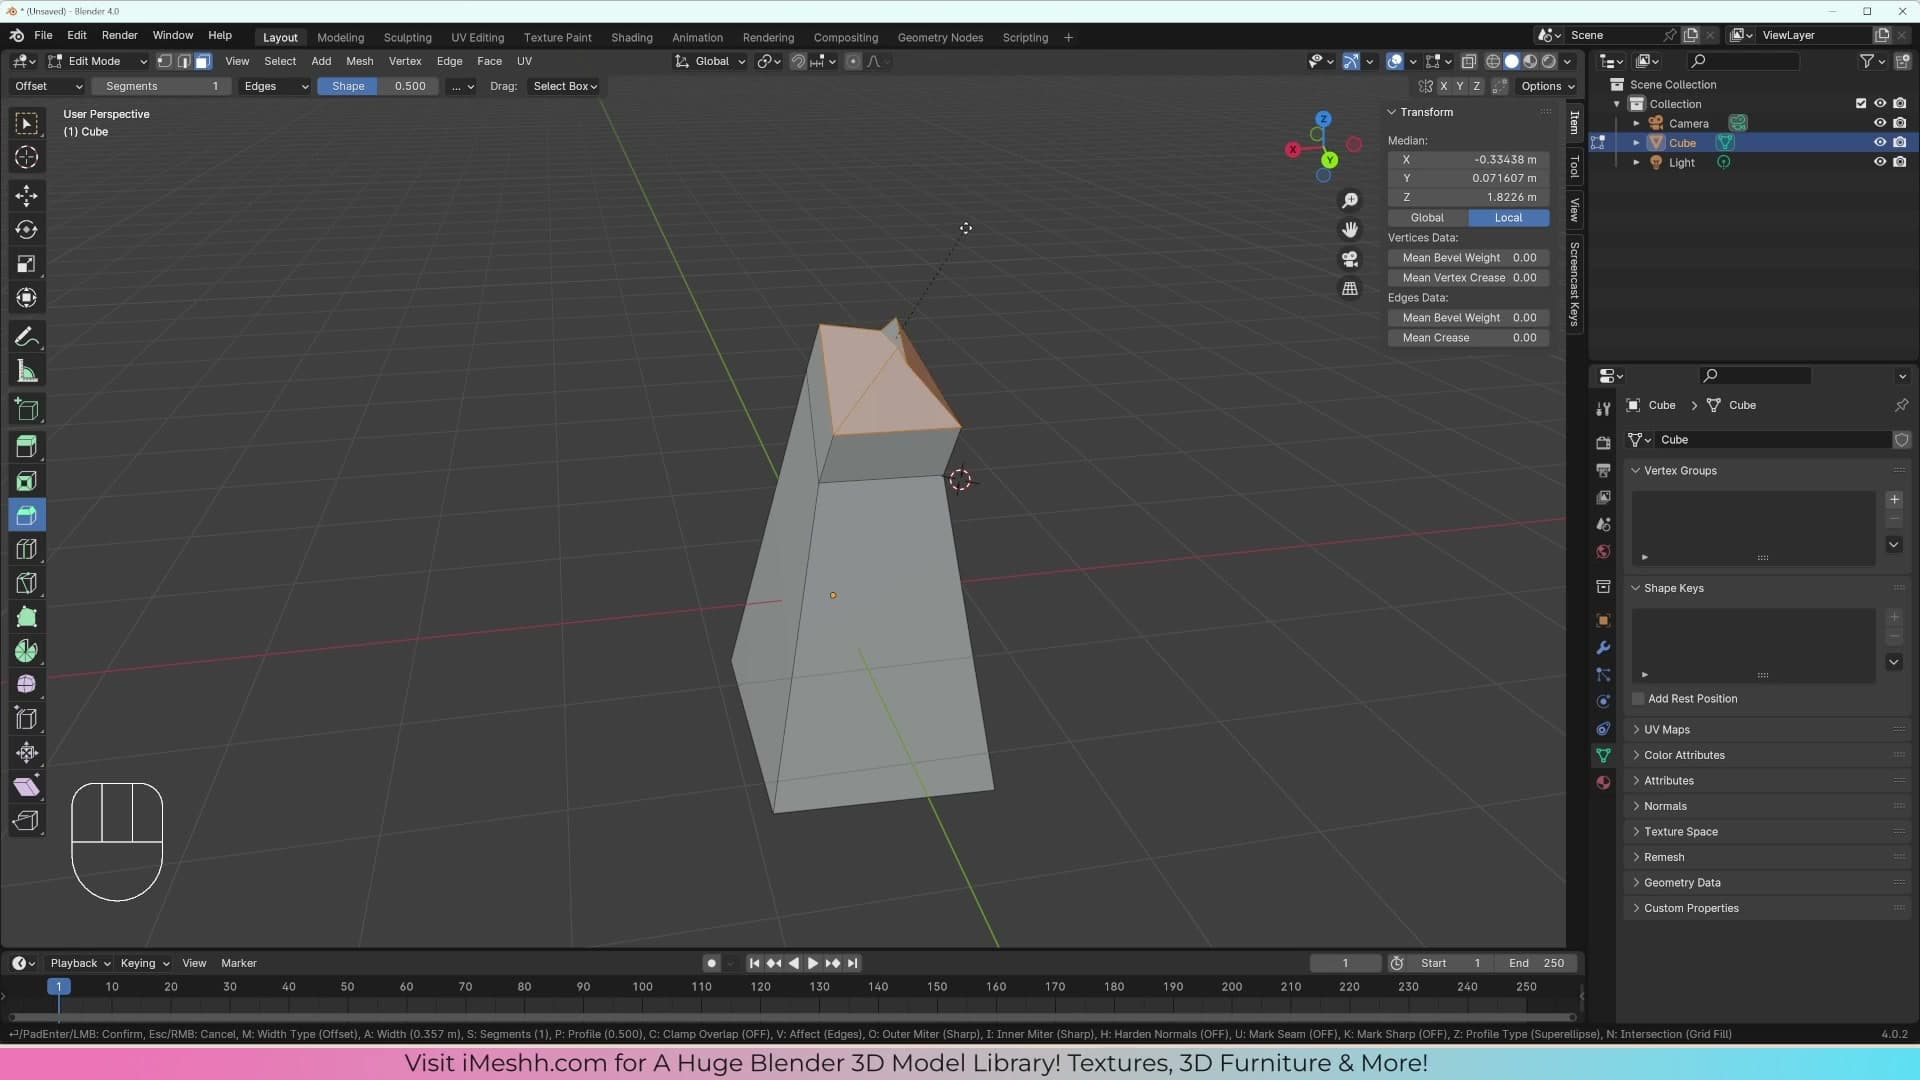
To switch between selection types, use the three icons at the top of the viewport (vertex, edge, and face) or press 1, 2, or 3 on the keyboard. The number keys are far quicker once they're in muscle memory. Hold Shift while clicking to add components to your selection rather than replacing it.
Extrude (E), Inset (I), and Bevel (Ctrl+B)
Edit Mode unlocks a stack of new tools in the left-hand toolbar. Three of them you'll lean on constantly. Select a face and press E to extrude, pulling a new section of geometry outward from the original face. Press I to inset, creating a smaller face inside the existing one, useful for setting up frames, recesses, and panels. And press Ctrl+B on an edge (or a selection of edges) to bevel it, rounding the corner over one or more segments.
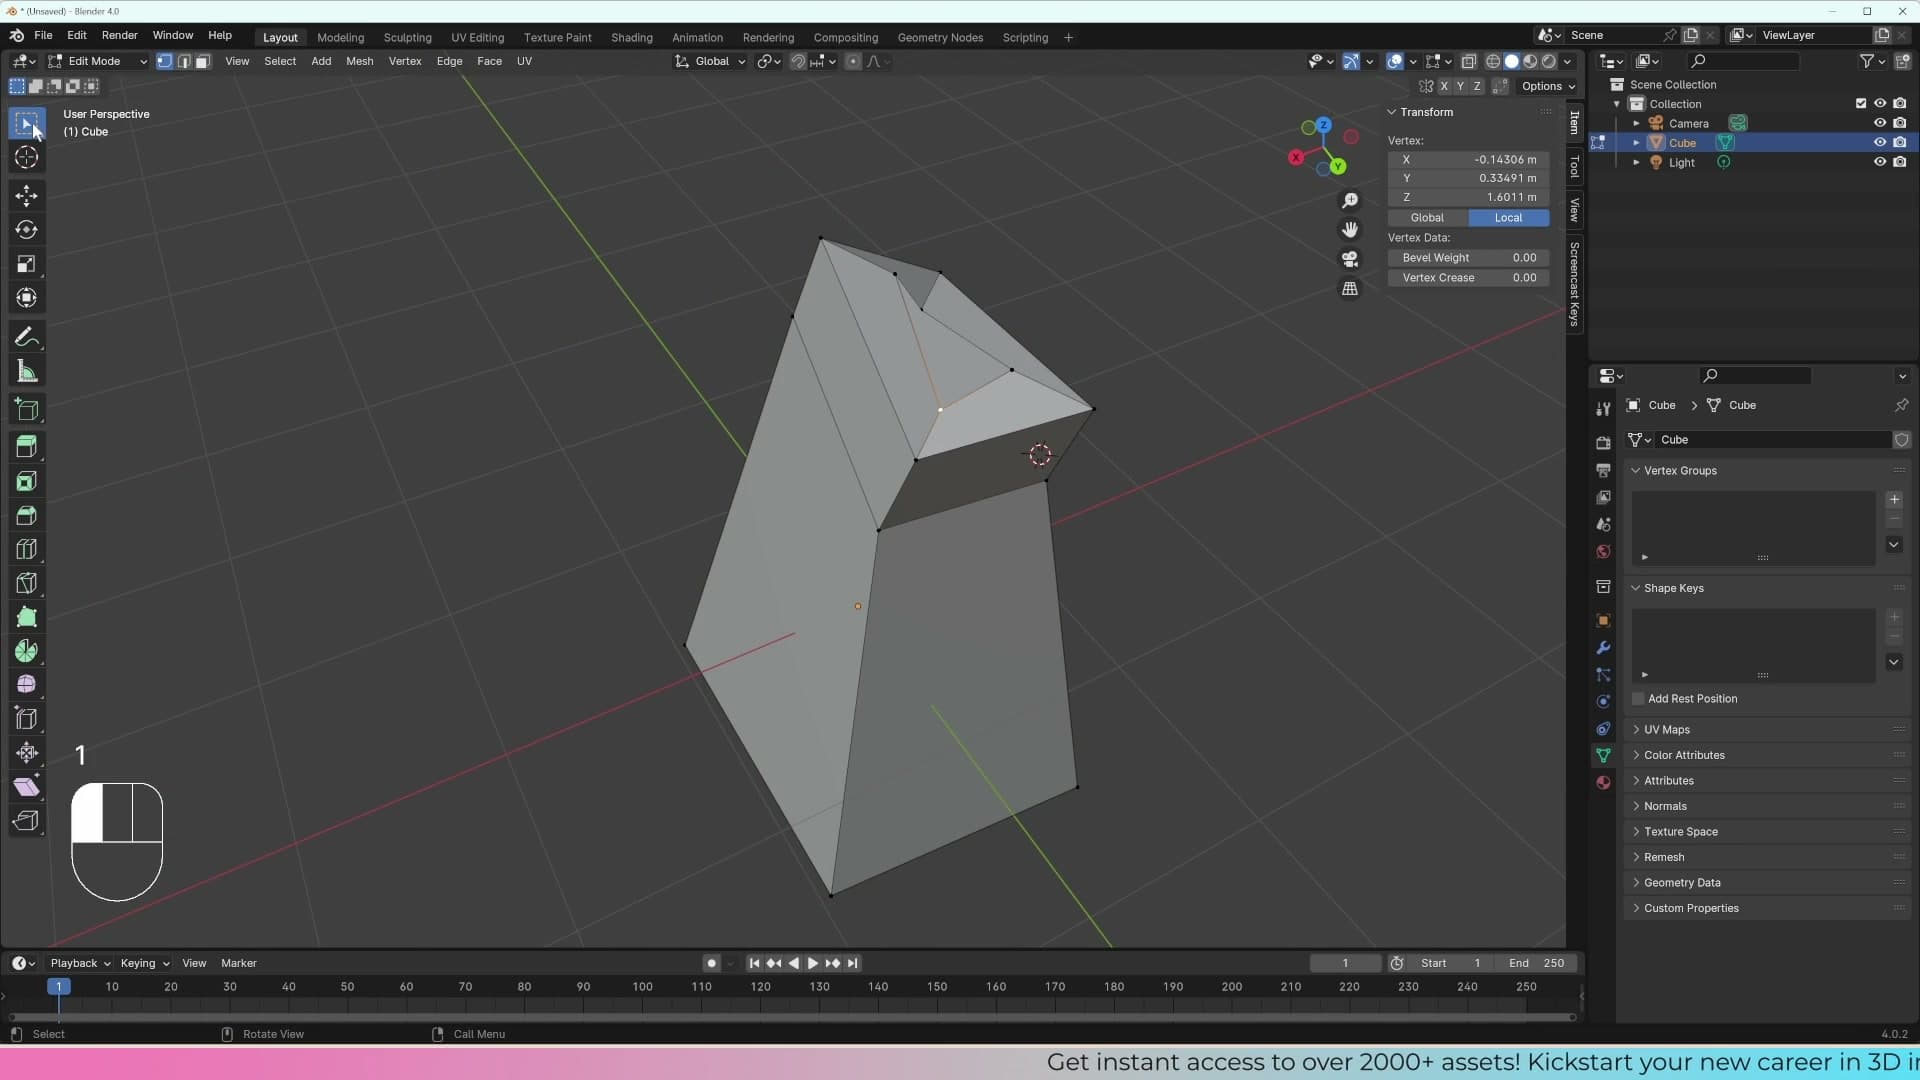
Bevels are the one to spend a moment with. While the tool is active, scroll the middle mouse wheel to add segments. A single-segment bevel is a chamfer, but a few extra segments turn it into a smoothly rounded edge. Combine extrude, inset and bevel and you can take a humble cube and shape it into something that actually starts to resemble an object very quickly.
Smooth shading and the Subdivision Surface modifier
The right way to smooth geometry: not by cranking sphere segments, but with Shade Smooth plus a Subdivision Surface modifier that you can turn on and off.
Shade Smooth on a UV sphere
Add a UV sphere with Shift+A → Mesh → UV Sphere. Right-click in the viewport and pick Shade Smooth. Blender averages out the face angles so the surface itself reads as smooth, but the silhouette around the edge is still visibly jagged. Those facets are coming from the sphere's underlying geometry, not the shading.
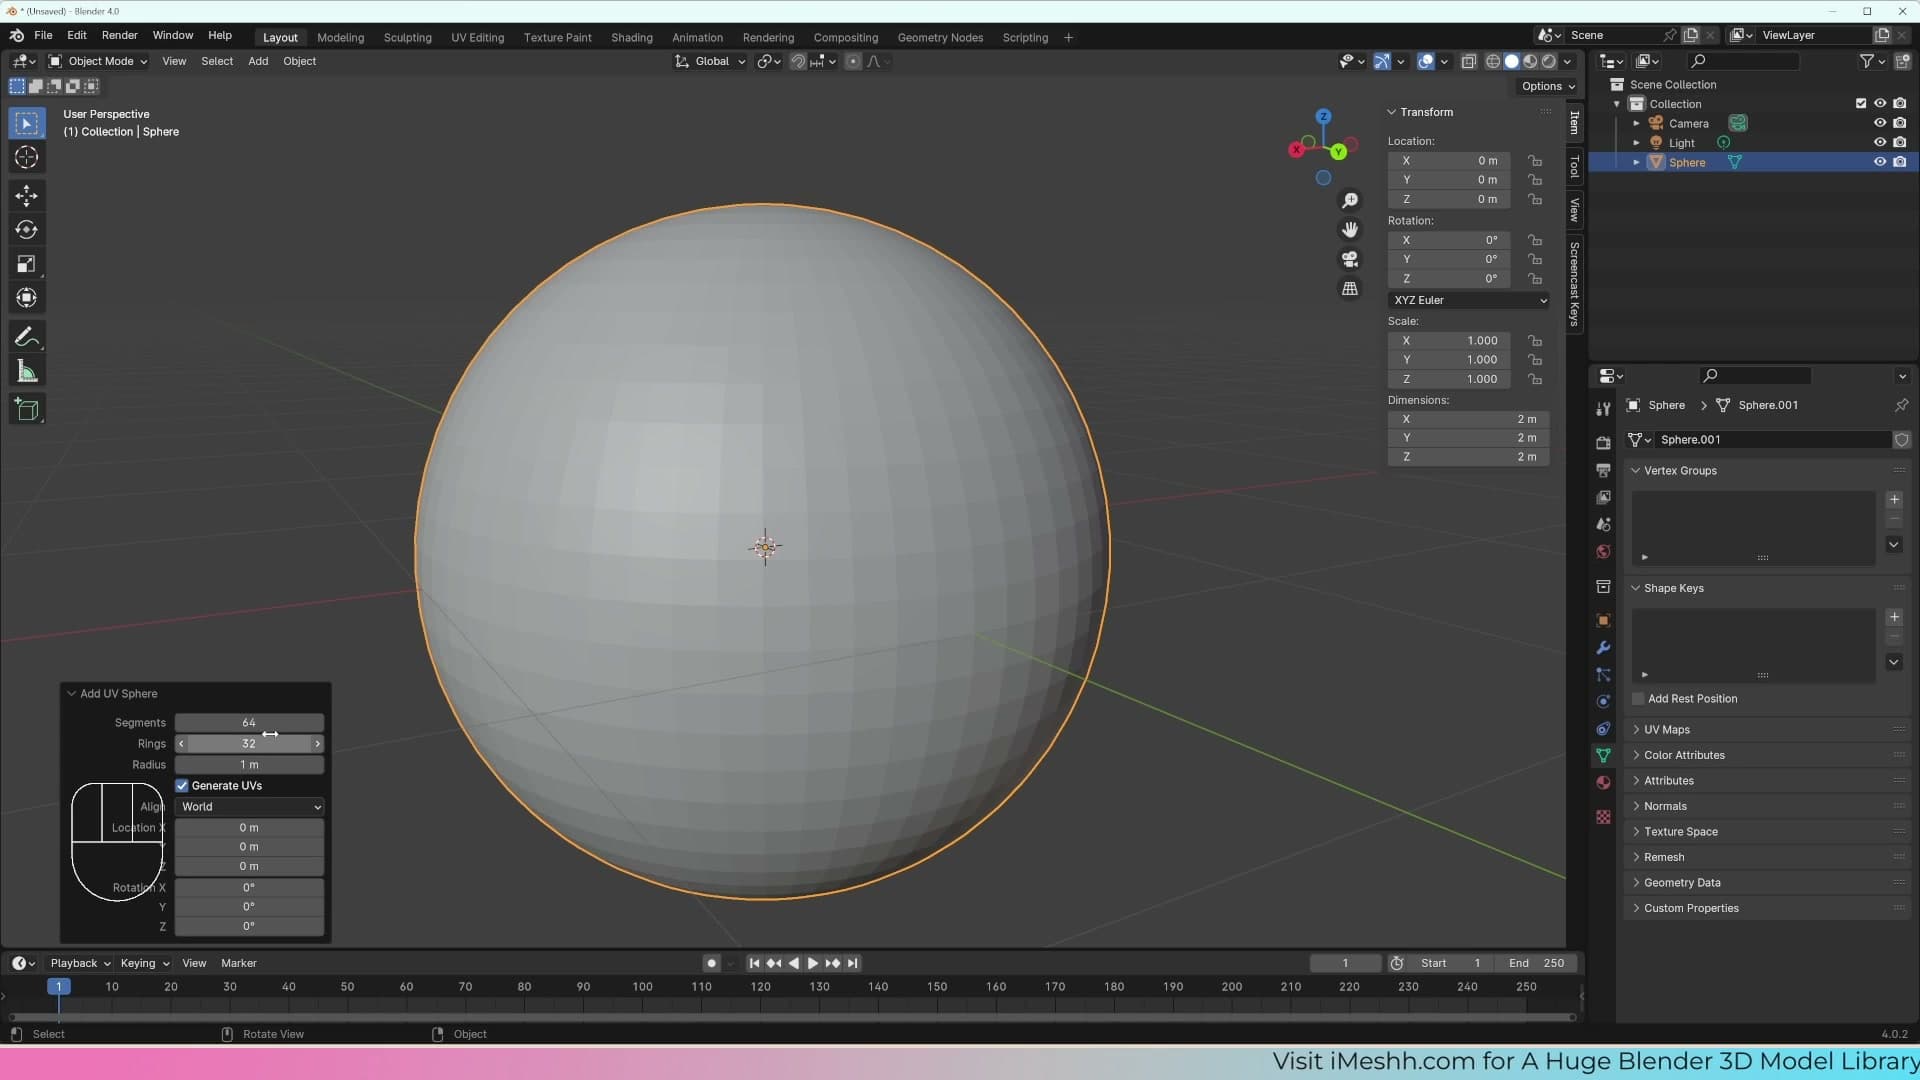
Your first instinct is usually to throw more geometry at it. Open the operator panel at the bottom-left after adding the sphere and push Segments up to 128 and Rings up to 64. The silhouette looks smoother, but zoom in close and it is still not properly round. If you click away from the sphere, the operator panel closes; press F9 to bring back the last operation while it is still active. Once you have moved on to another object, F9 will no longer recover the settings for the previous one.
More importantly, the more geometry you load up front, the more Blender has to chew through every time you move around the scene. Millions of tiny faces slow the viewport down considerably. The better starting point is a low-poly sphere with Shade Smooth applied, and then a modifier that adds the extra roundness without baking it into the base mesh.
Adding the Subdivision Surface modifier
Go to the Modifiers tab in the Properties panel (the spanner icon). Modifiers let you edit the object non-destructively. Unlike the operator panel from the last step, you can come back and change them any time.
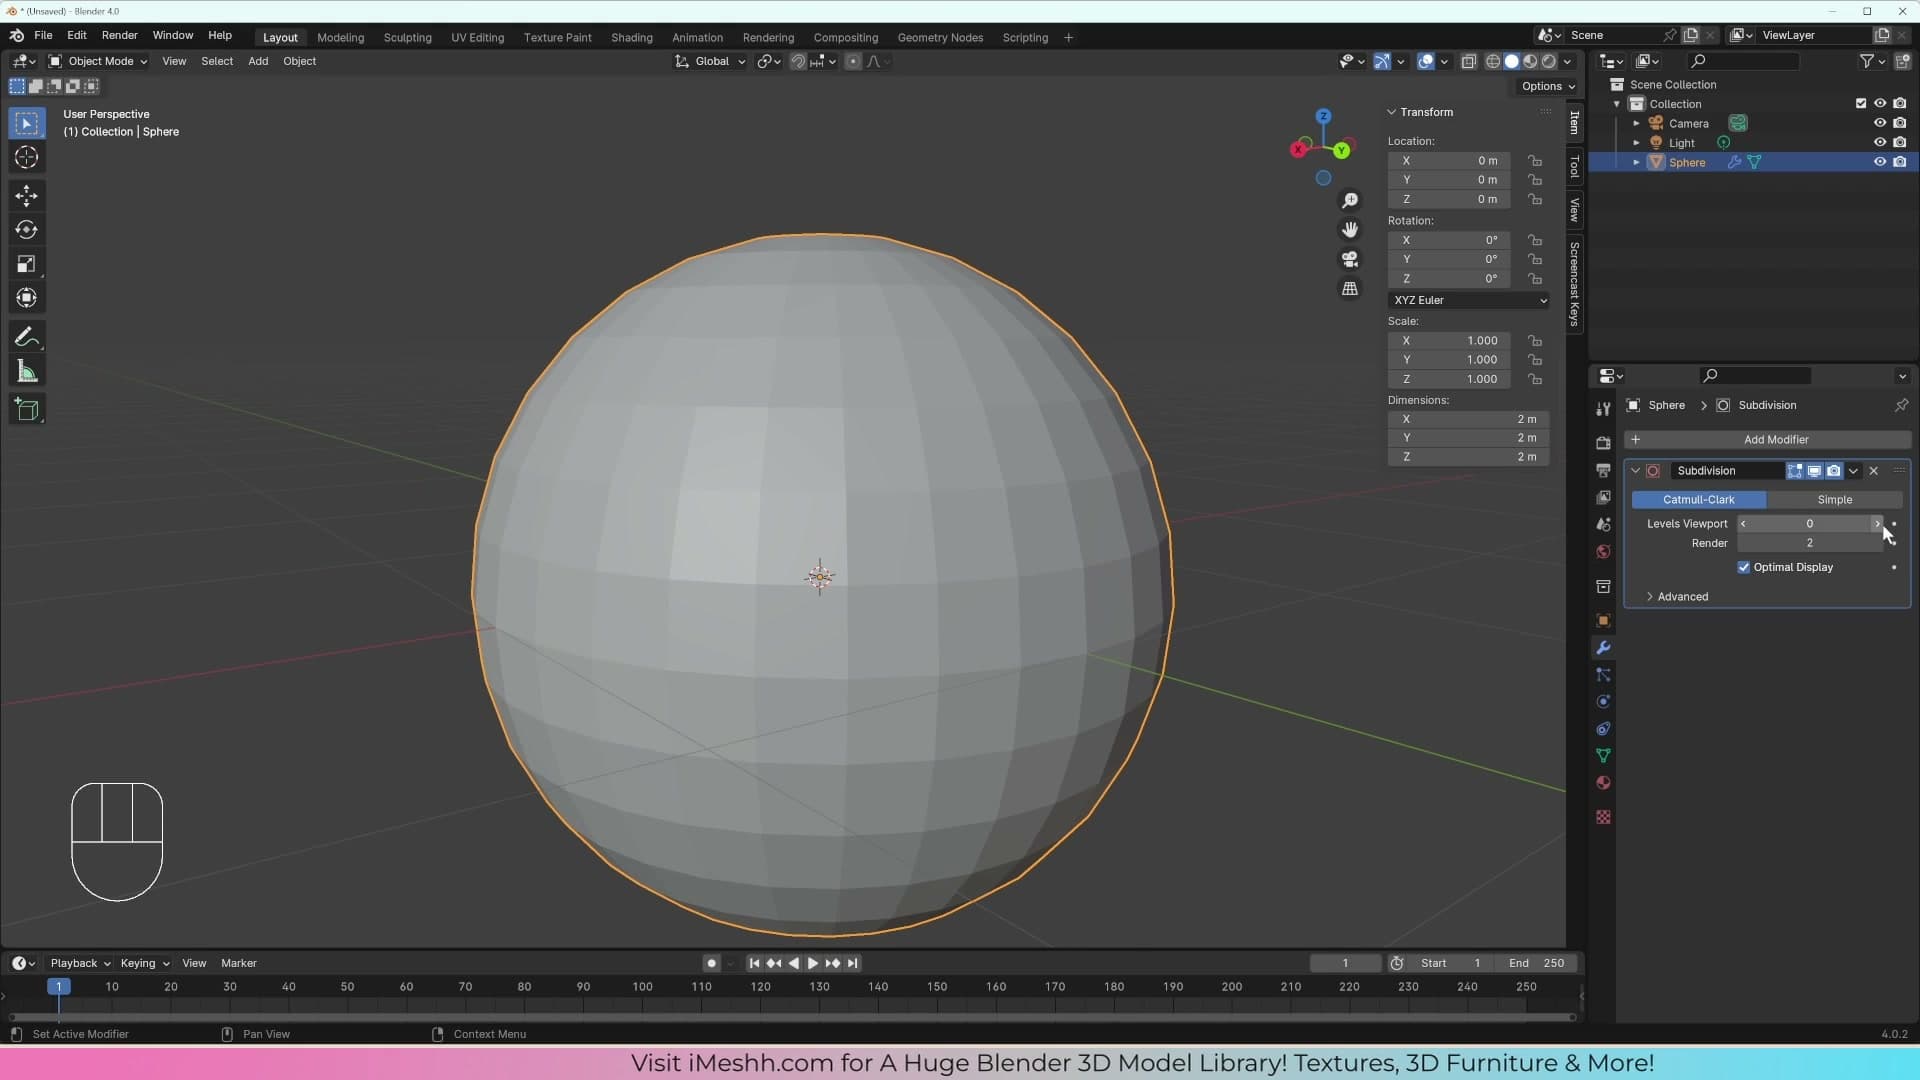
Click Add Modifier → Generate → Subdivision Surface. Even at the default level, the sphere's silhouette already rounds out. Push the level up and Blender keeps subdividing each face, smoothing the edges further with every step.
The trap to avoid is doing what most people do when they first find this modifier: leaving the geometry on Shade Flat, then cranking the subdivision level until the silhouette looks smooth. Turn on the Statistics overlay (Viewport Overlays → Statistics) and you will see a sphere that started with 512 faces ballooning to two million. There is a visible lag the moment you enable the higher level. That is Blender loading all of those new faces into memory.
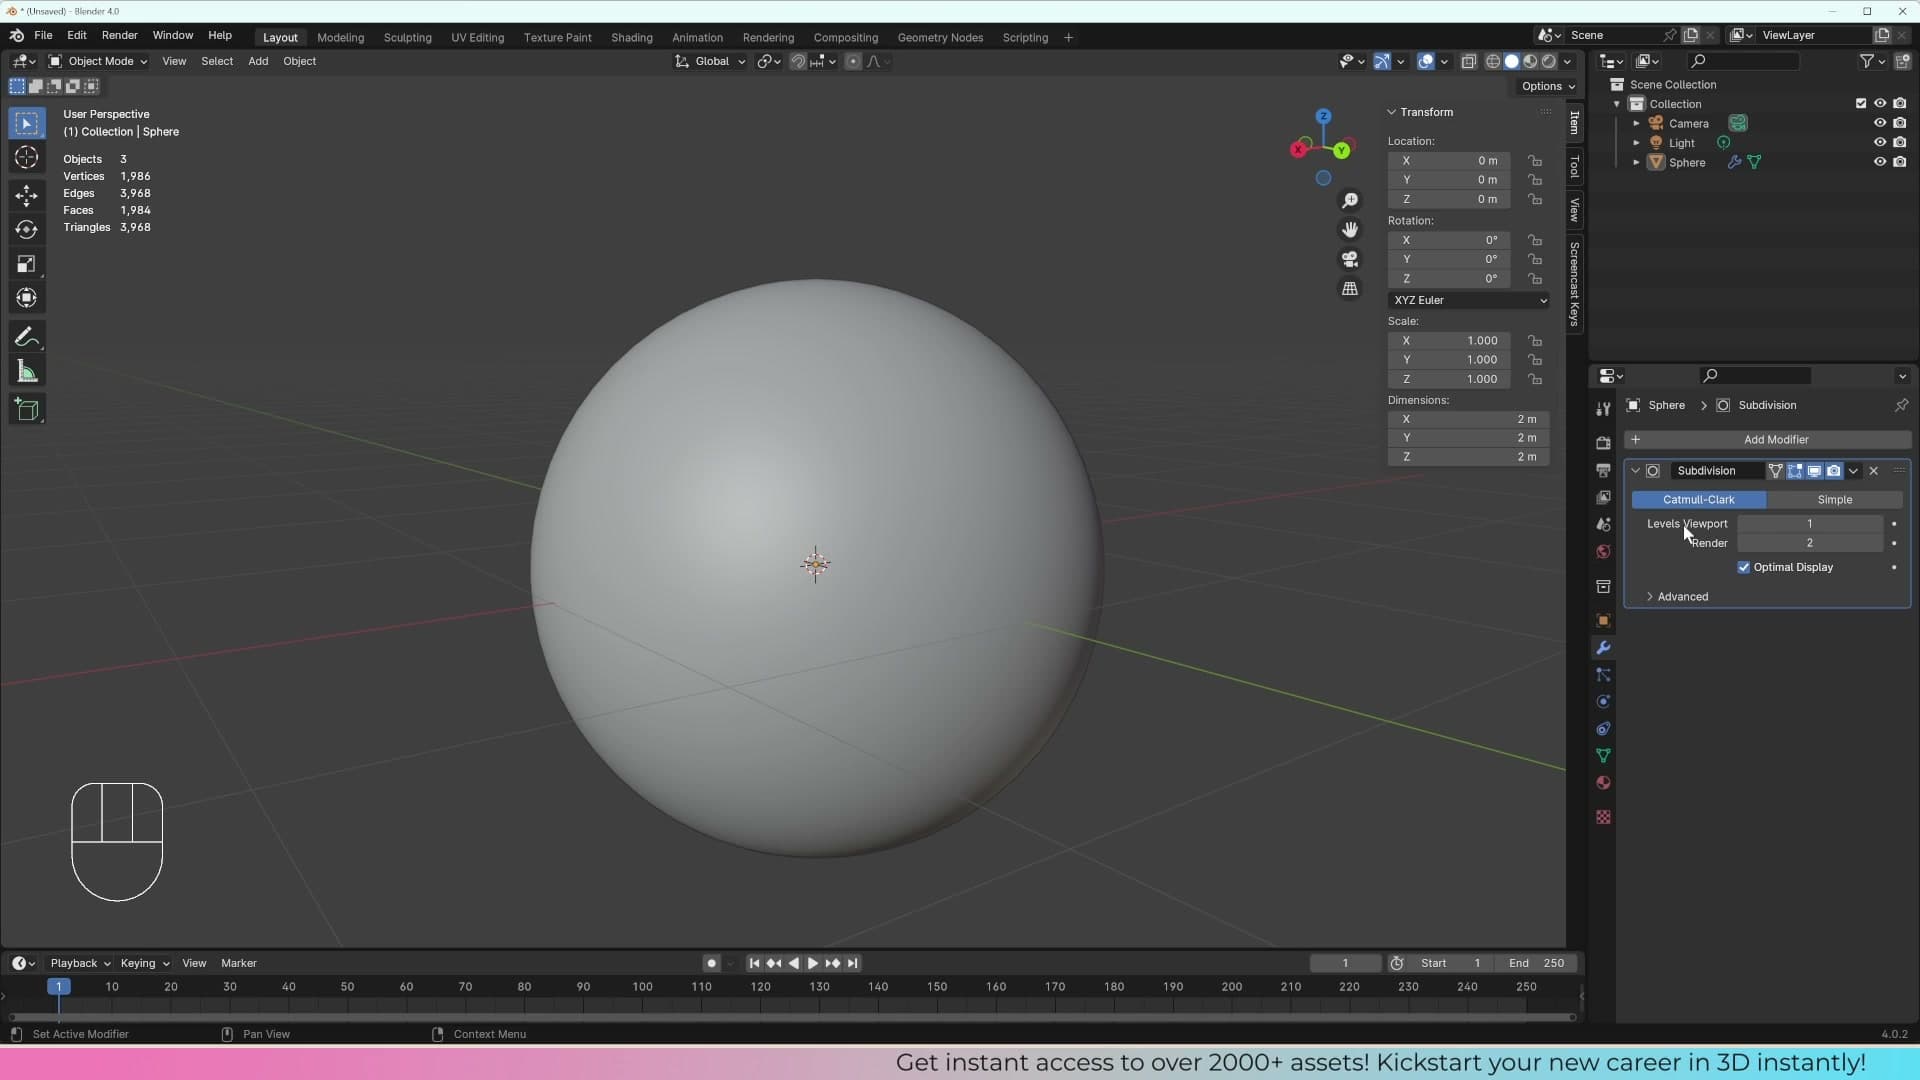
The correct workflow is to keep the subdivision level low (usually 1 is enough), then right-click and pick Shade Smooth. The shading rounds off the small remaining facets, and the modifier adds just enough real geometry to make the silhouette read as a true curve. You get a clean sphere without grinding the viewport to a halt.
Viewport vs render levels and visibility toggles
Look at the Subdivision Surface modifier and you will see two number fields next to each other. The first is the Viewport level: how many times the mesh is subdivided in the 3D view as you work. The second is the Render level: how many times it is subdivided when you actually press render. Almost every setting in Blender follows this same split.
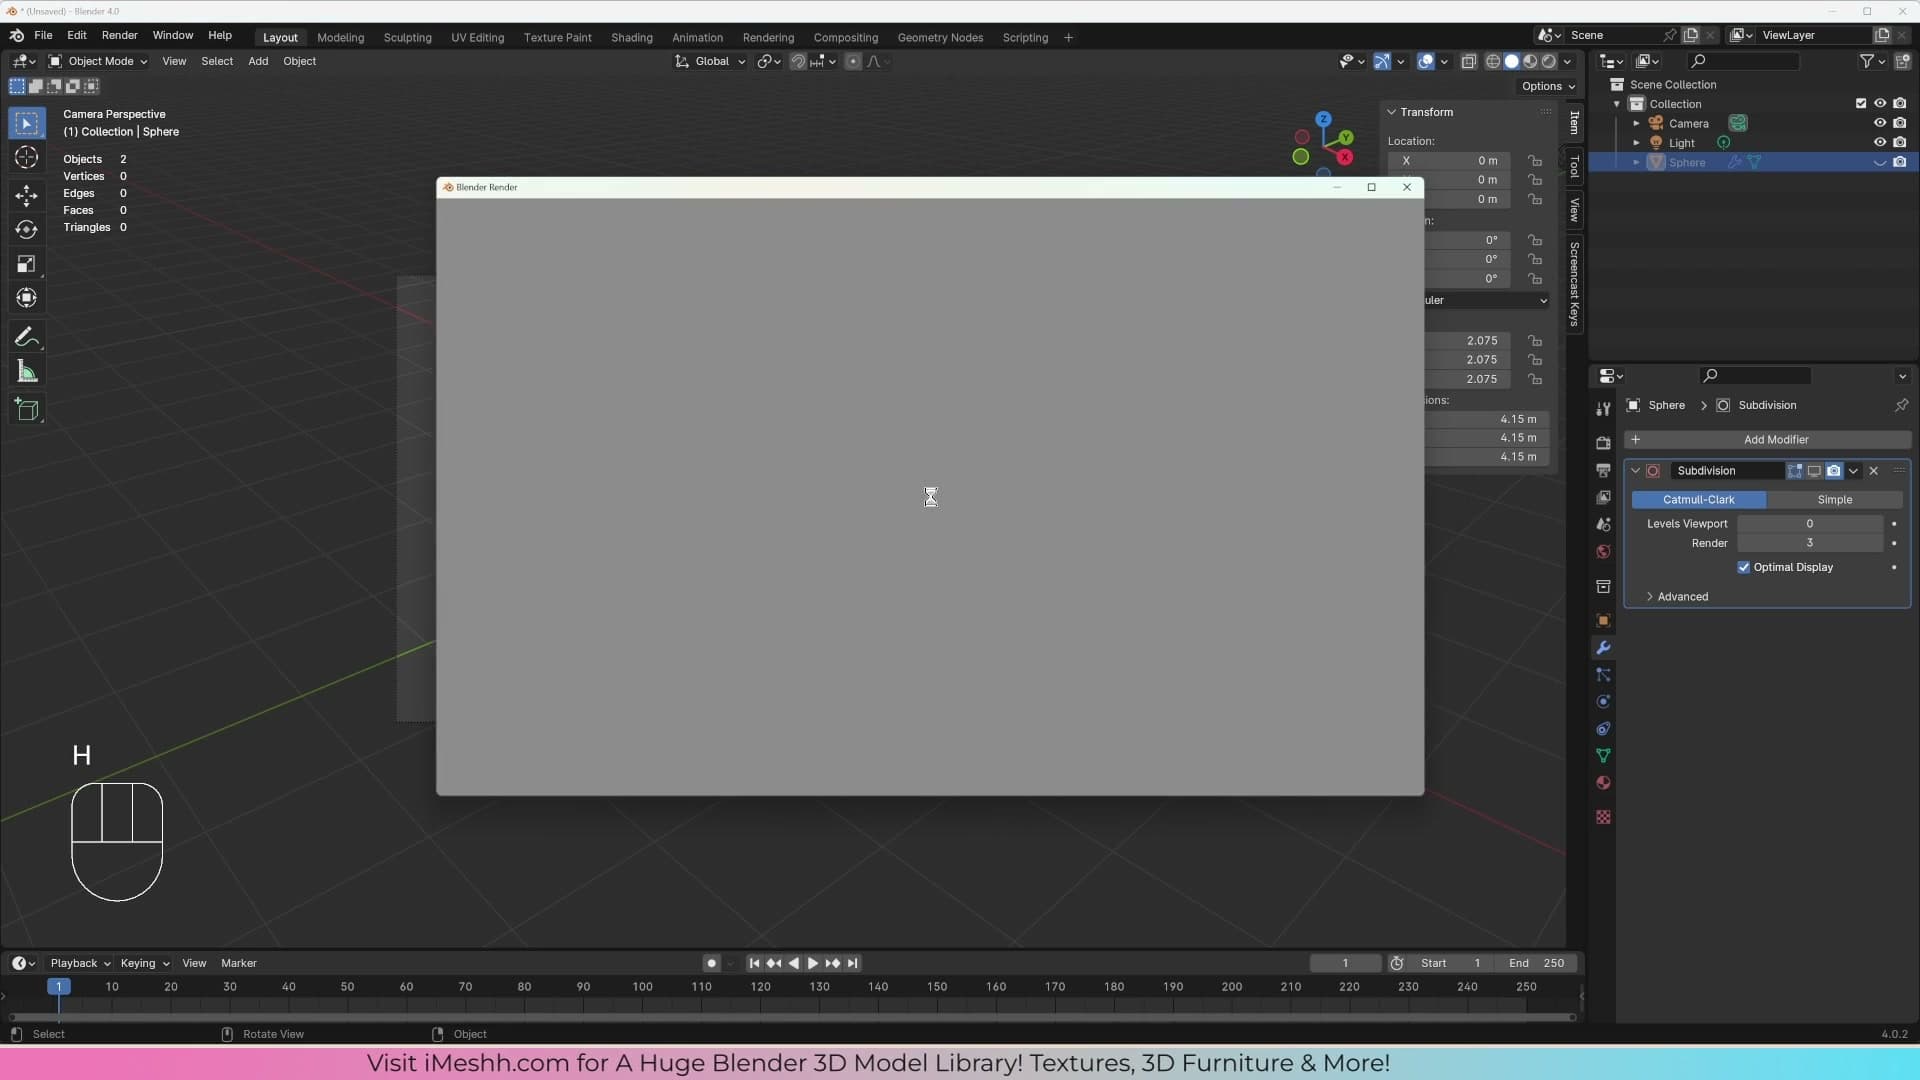
The useful pattern is to keep the viewport level cheap and the render level higher. Set Viewport to 0 or 1 so the mesh stays light while you are working, and set Render to 3 so the final image comes out properly smooth. Press render and the result looks rounder than what you see in the viewport. That is the render level kicking in.
The same idea repeats in the Outliner. Next to each object are two visibility icons: a screen icon for viewport visibility and a camera icon for render visibility. Toggle the screen icon off and the object disappears from the 3D view, but it will still show up in the render. Toggle the camera icon off and the object is visible while you work but gets stripped out of the final image. The keyboard shortcut H hides an object from the viewport in the same way.
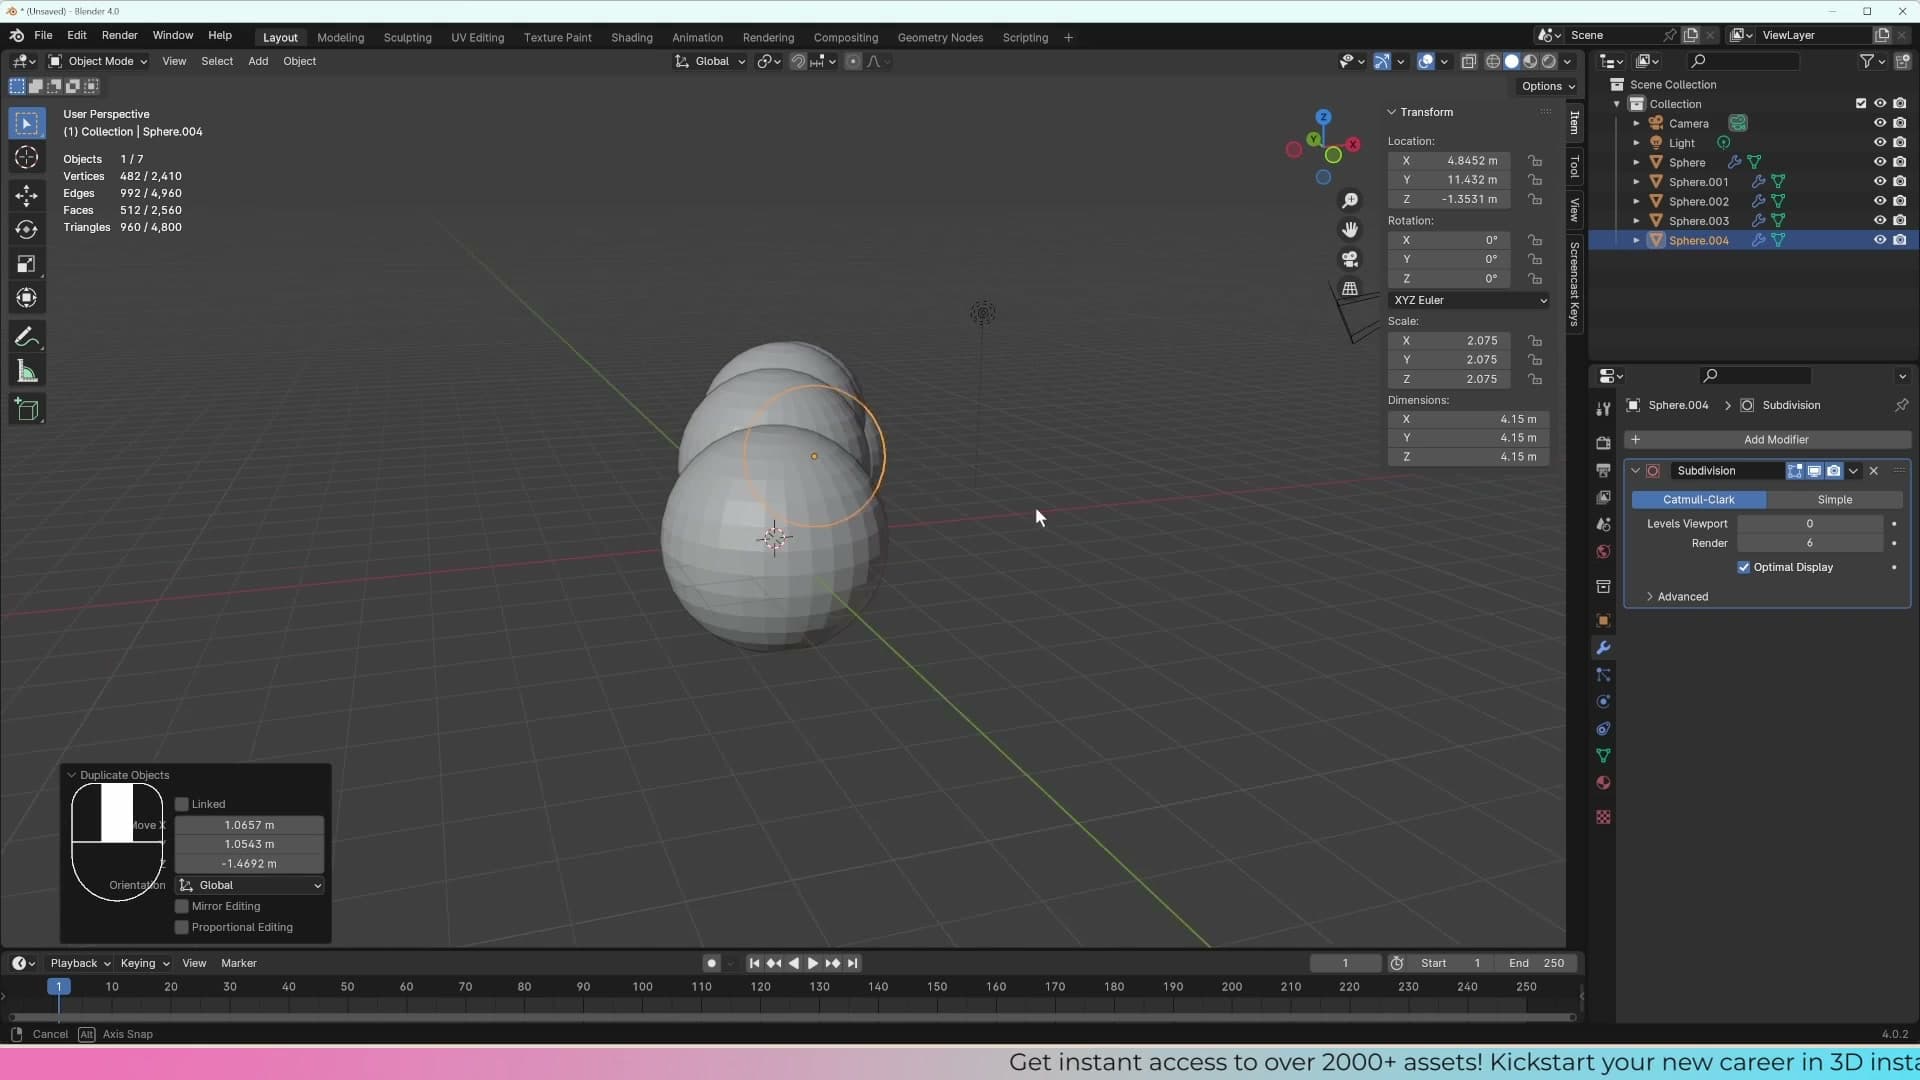
Knowing this saves a particular kind of panic later on. If you render and an object you can clearly see in the viewport is missing, or one that you thought you had hidden suddenly appears, the render visibility toggle is the first place to check. The split exists so that heavy scenes stay responsive while you are working and only commit the full geometry when you are ready to render.
Viewport shading and customising your workspace
Switch between the four viewport shading modes with the Z pie menu, then split and rearrange editor areas to build a workspace that opens the same way every time.
Wireframe, Solid, Material Preview, and Rendered
Up in the top-right corner of the 3D viewport sit four little spheres: the viewport shading modes. From left to right they are Wireframe, Solid, Material Preview and Rendered, and each one trades a bit of accuracy for a bit of speed.
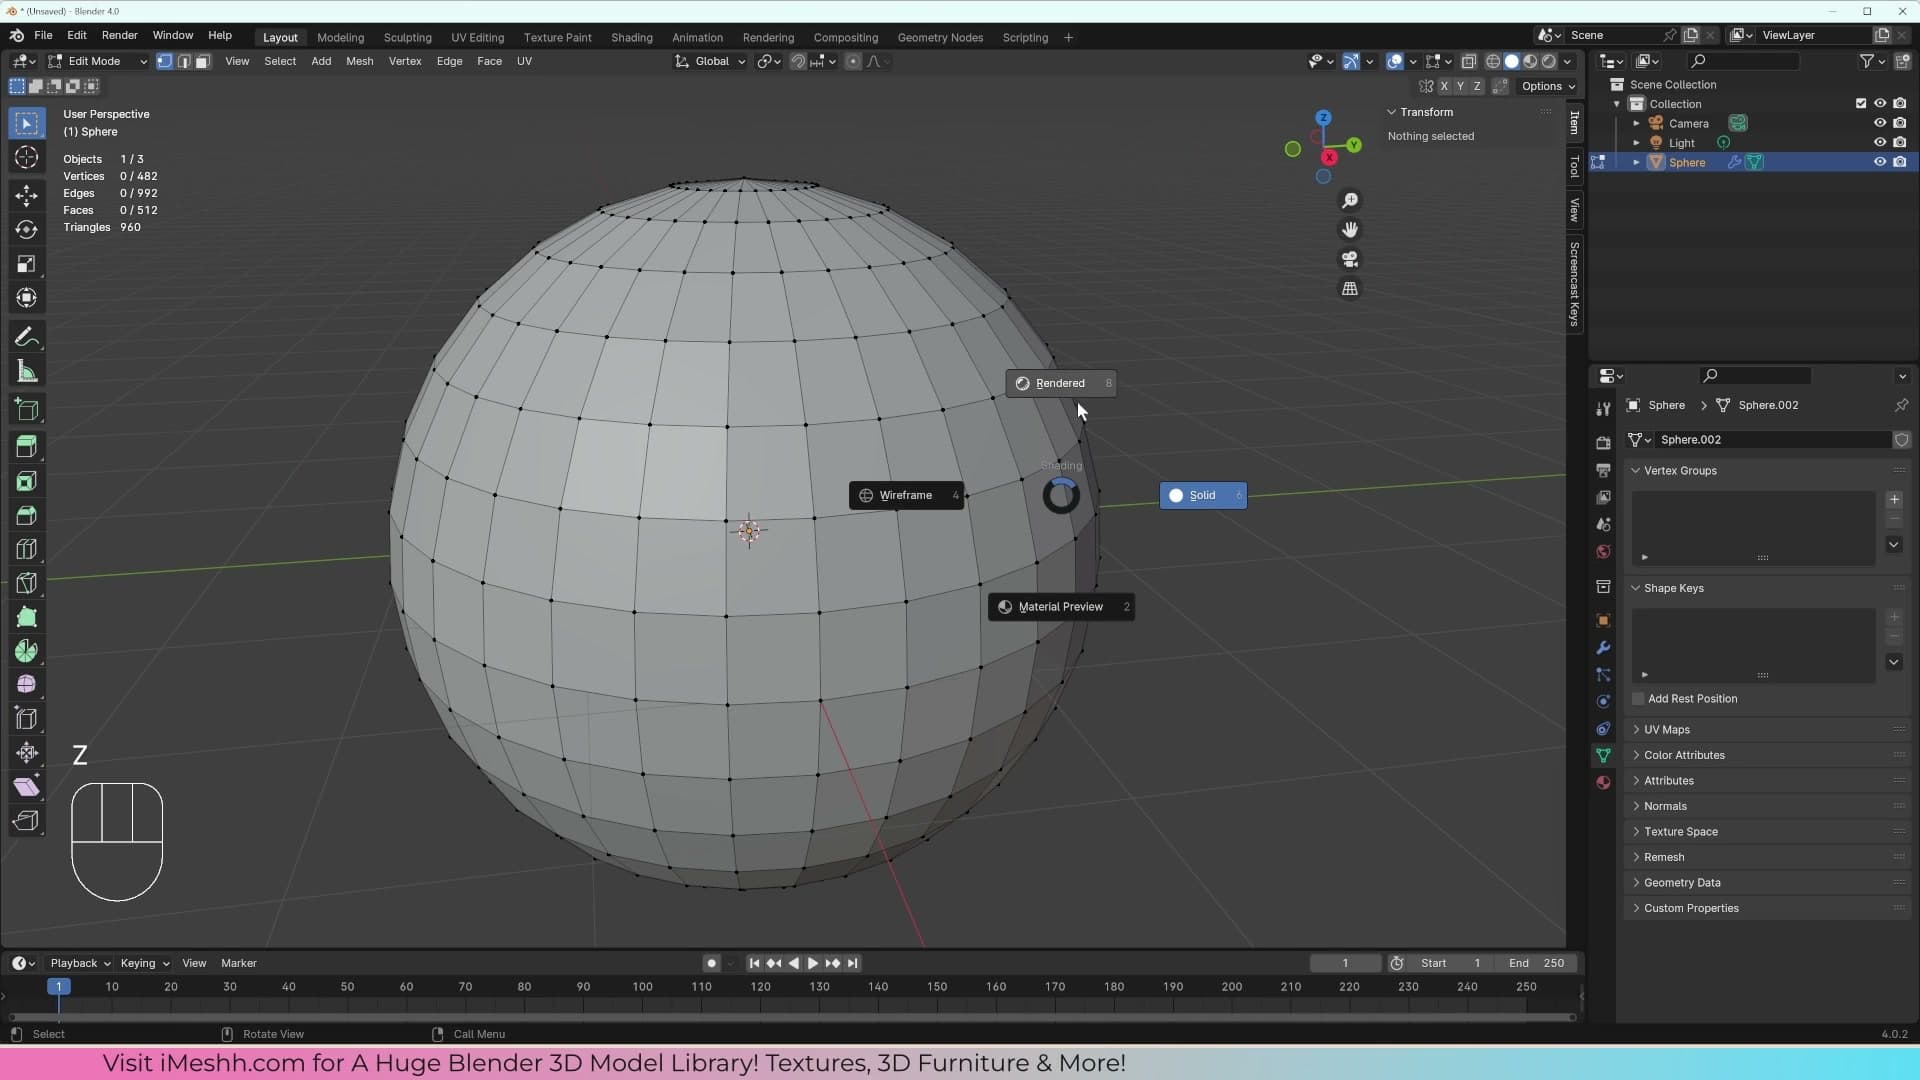
Rendered view is the most accurate of the four. Blender renders the viewport with your full render settings, so what you see is what the final image will look like. Material Preview is a fast approximation: it gives you a really good estimate of how a material will read in the final render without being a 100% match. Solid view is the default working mode, and Wireframe is where the geometry becomes see-through. It's particularly useful in Edit Mode, because you can click straight through a mesh and select vertices on the far side rather than only the ones facing you.
Switching between them by clicking the little spheres works, but the fast way is to press Z. That opens a pie menu under your cursor with Wireframe, Solid, Material Preview and Rendered laid out as four wedges. Flick the mouse in the direction of the mode you want and click. You stop thinking about it after a day or two; it just becomes a quick flick-and-click whenever you need to check something.
Splitting and joining editor areas
Above the viewport you'll find Blender's default workspace tabs: pre-made layouts built for specific jobs like Animation, Sculpting and so on. You can switch between them with a click, but the more useful trick is building your own layout from scratch and saving it as the way Blender opens every time.
Every editor area in Blender has a small crosshair icon in each corner. Hover over a corner until your cursor changes, then click and drag inwards to split that area into two. Drag horizontally for a vertical split, vertically for a horizontal one. It's a little fiddly the first few times but it becomes muscle memory quickly.
To merge two areas back together, grab the corner of the one you want to keep and drag it over the neighbouring area. Blender shades the area that will be consumed, and releasing the mouse swallows it. If you prefer a menu, right-click on the border between two areas and choose Vertical Split or Join Area. The right-click route is often easier to learn with; the corner-drag is faster once it clicks.
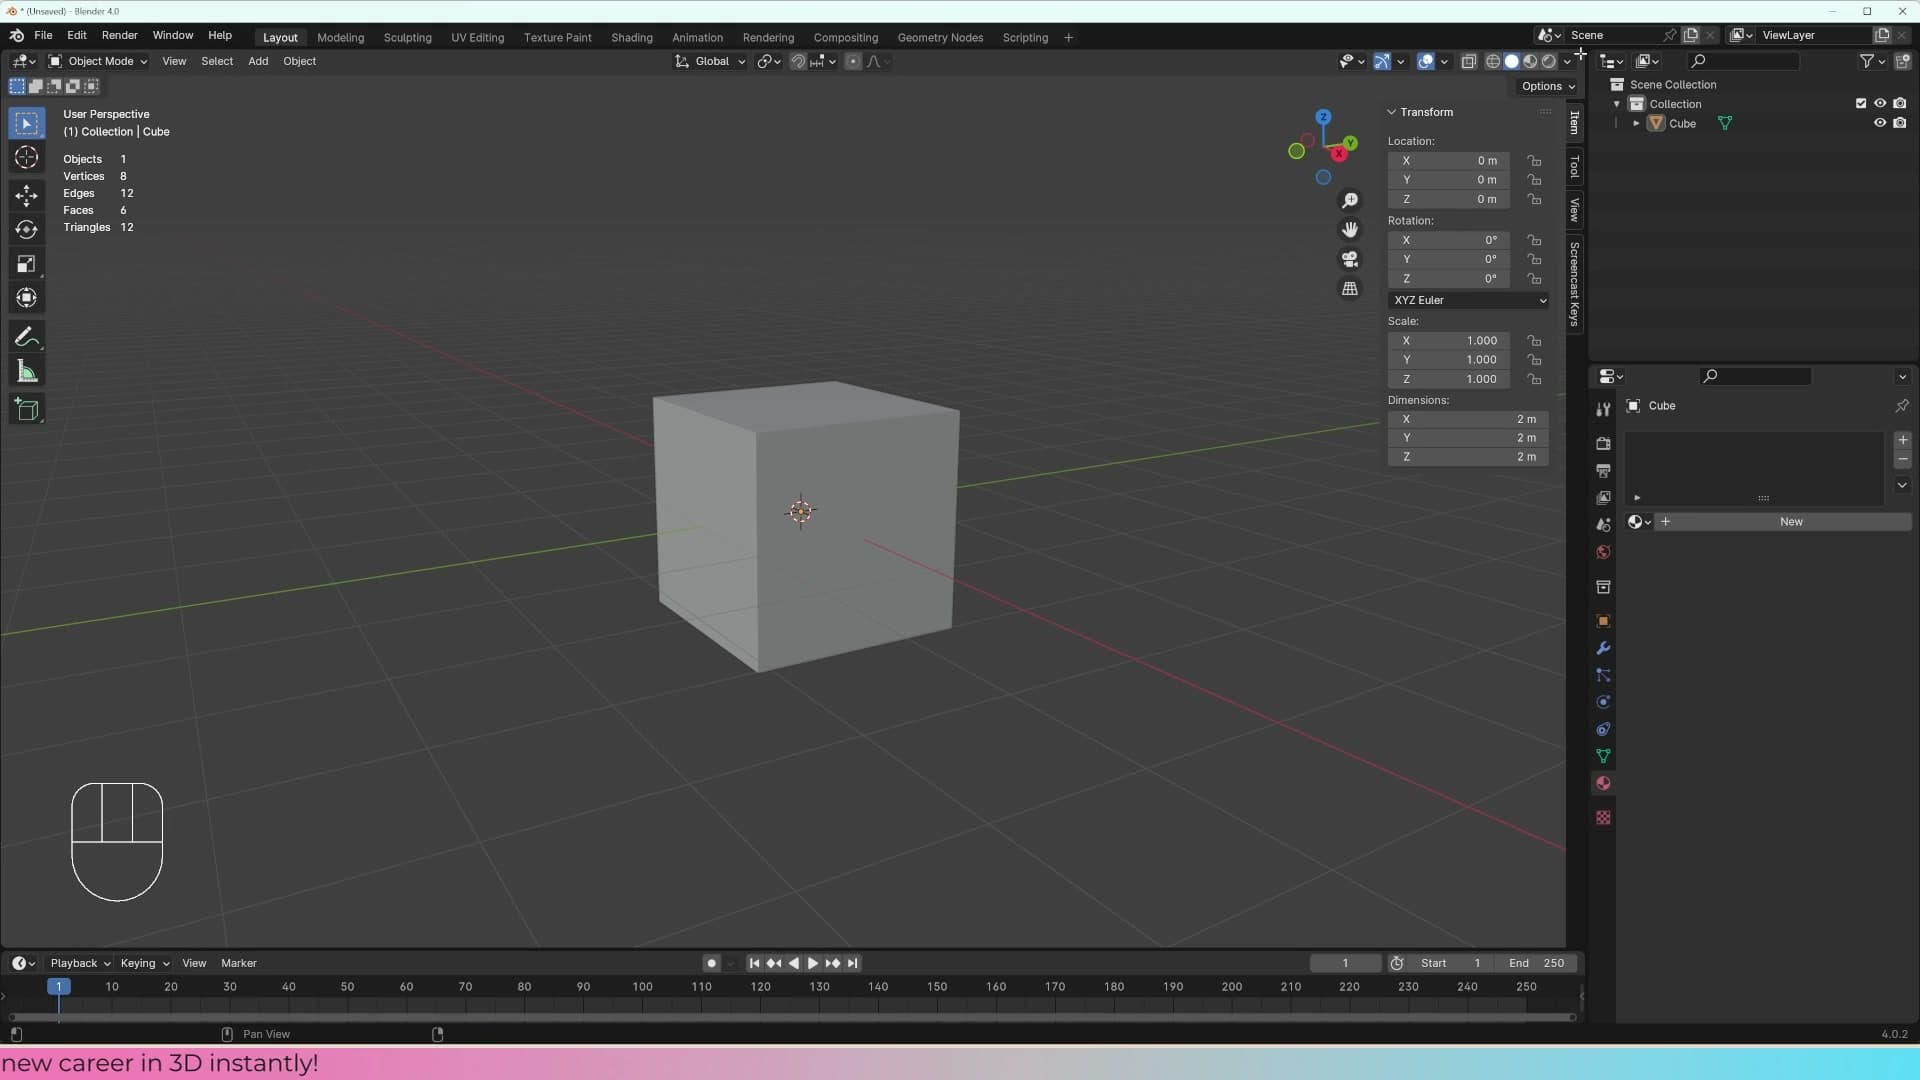
If you ever end up in a state where the screen is sliced into a dozen tiny panels (the kind of thing that shows up on the Blender subreddit fairly often), don't panic. Just click and hold a corner, drag across the panel you want to remove, and Blender will tell you which side is about to be deleted. Release, and the mess collapses back into something workable.
Adding the Shader Editor and saving the startup file
Every editor area has a small dropdown in its top-left corner showing what type of editor it is: Properties, Outliner, 3D Viewport, and so on. Click it and you can swap that area to any other editor type. Most people leave the Properties panel and the Outliner where they are because that's where you instinctively look for them, but the empty area you just split off is a great spot to add something new.
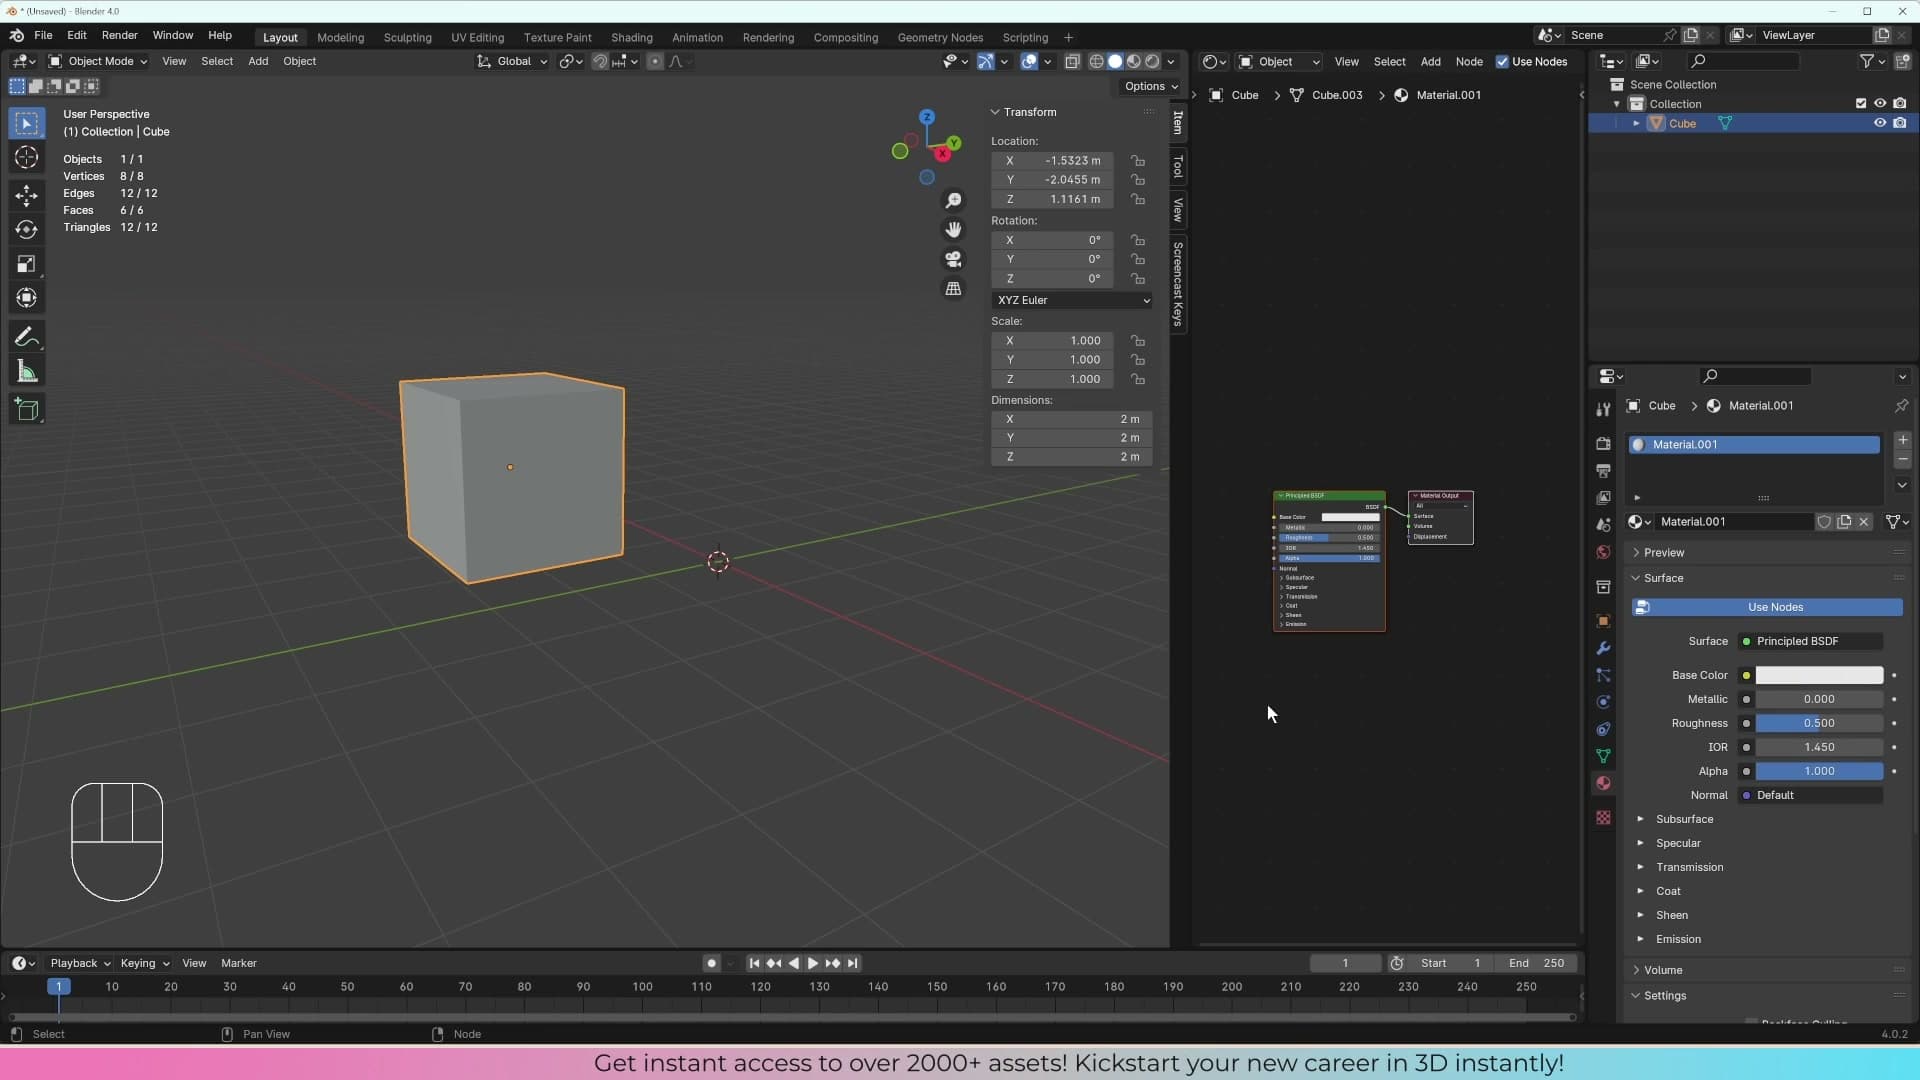
Set the new area's dropdown to Shader Editor. The panel will look empty until your selected object actually has a material. Click on the object, hit New in the shader editor header, and a small node graph appears. The shader editor is a node viewer: the same information you'd find in a long list inside the Properties panel, laid out left-to-right as connected nodes flowing into a final Material Output. It makes complex material setups vastly easier to read than a stacked list of values, and you'll spend the rest of the course building materials in here.
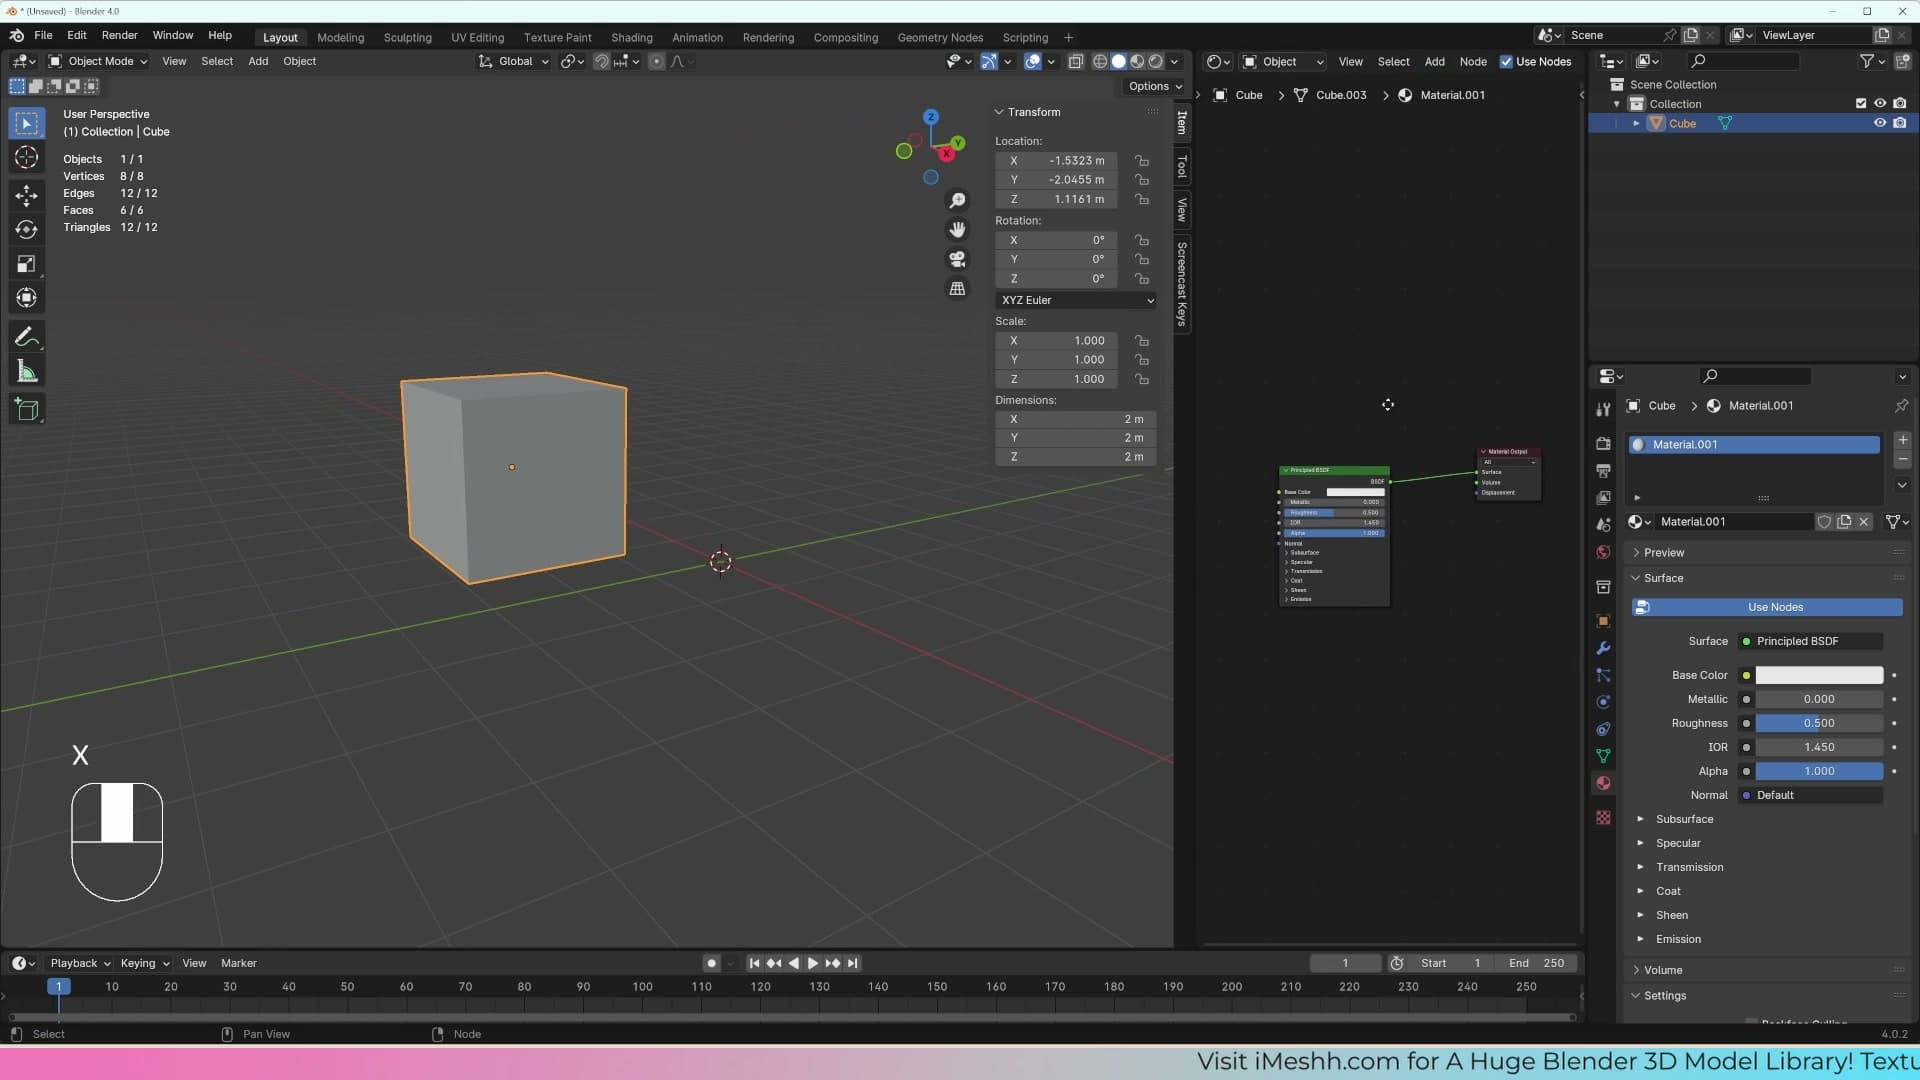
Once your workspace looks the way you want (for this course that's the 3D viewport on one side and the shader editor on the other, alongside the Properties panel and Outliner), make it permanent. Go to File → Defaults → Save Startup File and confirm. From now on, every time you launch Blender it opens with this exact layout, including any default objects you've added or removed. Tweak the layout, re-save the startup file, and the new version sticks.
Switching to Cycles and enabling GPU rendering
Cycles is the path tracer you'll use for every render in this course. Set the right GPU compute backend now so renders aren't crawling on the CPU later.
Picking Cycles over Eevee
With the absolute basics out of the way, swap the renderer. In Render Properties, change Render Engine from Eevee to Cycles. Every render in this course uses Cycles.
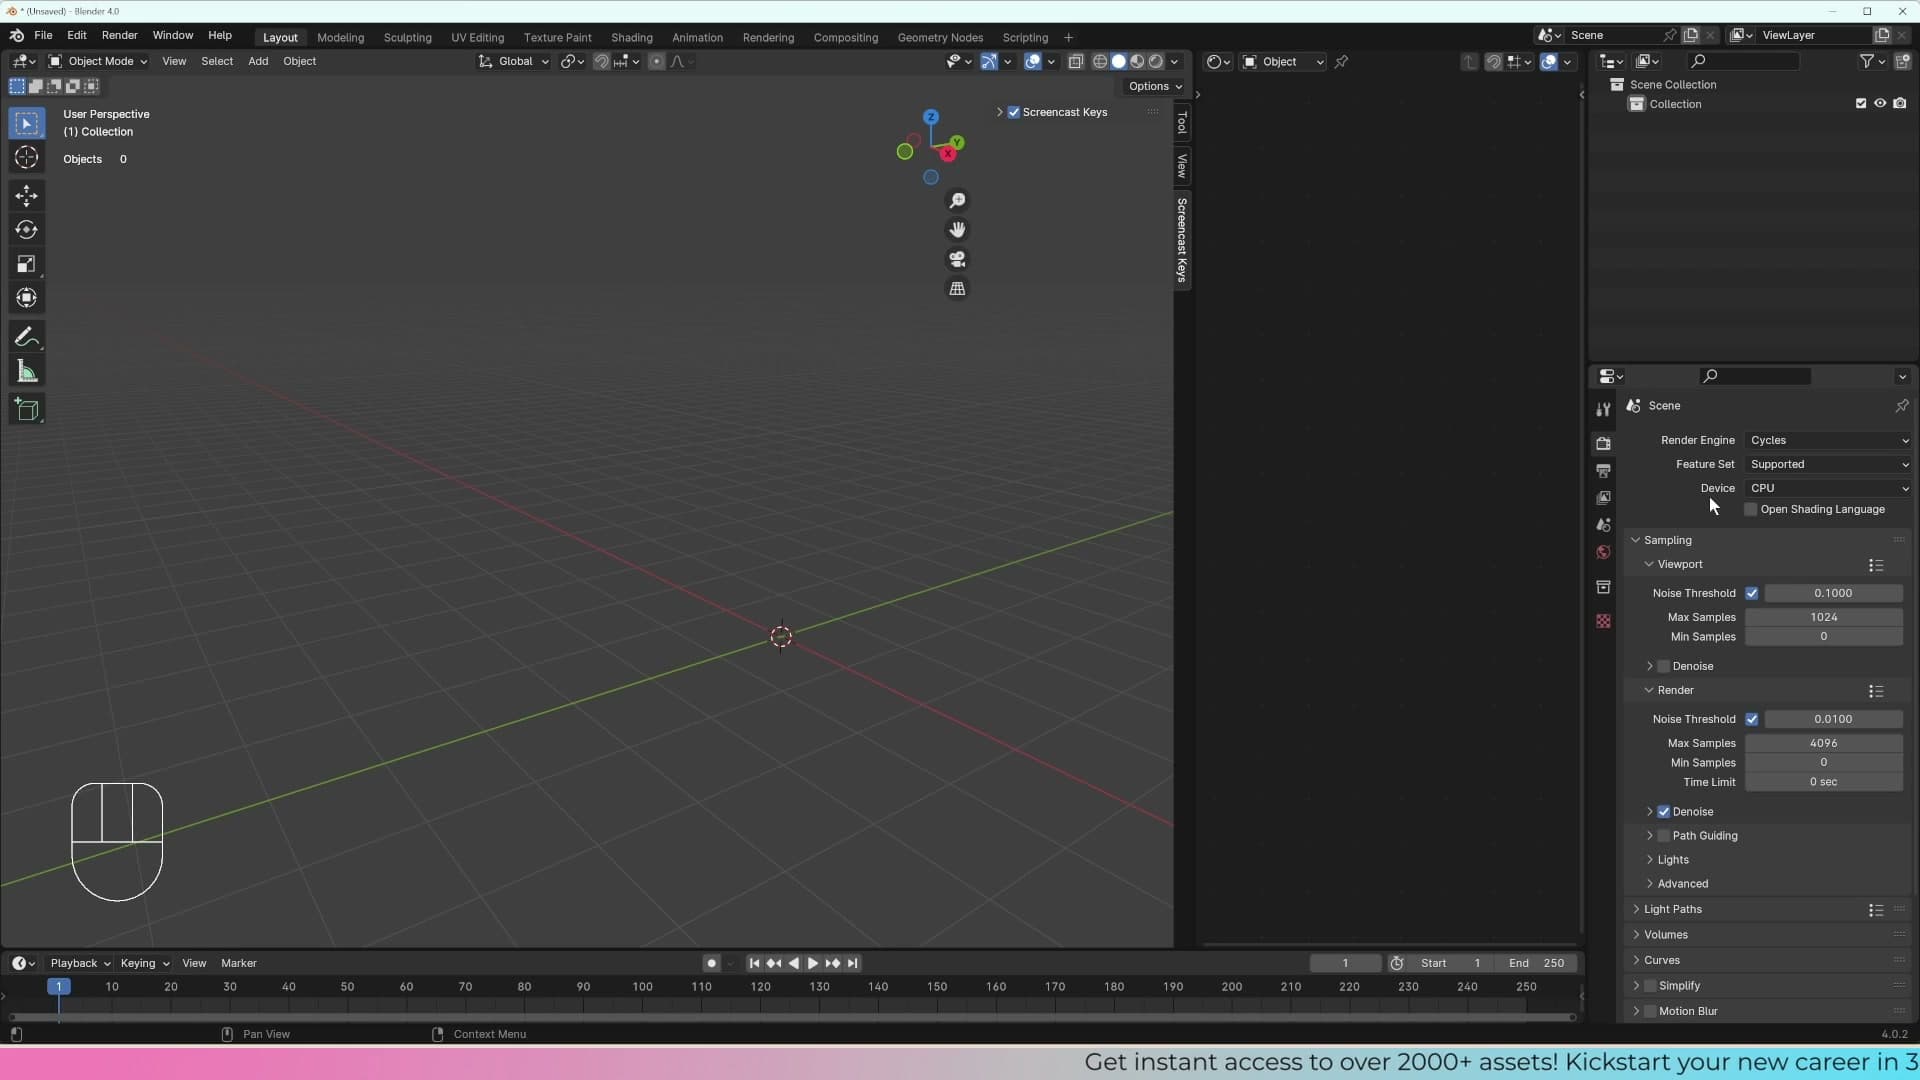
Eevee is a real-time render engine, built to draw the scene as quickly as possible so you can keep moving around the viewport while it updates.
Cycles is a path tracer. It fires millions of rays into the scene (think photons of light in real life), then calculates every bounce, works out what material each ray hit, and figures out the final colour. It's slower than Eevee, but the lighting realism is the whole reason you're picking it.
Choosing the right GPU compute backend
Stay in Render Properties and find Device. Switch it from CPU to GPU Compute. If GPU is greyed out, you need to enable a compute backend first. Open Edit ▸ Preferences ▸ System and pick the option that matches your graphics card.
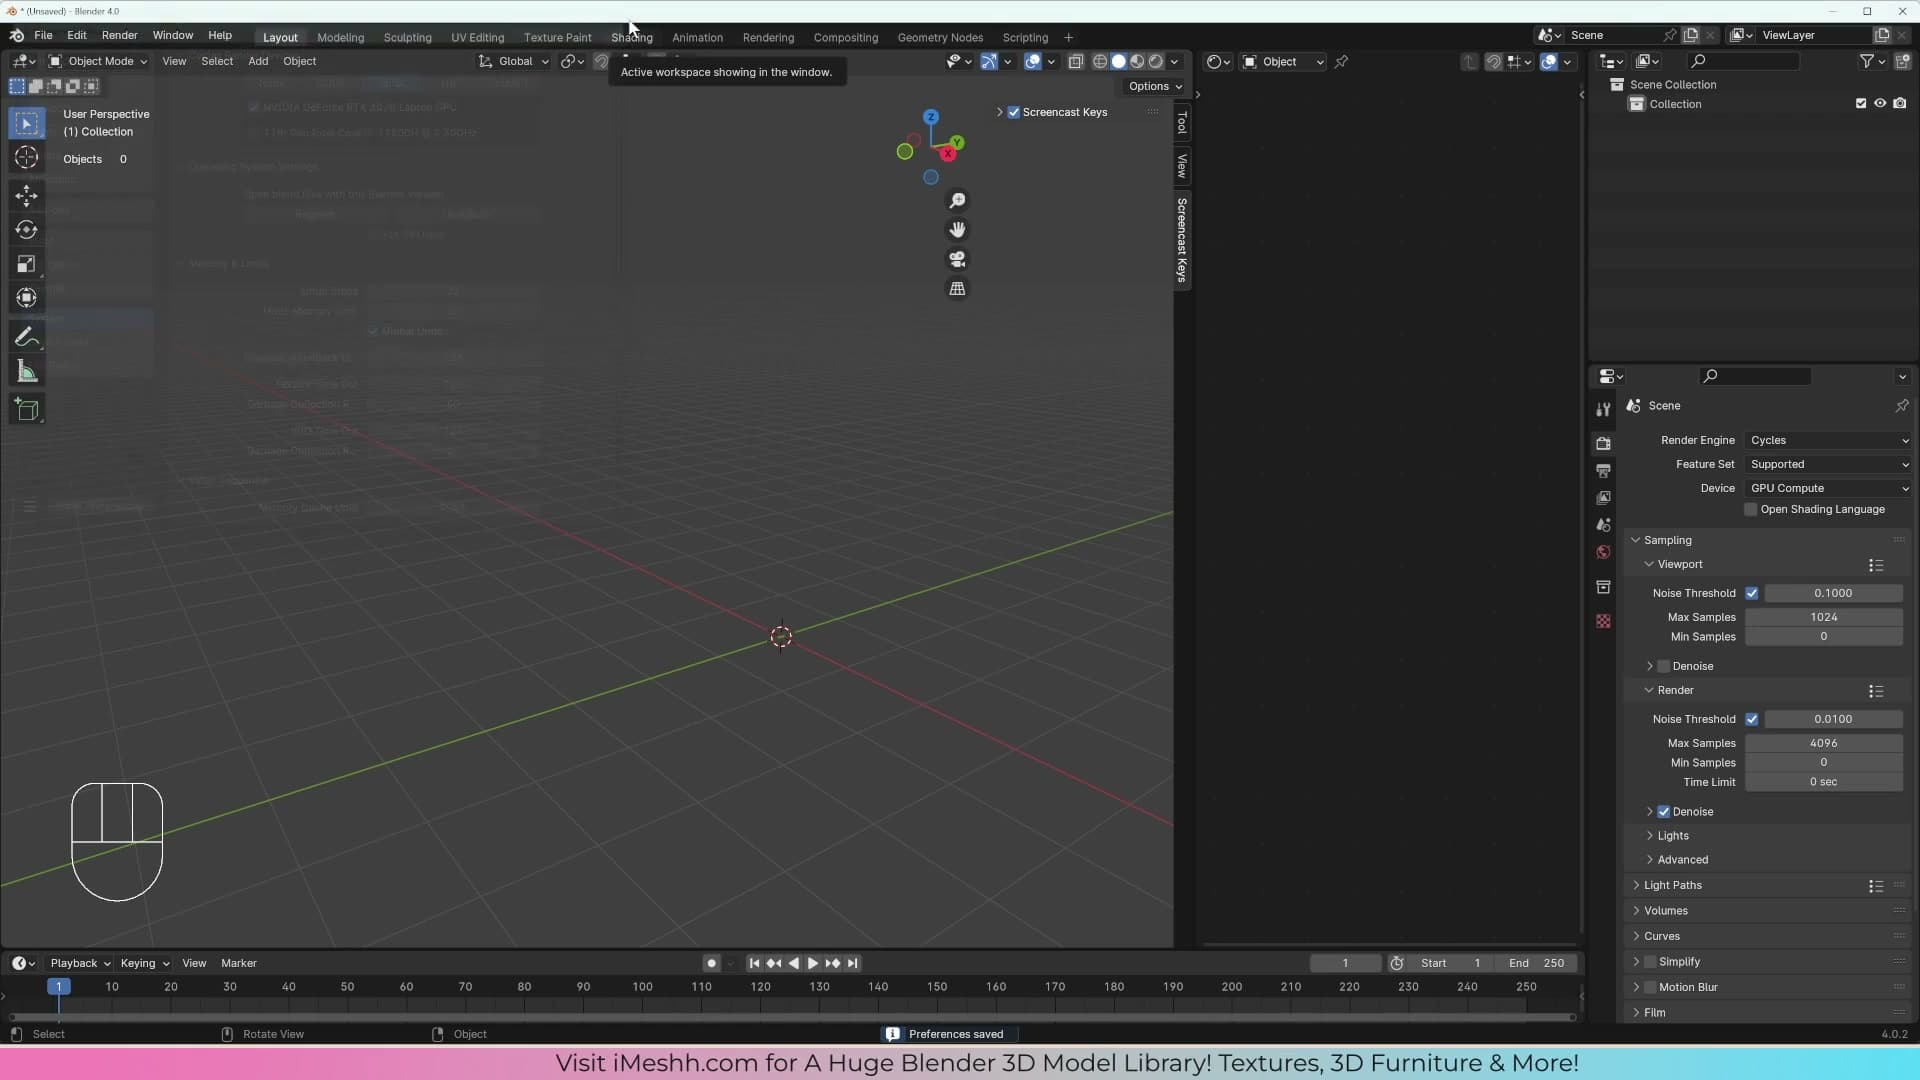
The backends map to specific hardware: CUDA for older Nvidia cards, Optix for Nvidia RTX cards, HIP for AMD, oneAPI for Intel's integrated and built-in GPUs, and Metal for Apple machines. If you're on a Mac, it's worth testing which backend renders fastest on your specific hardware.
You can stick with CPU if you have to, but it's a lot, lot slower. Blender benefits hugely from GPU acceleration. I pick GPU Compute with Optix on an Nvidia RTX 3070, save preferences, and close the window.
Tools and credits
Everything mentioned in this tutorial, with links.
- Blender . The renderer this entire build runs in.
- iMeshh . Studio platform covering project management, client review, asset library, and invoicing. The asset library used in this tutorial is included with every iMeshh Pro plan.
- Poly Haven . Free CC0 textures and HDRIs.
Pillar guide: Beginner Course hub