Why the 3D cursor deserves a second look
Most artists treat the 3D cursor as a crosshair at the world origin and ignore it. This intro reframes it as one of Blender's most flexible tools: a configurable point of reference for pivoting, custom axes and per-object origin work that this tutorial will unpack from basics to advanced.
The 3D cursor as a configurable reference point
The 3D cursor is the little crosshair sitting at 0, 0, 0 the moment you open a fresh Blender scene. Most artists glance at it, decide it's a leftover from the default cube workflow, and never give it another thought. That's a mistake. It's quietly one of the most useful tools Blender ships with, and the gap between knowing it exists and actually using it is where a lot of unnecessary friction in modelling lives.
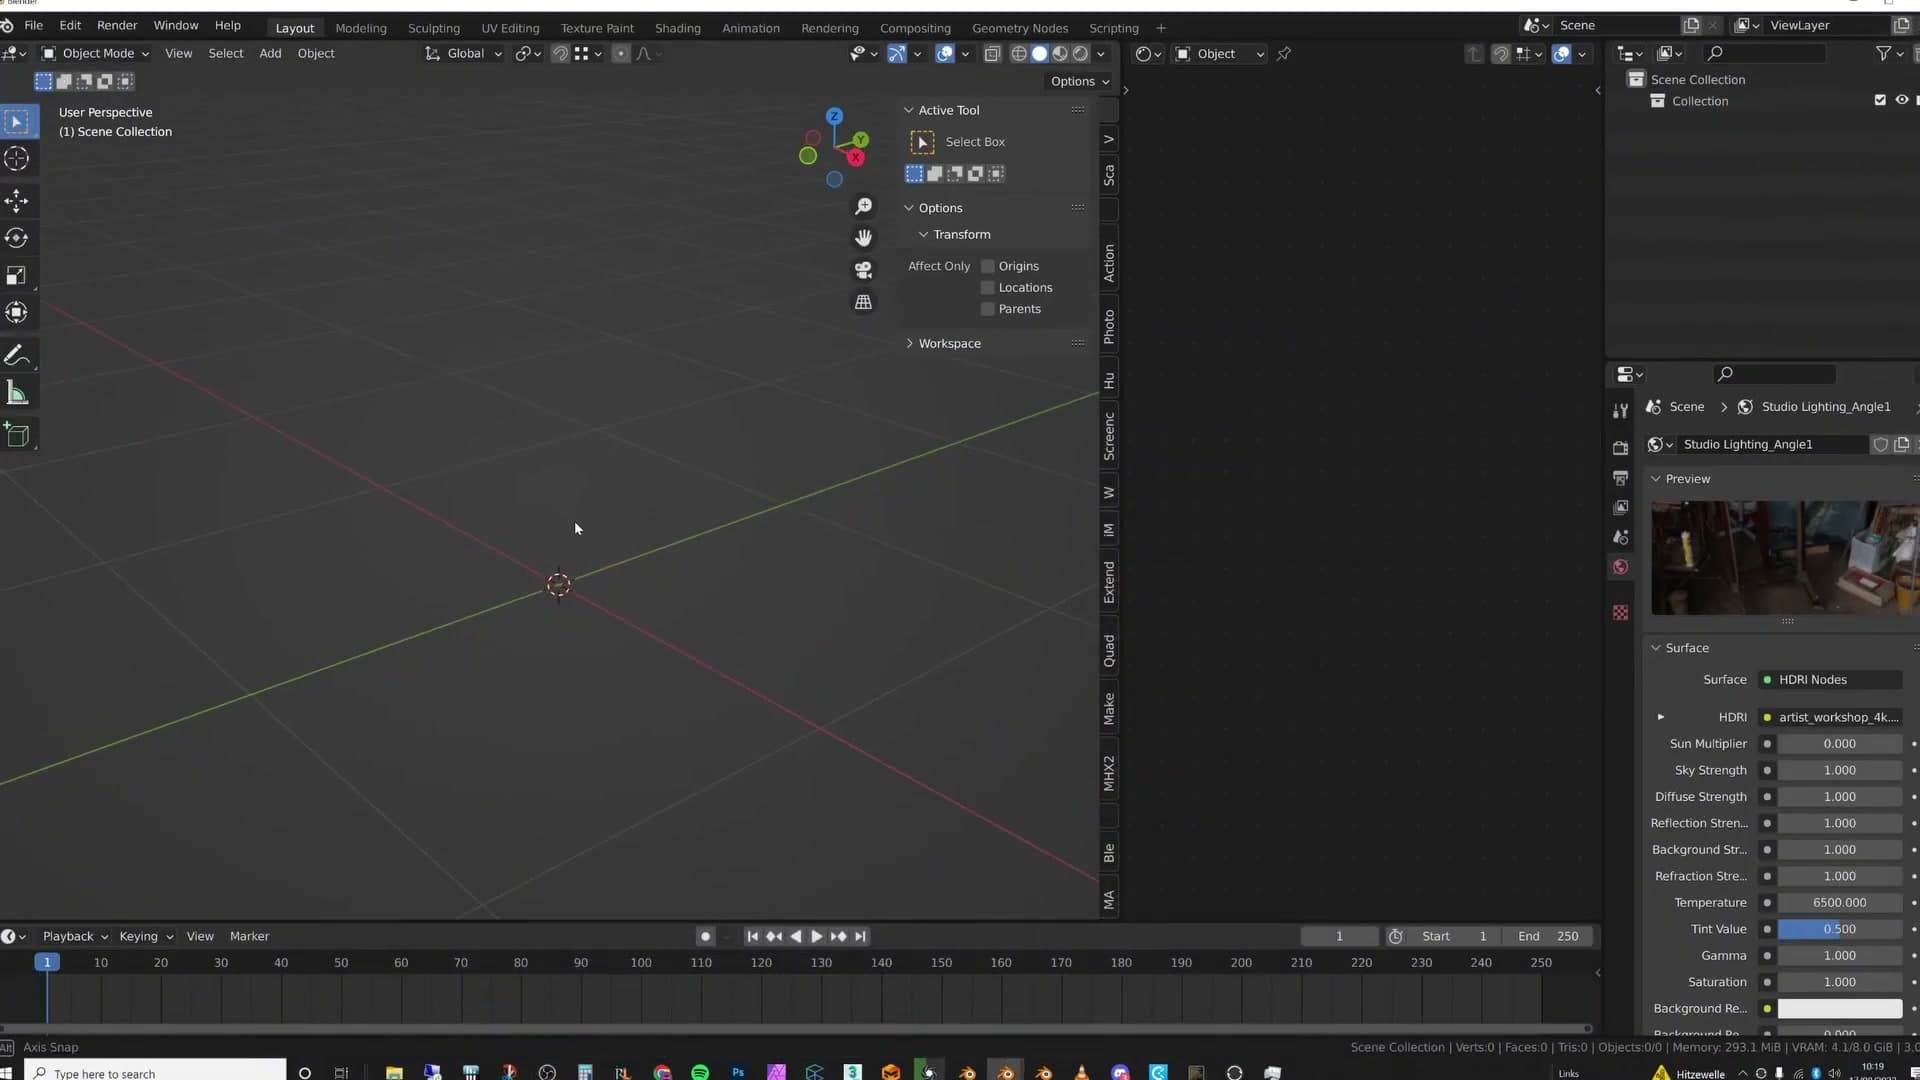
This walkthrough is built around the questions people actually ask about the cursor: where it goes when it disappears, how to drop it exactly where you need it, how to snap selections to it, and (the parts most users miss) how to orient it to arbitrary geometry, use it as a pivot point, and lean on it to get clean Spin operations. If you'd rather read than watch, there's a text companion with the same material linked in the video description.
Everything that follows assumes you've seen the cursor before. The goal is to take you from "yeah, I know what that is" to treating it as a configurable reference point you reach for several times in every session.
Moving and recovering the 3D cursor
The fundamentals of cursor placement and rescue: Shift+Right-Click drops the cursor onto the nearest surface, Shift+C returns it to world origin and reframes the viewport, and the overlays panel hides or shows the cursor if it has gone missing entirely.
Drop the cursor with Shift+Right-Click
Clicking around the viewport with a normal left or right click won't move the 3D cursor. It ignores standard mouse input. The shortcut you want is Shift+Right-Click, which drops the cursor wherever your pointer is.
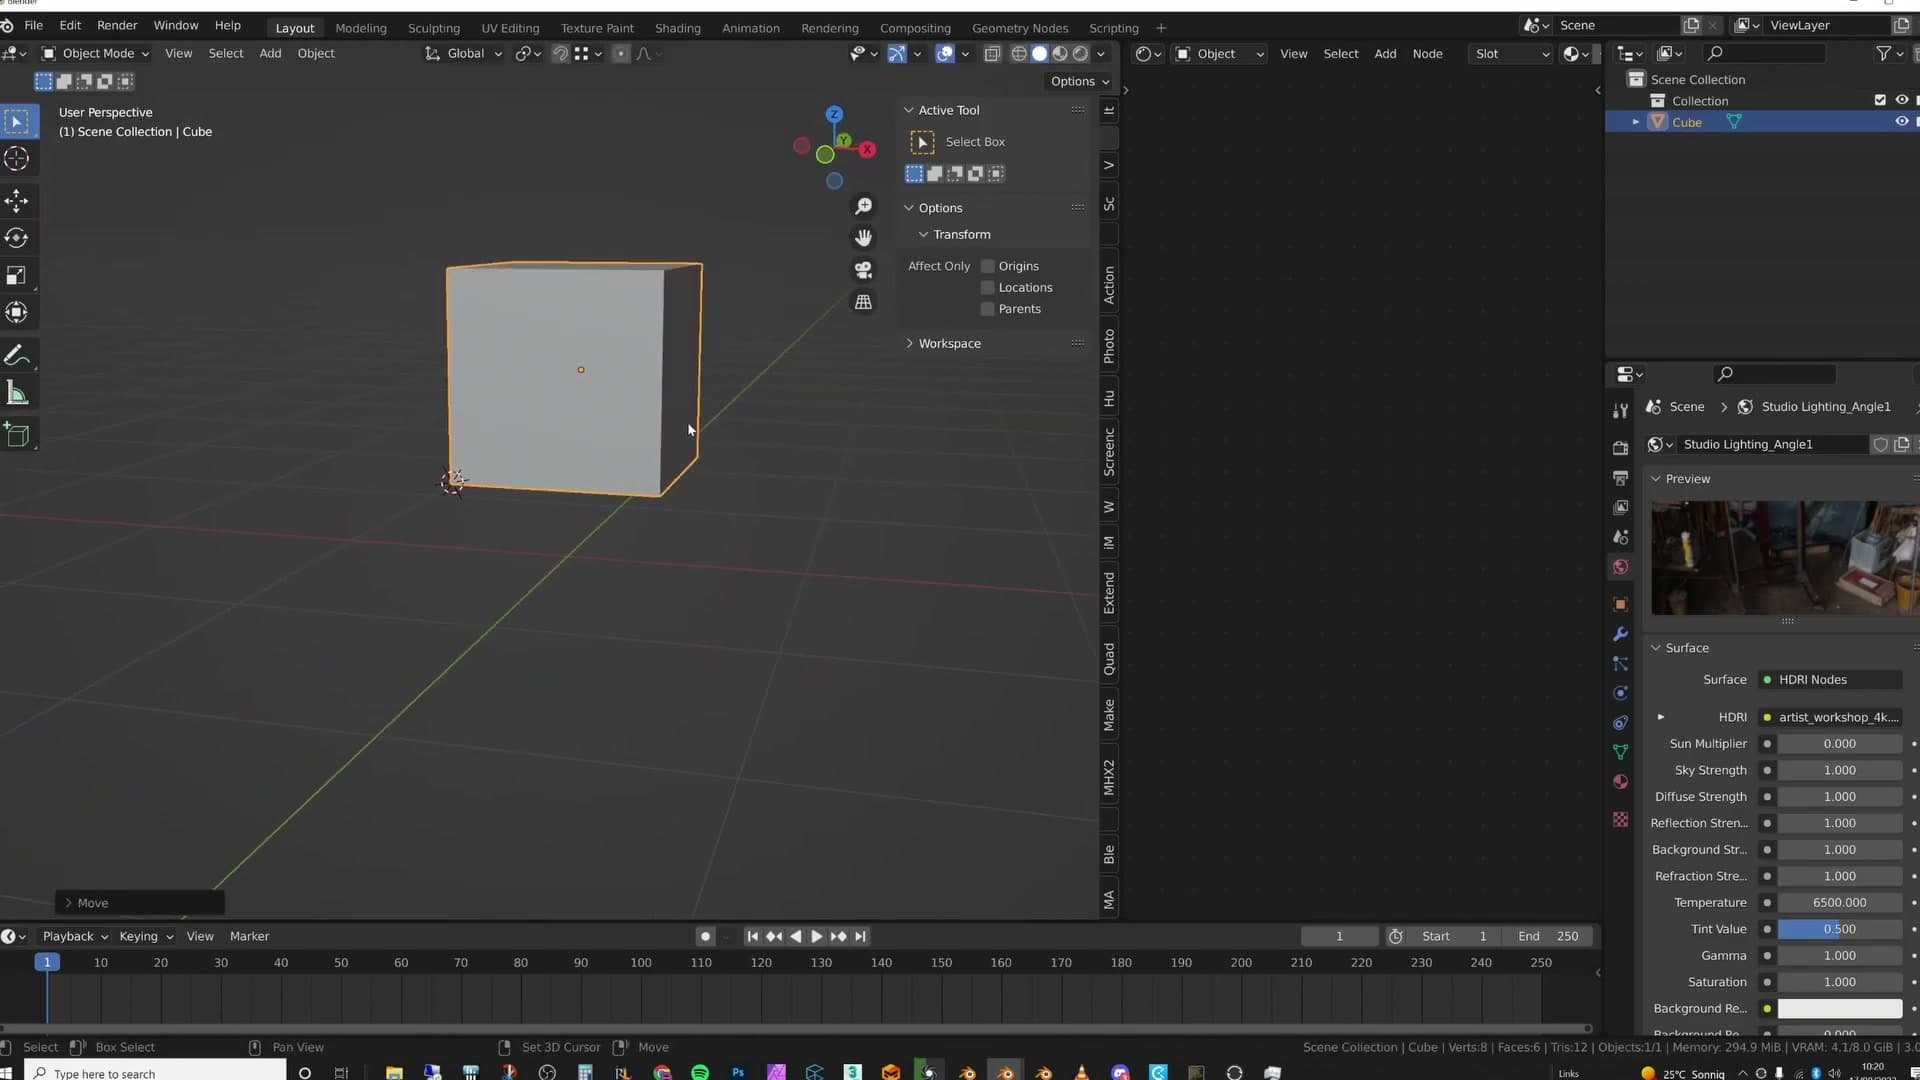
In empty space the cursor lands on the view plane Blender judges closest to your aim. When the pointer is over geometry, it snaps onto the nearest visible surface instead: the top of a cube, the slope of a roof, whatever face is directly under the crosshair.
This is the fastest way to get the cursor roughly where you need it. It won't be pixel-perfect (precision placement comes later with Shift+S), but as a first rough move it's hard to beat.
Recovering a lost cursor with Shift+C and the overlays panel
Place the cursor sloppily enough and you'll lose track of it: pushed off-screen, parked behind your camera, or stranded somewhere far outside the visible viewport. The rescue shortcut is Shift+C.
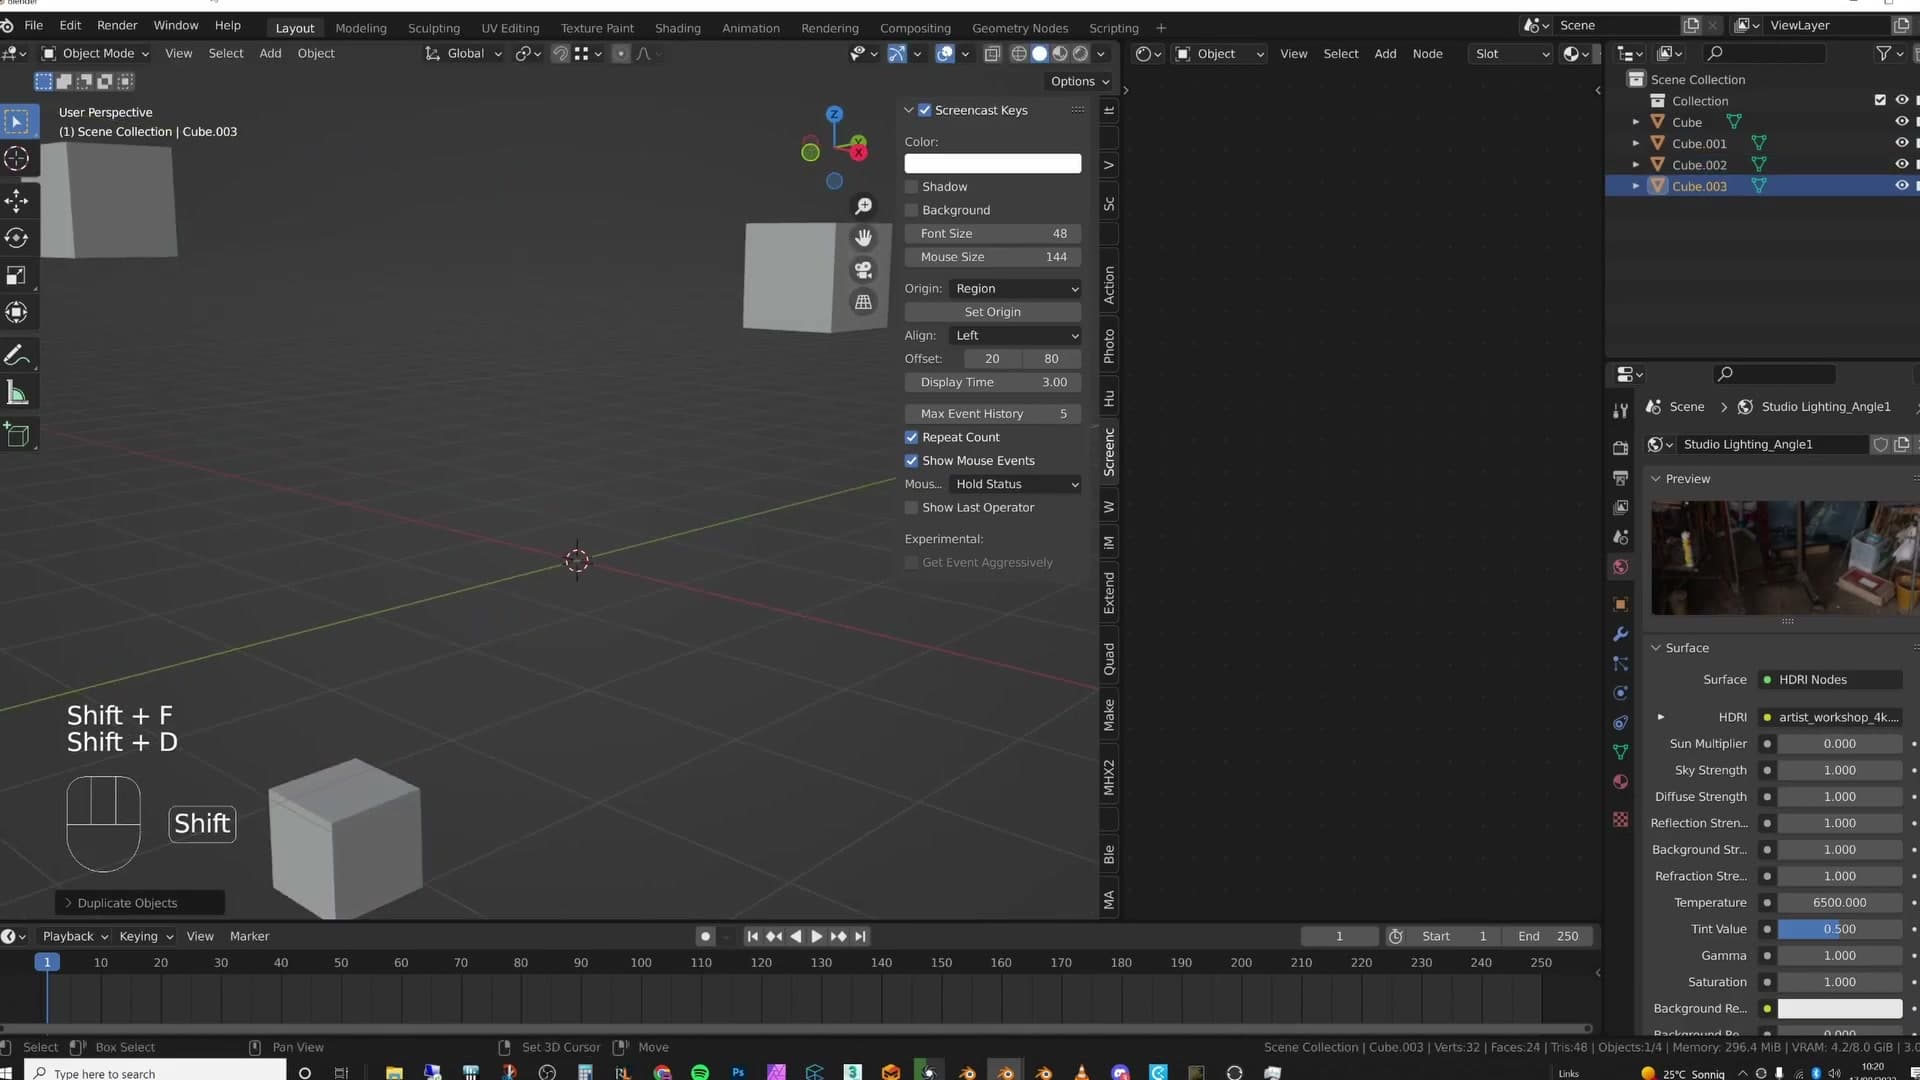
Shift+C does two useful things at once: it returns the 3D cursor to world origin at 0, 0, 0, and it reframes the viewport so every object in your scene fits inside the window. Even when the cursor isn't actually lost, it's a handy way to recentre on your work.
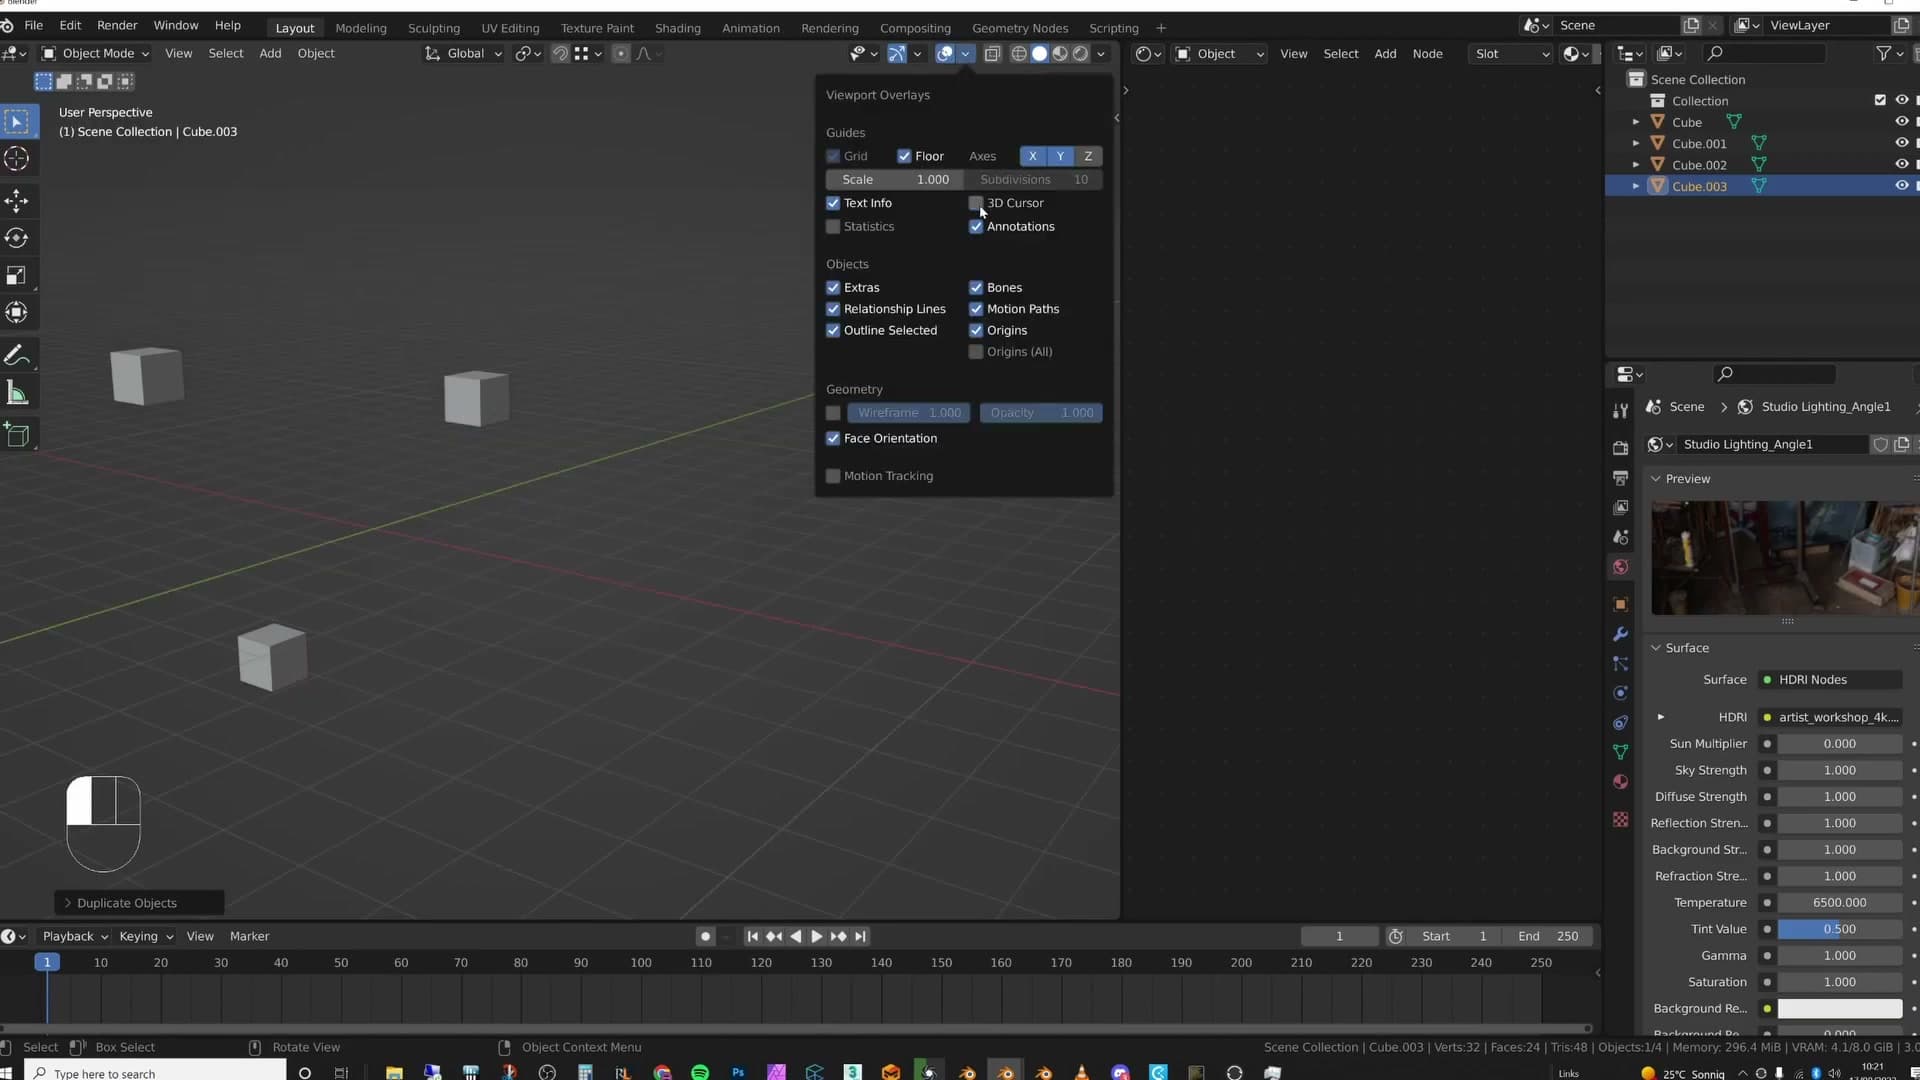
If the crosshair still isn't visible after Shift+C, it isn't missing. It's hidden. The overlays panel controls whether Blender draws the 3D cursor on screen, and it's easy to toggle off by accident.
Open the Overlays dropdown in the viewport header and look for 3D Cursor in the list. Ticking that checkbox brings the crosshair back.
Precision placement: the N-panel and Shift+S snap menu
Two precise ways to position the cursor: type exact coordinates in the View tab of the N-panel, or use Shift+S Cursor to Selected to snap it to the average location of any object, vertex, edge, face or multi-selection.
Typing exact cursor coordinates in the View tab
Shift+right-click is fine when you only need the cursor roughly where you've clicked, but there's a far more precise option sitting in the N-panel. Press N in the 3D viewport and switch to the View tab. The 3D cursor's location values sit in their own sub-section, ready to be typed into directly.
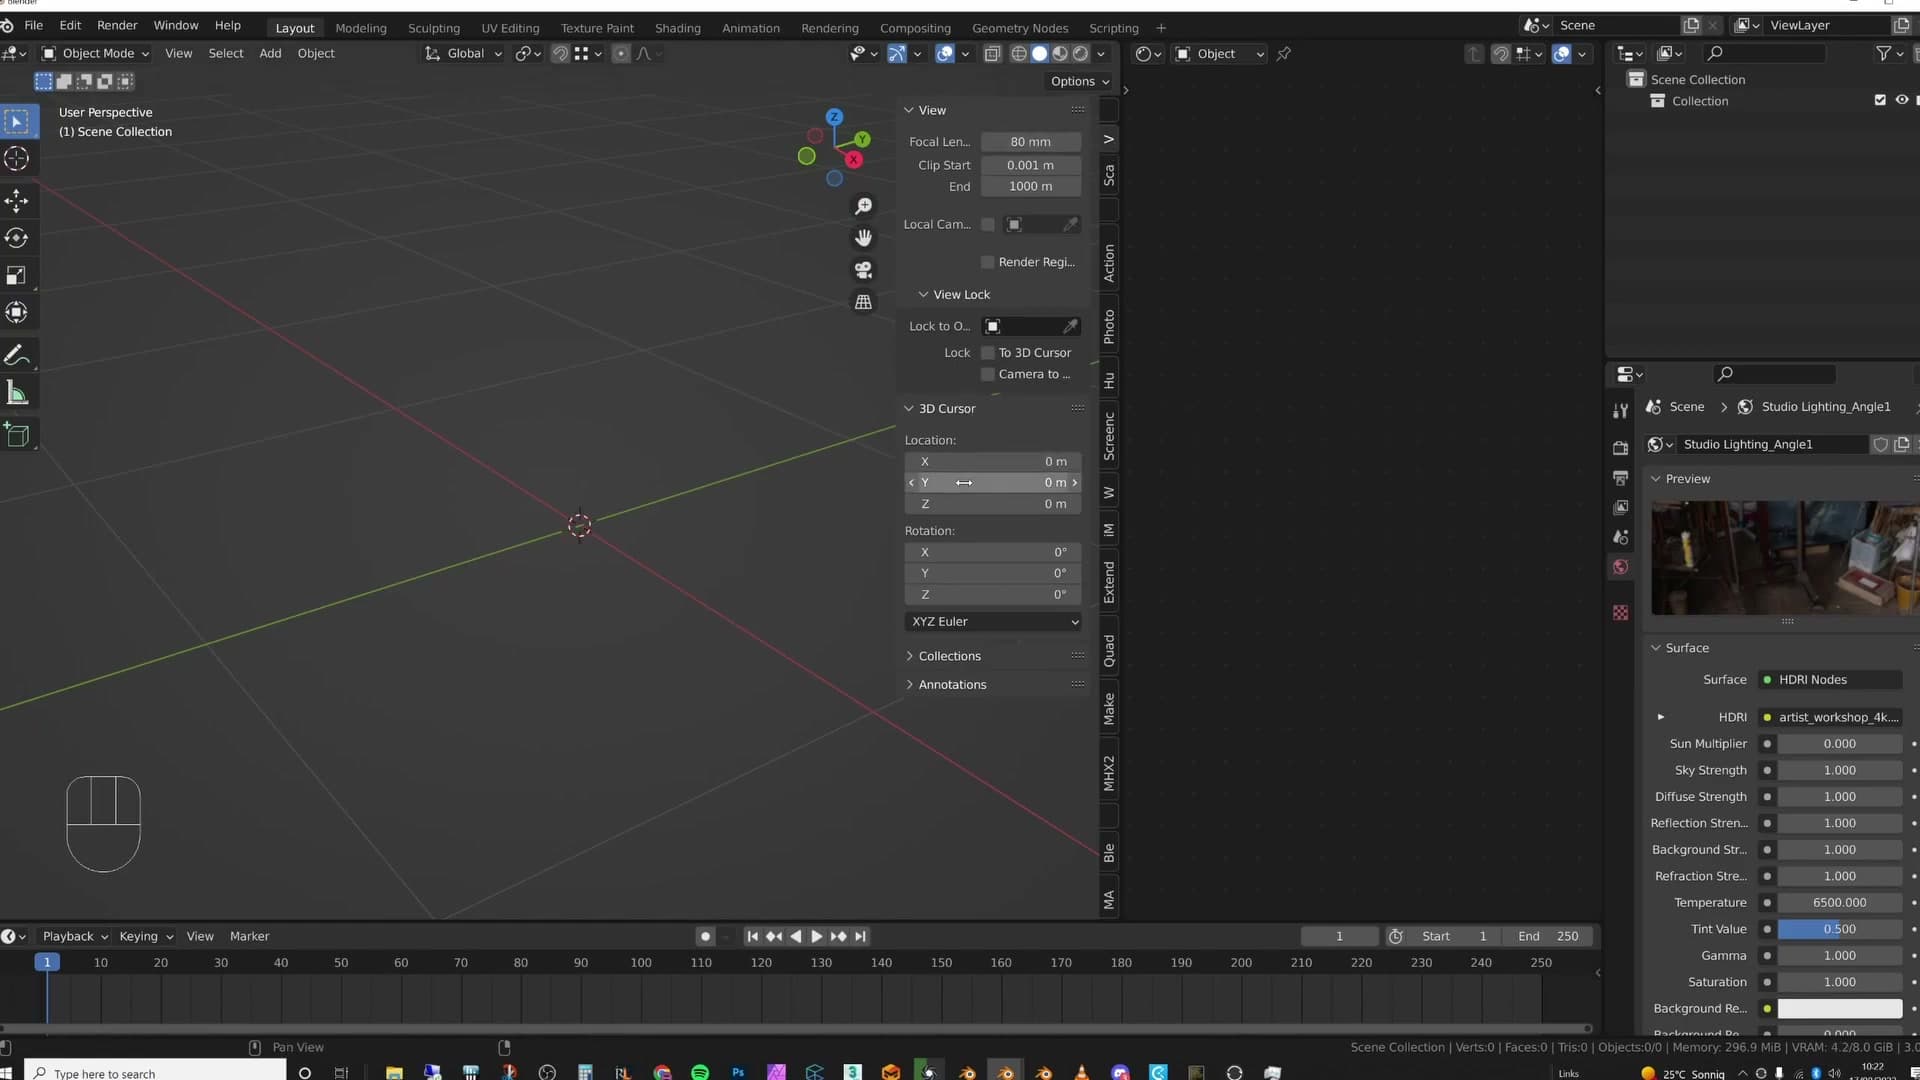
Type a number into any of the three location fields and the cursor jumps there exactly. Setting X to 1 drops the cursor precisely on that coordinate, with none of the eyeballing that comes with clicking in the viewport.
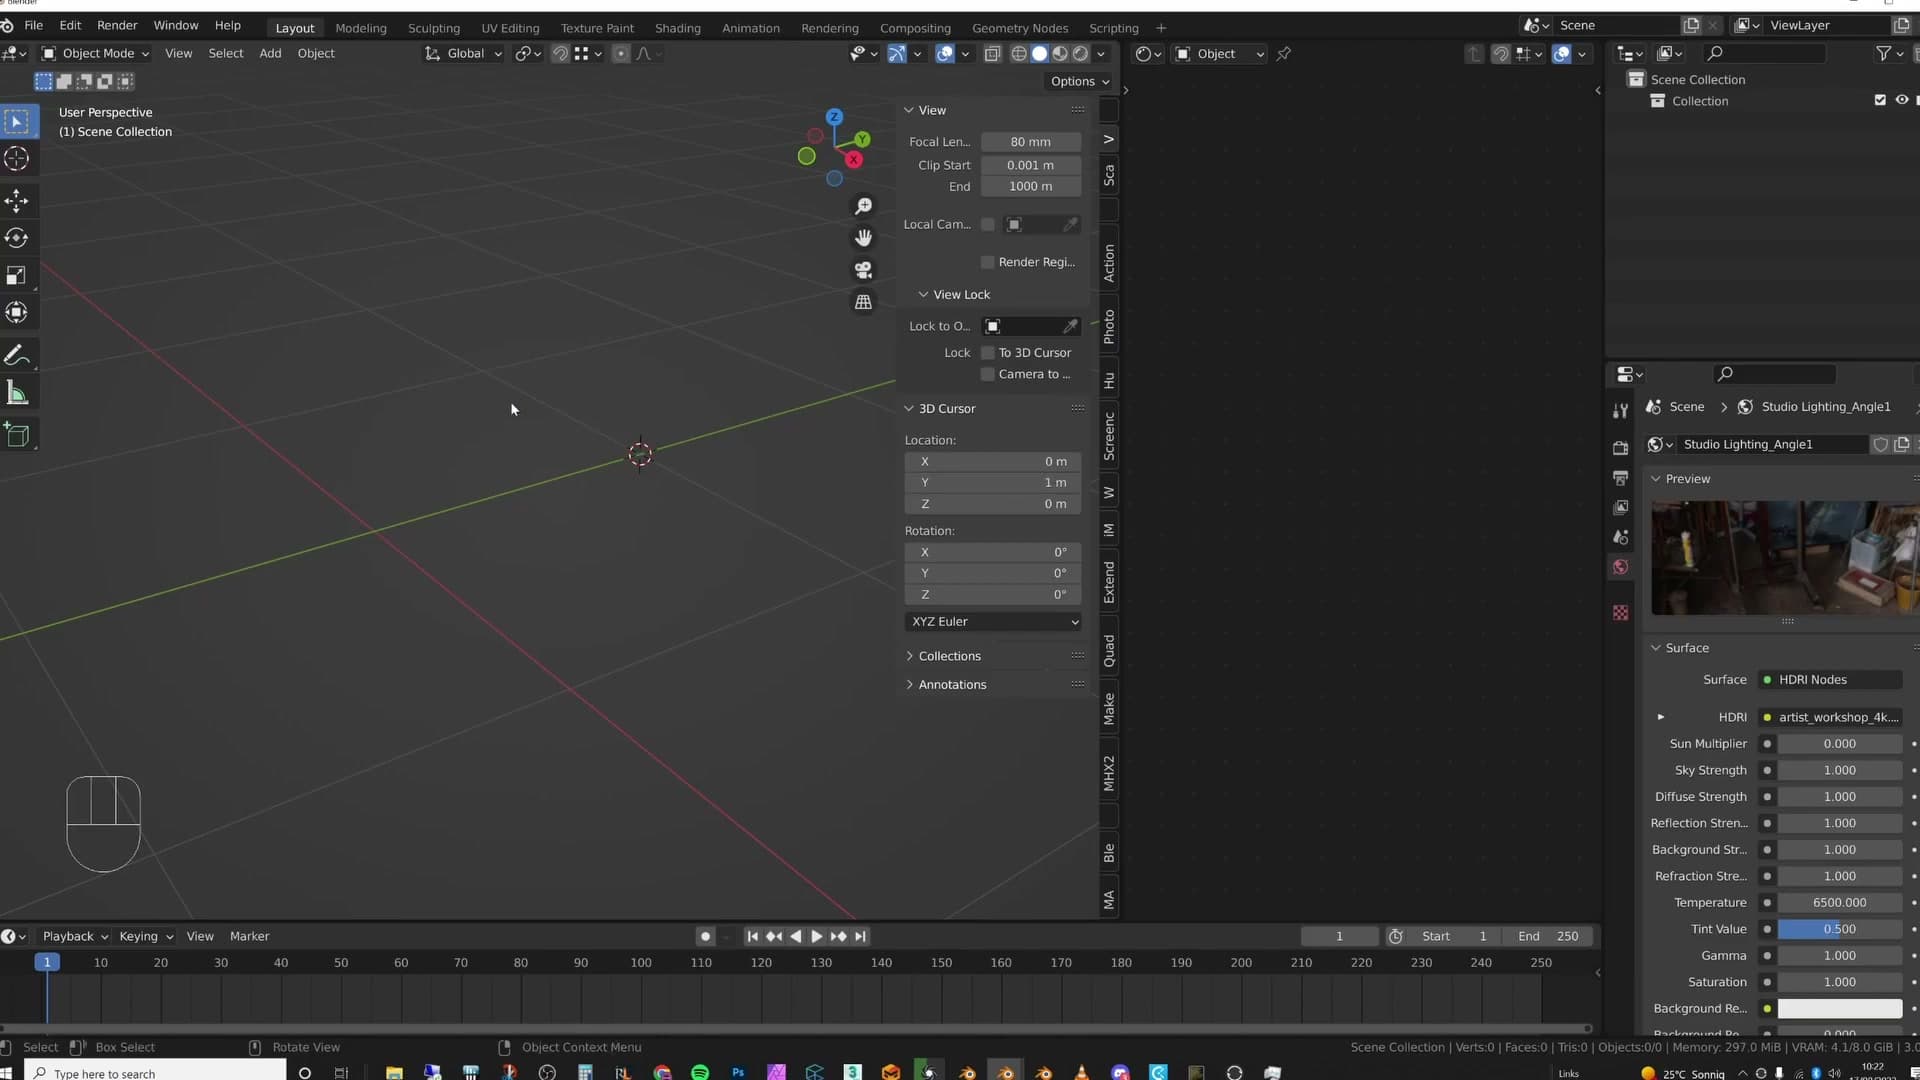
This is the cleanest way to anchor a pivot before you start working on an object. Decide on a known coordinate, type it in, and the cursor lands on it. The same panel also exposes the cursor's rotation values, which become important later in this guide once you start orienting the cursor to specific surfaces.
Shift+S Cursor to Selected across objects, verts, edges and faces
When you want the cursor on existing geometry rather than an arbitrary coordinate, press Shift+S to open the snap pie menu and choose Cursor to Selected. With an object highlighted in Object Mode, the cursor snaps straight onto that object's origin.
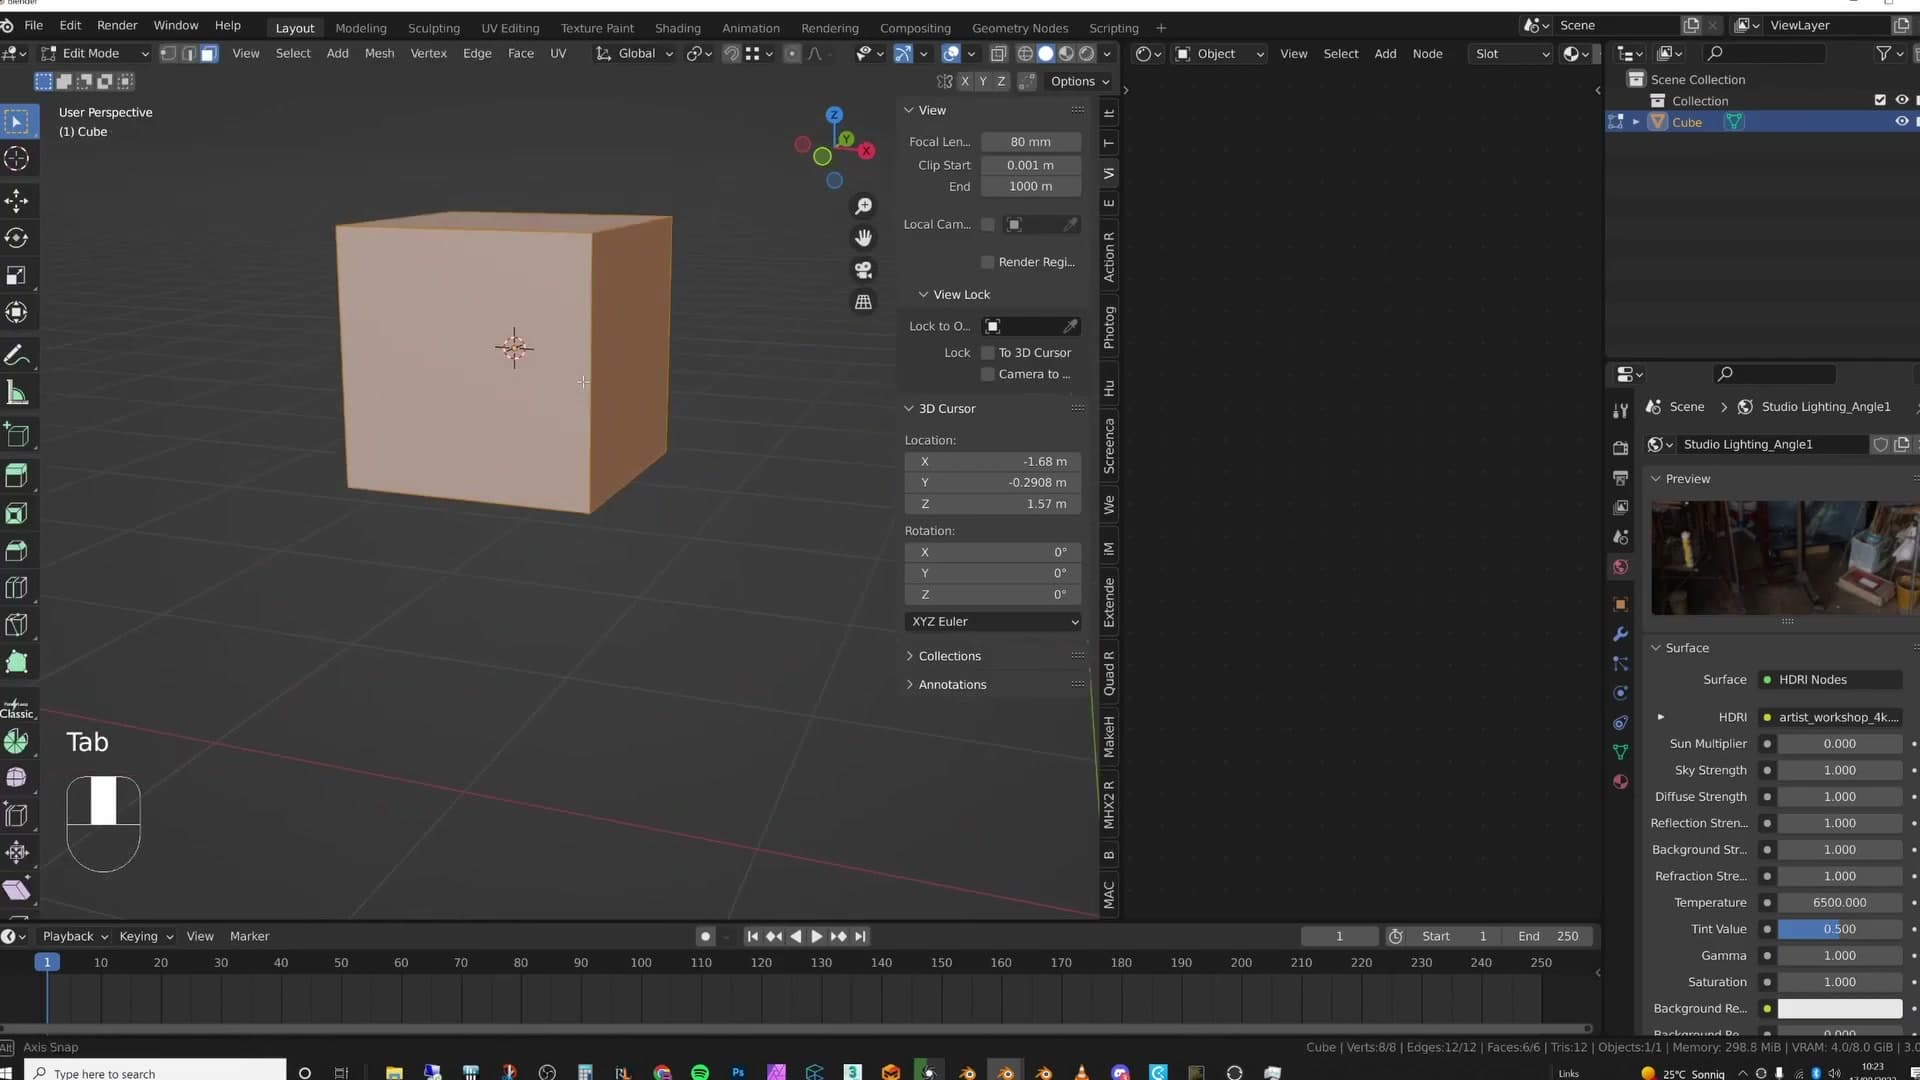
The same shortcut works inside Edit Mode and is even more useful there. Press Tab to drop into edit mode, then use 1, 2 and 3 to swap between vertex, edge and face select. Pick a single vertex, run Shift+S → Cursor to Selected, and the cursor pins itself directly to that vert.
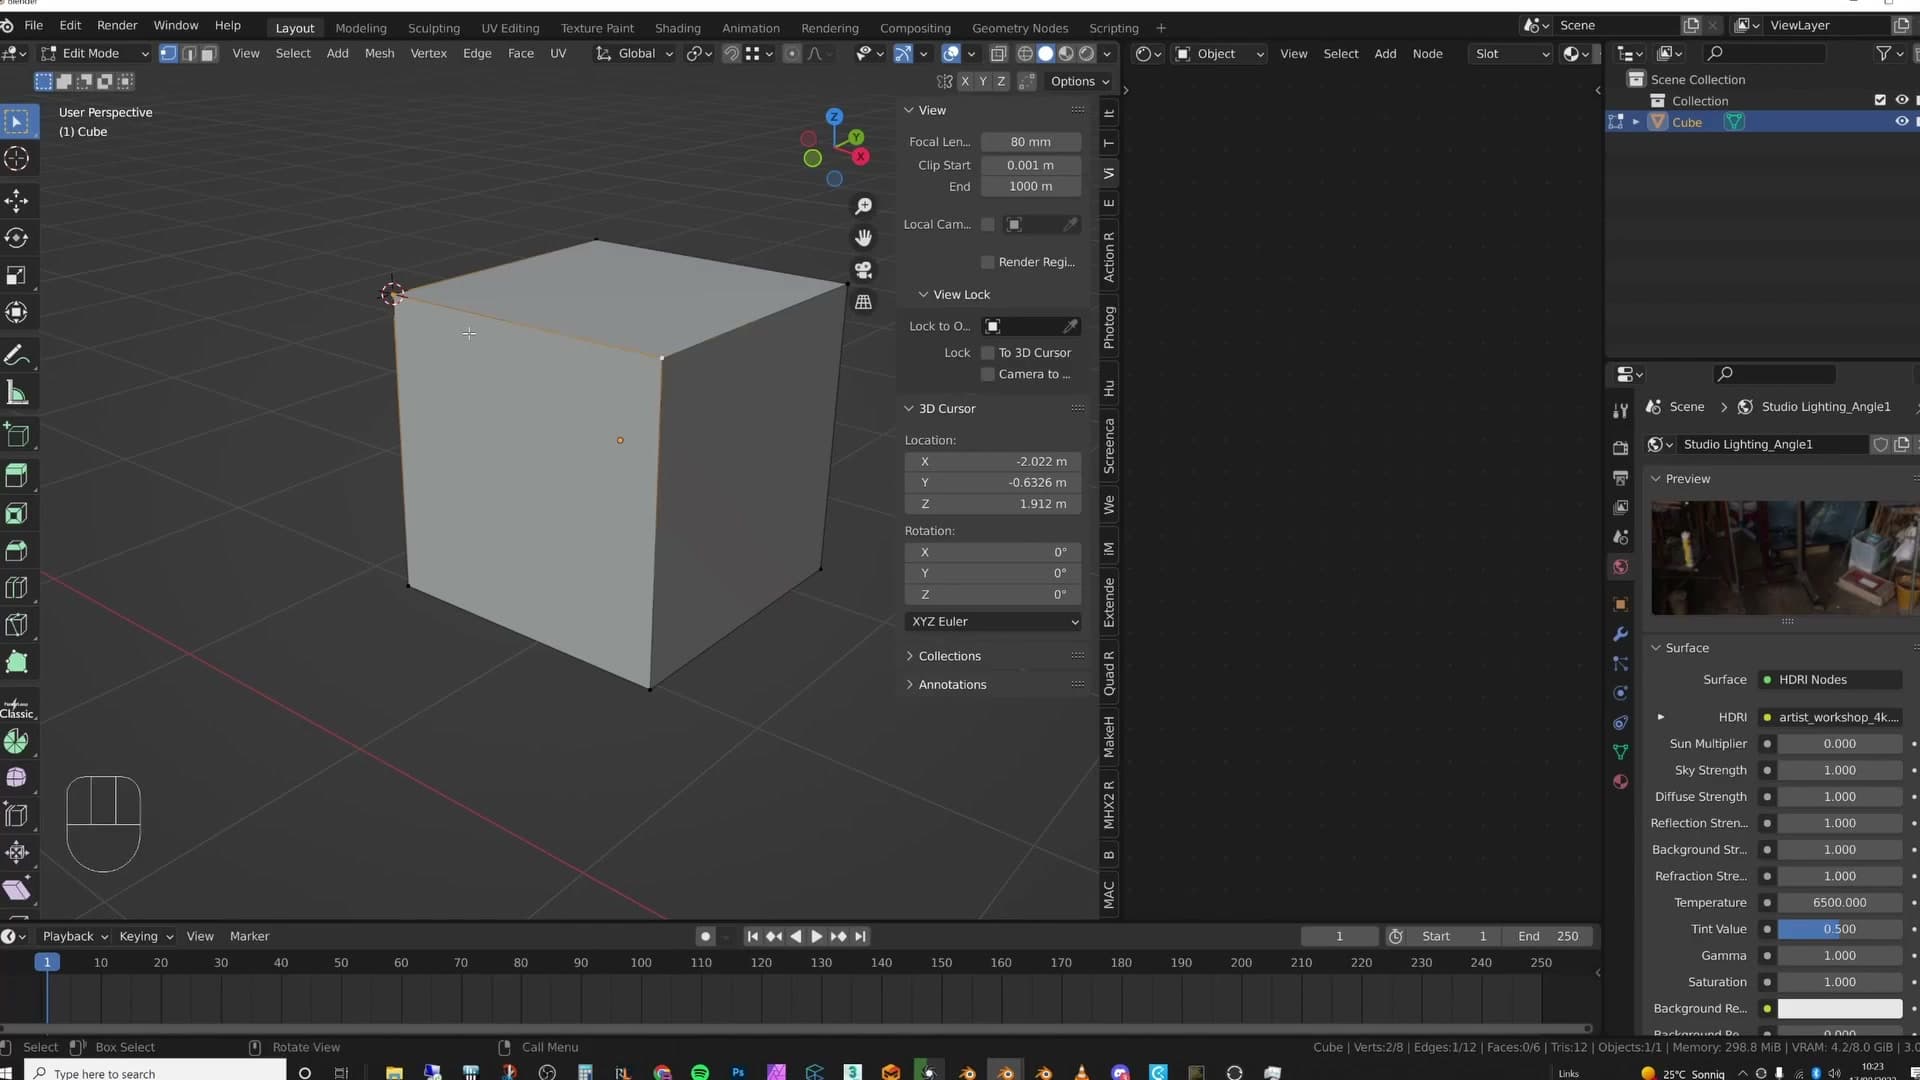
Edges and faces behave the same way. Select two edges and the cursor settles in the middle between them; press 3 for face select, click a face, run the snap, and the cursor lands on the face centre. Highlight several components at once and Blender averages their positions. The cursor moves to the middle of whatever's selected.
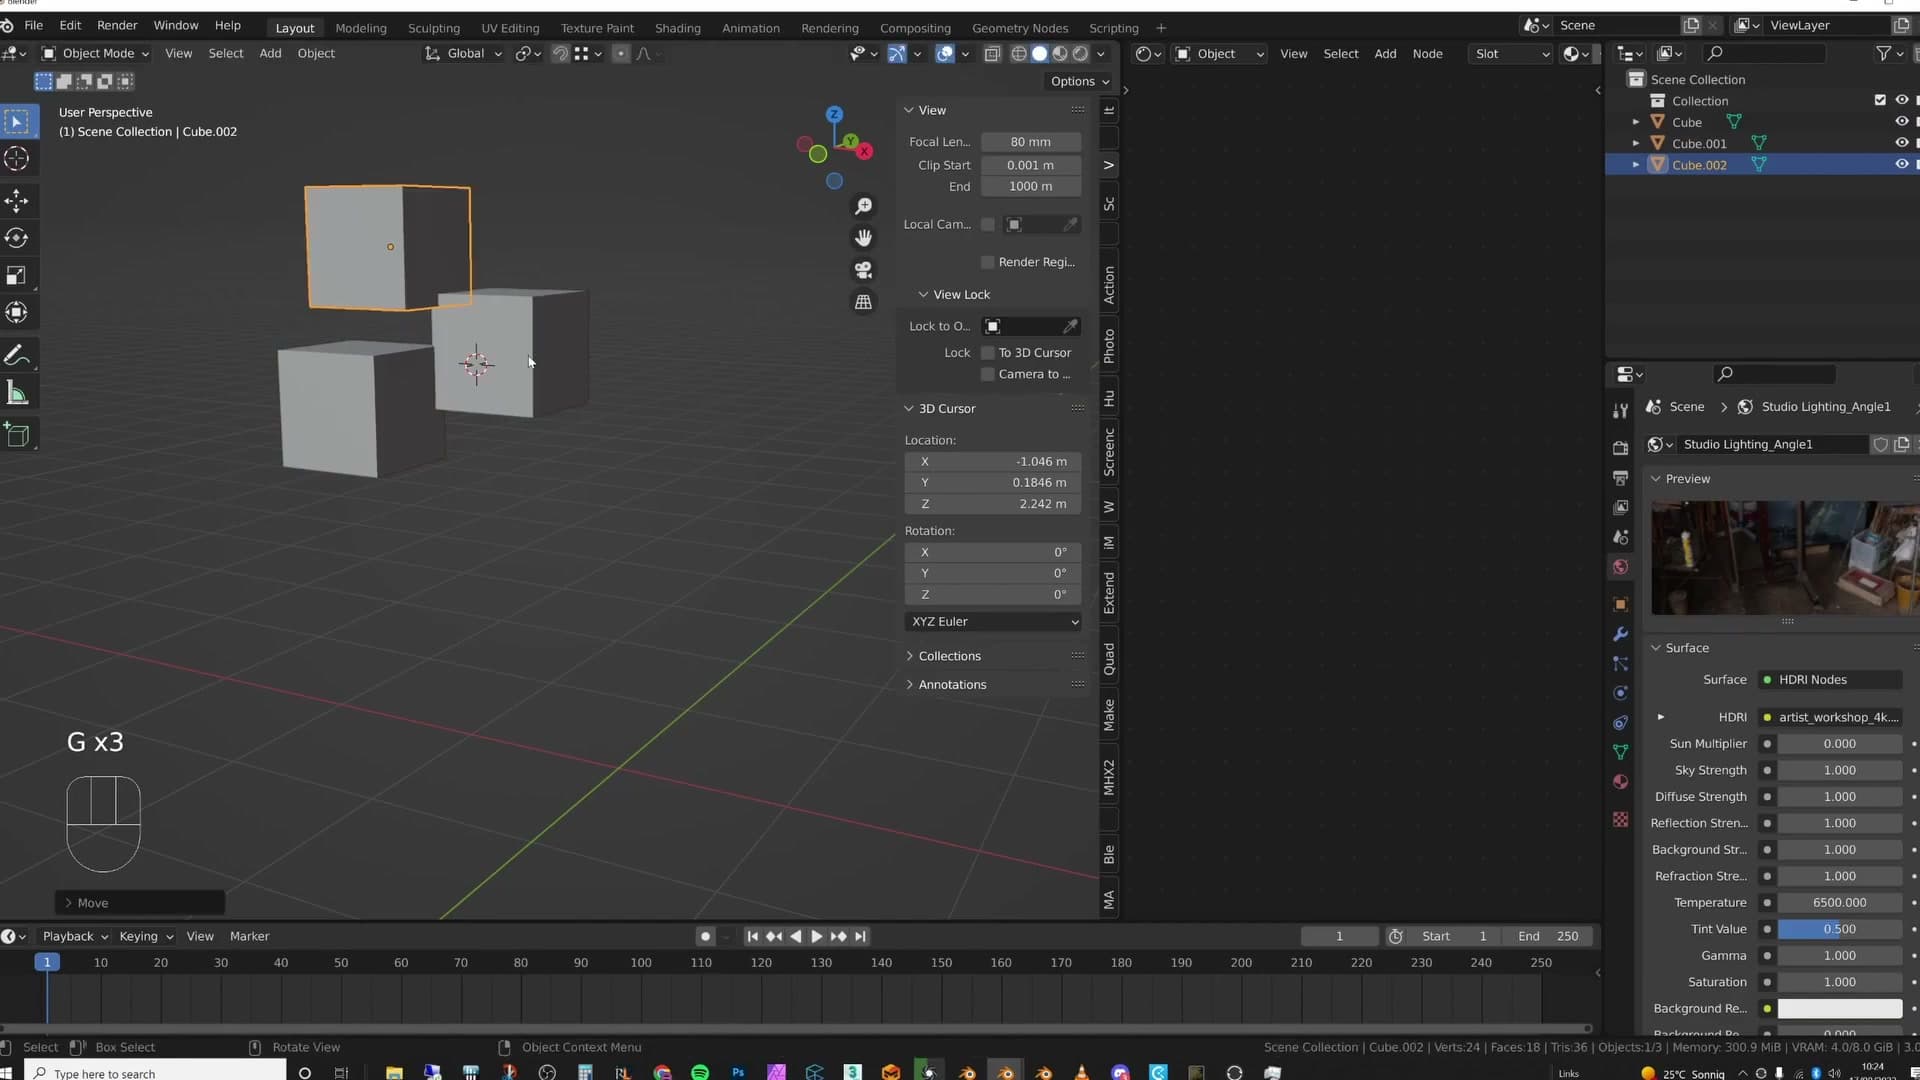
Multi-object selections work on the same principle. Duplicate a few objects with Shift+D, select the lot, run Cursor to Selected, and the cursor moves to the average of all their positions. Bring those objects closer together and re-run the snap. The cursor follows the new midpoint. The behaviour isn't limited to objects, either: collections or any combination of selectable items all average down to a single anchor point.
That averaging is precisely what makes the snap so valuable, especially in edit mode. When you're working on a specific vertex, edge or face and want other objects to line up to it, snap the cursor there first. Every operation that subsequently uses the cursor as a reference then has an exact anchor to work from.
Snap selections to the cursor and build a custom transform axis
Reverse the previous trick with Selection to Cursor (Shift+S → 7) to move objects onto the cursor, then use the Cursor tool plus Geometry orientation to make the cursor's axes follow any face. Setting Transform Orientation to Cursor unlocks axis-aware moves across angled geometry.
Selection to Cursor for moving objects onto the cursor
The first half of this module was about moving the cursor to a selection. Selection to Cursor flips that round: the cursor stays put, and your selection snaps onto it instead.
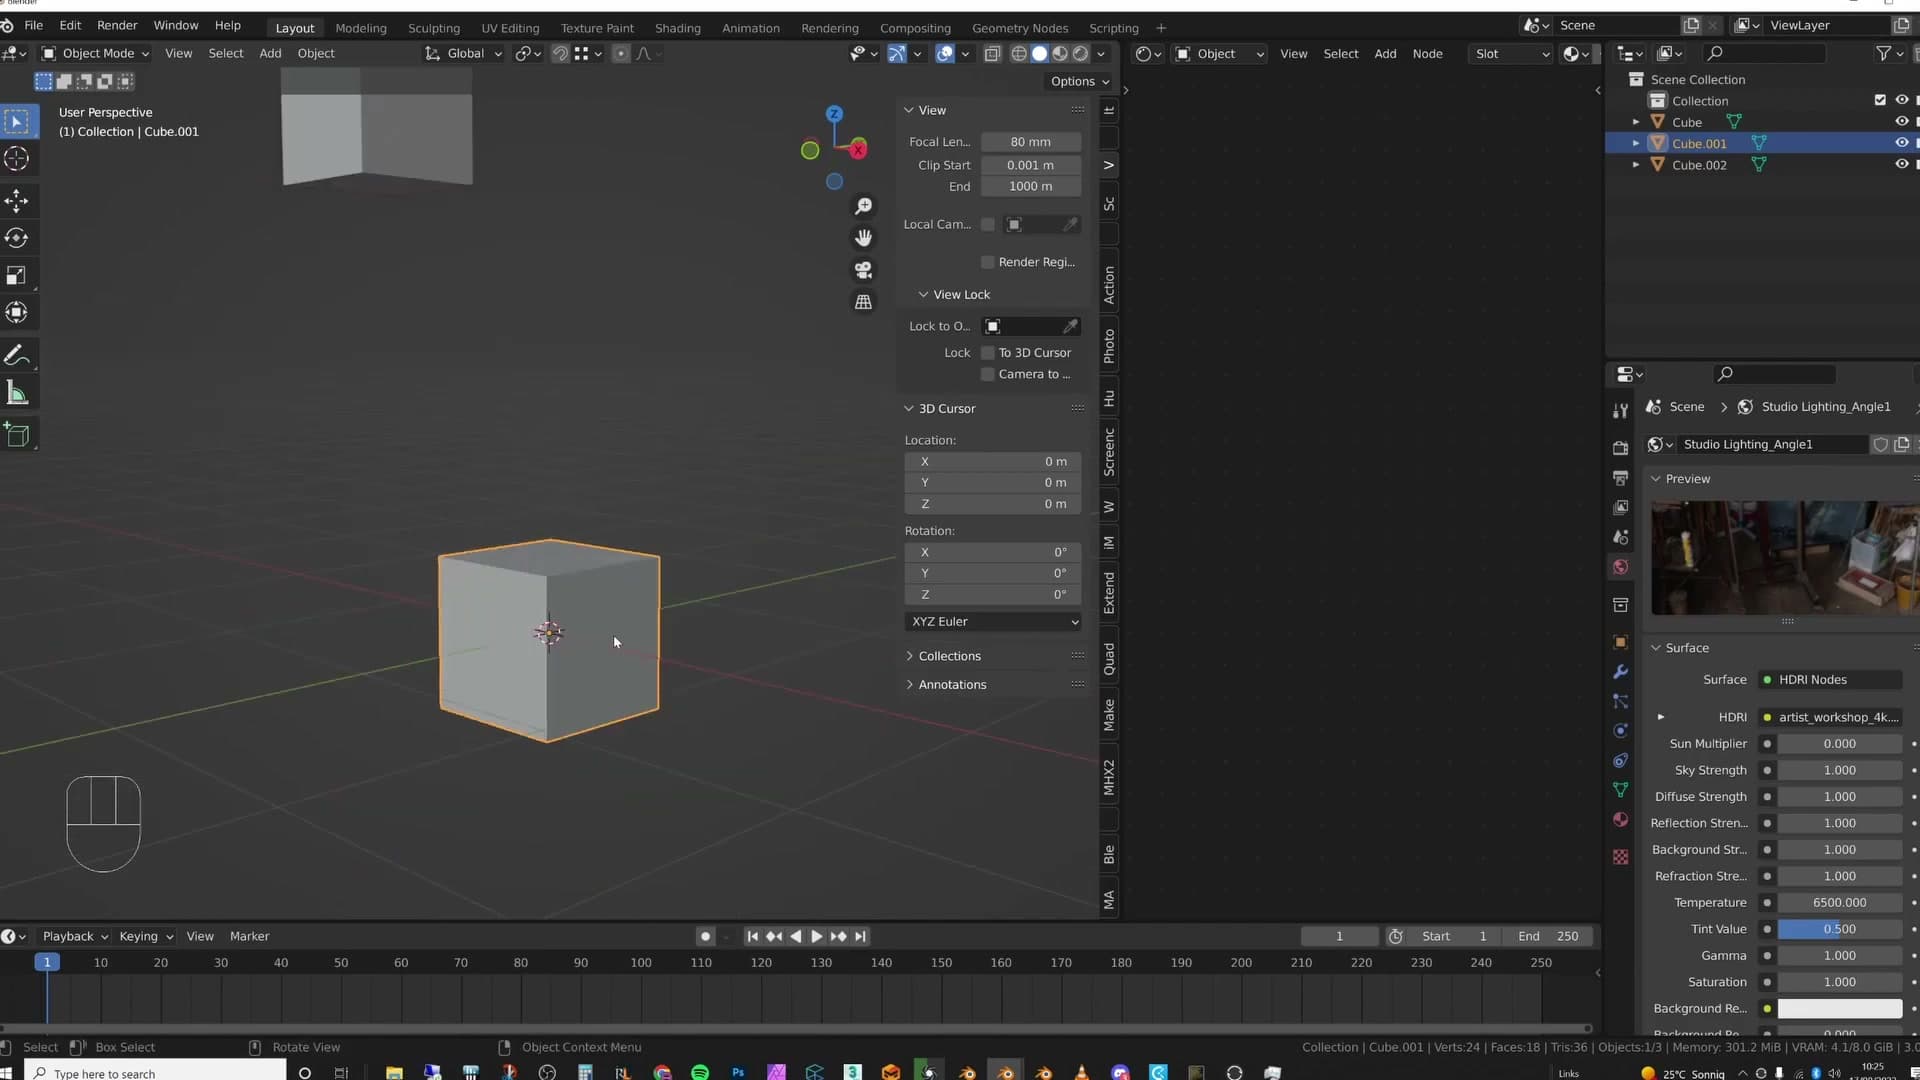
Pick the object you want to move, press Shift+S, and choose Selection to Cursor (the seventh slice in the pie menu). The object's origin lands exactly where the cursor sits.
The same operator works on anything you can select. In edit mode it stacks vertices, edges or faces on top of the cursor; in object mode it stacks a whole group of objects onto a single point. Bear in mind that piling many items onto one spot will turn into a mess quickly. Useful when you actually want overlap, frustrating when you don't.
To reset afterwards, send the cursor home with Shift+C, click the object, and Shift+S → Selection to Cursor will snap it back to the world origin.
Click-to-orient the cursor with Shift+Space and Geometry mode
So far the 3D cursor has only been used as a position marker. But it carries a rotation as well as a location, and that rotation can be turned into a custom transform axis for the whole viewport.
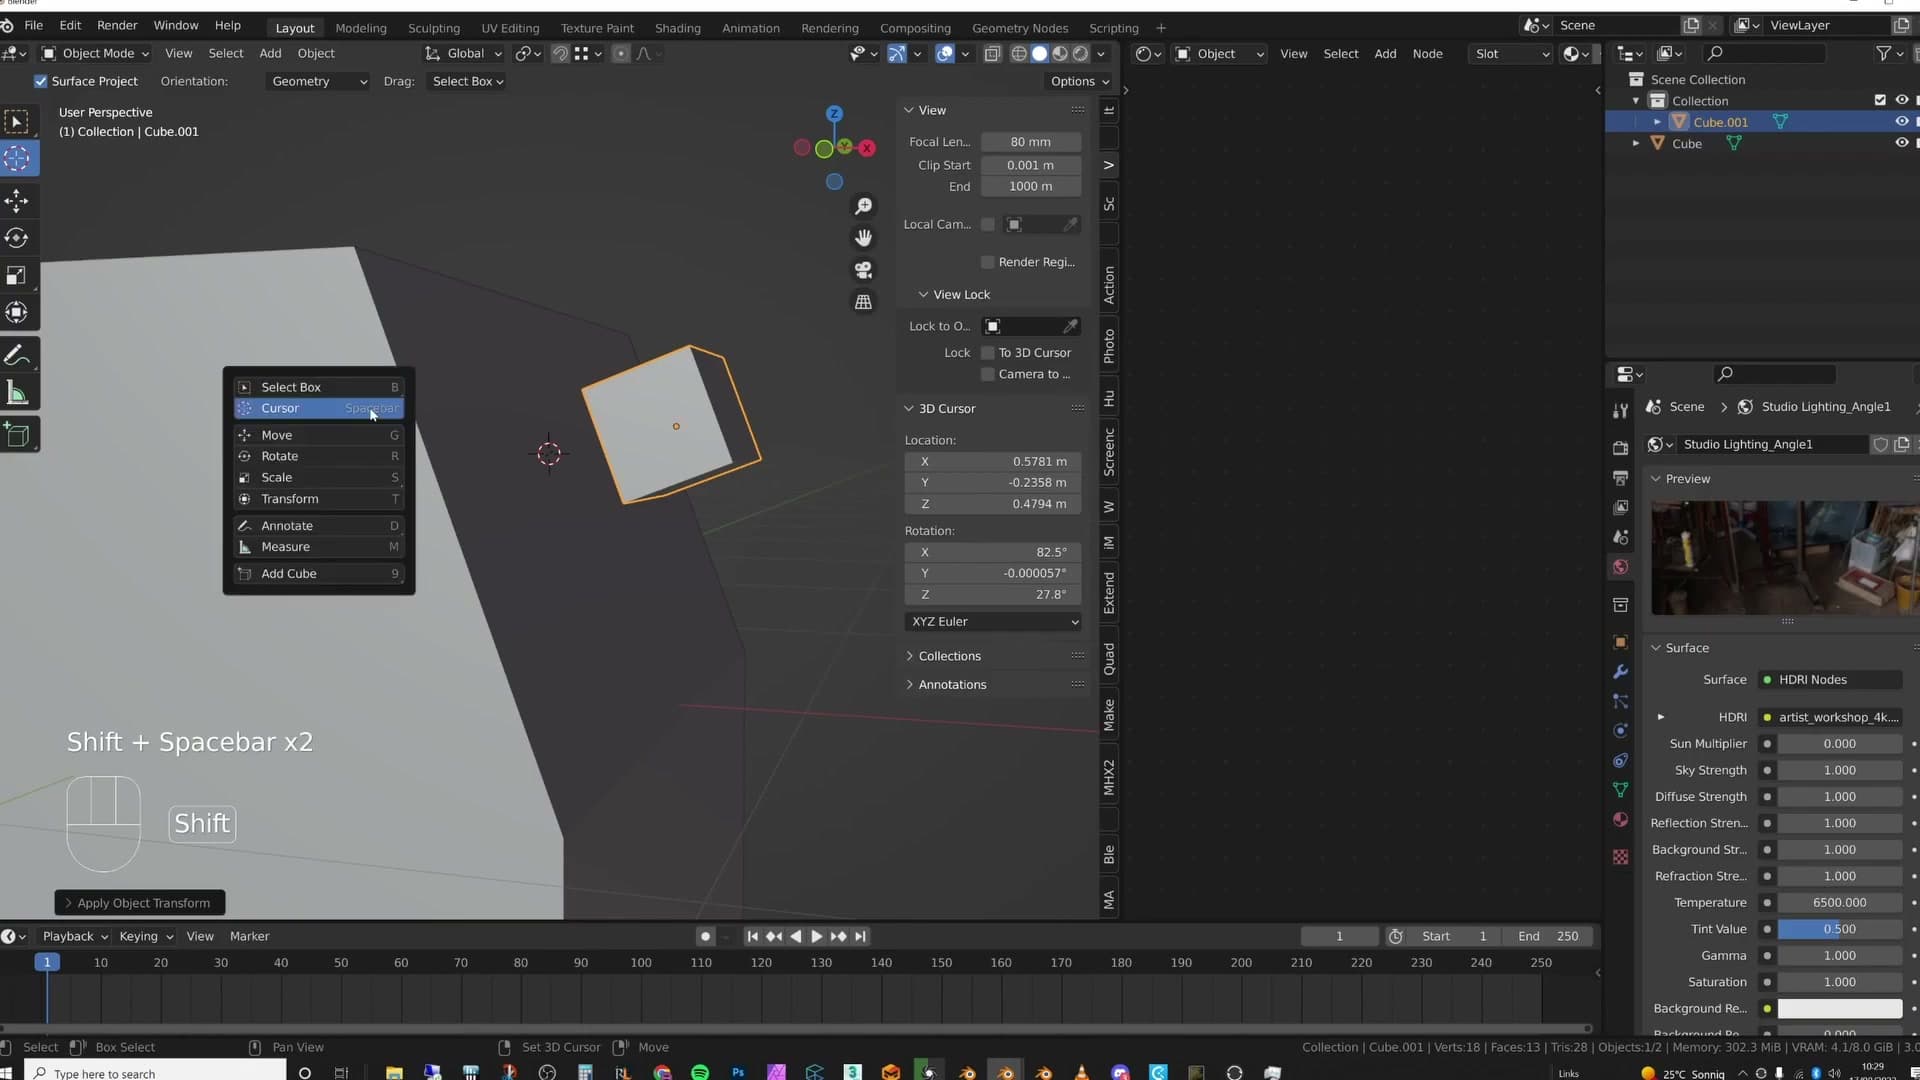
The use case: you've dropped a fresh object into the scene with Shift+A, and you want to slide it up and down a sloped face (a roof pitch, a tilted plane, a curved surface). By default G+Y moves along world Y, so the object cuts straight through the slope rather than gliding across it.
The fix is to make the cursor itself the reference axis. First, open the viewport's tool popup with Shift+Space, then press Space again to activate the Cursor tool. Clicking the Cursor icon in the left-hand toolbar does the same thing.
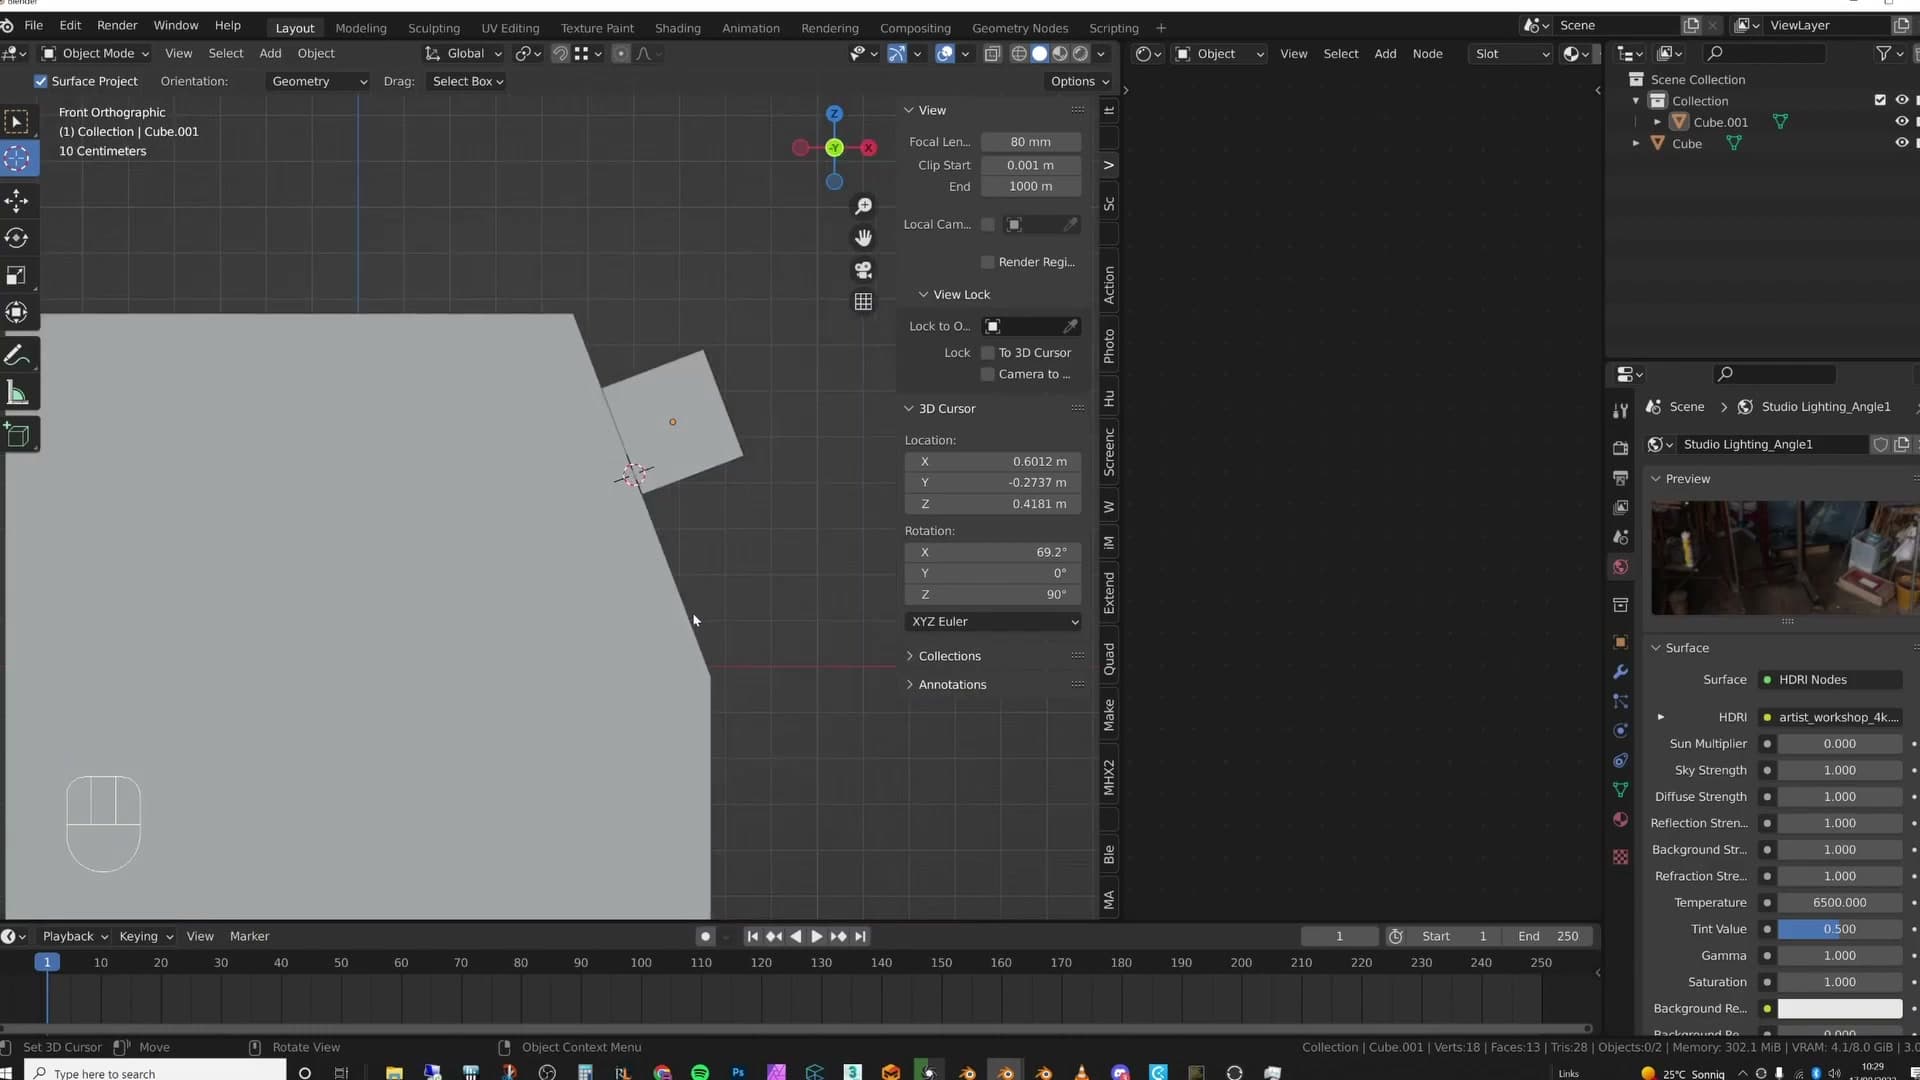
Next, in the tool's top header, find the Orientation dropdown and set it to Geometry. From now on a single left click anywhere in the scene rotates the cursor so its axes match the face normal of whatever you hit.
You can confirm the rotation has changed by checking the 3D Cursor block of the N-panel's View tab. Clicking a flat horizontal face leaves a clean, unrotated cursor; clicking a sloped face writes non-zero values into the cursor's rotation fields, and the crosshair visibly tilts to match the surface.
Driving G, R and S along the cursor's axes
A reoriented cursor is only a visual marker until you tell Blender to actually use it as the active transform orientation. That's the final piece.
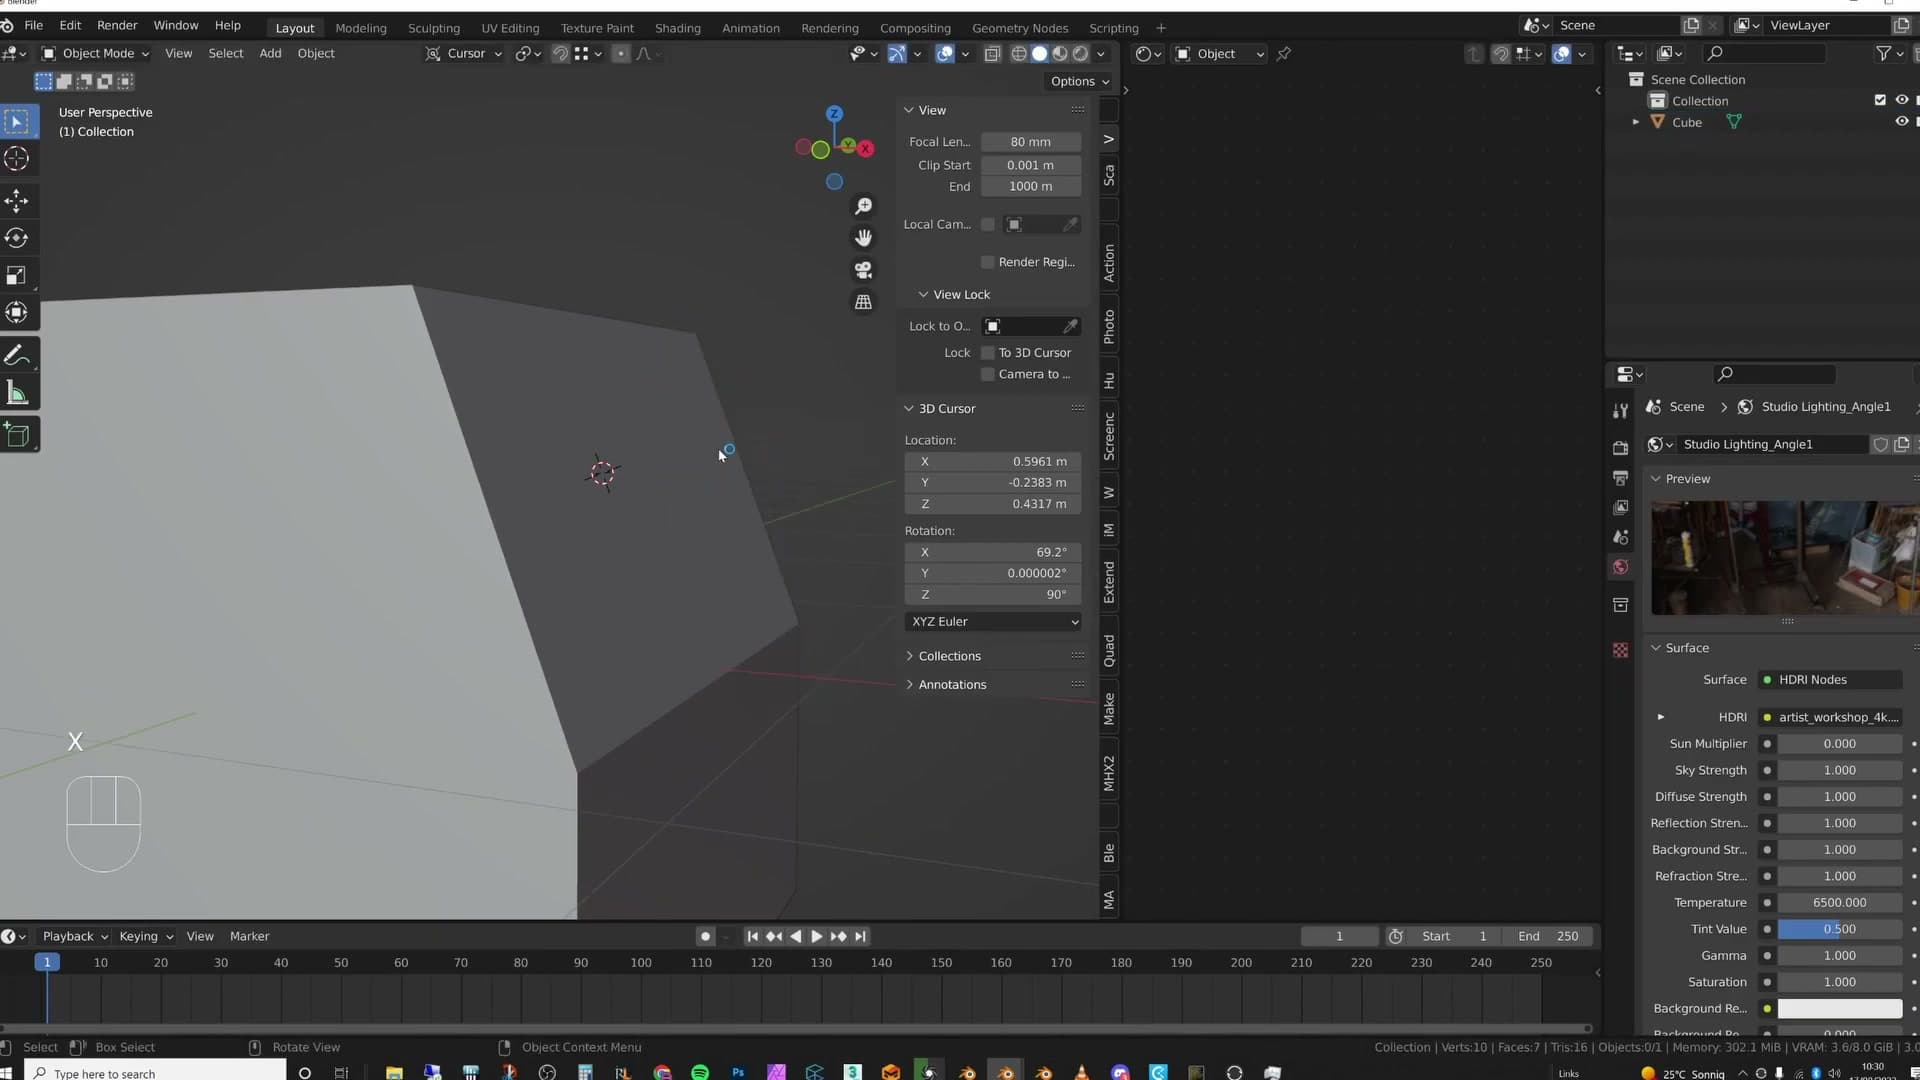
Open the Transform Orientation dropdown in the viewport header (the small XYZ-axis icon at the top) and set it to Cursor. The move/rotate/scale gizmo immediately re-aligns to the cursor's tilted axes instead of the world's.
Now G+Y slides the selected object along the cursor's Y, and it travels neatly across the angled face. The same applies to G+X, G+Z, rotations with R, and scale with S. Every transform respects the cursor's orientation.
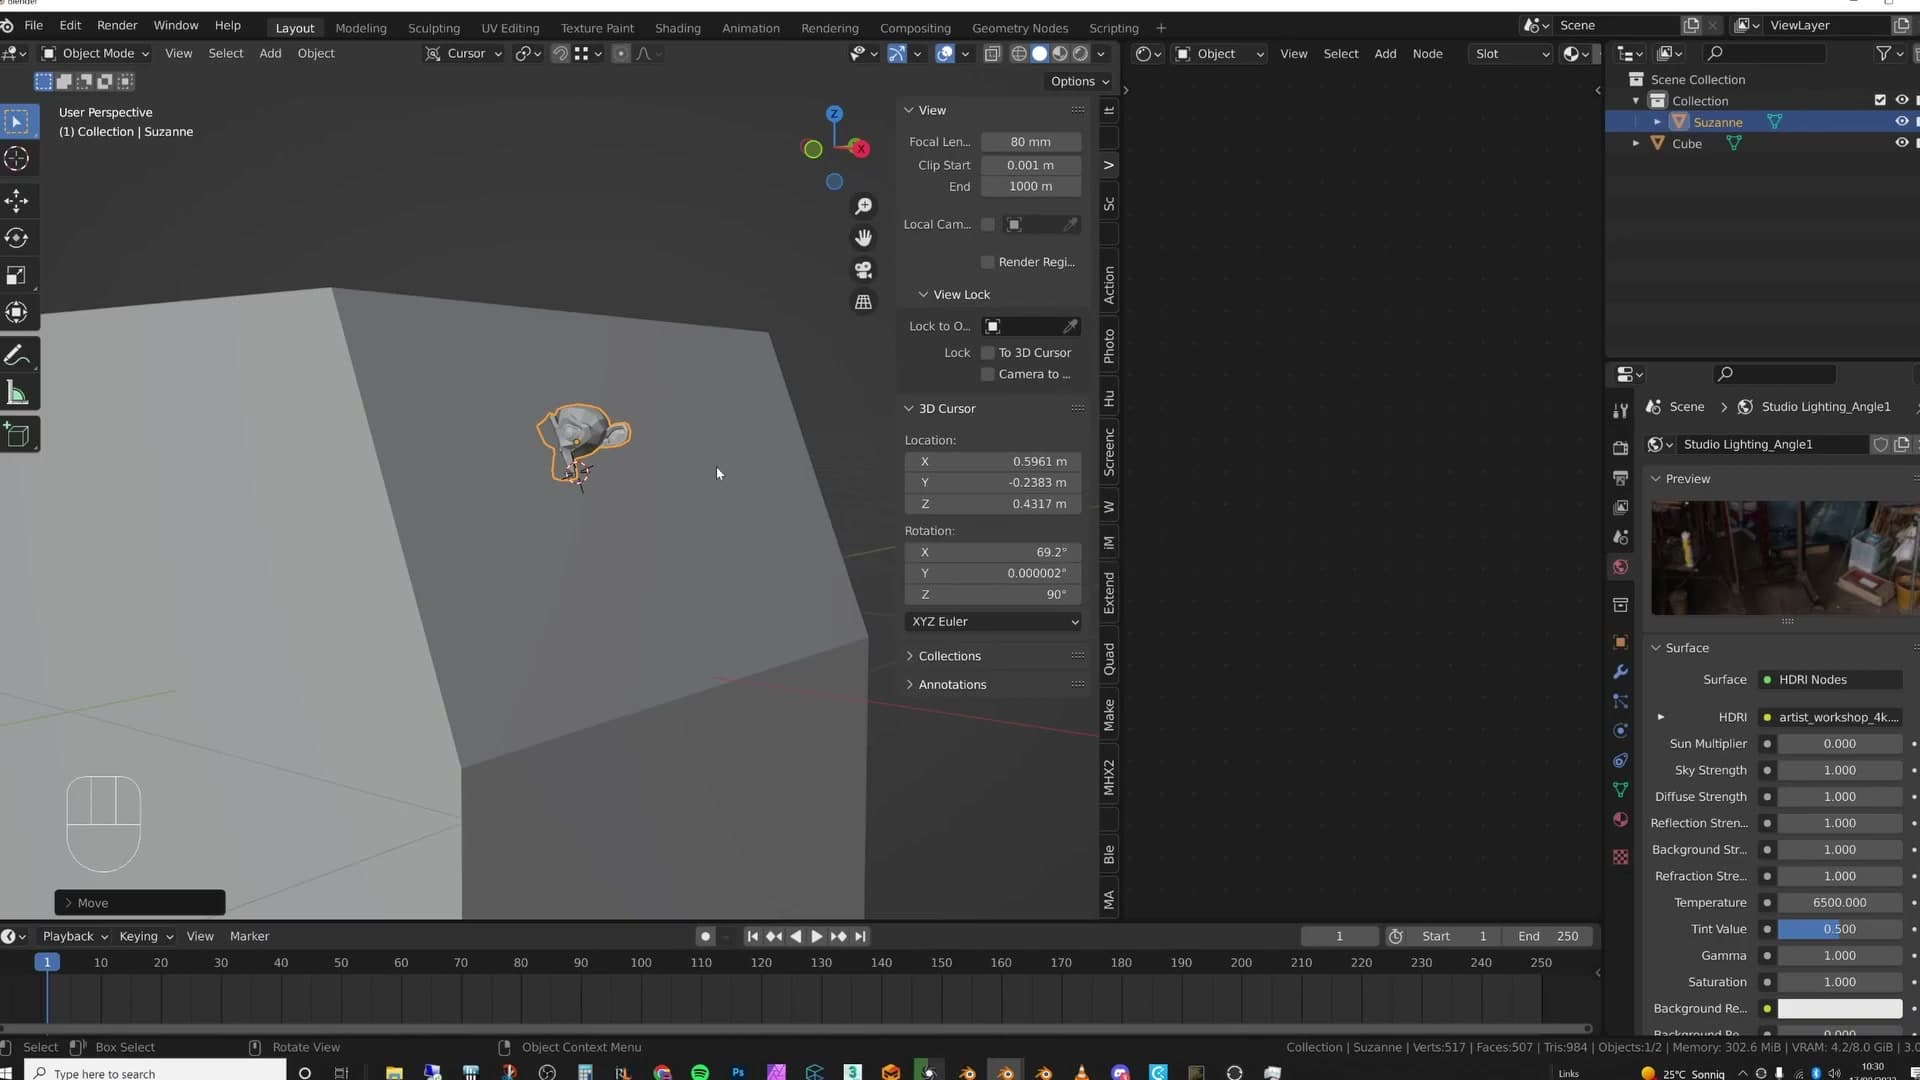
It works on anything you add. Drop in a Suzanne with Shift+A → Mesh → Monkey, scale her down, and G+Y will glide her across the same slope as the cube did, with no further setup.
Cursor as a pivot point and orientation target
Two more useful applications: switch the pivot point dropdown to 3D Cursor to rotate or scale entire selections around the cursor, then run Object → Transform → Align to Transformation Orientation to snap any object's rotation onto the cursor's axes.
Switching pivot point to 3D Cursor for grouped rotation and scale
After Shift+S → Cursor to Selected, the second most useful job for the 3D cursor is acting as a pivot point. By default, when you select two or more objects and rotate them, Blender pivots them around their shared median, so they swing relative to each other rather than spinning in place. That is rarely what you want when you are laying out an arc of objects or rotating a sub-assembly around a deliberate anchor.
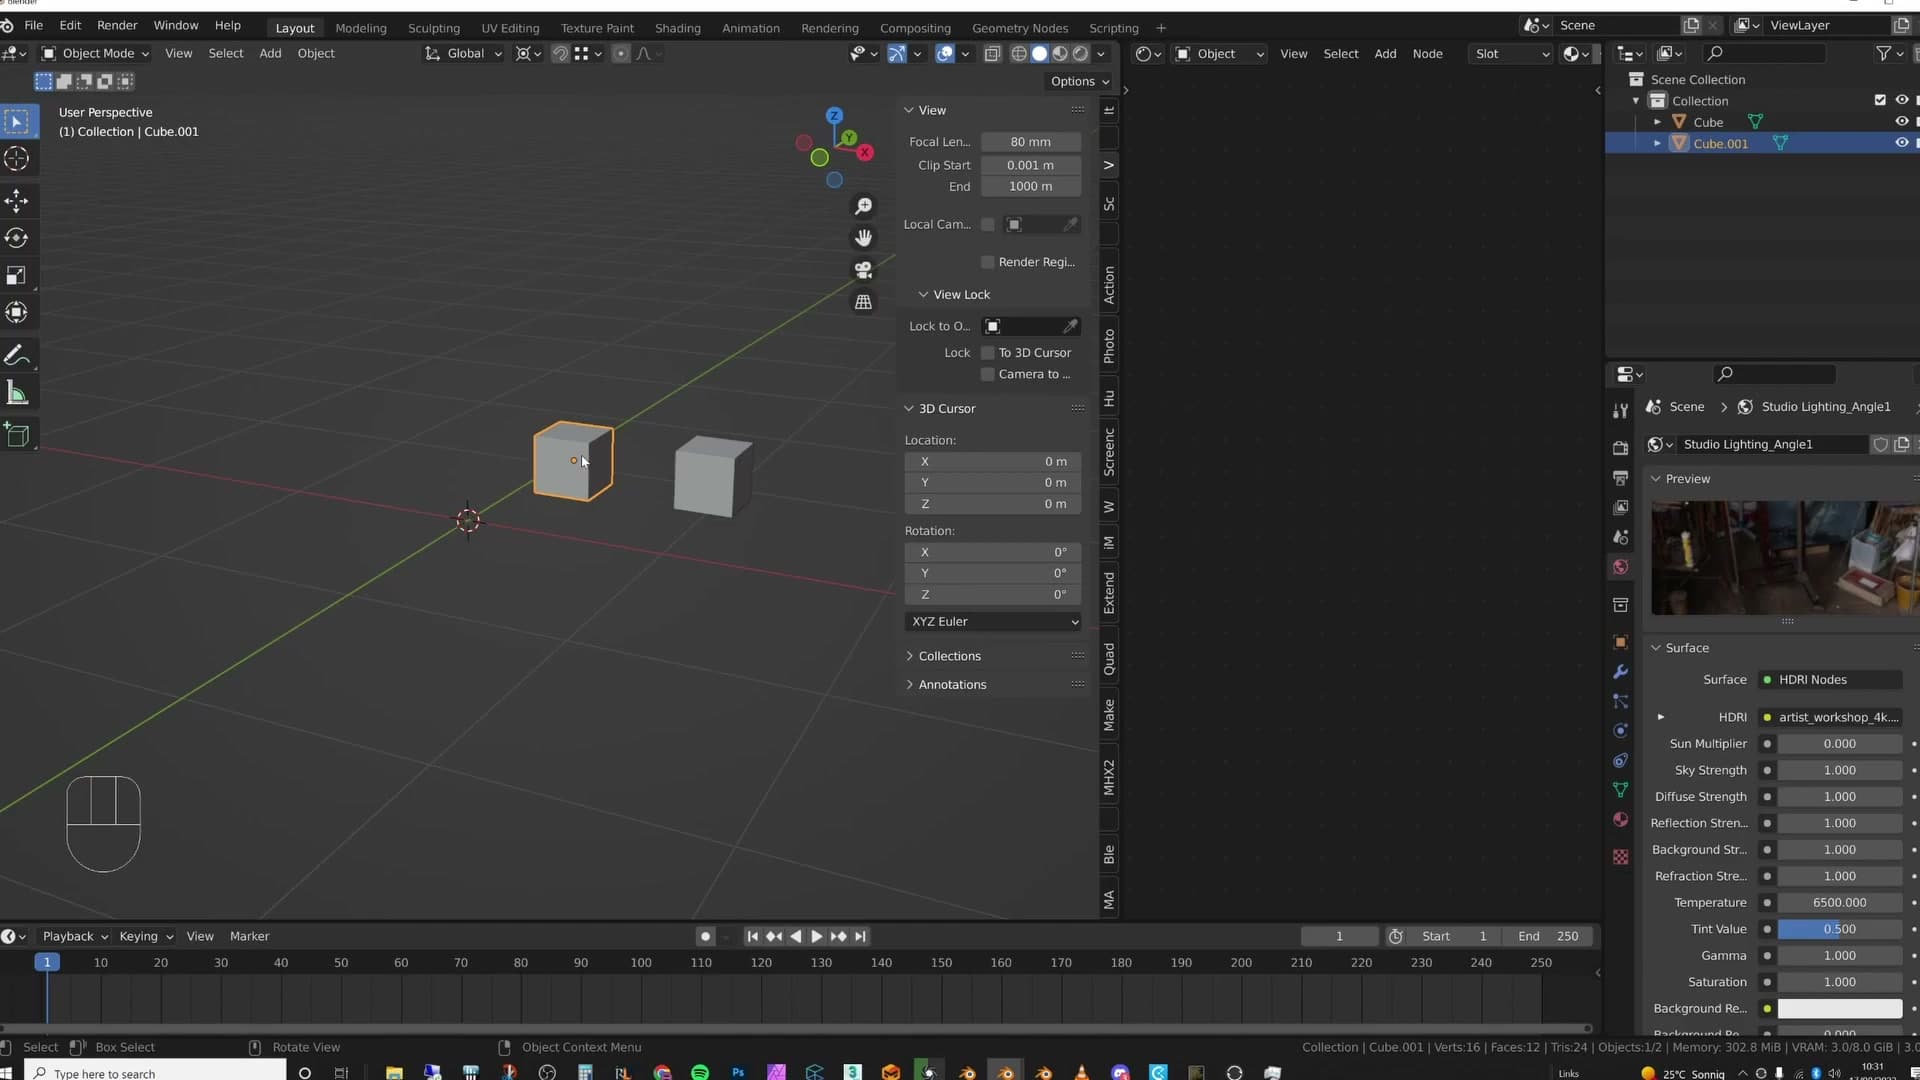
The pivot point dropdown sits in the viewport header. Drop it open and you get three behaviours worth knowing for this trick:
1. Leave it on the default and a multi-object rotation pivots around their median. 2. Switch it to Individual Origins and each object rotates around its own origin in place. 3. Switch it to 3D Cursor and every selected object rotates around the single cursor point, wherever you have placed it.
The third option is the one that pays off again and again. Drop the cursor onto a precise spot (a vert, a face centre, the corner of a wall) and any rotation or scale you trigger now uses that point as the anchor. It is the cleanest way to fan objects out around a centre, build symmetric arrays, or shuffle a group of items in relation to a fixed reference rather than to themselves.
Snapping rotation with Align to Transformation Orientation
The cursor's third superpower is telling other objects which way they should be facing. Once you have oriented the cursor onto a surface, you can snap any object's rotation onto those same axes in a single click. That's what you want when you need something to sit flush on a sloped roof, an angled wall, or any face that is not aligned to the world.
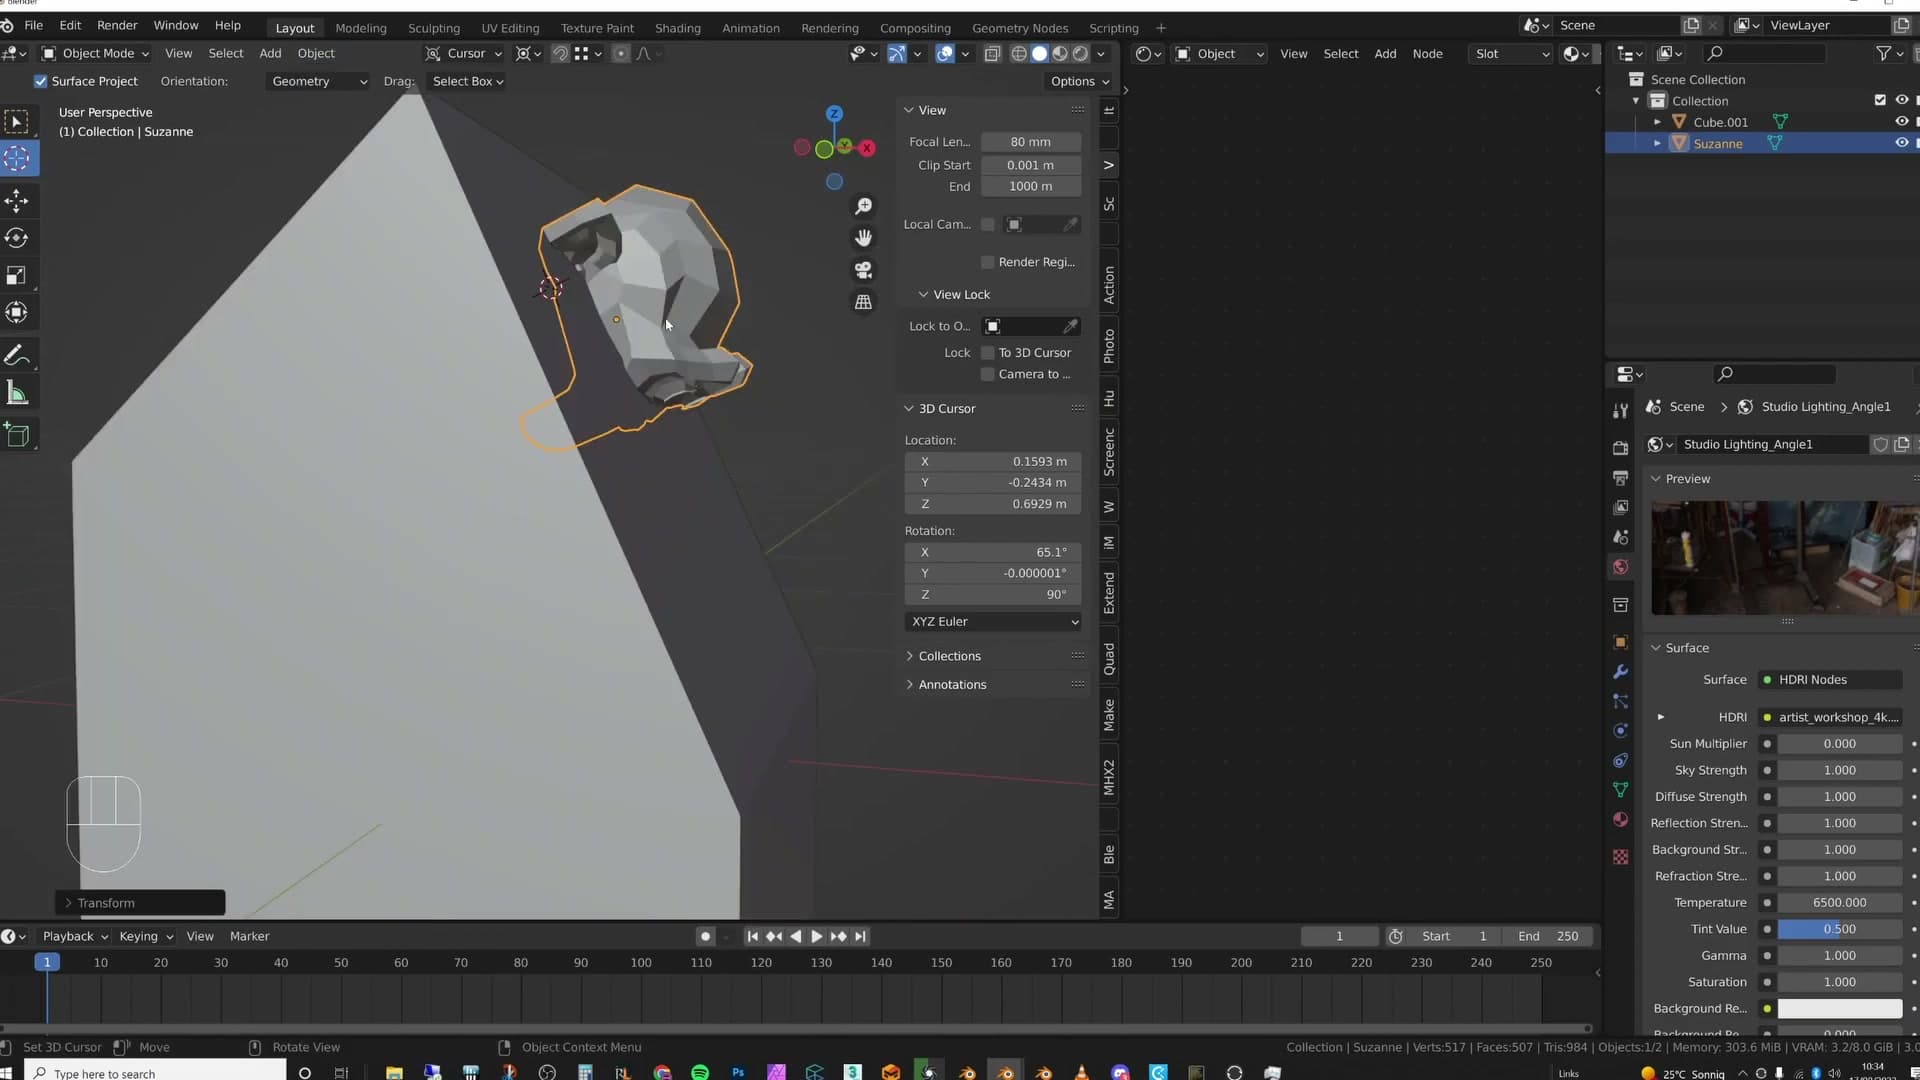
The workflow is short:
1. Activate the Cursor tool (Shift+Space, then the cursor option) and set its Orientation to Geometry in the top header. 2. Left-click the surface you want to match. The cursor's axes snap to that face's slope. 3. In the transform orientation dropdown, switch from Global to Cursor so subsequent transforms follow those axes. 4. Select the object you want to re-orient (Suzanne, a cube, anything) and run Object → Transform → Align to Transformation Orientation.
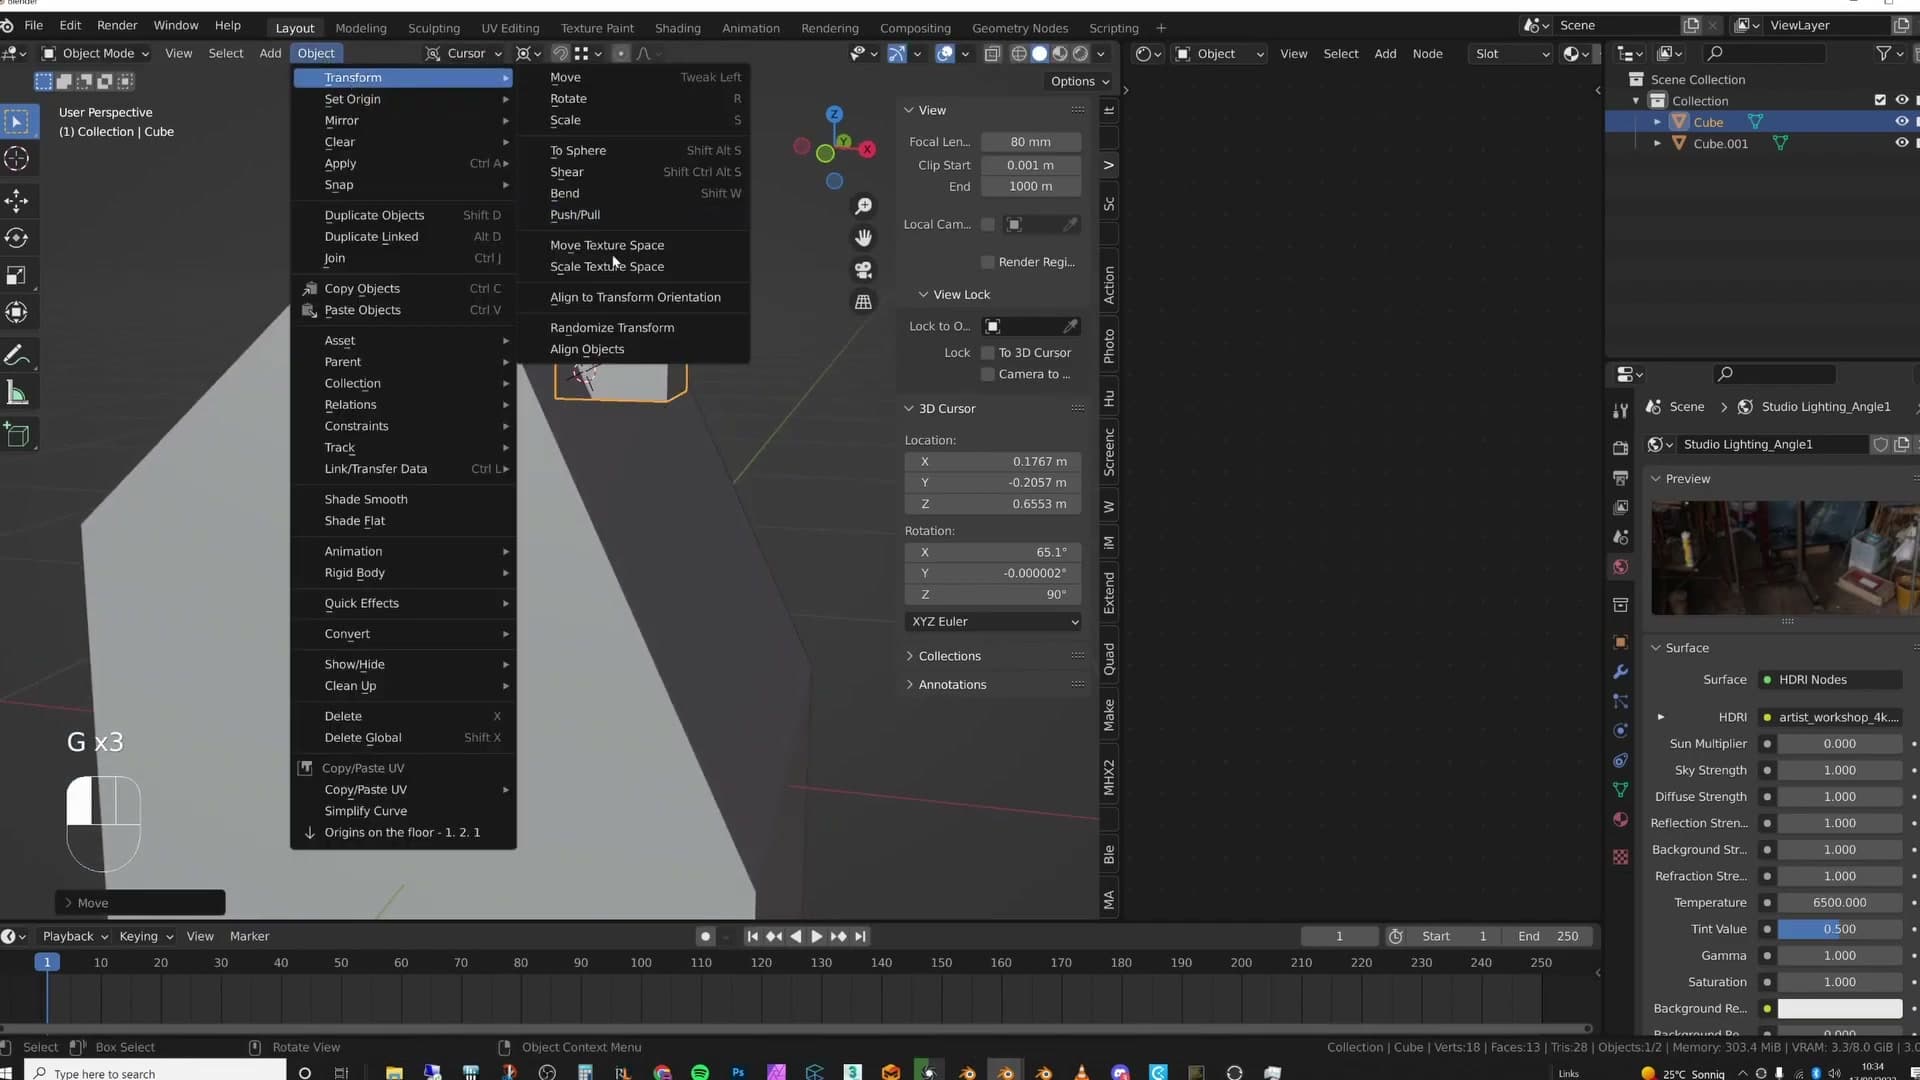
The selected object immediately rotates to match the cursor's axes, so it sits flush on the surface you clicked. It works just as well on a freshly added primitive: add a cube, run the same Align command, and it lands flat on the roof slope without any manual eyeballing. No protractor, no R-X-typing degree values, no gizmo wrestling.
Perfect Spin operations with a fine-tuned cursor
The Spin operator revolves geometry around the 3D cursor, so a sloppy cursor placement produces wobbly results. Snap the cursor to your spin axis with Shift+S, then nudge a single coordinate in the N-panel to land a clean, repeatable spin every time.
Spinning geometry around the cursor
The Spin operator revolves selected geometry around the 3D cursor, which makes the cursor the unsung hero of every clean radial sweep, curved repeat, and arc-shaped detail you build. Place the cursor first, then spin. The order matters, because Spin reads the cursor's position the moment you invoke it.
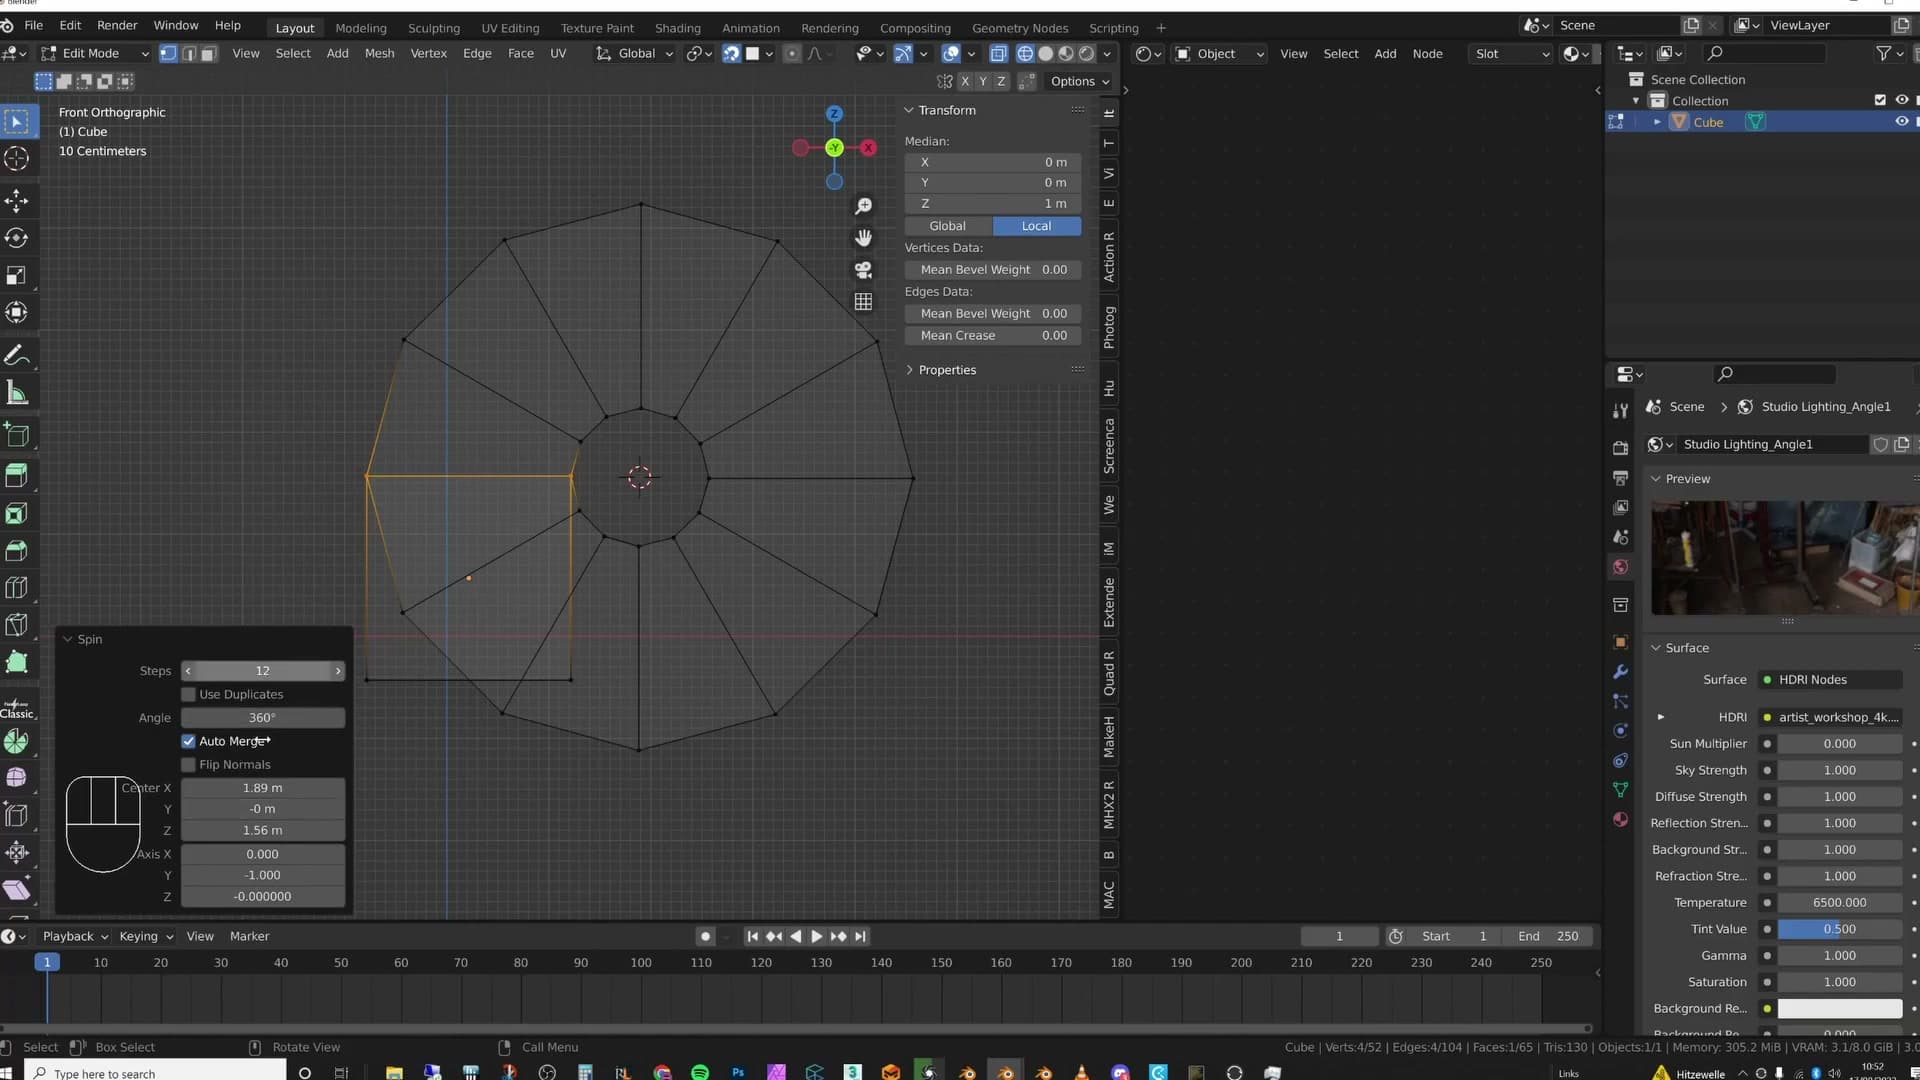
To try it out, drop into edit mode, Shift+click to add a face to your selection, then hit F3 and type Spin. You can also pick the operator from the toolbar on the left of the viewport. The selected face rotates around the cursor's current location, sweeping out a ring of new geometry that follows whatever orientation your cursor is sitting on.
That's the whole loop: position the cursor, select the faces you want to revolve, run Spin. The problem (and the reason the next sub-lesson exists) is that eyeballing the cursor placement almost never lands you on the true axis of rotation.
Fine-tuning a single axis for a flawless spin
Guessing where to click for the cursor is the trap. If you drop it roughly where you think the centre of the curve sits, the spin will revolve around an offset point and you'll see the centre of the sweep land in the wrong place. That's the kind of jagged, lopsided ring you sometimes spot in other people's models. The fix is to stop guessing and let geometry do the placing.
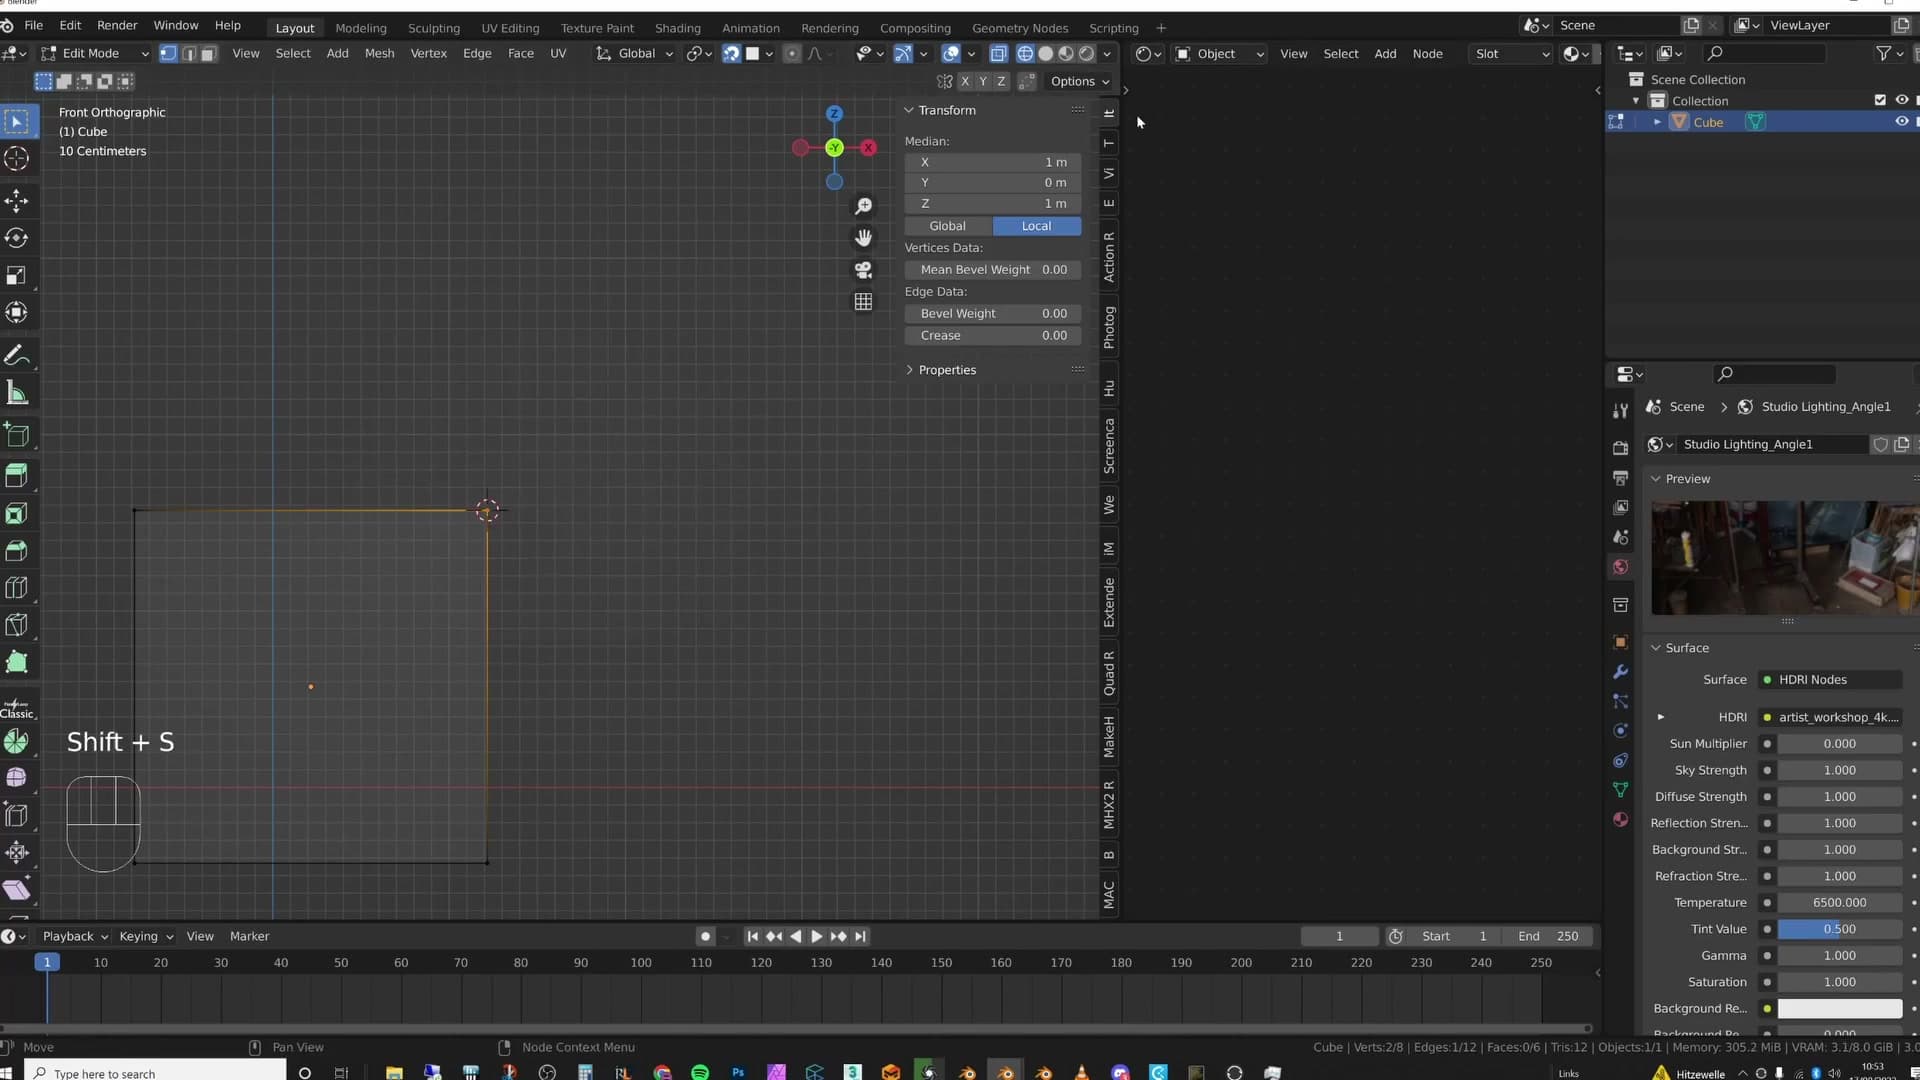
Use the cursor refinement workflow from earlier in the video to lock in a clean axis:
1. Select the faces or edges that sit on the rotational axis you want. 2. Press Shift+S and choose Cursor to Selected so the cursor snaps to the averaged centre of that selection. 3. Open the N-panel's View tab and fine-tune a single coordinate. Nudge whichever axis needs to shift so the cursor sits exactly on the curve's true centre of rotation. 4. Reselect the geometry you want to revolve and run Spin again.
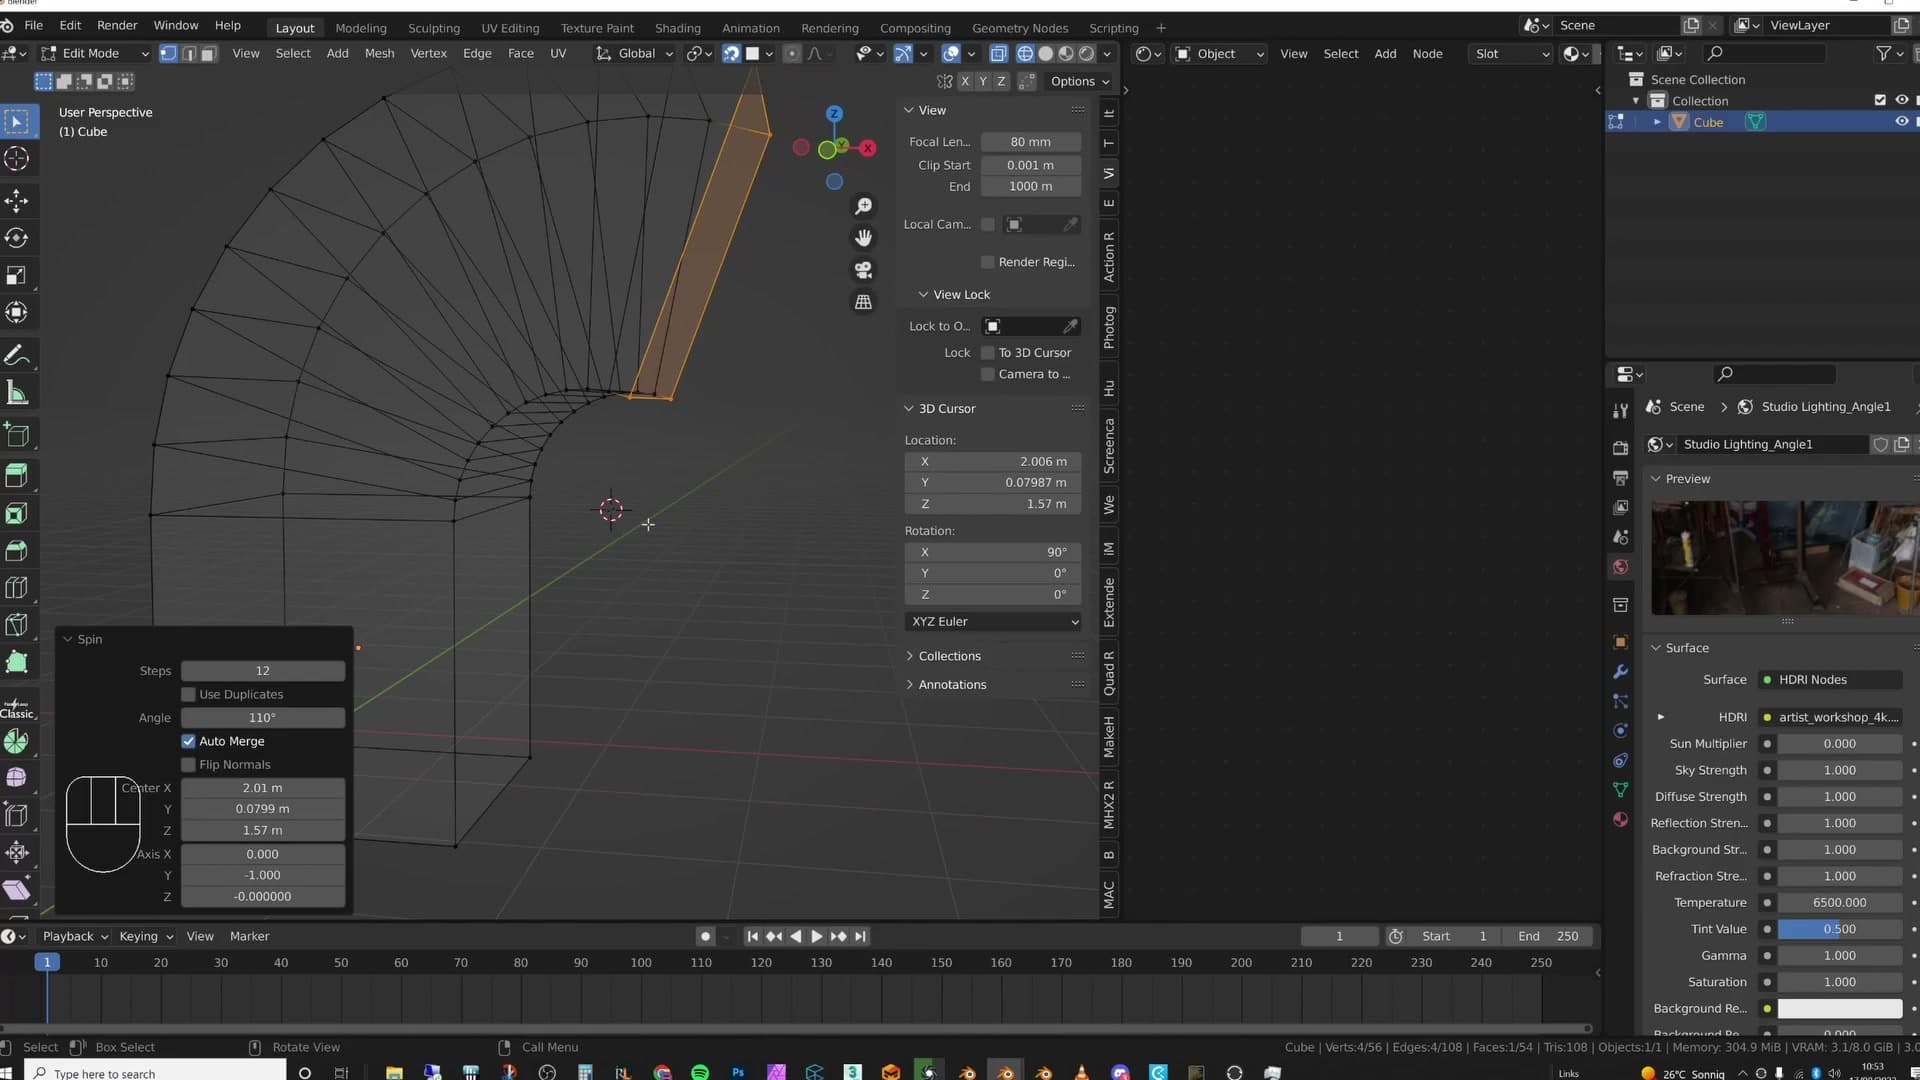
With the cursor anchored to real geometry and one axis tweaked numerically, the spin sweeps a flawless arc every time. No duplicate attempts, no clicking five times until it looks right, no artefacts in the result. The operator simply follows the curve cleanly because the pivot is finally where it needs to be.
Tools and credits
Everything mentioned in this tutorial, with links.
- Blender (the renderer this entire build runs in).
- iMeshh (studio platform: project management, client review, asset library, invoicing). The asset library used in this tutorial is included with every iMeshh Pro plan.
- Poly Haven (free CC0 textures and HDRIs).
Pillar guide: Tips Tricks hub