Setting up the water material
Rename the object, create a fresh material slot, and dial the Principled BSDF into glass-like behaviour with transmission and zero roughness.
Naming the object and material
Before touching any shader settings, give the plane a sensible name so the scene stays readable as it grows. In the Outliner, rename the plane to water so you can identify it at a glance later on.
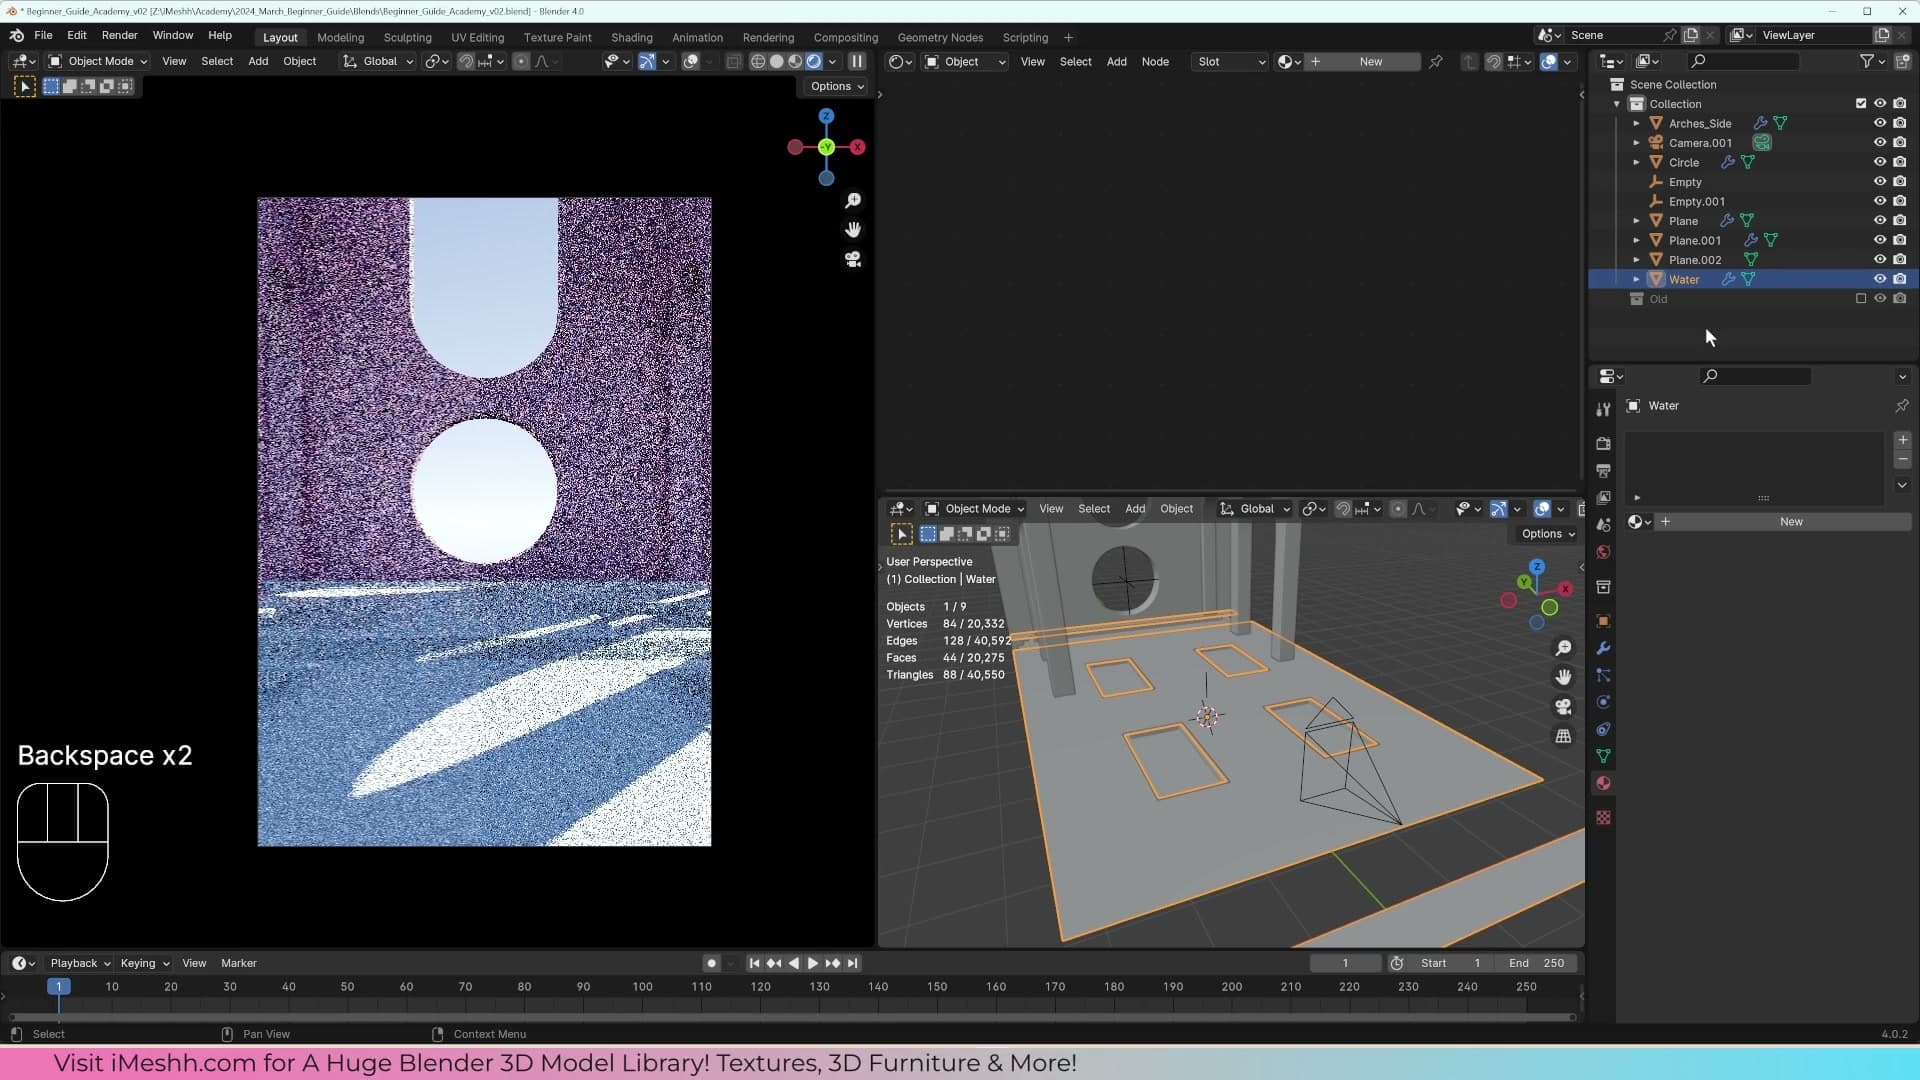
With the plane still selected, add a new material slot in the Properties panel and rename that slot to water as well. Matching the object and material names keeps things tidy. When you come back to this file in a week, there's no guessing which slot drives which surface.
Turning on transmission
The new material slot gives you a fresh Principled BSDF, the same shader you have already used for the base colour, roughness and normal inputs in earlier parts of the course. This time you are reaching for sliders further down the list.
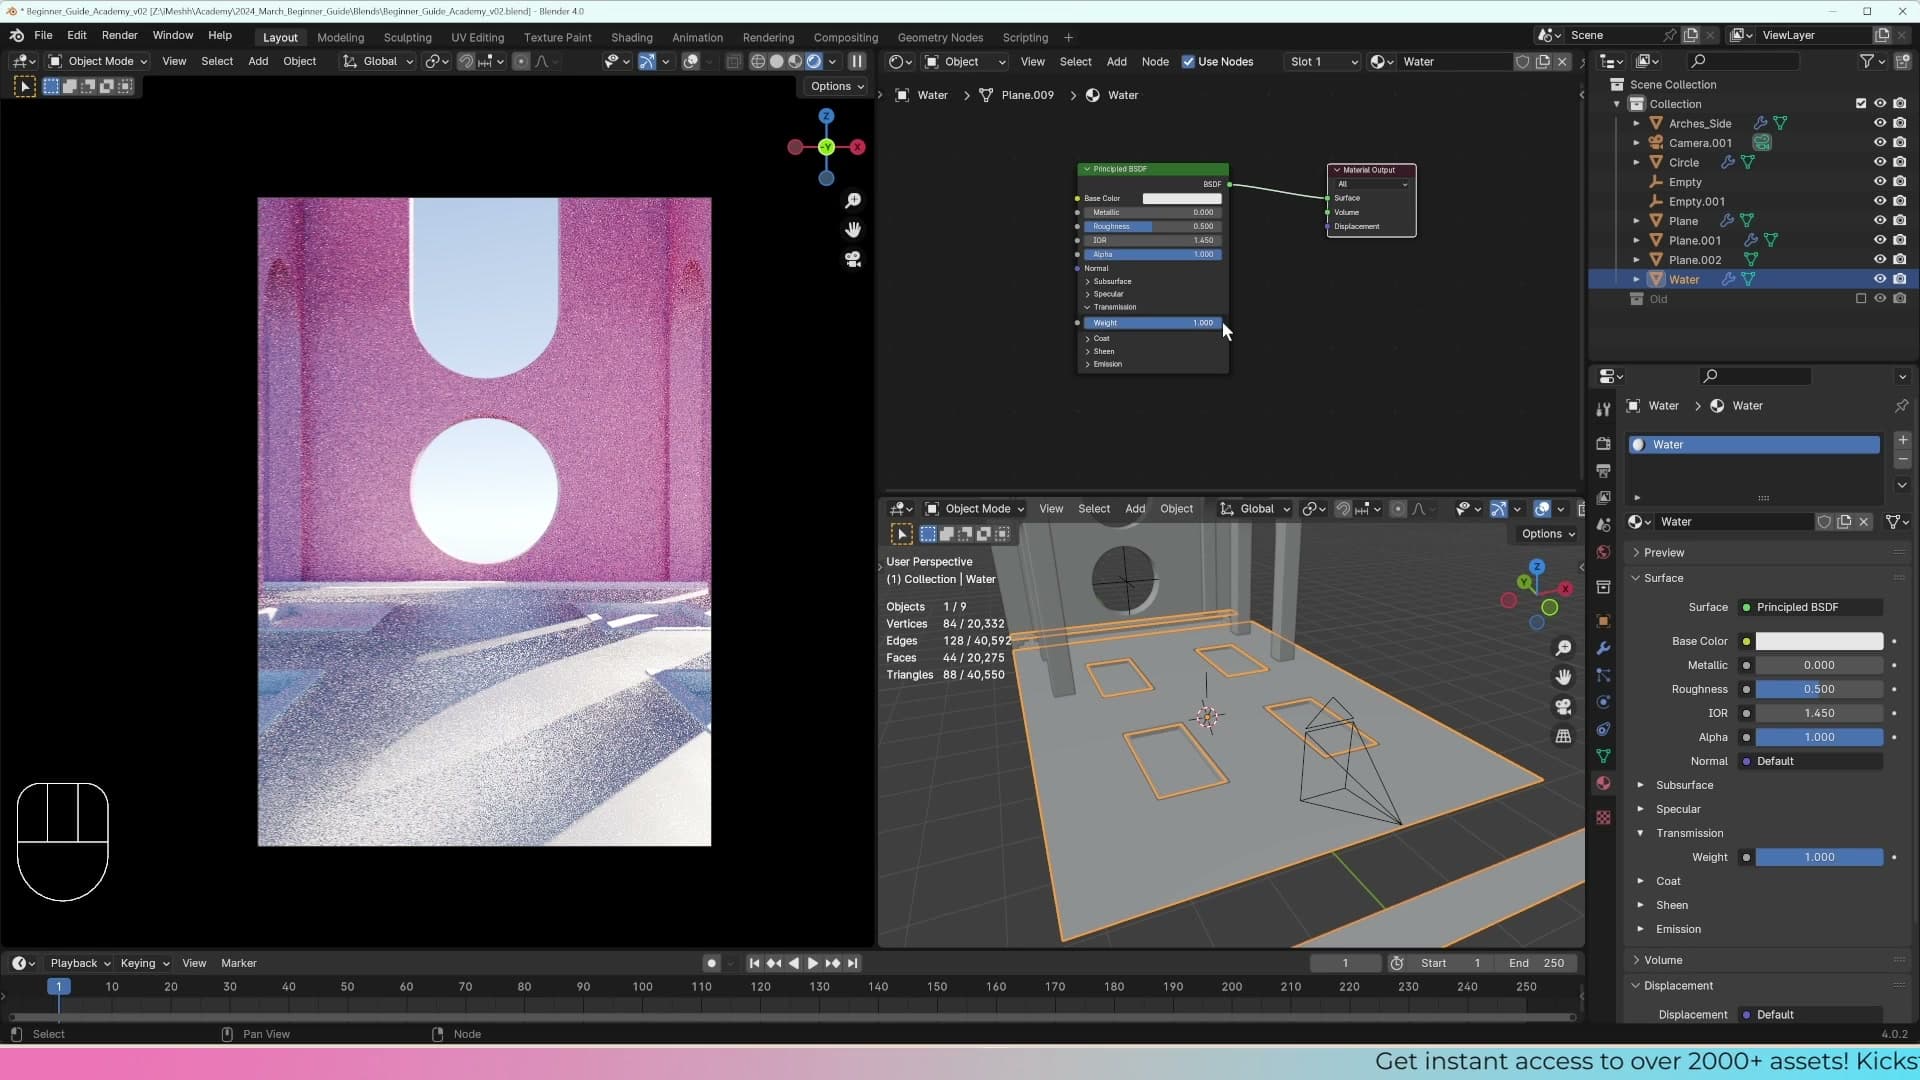
Scroll past the familiar Metallic and Roughness inputs and find the Transmission slider. Transmission tells Cycles that light should pass through the surface rather than bouncing off it. That's what you need for water or glass.
Push Transmission all the way up to 1.0. Something immediately changes on the plane: it looks like you can almost see inside it, but the surface still has a hazy, frosted quality. That haze is the next thing to deal with.
Dropping roughness to zero
The frosted look comes from the Roughness slider, which is still sitting at its default. Rough transmissive surfaces scatter the light passing through them. That's how you get the diffused look of frosted glass.
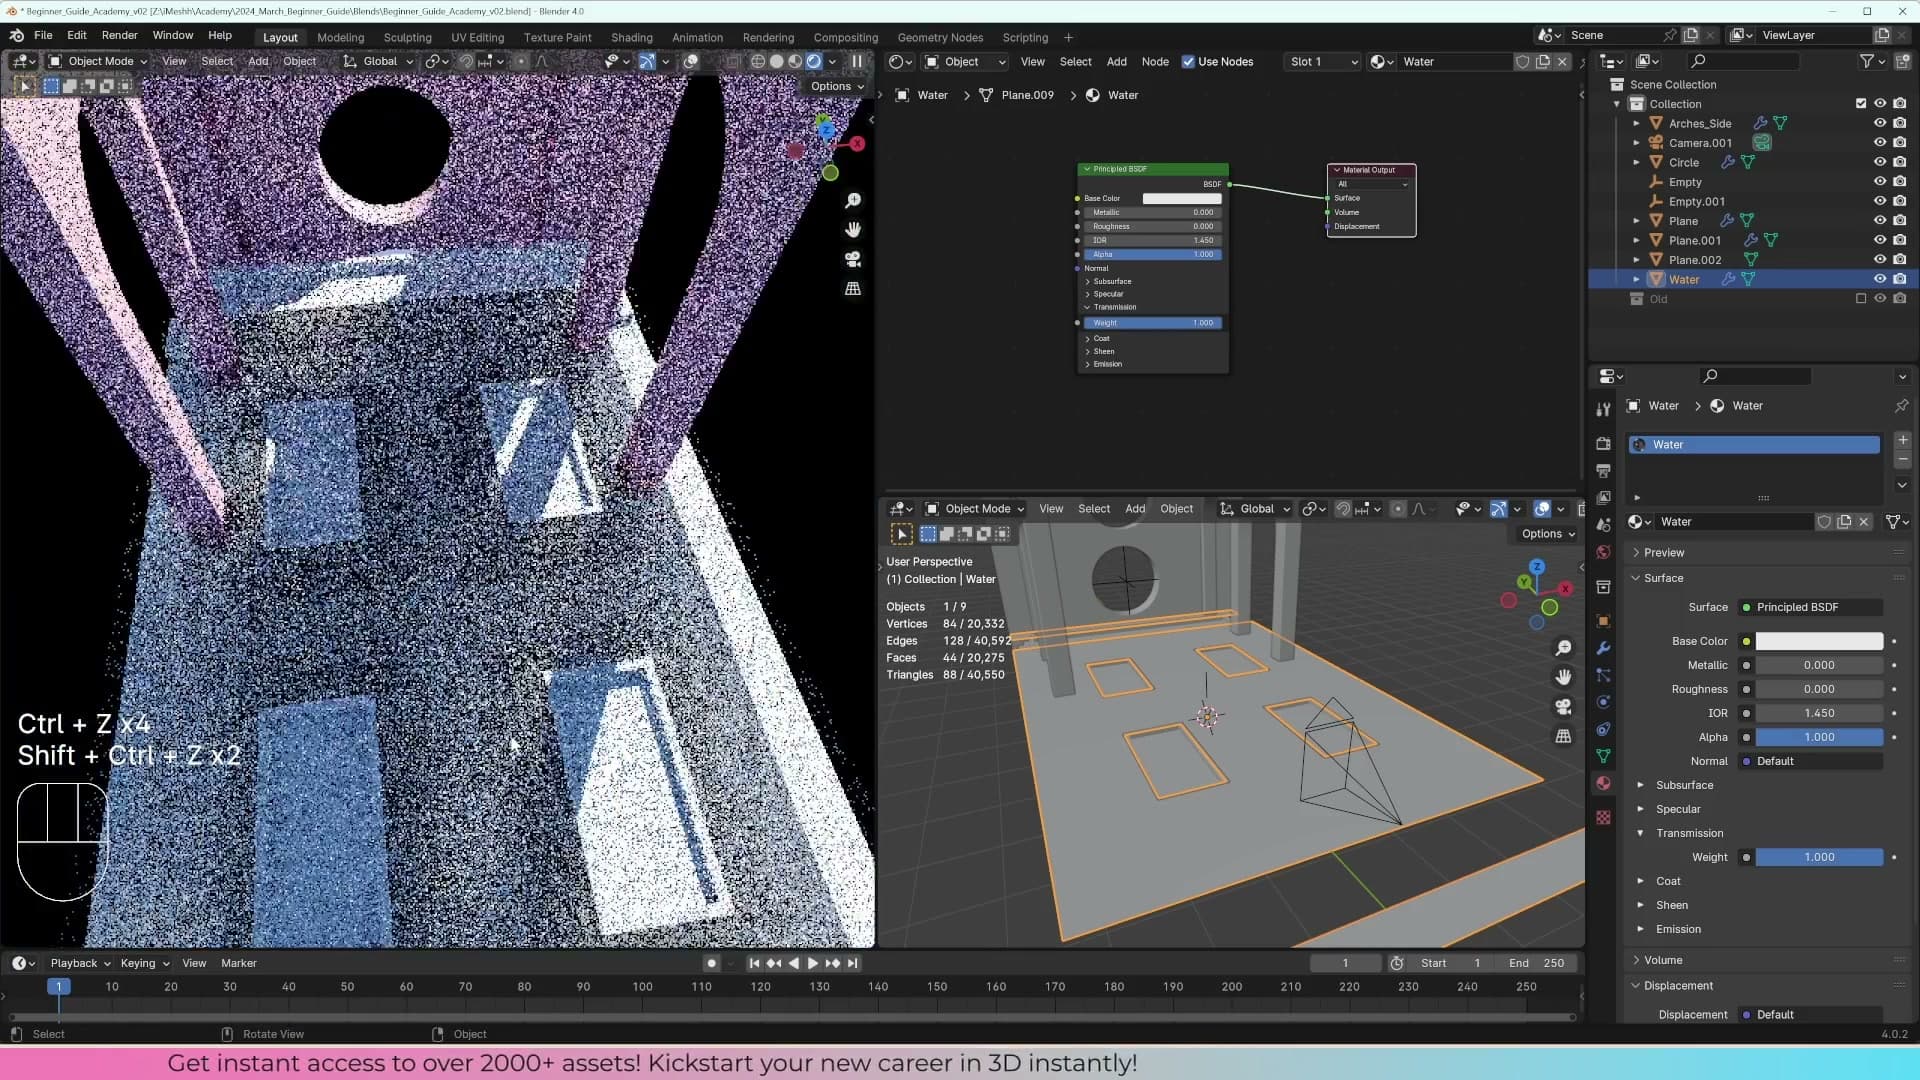
Drag Roughness all the way down to 0. The plane snaps from frosted to perfectly clear, and you can now see straight through to the geometry sitting behind it. That's the basic glass material in place. From here, the rest of the work is about turning clear glass into convincing water.
Cropping the render with Ctrl+B
Switch the 3D viewport into rendered shading mode so the transmissive material previews live with full lighting. The water plane will now show what Cycles is actually calculating rather than the simple solid-shaded version.
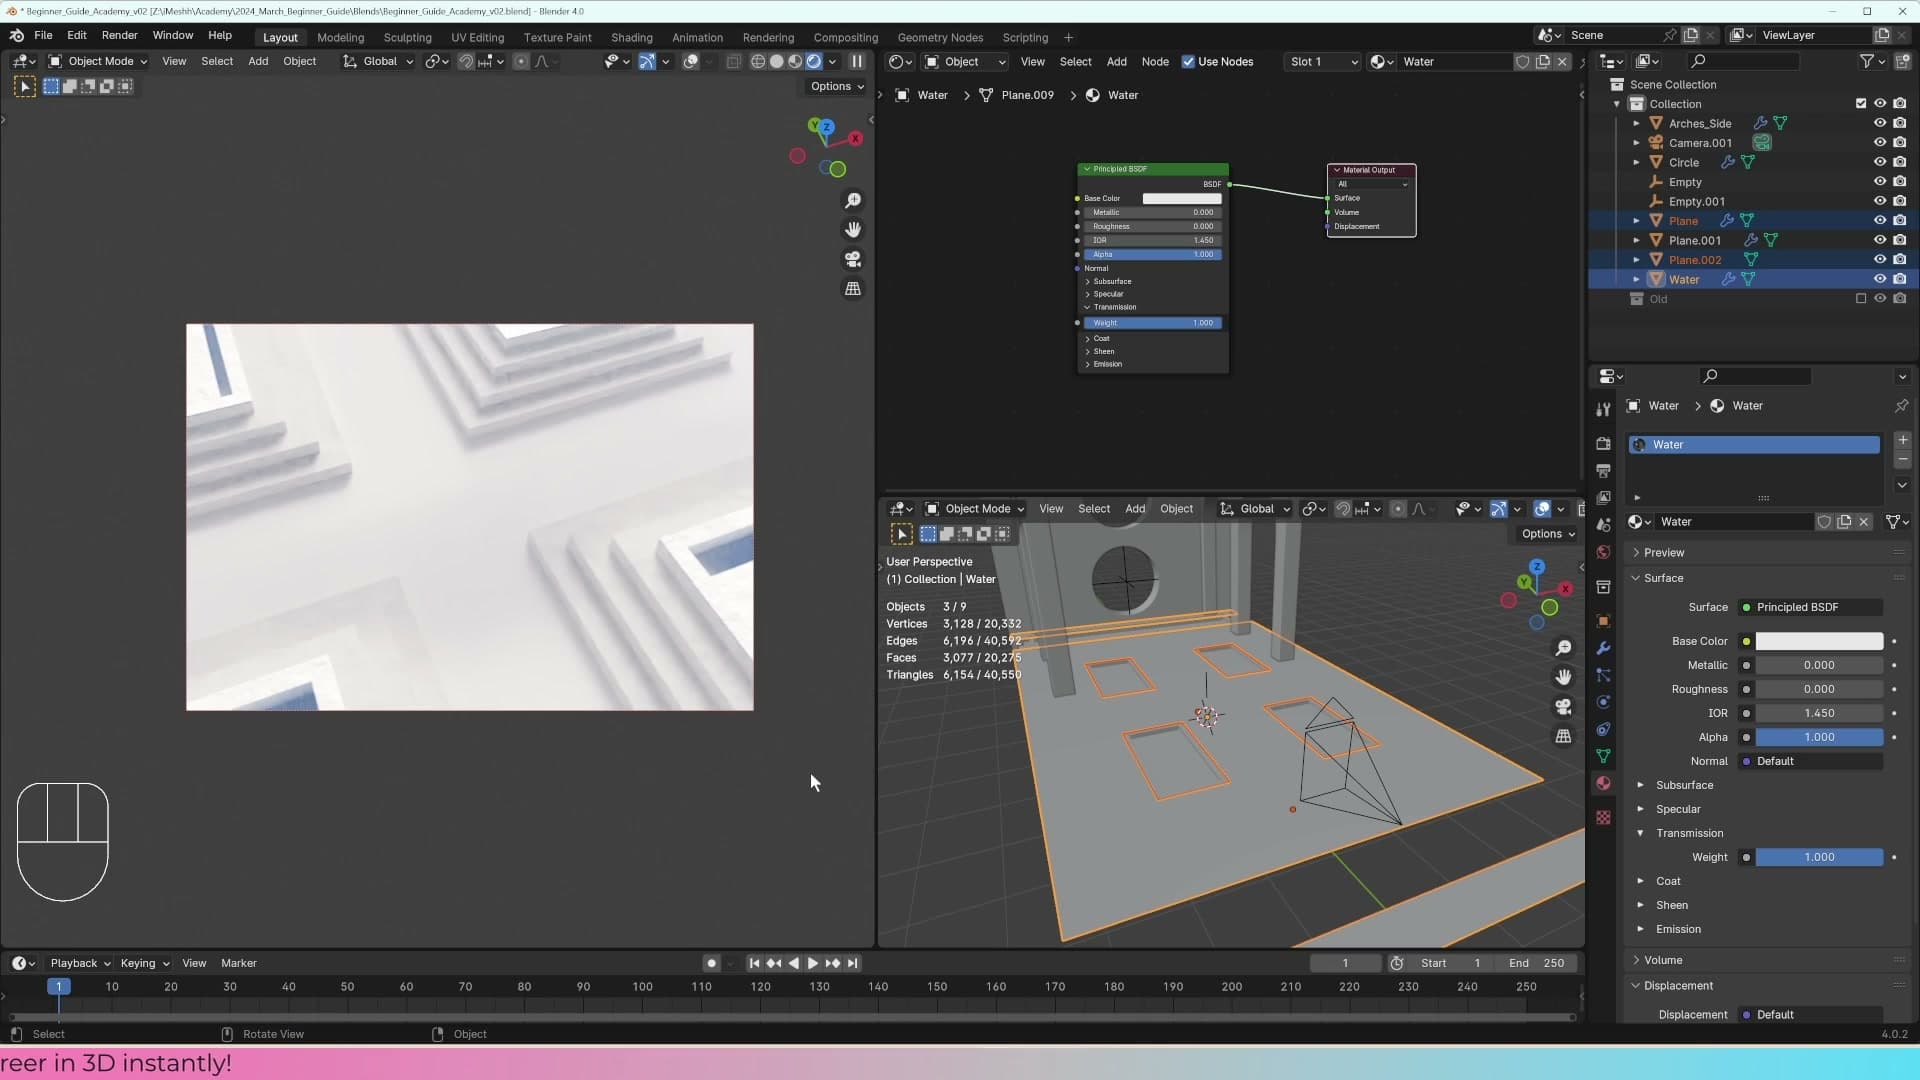
Re-rendering the entire viewport every time you nudge a slider gets slow quickly, especially with transmission in the mix. Instead, press Ctrl+B in the viewport. Your cursor turns into a crosshair and you can drag a box around just the area you care about.
Cycles will now only re-render inside that crop while you tweak the material, which makes dialling in settings dramatically faster. You can redraw the region whenever you reframe, or clear it when you're ready to see the whole image again.
Adding depth with Principled Volume
Plug a Principled Volume into the Volume socket so the water reads darker the deeper the geometry behind it.
Why the volume socket matters
The Principled BSDF gives the water its surface: refraction, reflection, the glassy clarity. To get depth, you need a second piece, a shader plugged into the Volume input of the Material Output. The Volume socket tells Blender that the inside of the object holds data, so light passing through it can pick up colour and scattering rather than just hitting a flat surface.
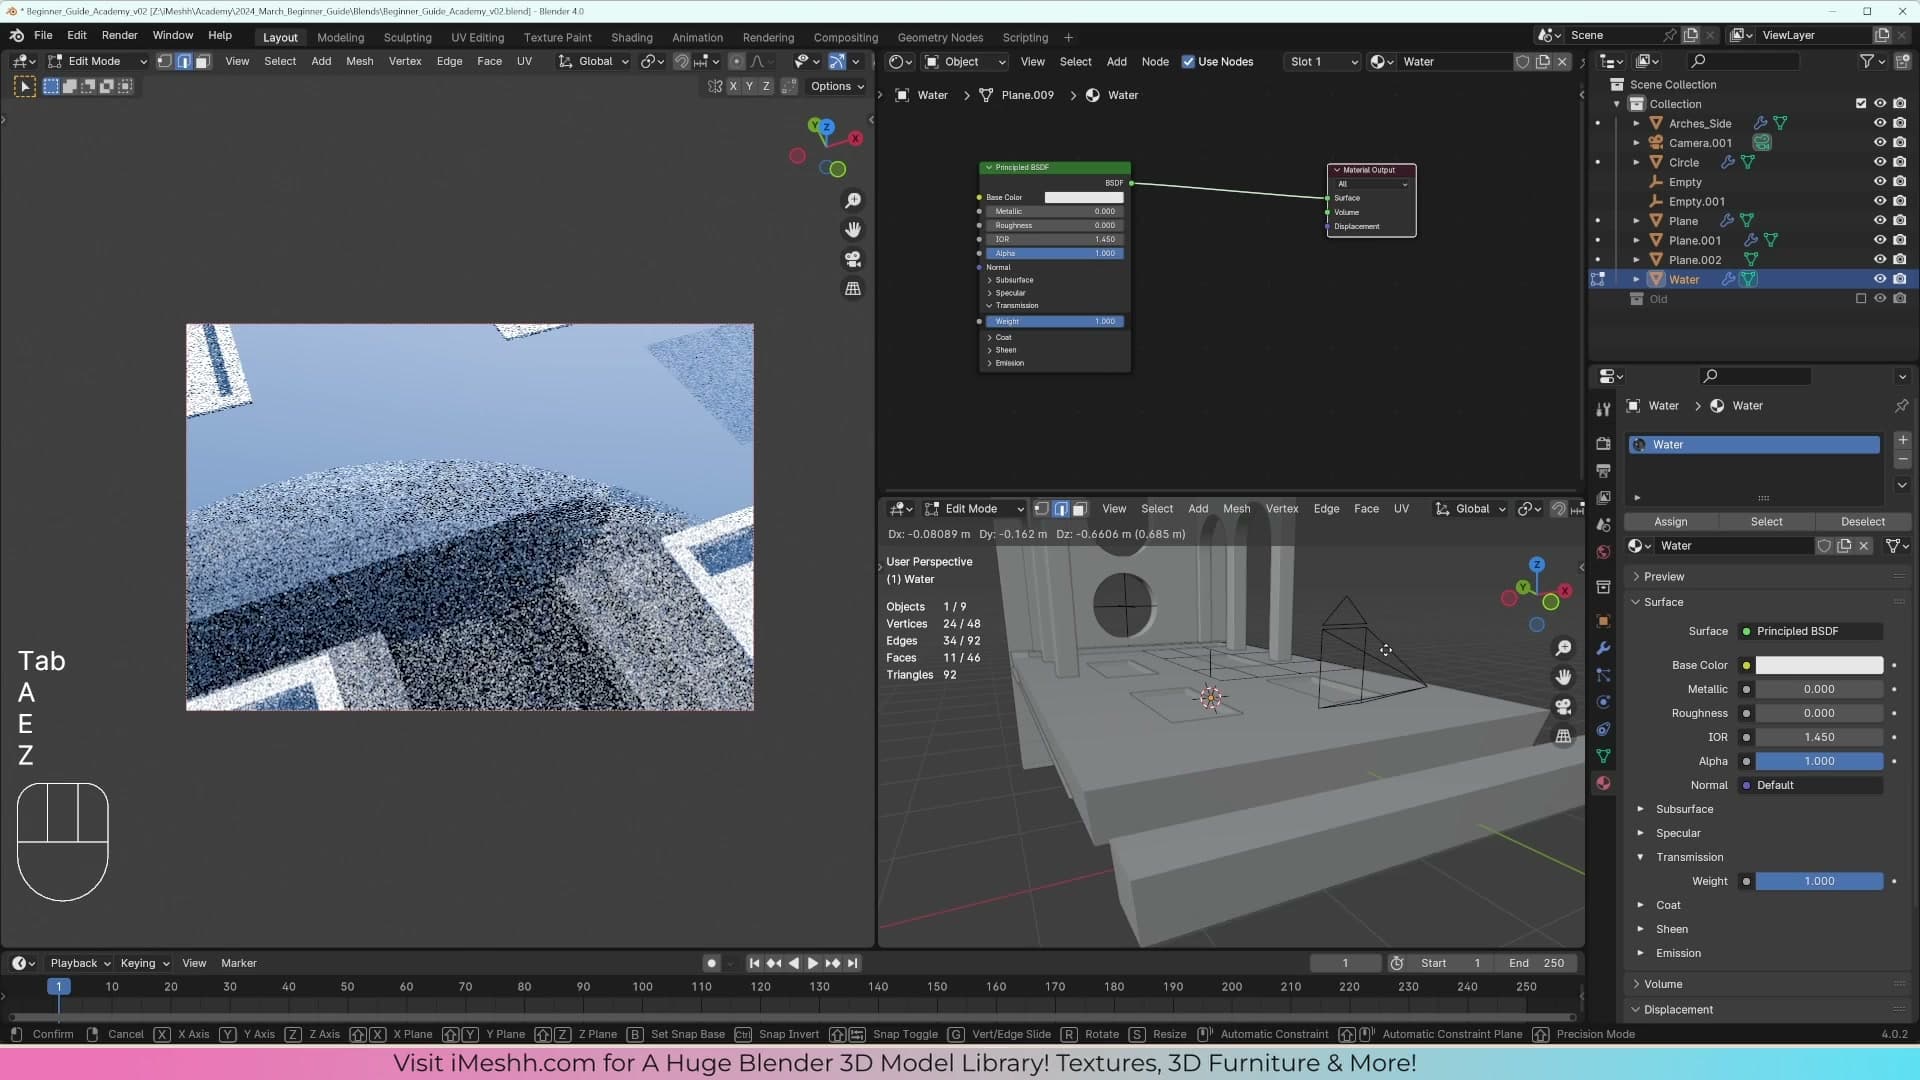
Even though the water in this scene is a single-sided plane, Blender will still treat it as a 3D volume. Because the plane is one-sided, everything sitting behind it gets read as "inside" the volume, so anything below the surface picks up the volume's tint. That single quirk is what lets a flat plane behave like a deep body of water.
Plugging in the Principled Volume node
Drag a noodle out from the Material Output's Volume socket and type Principled Volume into the search. Drop the node into place and the effect kicks in straight away. The top step of the pool reads noticeably whiter than the deeper steps below it.
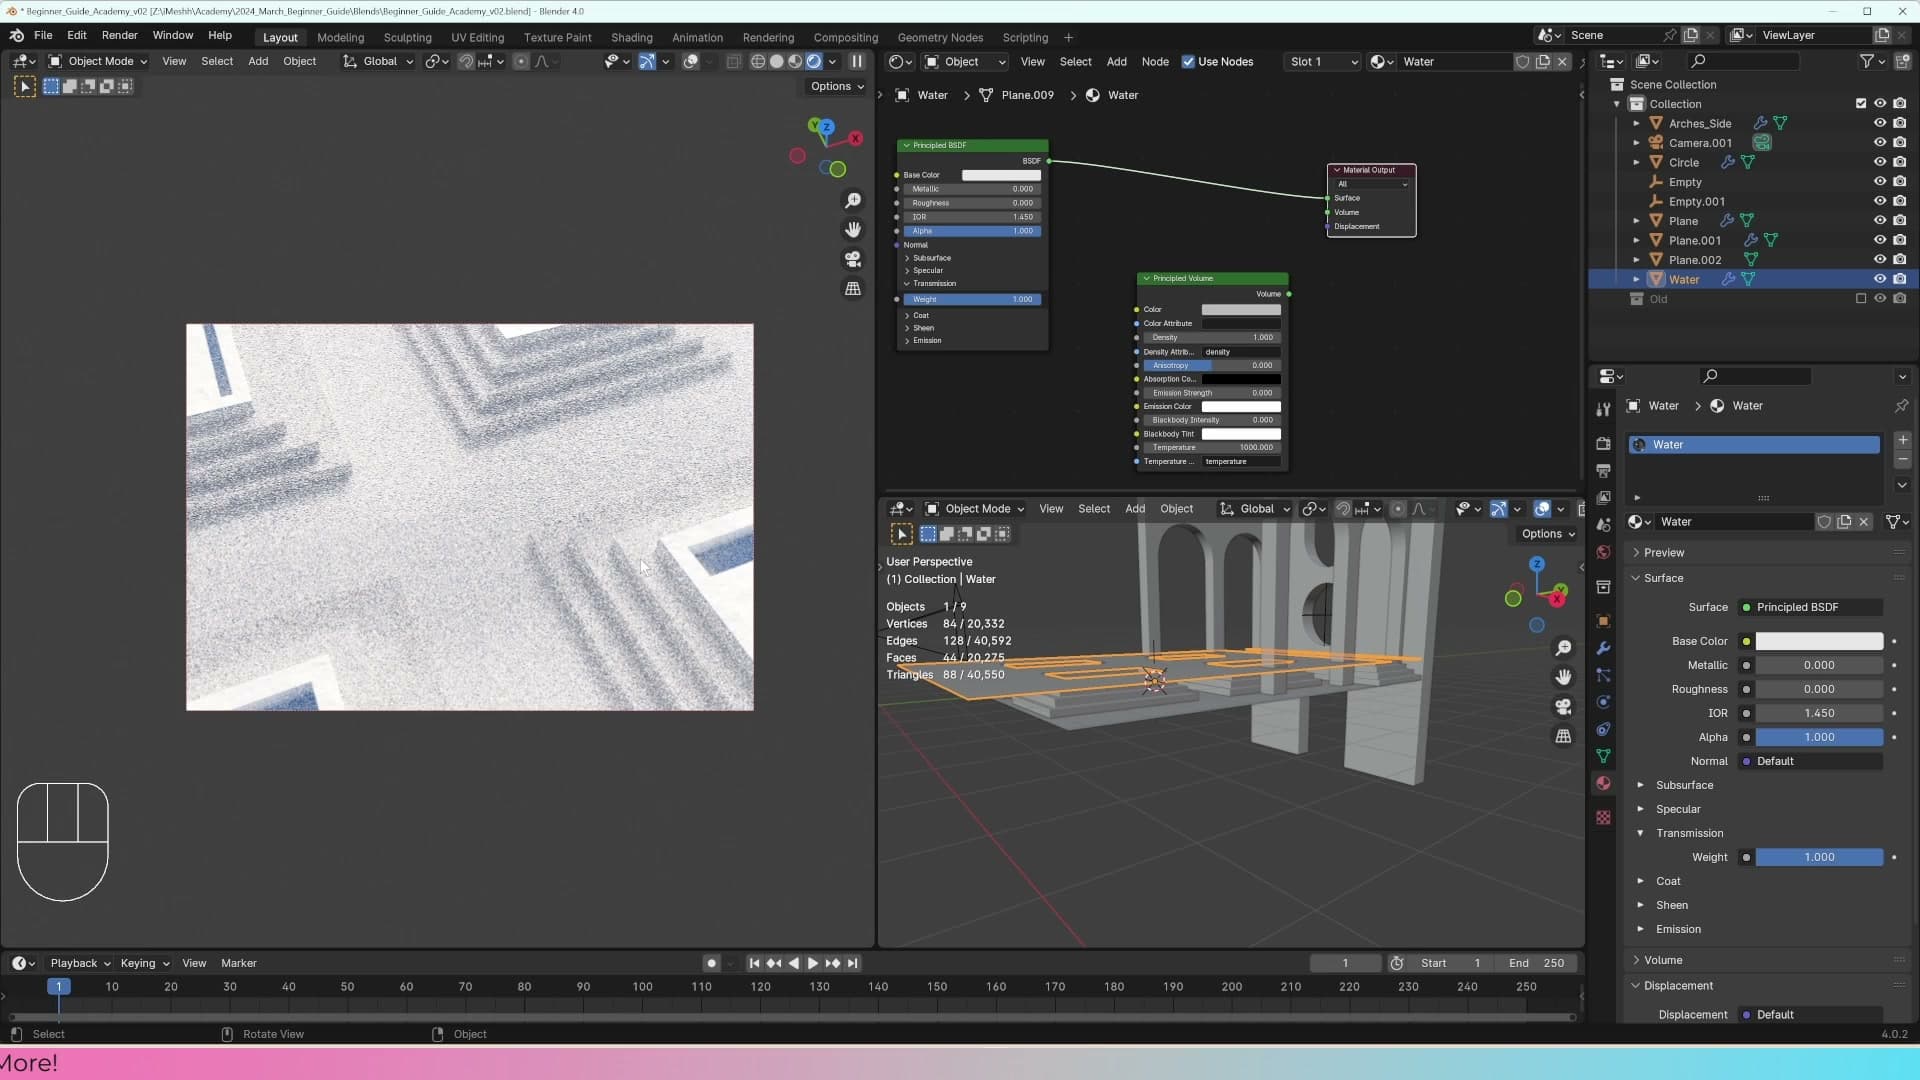
If you unplug the node briefly you'll see the underlying transmission already hints at the depth effect, but it's faint and easy to miss. Plug it back in and the Principled Volume does the heavy lifting: shallow geometry stays pale, anything deeper picks up more colour.
Tuning Anisotropy
The first slider worth touching on the Principled Volume is Anisotropy. It controls how the volume scatters light as it passes through. Set it down to 0 and the water reads milkier and hazier, as if light is bouncing around inside rather than travelling through cleanly.
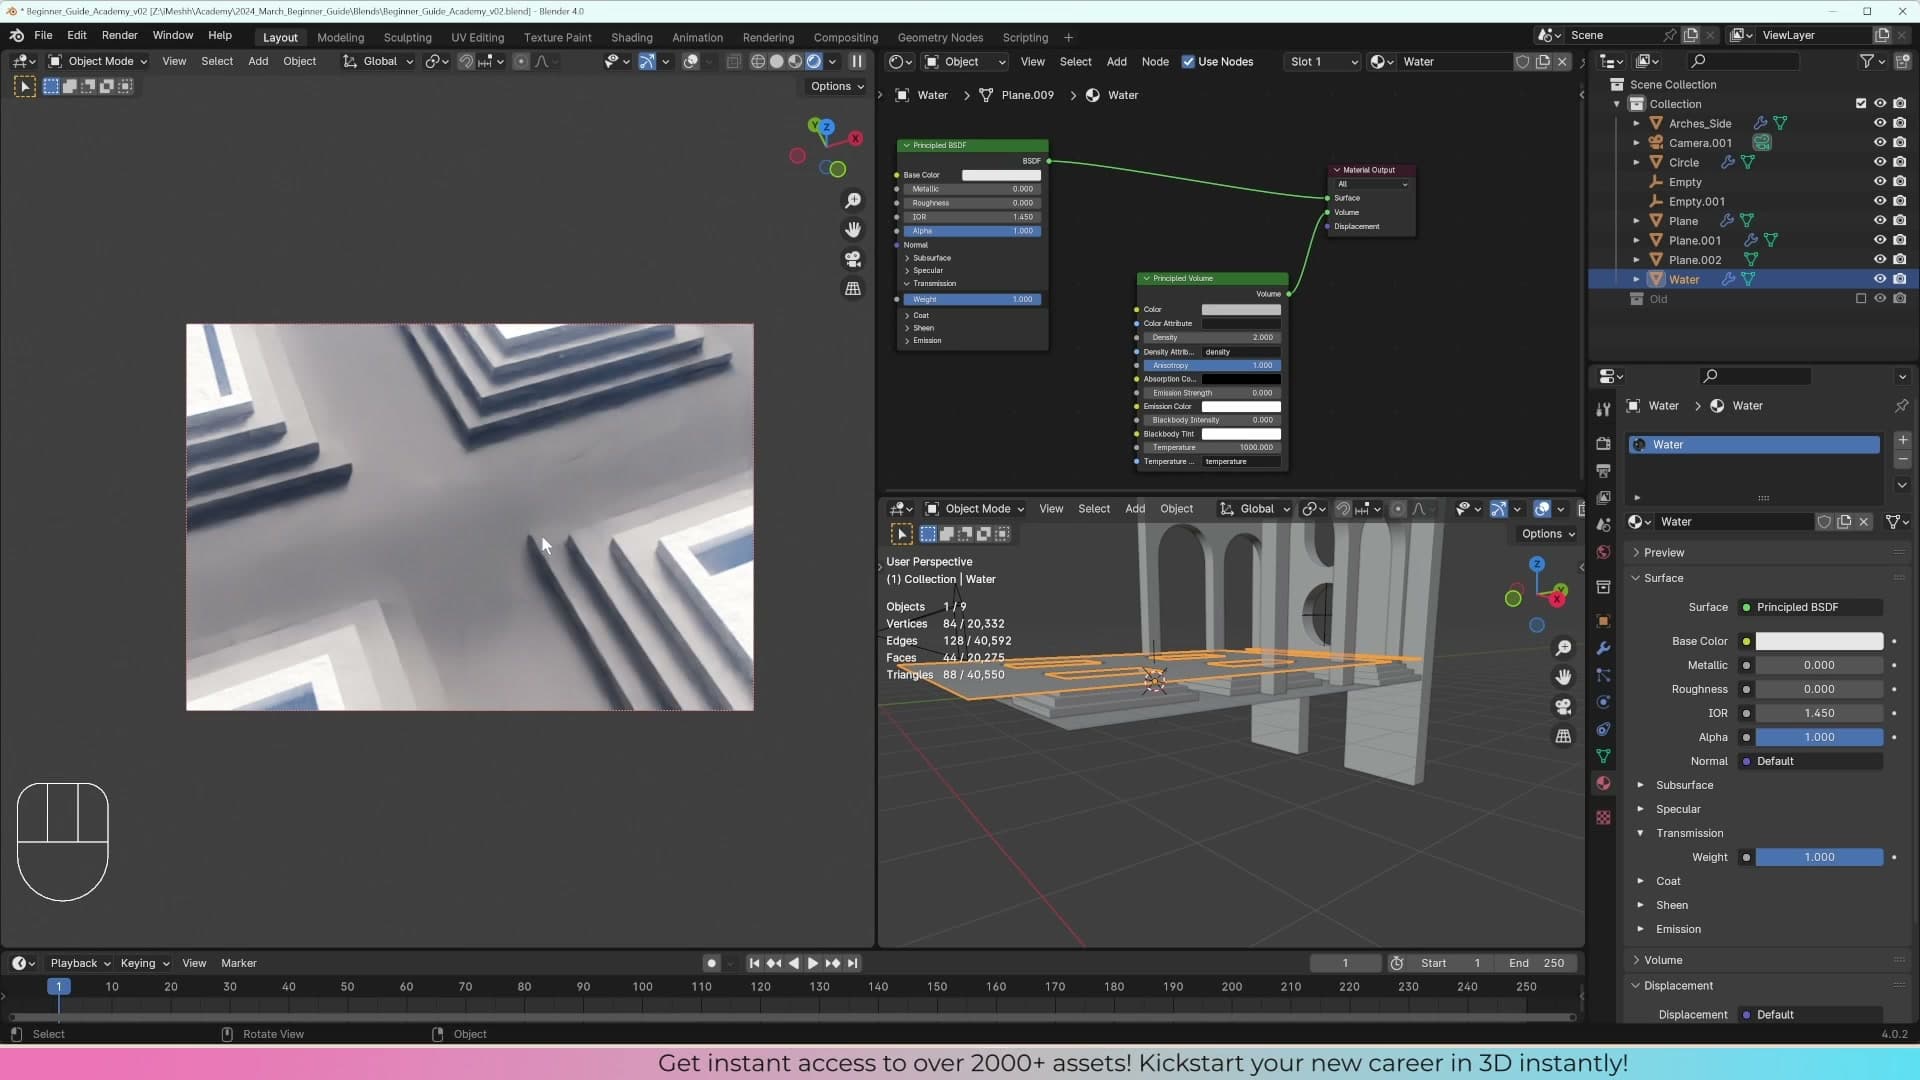
Push Anisotropy higher and the volume lets more light through, which is what you want for water rather than fog or smoke. Slide it up until the deeper steps still read clearly through the surface.
Density and colour
Two more settings finish the volume. Set Density to 2. Density controls how strongly the tint builds up over distance, so geometry deeper behind the plane reads darker than the geometry sitting close to the surface. Then change the Color swatch on the Principled Volume to a pure, slightly milky blue.
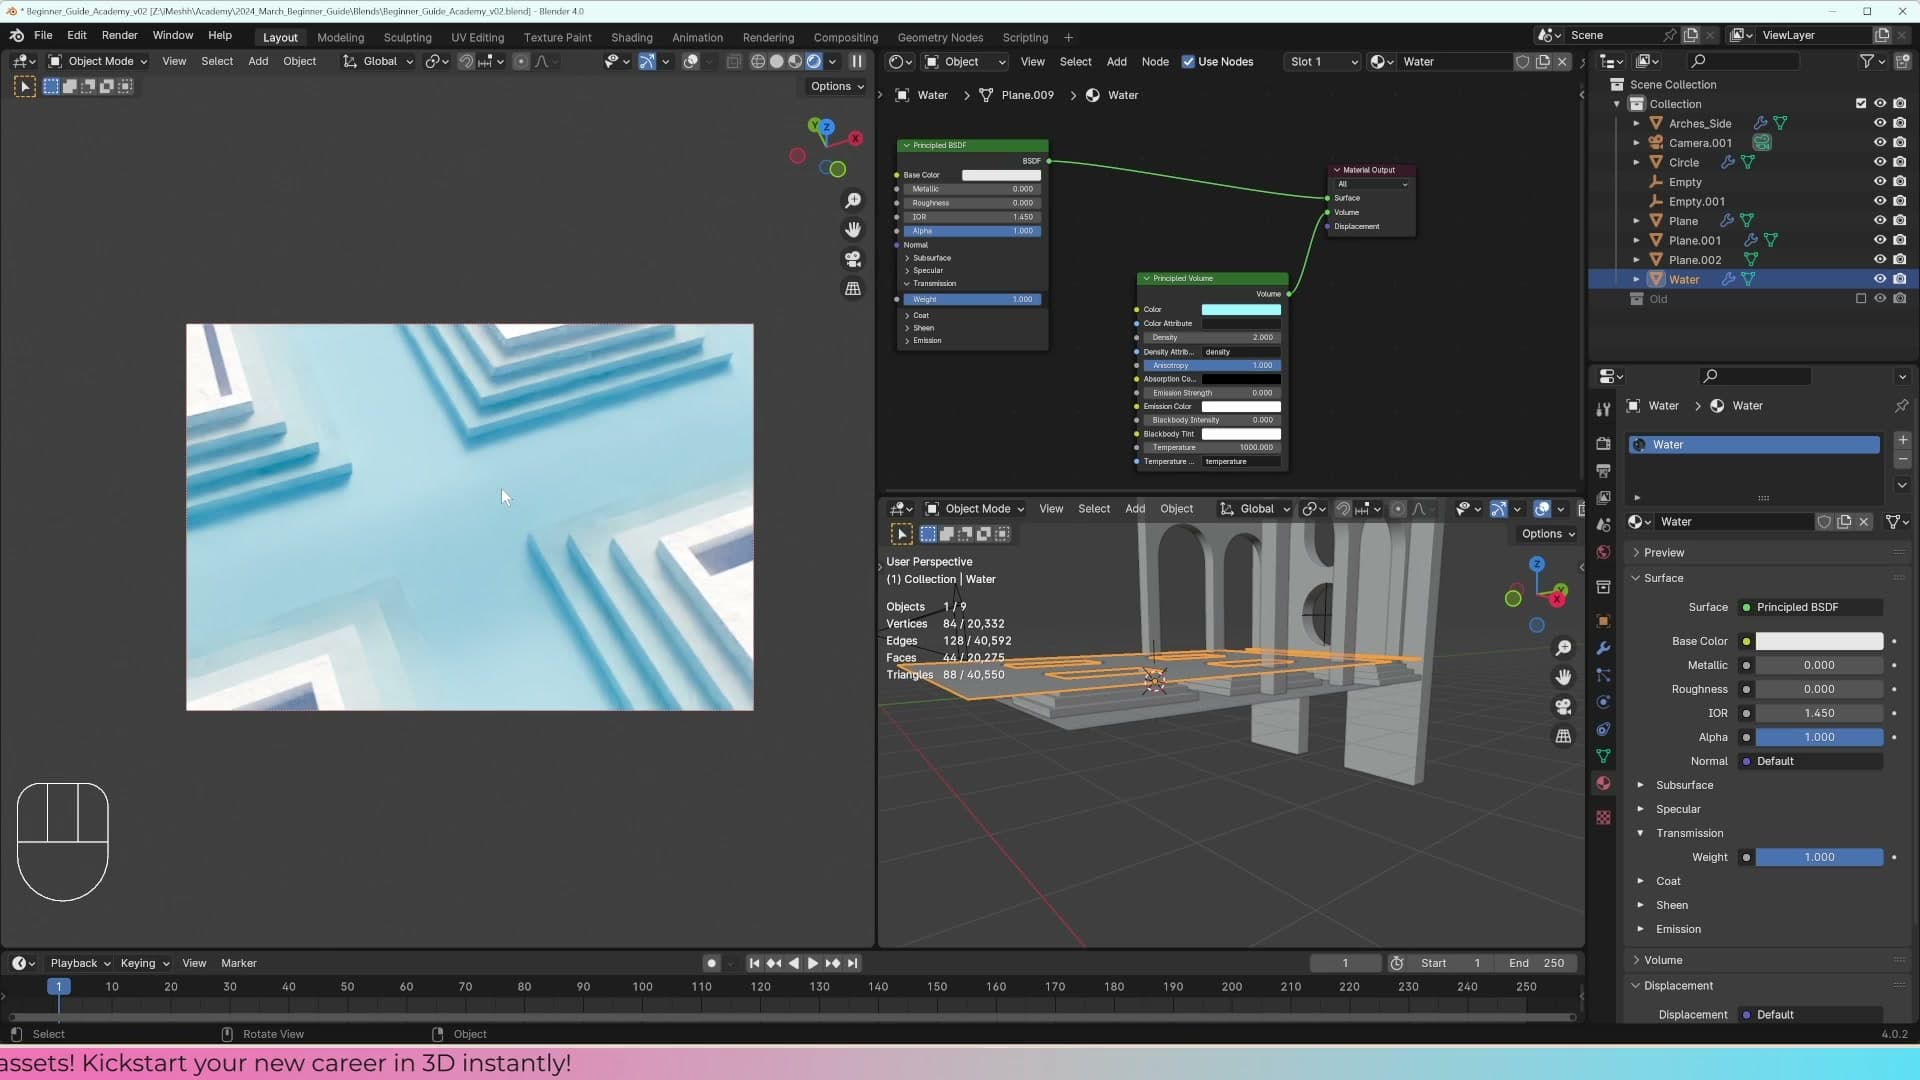
With those three values dialled in, the top step stays light blue and the colour deepens as the pool floor drops away. That's the depth gradient you'd read as water in a real scene.
Getting the glass base colour right
Why glass and water materials want pure white at the surface, and where you actually do the colouring.
Pure white base colour for glass
With the volume doing the colouring, the surface shader needs to get out of the way. Scroll back up to the Principled BSDF and set the Base Color to pure white. Anything darker on a transmissive surface starts behaving like a tint with no light behind it. You get shadowing artefacts creeping in across the glass, which is the opposite of what you want from a clear material.
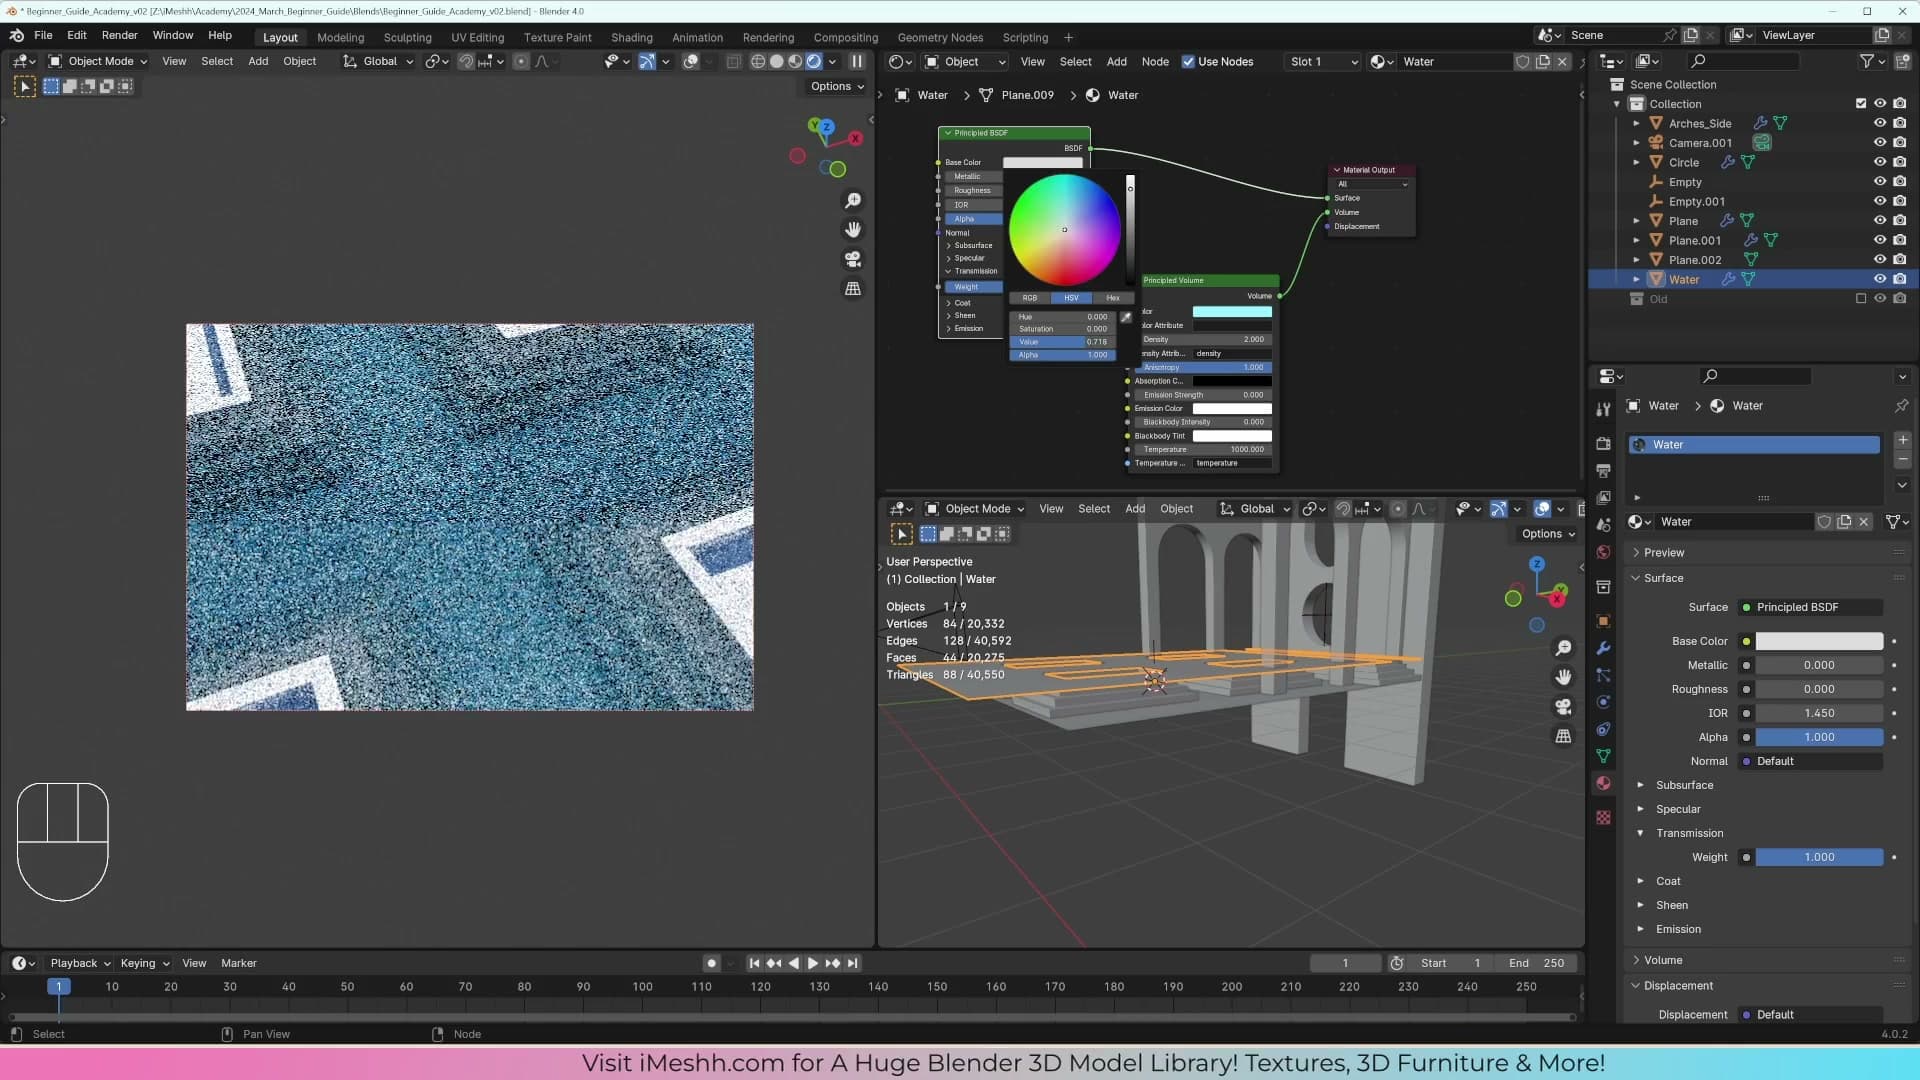
The rule is worth committing to memory for any transparent shader you build in Cycles: glass and water want 100% white at the surface. The tint, the depth, the milky quality of deep water. All of that lives in the Principled Volume you plugged in earlier. Splitting the job this way keeps the surface clean and lets the volume do what volumes are good at.
It's a subtle effect in the final render, but the combination of a white-base transmissive surface and a coloured Principled Volume is the workhorse setup for swimming pools and any other watery material you'll come across in archviz. Worth keeping in your back pocket.
Tidying the scene around the water
Recentre the foreground geometry, rescale the back archway, and check what's reflecting back into camera.
Recentring the foreground objects
With the water material reading correctly, the next pass is on the scene around it. Small framing tweaks now save composition headaches once the props go in. The camera has already been nudged up a touch since Part 6, so the new horizon line is the one to compose against from here on.
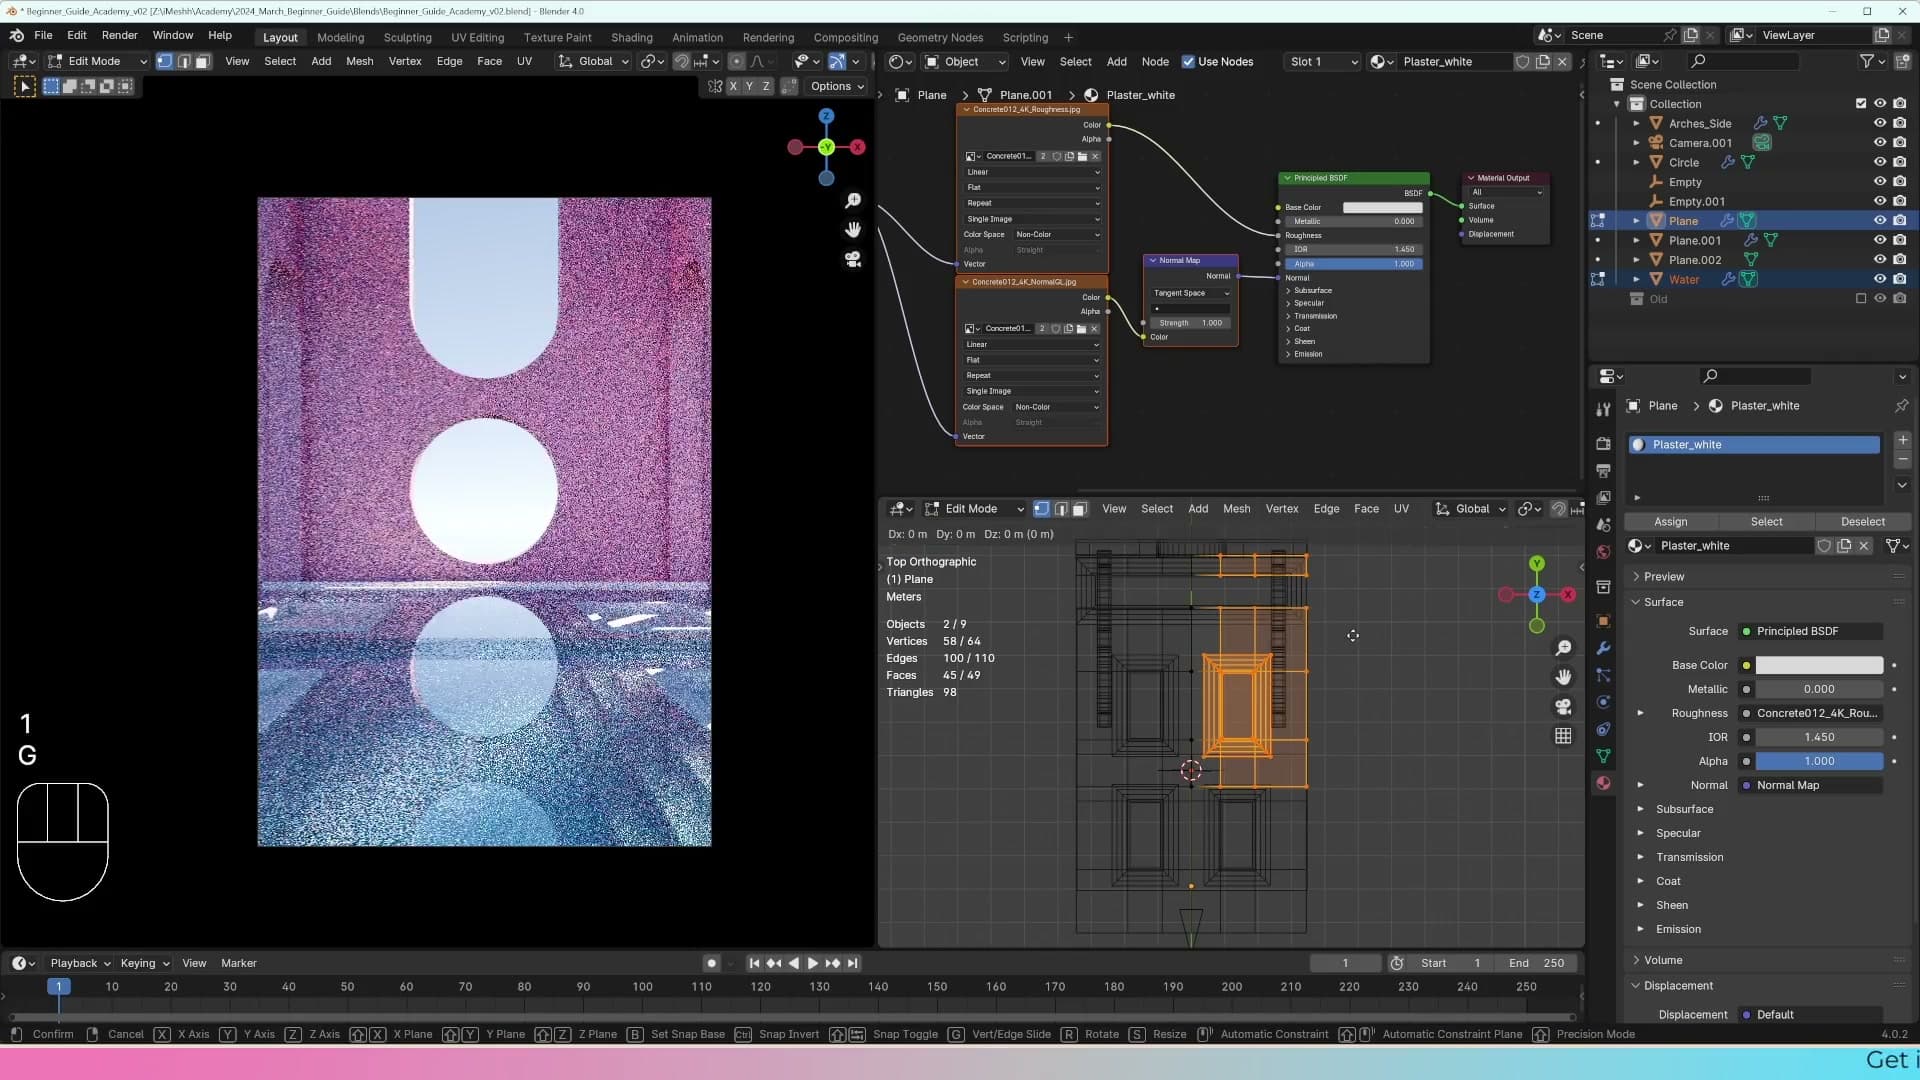
Drop the front geometry into Edit Mode, select the relevant vertices in wireframe and slide them across so the cluster sits closer to the centre of the camera frame. Treat this as a working pose rather than a final placement. Close enough to judge the composition is all you need before moving on.
Rescaling the back archway
The back archway feels a touch undersized against the new camera height. It wants to grow so the circular top reads more clearly in frame. Reach for Shift+S > Cursor to Selected first, because the usual rule with symmetric scenes is to pivot from the centre of the selection. Scaling without setting the pivot tends to drag mirrored geometry off-balance.
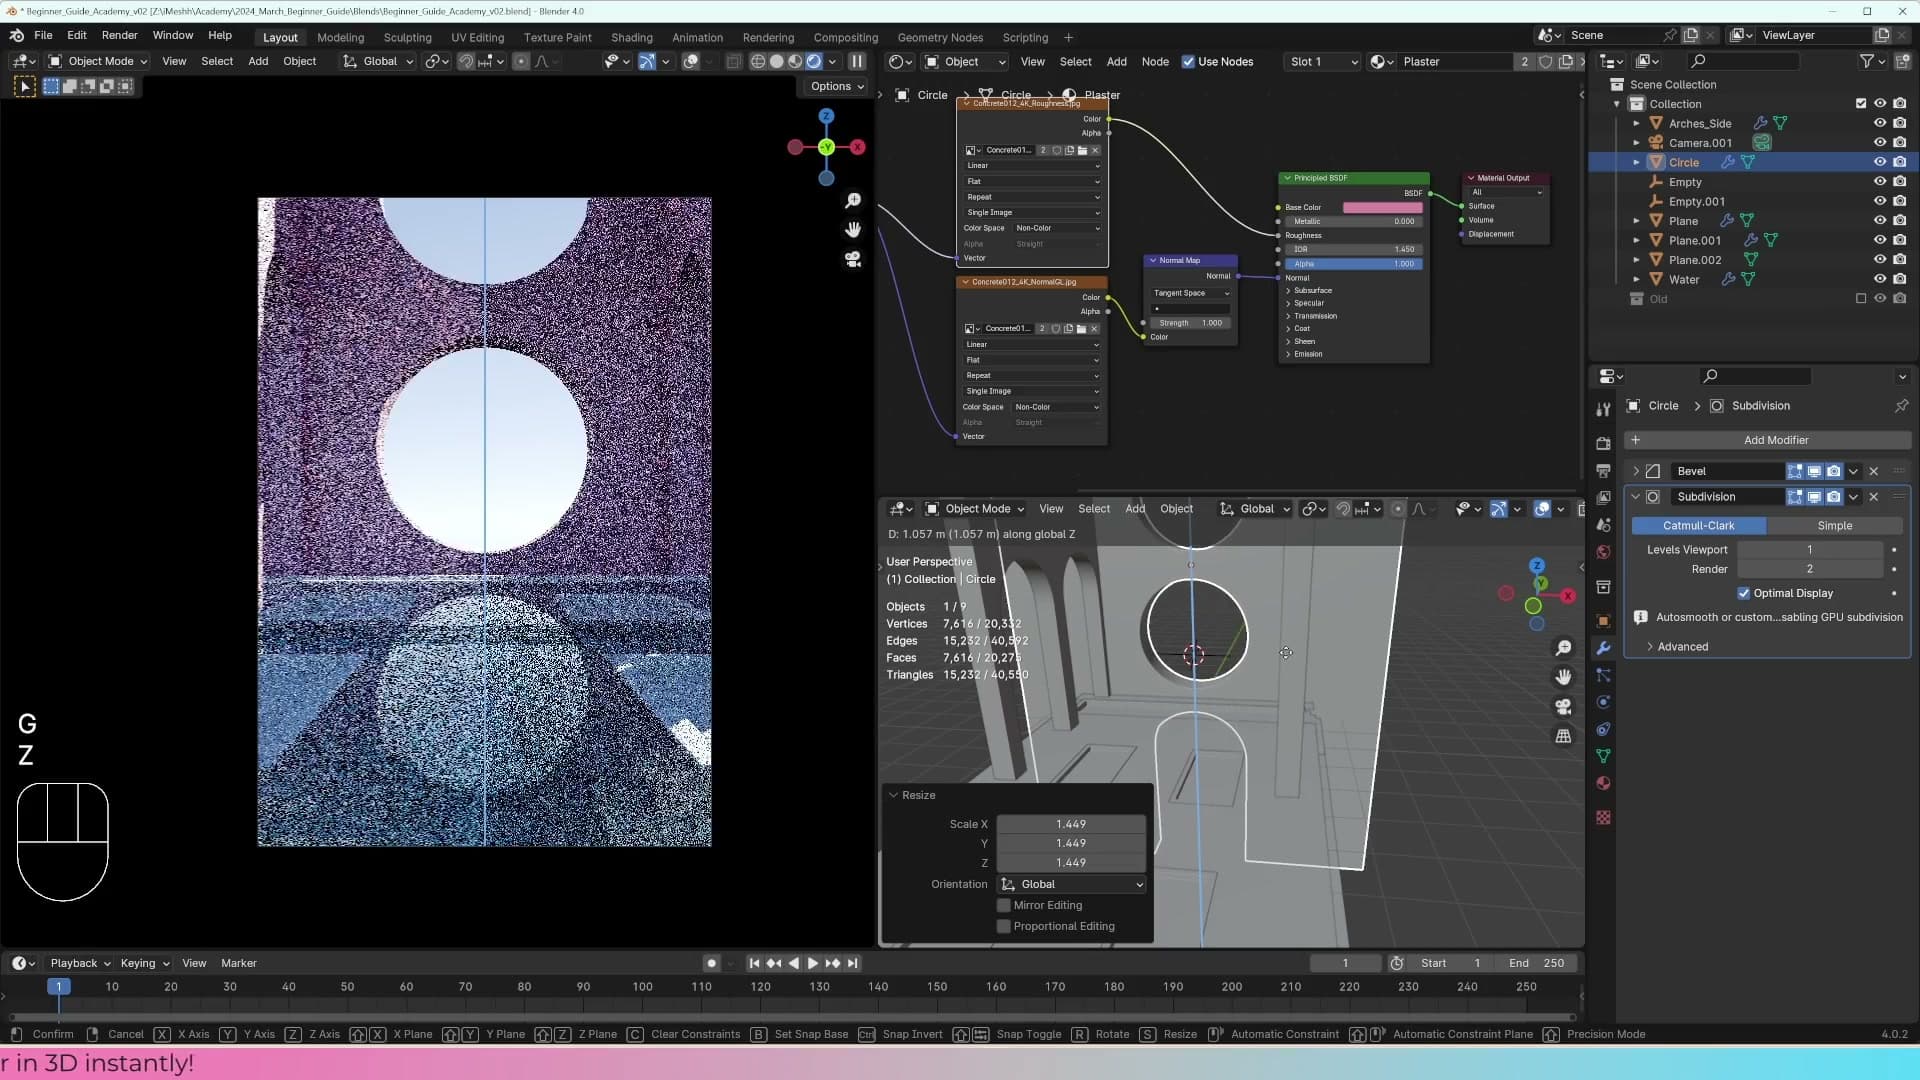
Check the modifier stack before committing to that workflow, though. On this back object the mirror modifier was already applied in an earlier pass, so it's plain geometry now with no live symmetry to protect. That means you can scale it uniformly from wherever the pivot happens to be, without anything snapping out of alignment on the other side.
Scale up. Push too far and the curved top crops against the upper edge of the camera and the archway silhouette disappears entirely. Pull it back down until the arch reads as an arch again, somewhere just inside the top of the frame where the curve is fully visible and the wall behind feels weightier than before.
Spotting a stray reflection
Step back and look at the render with fresh eyes. The blue volumetric tint is catching nicely under the water surface, the framing has settled, and the scene is roughly where it needs to be before the geometry-nodes grass and the props go in. The job now is to spot anything quietly pulling the eye in the wrong direction.
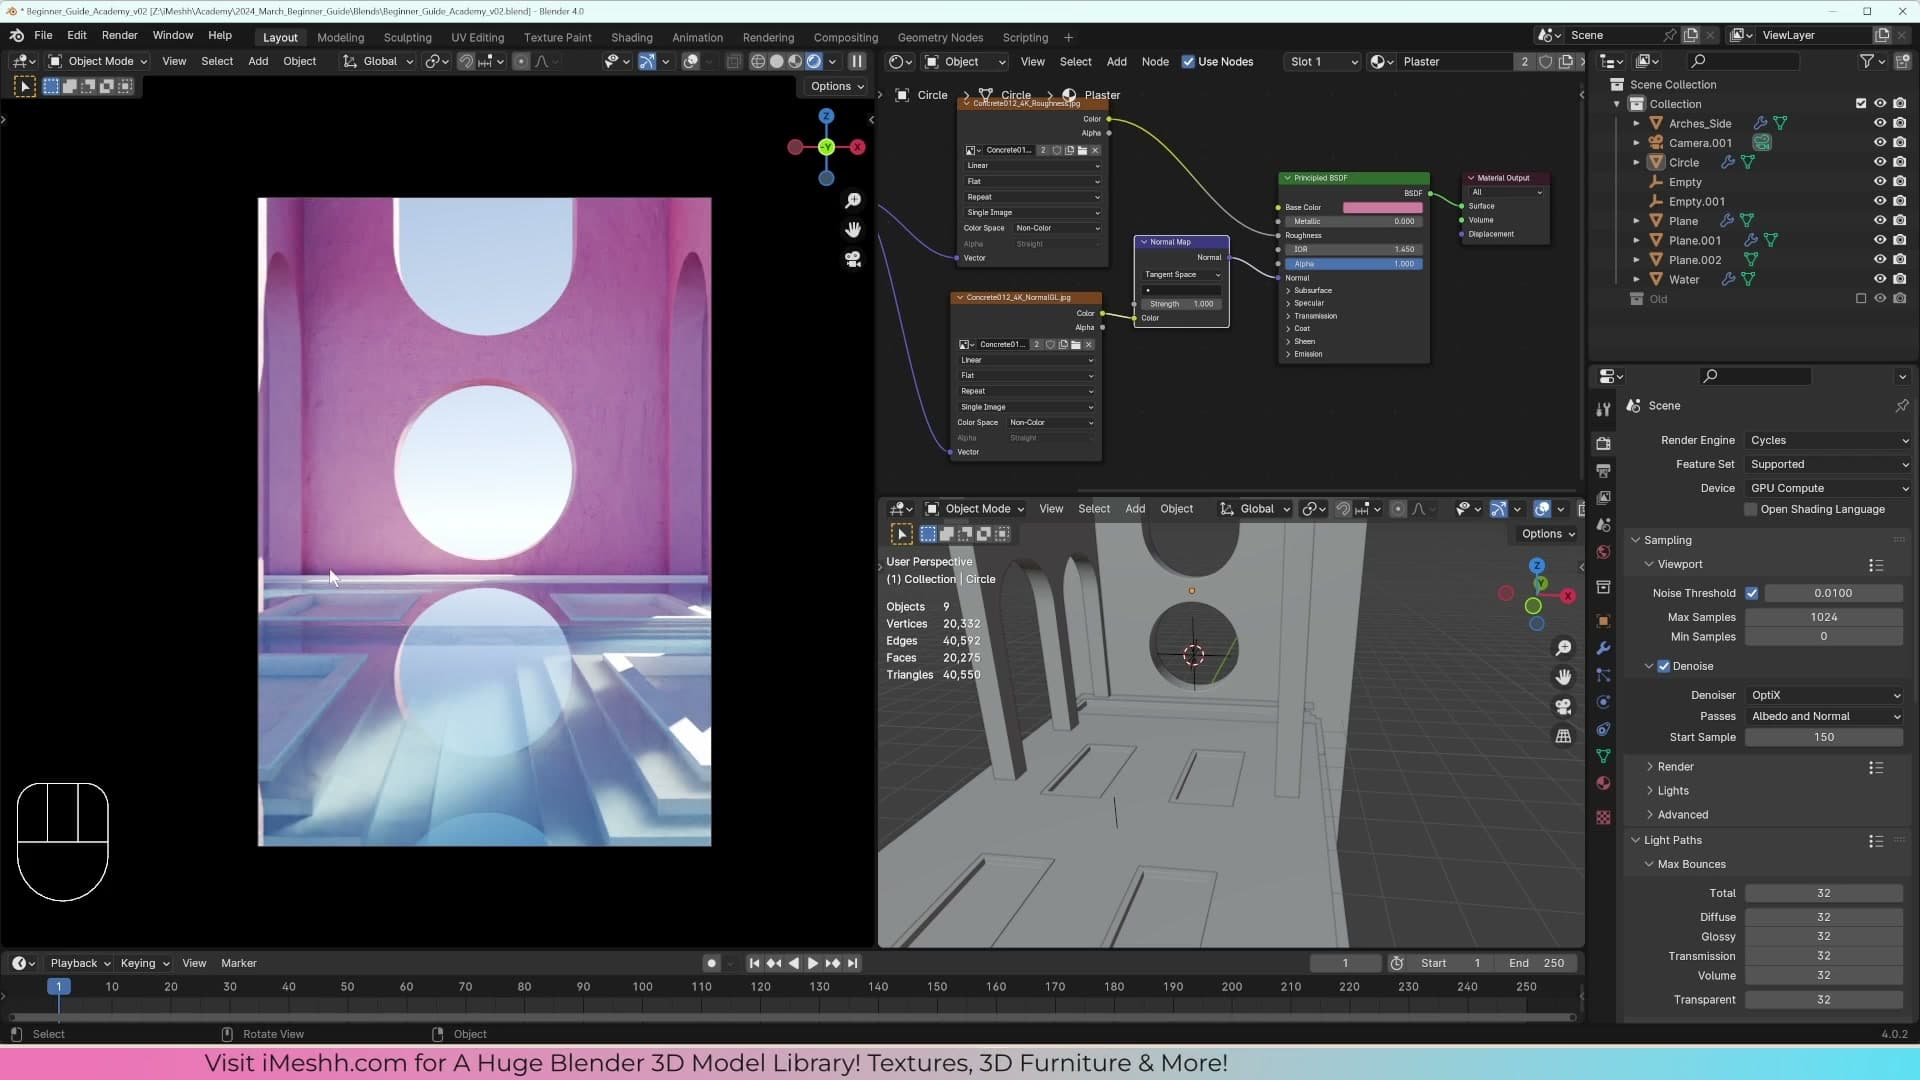
One small bright reflection shows up on the water. Trace it back and it's coming off a piece of geometry sitting behind the camera. Not worth chasing right now; that area will be covered by props and scattered grass across the next couple of parts, which will block the reflection at source without any extra work in the shader.
What's next: grass with geometry nodes
Where this part leaves the scene and how the next part picks up.
Handing off to geometry nodes
That wraps the water material. The plane now reads as clear, depth-tinted water, the back arch is sitting at the right scale, and the scene is ready for the next pass.
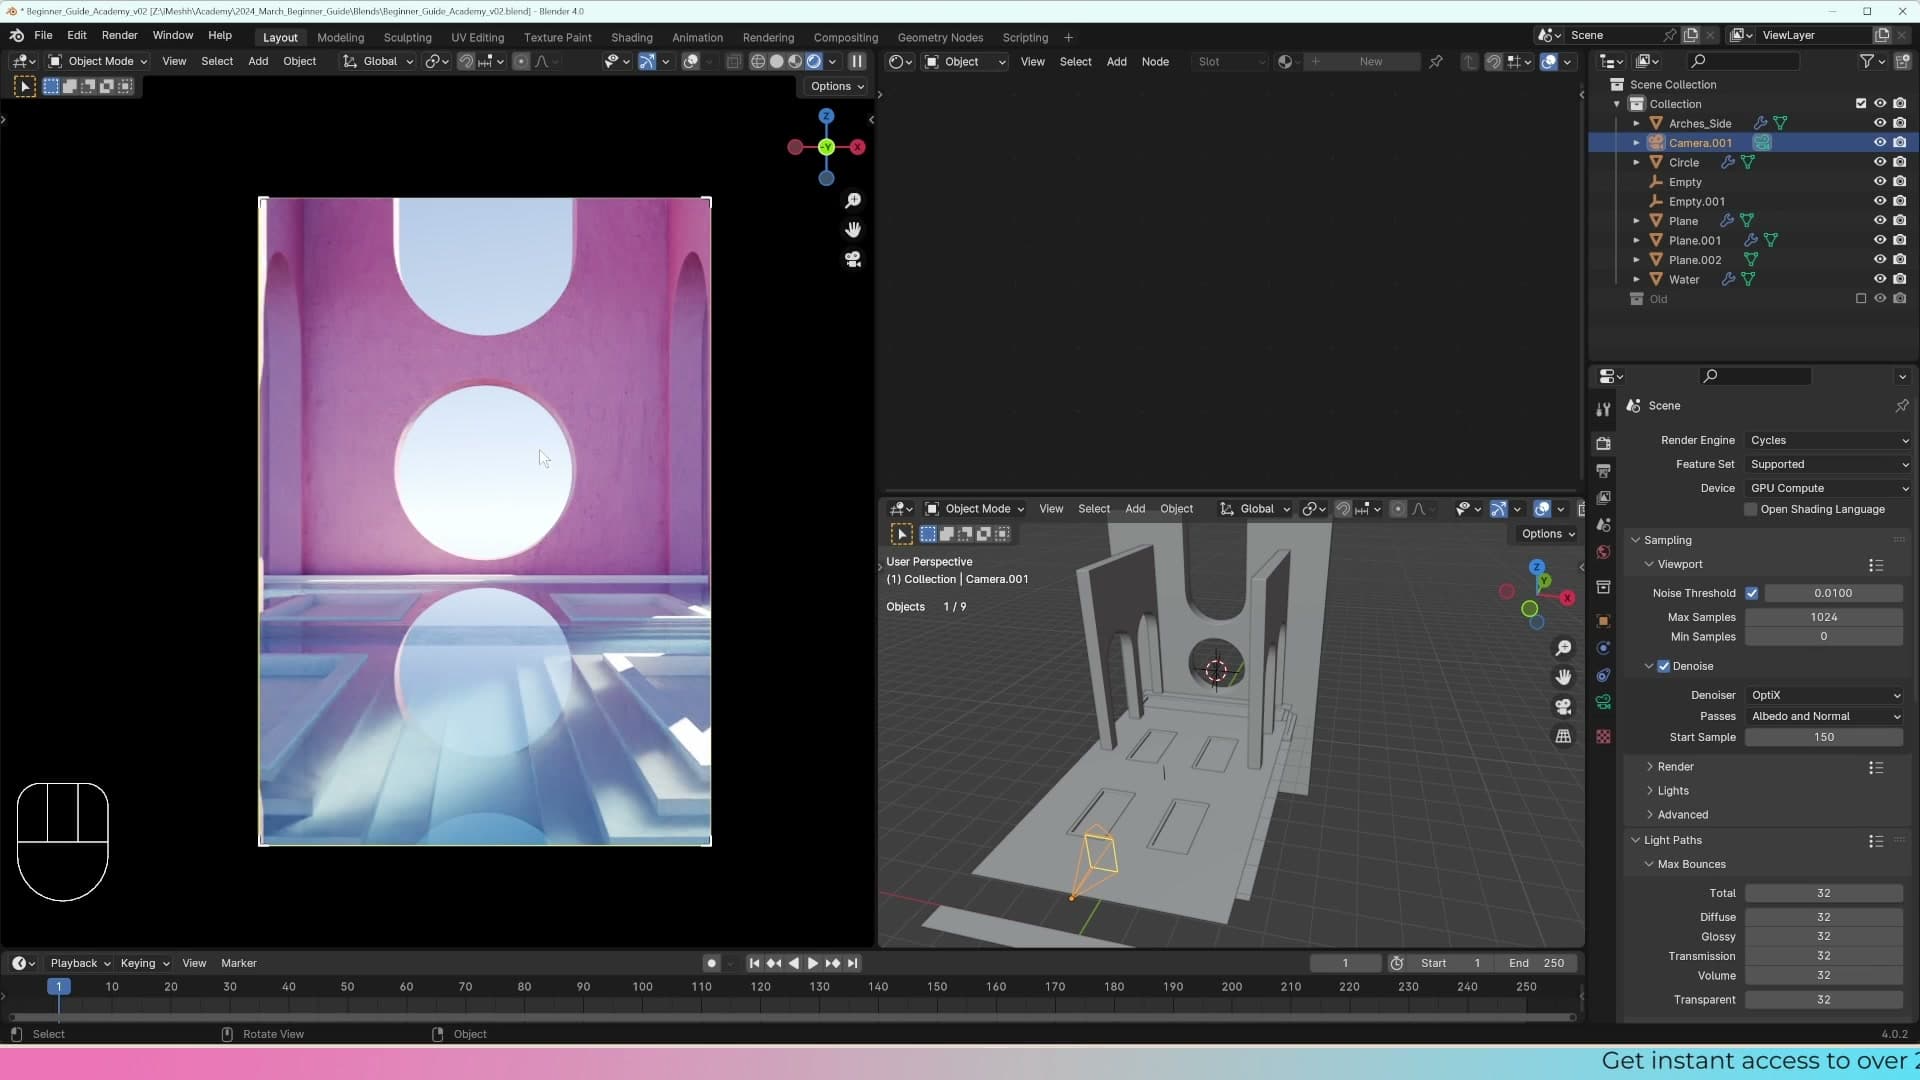
Next up is Part 8: Geometry Nodes, where the empty pots around the pool get filled with scattered grass using Blender's geometry node system. It's a step up in complexity from the shading work in this part, but it's the technique that takes the scene from a clean architectural shell to something that actually feels lived-in.
If any of this still feels overwhelming, that's normal. Keep plodding along. You'll start creating work on your own in no time at all.
Tools and credits
Everything mentioned in this tutorial, with links.
- Blender: the renderer this entire build runs in.
- iMeshh: studio platform (project management, client review, asset library, invoicing). The asset library used in this tutorial is included with every iMeshh Pro plan.
- Poly Haven: free CC0 textures and HDRIs.
Pillar guide: Beginner Course hub