How curve-based skirting works in Blender
The big idea behind the technique: a curve defines the path of the skirting around the room, and a separate closed curve defines its cross-section profile. Drop the profile onto the curve's Bevel Object slot and Blender instantly extrudes the profile along every wall.
Curve plus profile equals instant skirting
Skirting boards are one of those tedious archviz jobs that eat far more time than they should. Every wall needs a length, every corner needs a mitre, and the moment you nudge a wall the whole lot needs redoing. Blender's curve system collapses that into a single object.
The idea is simple. You take a curve that traces the shape of your room and you assign a closed profile curve to it as a bevel object. Blender then sweeps that profile along the path, wrapping the skirting around every wall and corner in one go. Move the room curve later and the skirting follows.
The iMeshh skirting sets are built around this workflow, so you can drop one onto any room curve and have a finished skirting in seconds. You are not locked in though. Once you understand the trick you can draw your own profiles and reuse them across every project. To show how it works, you will start by building a quick test room from the default cube.
Build the room and extract the wall curve
Block out a quick test room from a cube, flip the wall normals inward so the room reads correctly, then duplicate the bottom edge loop, separate it as its own object, and convert it to a curve. That curve will carry the skirting.
Block out a quick test room
Start with Blender's default cube. It ships at 2 metres tall, so bring it up to around 3 metres. That gives you a believable wall height to sit a skirting board against.
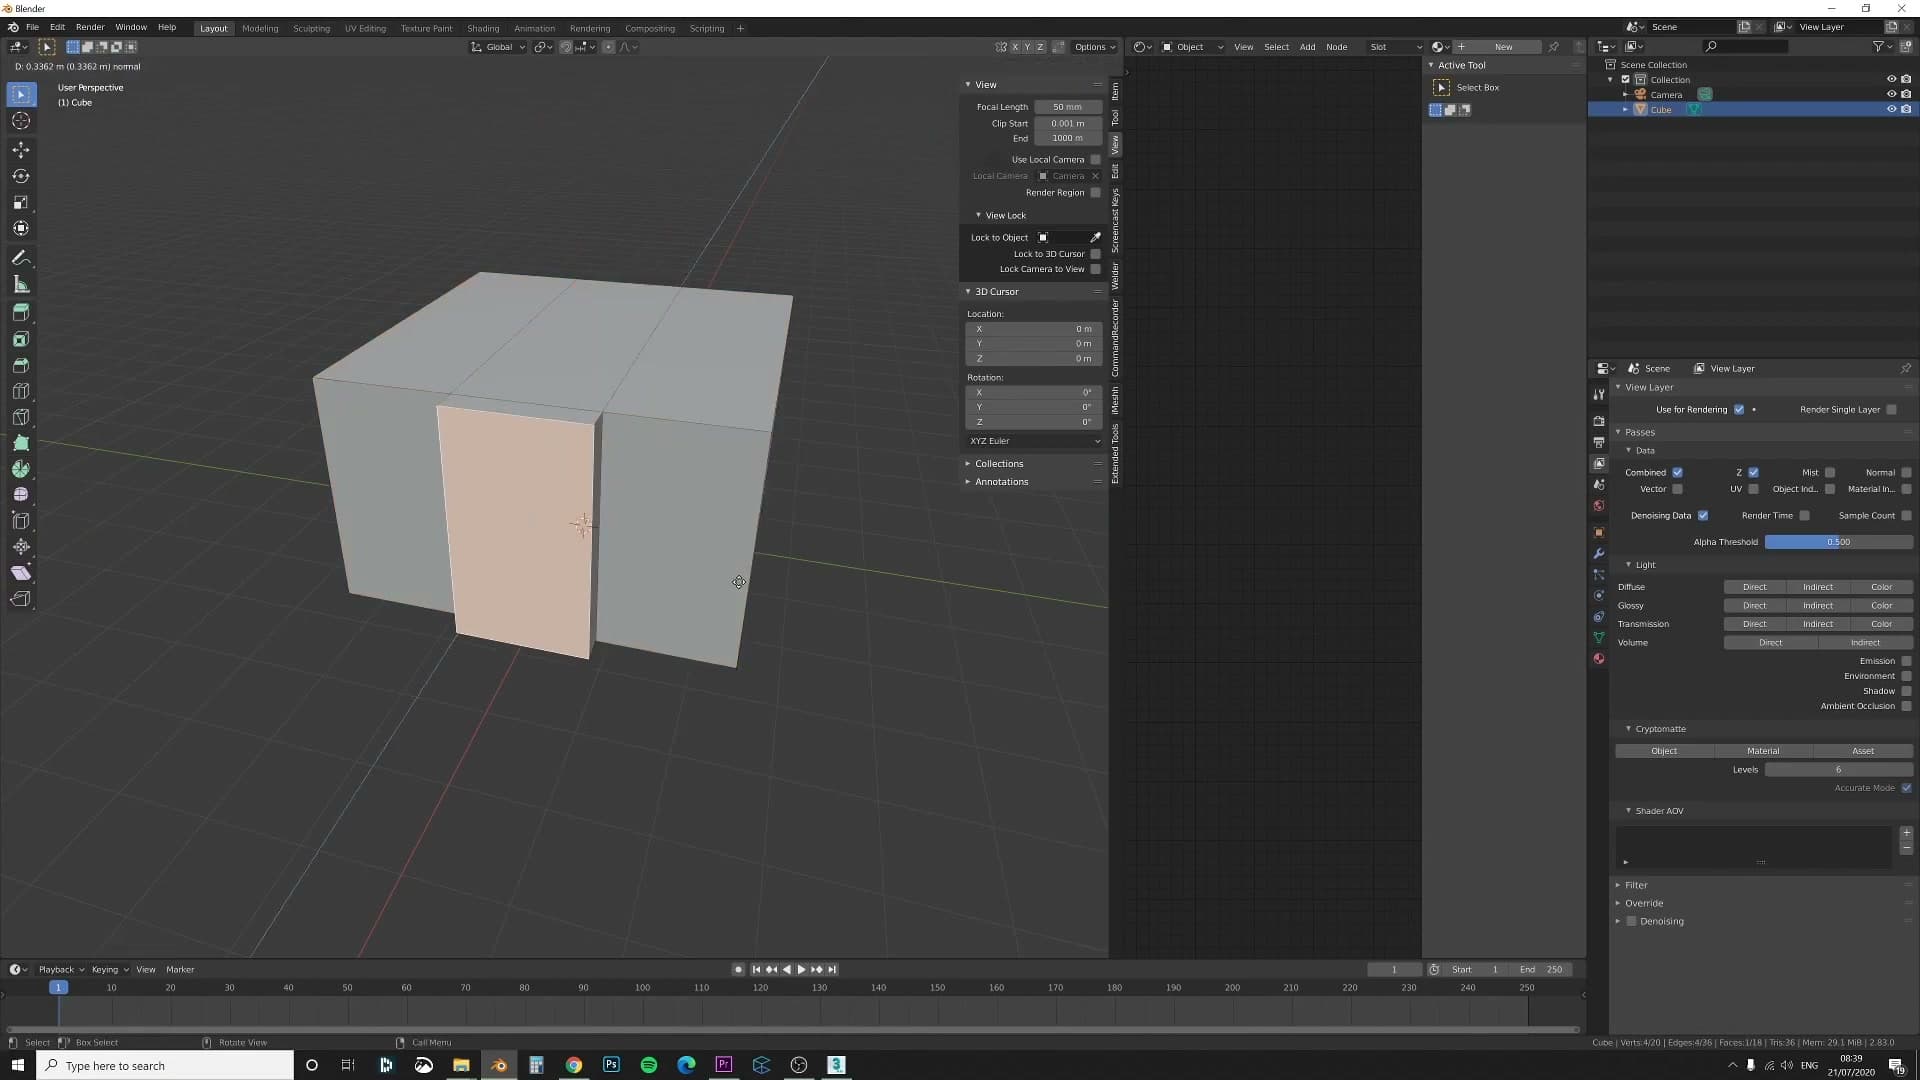
Add a couple of loop cuts and drag the geometry outwards until you have a rough rectangular room shape. Don't fuss over precise dimensions; the goal here is a quick test room with proper corners so you can see how the skirting wraps around the walls.
Flip the wall normals inward
Select the whole room and press Shift+N to recalculate the normals. A freshly added cube has its faces pointing outward, which means the inside surfaces (the walls you'll be working against) are facing the wrong way for a room you sit inside. Recalculating flips the normals so the room reads correctly from within.
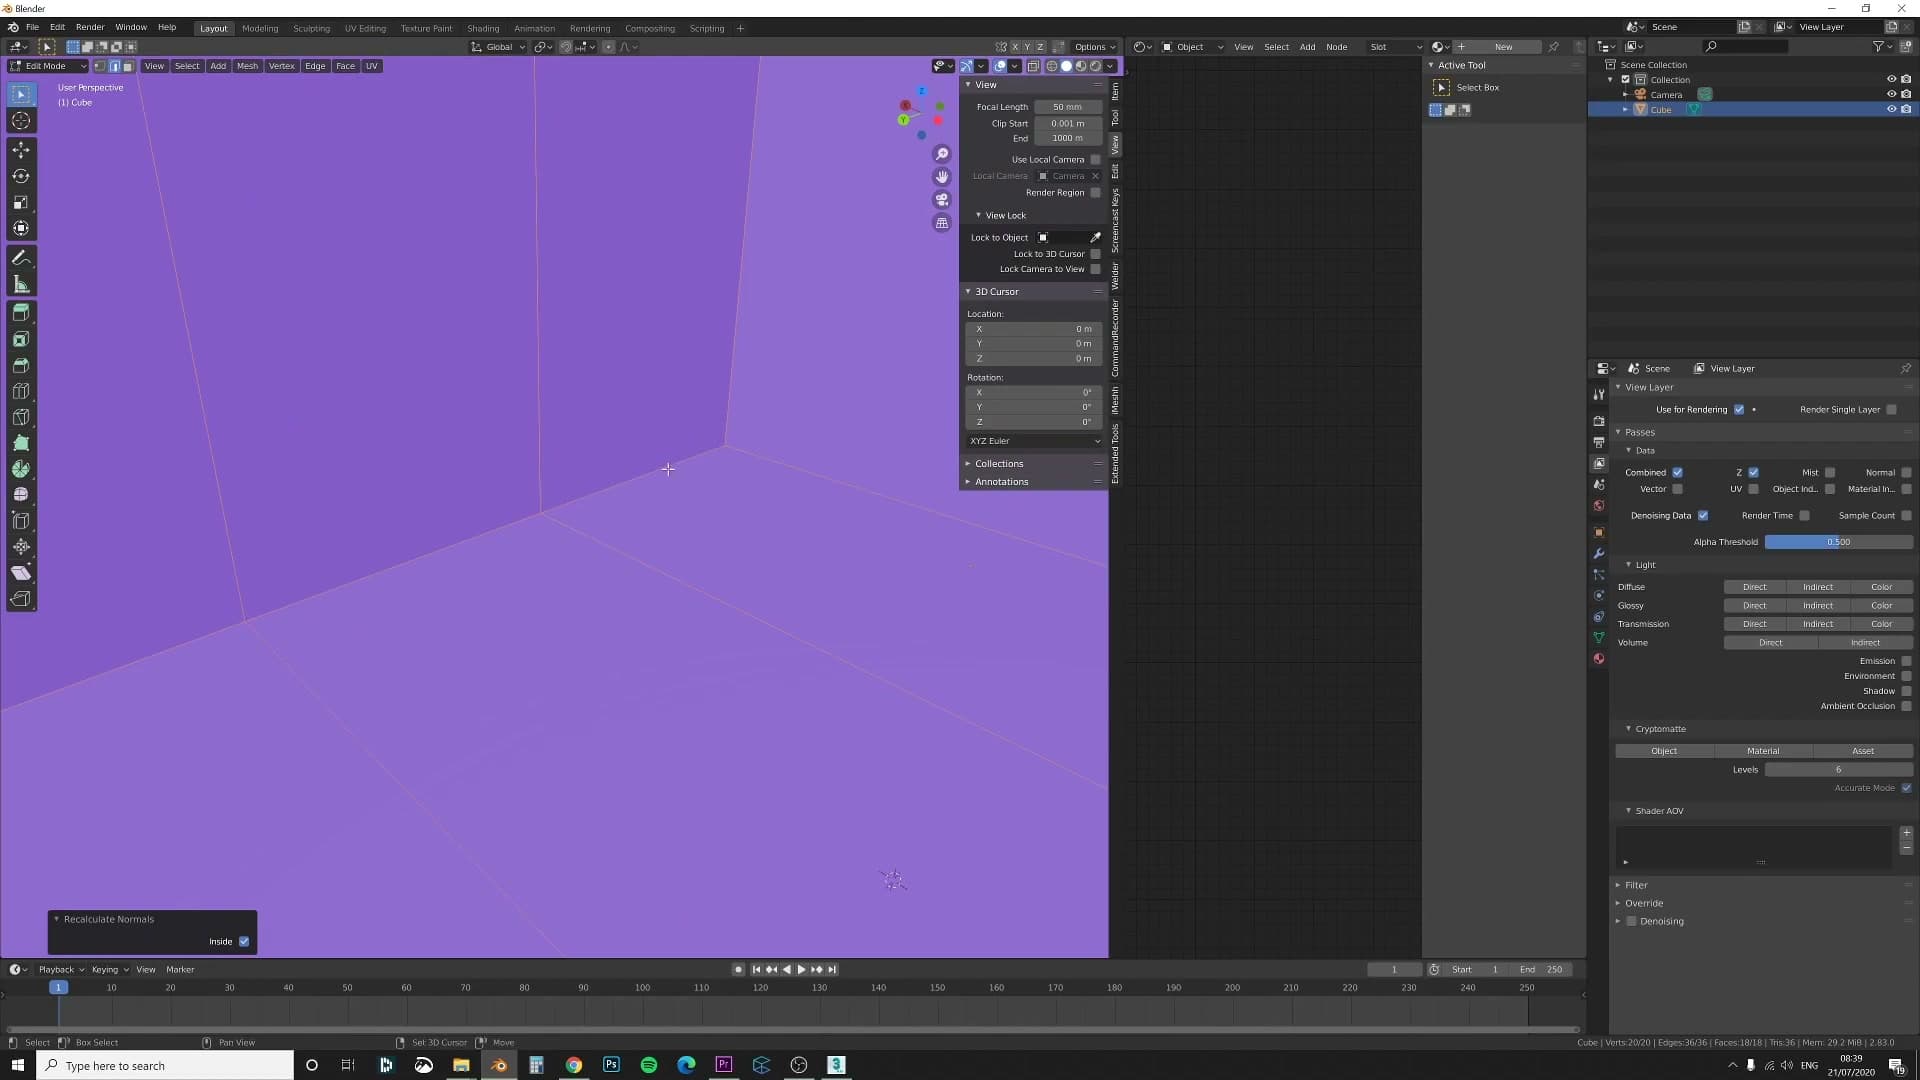
To confirm it worked, open the viewport overlays and switch on Face Orientation. The faces should now read as correctly oriented for an interior space. Once you've verified the result, toggle Face Orientation back off. The colour wash is noisy to model against.
Duplicate, separate and convert to curve
Tab into edit mode and select the bottom edge loop of the room: the run of edges that traces the floor line where every wall meets the ground. That loop is the exact path the skirting needs to follow, around every wall and into every corner.
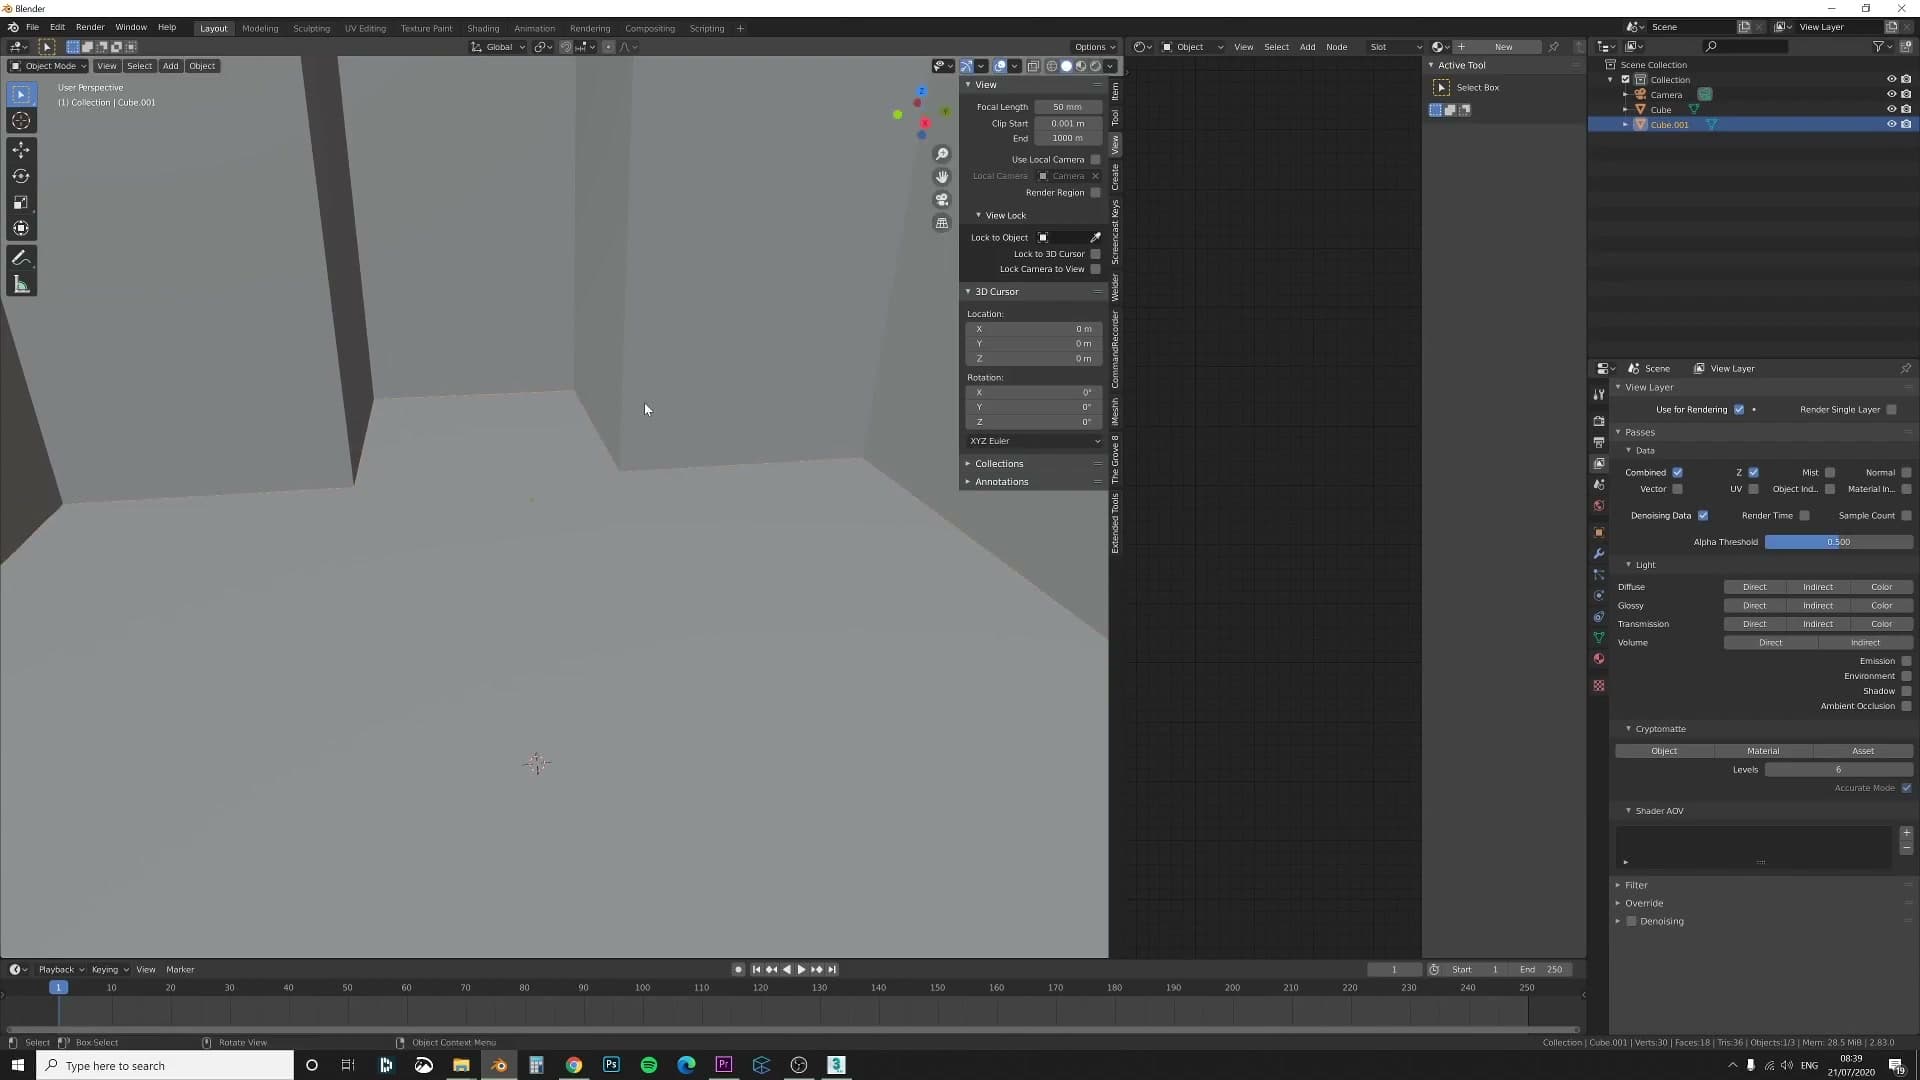
With the loop selected, press Shift+D then Enter to duplicate it on the spot, and follow that with P → Selection to separate the duplicate into its own object. Tab back to object mode and you'll see the new edge sitting in the outliner alongside the original room mesh.
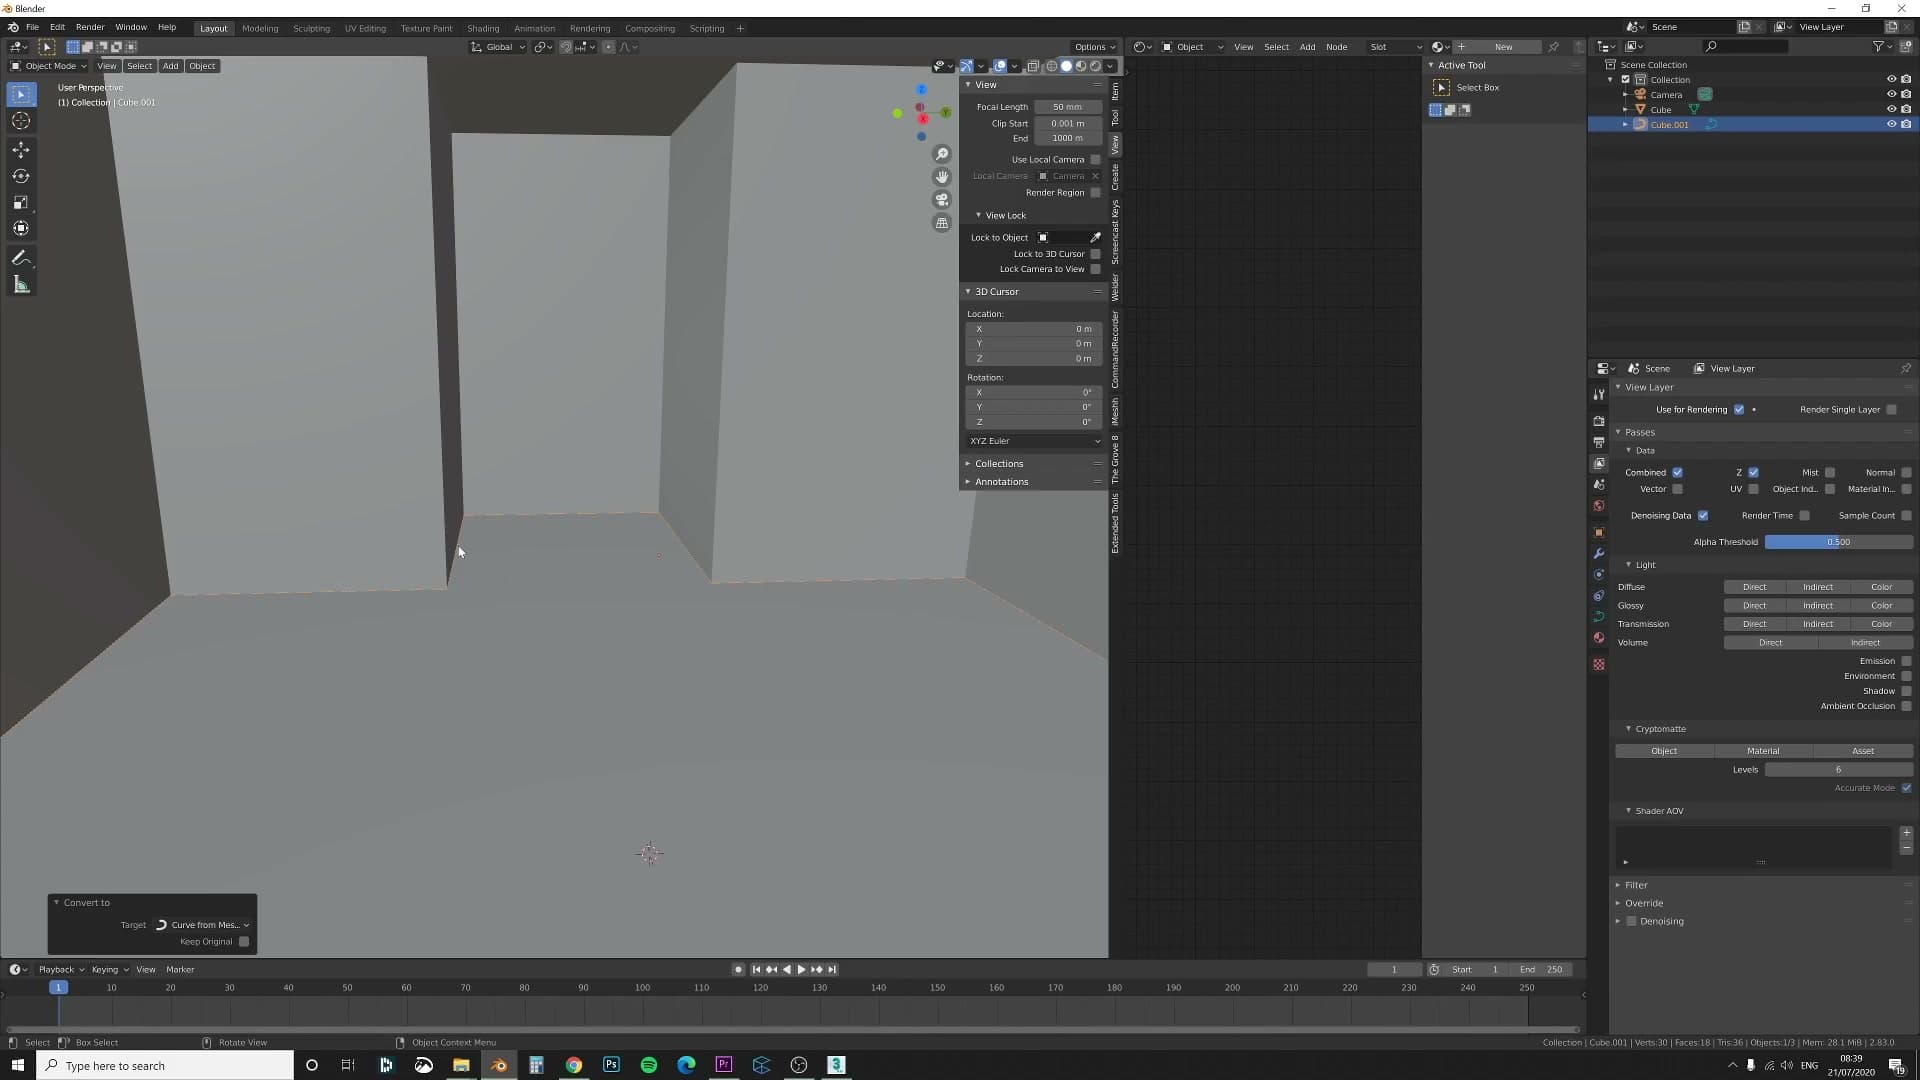
Select the separated edge, press F3 to open the operator search, and run Convert to Curve. Blender turns the mesh edge into a proper Bezier curve. That curve is the path the skirting profile is about to ride along all the way around the room.
Apply an iMeshh skirting profile to the curve
Append a skirting profile from the iMeshh library, join it onto the room curve, hide the unused pieces, snap the profile object to a corner with vertex snapping, and extrude the curve to wrap the skirting around the whole room in one motion.
Join the profile to the curve
Open the iMeshh skirting library and append the sheet of profiles. You get a row of skirting cross-sections lined up side by side, so you can scan the styles and pick whichever one suits the room you are building.
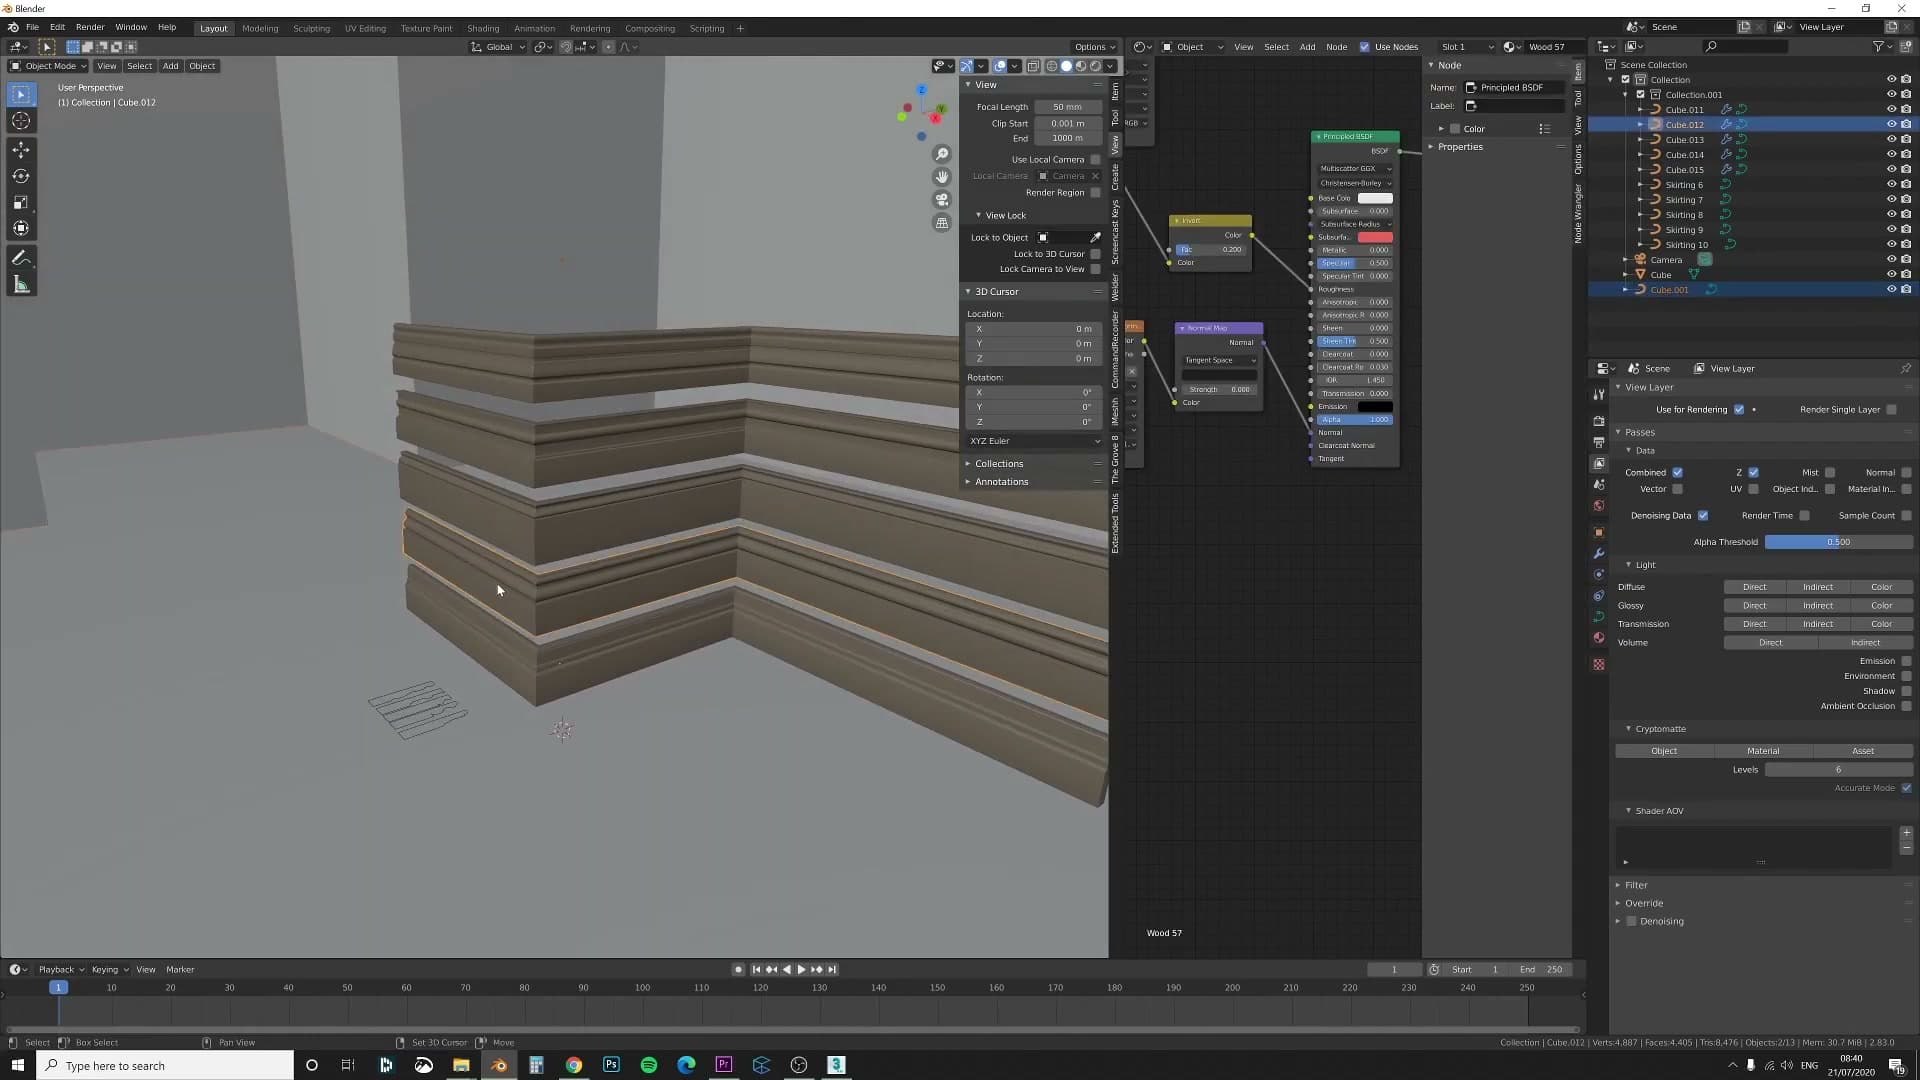
Back in the scene, click the room curve first, then shift-click your chosen skirting profile, and press Ctrl+J to join the two. The profile now lives on the same object as the curve and becomes the cross-section that sweeps along the path.
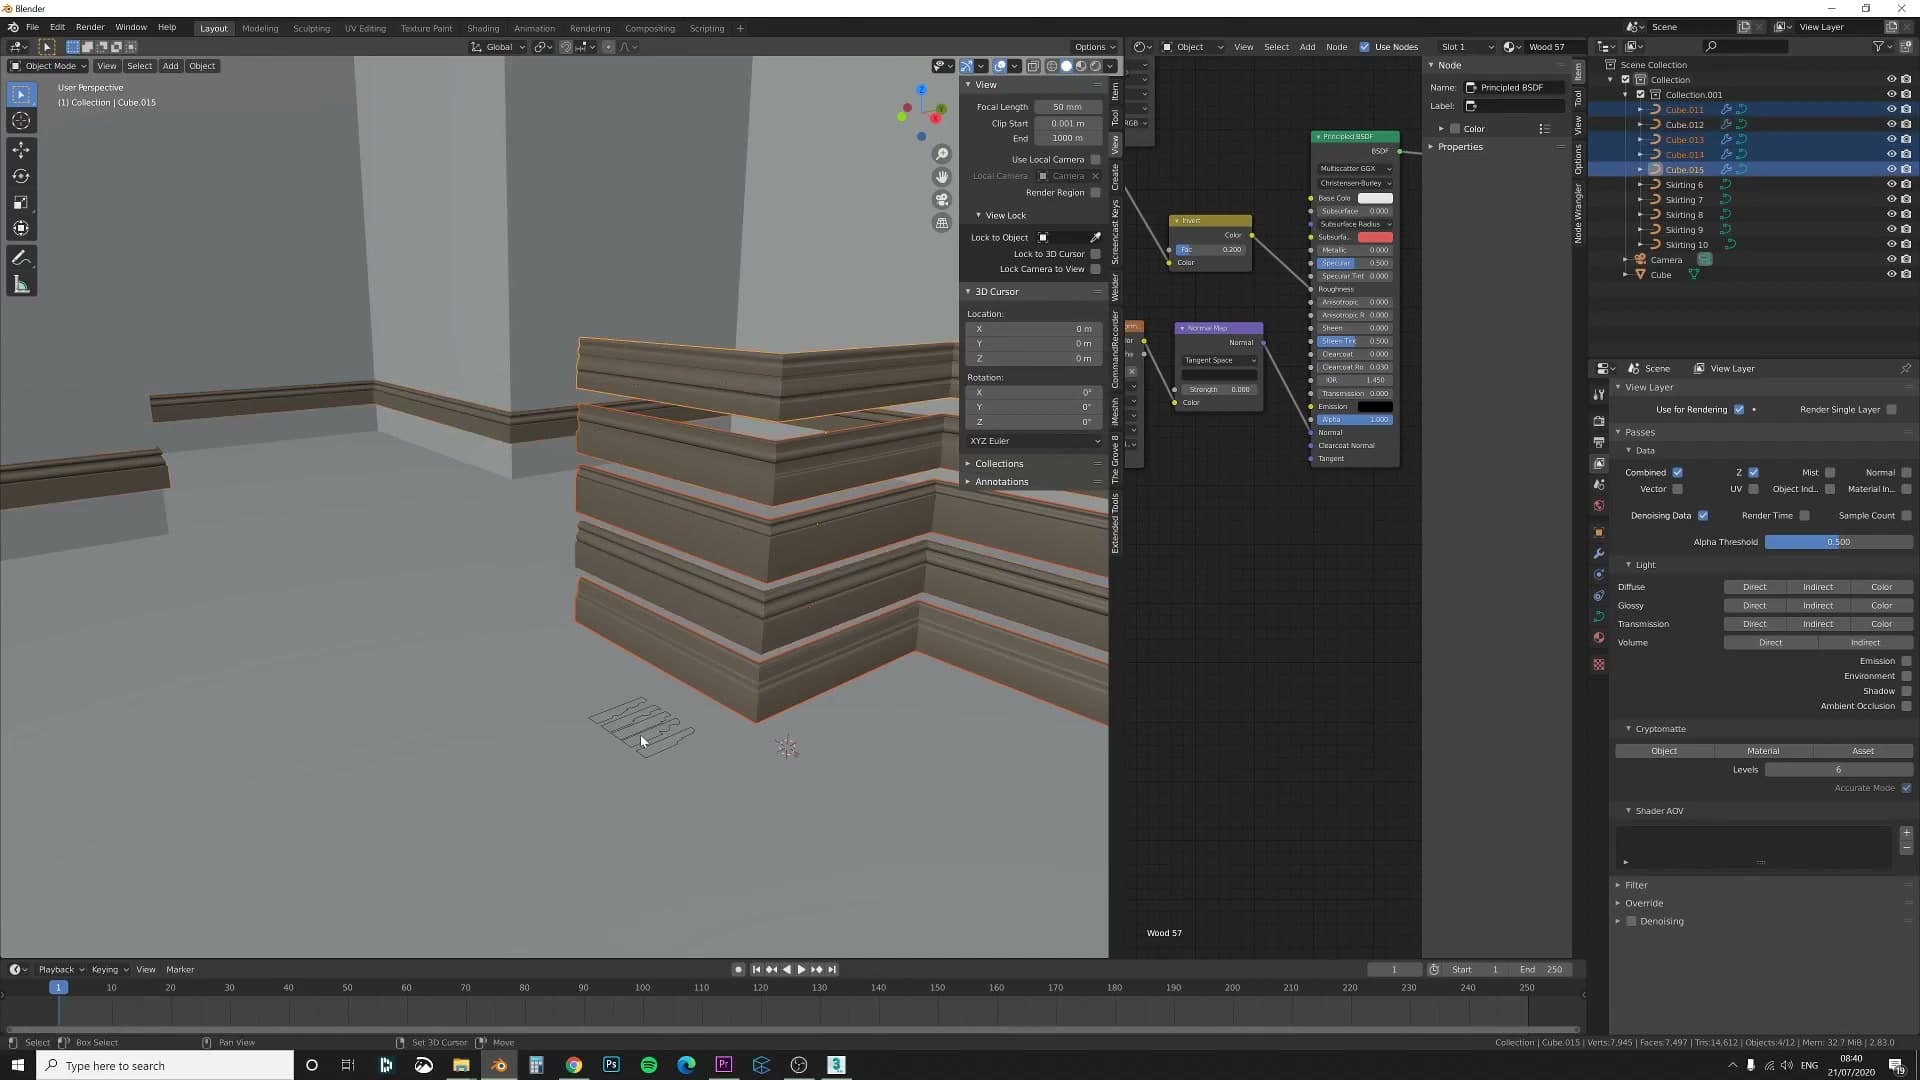
The append usually brings in the other profile variants alongside the one you wanted. Select the ones you are not using and press H to hide them, leaving only the active profile visible in the viewport so the scene stays tidy.
Snap the profile to a corner
Move the joined object down to floor level, then tab into edit mode and delete any spare spline you are not going to use, so the curve has exactly one profile driving it.
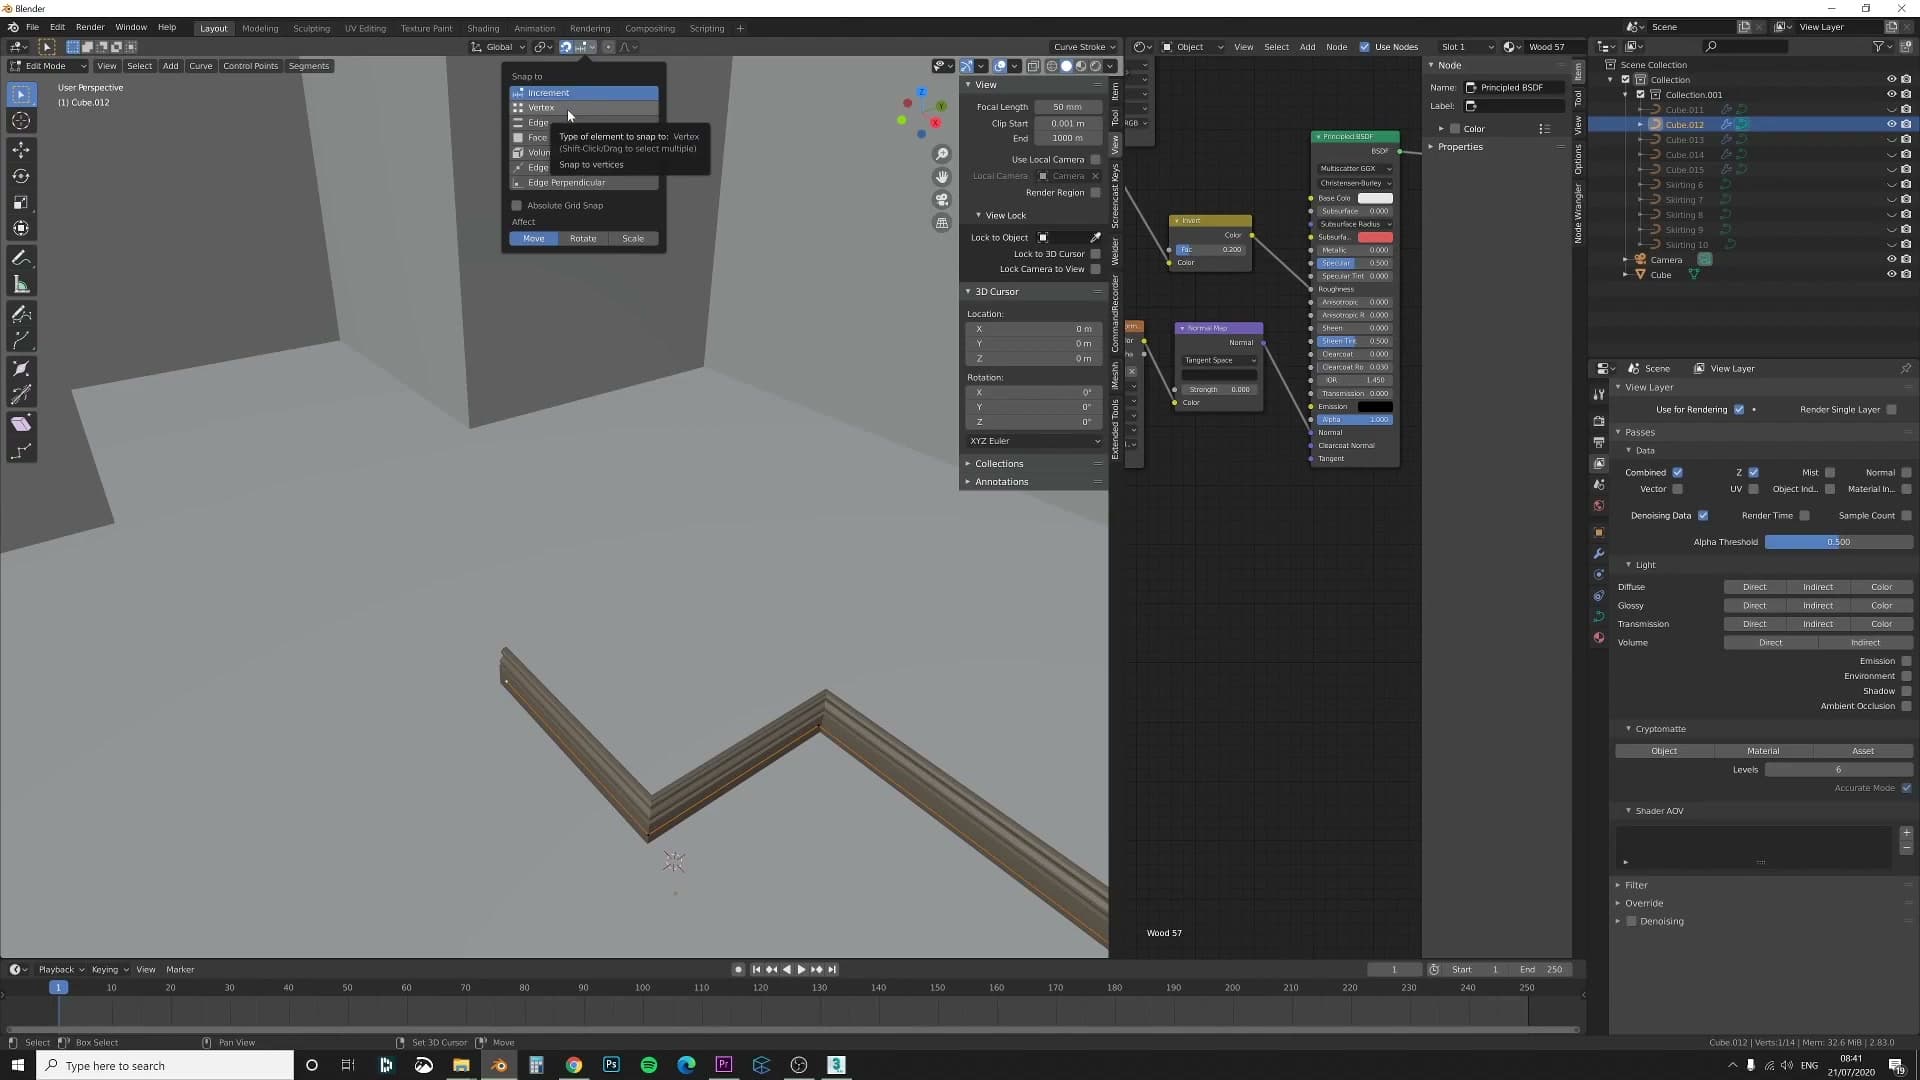
Back in object mode, press Shift+Tab to toggle snapping on. Change the snap target to Vertex so the profile's origin clicks onto an existing vertex when you slide it, instead of free-floating somewhere near the corner.
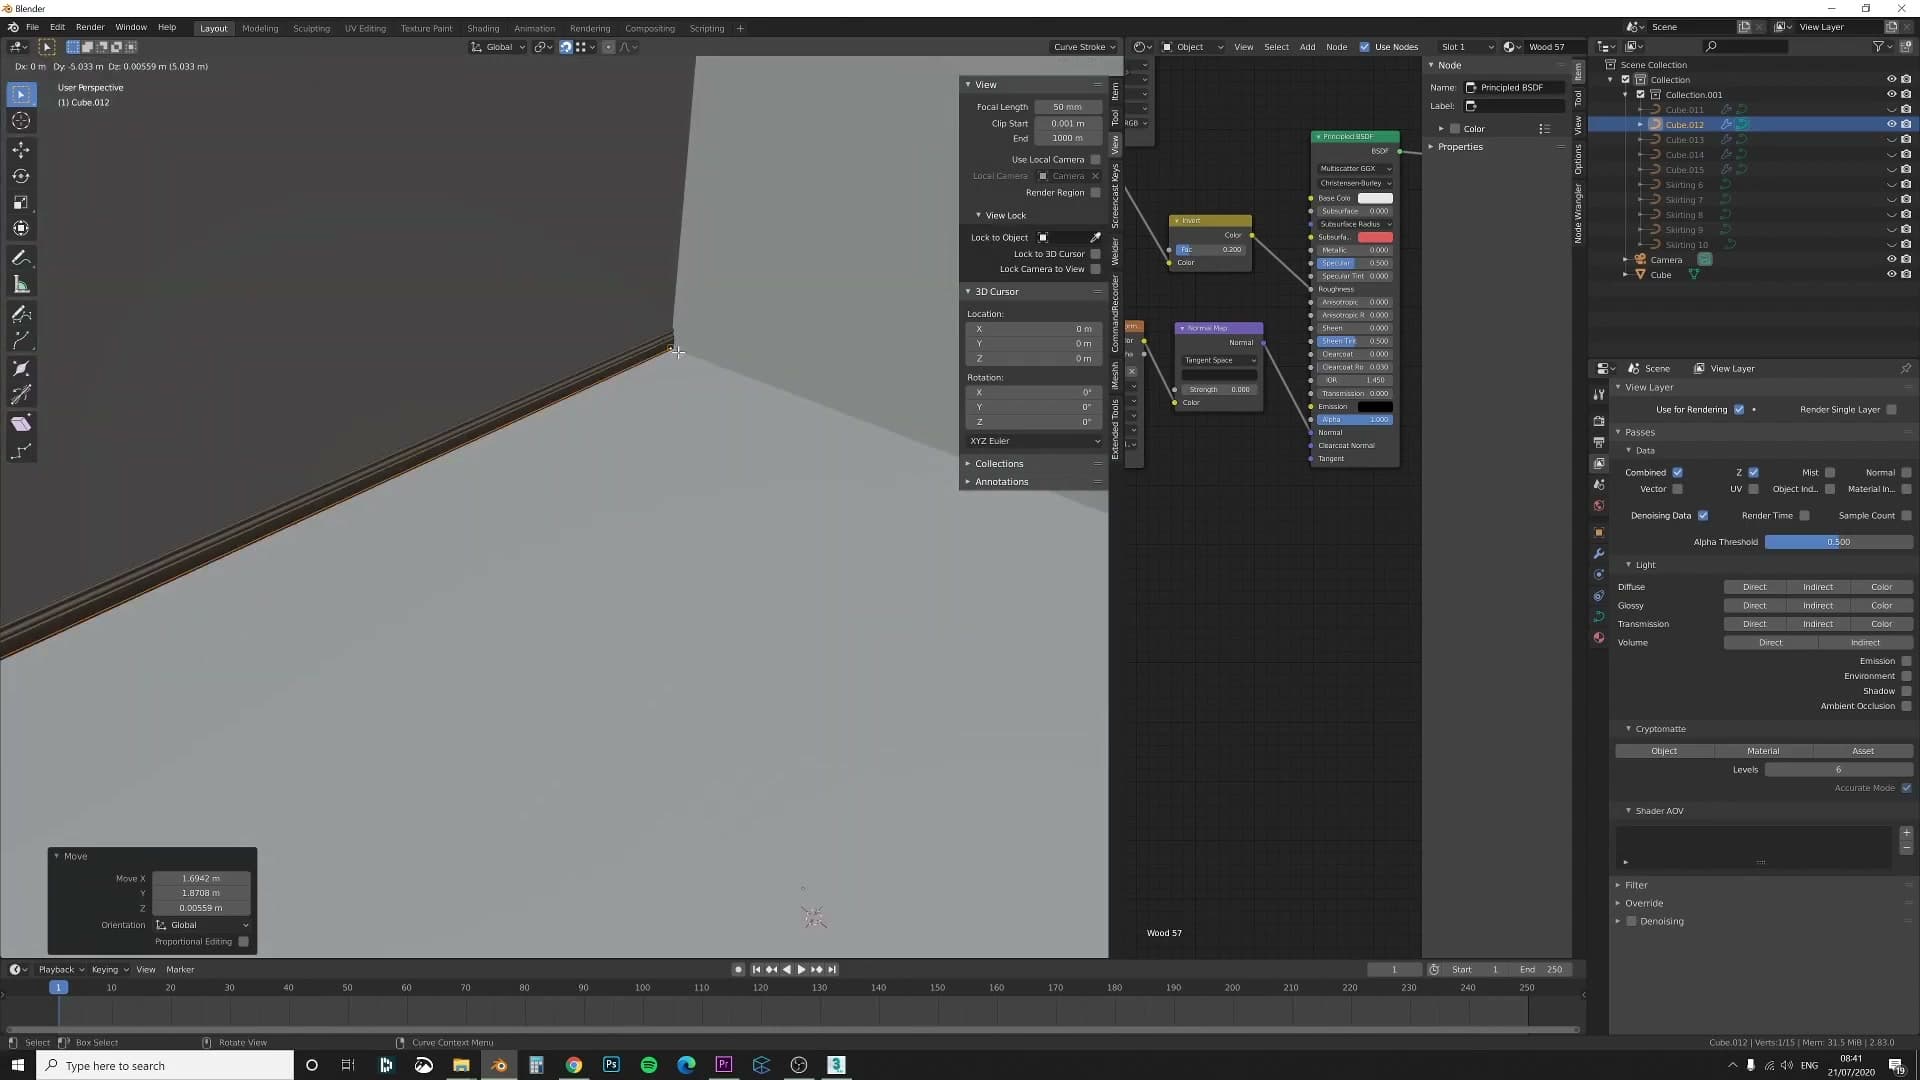
Grab the profile object and drag it across to a corner of the room. As the cursor passes the corner vertex, the origin snaps cleanly onto it, lining the profile up so the mitre starts in exactly the right place.
Extrude the skirting around the room
With the profile sitting at the corner, press E to extrude the curve. The skirting profile sweeps along each wall as the curve grows, mitring automatically at every corner you pass.
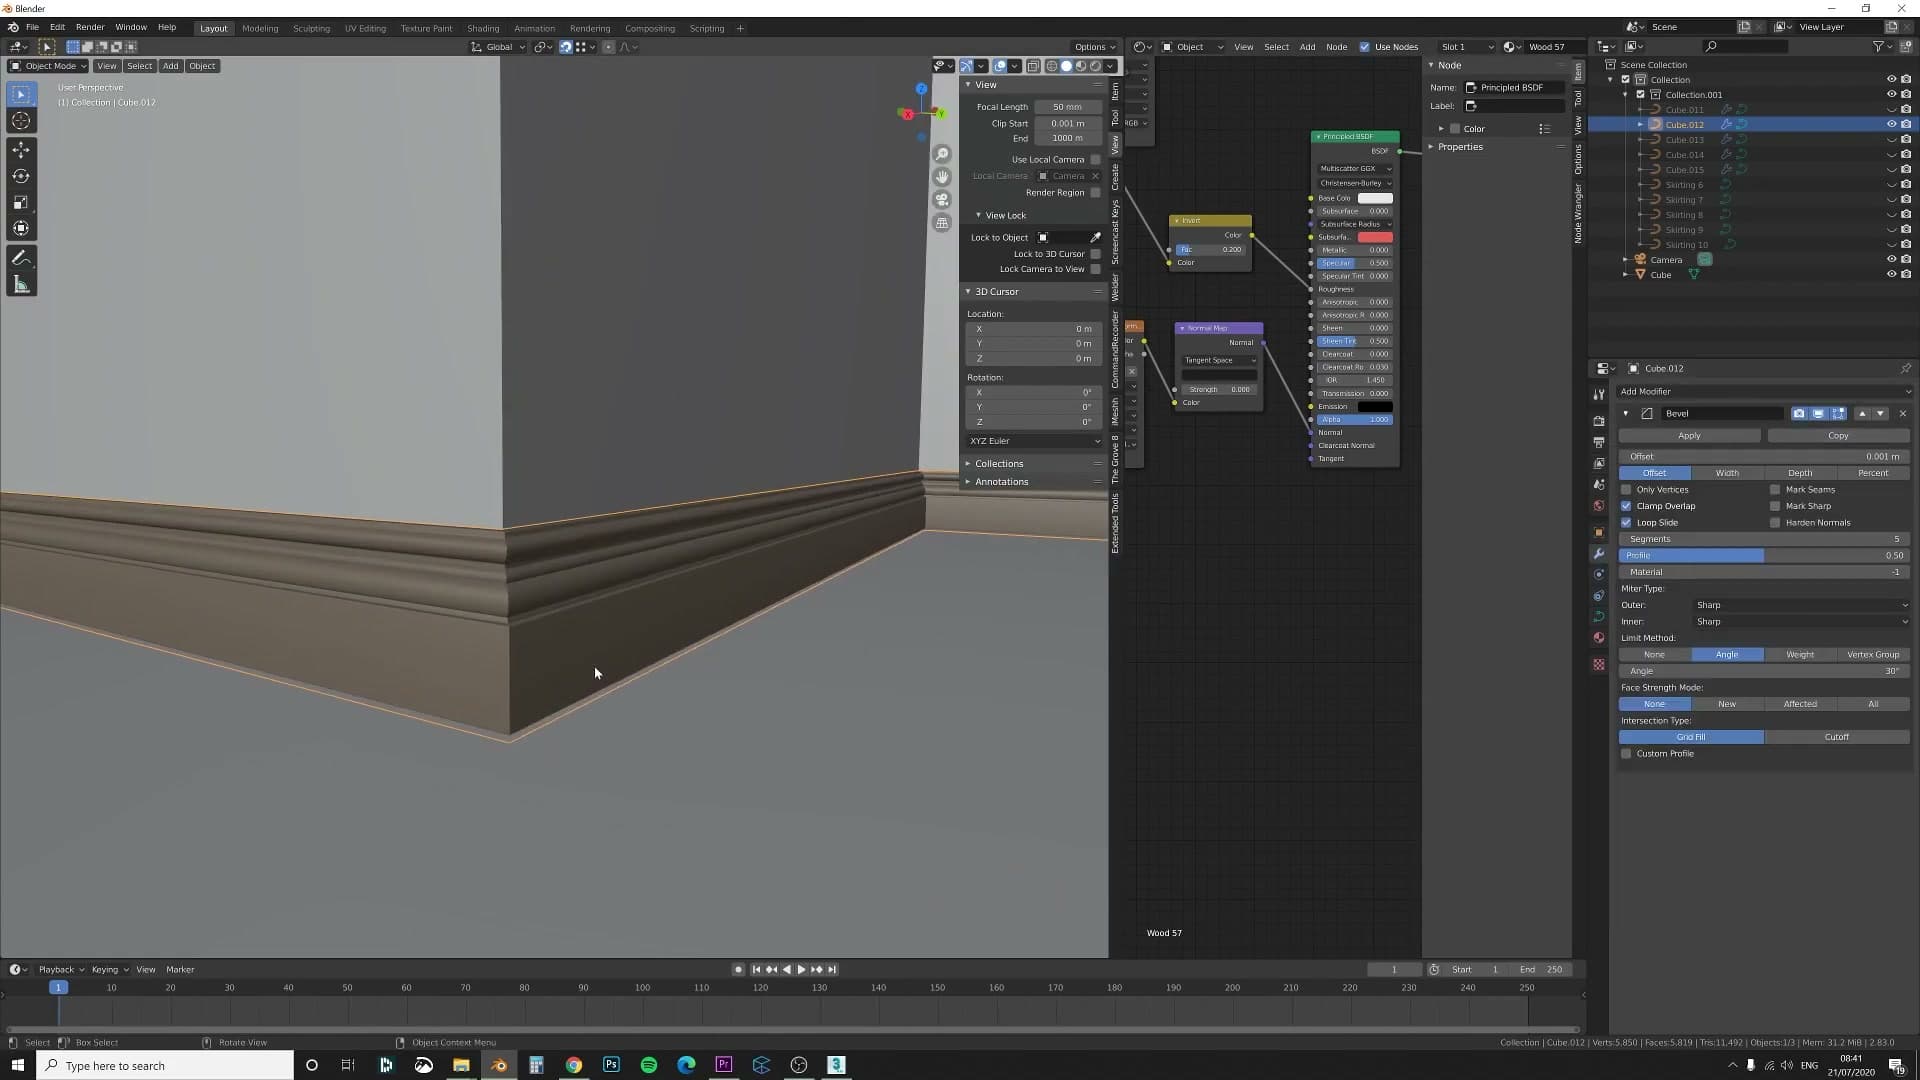
That single extrude gives you a clean skirting run all the way around the room. A bevel is already applied to this profile, so the top edge catches a highlight and reads convincingly once the scene is lit.
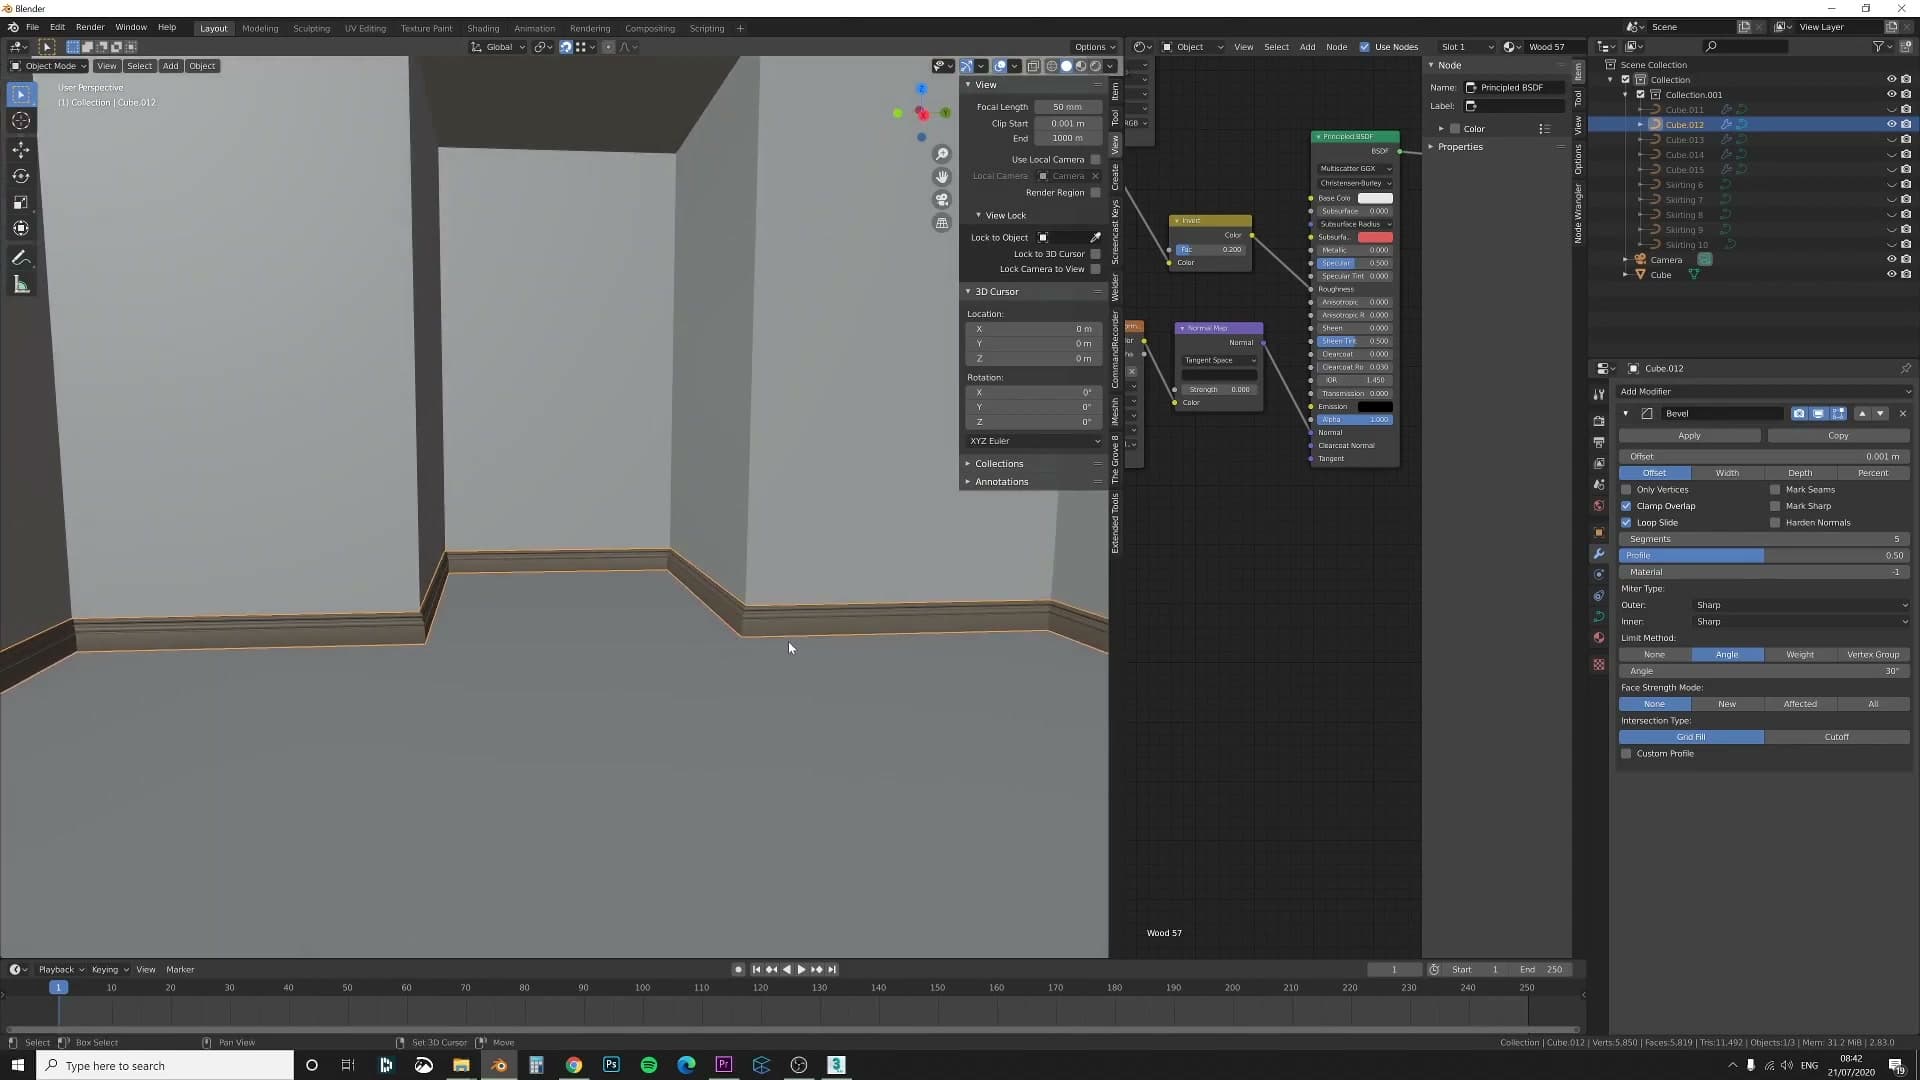
This is the same workflow 3ds Max users get from the sweep modifier: pick a cross-section, push it along a path, and you are done. Most Blender users build skirting the long-winded way and miss that native curves plus a profile do the job in a single keystroke.
Build your own skirting profile from scratch
Enable the Extra Objects add-on, add a single vert, then extrude on Y in edit mode to draw a custom skirting cross-section. Convert that mesh to a curve and assign it as the Bevel Object on any existing room curve to swap profiles instantly.
Enable Extra Objects and add a single vert
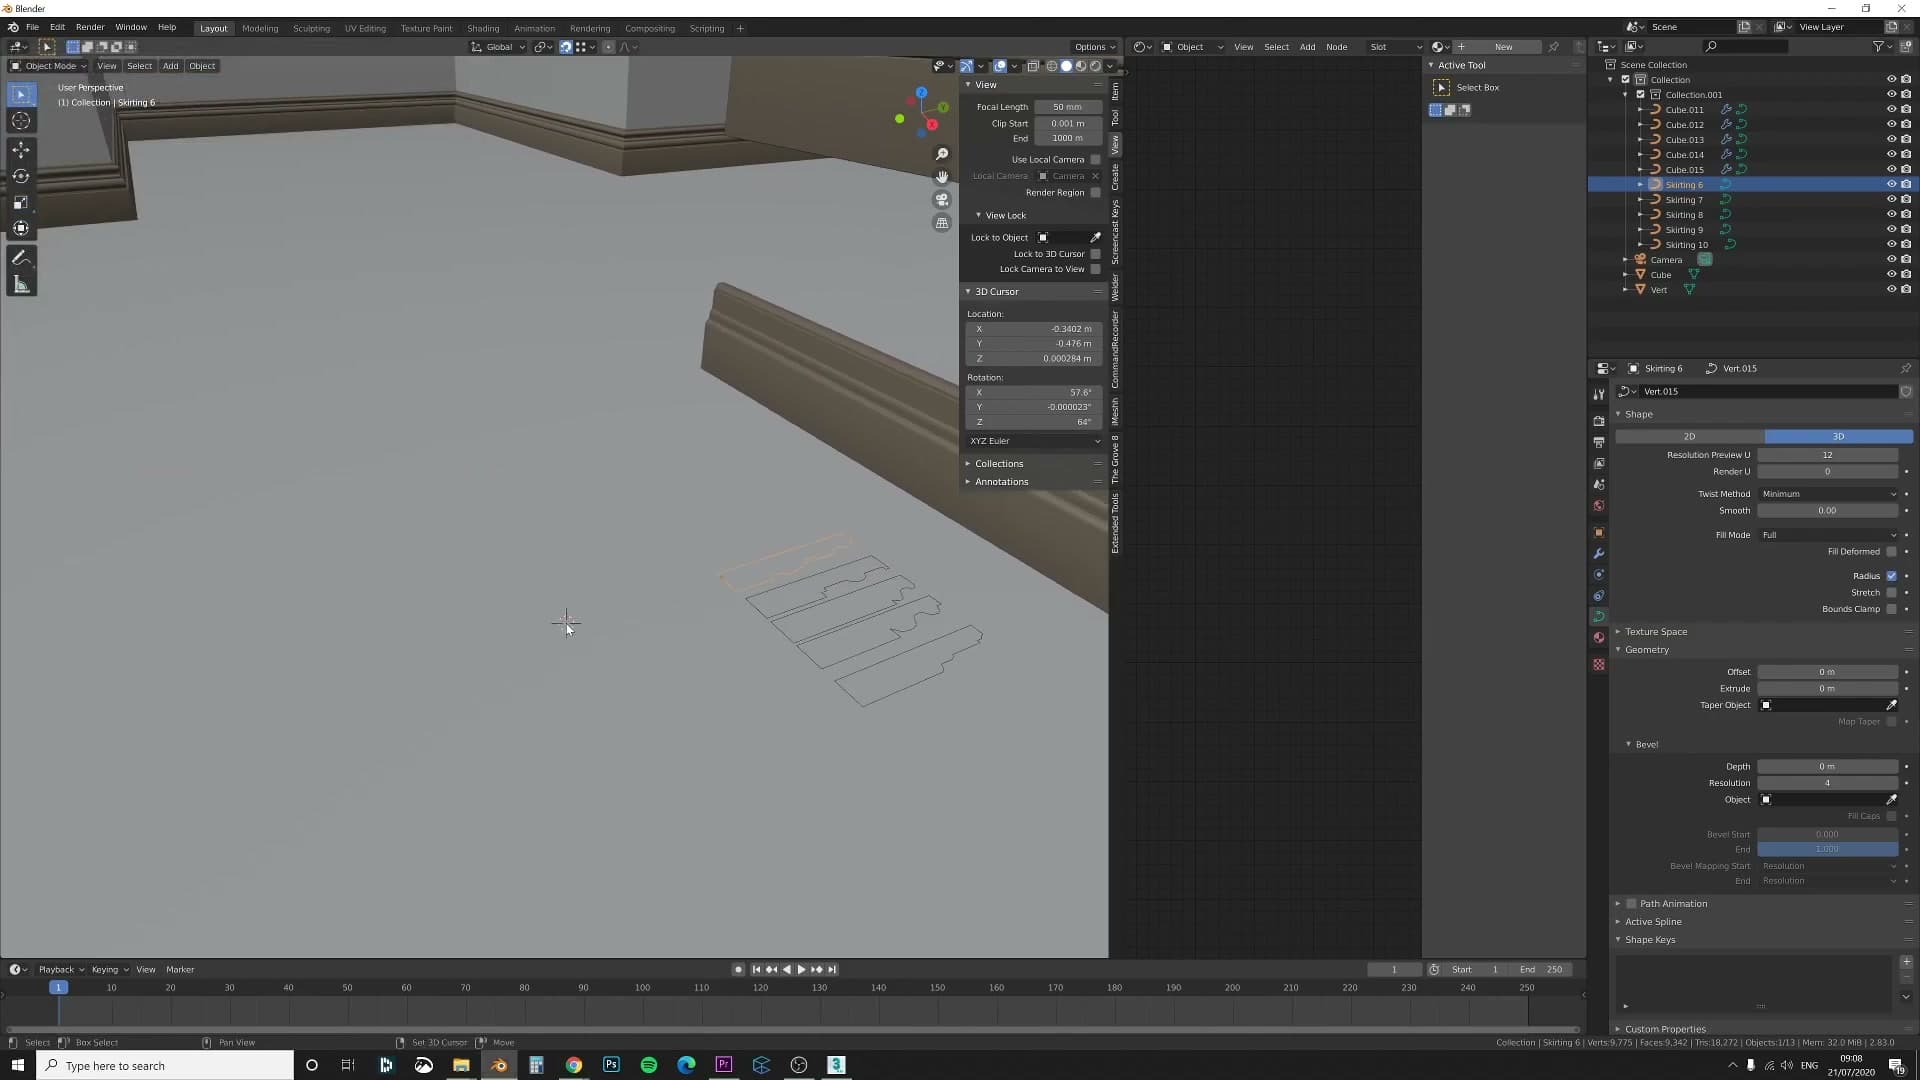
Before drawing anything new, it helps to see why the iMeshh profiles drop straight onto a room curve. Unhide one of the spare profiles and look at how it sits: each cross-section faces a consistent direction and, crucially, its origin sits right in the corner of the shape. That origin is the point that lands on a room corner when you snap the profile into place, so any profile you build yourself needs the same property.
Open Edit → Preferences and search for extra objects. Tick the add-on in the results list so the Add menu gains its new entries.
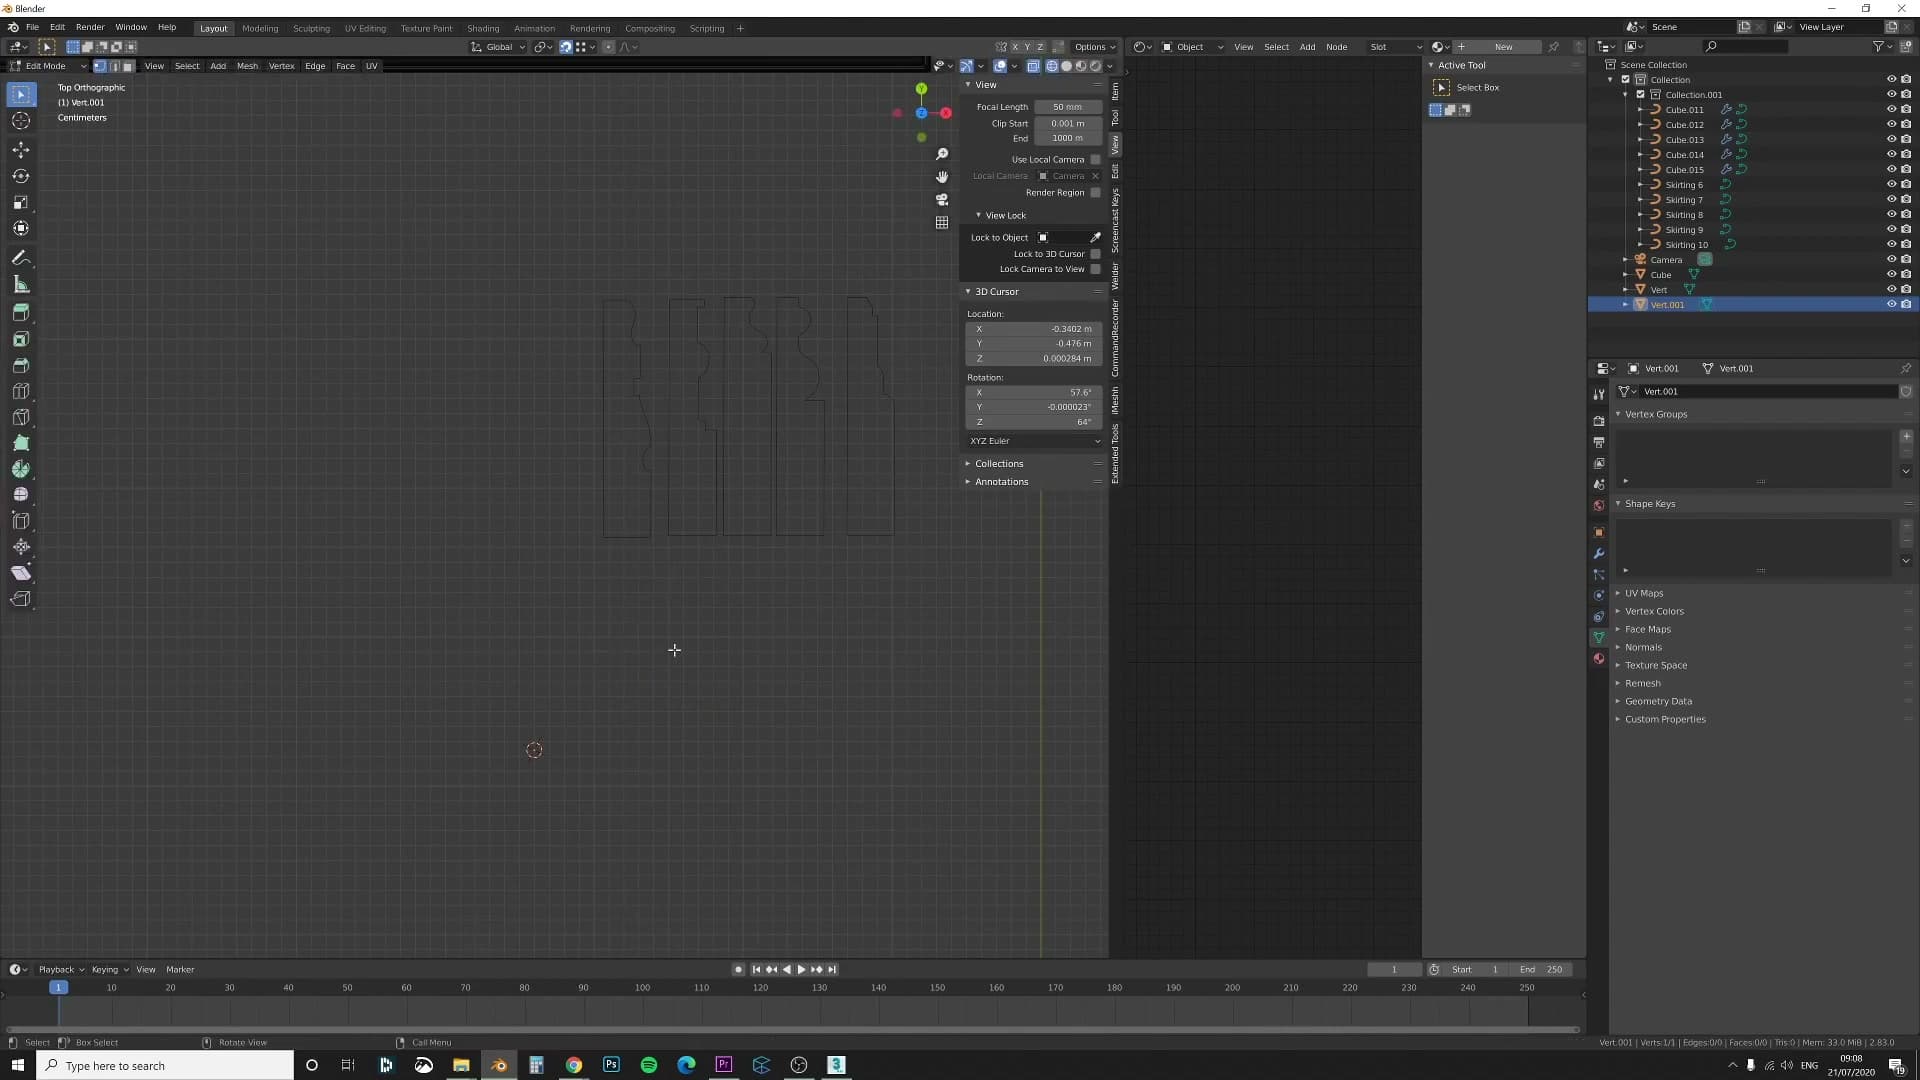
Back in the viewport, switch to top view, then use the Add menu to drop in a single vertex. Tab into edit mode and make sure vertex select mode is active. The lone vert is the only thing you'll be working from.
Draw the custom profile shape
With the lone vertex selected, press E followed by Y to extrude along the Y axis, click to confirm, then repeat. Each E Y lays down another segment of the cross-section. Step the verts out in the order the profile reads (up the wall, out, up, out), building a stepped silhouette the same way you'd sketch one on paper.
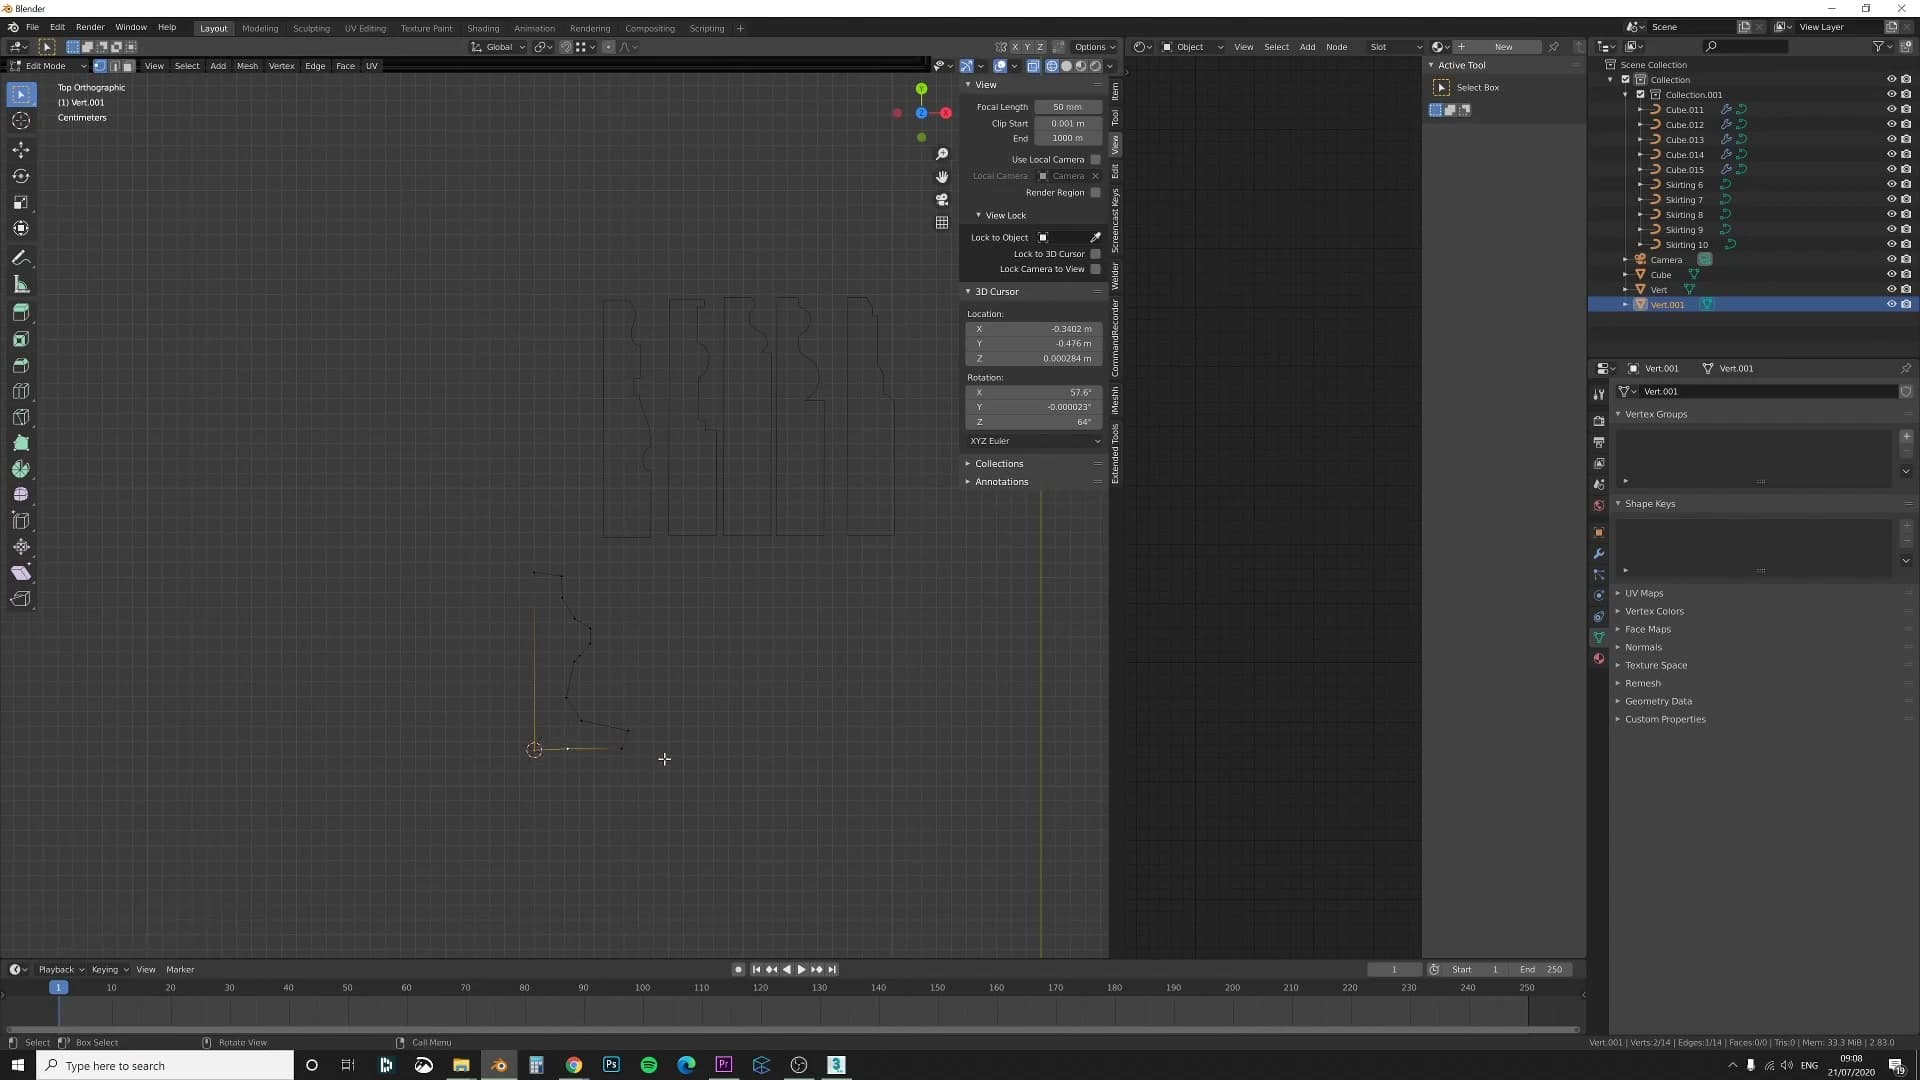
Keep extruding until the outline of the skirting is roughly drawn, then close the shape by joining the last vertex back to where you started. Don't worry about polish on this first pass. The point right now is to prove the workflow. You can come back and refine the curve after it's wrapping the room.
Convert to curve and assign as bevel
With the cross-section drawn, press F3 and search for Convert to Curve. The mesh you just drew becomes a curve, which is the only data type Blender will accept in the Bevel Object slot.
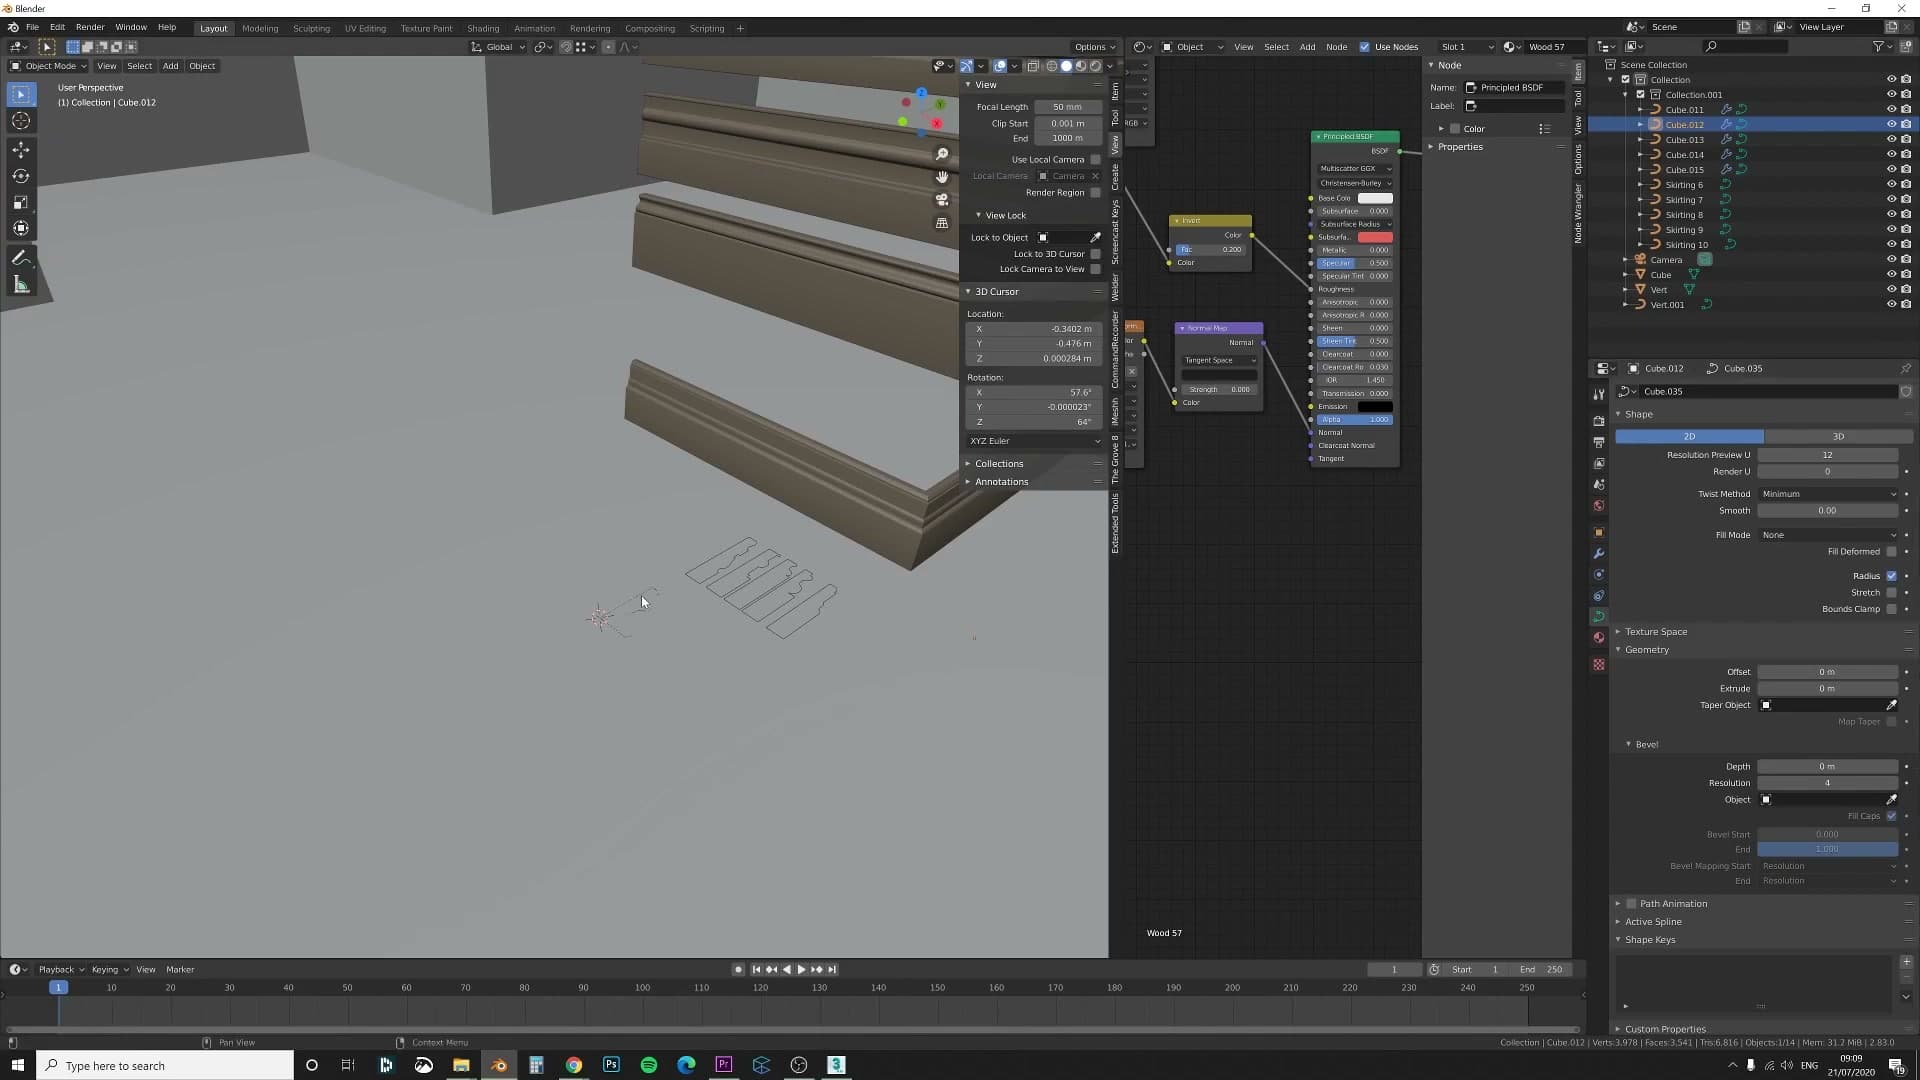
Now select the room curve and assign the freshly converted profile as its bevel object. The wall edge instantly wears your hand-drawn skirting. It is the same one-click swap that the iMeshh assets use, except this time the profile is one you built from a single vert.
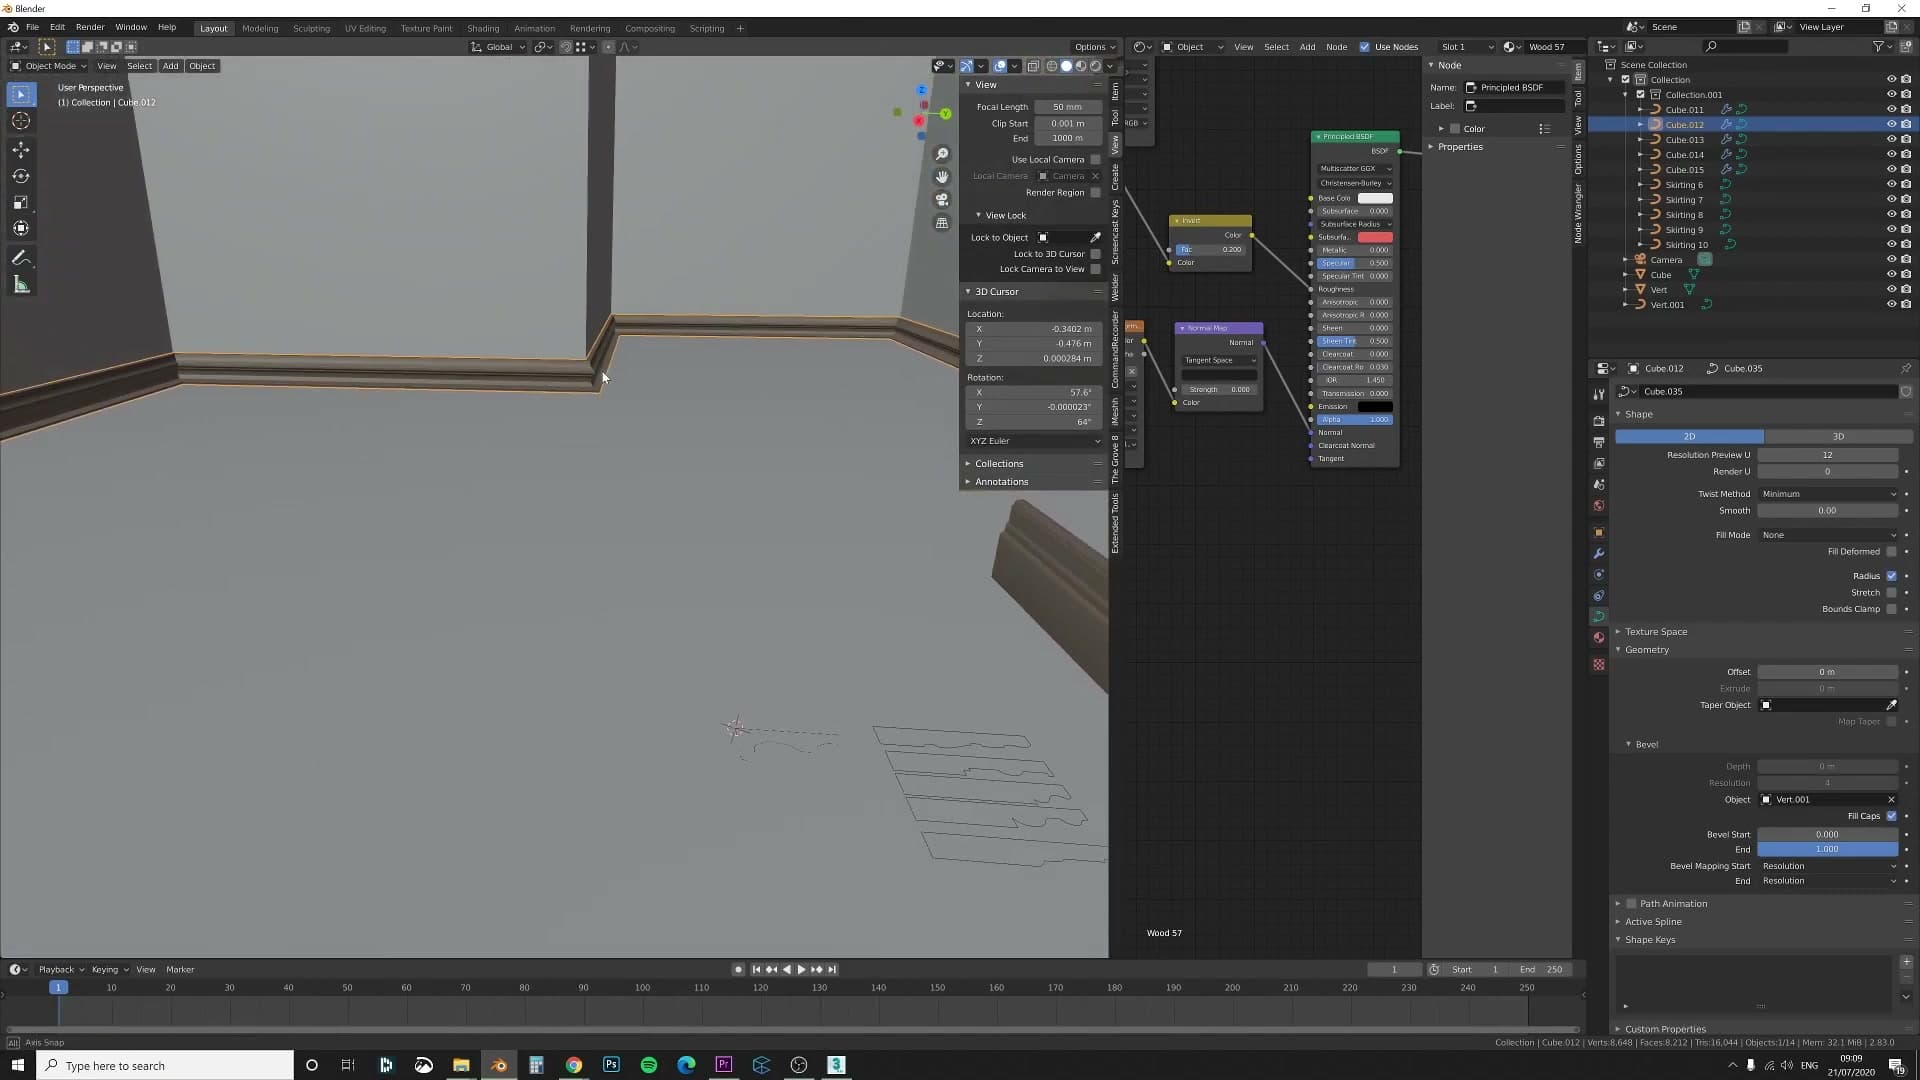
From here the workflow loops back on itself. Any closed curve you draw, convert and slot in can act as a bevel, so building up a personal library of custom skirting profiles is just a case of repeating the steps above and swapping the Bevel Object whenever you want a different look.
Fix profile orientation with the 3D cursor
When a custom profile lands at the wrong angle, set its origin with Shift+S → Cursor to Selected, switch the transform pivot to 3D Cursor, then rotate in edit mode in 90° increments until Y is up and the room-facing side sits along X.
Set the origin with Shift+S
When you drop a freshly drawn profile onto the room curve, there is a good chance it lands at the wrong angle: lying flat, facing the wrong wall, or stood on its head. The fix lives in the 3D cursor. Make sure the profile object is selected so the cursor has somewhere to land.
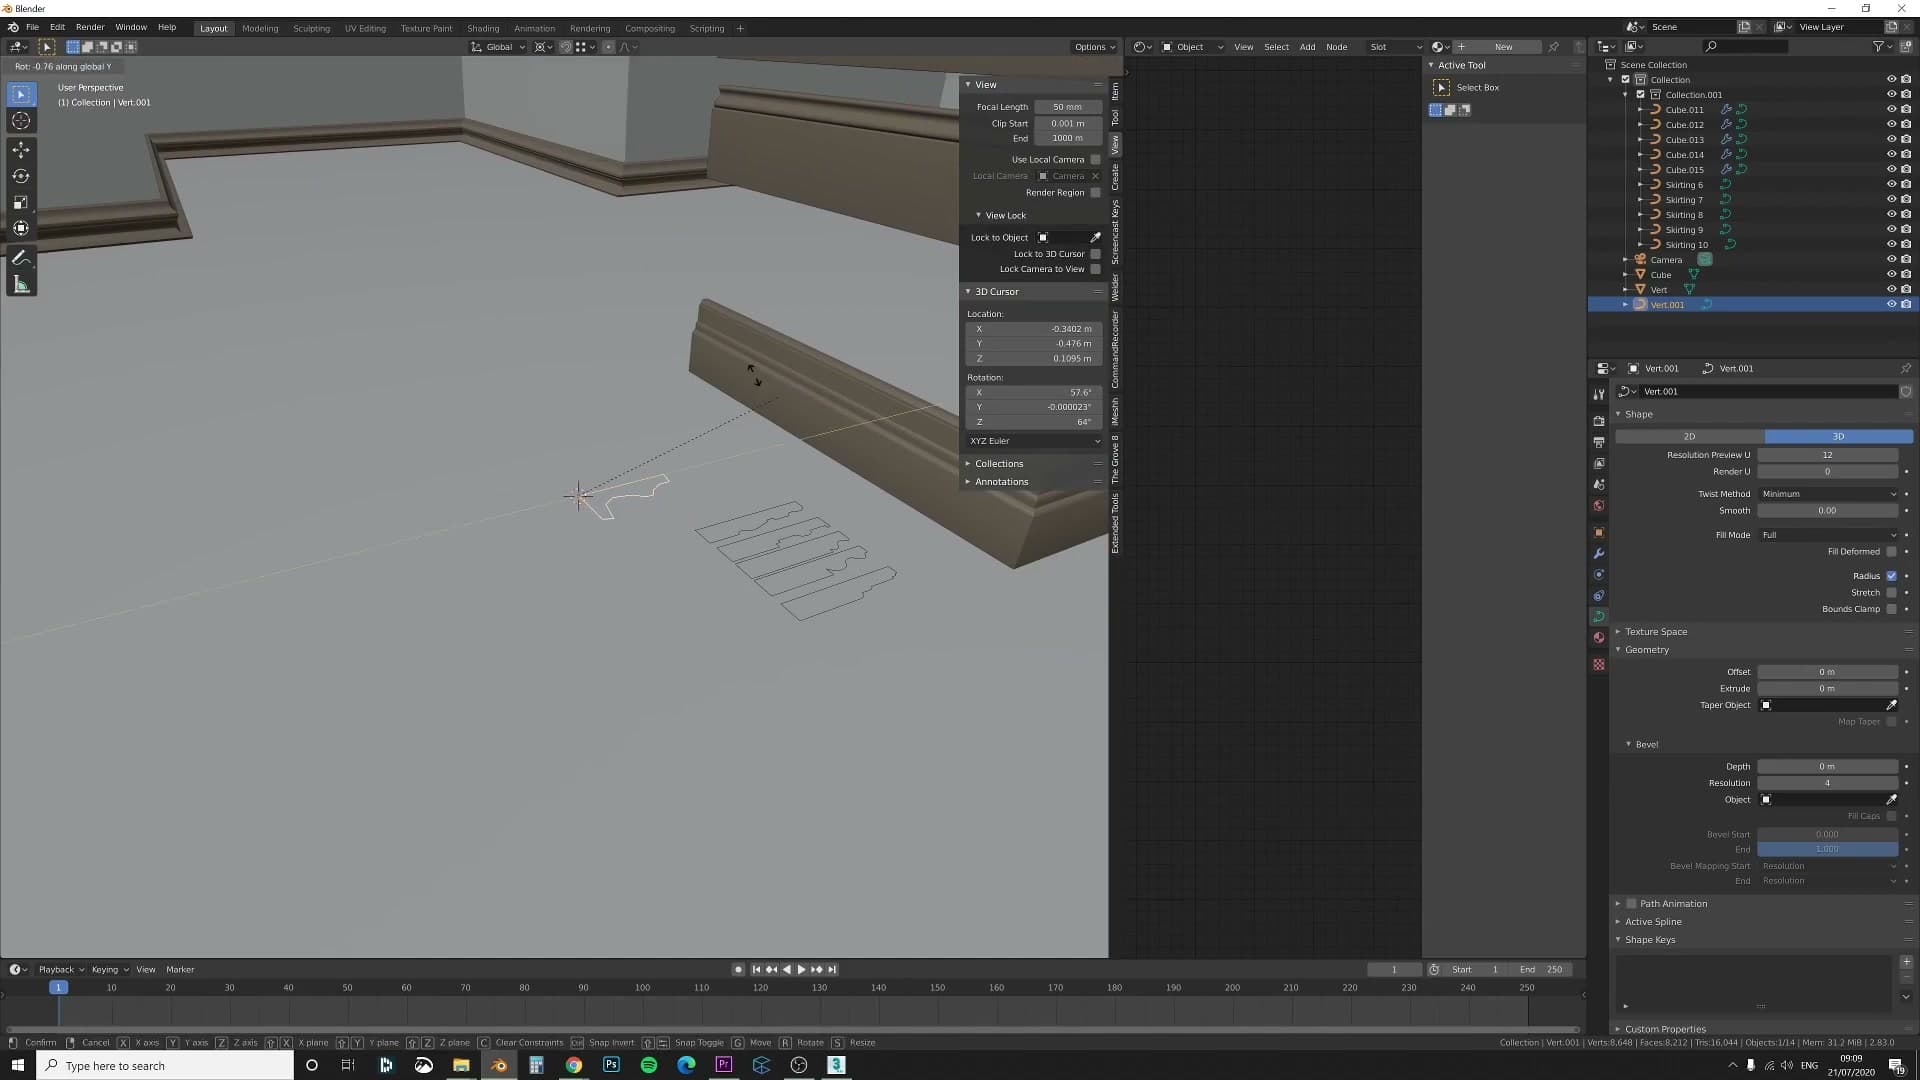
Press Shift+S and choose Cursor to Selected. That snaps the 3D cursor to the profile's origin, giving you a fixed point to pivot around. If the profile is hidden inside the floor, nudge it up a touch first so you can actually see what you are working with.
With the cursor parked on the origin, switch the transform pivot from its default Median Point to 3D Cursor in the header. From now on, any rotation happens around that corner of the profile rather than its centre. That is exactly what you want when the goal is to spin the shape around a fixed pivot without it drifting away from the curve.
Rotate the profile in 90° increments
Tab into edit mode and select everything with A. You are about to rotate the geometry of the profile itself, not the object, so all the verts need to be in play.
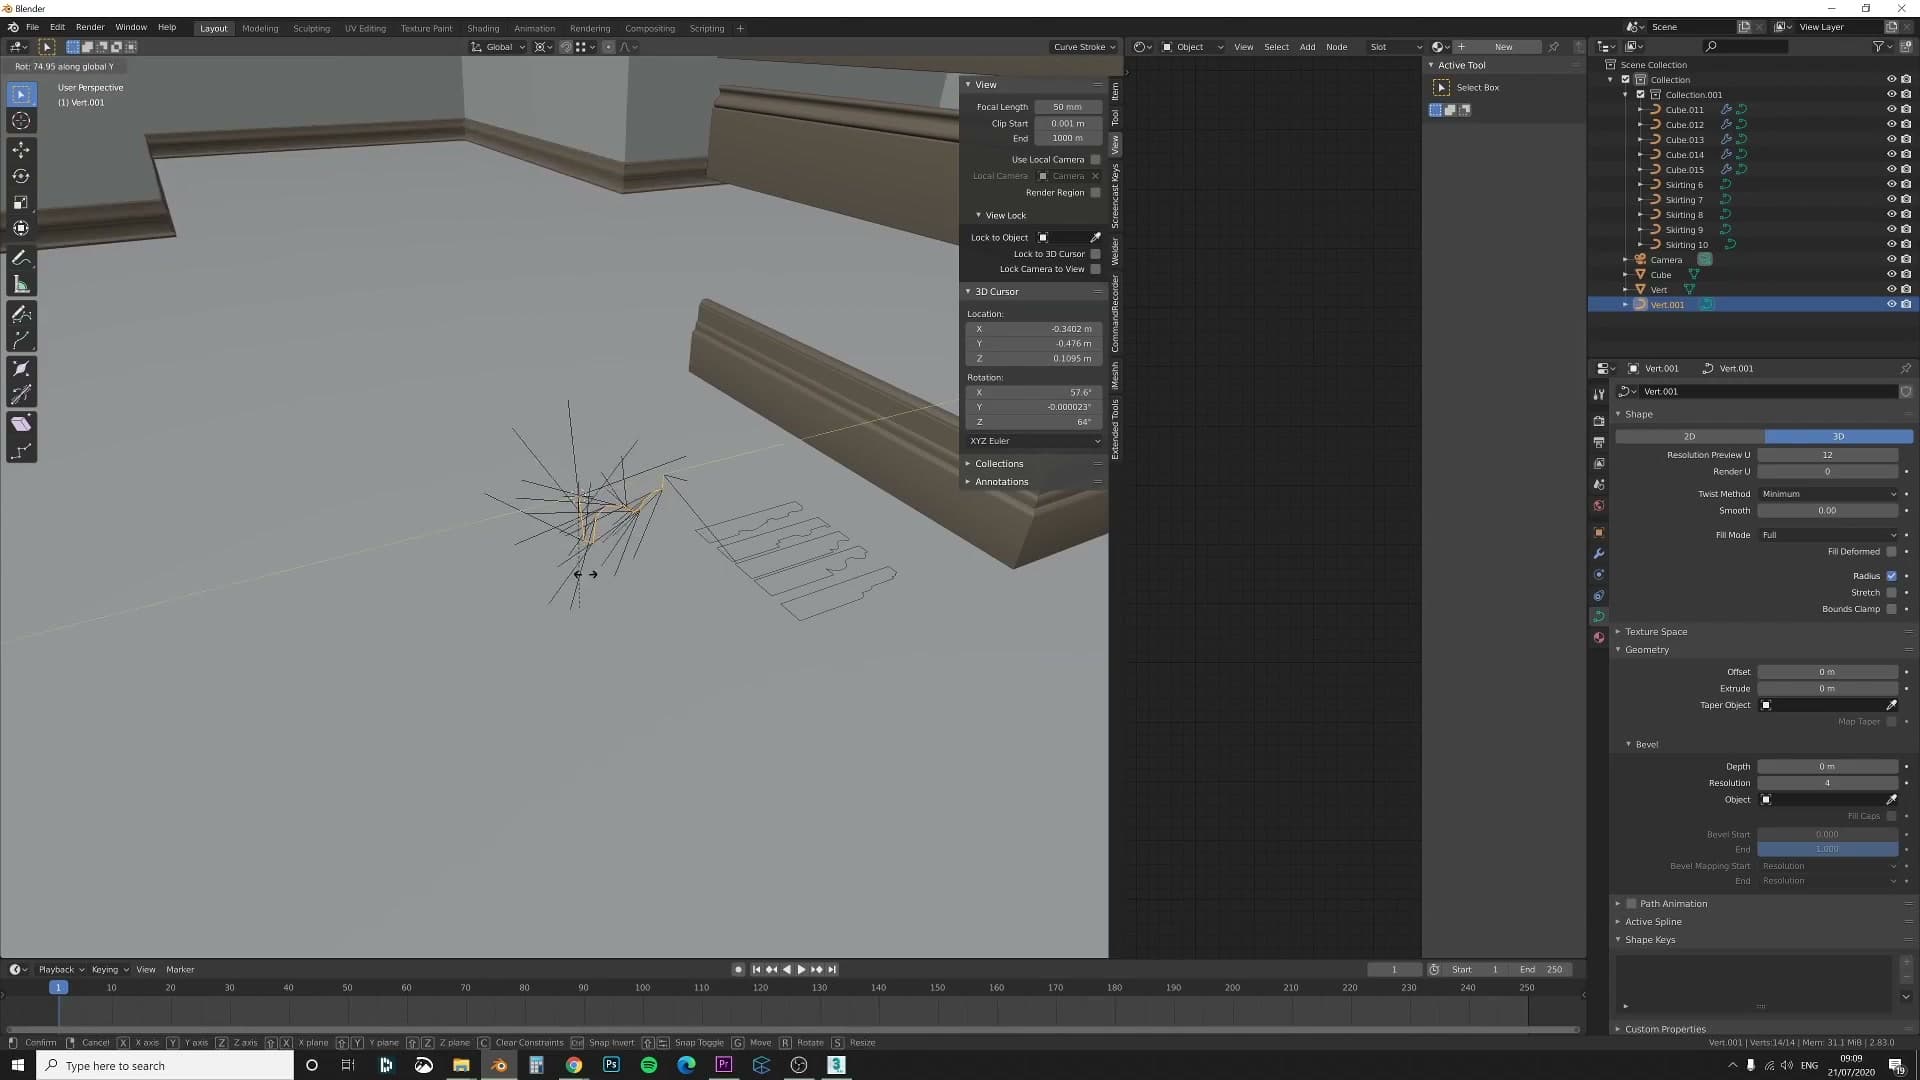
Press R followed by an axis key (R Y to start) and rotate in clean increments of 90°. Type the value in directly to avoid eyeballing it. If the first axis does not land the profile right way up, undo and try R X or R Z instead. It is a little fiddly, and you may need a couple of attempts across different axes before everything sits where you want it.
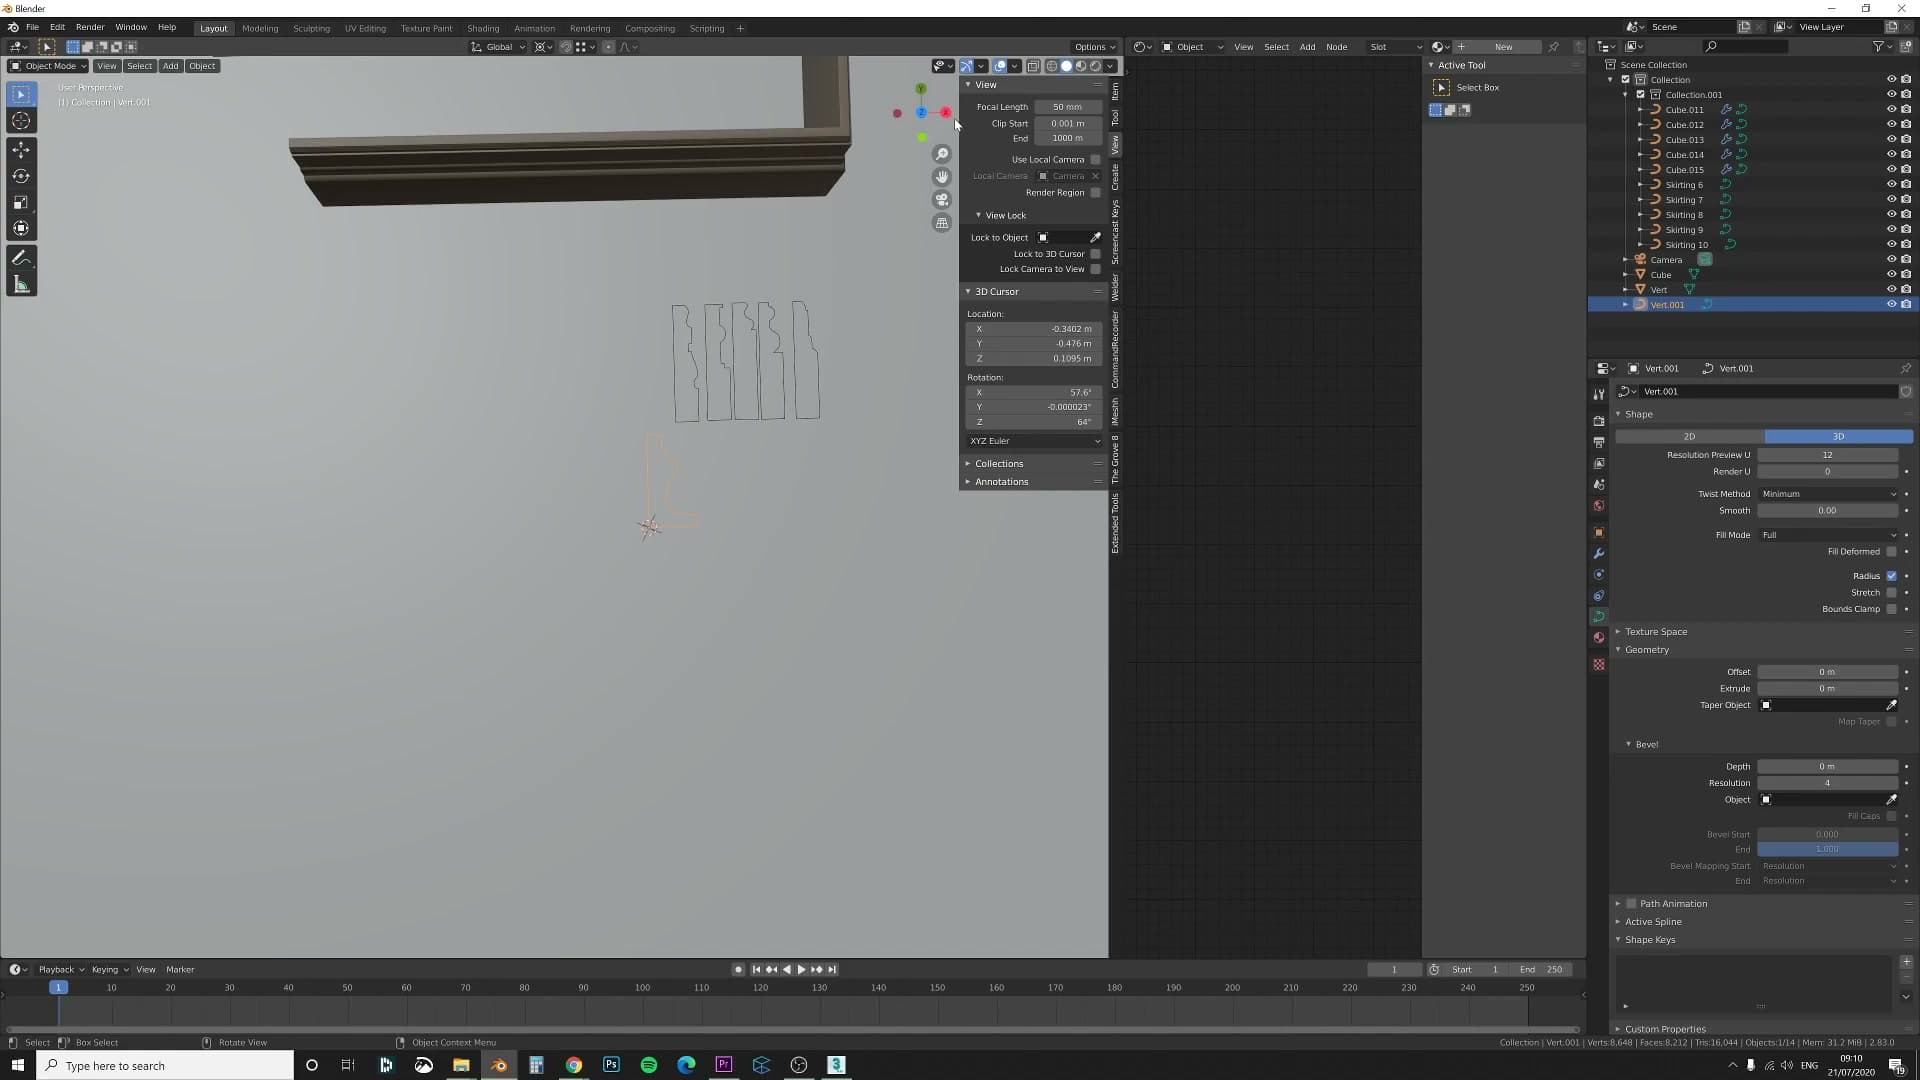
The rule of thumb to aim for is Y up and the room-facing side along X. Get the profile into that orientation and the curve will sweep it around every wall and corner cleanly, with the skirting reading correctly on every edge of the room.
Tools and credits
Everything mentioned in this tutorial, with links.
- Blender : the renderer this entire build runs in.
- iMeshh : studio platform (project management, client review, asset library, invoicing). The asset library used in this tutorial is included with every iMeshh Pro plan.
- Poly Haven : free CC0 textures and HDRIs.
Pillar guide: Modelling hub