Why Blender's default Face Orientation overlay is unusable
Blender 2.79 shaded back-facing normals a subtle dark blue by default, so you could glance at any cube and spot the bad ones instantly. Modern Blender replaced that with the Face Orientation overlay, which paints geometry in bright red and blue the moment you toggle it on. The colours are so aggressive that most people only enable the overlay in short bursts, miss problems in the gaps, and ship scenes with flipped normals.
How Blender 2.79 used to show flipped normals for free
This came up the other day when somebody mentioned the normals on a few of their models were facing the wrong direction. It's a small thing that quietly ruins shading, breaks subsurface scattering, and confuses the renderer about which side of a surface to light. Blender used to make it almost impossible to miss.
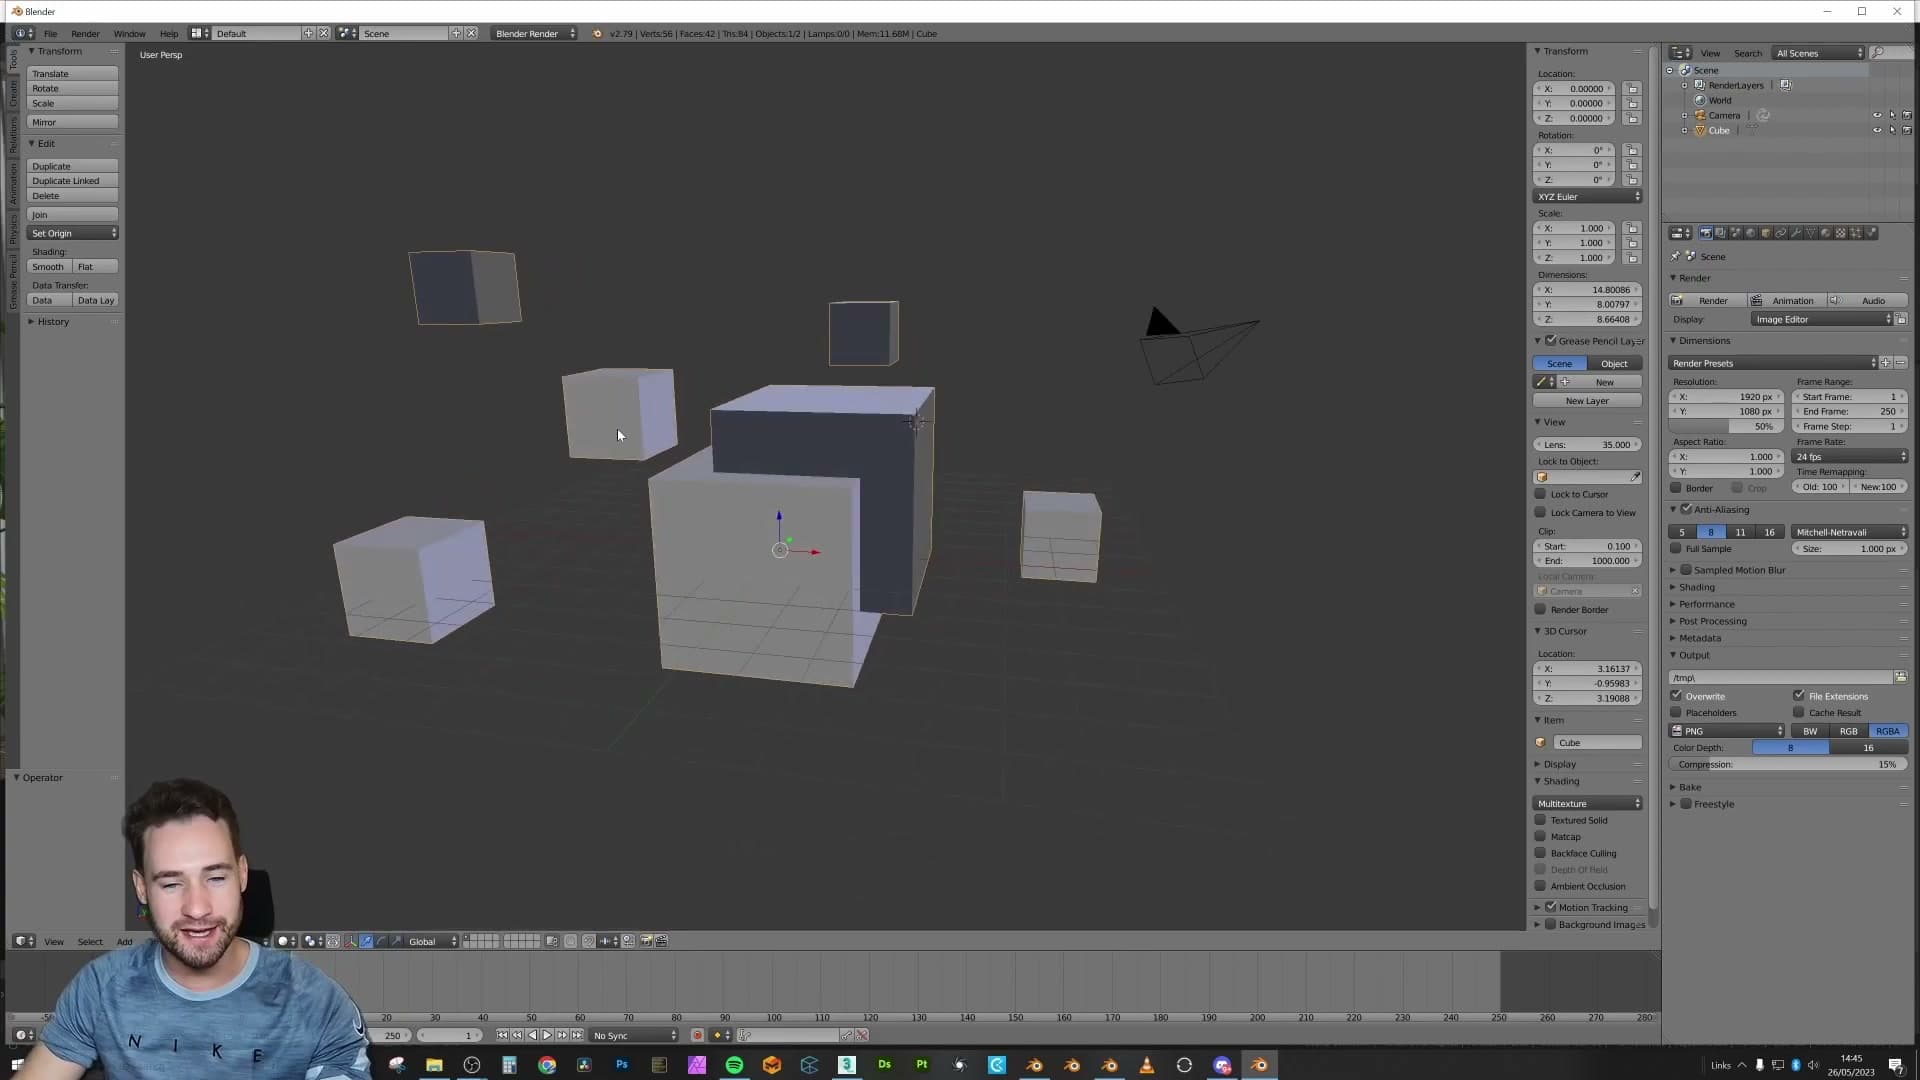
If you go back to Blender 2.79, the viewport handled it for you for free. Drop four cubes into a scene, flip the normals on three of them, and those three pick up a faintly darker blue tint compared to the one that's correct. No overlay, no shortcut, no toggle. It was just how the shaded viewport drew geometry, and a quick glance across the scene was enough to tell you which faces needed attention.
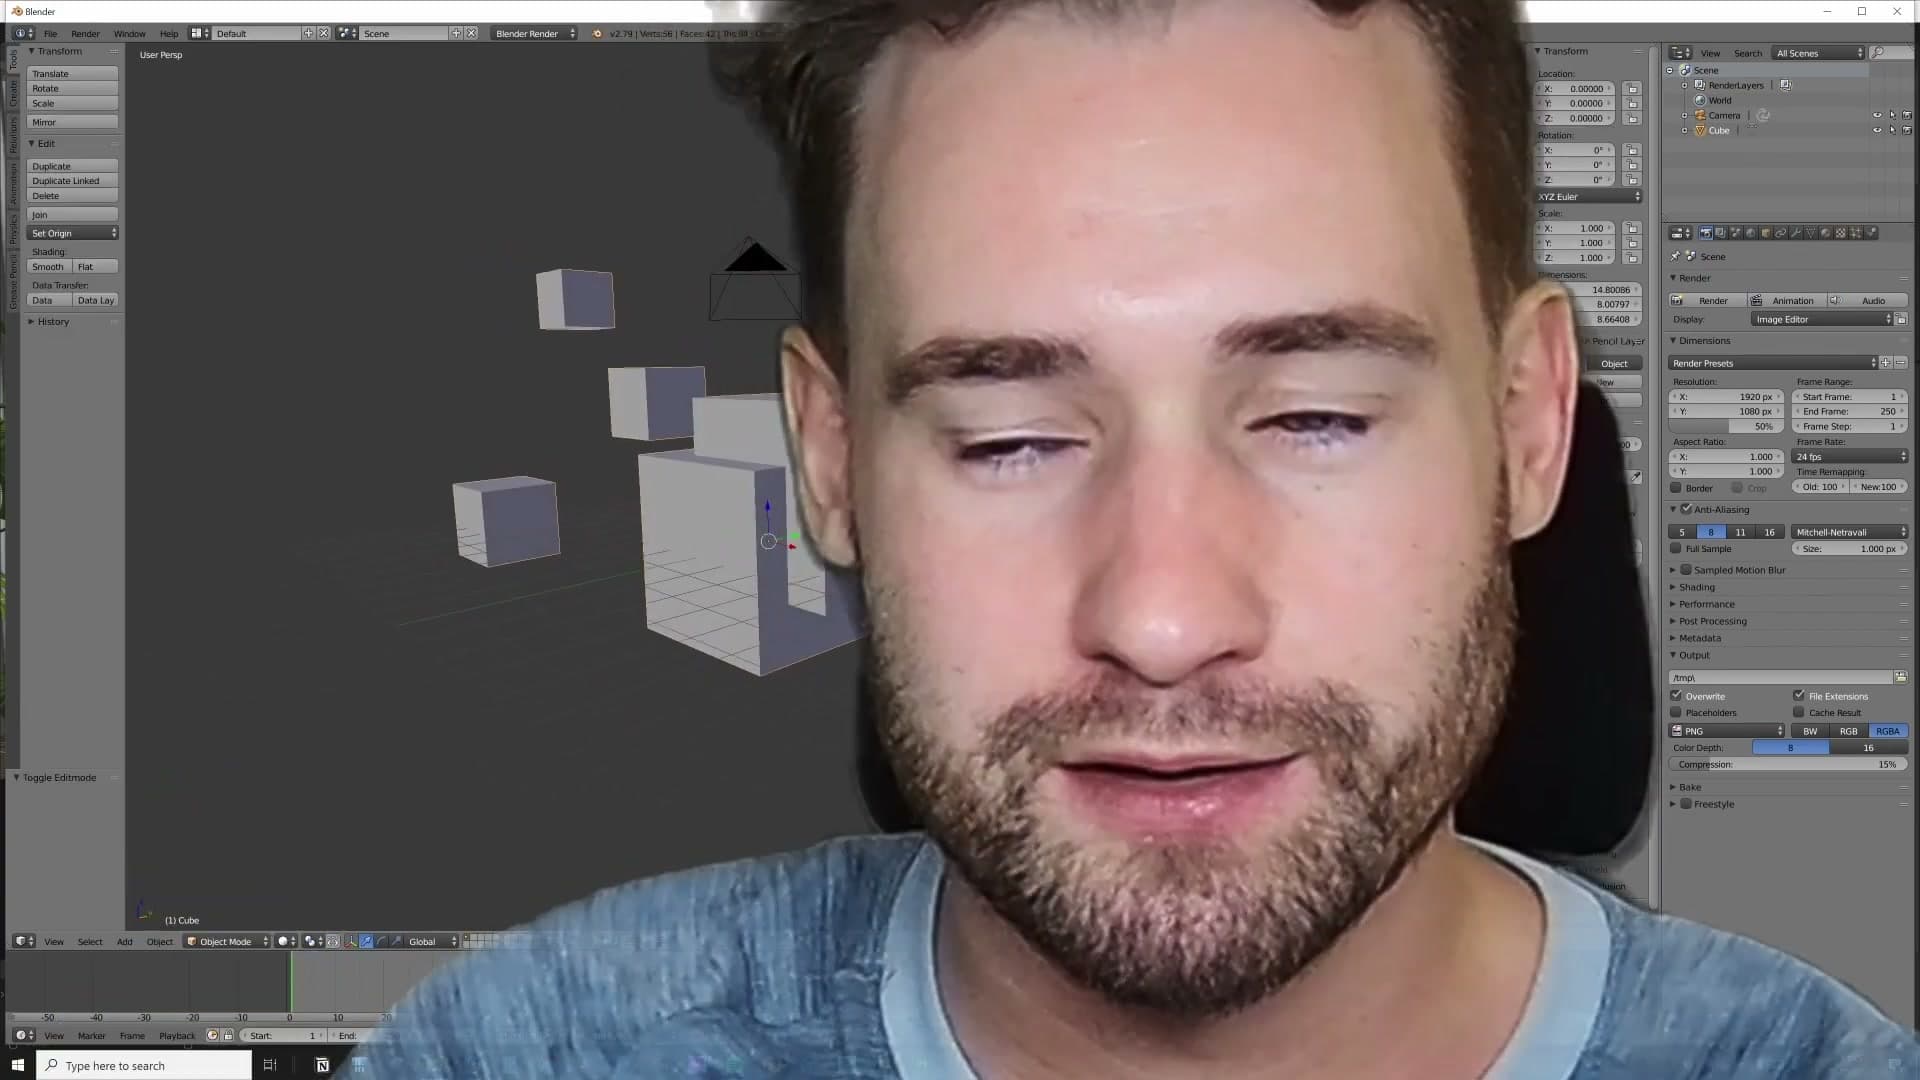
Once you'd spotted the offenders, the fix took a second, and the cubes returned to the same neutral grey as the rest of the mesh. Everything was now pointing outward. The whole loop happened in your peripheral vision while you carried on modelling.
The bright red and blue overlay in Blender 3.0 and beyond
Try the same exercise in Blender 3.0 or anything newer and that subtle default is gone. The viewport draws every face the same neutral colour regardless of which way it's pointing, so a scene full of flipped normals looks identical to a clean one. To see the problem at all, you have to drop into the overlays menu and click Face Orientation.
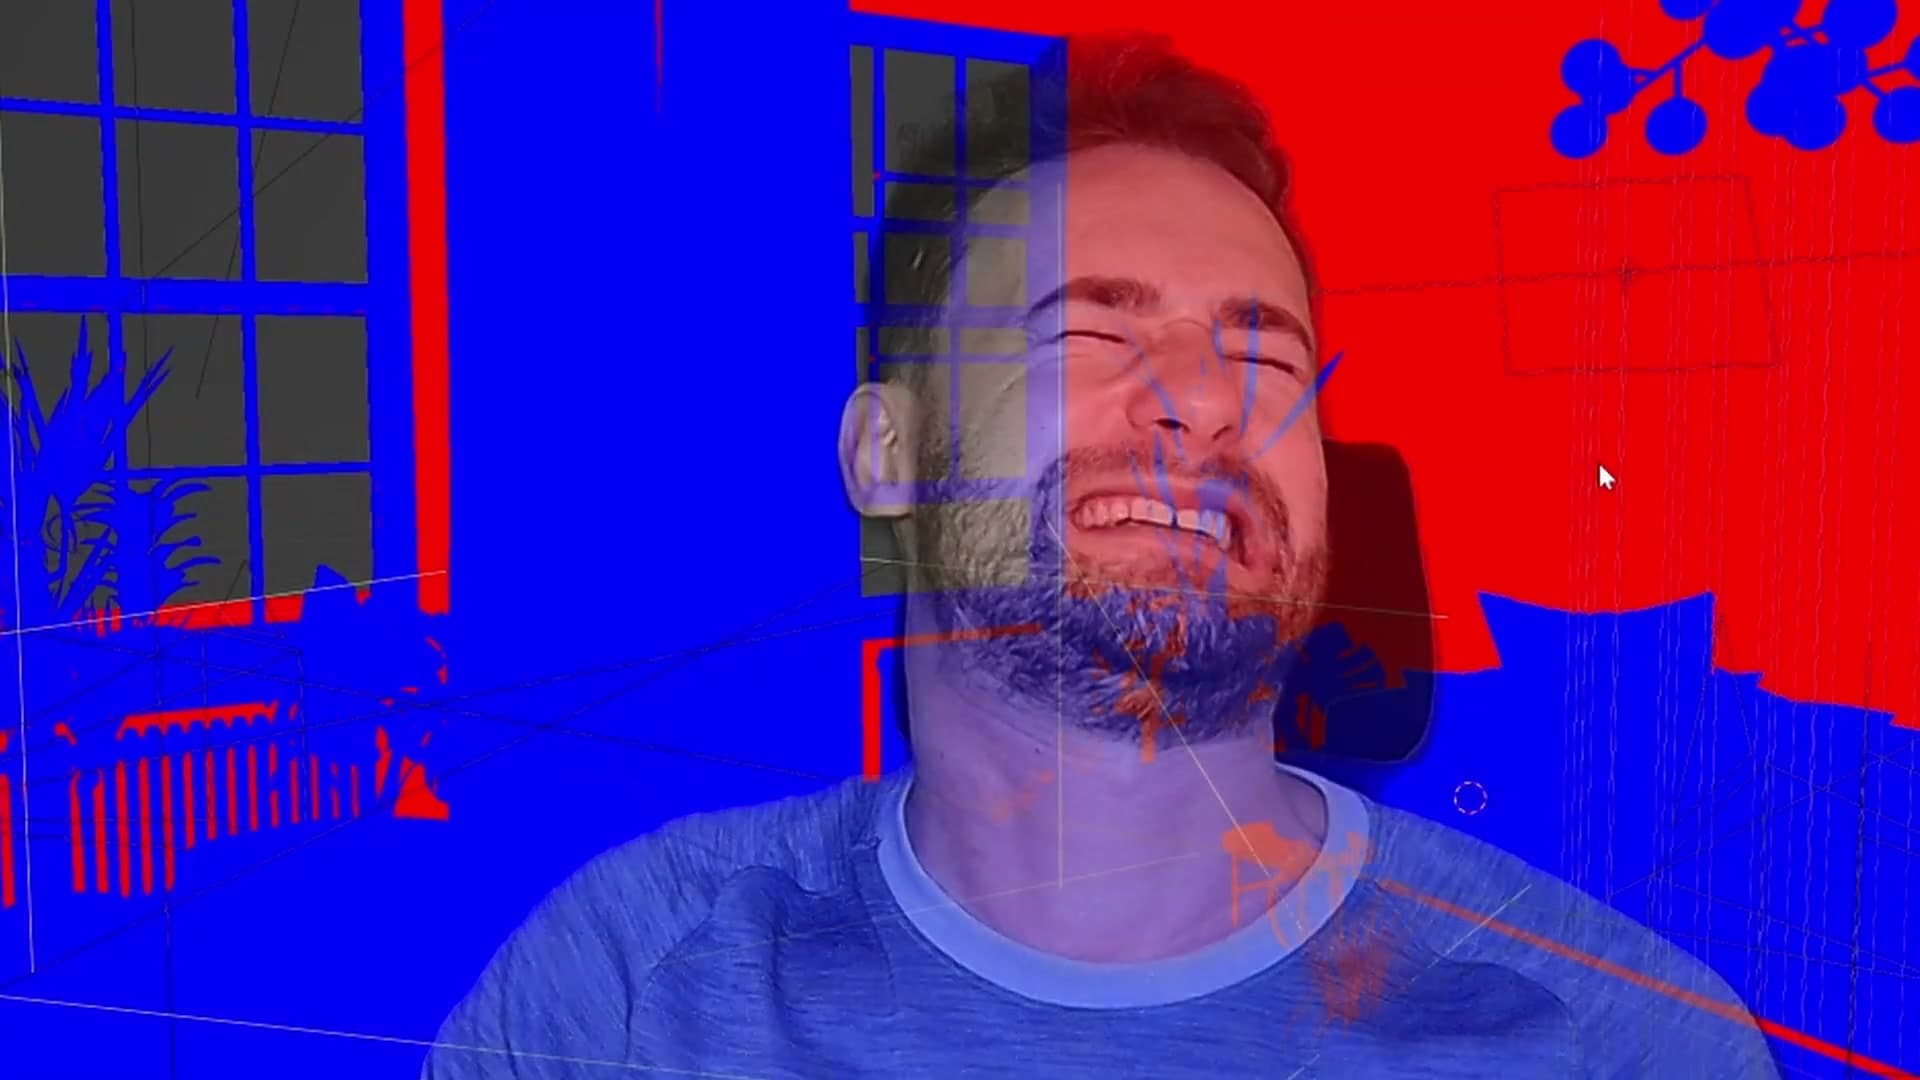
The moment you do, the viewport screams at you. Every correctly-facing surface turns saturated blue, every flipped face turns saturated red, and the underlying materials and lighting context vanish behind solid blocks of colour. It's readable in the same way a fire alarm is readable: you can't keep working with it on.
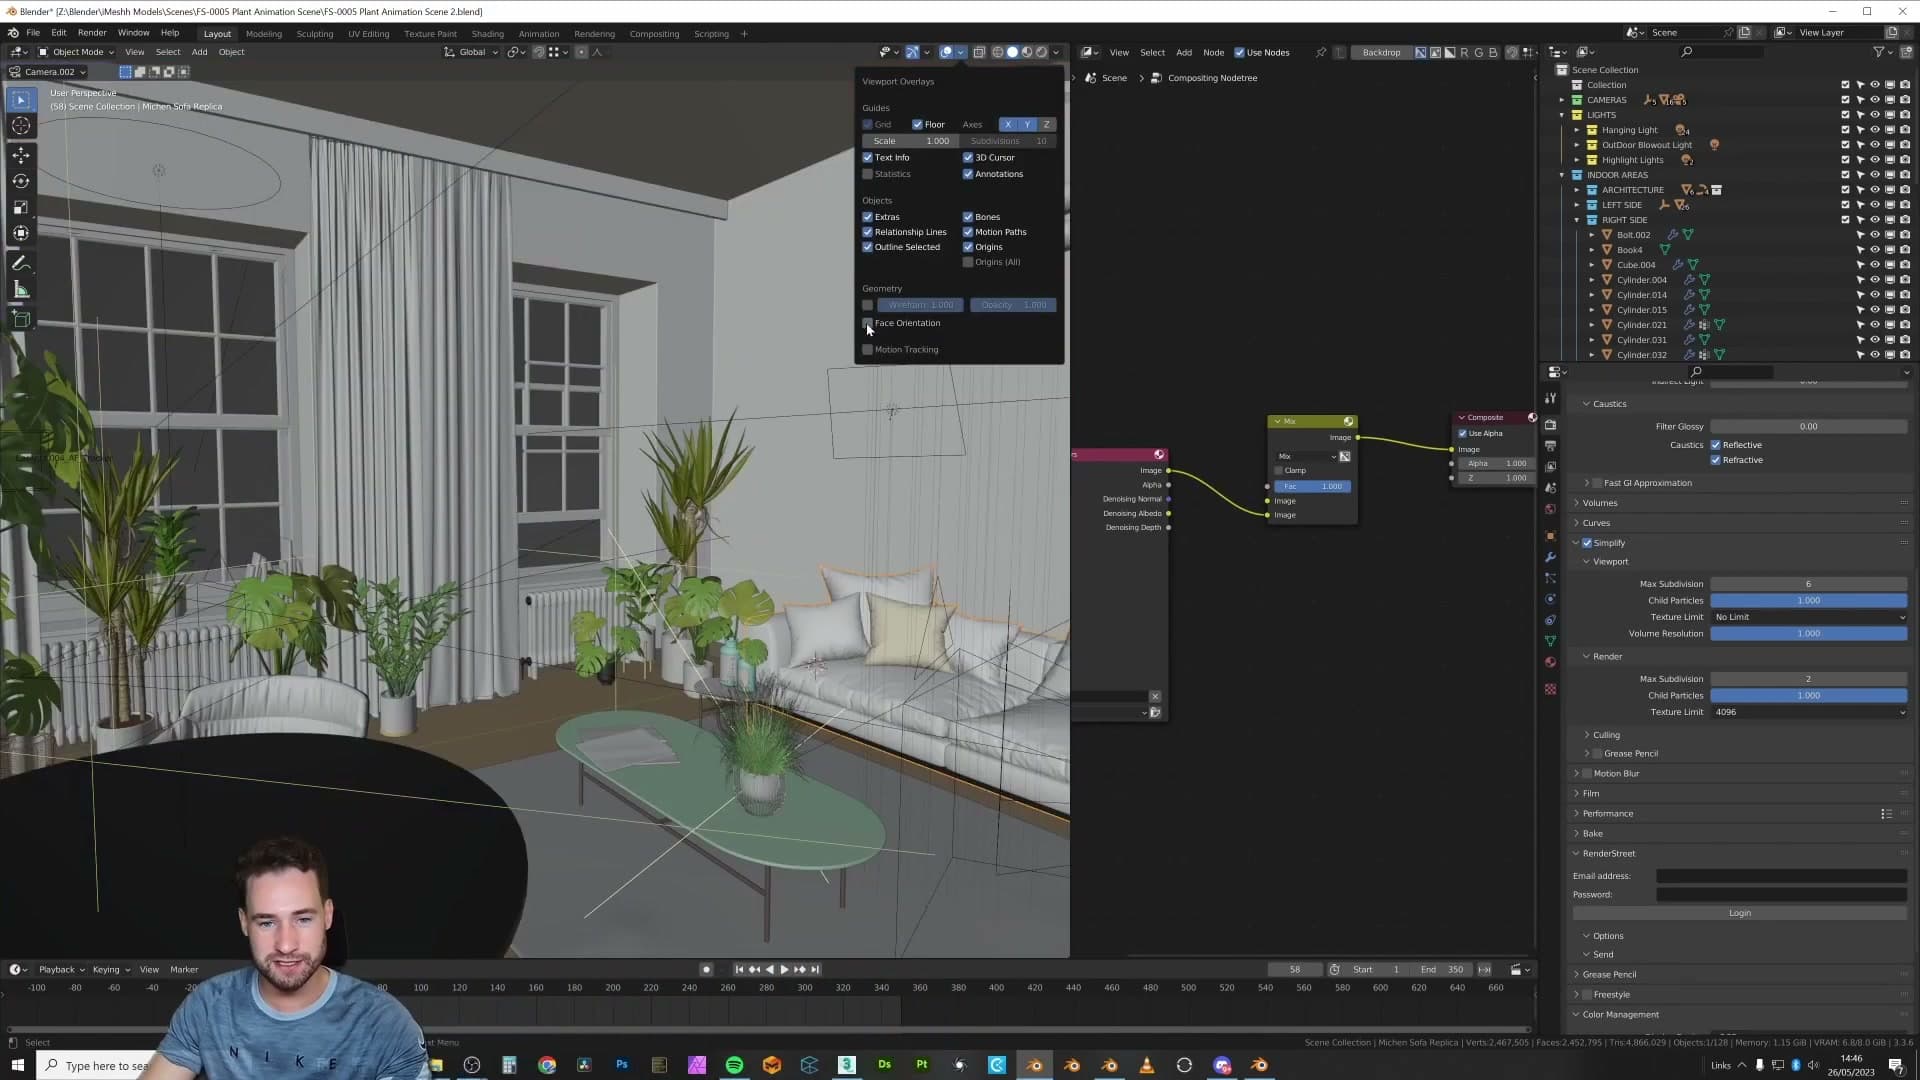
Because of that, most people treat the overlay as a momentary check rather than a permanent habit. You toggle it on, hunt down the obvious offenders, toggle it off, and carry on. Anything you miss in those short bursts ships with the scene, and you don't notice until a render shows up looking subtly wrong.
What a quietly-tinted Face Orientation overlay looks like in practice
Here's what the same overlay looks like once it's been tamed. In my archviz scene, Face Orientation is enabled all the time. It never gets switched off, and yet the viewport still reads normally. The materials, the lighting, the composition are all visible. Nothing is fighting for your attention.
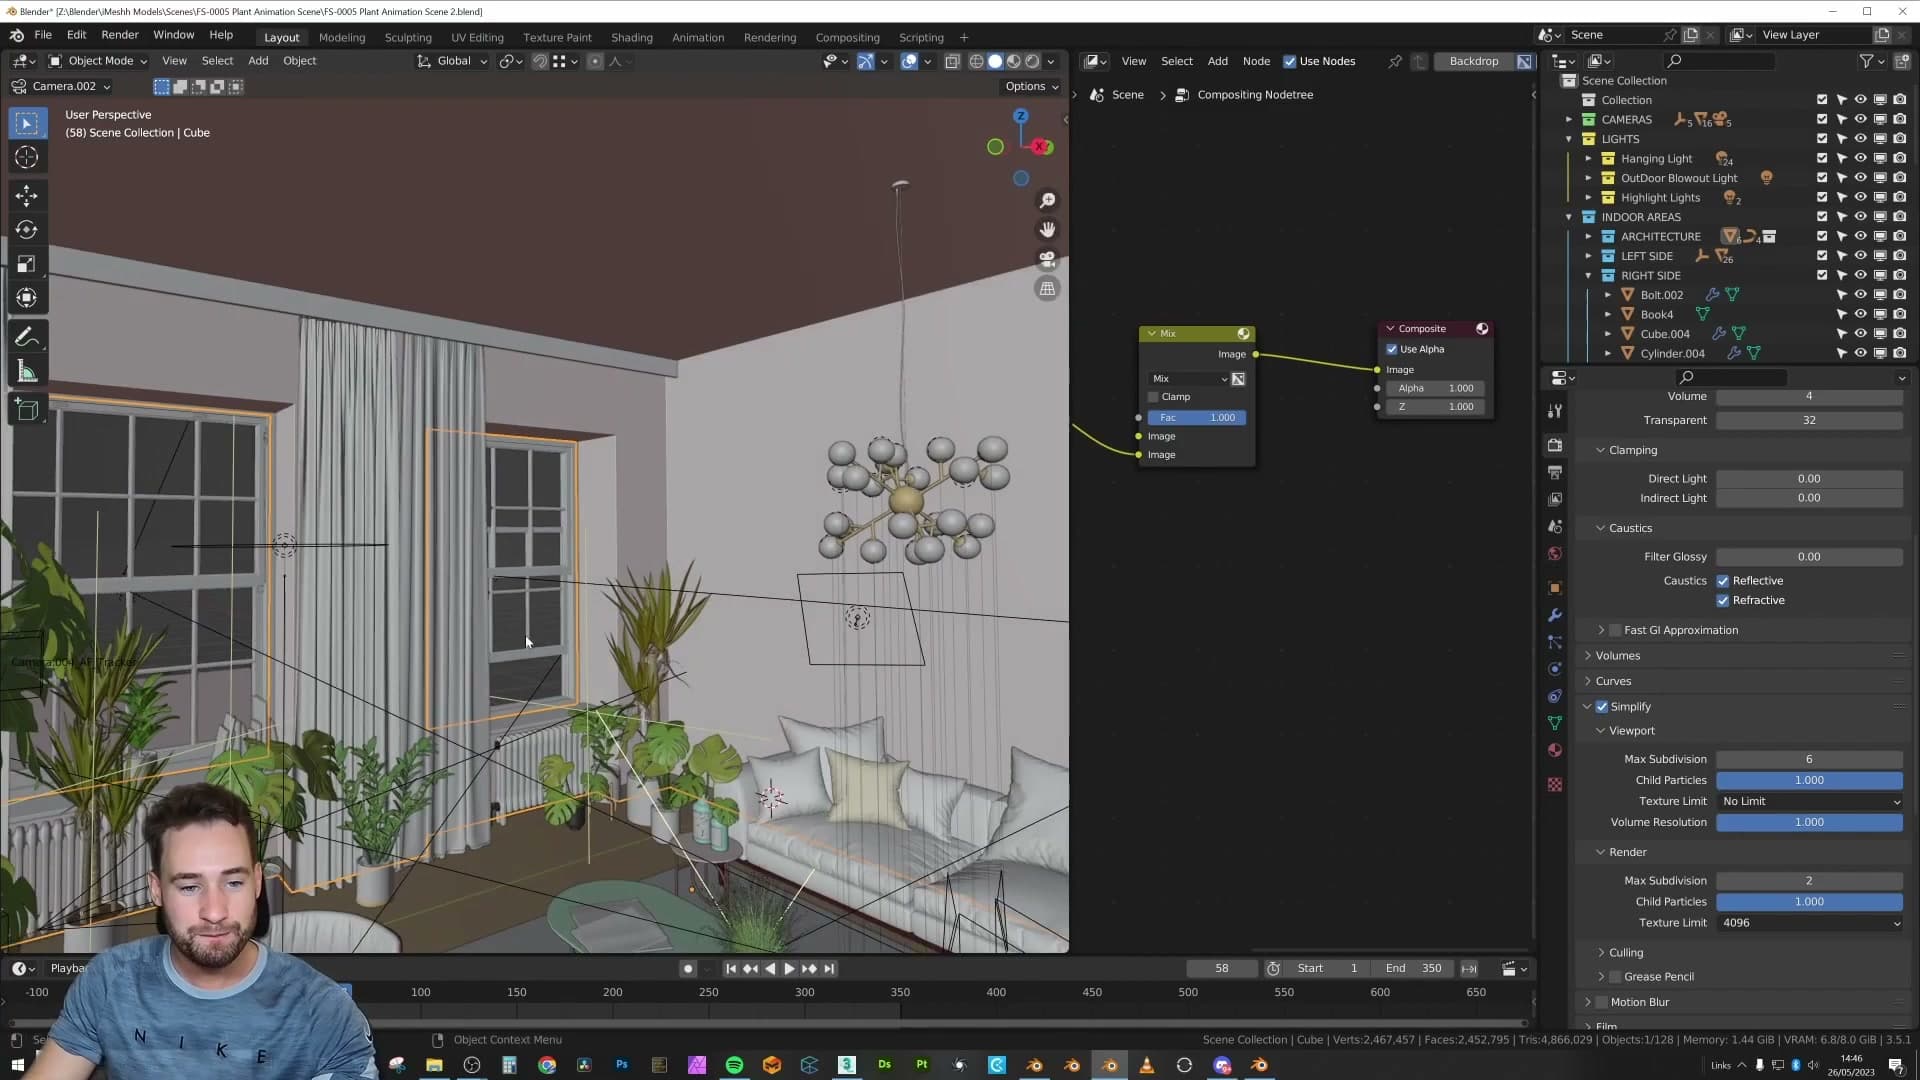
The only difference is that the faces with flipped normals carry a very slight red hue. It's quiet enough that you don't notice it when you're focused on something else, but loud enough that it jumps out the moment you glance at a problem area. That's all the information you actually need: a passive flag that says "look here" without hijacking the rest of the viewport.
It's not obvious why Blender doesn't ship this way by default, but the settings to recreate it are already in the application with no add-on required. The rest of this post walks through exactly which values to change, where to find them, and how to make the new defaults stick across every scene.
Customising the Face Orientation colours in Preferences
The whole fix lives in Edit → Preferences → Themes → 3D Viewport. Blender exposes both the front and back face orientation colours directly, so you can switch off the highlight on correctly-facing geometry and dial the back-face tint down until it's barely there. Save Preferences once and every future scene inherits the readable overlay.
Opening the 3D Viewport theme panel
Everything you need lives inside Blender's theme editor. Open Edit → Preferences, switch to the Themes tab, and pick 3D Viewport from the list on the left.
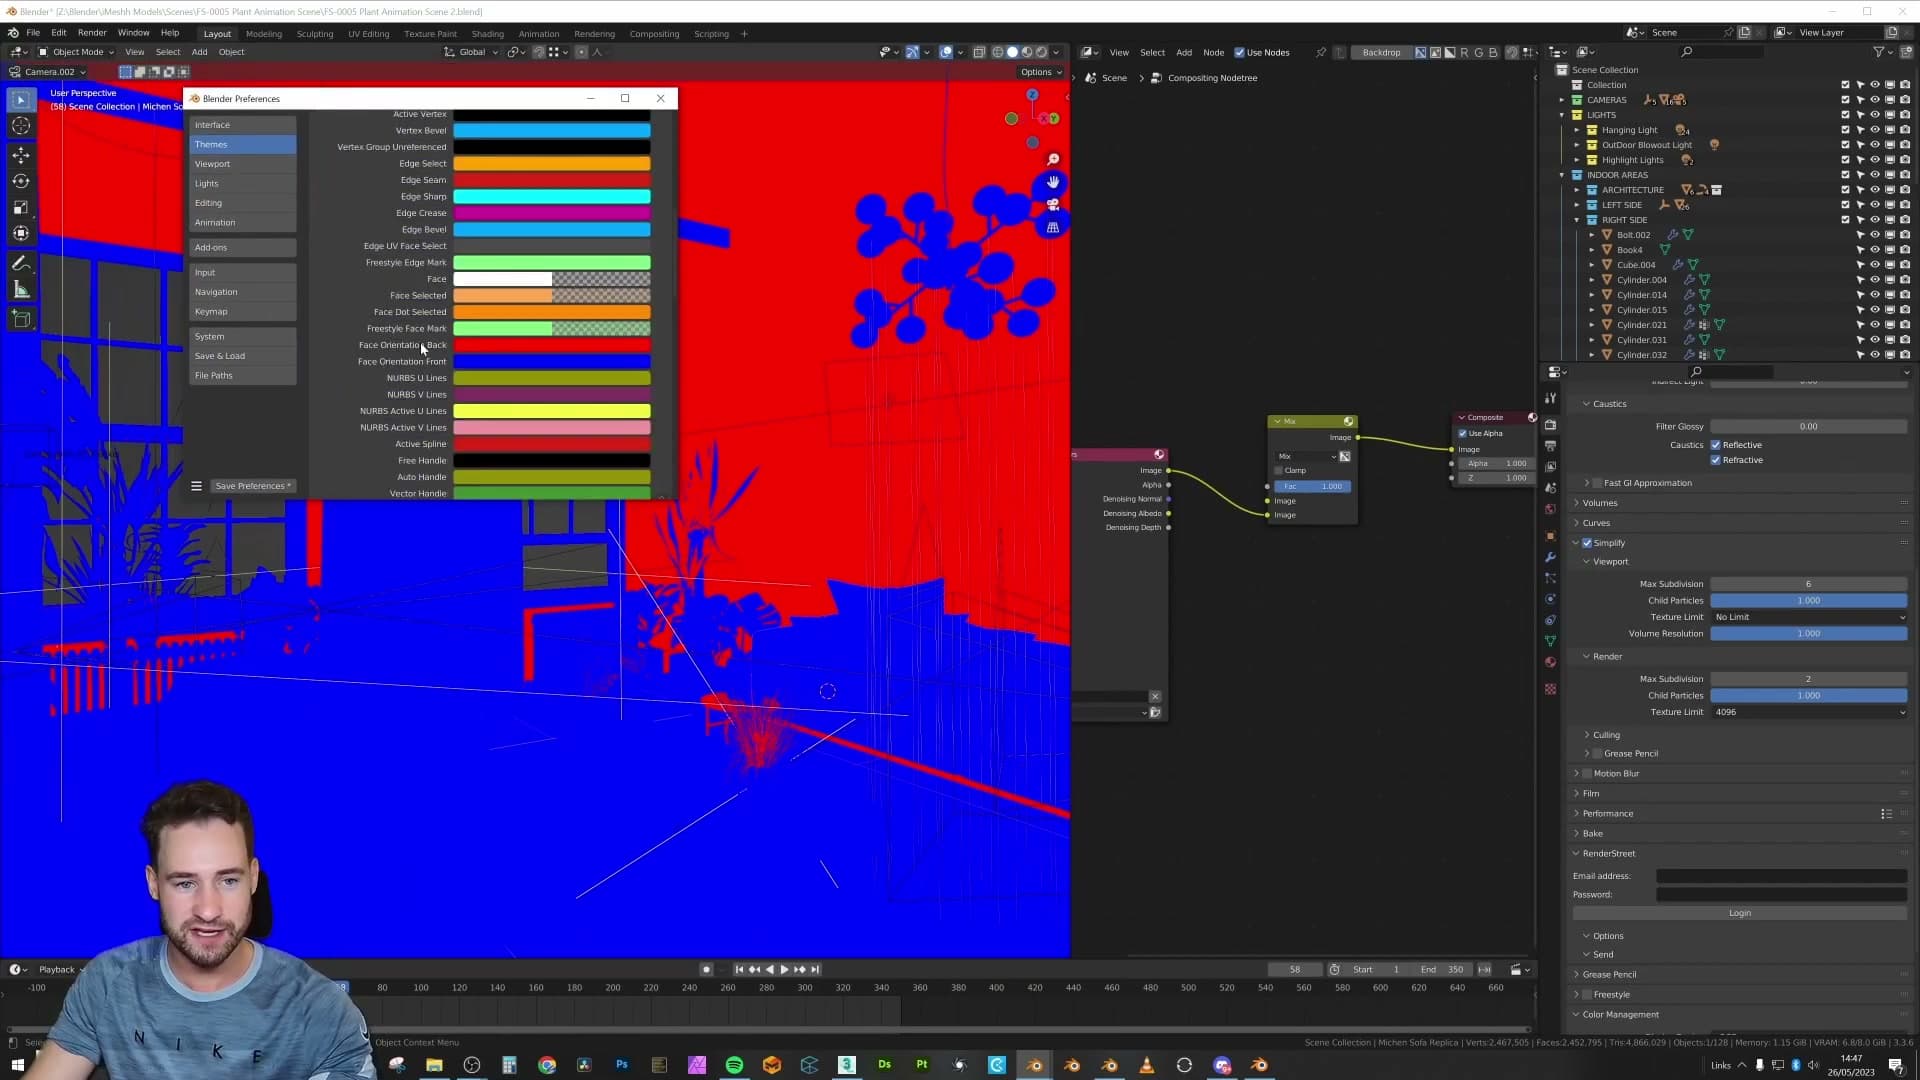
Scroll down through the long list of viewport colour swatches until you reach Face Orientation Front and Face Orientation Back. These are the two values that drive the overlay. No add-on or hidden setting involved, just the stock theme.
Disabling the front-face highlight entirely
Start with the front colour. Click the Face Orientation Front swatch and drag its alpha all the way down to zero so it stops drawing anything on top of correctly-facing geometry.
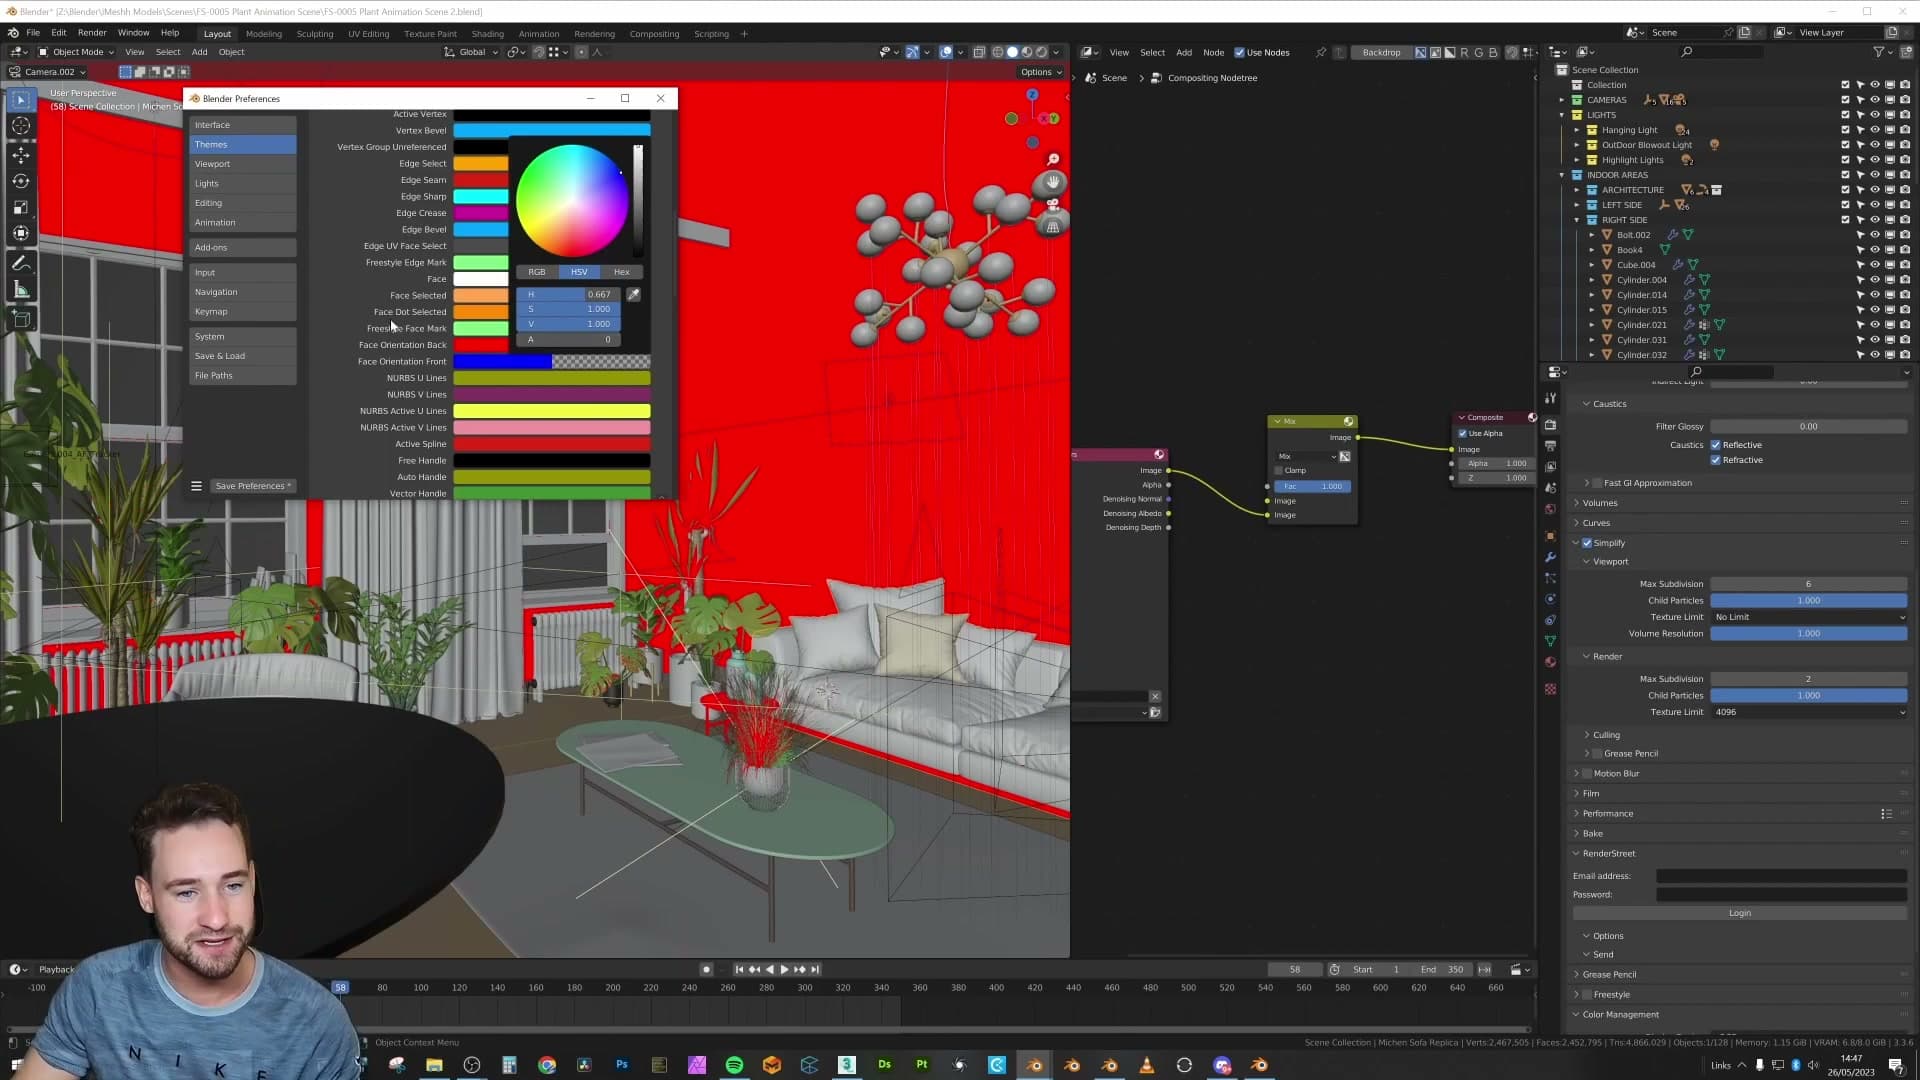
The reasoning is simple: I only care about the normals pointing the wrong way. A bright tint over every correctly-facing polygon is just noise. With Front switched off, the only thing the overlay can ever draw is the colour assigned to bad normals, which is exactly what you want flagged.
Setting Face Orientation Back to a faint red tint
Now click the Face Orientation Back swatch to open its colour picker. Leave the hue on red, but pull the alpha right down to roughly 0.02. The preview will look almost transparent, and that's the point. You want a hint of colour, not a slap of it.
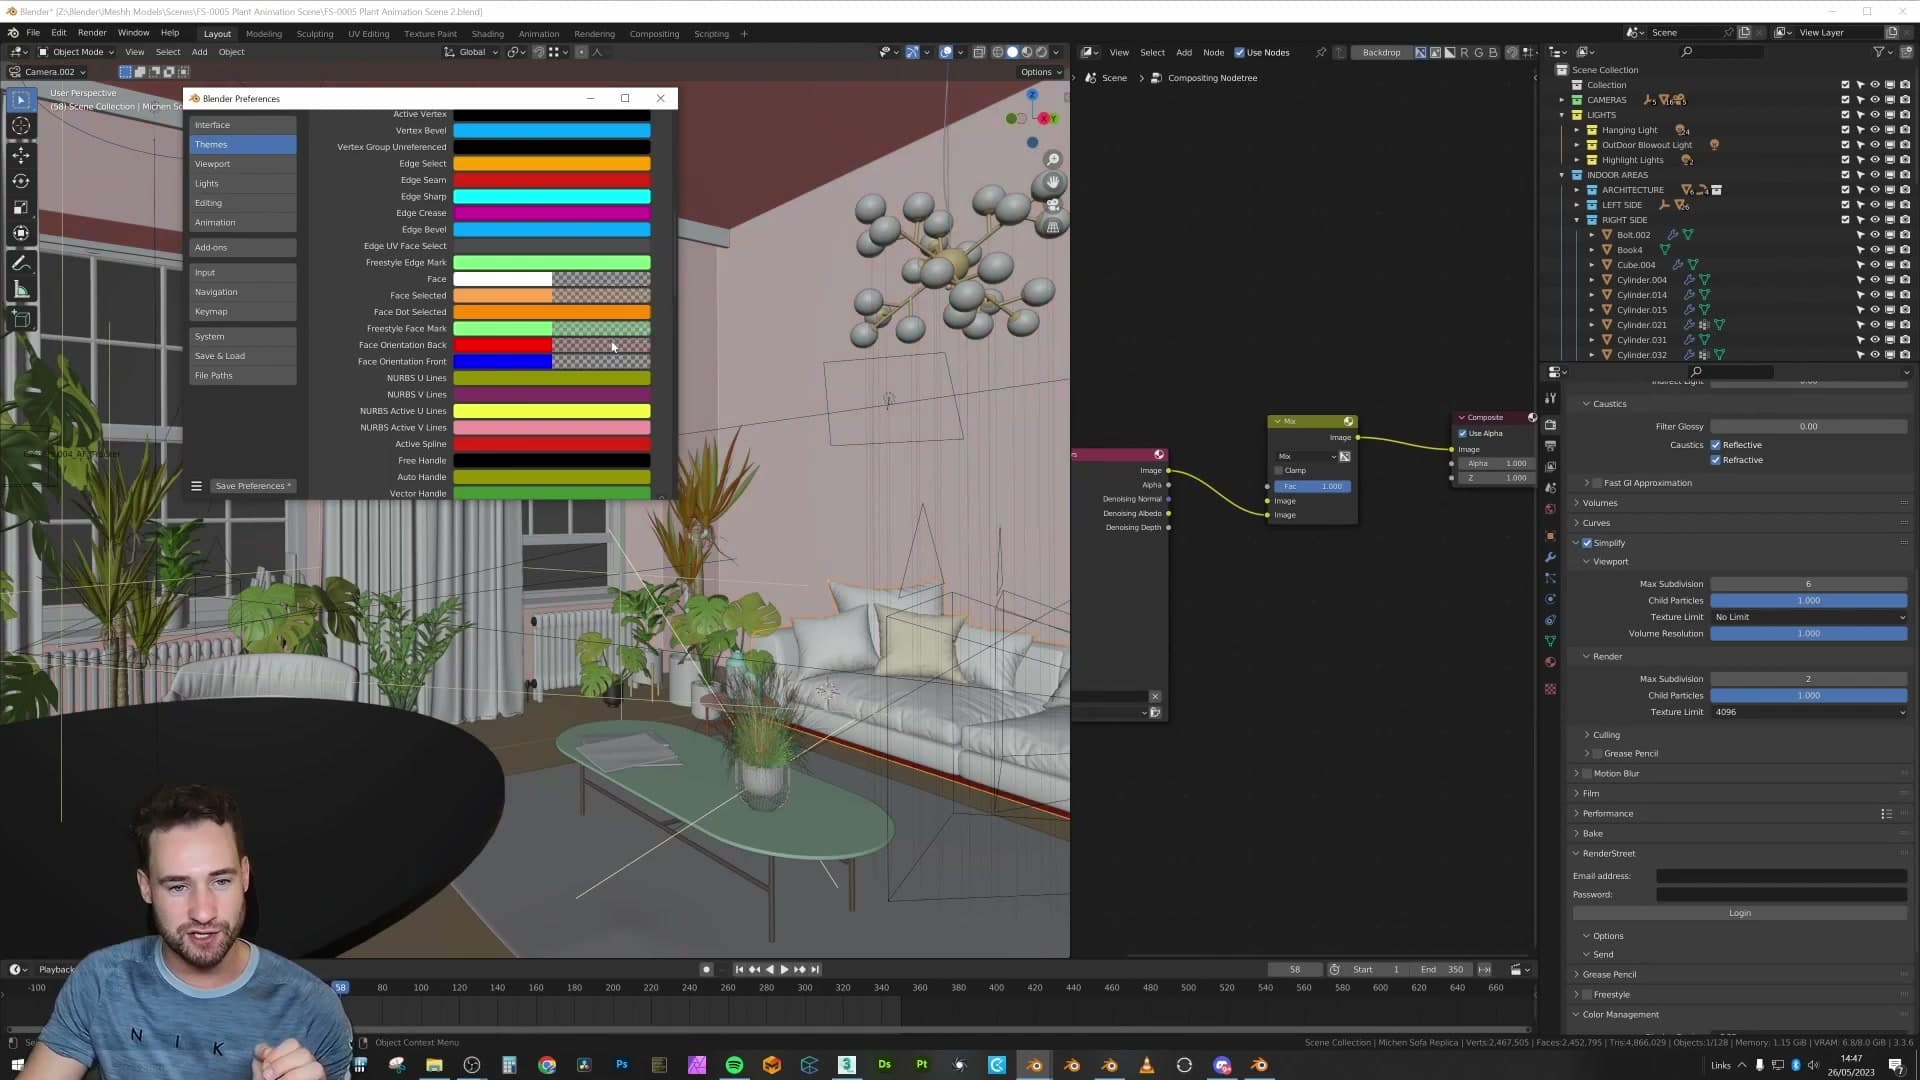
Hit Save Preferences so the change sticks across every future session. Back in the viewport, the offending wall now carries a very faint red wash while the rest of the scene looks completely normal. Bright enough to catch your eye, subtle enough to ignore while you model.
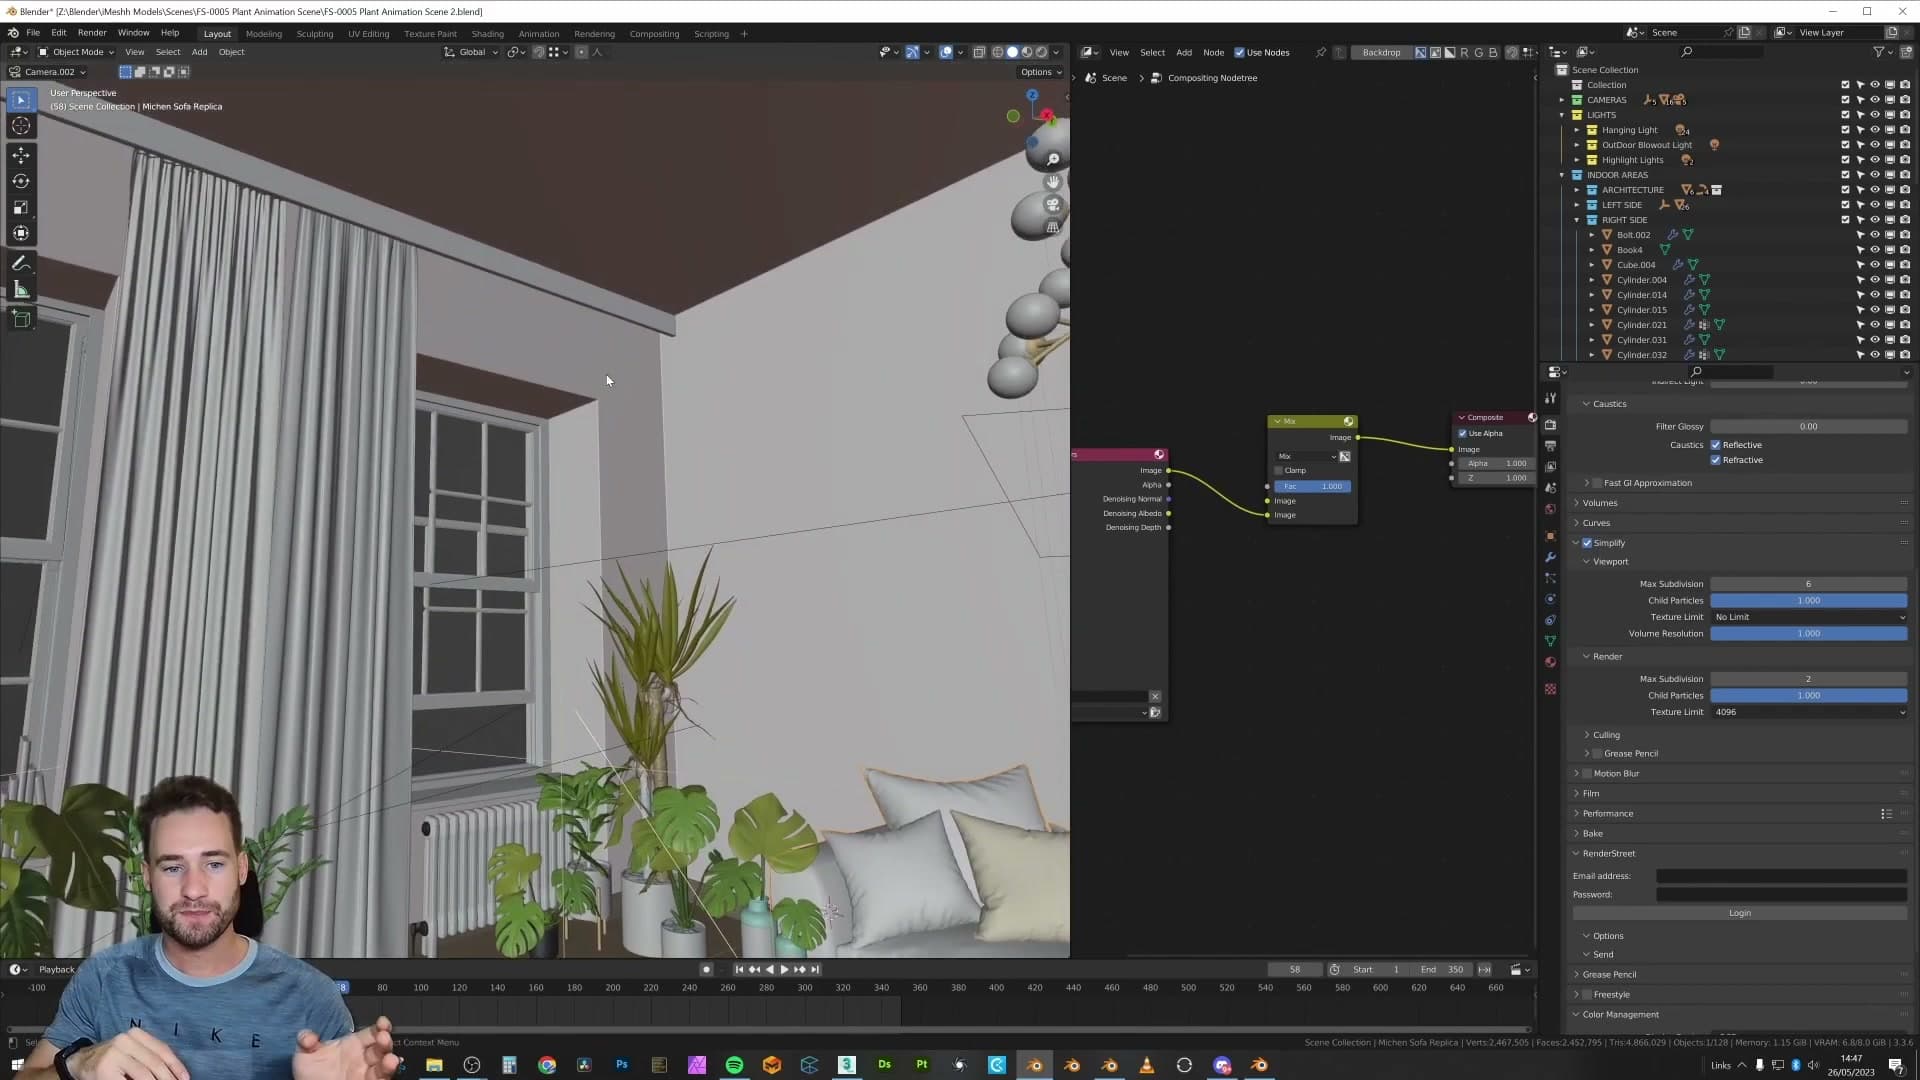
If you find 0.02 too quiet once you've lived with it for a while, nudge the alpha up a touch. The value isn't sacred; it's just where I landed after getting used to the look. The principle is the same either way: dial it down until the overlay stops competing with your scene.
Spotting and fixing flipped normals in your scene
With the overlay quietly on in the background, finding flipped normals stops being a deliberate check and becomes a passive habit. A wall, a leaf, or an imported asset shaded the wrong way picks up the faint red tint and you fix it with one shortcut. Shift+N recalculates outside on whatever's selected. For a single face, just enter Edit Mode, select it, and flip.
Identifying the faintly-red faces in a working scene
Once the overlay is dialled in, you stop hunting for flipped normals. They surface on their own. Looking around this scene, the wall behind the camera picks up a clear red hue, just visible enough to register in peripheral vision while you're working on something else entirely.
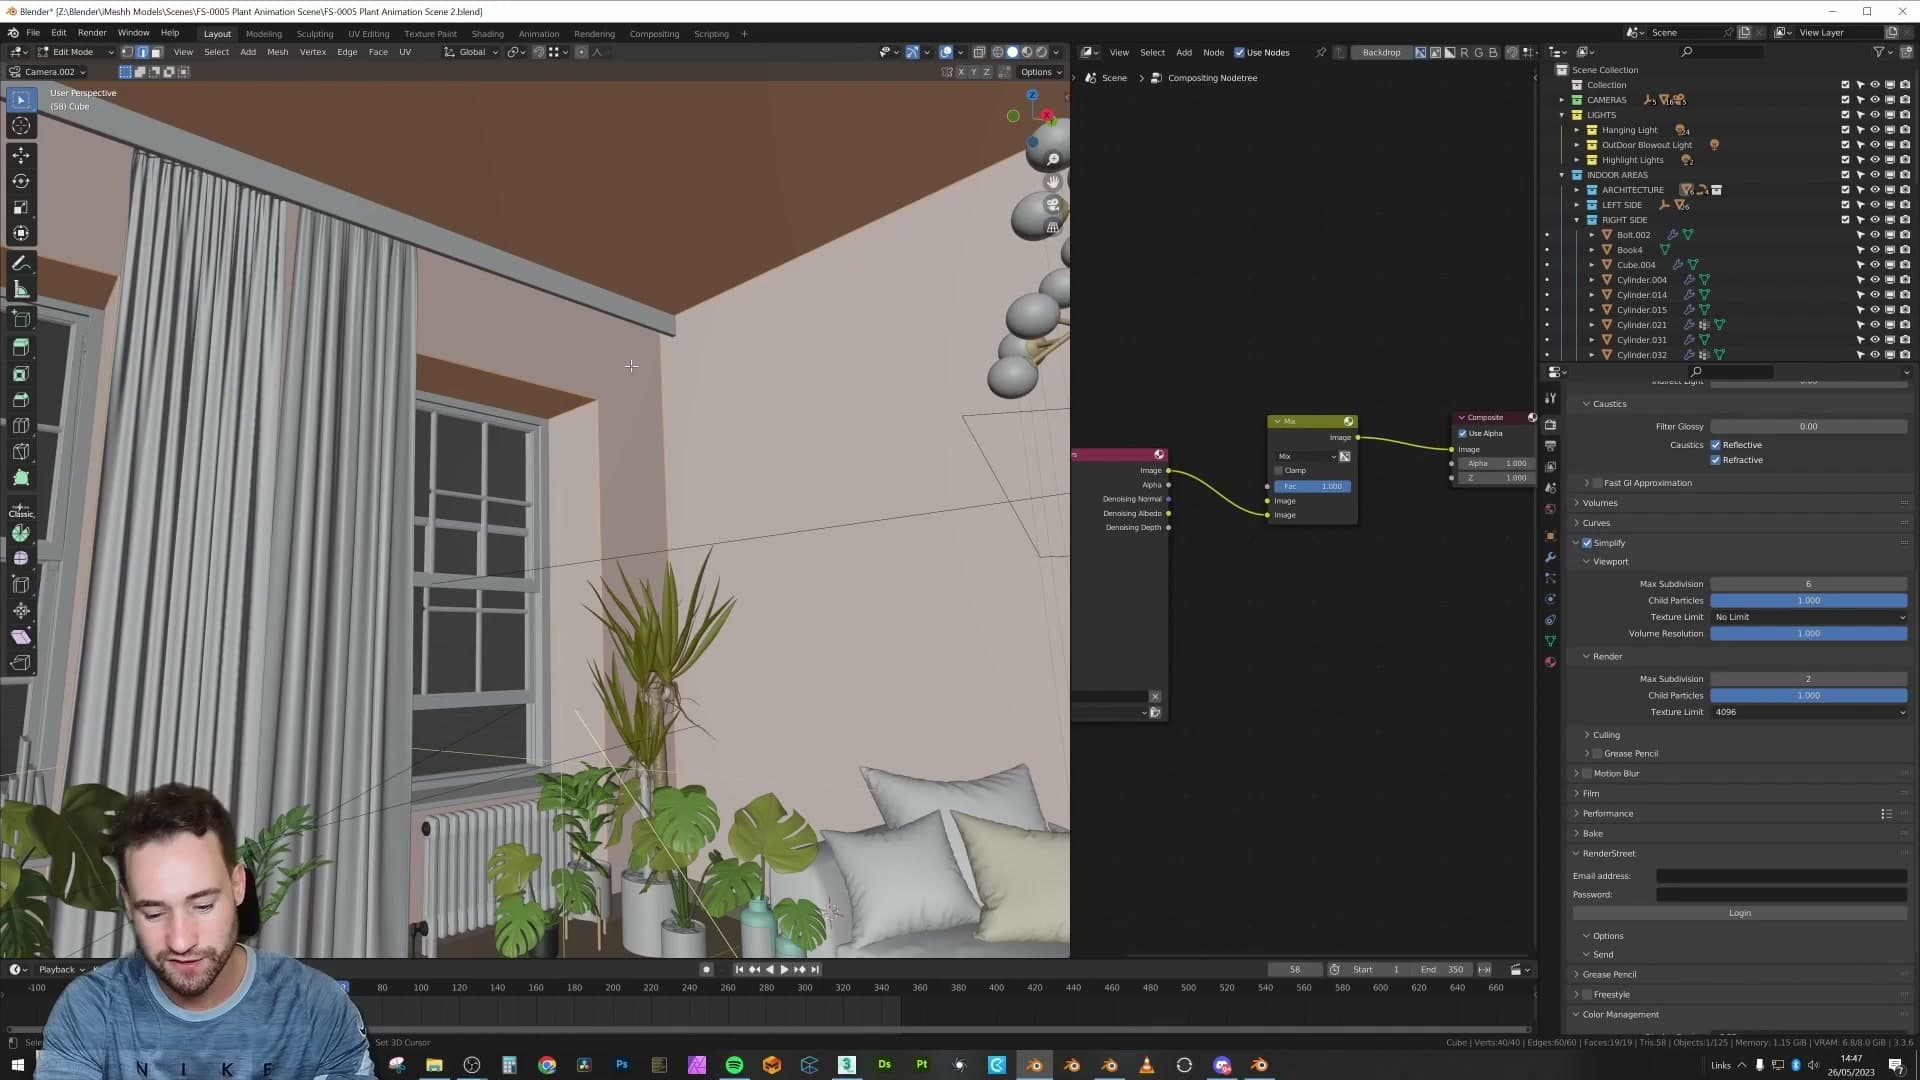
That's the whole point of the tuned setup. At an alpha of around 0.02, the red is quiet enough to ignore while you're modelling, but loud enough that the moment a face turns the wrong way it pulls your eye. You're not actively checking anything. The scene tells you.
Flipping the selected normals with Shift+N
Fixing it takes one shortcut. Drop into Edit Mode, select the offending face, and press Shift+N. The red tint disappears and the normal points back into the room where it should.
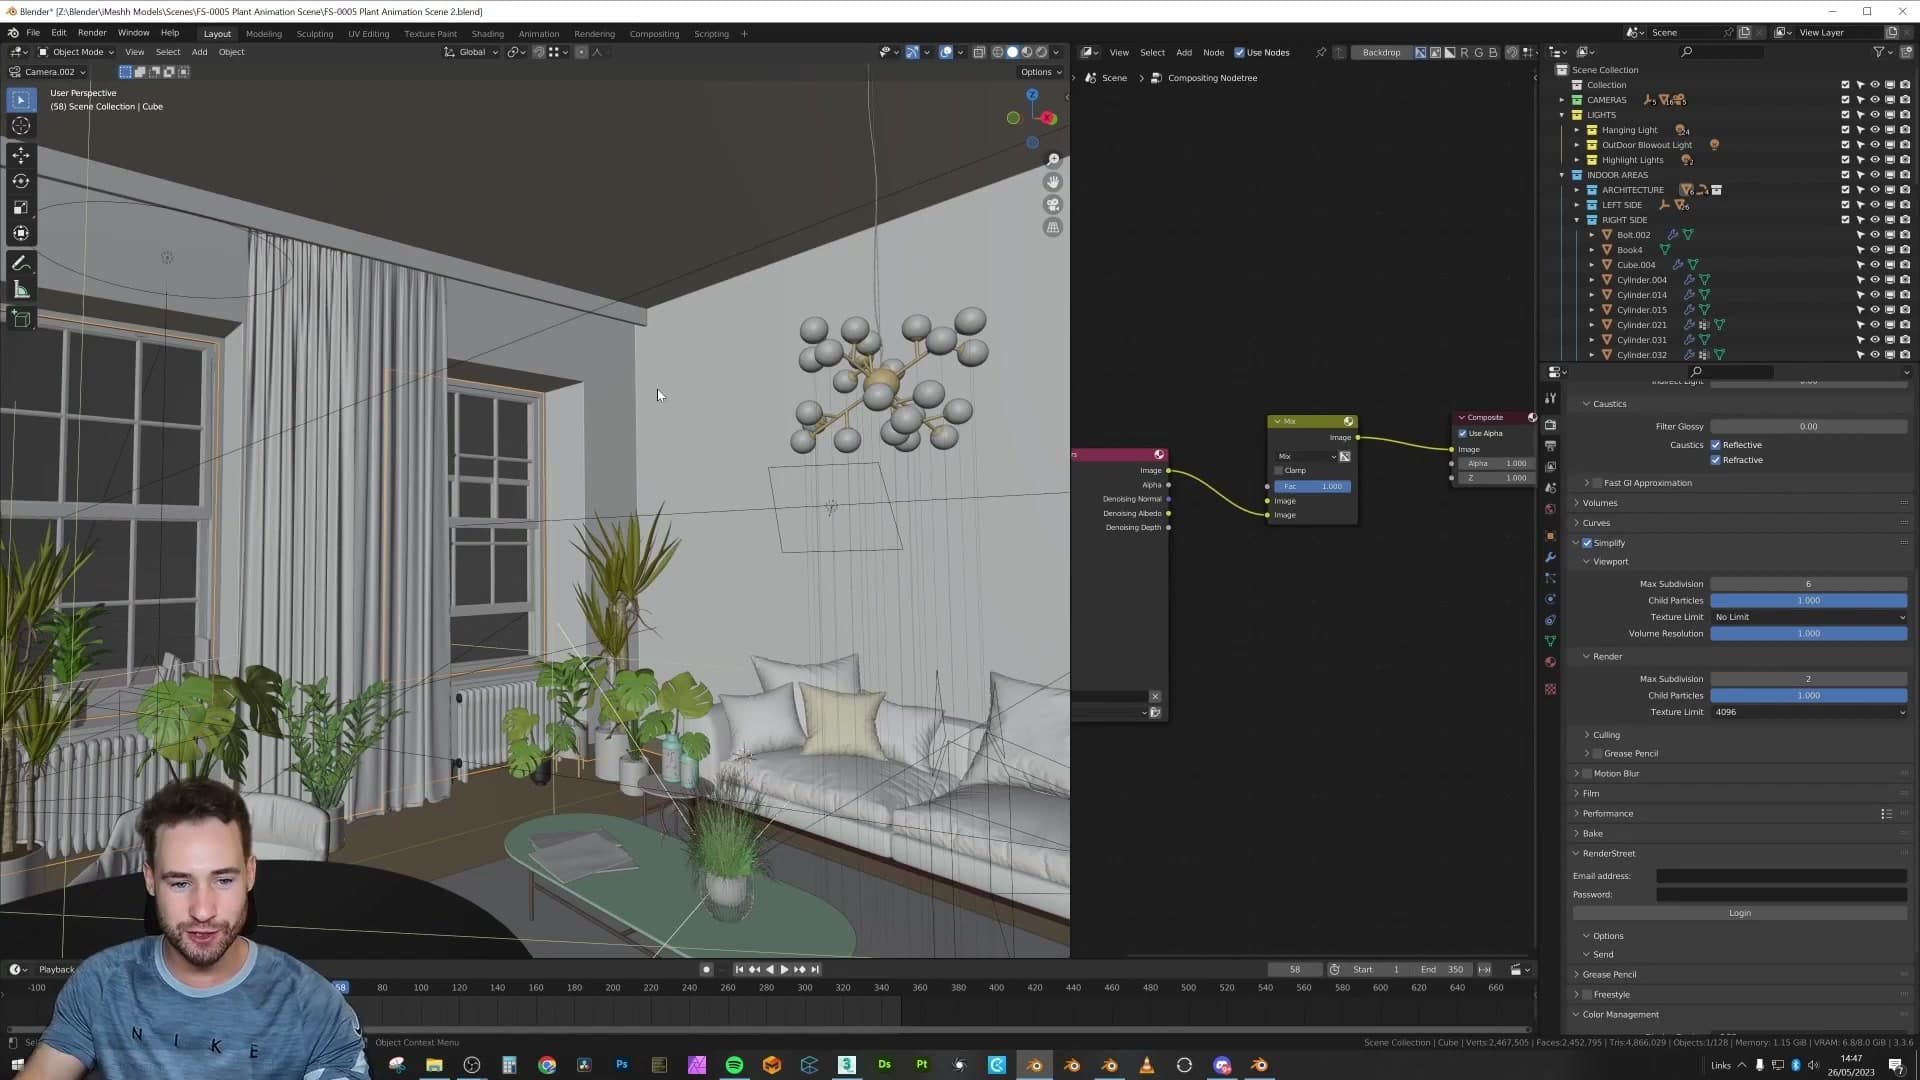
Shift+N recalculates the normals on whatever you have selected so they face outside, and for a single misbehaving face that's all you need. If you'd rather literally flip the selection regardless of orientation, Mesh → Normals → Flip does the same job for this case.
Catching flipped normals on imported assets
The same trick catches issues on geometry you didn't build yourself. Glancing across the scene, an imported plant nearby carries a faint red hue on one of its leaves. A normal facing the wrong way that would otherwise stay invisible until you rendered.
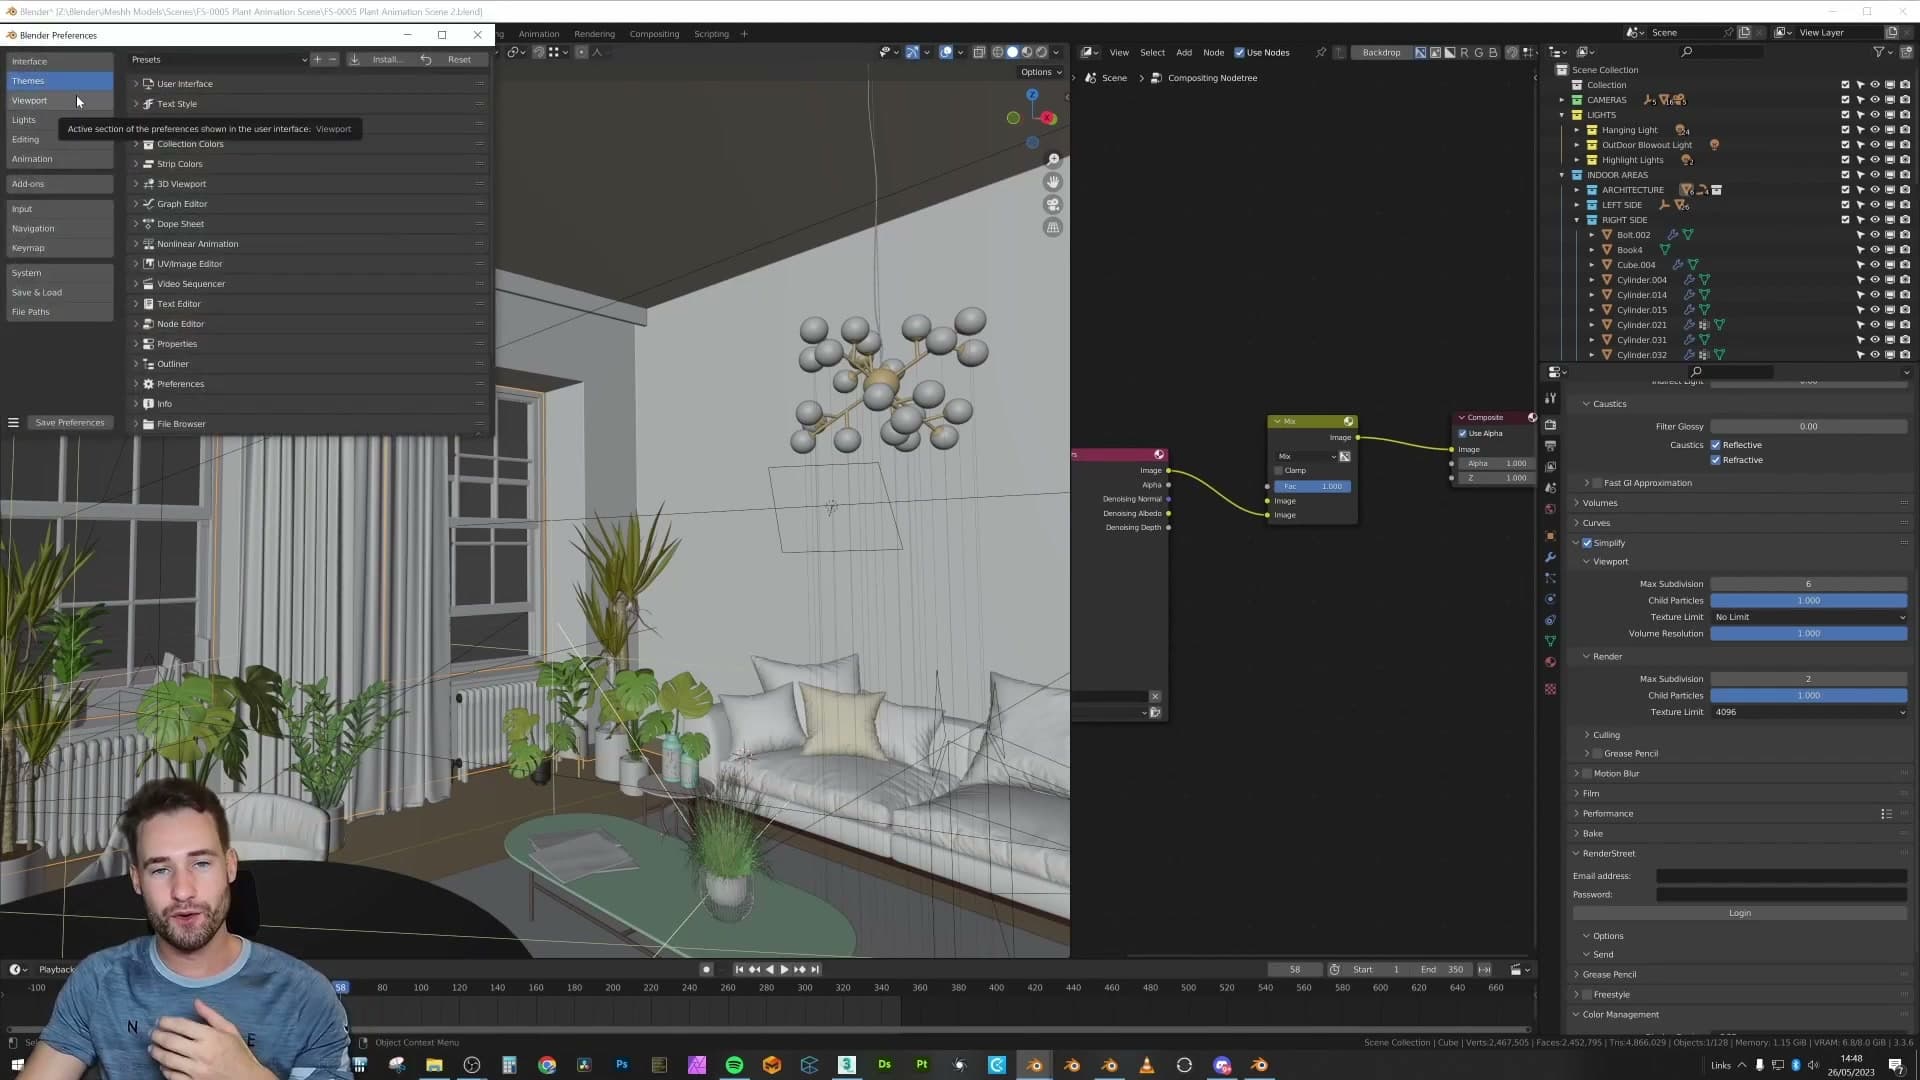
That's the case for leaving Face Orientation on by default. Imported assets, downloaded models, kit-bashed pieces: anything that wasn't modelled in this file can arrive with backwards normals, and a passive red tint is the cheapest way to spot them before they cost you a render.
Tools and credits
Everything mentioned in this tutorial, with links.
- Blender: the renderer this entire build runs in.
- iMeshh: studio platform (project management, client review, asset library, invoicing). The asset library used in this tutorial is included with every iMeshh Pro plan.
- Poly Haven: free CC0 textures and HDRIs.
Pillar guide: Materials Shaders hub