What's new in the iMeshh Asset Manager update
Why the team pushed an update for Blender 2.9, where to grab the free .zip, and how the new auto-update feature keeps the add-on current without re-downloading.
Why the update finally happened
When Blender 2.9 landed, the previous iMeshh Asset Manager simply stopped working. Imports were broken and nothing would come into the scene, which is what finally forced the rebuild rather than yet another postponement.
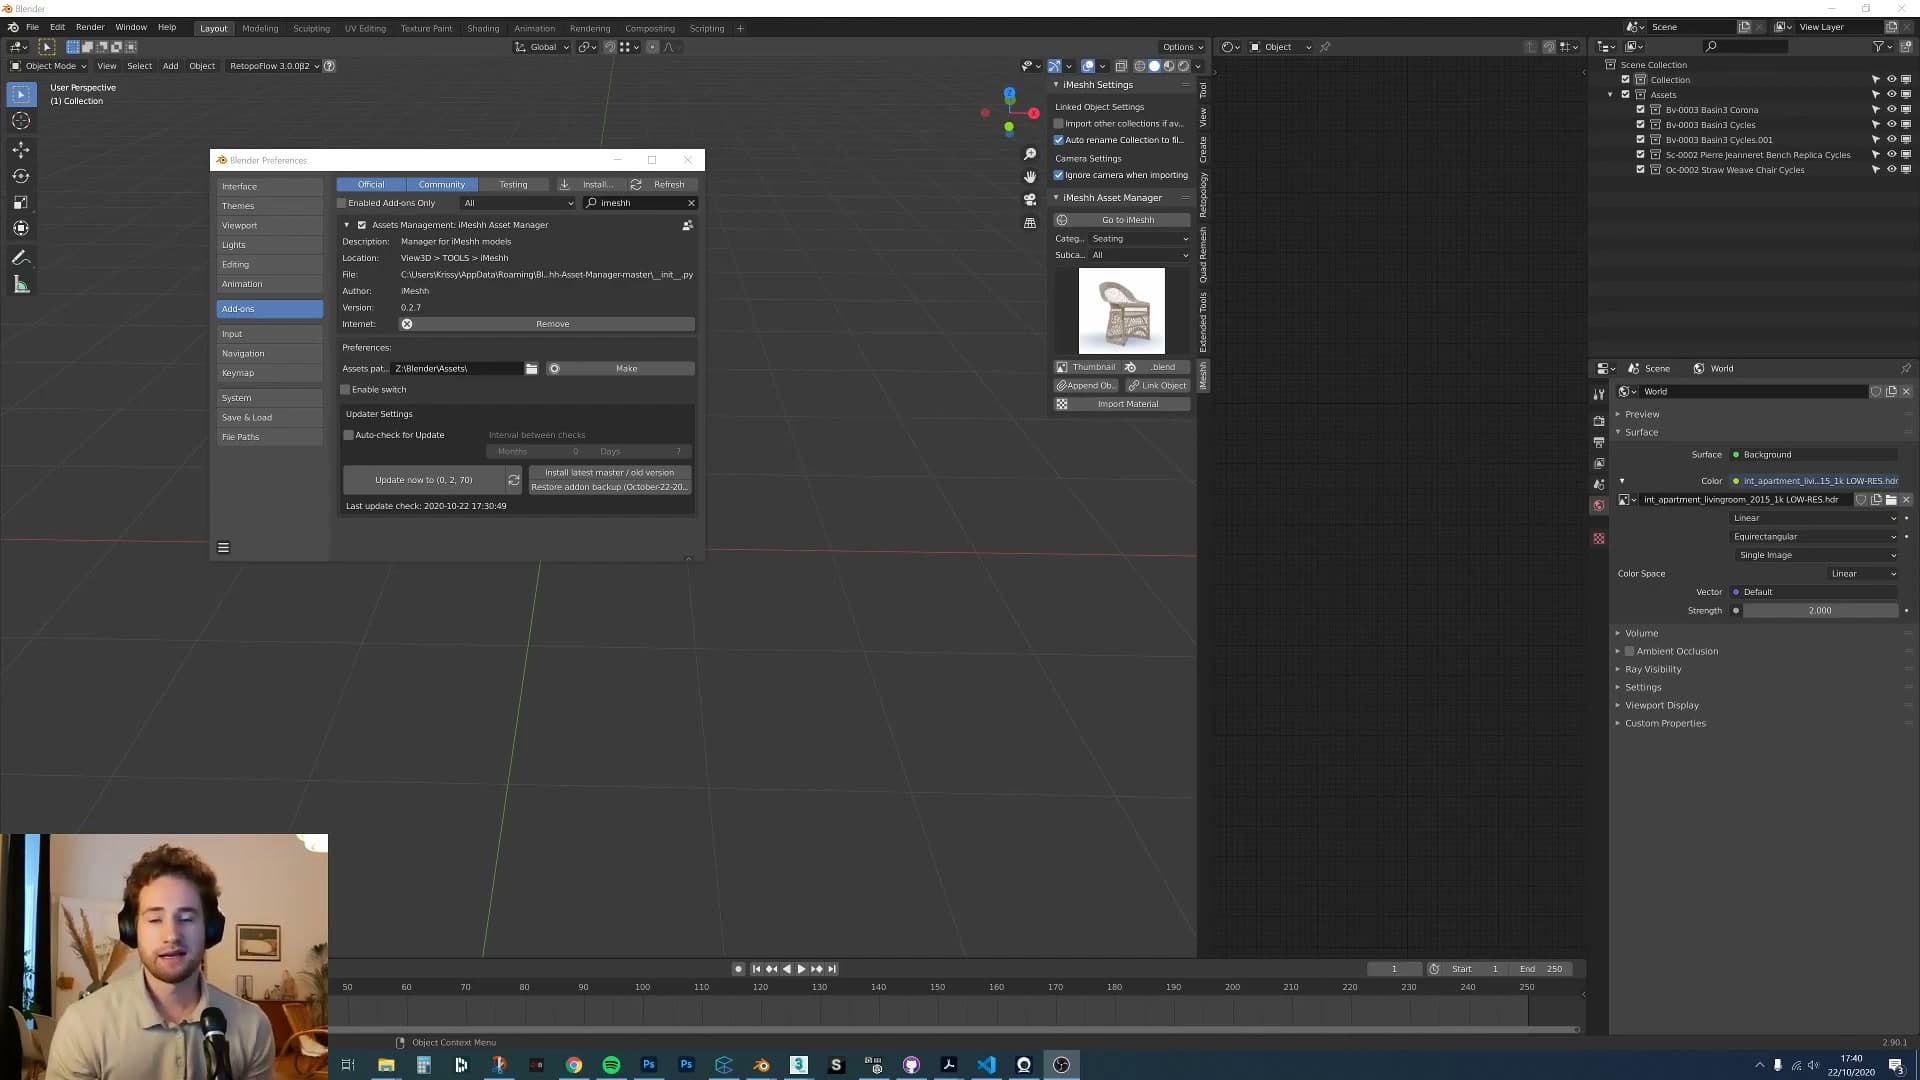
The team had been holding the update off because their time was going into iMeshh Exclusive, the asset-making side of the business. With that in a steadier place, they could turn their attention back to the add-on and push it properly.
This rebuild also isn't a one-off patch. A backlog of changes is already planned for the months ahead, so expect the add-on to keep moving rather than sit still after the initial release.
Where to download and how auto-update works
The add-on is completely free. Grab the .zip file linked in the video description and install it the same way you would any other Blender add-on. If installing an add-on from a zip is new to you, a quick search will walk you through it. I deliberately skip those steps here to stay focused on what's new.
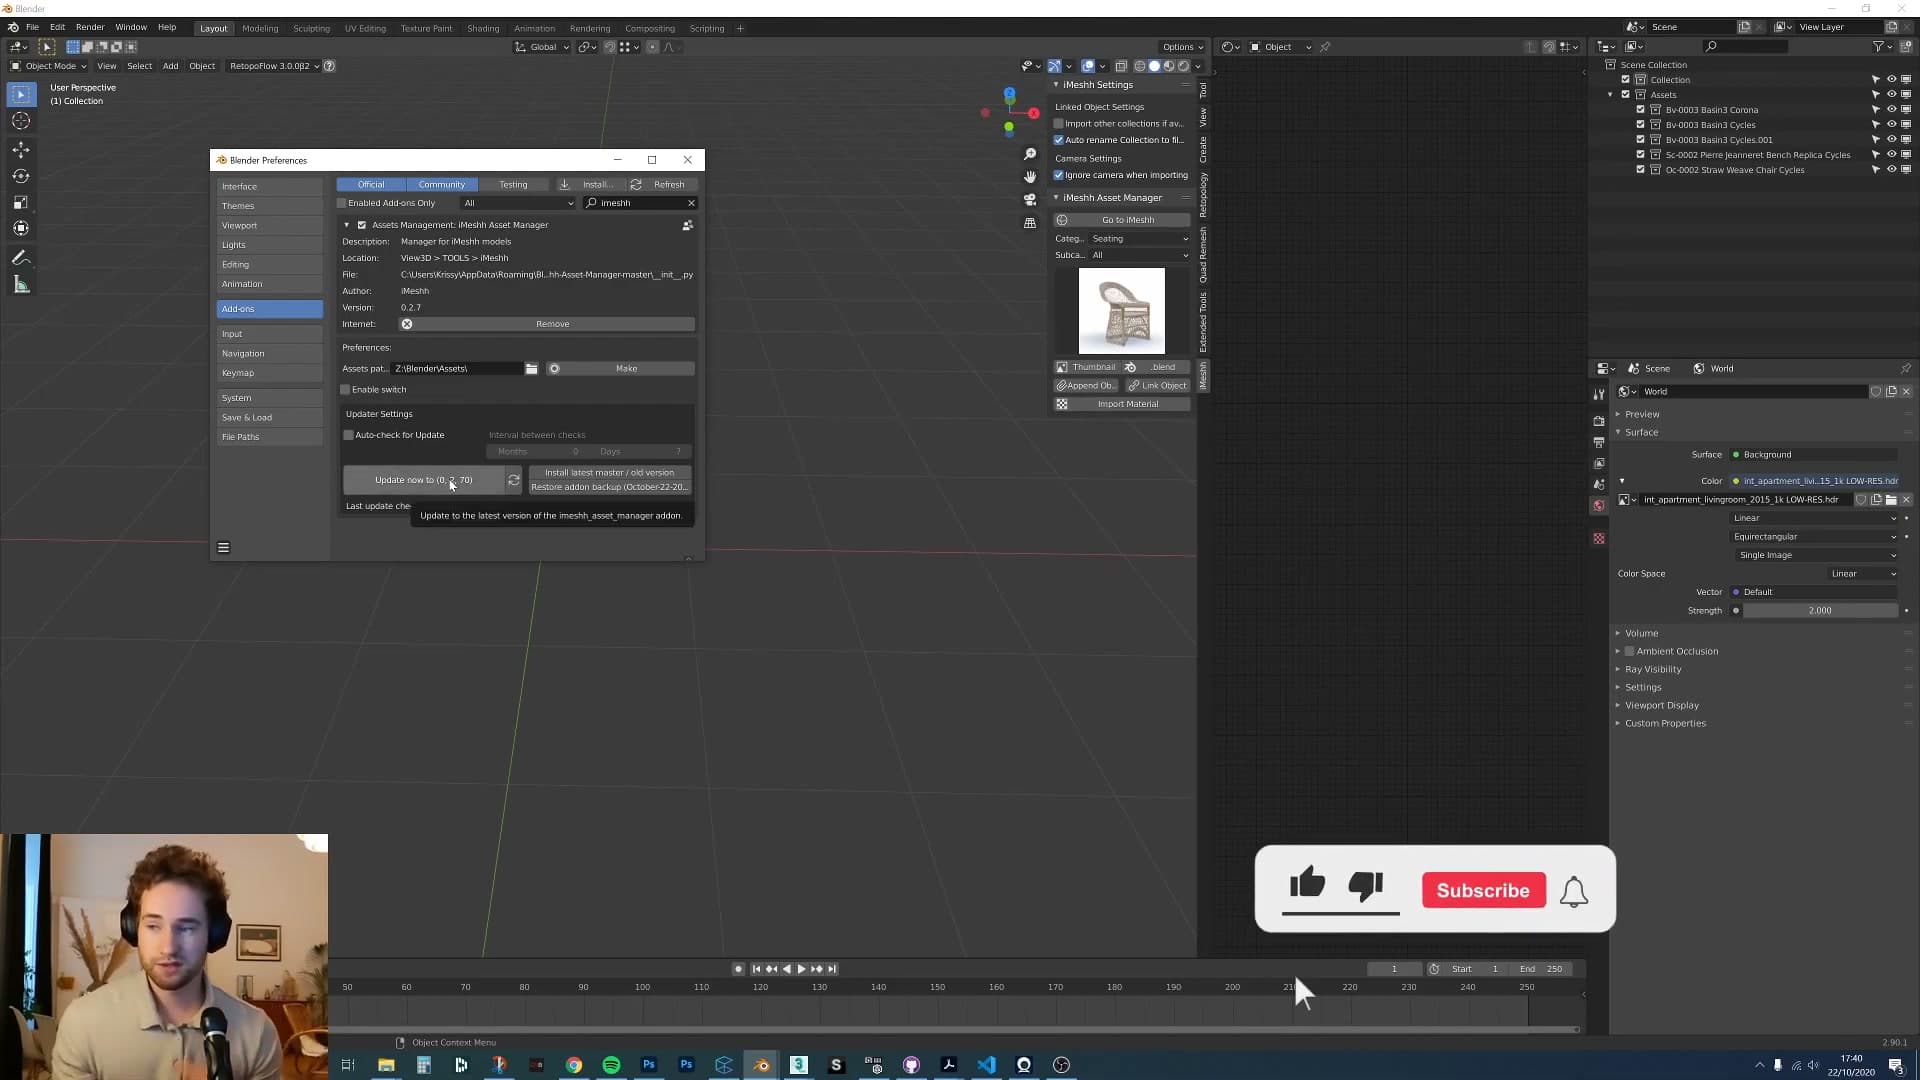
Once installed, the iMeshh Asset Manager can check for new releases itself. When an update ships, you pull it down from inside Blender rather than returning to the download page each time, so the add-on stays current as fixes and features land.
Existing users who installed an earlier copy aren't left behind either. The built-in checker will fetch the latest build straight away, with no need to manually uninstall the old version first.
Setting up the asset directory so thumbnails actually appear
The folder rule that catches every first-time user: main category, subcategory, one folder per asset. Plus the Make button that scaffolds the whole archviz tree for you.
Pointing the add-on at your main asset folder
Once the add-on is installed, the first thing to set is where your assets actually live on disk. Open the add-on's preferences and point it at the root folder that holds your library.

The add-on then reads the top-level folders inside that location and surfaces each one as a main category in the panel. Whatever names you use on disk (architectural, bathroom, bedroom, clothing and so on) are exactly what you'll see in the browser. Nothing else needs configuring at this stage; the add-on is just mirroring what's already in your folder structure.
Main categories versus subcategories
Categories work on two levels. The top level is the main category (Architectural, Bathroom, Bedroom and the rest), and underneath each one sits a second tier of subcategories one folder deeper.
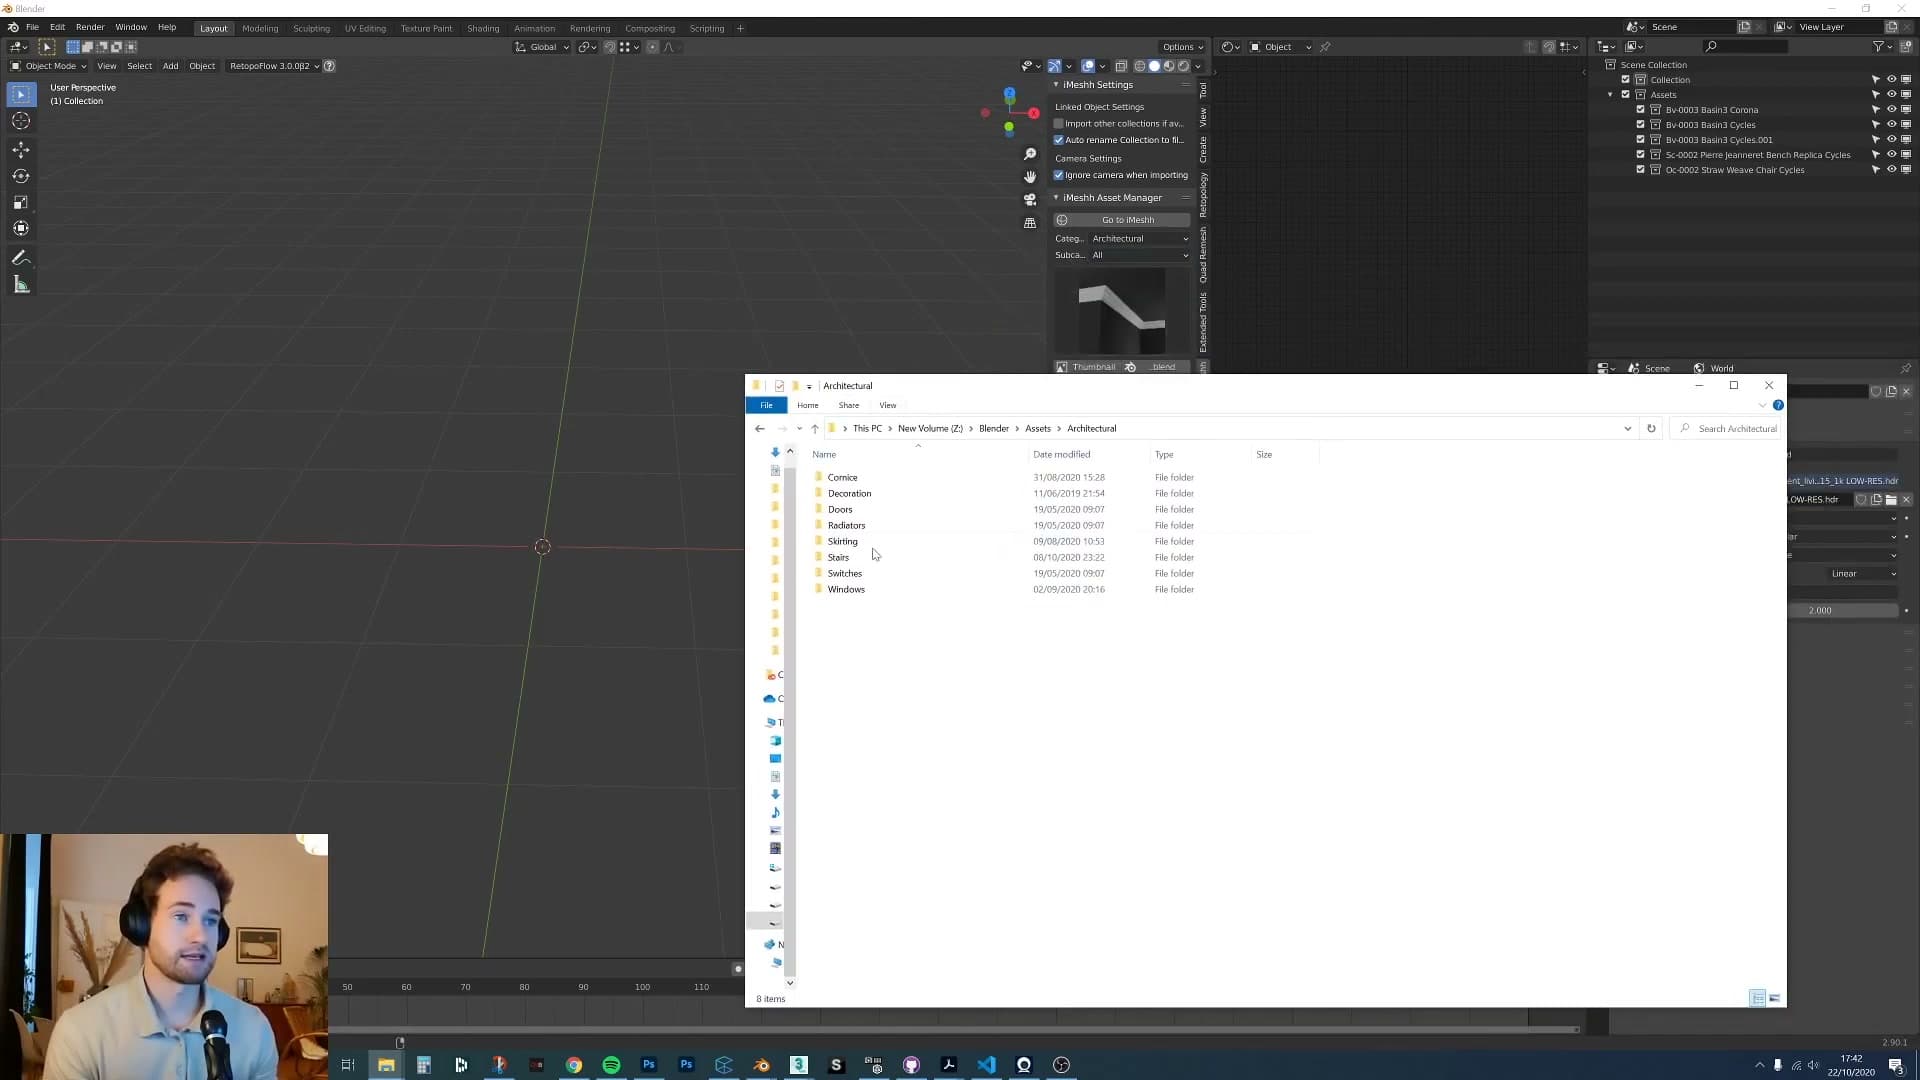
Open Architectural, for example, and you'll find subfolders such as Cornices, Decoration, Doors and Radiators. Each of those subfolders becomes a subcategory chip inside the panel. This two-tier split is deliberate: it keeps the browser scannable instead of dropping every asset into one giant list.
One folder per asset: the rule that breaks thumbnails
This is the rule that catches almost every first-time user, so it's worth getting right before you start populating the library. Each individual asset needs to live in its own folder inside the subcategory.
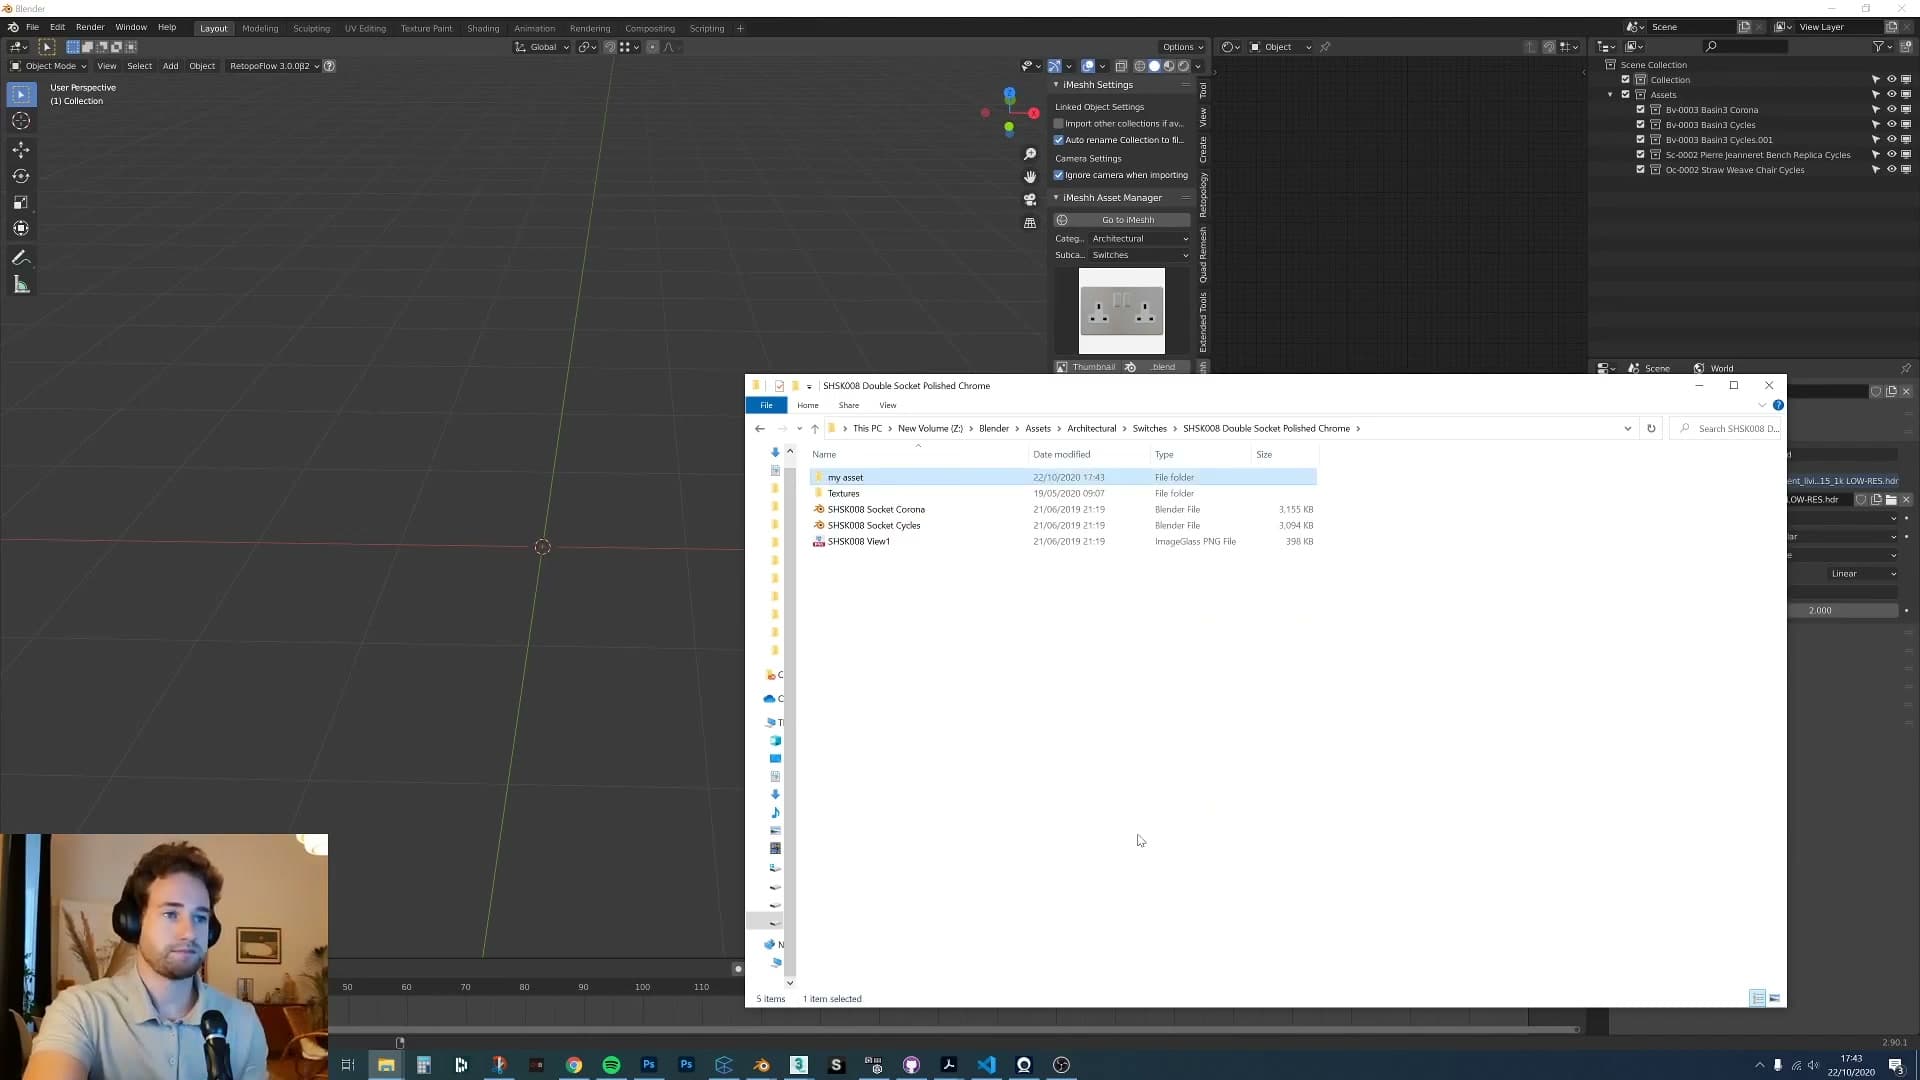
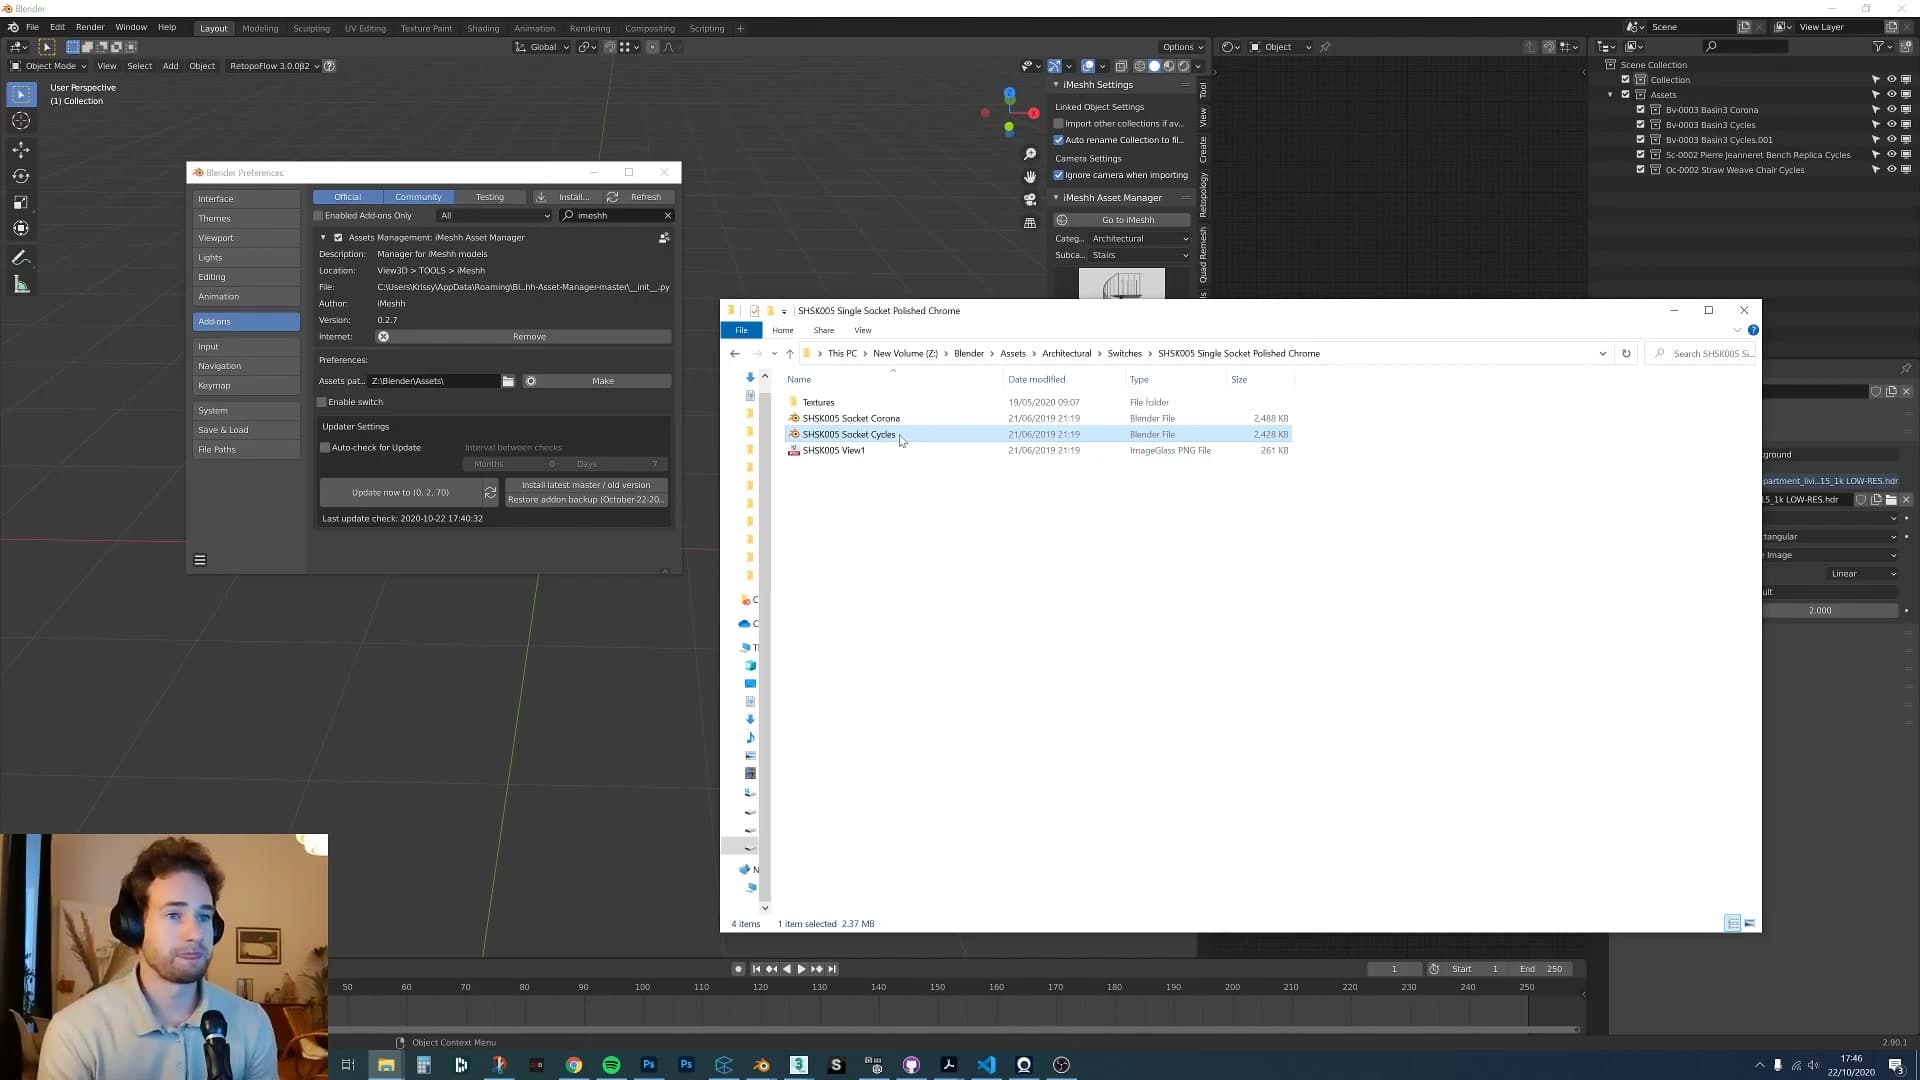
Open one of those asset folders and you should see the .blend file sitting alongside its thumbnail image, plus any textures the asset depends on. The add-on links the blend to whatever thumbnail it finds in the same folder, so the pairing is what tells the panel which preview belongs to which asset. Keep them together in one folder and everything wires up automatically.
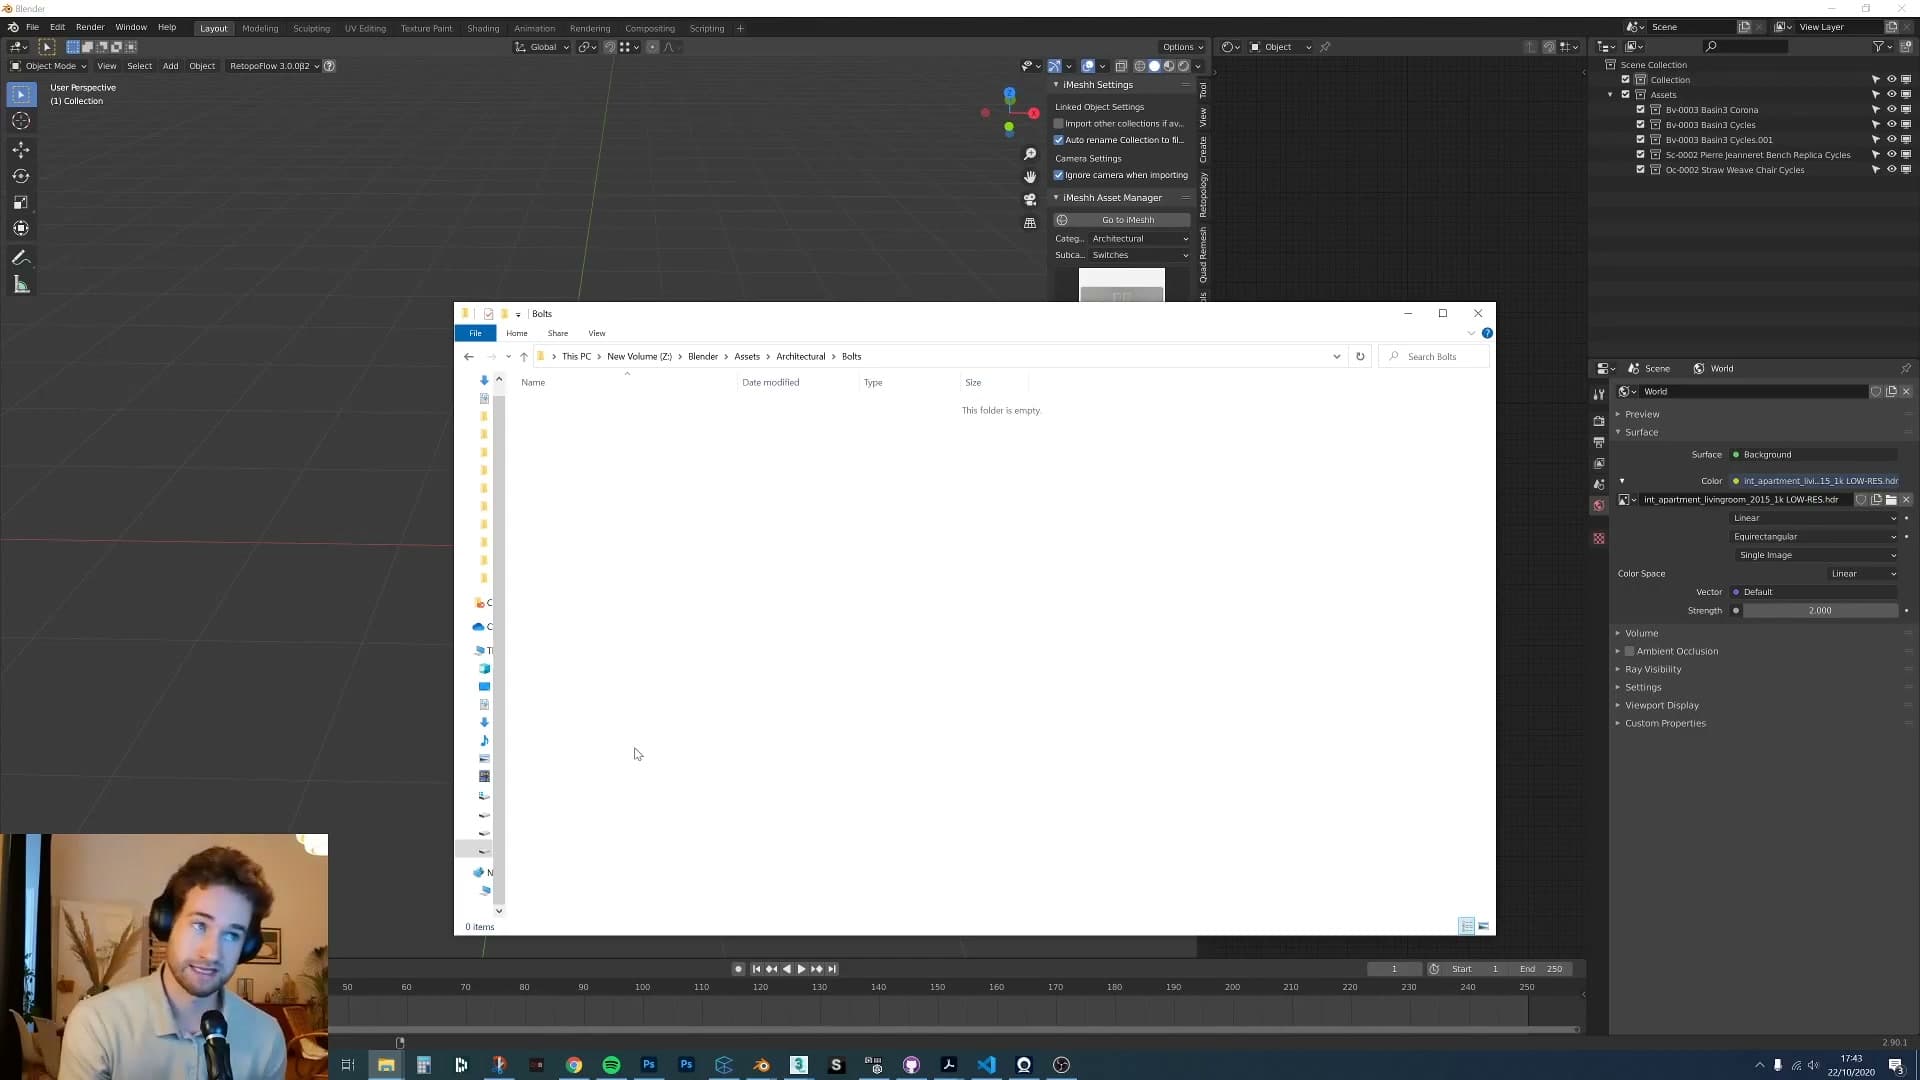
I will flag that a future update is planned to relax this constraint. You'll eventually be able to drop several blend files into a single folder (think an architectural Bolts folder containing every bolt variant) and pick which thumbnail goes with which file. For now though, stick to one folder per asset.
Auto-generating the archviz folder tree
If you're starting from an empty drive and don't fancy creating every category folder by hand, the add-on can scaffold the whole thing for you. Point it at an empty directory and click Make.
The full iMeshh archviz hierarchy, every main category along with its standard subcategories, generates in one go. You can start dropping blend files and thumbnails into the matching folders straight away.
The legacy Corona/Cycles render toggle
A historic feature from the days iMeshh shipped dual Corona and Cycles versions, now hidden by default behind an Enable Switch so it stops confusing new users.
Why Corona support was paused
If you've spent any time inside the iMeshh library, you may have spotted folders that contain both a Corona and a Cycles version of the same asset. Those date back to a period when every archviz file shipped as a dual-engine build so subscribers could pick their preferred renderer.
Corona for Blender development paused back in the Blender 2.79 era and the project has stayed quiet ever since. Maintaining a parallel Corona file for every new release stopped being worth the time, so the team narrowed focus to Cycles-ready assets. The Corona path may come back if the official Blender port restarts, but for now it is effectively retired.
Hiding the toggle with Enable Switch
With the legacy toggle turned on, the add-on lets you decide whether to load the Corona or the Cycles version of a dual-engine asset. Drop one of the older switches objects into a scene and you'll see node groups still wired up for Corona materials, but without Corona installed in a modern Blender those nodes are just inert.
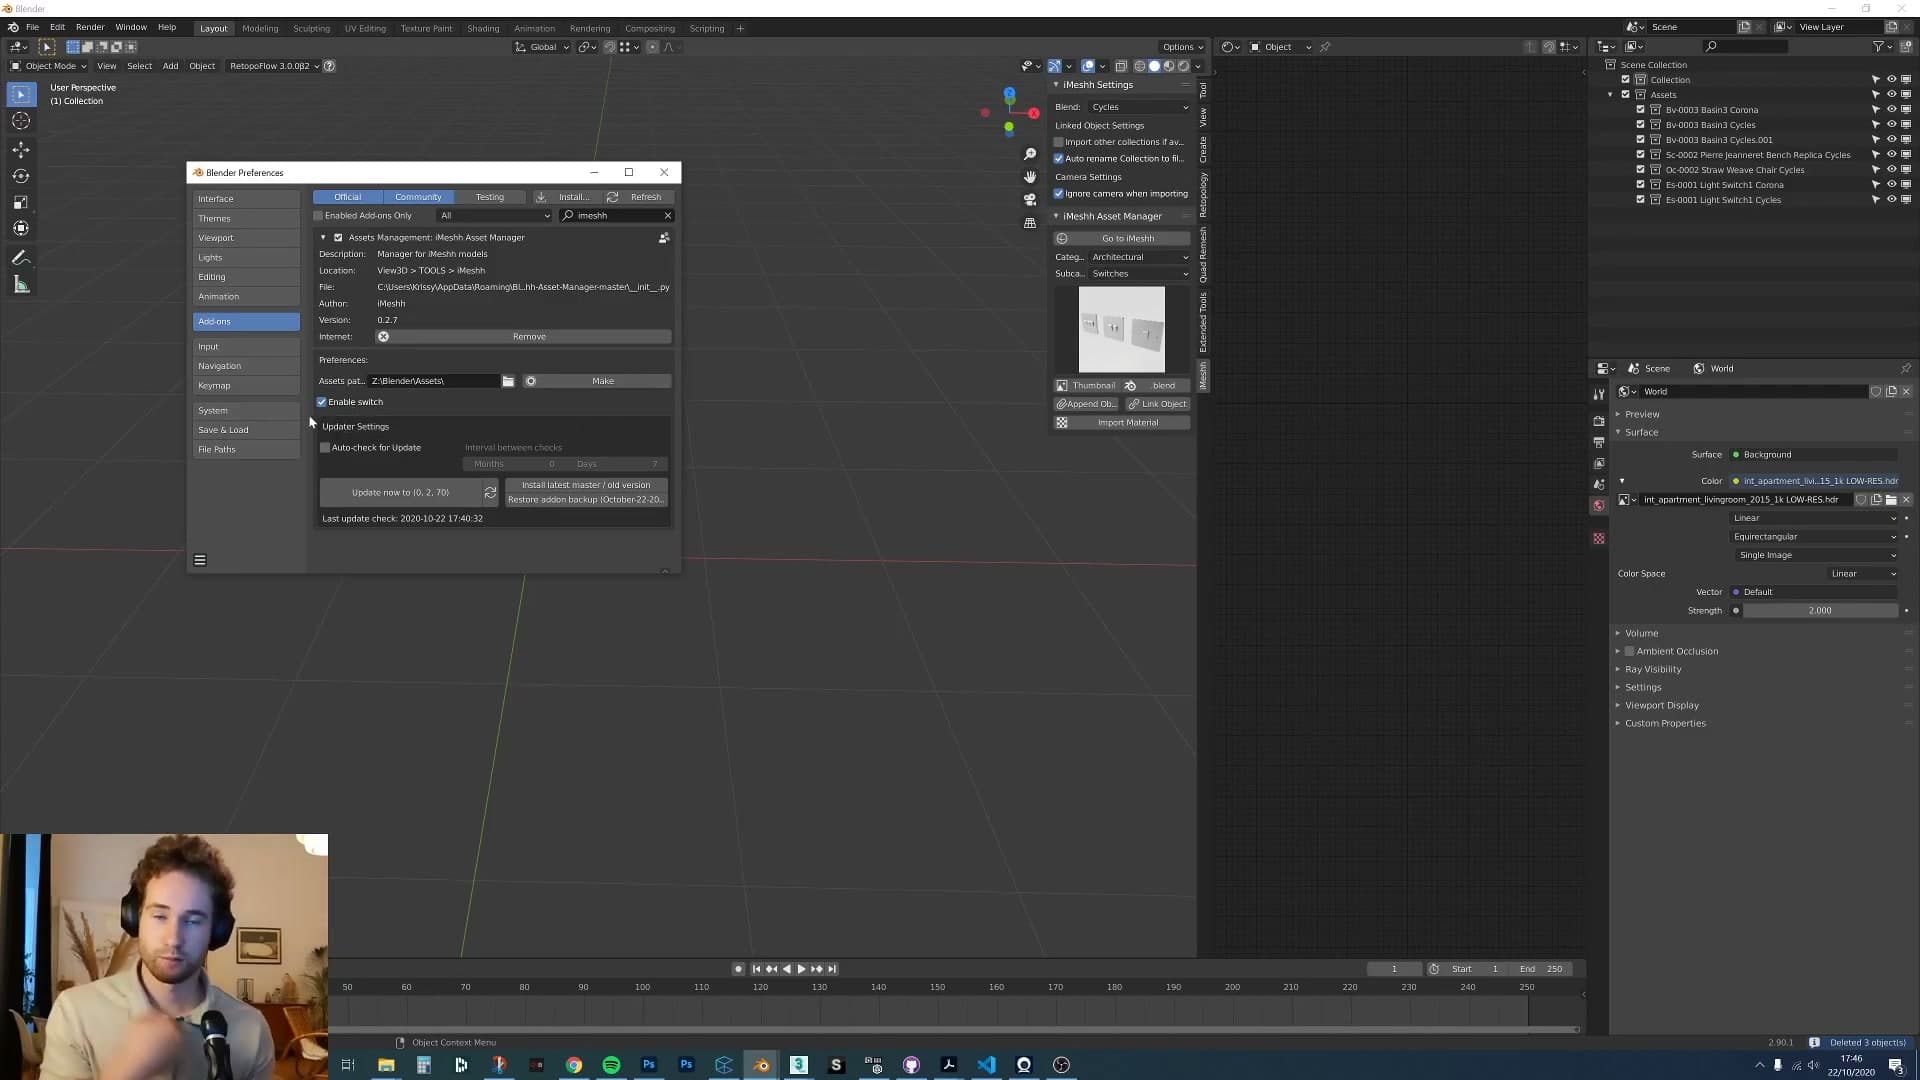
To stop the selector confusing people who have only ever rendered in Cycles, the add-on now ships with an Enable Switch checkbox that hides the Corona/Cycles dropdown entirely. Leave it off and the panel stays clean. Turn it on only if you actively use the older Corona assets and want to choose which version imports.
The checkbox is off by default on fresh installs, so most users will never see the toggle at all.
Importing assets at the 3D cursor
A small but high-impact change. Clicked thumbnails now spawn at the 3D cursor position instead of the world origin, so you can place objects exactly where you need them.
Spawning assets at the cursor
Previously, every asset you clicked landed at the world origin, which meant a second step to drag it into position. The updated Asset Manager respects the 3D cursor instead, so wherever you place the cursor is exactly where the imported object spawns.
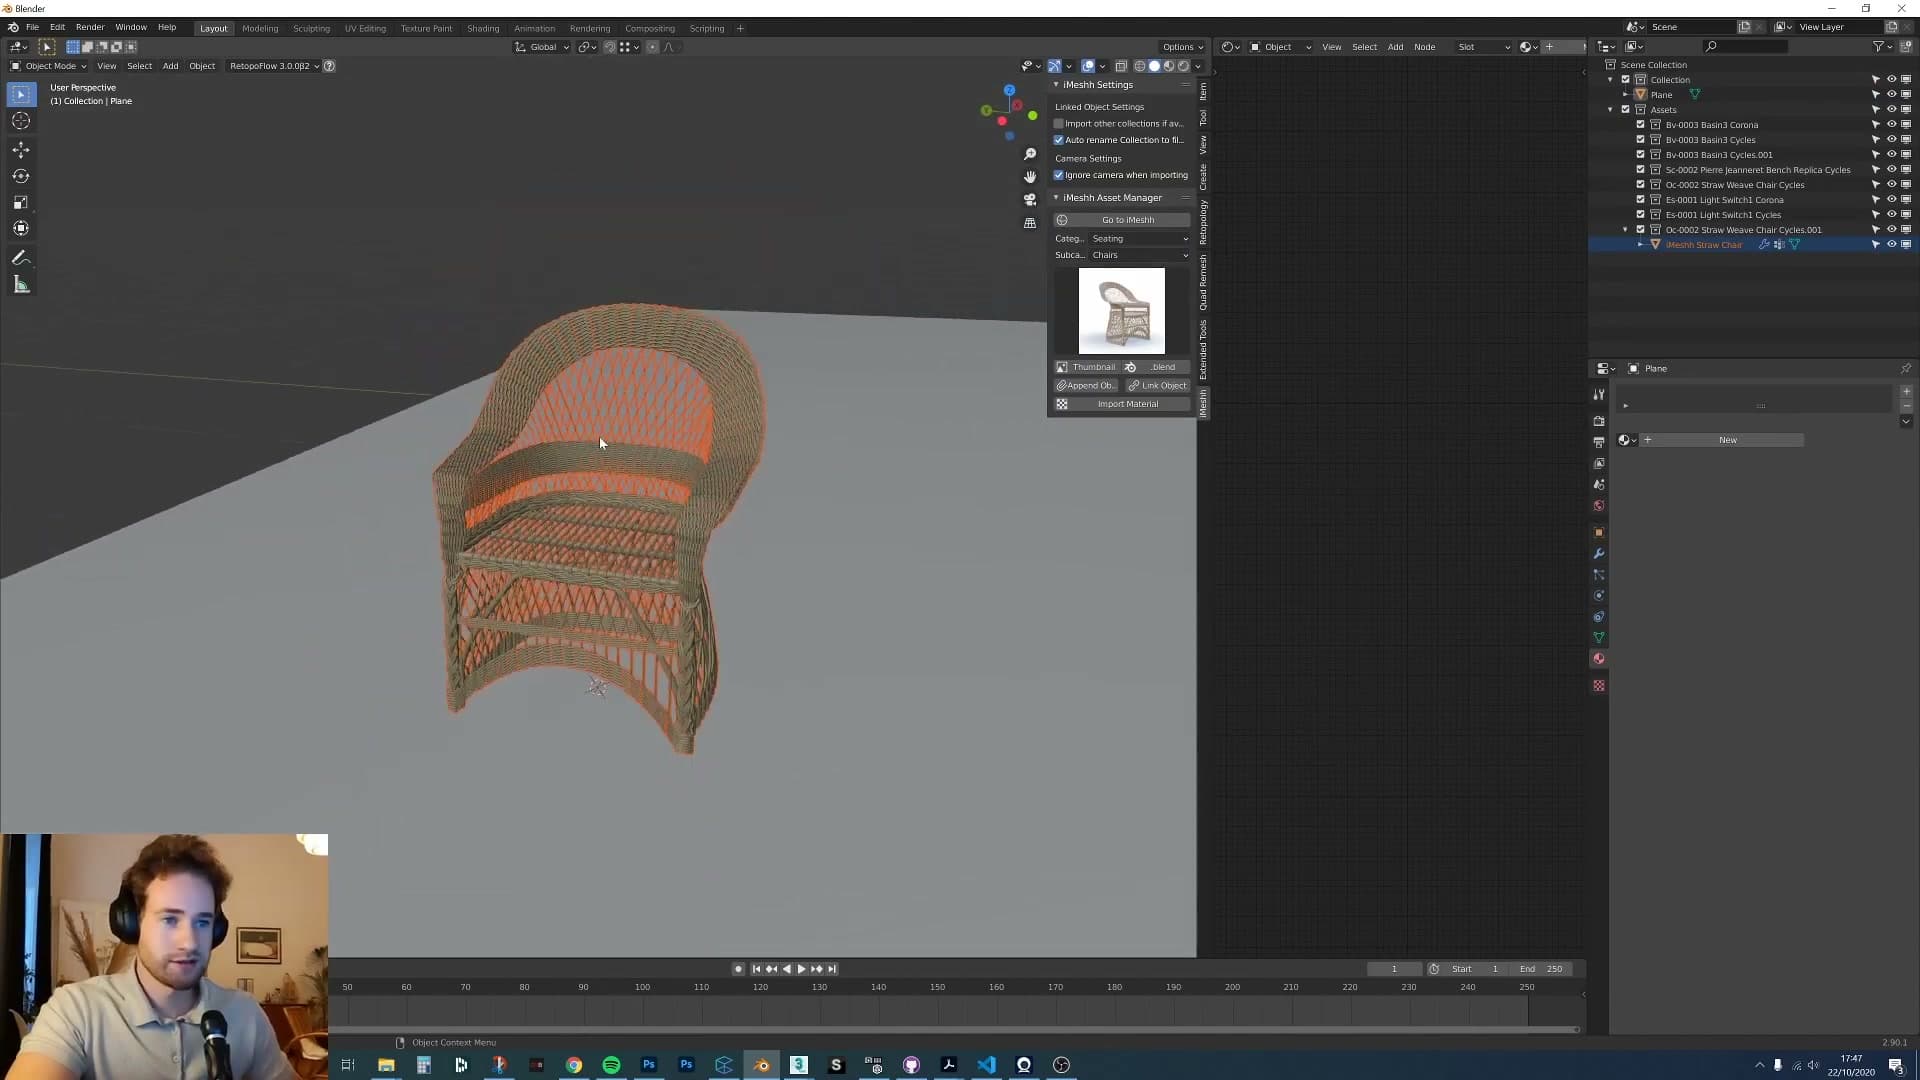
Position the 3D cursor first, then click the thumbnail of the chair, prop or piece of furniture you want to bring in. The asset drops at the cursor's location with its origin pinned to that point, ready for any further transforms.
Surface-snapping is on the roadmap rather than shipped. The plan is to extend this behaviour so assets can automatically snap onto whichever surface you point at. For now, cursor placement alone already cuts out a chunk of the repositioning work.
Linking collections instead of appending objects
How the Link Object button pulls in the scene collection, why linking beats appending for archviz scenes, and the checkbox that imports every collection at once.
Link versus append for archviz
The classic linking workflow in Blender (File → Link, drill into a blend file, open its Objects folder and pick what you need) pulls everything across as static objects. That suits plenty of pipelines: save an asset in one file, link it into another, and it lands at a fixed location ready to render.
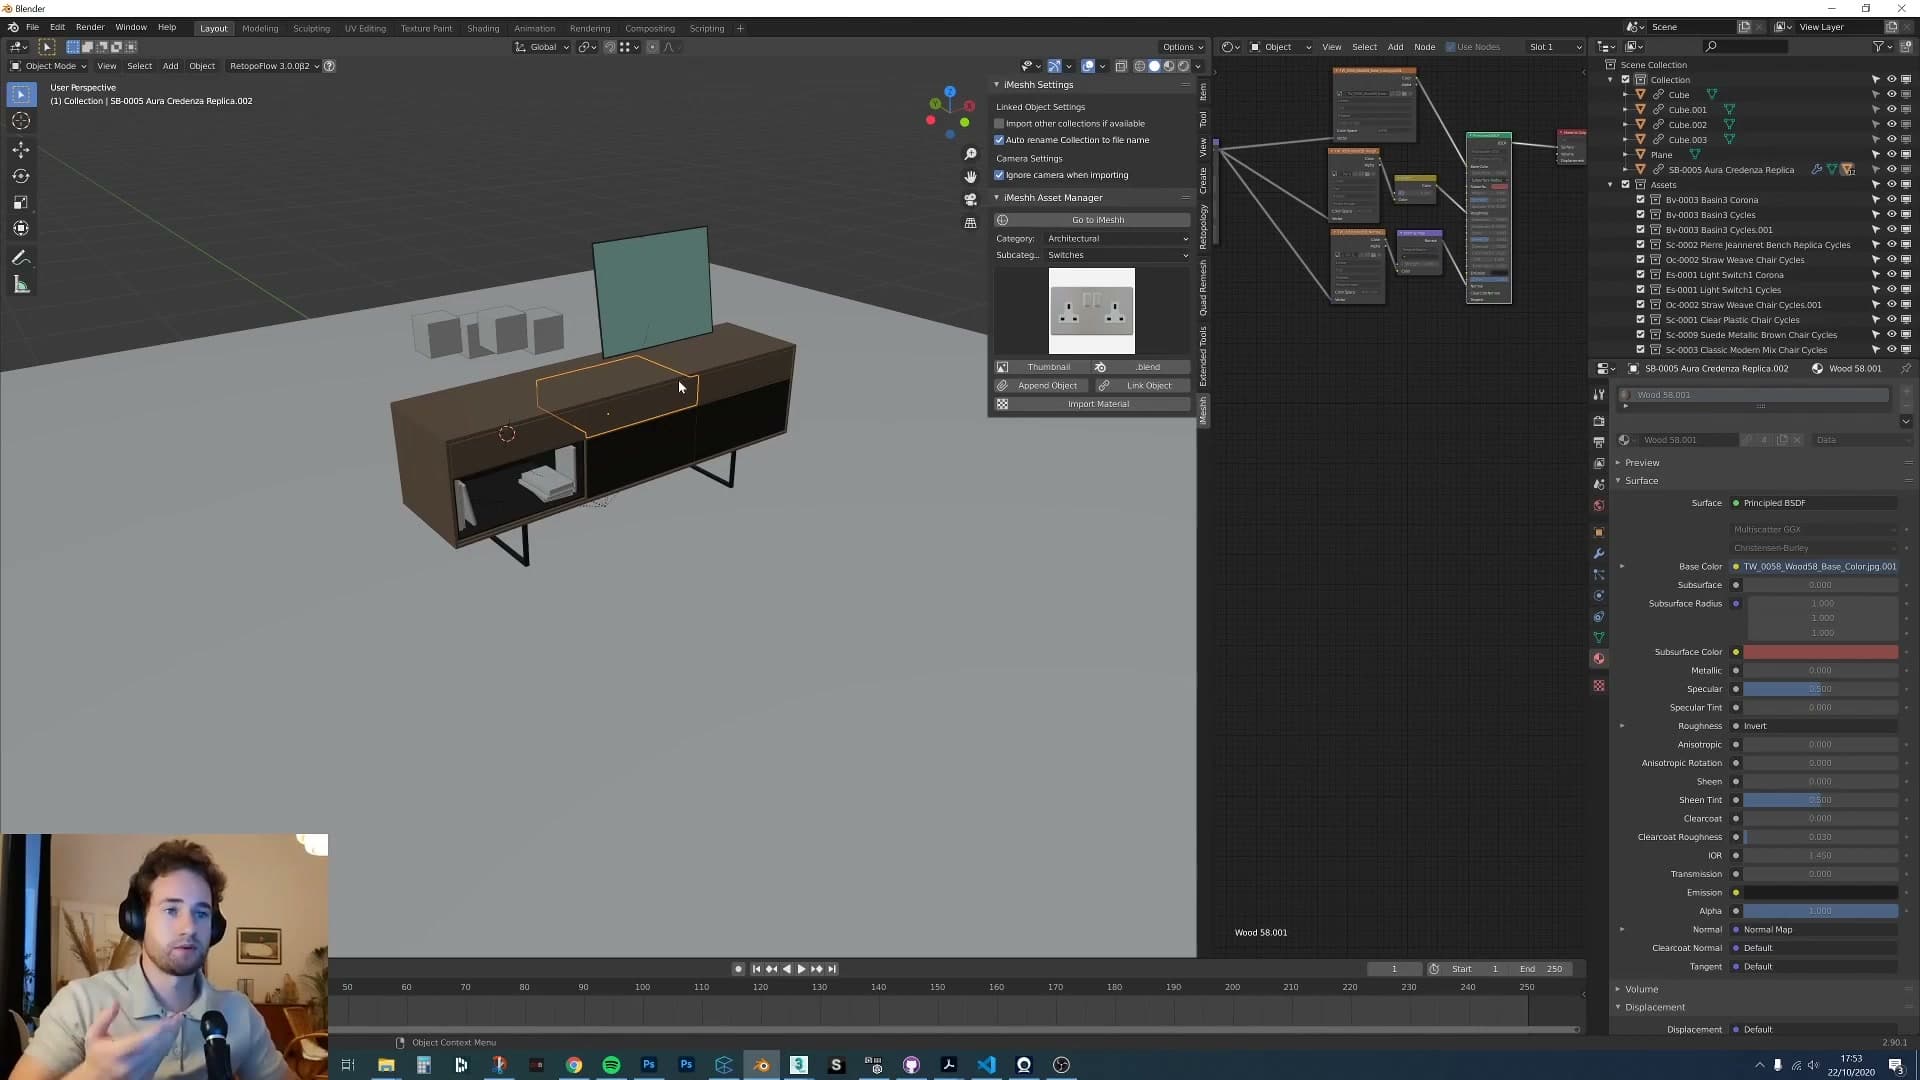
For archviz it falls short. You almost always want to nudge the imported sofa six inches closer to the window, rotate a rug, or scale a vase. Static linked objects refuse to budge. The fix is to link a collection instead of the raw objects. Collections stay transformable once they land in your destination scene.
How the Link Object button works
Every blend file saved in Blender 2.8 or 2.9 carries a default collection literally named Collection. That is the scene collection. Open a fresh file and it is already sitting in the outliner. Save the file and that collection travels with it, which is the hook the add-on relies on.
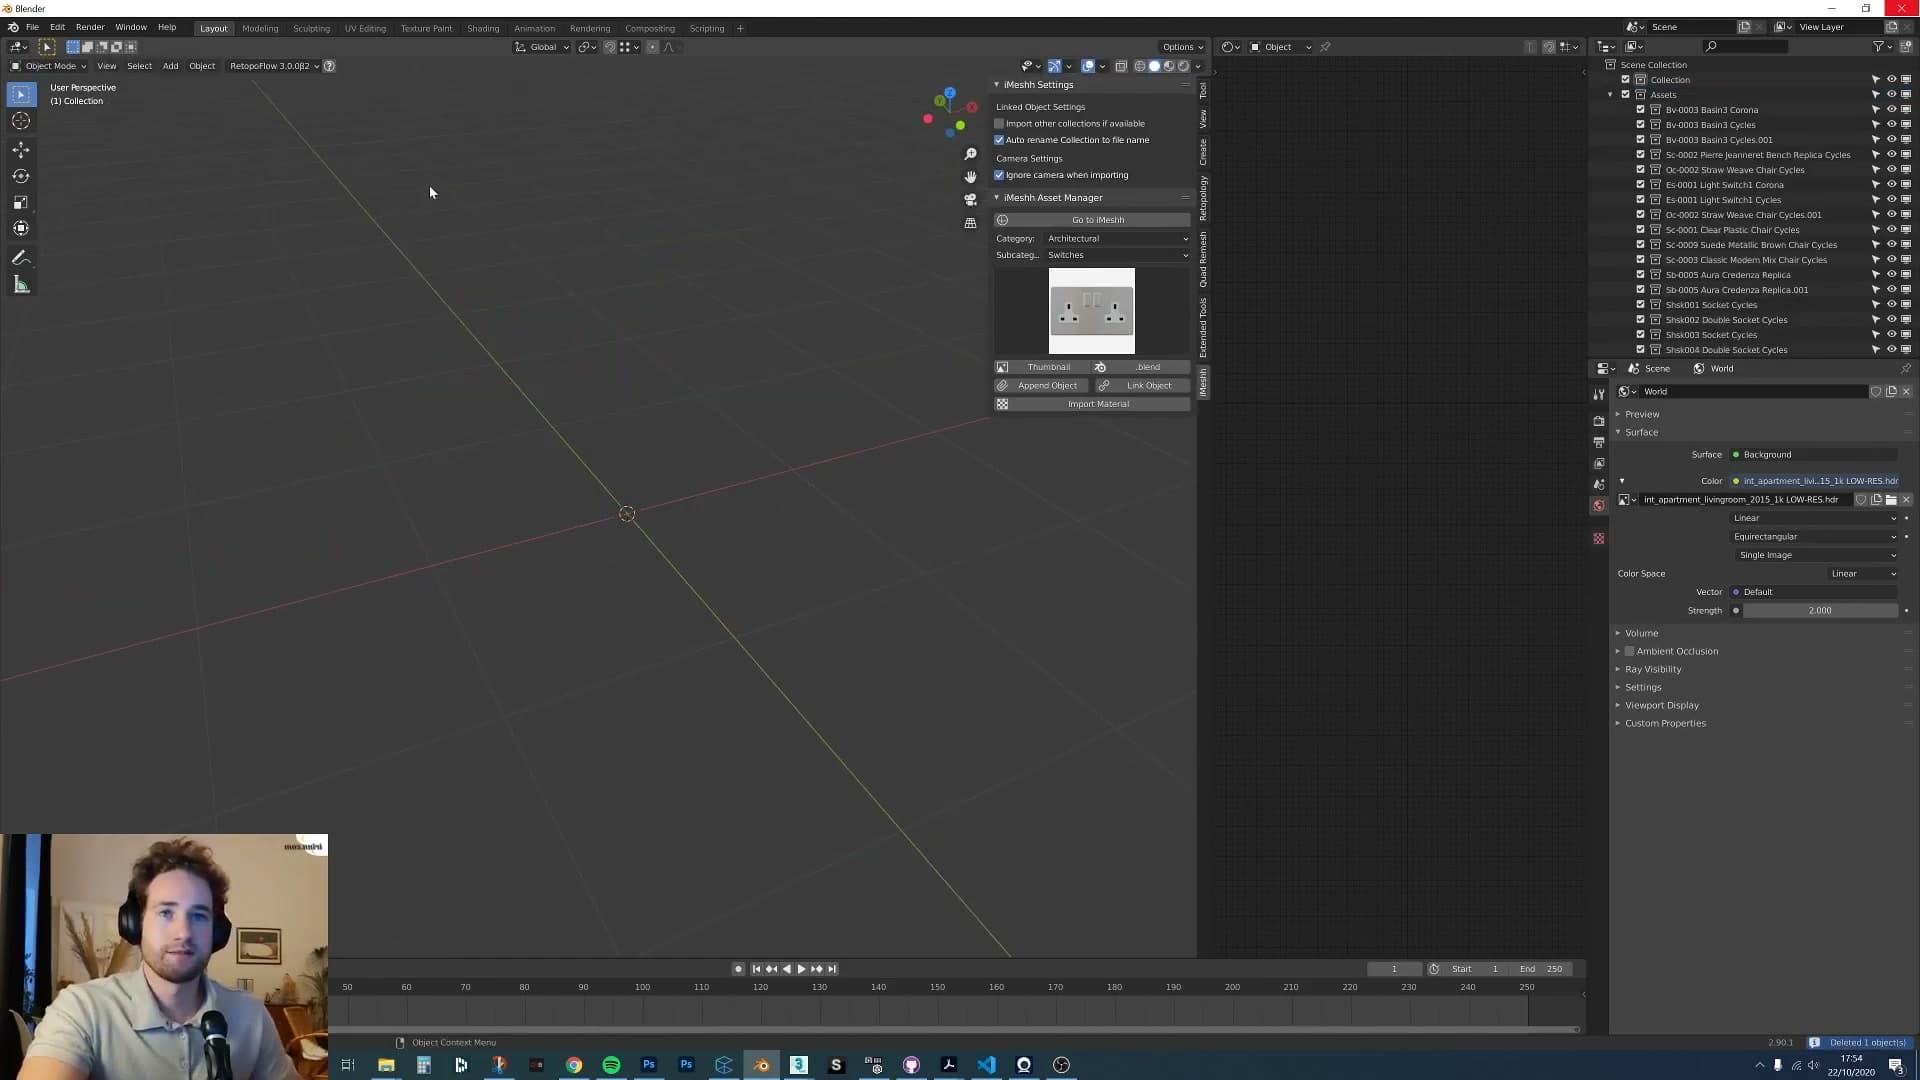
You can also create extra collections beyond the default. Select the objects you want bundled and press Ctrl+G to save them out as their own collection inside the file.
When you click Link Object in the iMeshh Asset Manager, it goes after that scene collection first. The asset lands in your scene as a linked collection you can move, rotate and scale as one unit, which is exactly the behaviour archviz scenes need from a library import.
Importing every collection from a multi-collection file
A single blend file can hold far more than one collection. A dining-room asset might ship with the scene collection containing the table itself, plus separate collections for the tableware, the chairs, and the floor props. Link Object on its own only pulls the scene collection. Useful, but everything else stays behind in the source file.
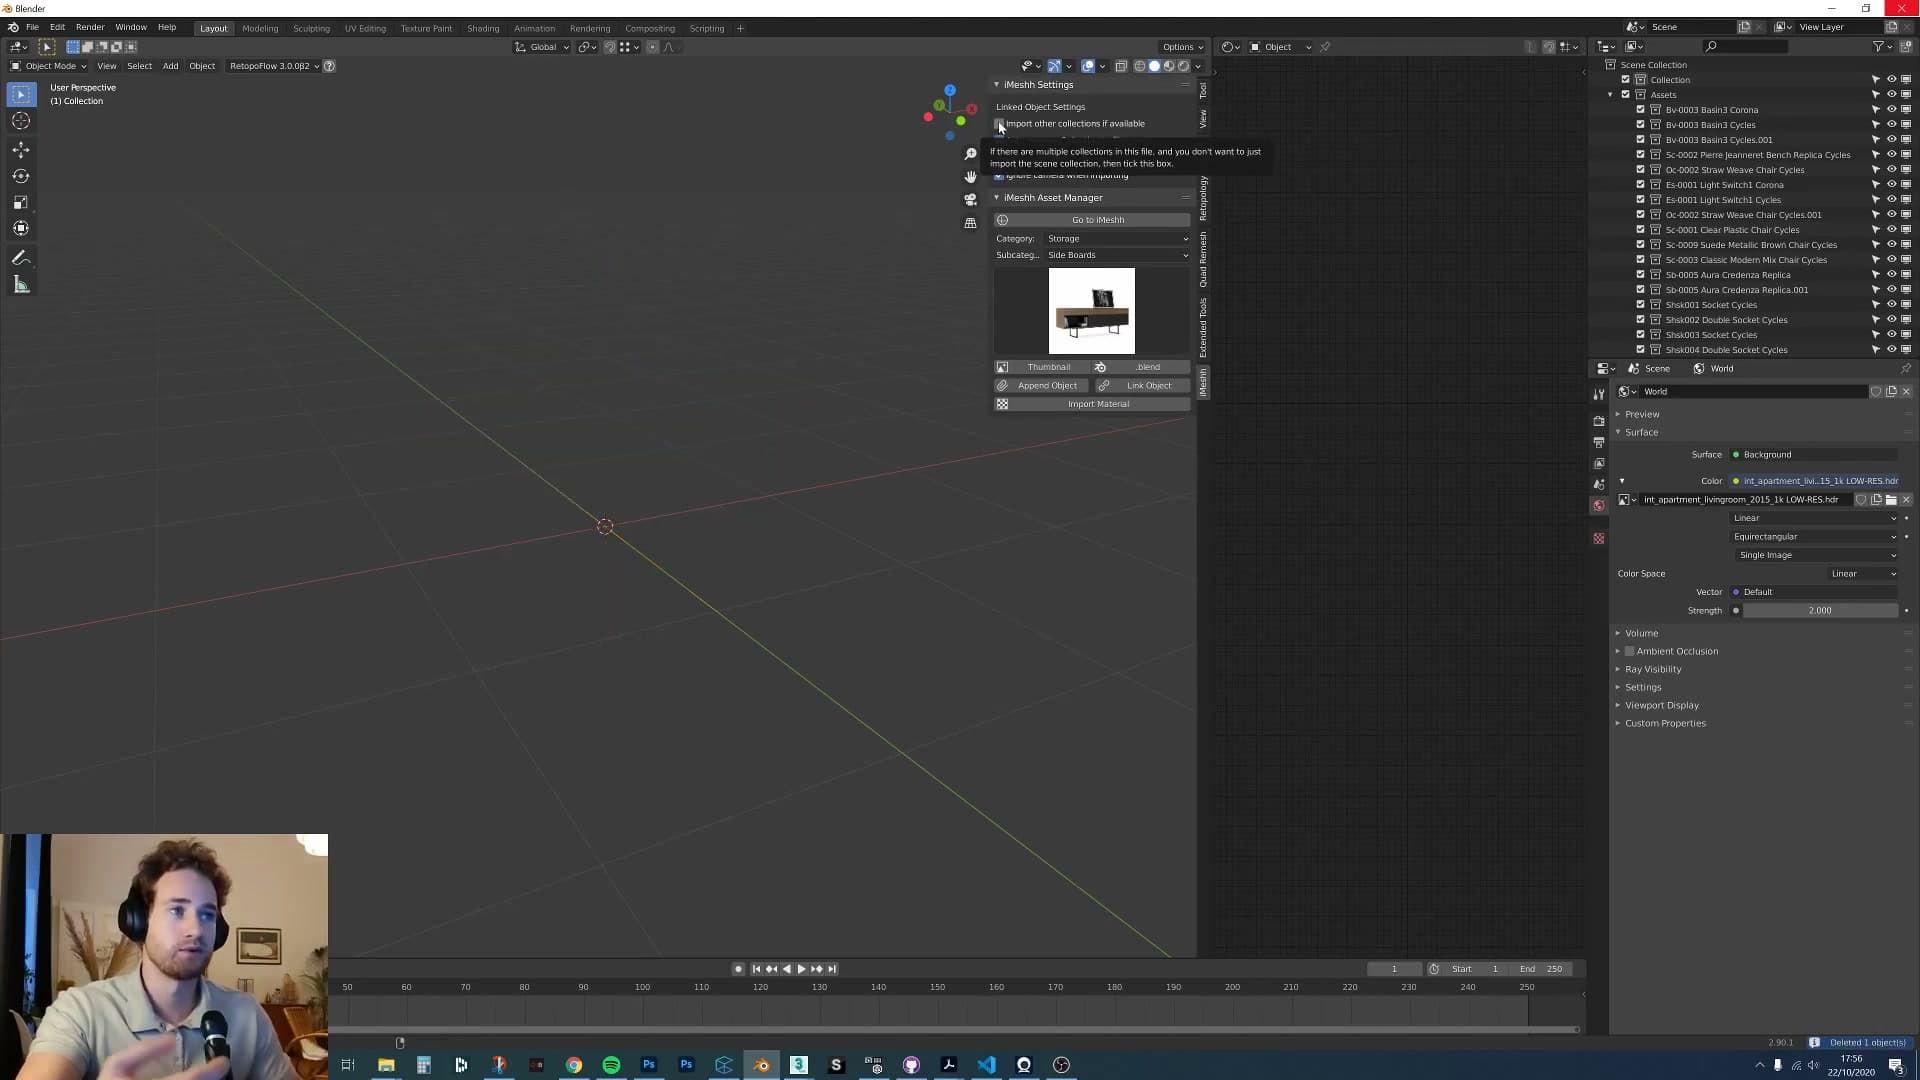
That is what the Import all other collections if available checkbox is for. Tick it before clicking Link Object and every collection inside the file comes across in one pass. Each one stays independent in the outliner, so you can shuffle the tableware to a different spot, swap the chairs, or delete a sub-collection you do not need without disturbing the rest of the asset.
Auto-renaming the default Collection to the file name
There is one more checkbox tied to the same flow. The default scene collection inside every saved file is just named Collection, which is meaningless once you have linked half a dozen assets. The outliner fills up with several entries all labelled the same and you cannot tell which is which.
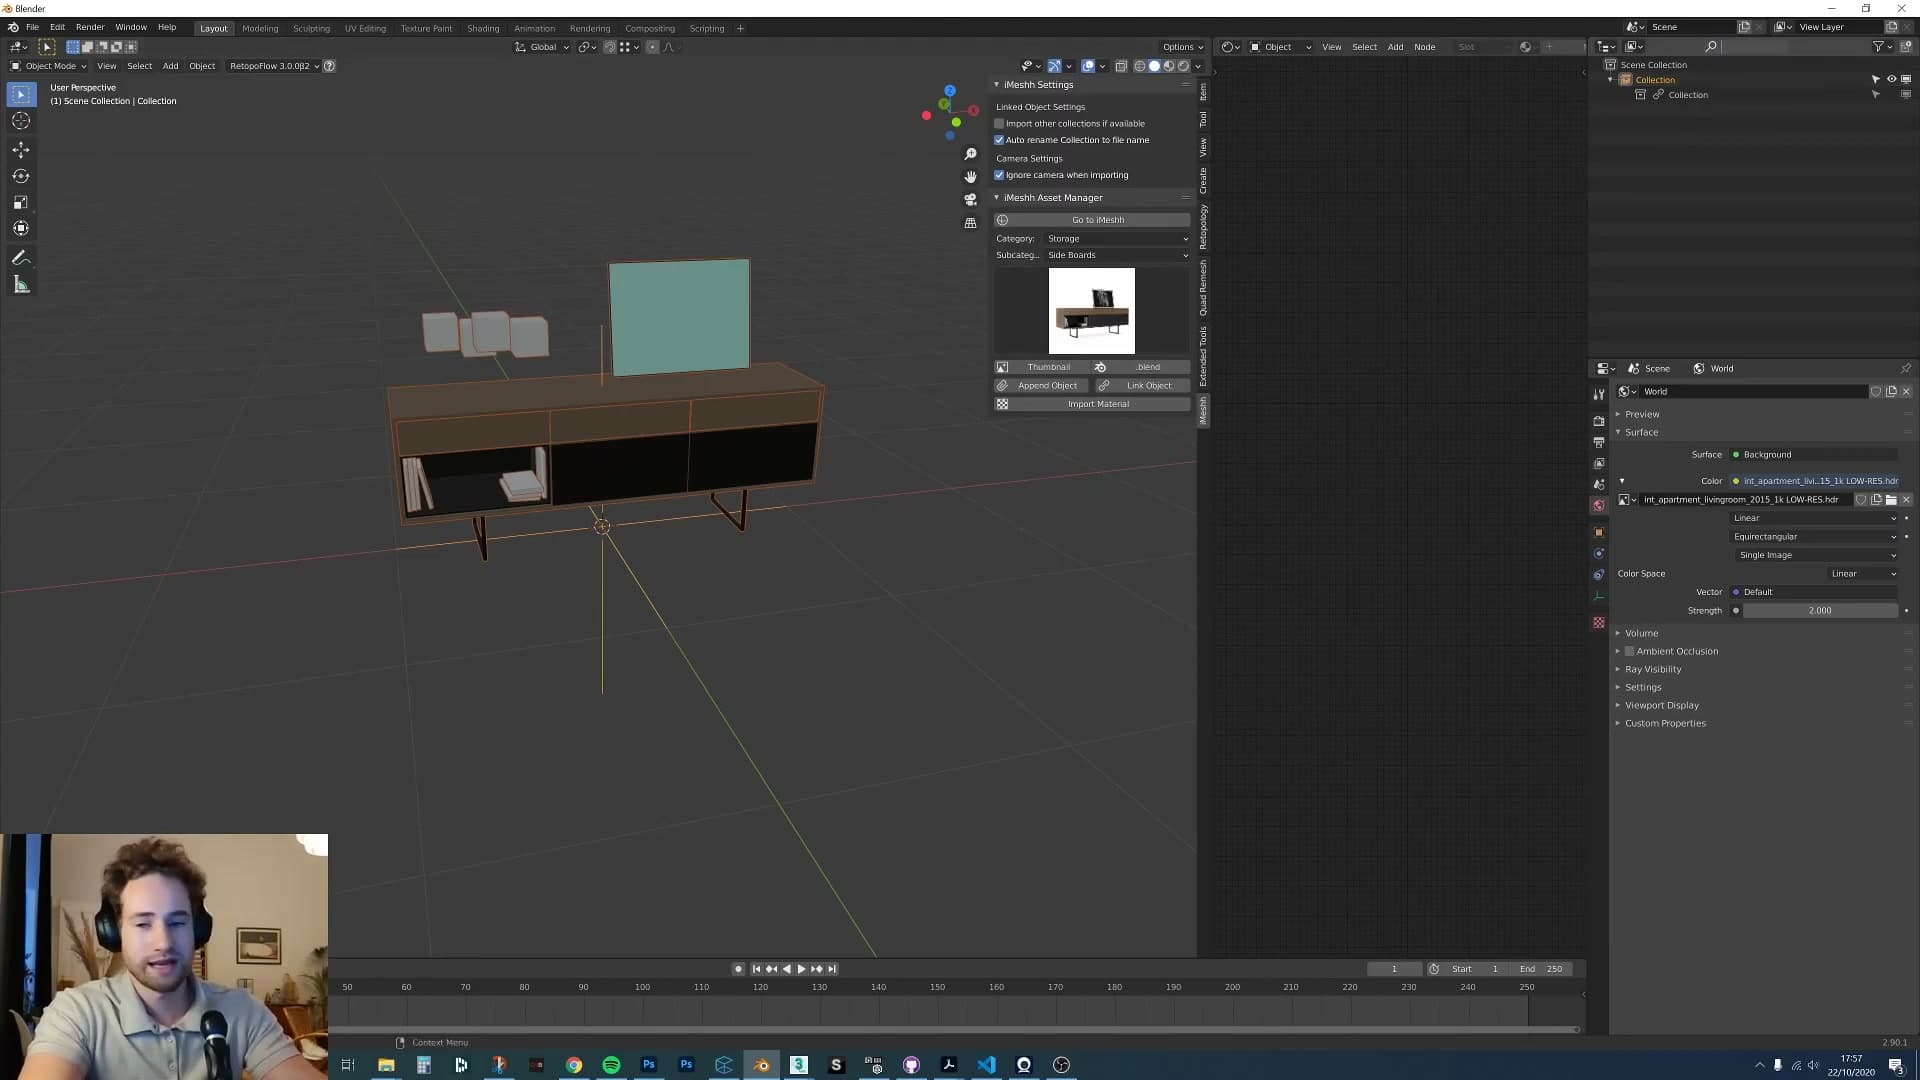
The add-on handles that for you. Whenever it imports a collection literally called Collection, it renames the copy to match the asset's blend file name on the way in. Your outliner stays readable, and you can see at a glance which linked collection belongs to which asset.
Making legacy Blender 2.79 assets linkable
Older iMeshh assets predate Blender's collection system and only link as static objects. A one-time resave in Blender 2.9 fixes that.
Why pre-2.8 assets link as static
Not every asset in the library was built in a modern version of Blender. A lot of the older iMeshh files were authored in Blender 2.79, which predates the collection system entirely. Back then, the only way to bundle multiple objects together was as a group, and plenty of single-object assets did not bother with even that. They were just one mesh sitting in the scene.
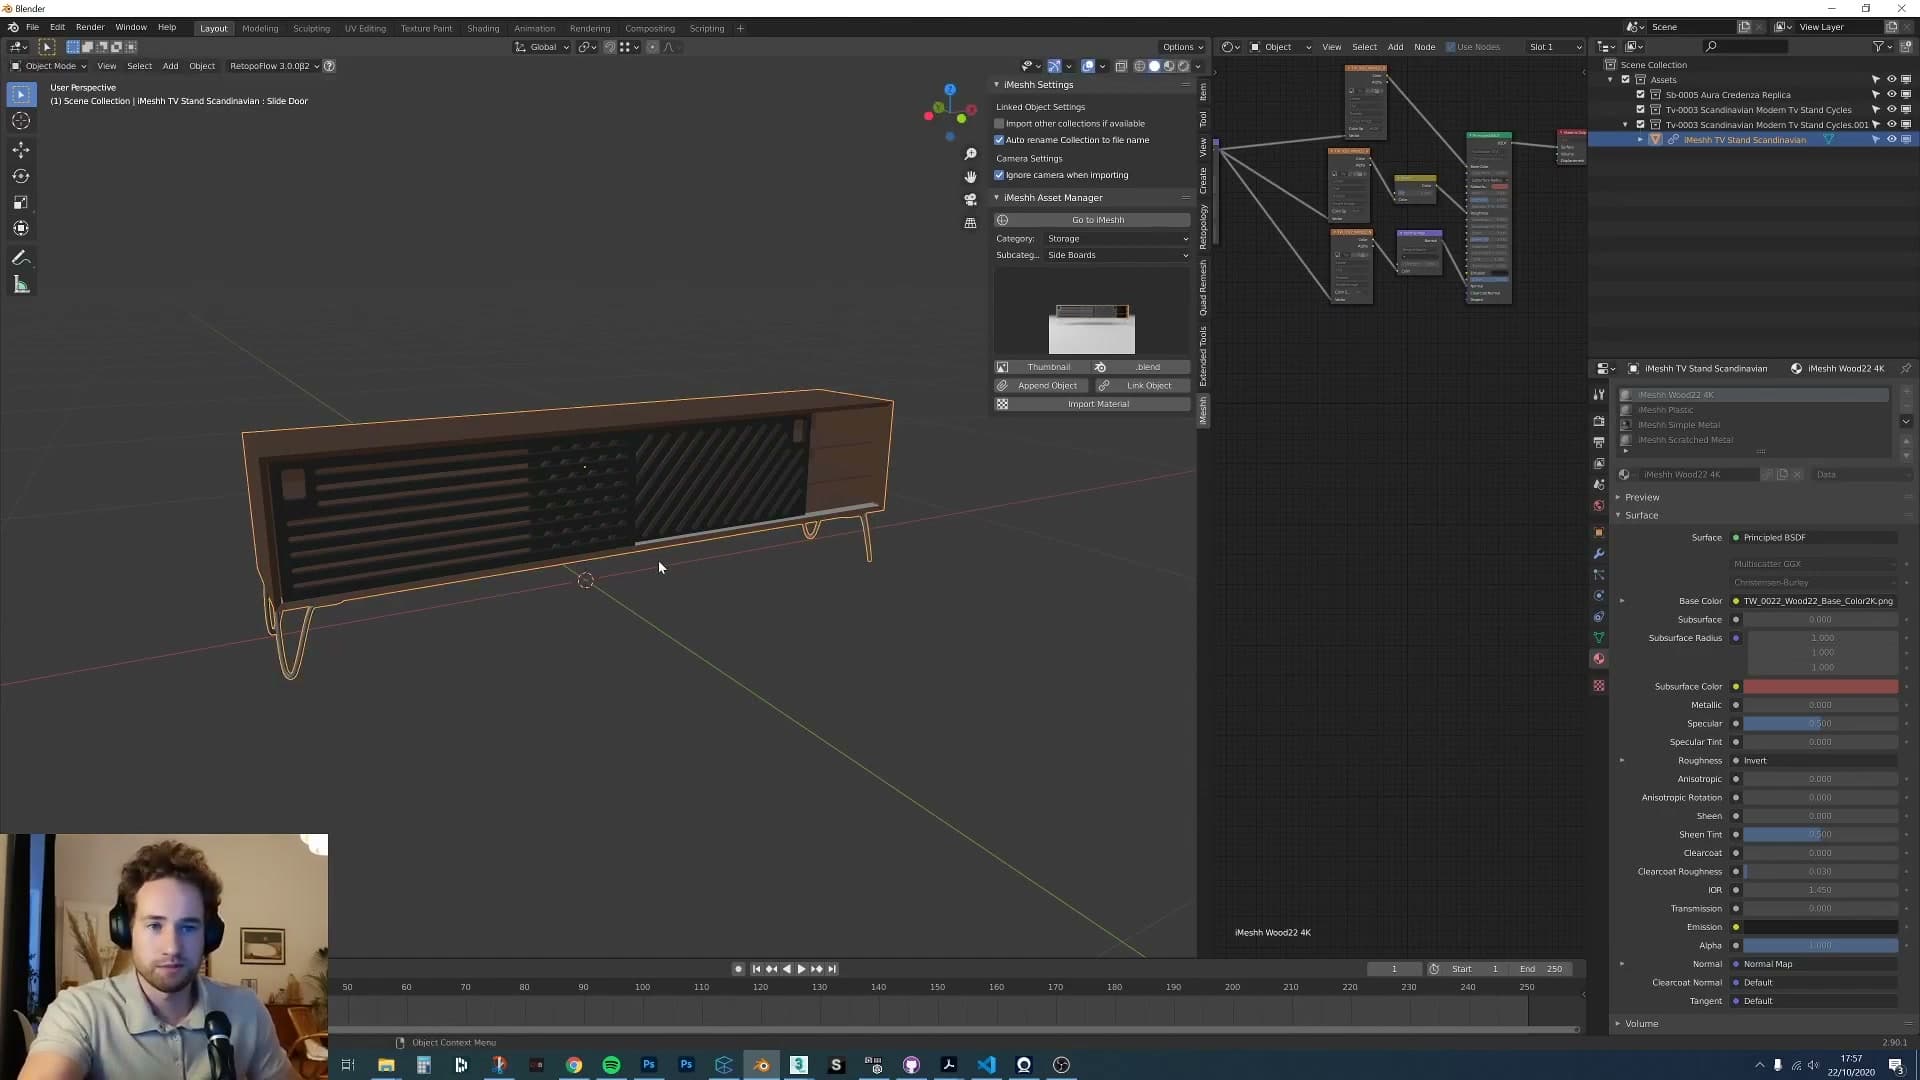
If you try to link one of those legacy files through the asset manager, Blender does what it can with what is there. It pulls in the object, but the import comes through as a static reference rather than a transformable wrapper. There is no scene collection on the source file for the link to latch onto, so you lose the ability to move, rotate or scale the asset inside your destination scene.
Resaving in 2.9 to add a scene collection
The fix is genuinely a one-click affair. Open the legacy blend file directly in Blender 2.9 and save it. As 2.9 loads the older file, it wraps the contents in a scene collection automatically, and saving bakes that change in. The collection inherits the file name, so when you go back and link the asset, it appears in your outliner with a sensible label rather than a generic Collection entry.
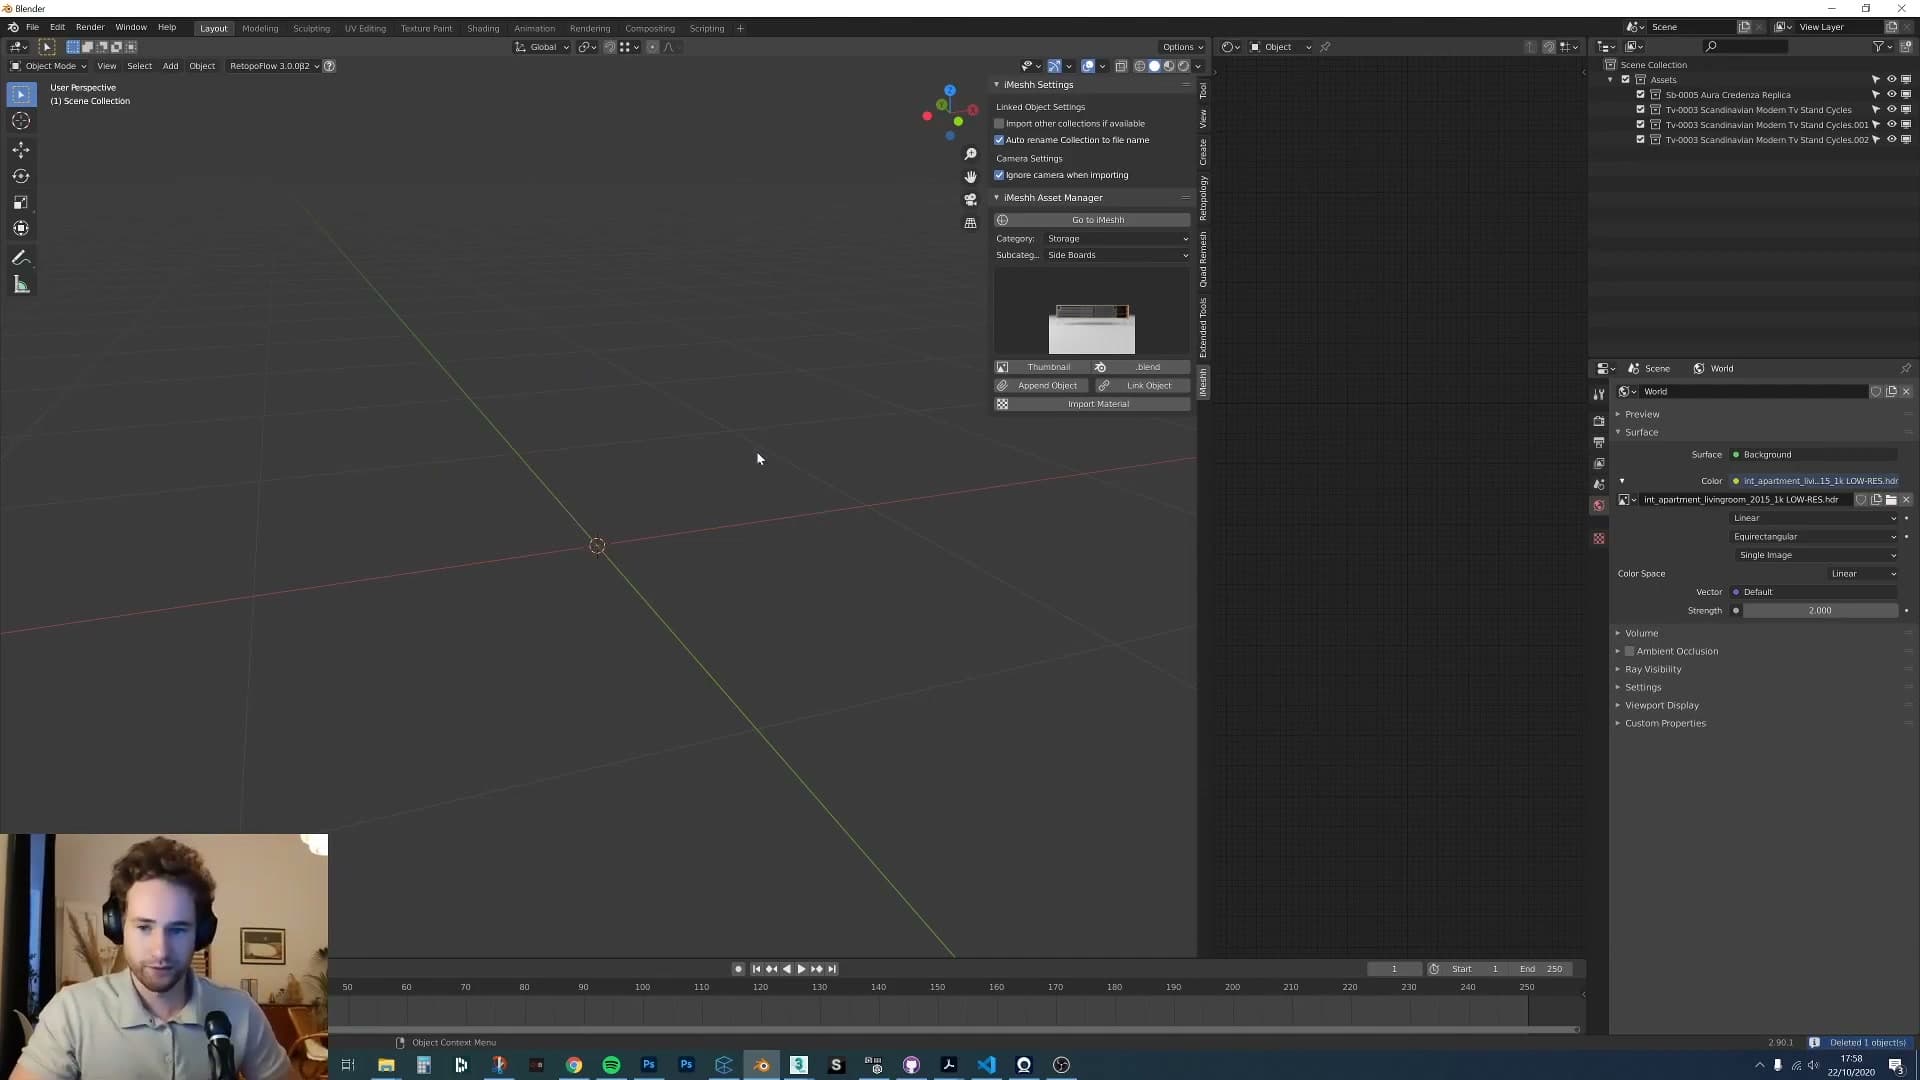
Repeat the link from the asset manager and the same file now imports as a proper linked collection. You can transform it, nest it, and treat it like any other modern asset, all without re-authoring anything inside the original blend.
Before rebuilding the add-on I rarely reached for linked assets, but the new workflow has shifted that habit. I am now linking far more often. The trade-off worth knowing is that swapping materials on a linked asset is awkward, so reserve linking for when you want to keep the scene file light and the asset itself does not need bespoke shader changes.
Free starter assets, the Trello roadmap and feedback
How to grab the bundled free assets to populate the manager immediately, follow planned features on the public Trello, and send feedback to the iMeshh team.
Free starter assets and the Trello roadmap
With the add-on installed and your folder structure in place, the fastest way to feel the workflow is to populate the library straight away. iMeshh bundles a pack of free materials and assets alongside the Asset Manager download, so you can grab those, drop the folders into the matching categories on disk, and have a stocked manager open in Blender within a few minutes. Head to the iMeshh site to download them.
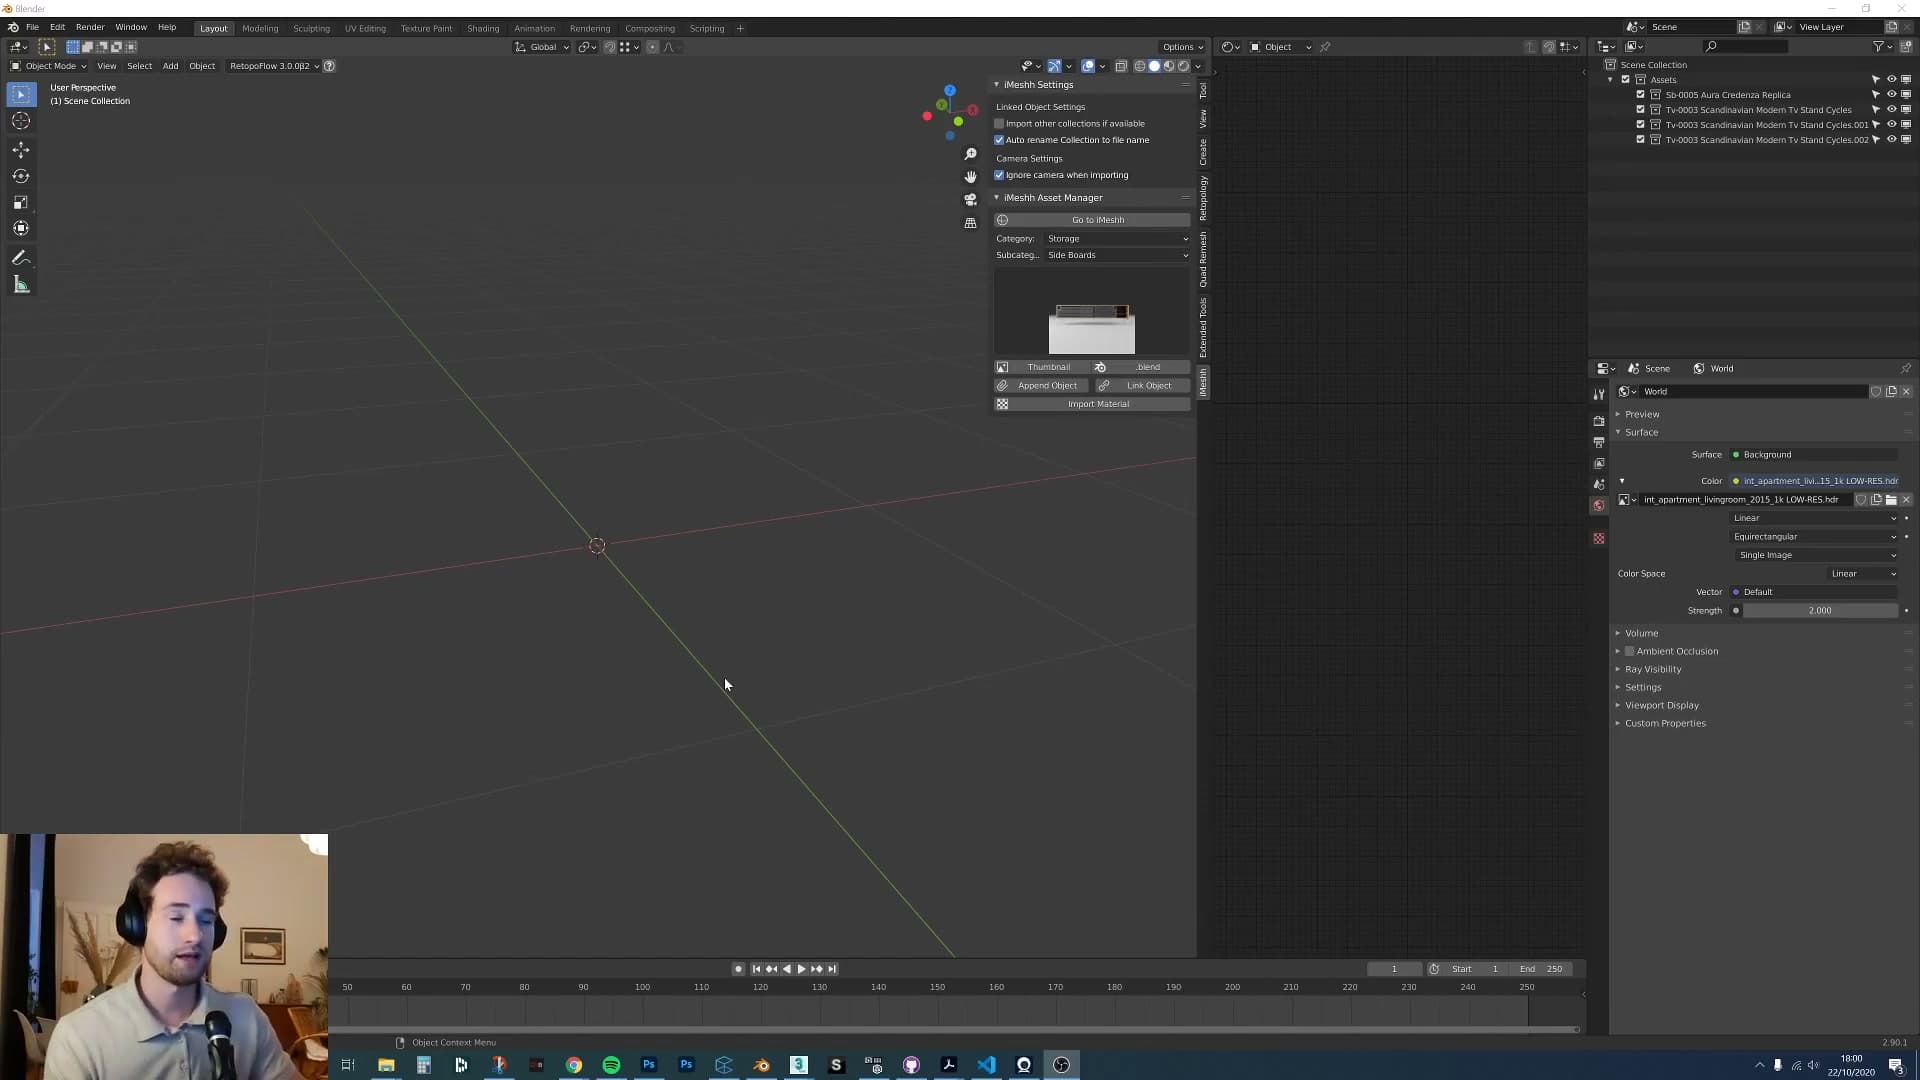
Loading the freebies is the same drag-and-drop exercise covered earlier: a default materials folder lands inside materials, decoration pieces sit under decoration, and so on. Once they are in place the thumbnails appear in the manager and you are immediately importing assets rather than staring at an empty panel.
The Asset Manager is being actively developed, and the team keeps a public Trello board of features they are working on next. If there is something you want to see added, or something already in the add-on is misbehaving, the Trello board is the place to raise it. Genuine bugs get fixed too, so reporting them is worthwhile rather than working around them in silence.
Finally, you can follow iMeshh on Twitter for release notes and update announcements, and the link sits in the video description for convenience.
Tools and credits
Everything mentioned in this tutorial, with links.
- Blender the renderer this entire build runs in.
- iMeshh studio platform (project management, client review, asset library, invoicing). The asset library used in this tutorial is included with every iMeshh Pro plan.
- Poly Haven free CC0 textures and HDRIs.
Pillar guide: Imeshh Tools hub