Blocking out the sofa frame box
Create a starter box that encloses the existing cushion, inset and extrude the top face to carve out the cushion cavity, and slice the geometry with loop cuts so half can be deleted for mirroring.
Creating the enclosing box and cavity
The build starts with a simple box that wraps the cushion. The whole frame is constructed around the existing cushion rather than the other way round, so step one is enclosing the cushion volume in a mesh you can then carve into.
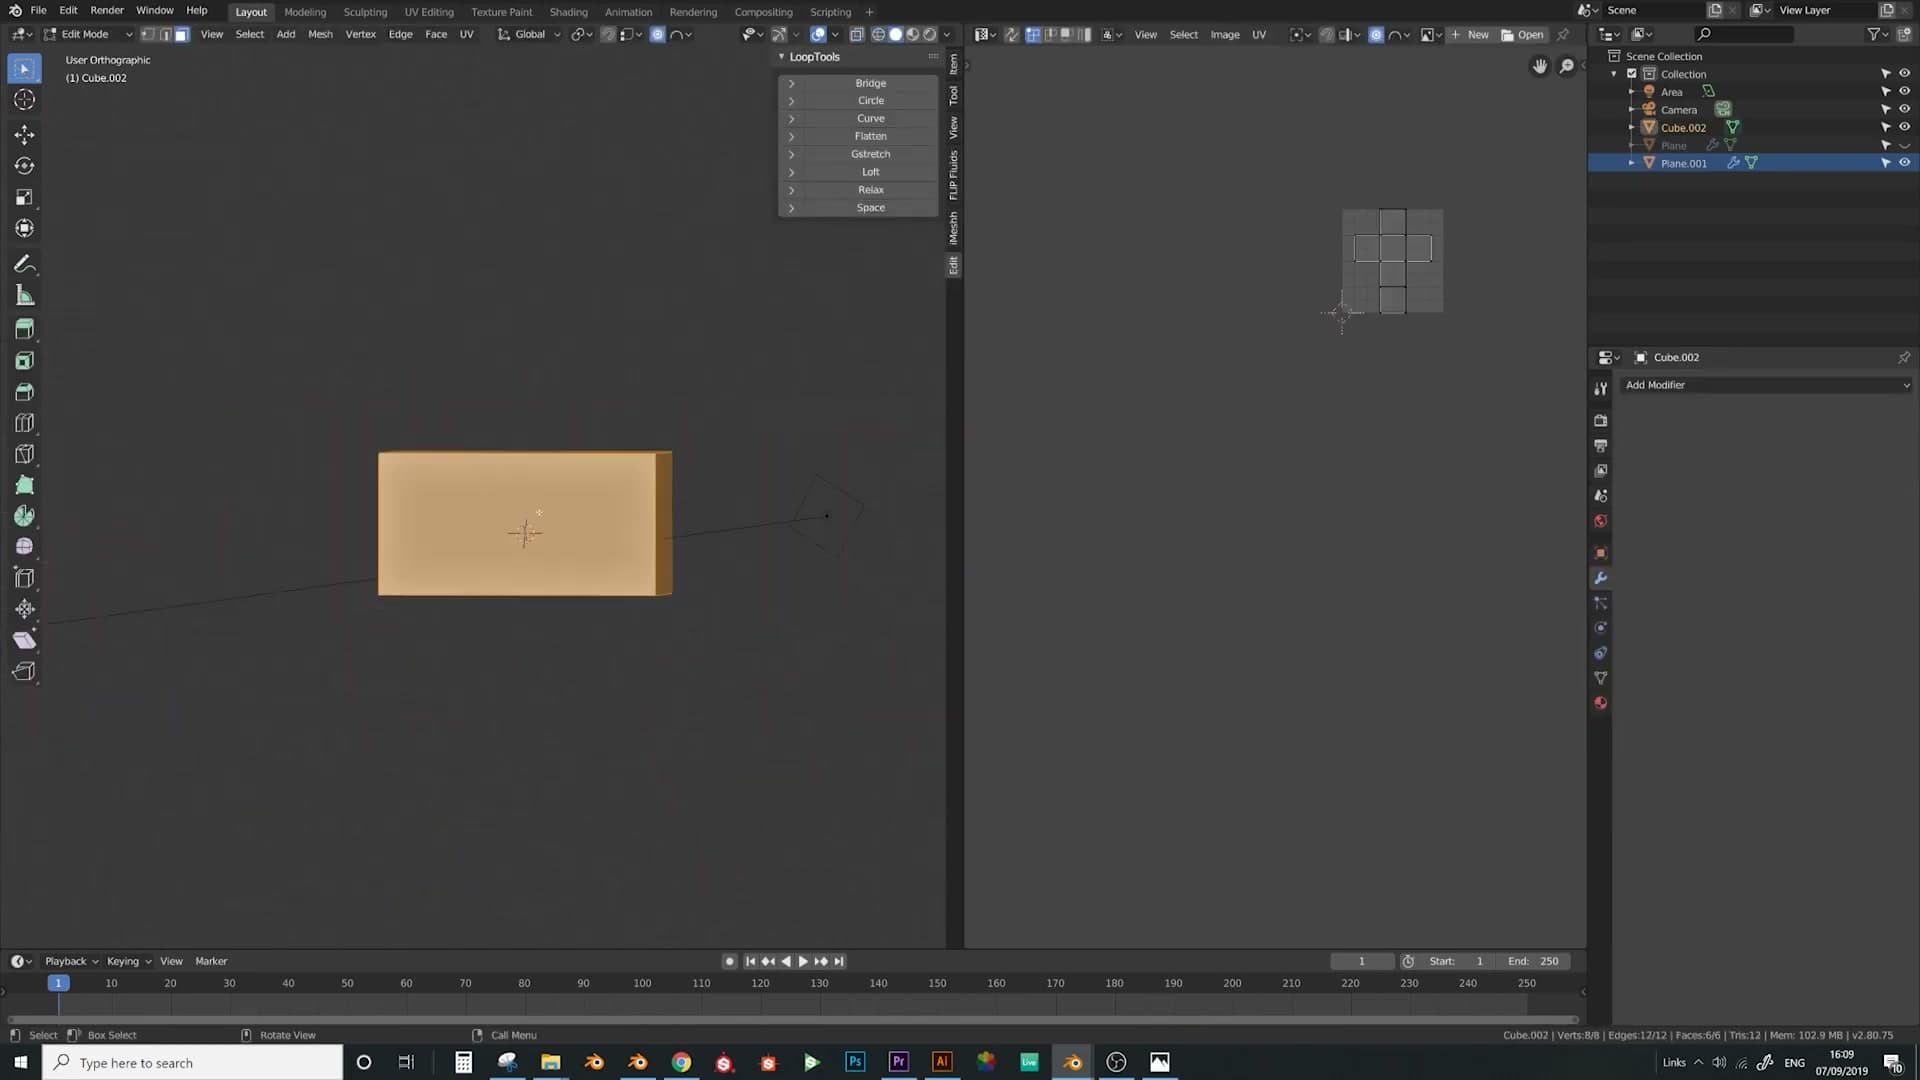
Add a starter box and scale it by eye until it fully covers the cushion. No exact dimensions are needed at this stage. The cushion itself is the reference.
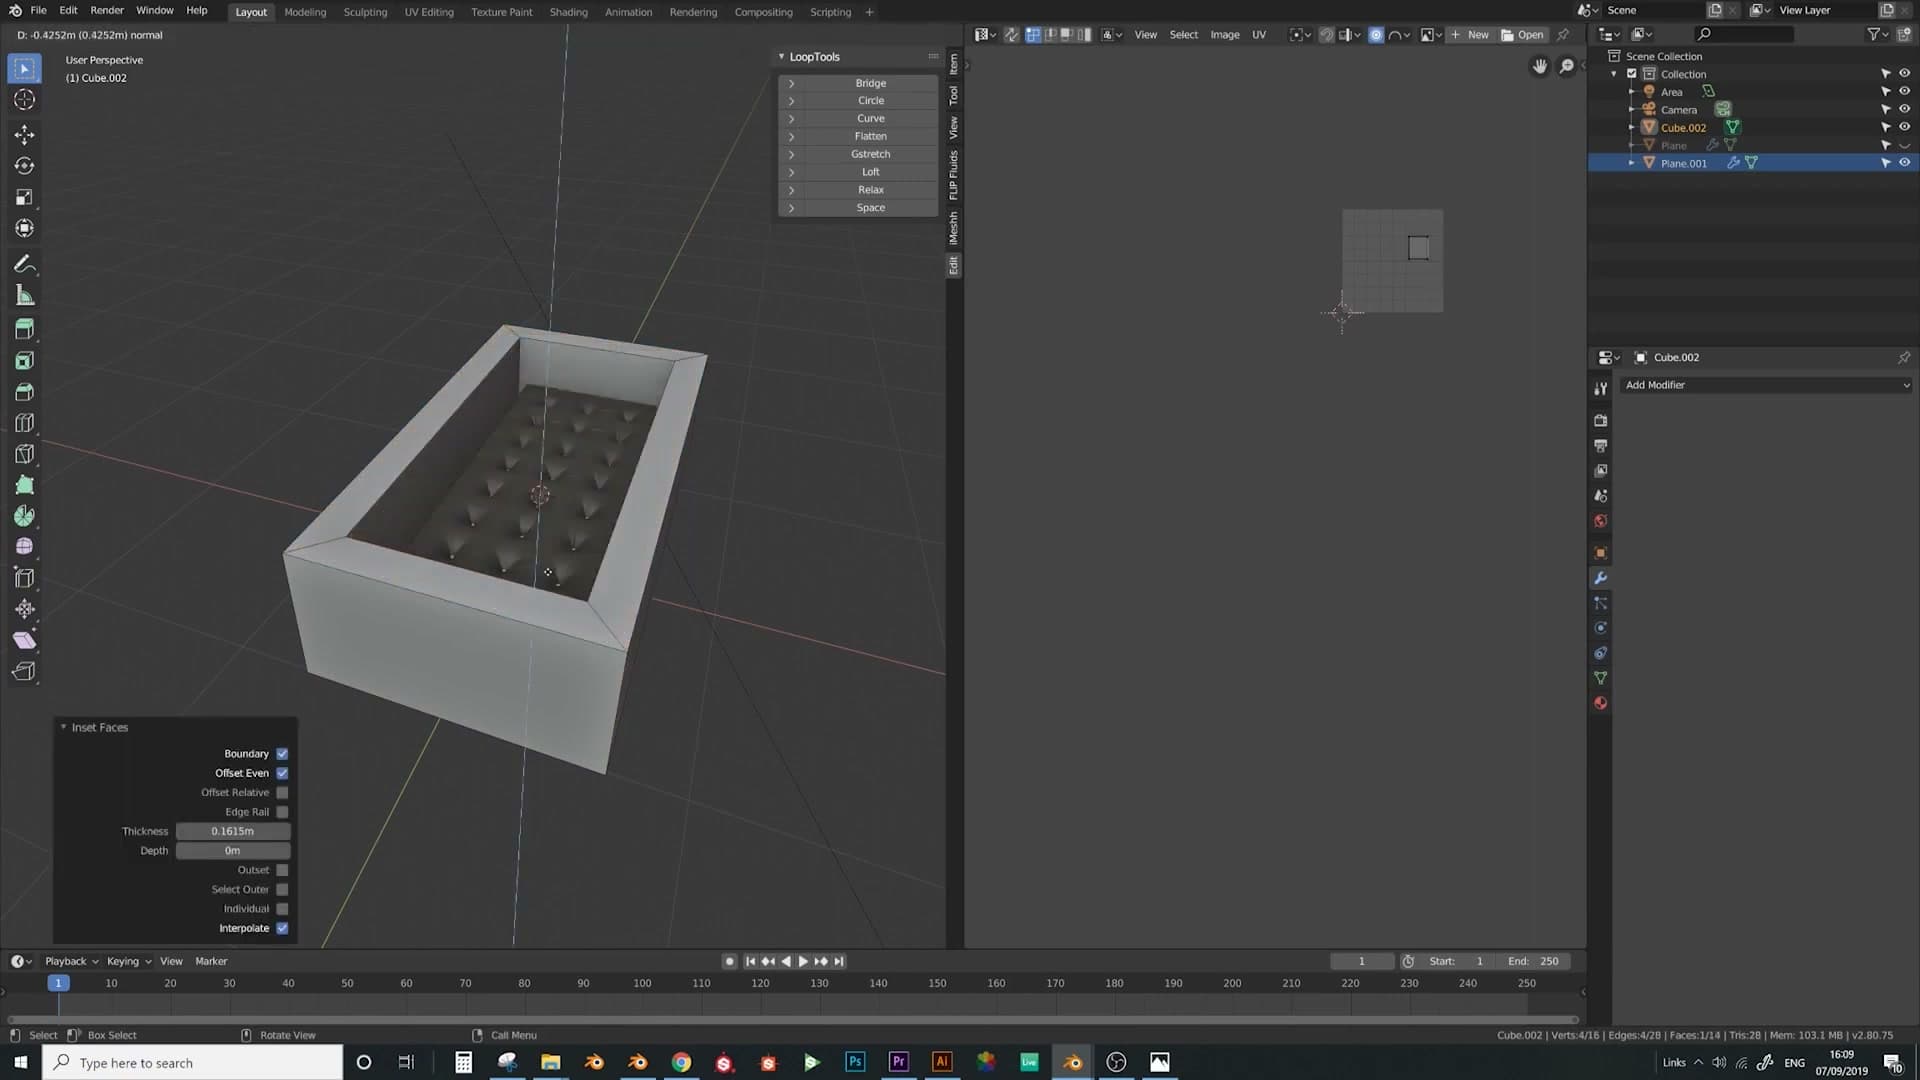
Drop into Edit Mode, select the top face, and press I to inset it slightly. Then extrude that inset face downwards to carve out the cavity the cushion will sit inside. Judge the depth against the cushion height so the rim of the frame sits roughly level with the top of the cushion.
Loop cuts and deleting half for mirroring
With the cavity in place, press Ctrl+R to lay in loop cuts that define the frame's profile and, just as importantly, set up the centre line you'll use for mirroring. The sofa is symmetrical, so only half of it ever needs to be modelled by hand.
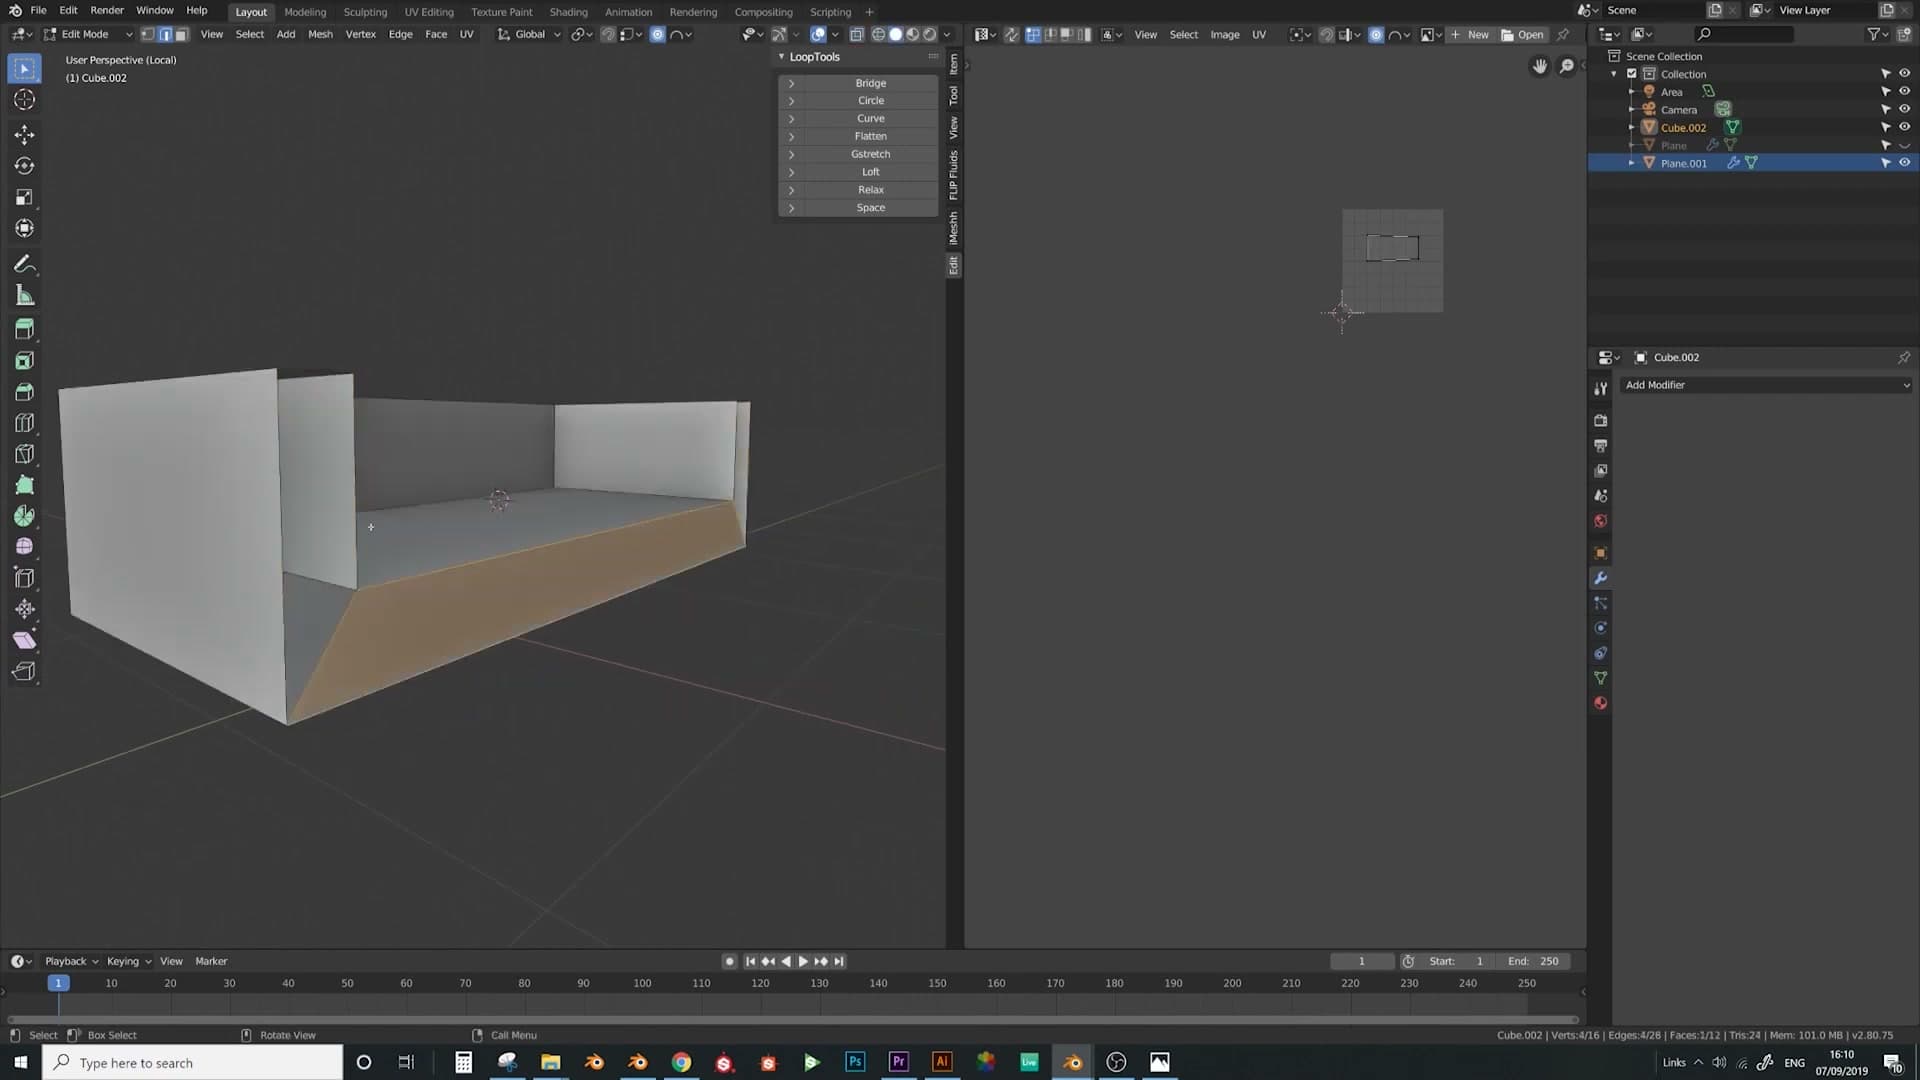
Once a central loop cut is positioned along the symmetry line, delete one half of the box. From here on you only work on one side; a mirror modifier added later in the build rebuilds the other half automatically.
Pull the open edge out into its rough final position first, then attach the open face loops back together so the half-frame is sealed before you move on to shaping.
Matching the frame dimensions to the cushion
With the half-frame sealed, turn to the silhouette. Pull edges around the box so the frame dimensions line up tightly with the cushion. Nothing should be floating away from the upholstery or clipping through it.
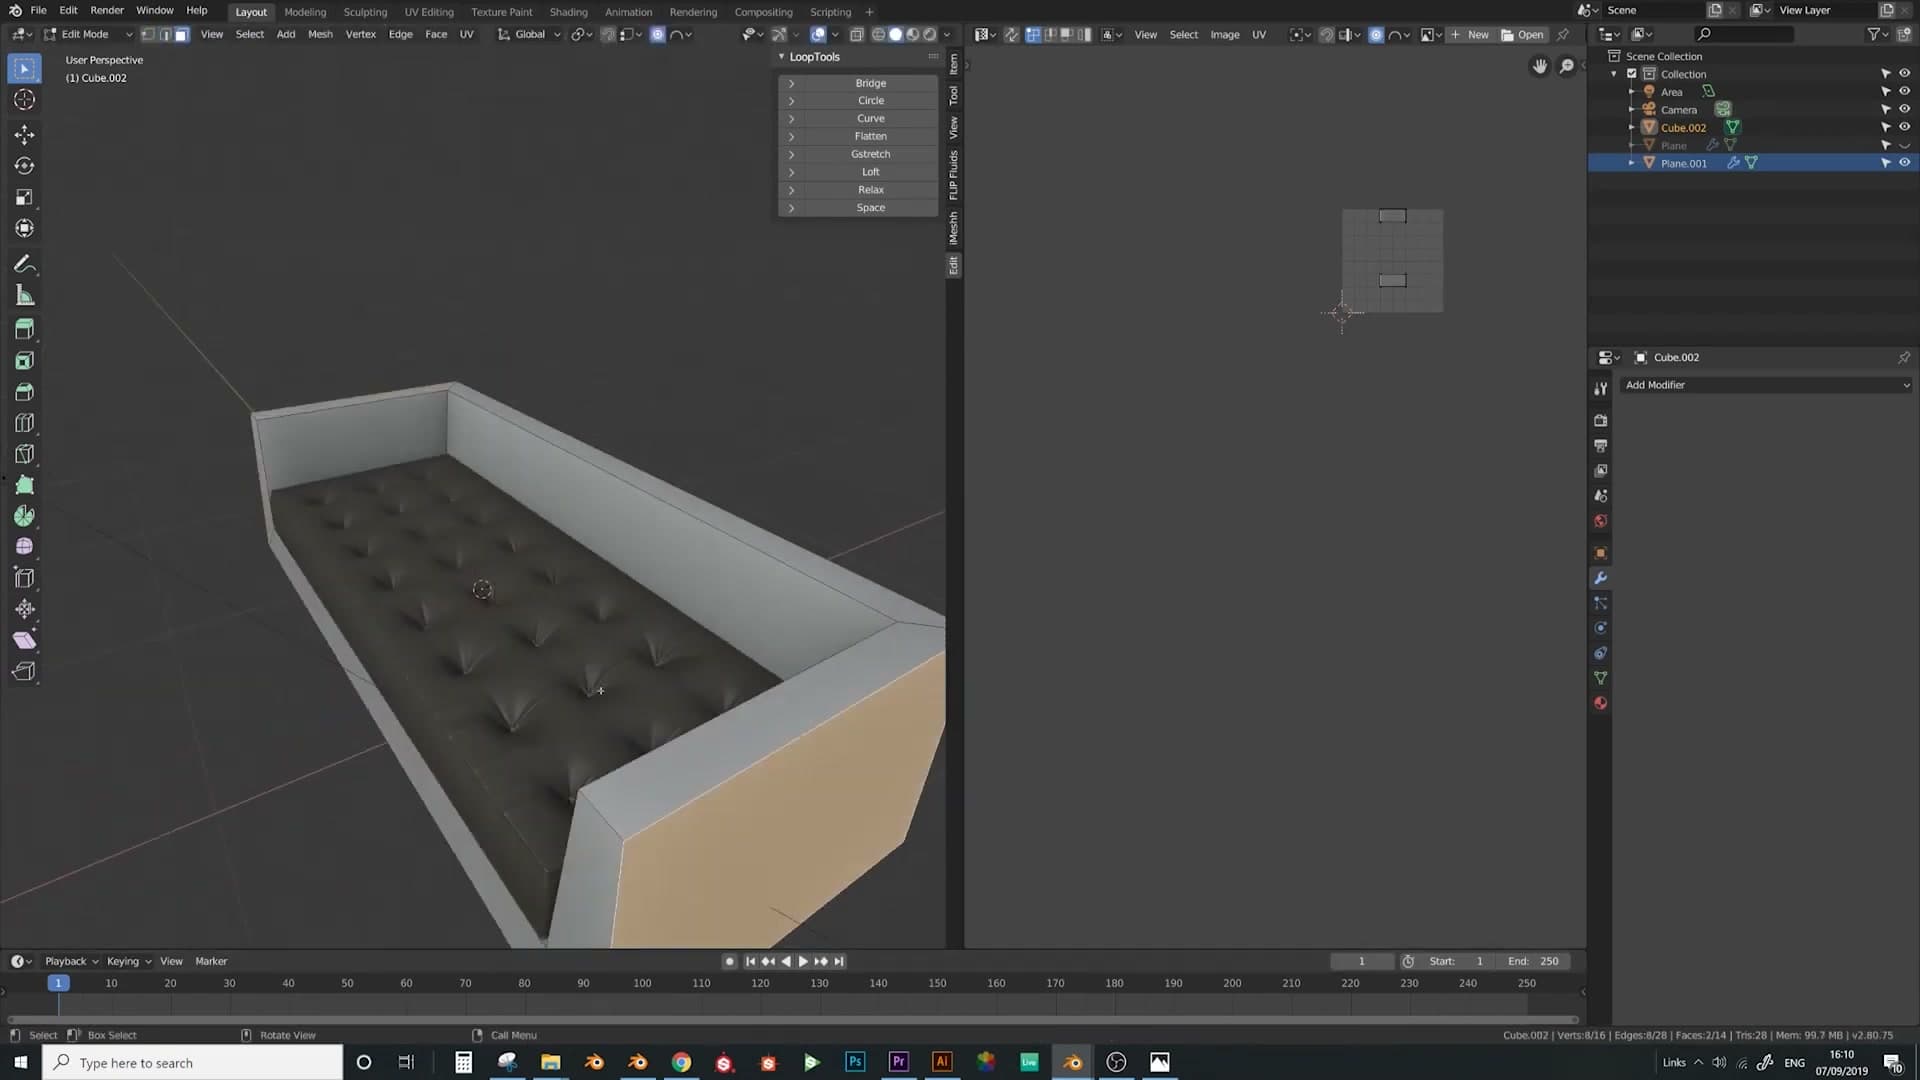
Scale and slide individual edges along the Y axis to set the depth of the seat and arms, then along the X axis to set the width of the side panels. Short nudges work best so the relationship between the frame and the cushion stays under your eye as you adjust.
Finish the block-out by introducing a gentle curve into the silhouette. A small movement of the upper edges is enough to take the frame from a hard rectangle to something that already reads as a sofa, ready for subdivision and seam work in the next module.
Adding subdivision surface and softening the upholstery
Apply a Mirror and Subdivision Surface modifier stack, then add supporting loop cuts along every hard edge so the smoothing keeps the frame shape while still reading as soft upholstery.
Adding the mirror and subdivision surface modifiers
With the rough frame box in place, the next job is to set up the modifier stack that will smooth the geometry without losing the silhouette. You only need to model half the sofa (a Mirror modifier handles the other side), and a Subdivision Surface on top will do the heavy lifting on the curvature.
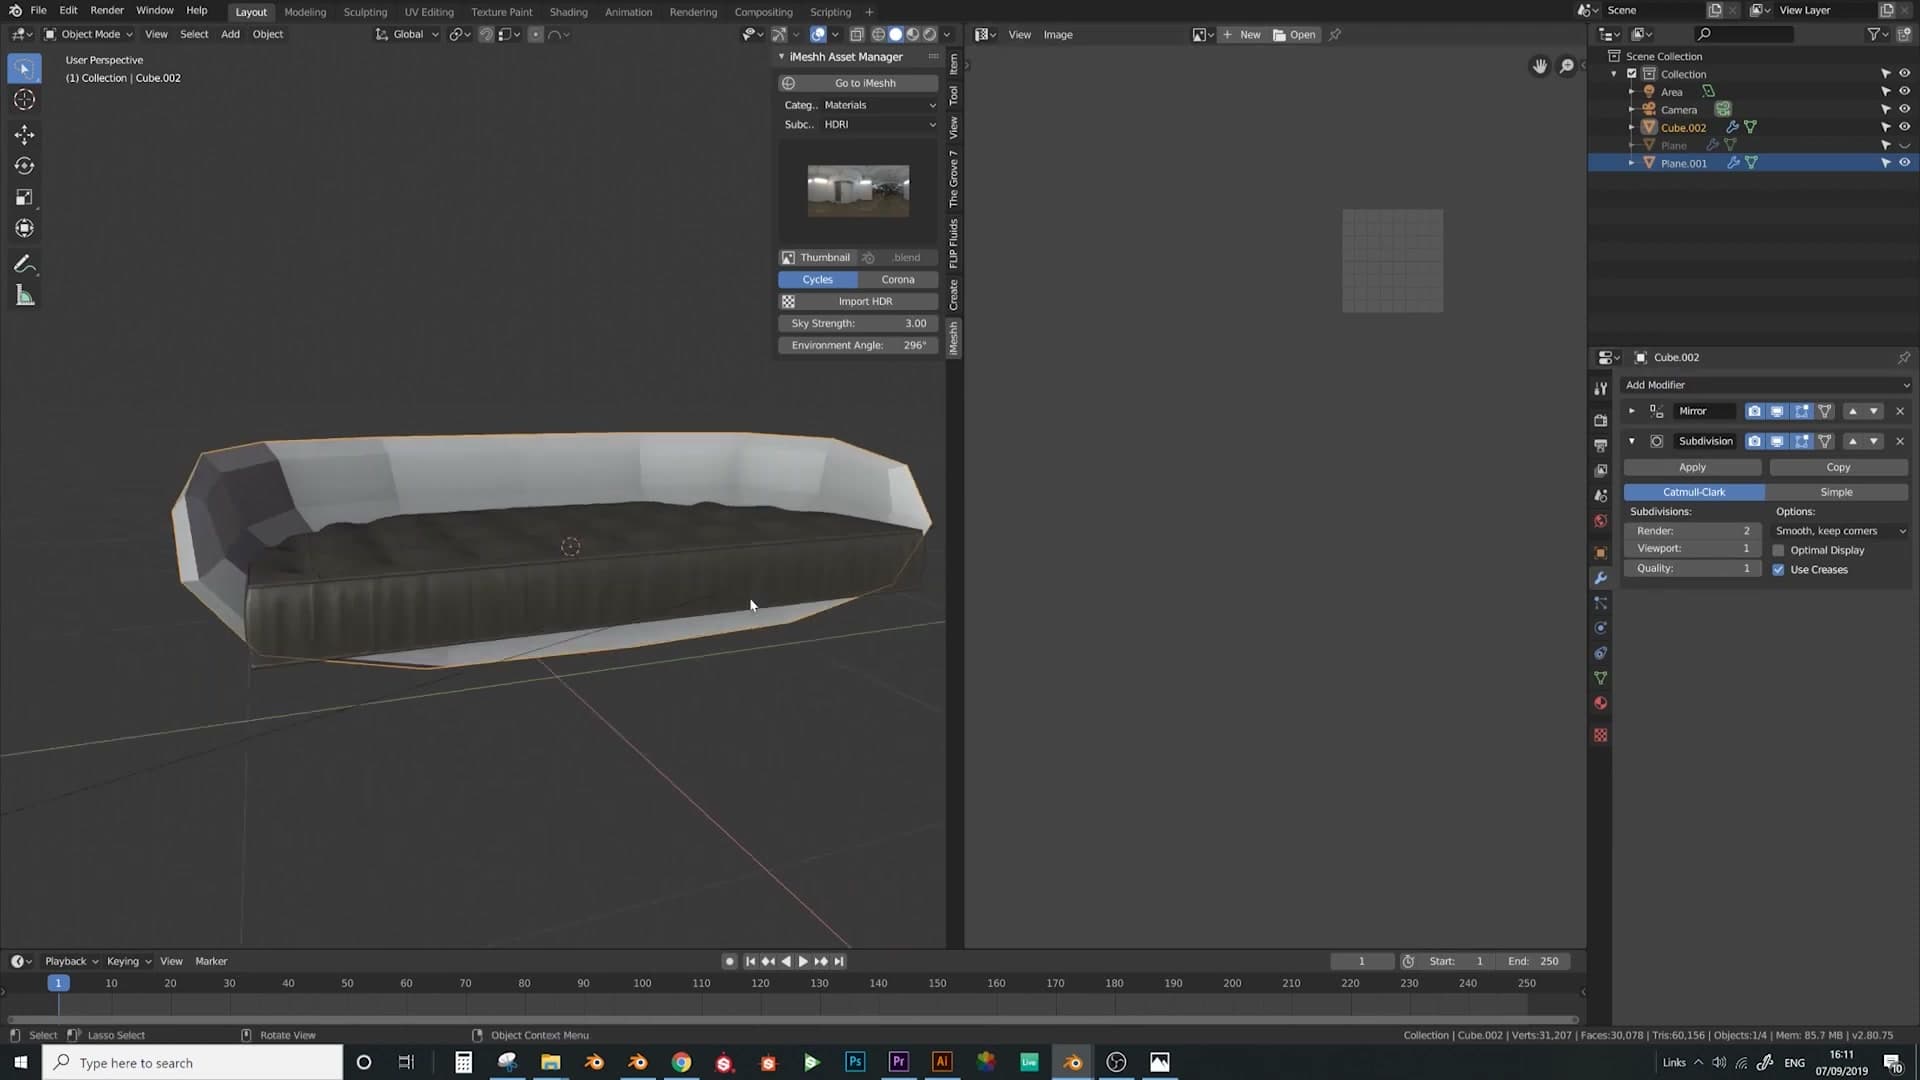
Before adding either modifier, drop a loop cut down the centre of the box on the symmetry axis with Ctrl+R, then delete the half you want mirrored. This leaves a clean open edge along the centre line for the Mirror modifier to weld back together.
Add the Mirror modifier first, then stack a Subdivision Surface modifier on top of it. The default viewport level on SubD is heavier than you need at this stage. Turn it back down so the viewport stays responsive while you start cutting in supporting loops.
Once the stack is on, the frame will collapse into a soft, pillow-like blob. That is expected. Subdivision Surface smooths everything indiscriminately, so the next step is to tell it which edges to keep sharp.
Adding supporting loop cuts to preserve edges
Subdivision Surface treats every edge the same: it rounds them all off. To hold the frame's shape, you need to add a supporting loop cut close to every edge you want to read as a hard corner.
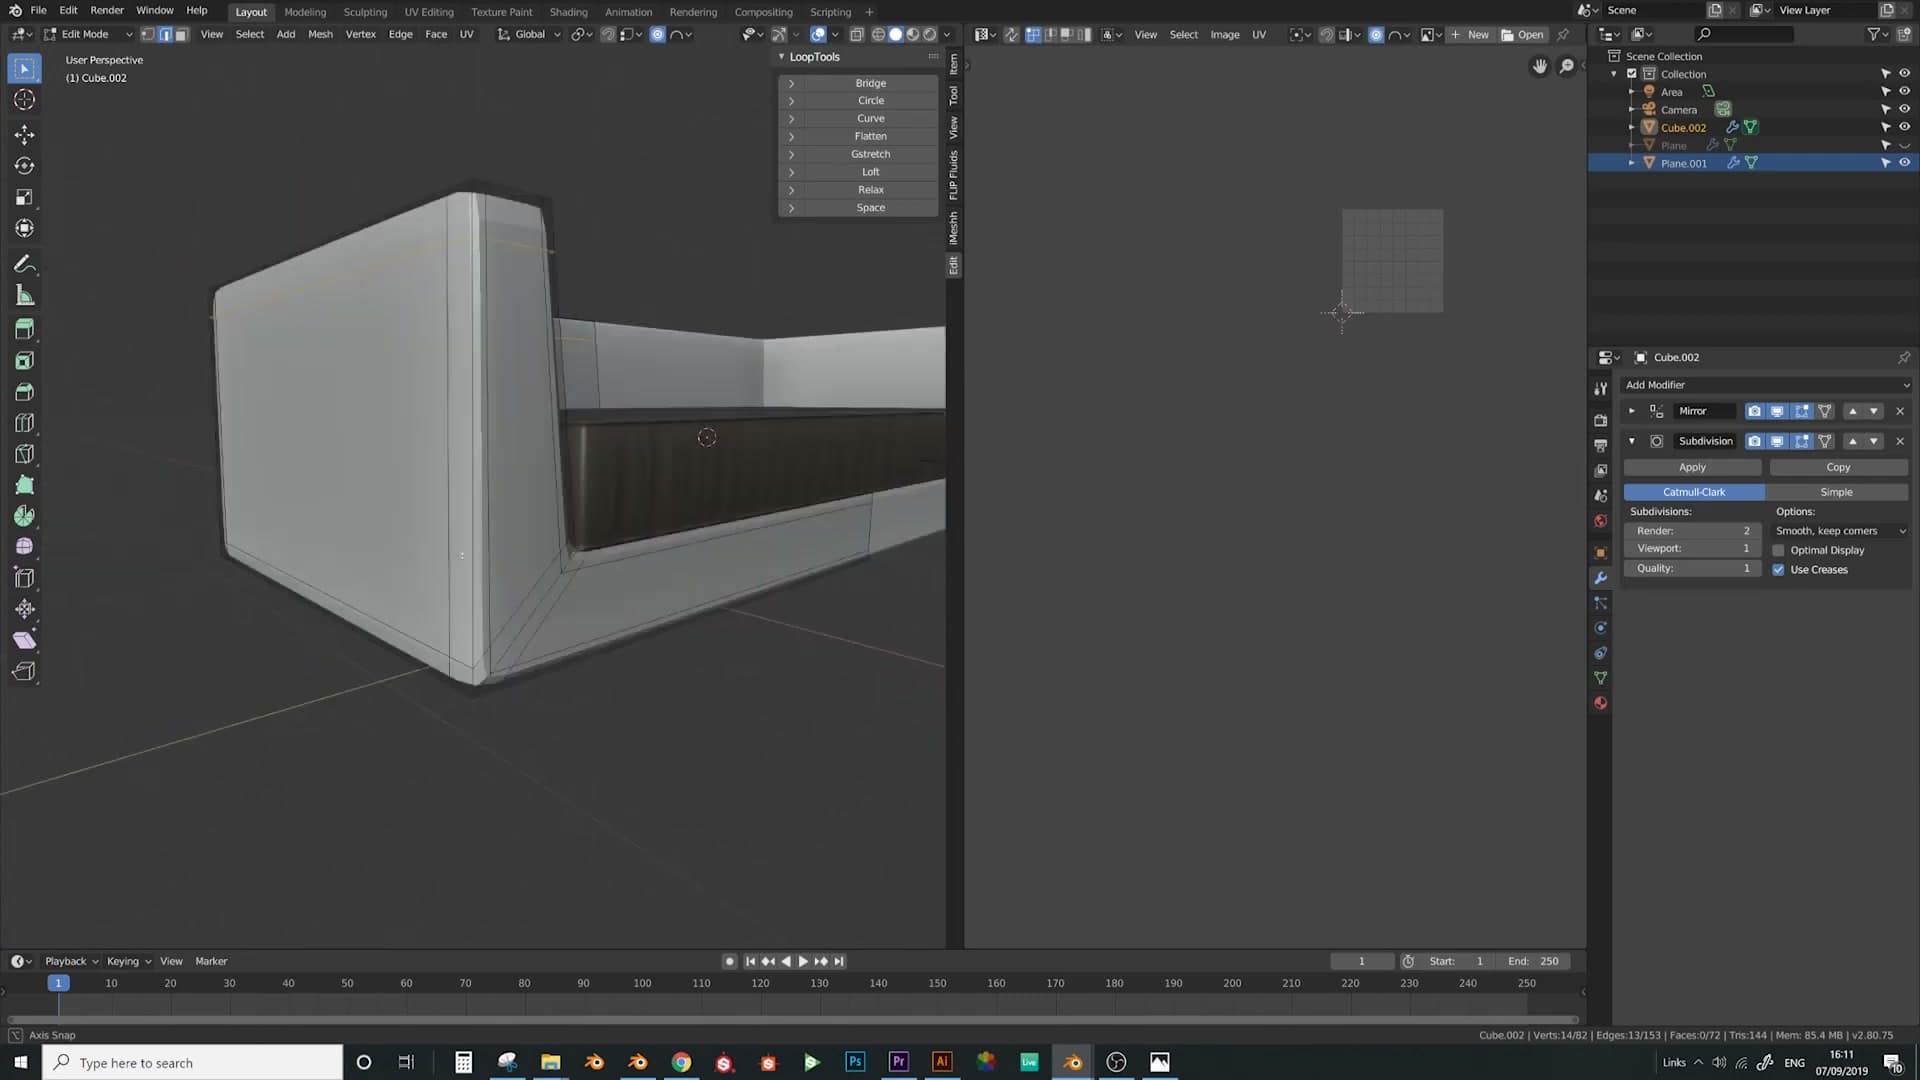
Walk around the mesh and drop a loop cut along each hard edge of the frame using Ctrl+R. The closer the supporting loop sits to the original edge, the tighter the corner stays under SubD. The aim here is to recover the boxy frame silhouette while the cushion-facing surfaces stay soft.
Inflating the upholstery face with Alt+S
With the frame edges held in place by the supporting loops, the front-facing upholstery panel still reads as flat. To give it some life, switch to Face select mode and click the large front face of the frame (the one the cushion sits against).
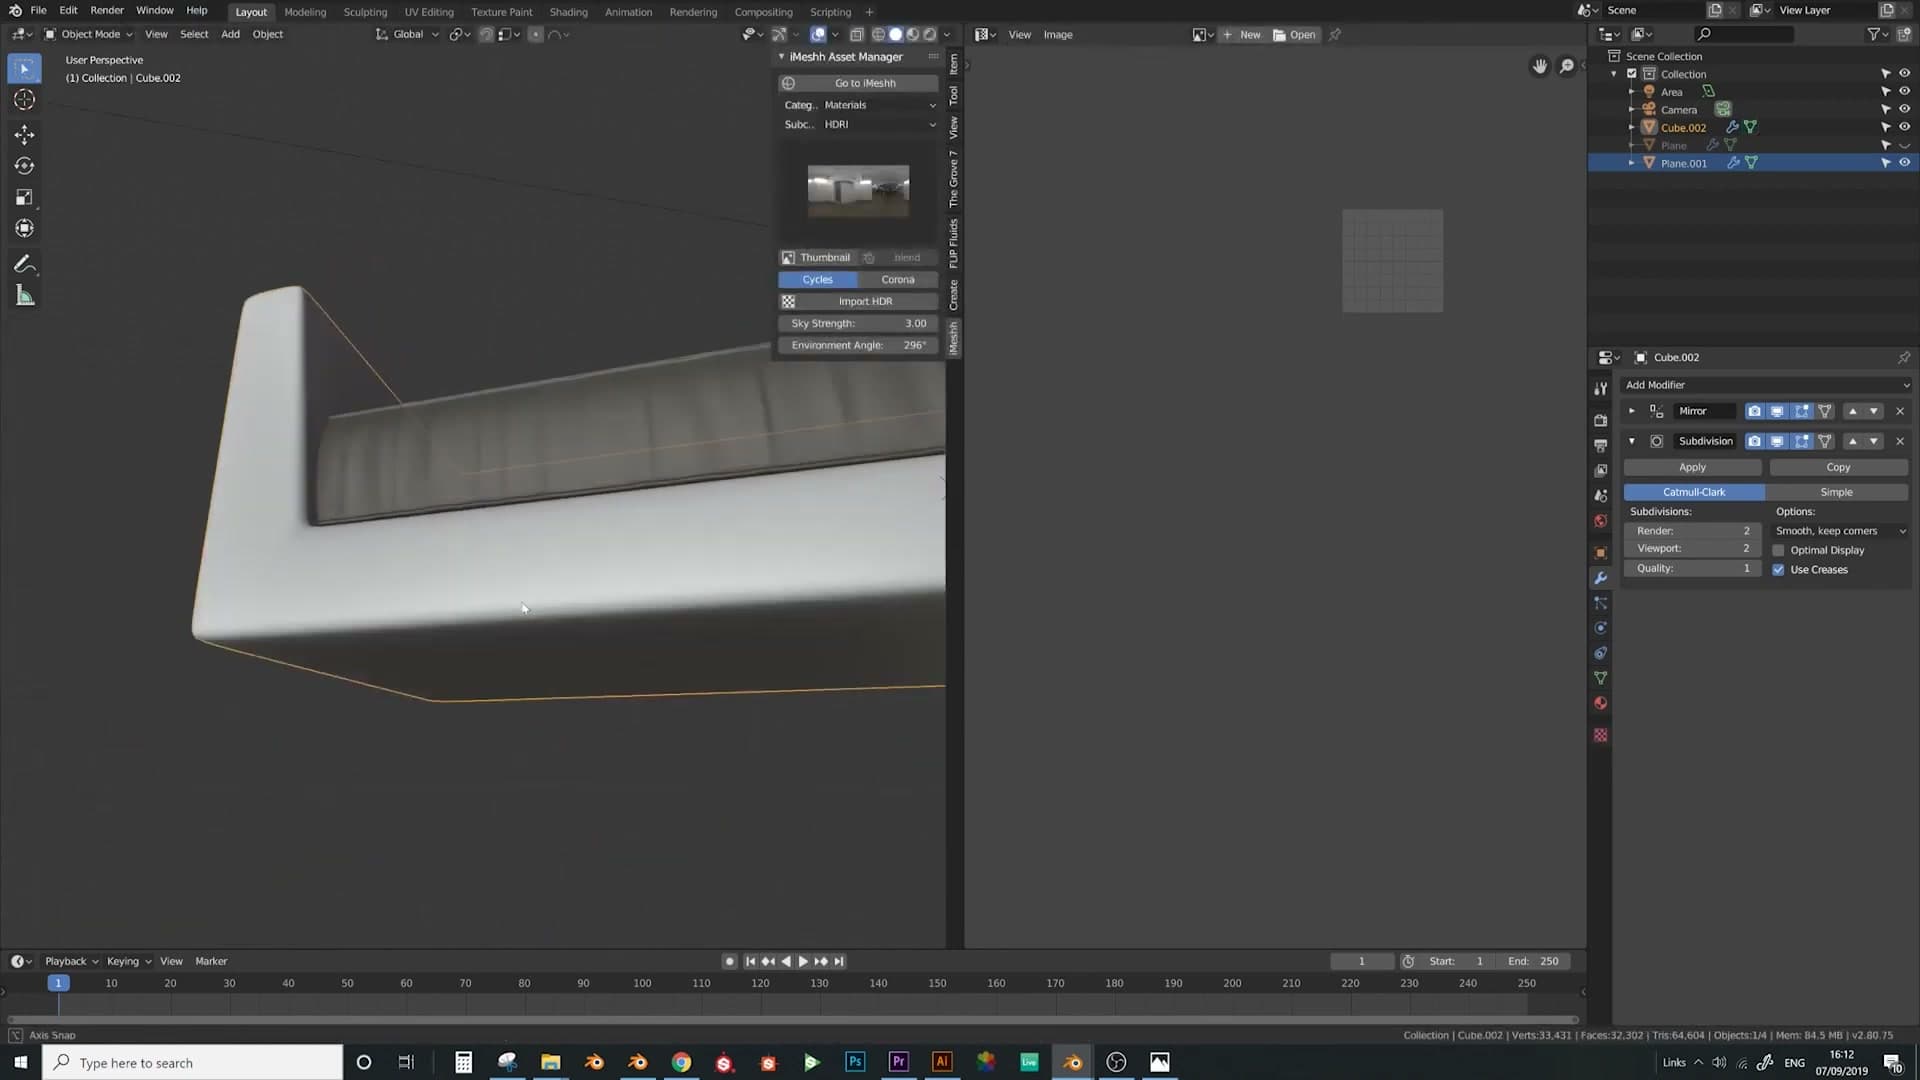
Press Alt+S to run Shrink/Fatten, which moves the selection along its own normals, and drag outward a small amount. The face inflates outward like a soft cushion bulge rather than a flat panel. Right-click and choose Shade Smooth so the rounded geometry actually renders smooth rather than faceted.
Add another supporting loop cut along the panel so you can read the shape more clearly under SubD. To refine the curve, grab the central edge and tap G twice to enter Edge Slide, then nudge it up a touch. Pull the neighbouring edge outward by eye until the surface feels soft but still tailored.
If a single edge is reading as too pronounced, select it and slide it inward to calm the bulge down. At this point the frame itself may look a little thin against the cushion. Go back into the side edges and pull them outward so the surround reads as substantial timber rather than a thin shell.
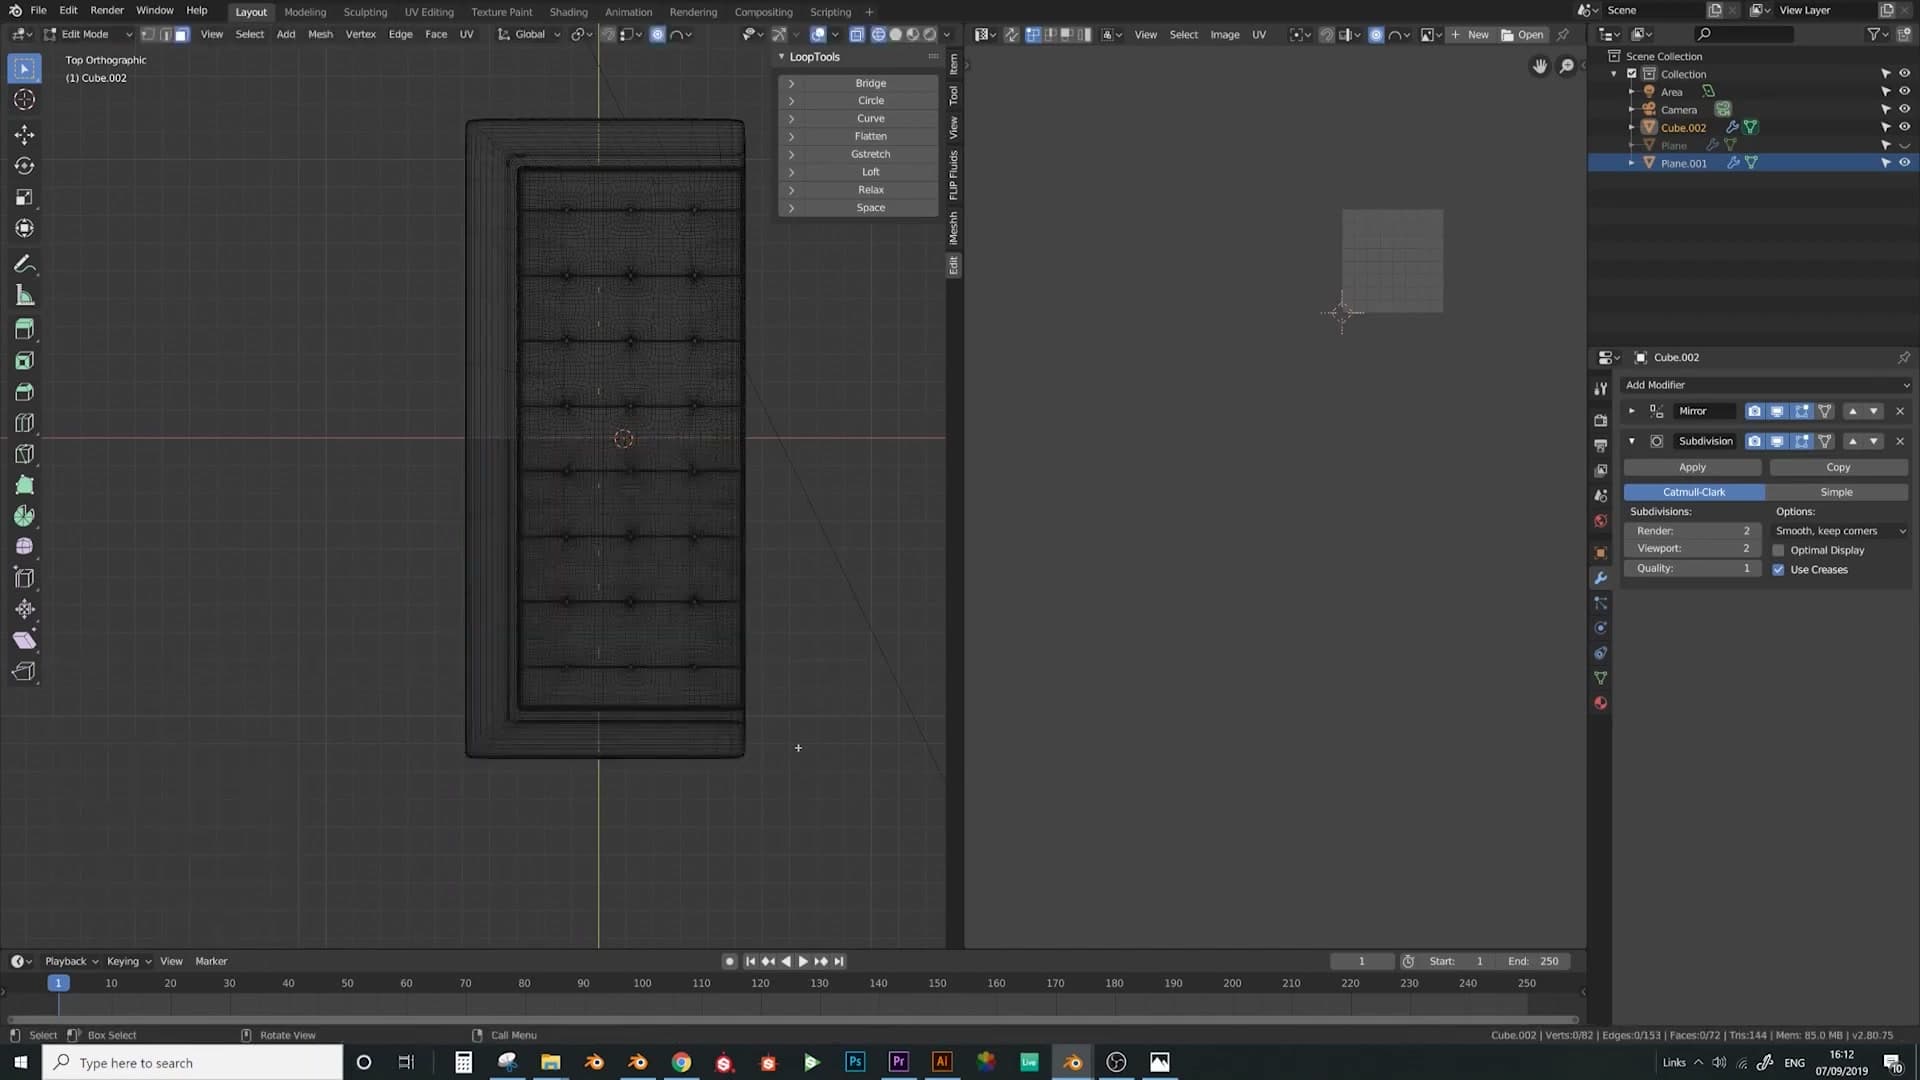
That gives you the basic shape of the frame: soft enough to read as upholstery, but with enough structure that the timber surround still feels like a piece of furniture. From here, the next pass is bevelled seams and creases to sell the fabric.
Building the piped seam with bevel and proportional editing
Use a five-segment Ctrl+B bevel, Ctrl+- to deselect outer edges, Alt+S to inflate the centre band, and proportional editing to lift the seam so it follows the cushion curvature.
Beveling the seam edge with five segments
Before you can bevel a clean seam, the edge needs a supporting loop. Press Ctrl+R and slide a fresh loop all the way around the edge where you want the seam to sit. That loop anchors the bevel and stops it from pulling on the rest of the frame.
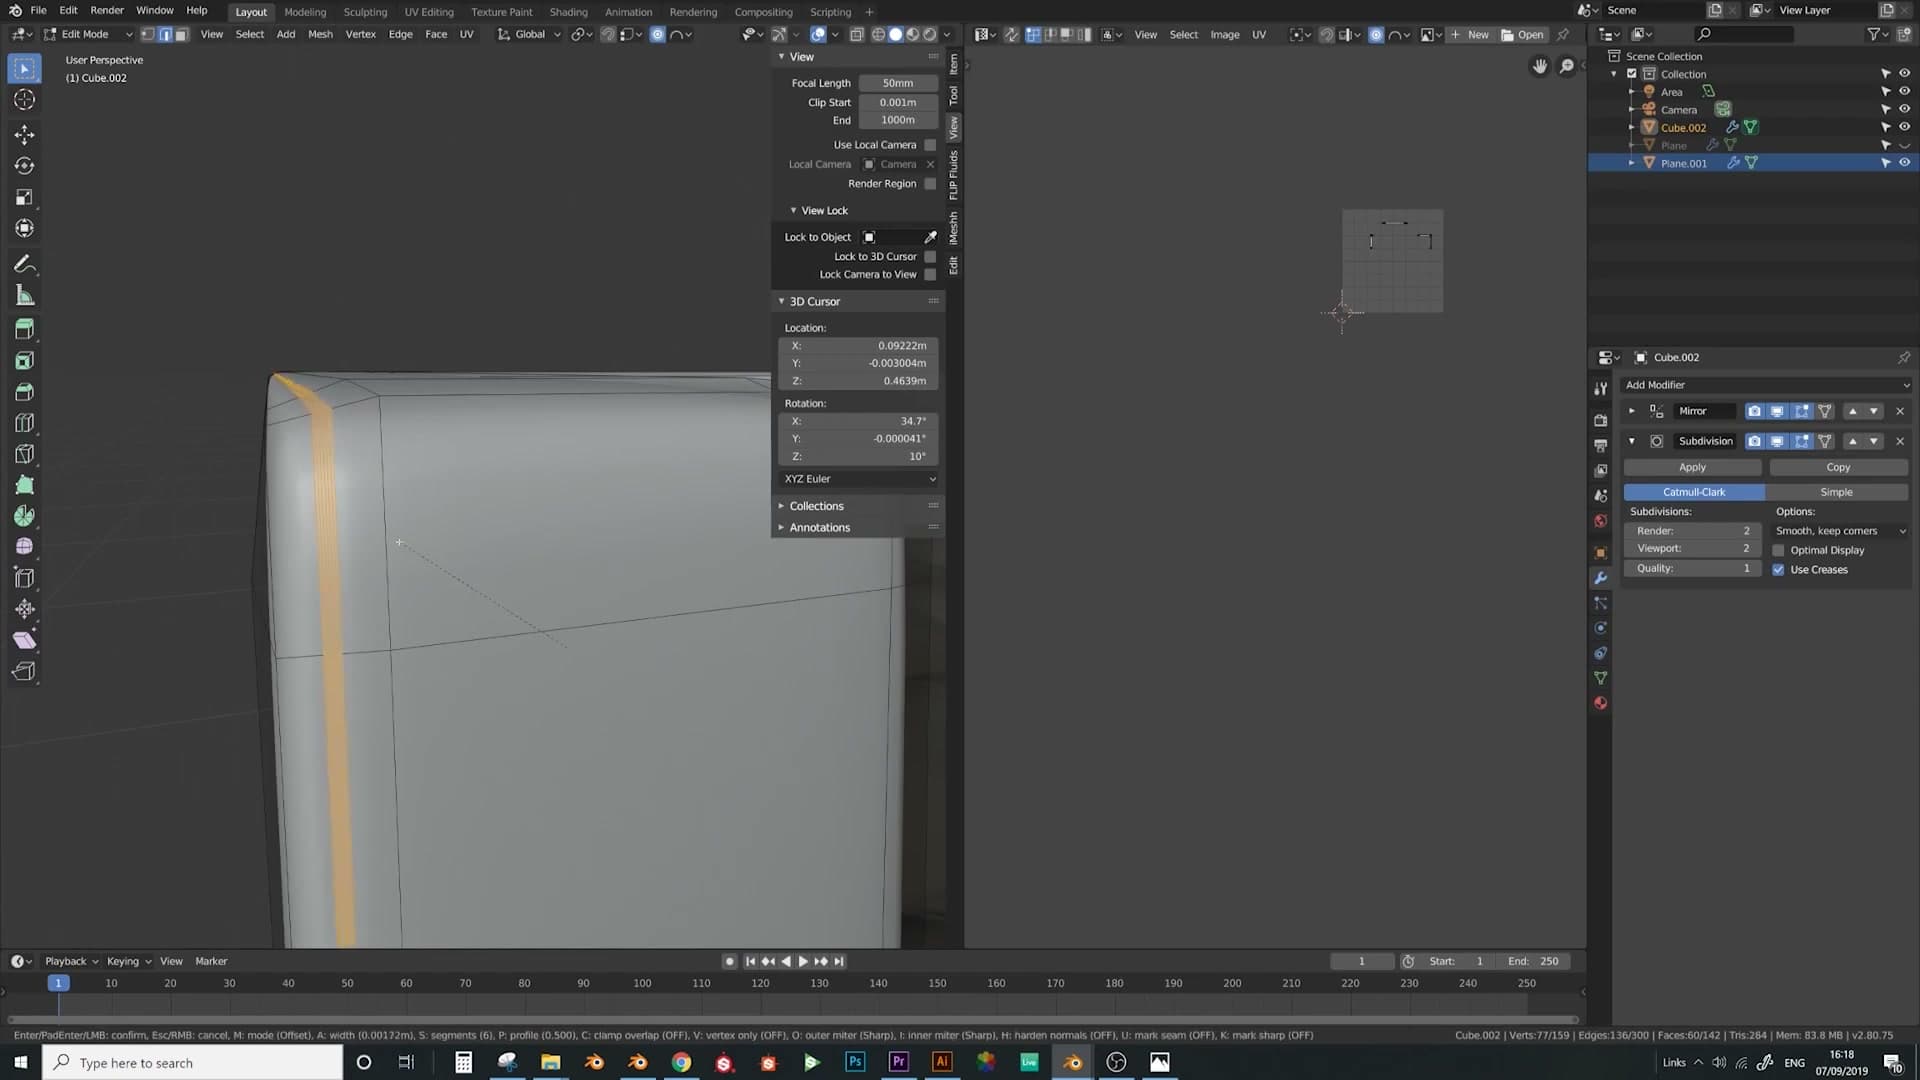
Select the seam edge and press Ctrl+B to start the bevel. Scroll the middle mouse wheel until five segments sit between the two outer edges. Count them as the segments multiply: 1, 2, 3, 4, 5. Confirm with a left click.
Now narrow the selection down to the band you want raised. Press Ctrl+Numpad − (Select Less) once to peel the outermost edges off the selection. With just the inner band selected, press Alt+S to run Shrink/Fatten and drag outwards. That pushes the band along its surface normals so it bulges into a soft, raised seam.
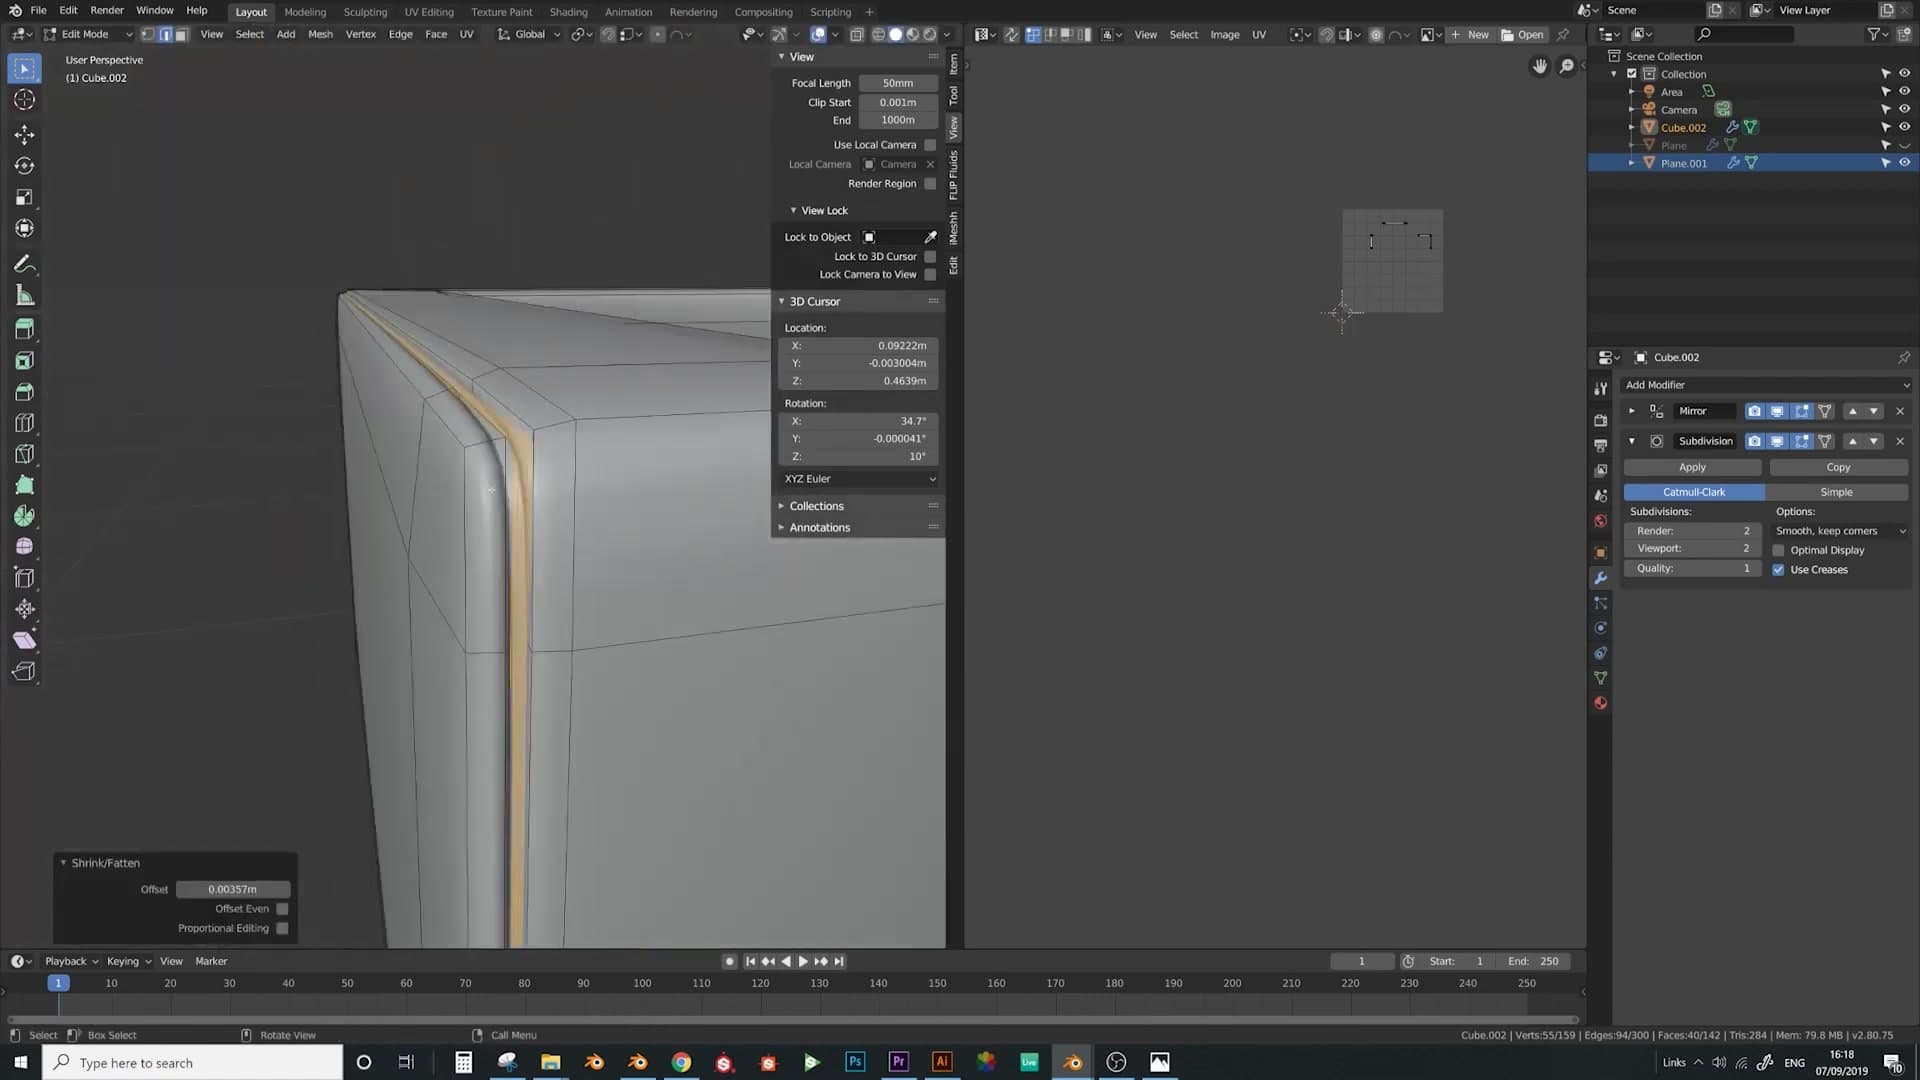
To isolate the single edge that will run down the centre of the piped seam, press Ctrl+Numpad − twice more. Each press strips another ring off the selection until only the central loop is left, ready to be lifted into the finished seam profile.
Lifting the seam with proportional editing
Turn on proportional editing so the lift you're about to make affects neighbouring loops with a smooth falloff rather than a hard pinch. Switch to wireframe shading with Shift+Z and rotate into front view. Wireframe lets you grab the seam edge without picking up faces in front, and the flat front-view profile makes it obvious how high the seam is sitting against the cushion silhouette.
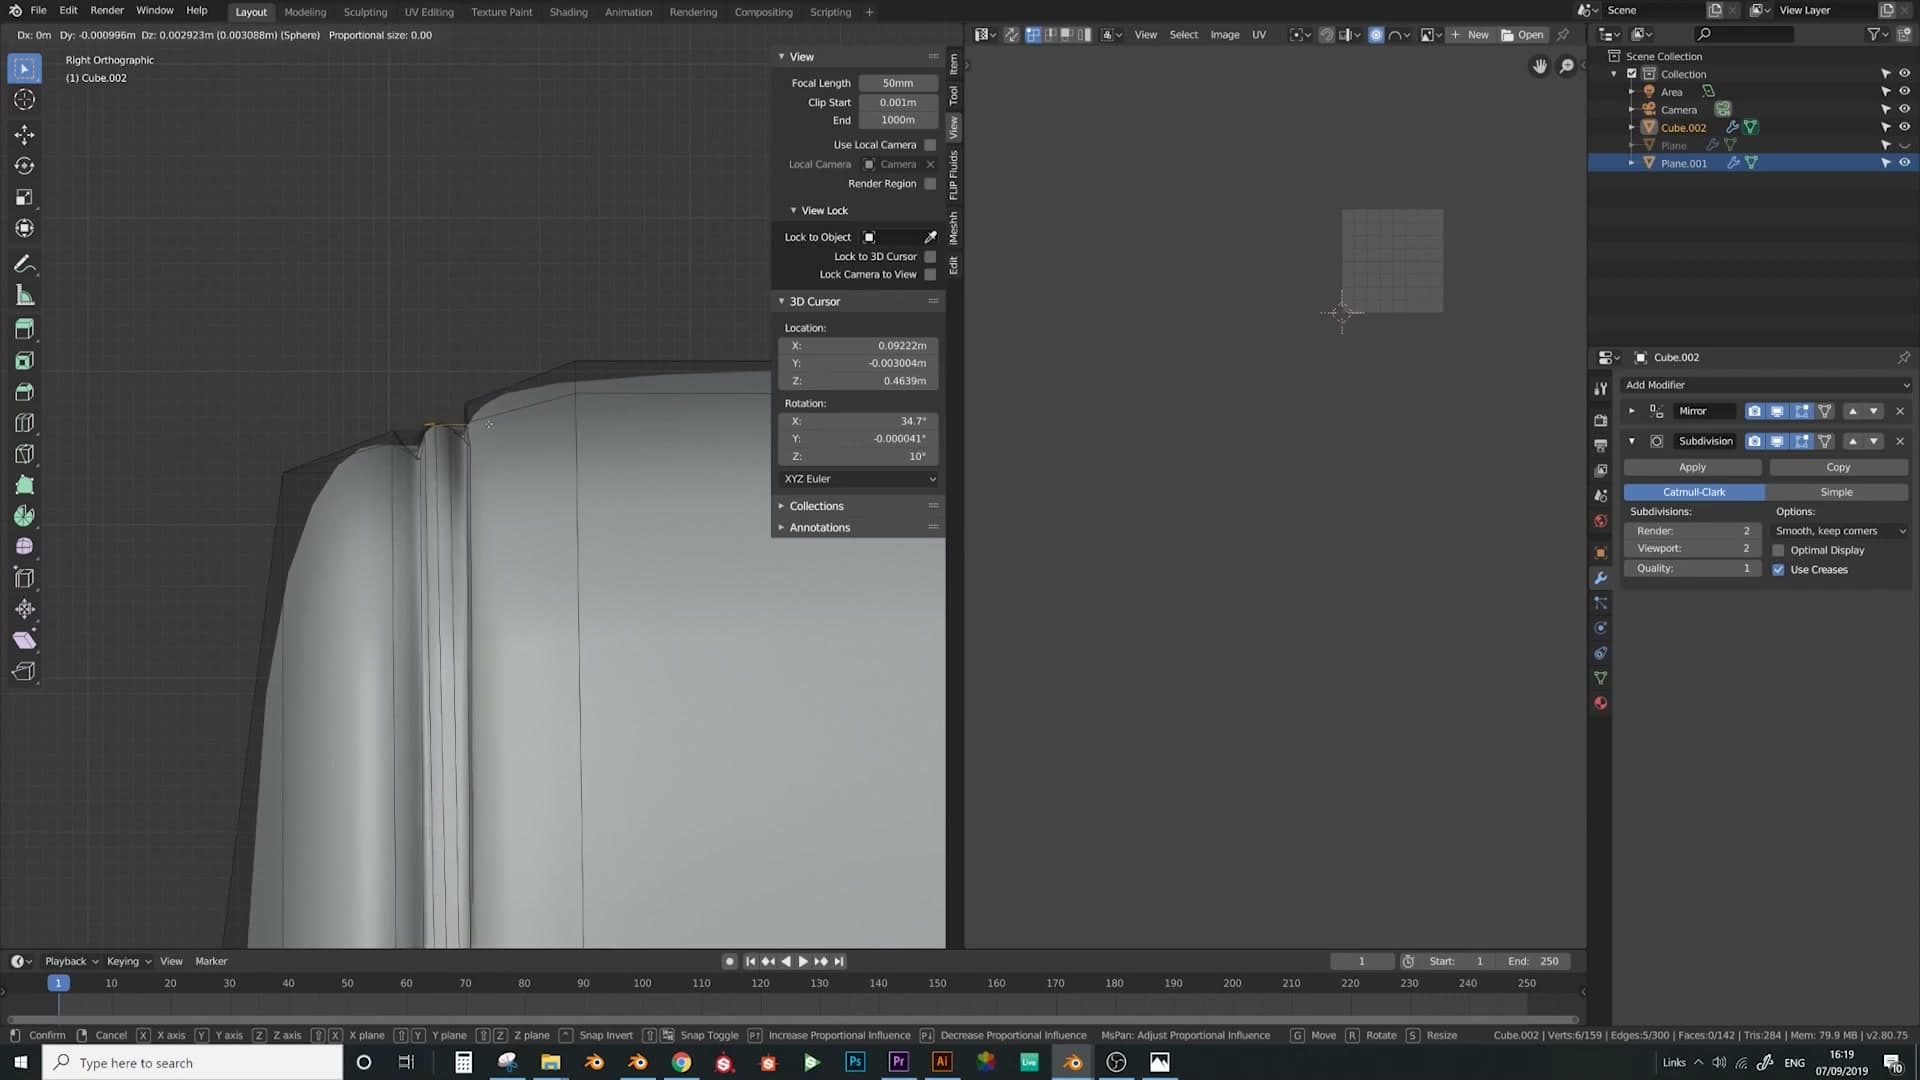
Grab the central seam edge with G and start moving it upwards. As you drag, scroll the middle mouse wheel to widen or tighten the proportional falloff radius. Too narrow and the seam lifts like a sharp ridge; too wide and the whole frame deforms. Adjust until the seam rises smoothly and follows the curve of the cushion underneath.
Because the frame is mirrored, the same lift should have applied to the rear seam automatically. Spin the view round to the back and confirm it matches before moving on.
Repeating the seam workflow along the front and sides
Apply the same Ctrl+B, Ctrl+-, Alt+S sequence to the front edge, then refine the seam thickness by scaling the centre band so the piping reads tight and consistent.
Beveling the front edge seam
With the side edge done, move round to the front of the frame and run through the same bevel-and-inflate sequence. Grab the centre edge loop of the freshly bevelled band and deselect the top edge so only the seam ring is in play. The same Ctrl+− (Select Less) trick from the previous module gets you there in one tap.
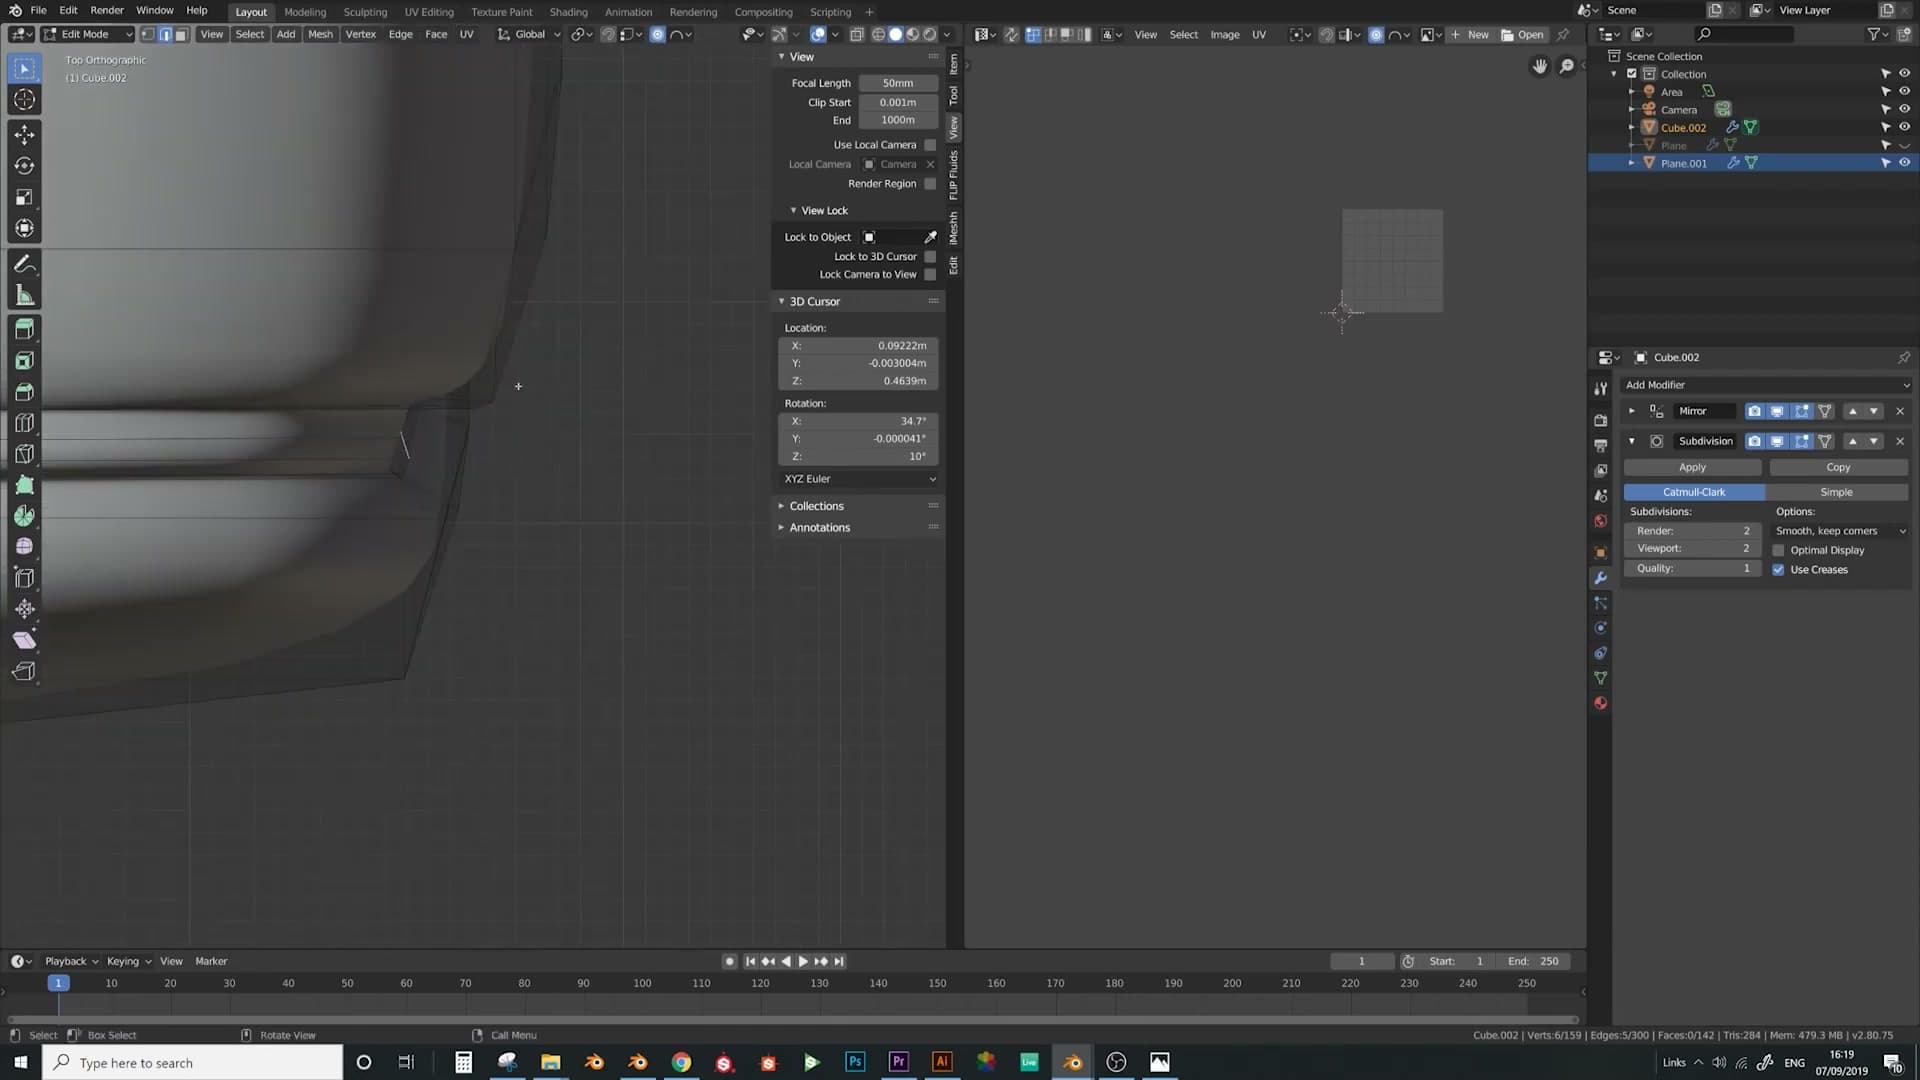
Switch to top view so you can see exactly where the seam sits relative to the cushion. Pull the bevelled band outward along the cushion line until the seam lands just over the join rather than sitting behind it. A quick orbit confirms the piping reads as a clean ridge running along the front edge.
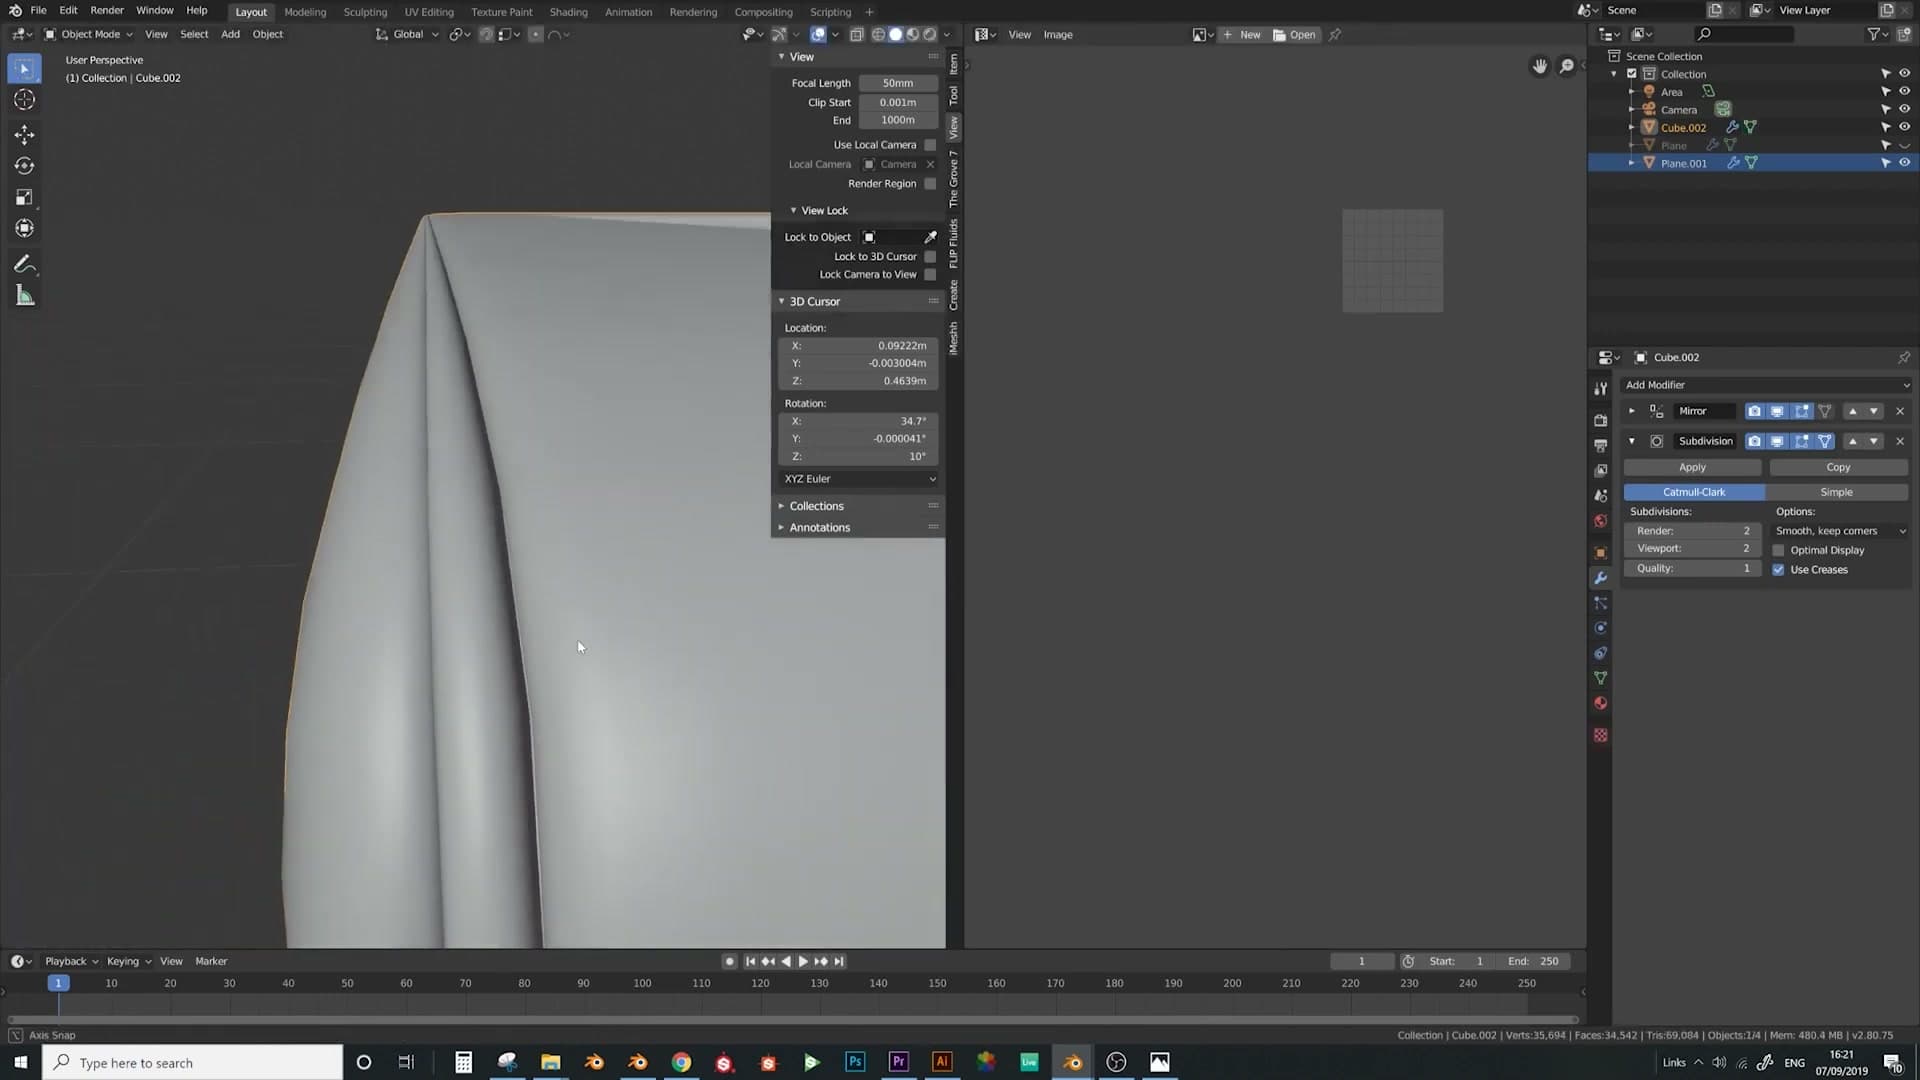
To beef up the overlap so the piping reads as a deliberate seam rather than a soft crease, grab the centre of the bevel band and press Alt+S to inflate it along the normals. The band thickens, the seam tightens, and the overlap with the cushion sits exactly where you want it.
Repeating the bevel seam on the side edge
Now repeat the workflow on the side edge. Grab the edge loop you want to bevel. If the subdivision preview is hiding the underlying geometry, toggle the modifier display off temporarily so you can see exactly which edge you are working on.
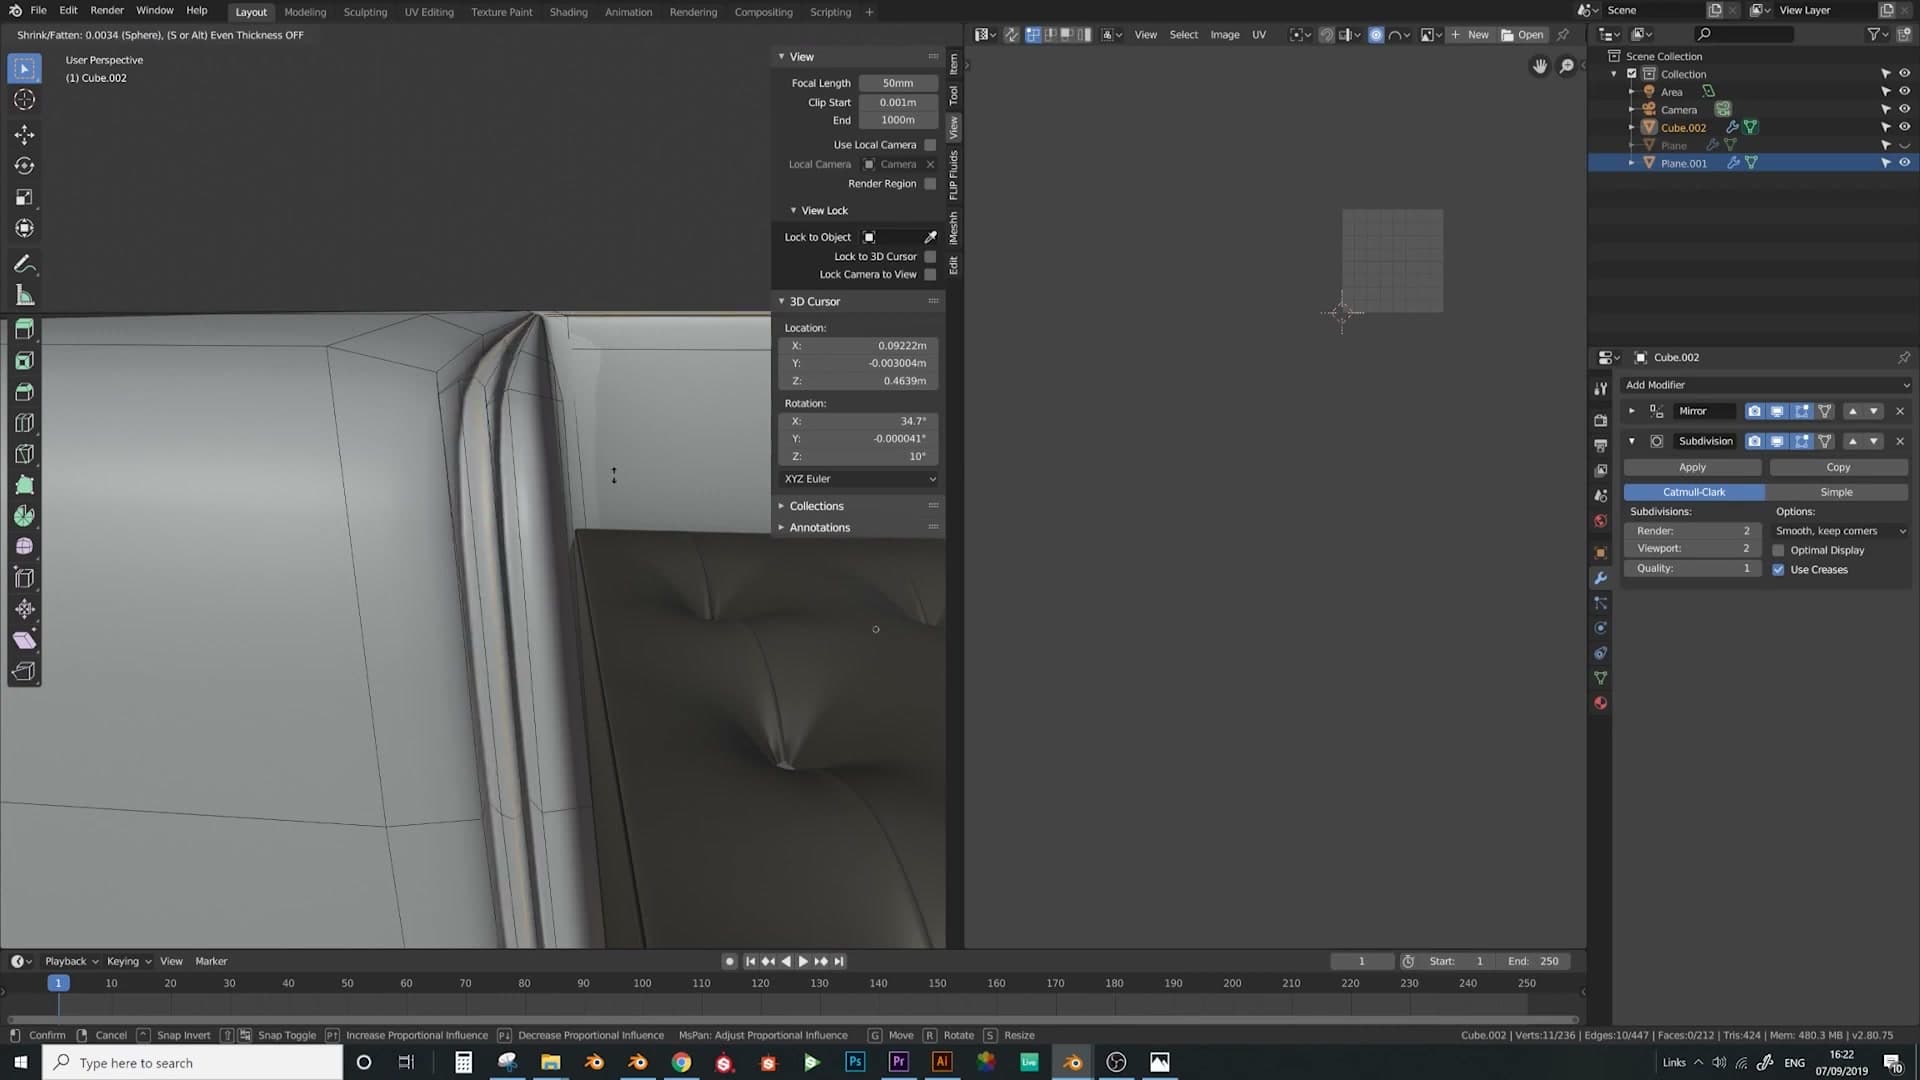
Run the full chord: Ctrl+B to bevel, scroll up to five segments, then Ctrl+− on the numpad to drop the outer edges from the selection. Press Alt+S to inflate the remaining band, turn proportional editing off if it kicked in, and use Ctrl+− a couple more times to whittle the selection down to just the single centre loop.
With only the centre loop selected, scale it outward to push the piping proud of the rest of the seam, then press Alt+S one more time and scroll the mouse wheel to widen the falloff so the inflation grabs a slightly broader band of geometry. The seam should now read cleanly from any angle.
Adding softer secondary seams along the frame
With the main piped seams done, add the lighter secondary seams that run along the frame. Pick the next edge, press Ctrl+B to bevel, and then Alt+S to give it a hint of thickness. You're after a subtle ridge rather than a full pipe, so resist the urge to crank the segment count.
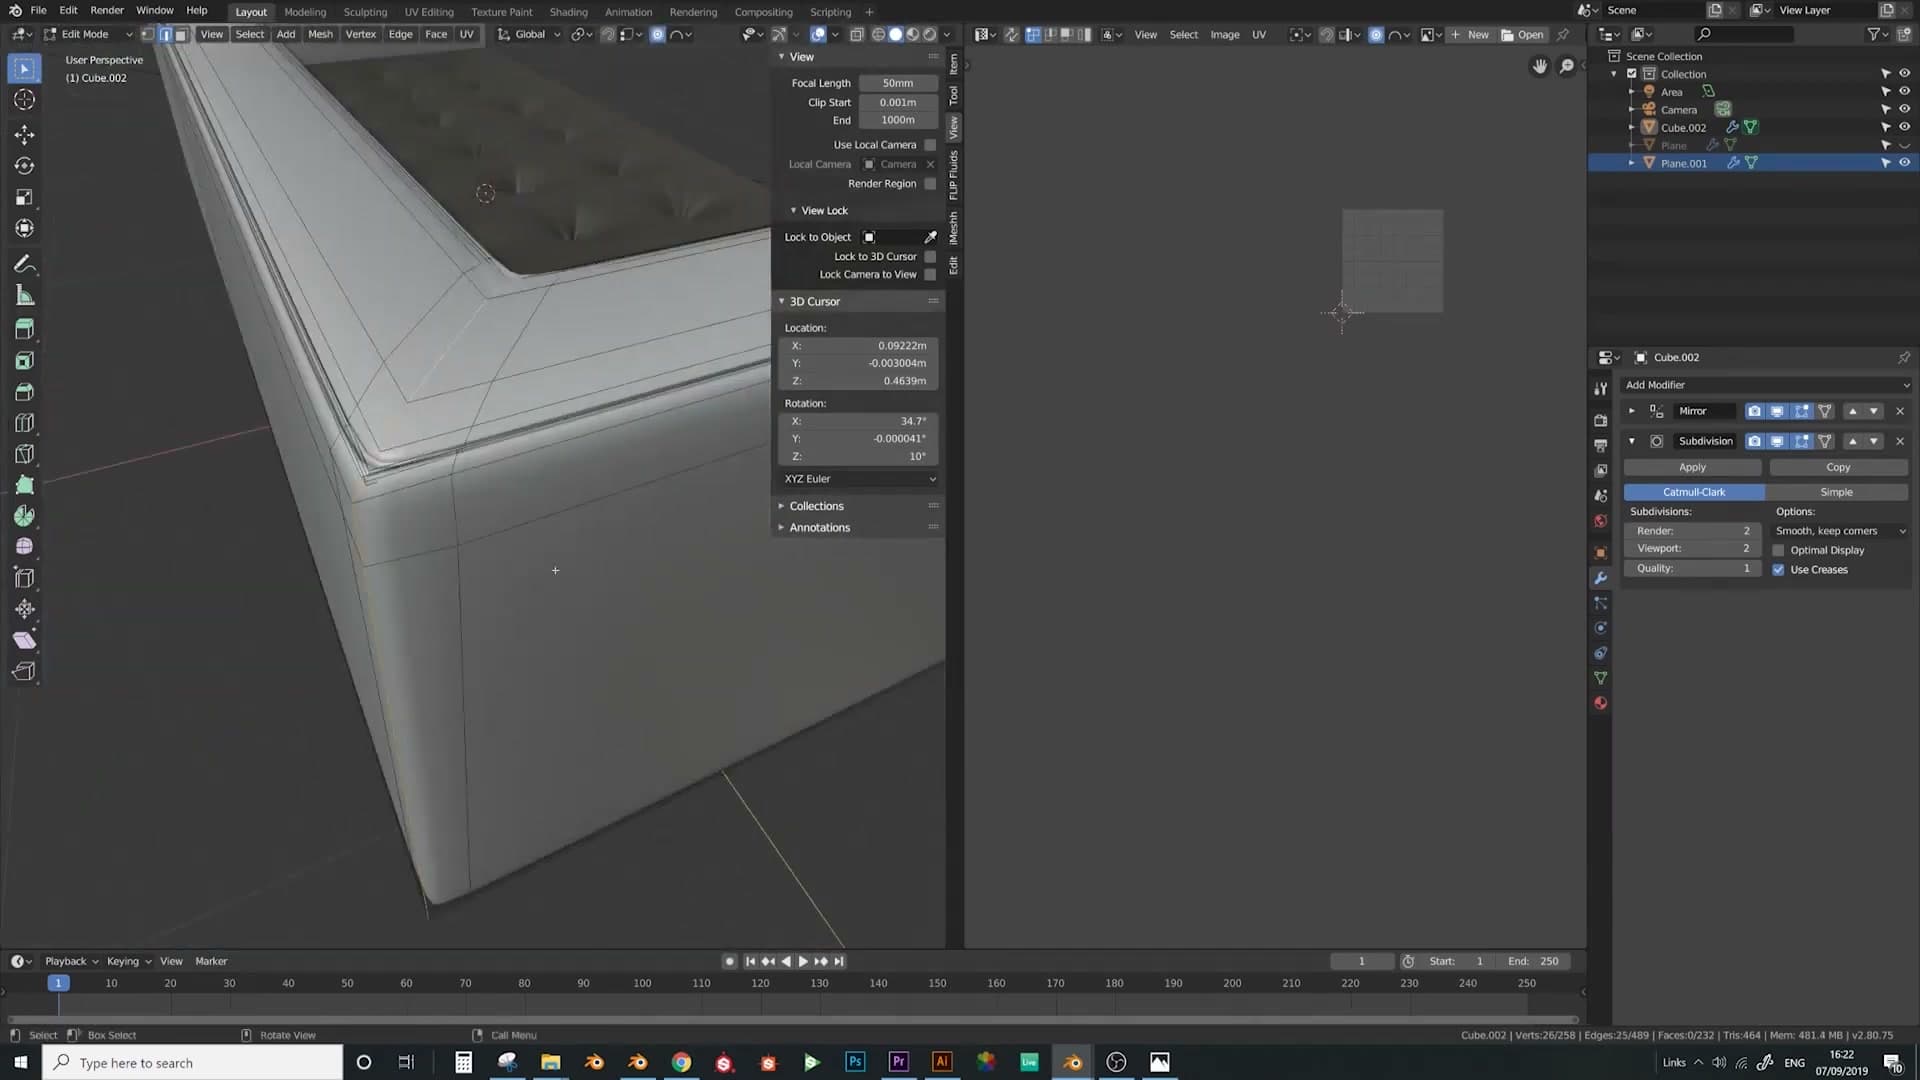
There's another seam that runs along the top of the frame, but the corner is sitting a little too sharp to bevel directly. Deselect the outer edges of the loop and pull the centre edges inward first to round the corner off slightly. That gives the bevel something gentler to work with and stops the seam looking like a hard crease.
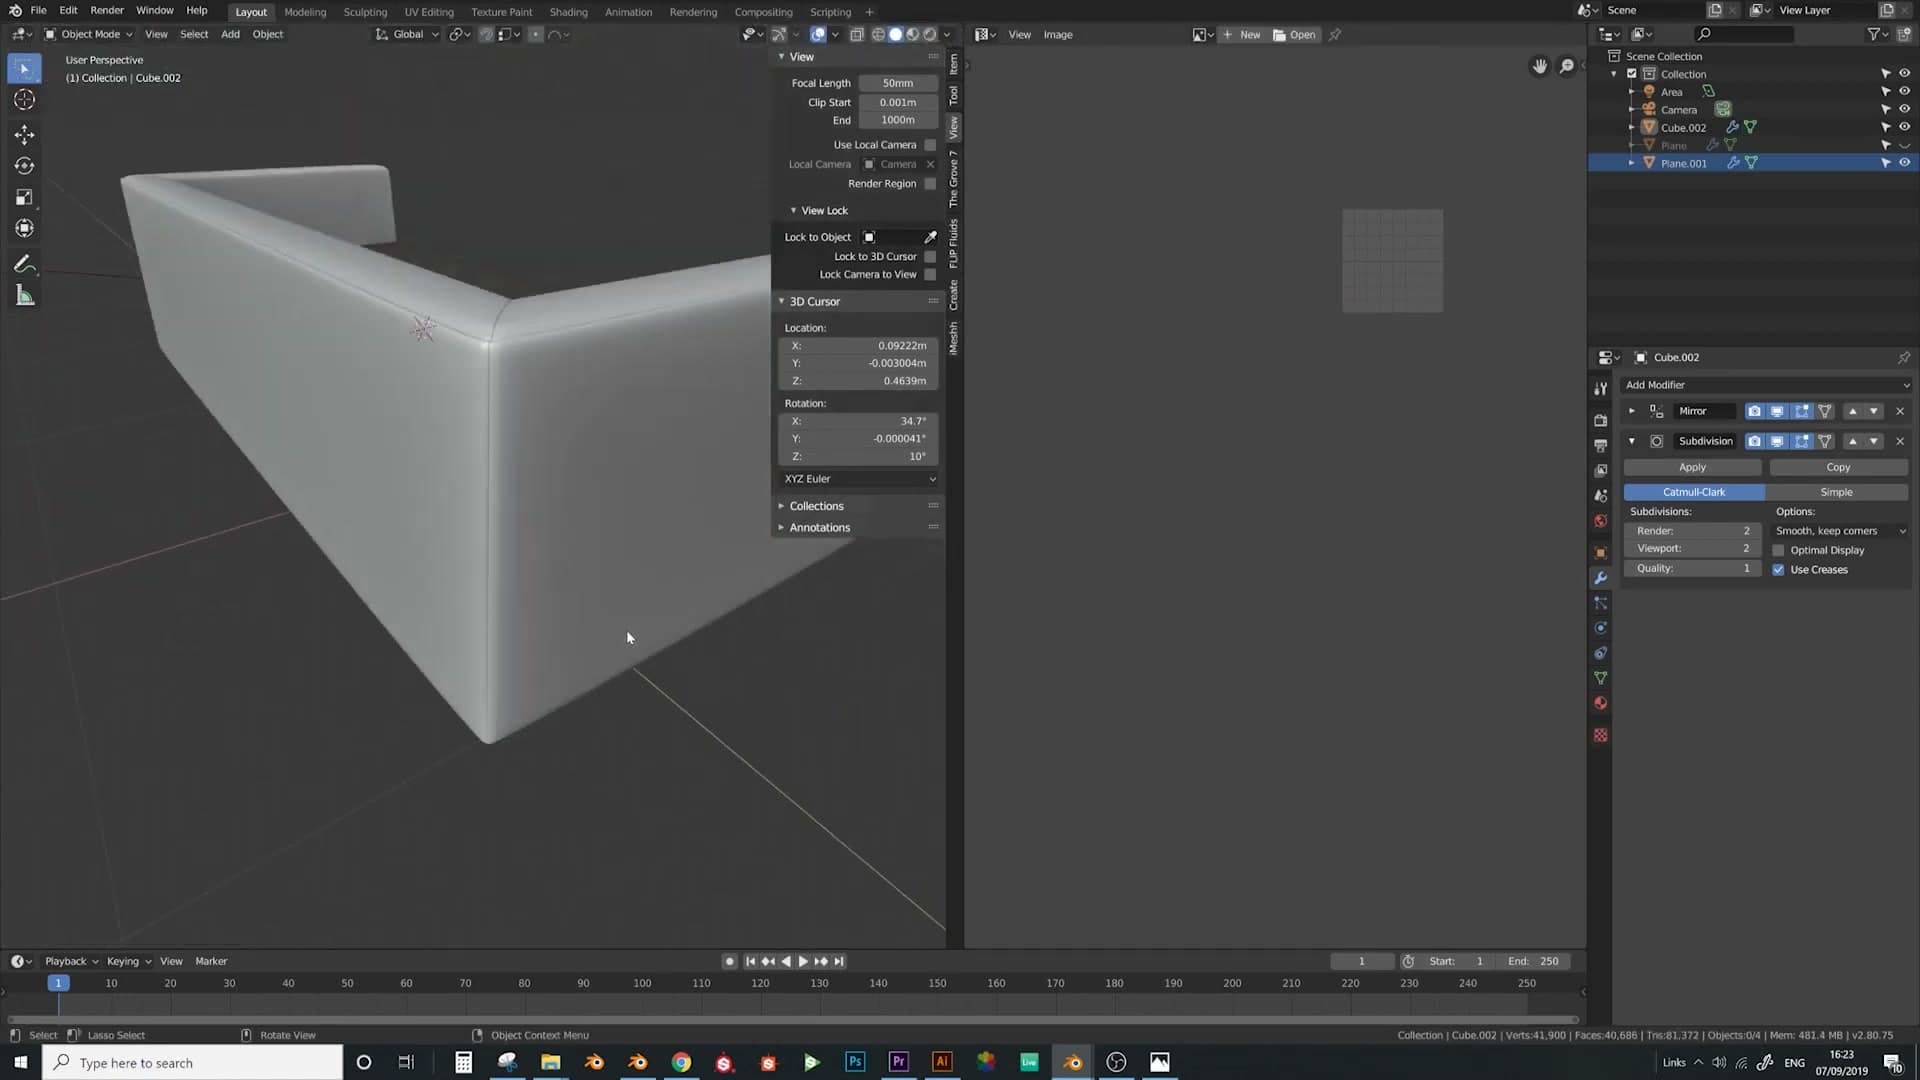
Now press Ctrl+B and aim for around three segments rather than the five you used on the main seams. You don't want this one reading as a full piped edge, just a soft stitched line. Bring the band in to taste, tap Ctrl+− to drop the outer edges, then pull the inner edges in even further so the seam reads as a quiet detail rather than a hero feature.
Marking seams and unwrapping the frame for fabric
Mark the modelled seam loops as UV seams, unwrap the frame so the UV islands read as flat fabric panels, and copy the upholstery material across using Ctrl+L.
Marking seams and unwrapping the frame
With the seam bevels modelled, the next step is to mark them as UV seams so the upholstery unwraps as flat fabric panels rather than a stretched-on skin.
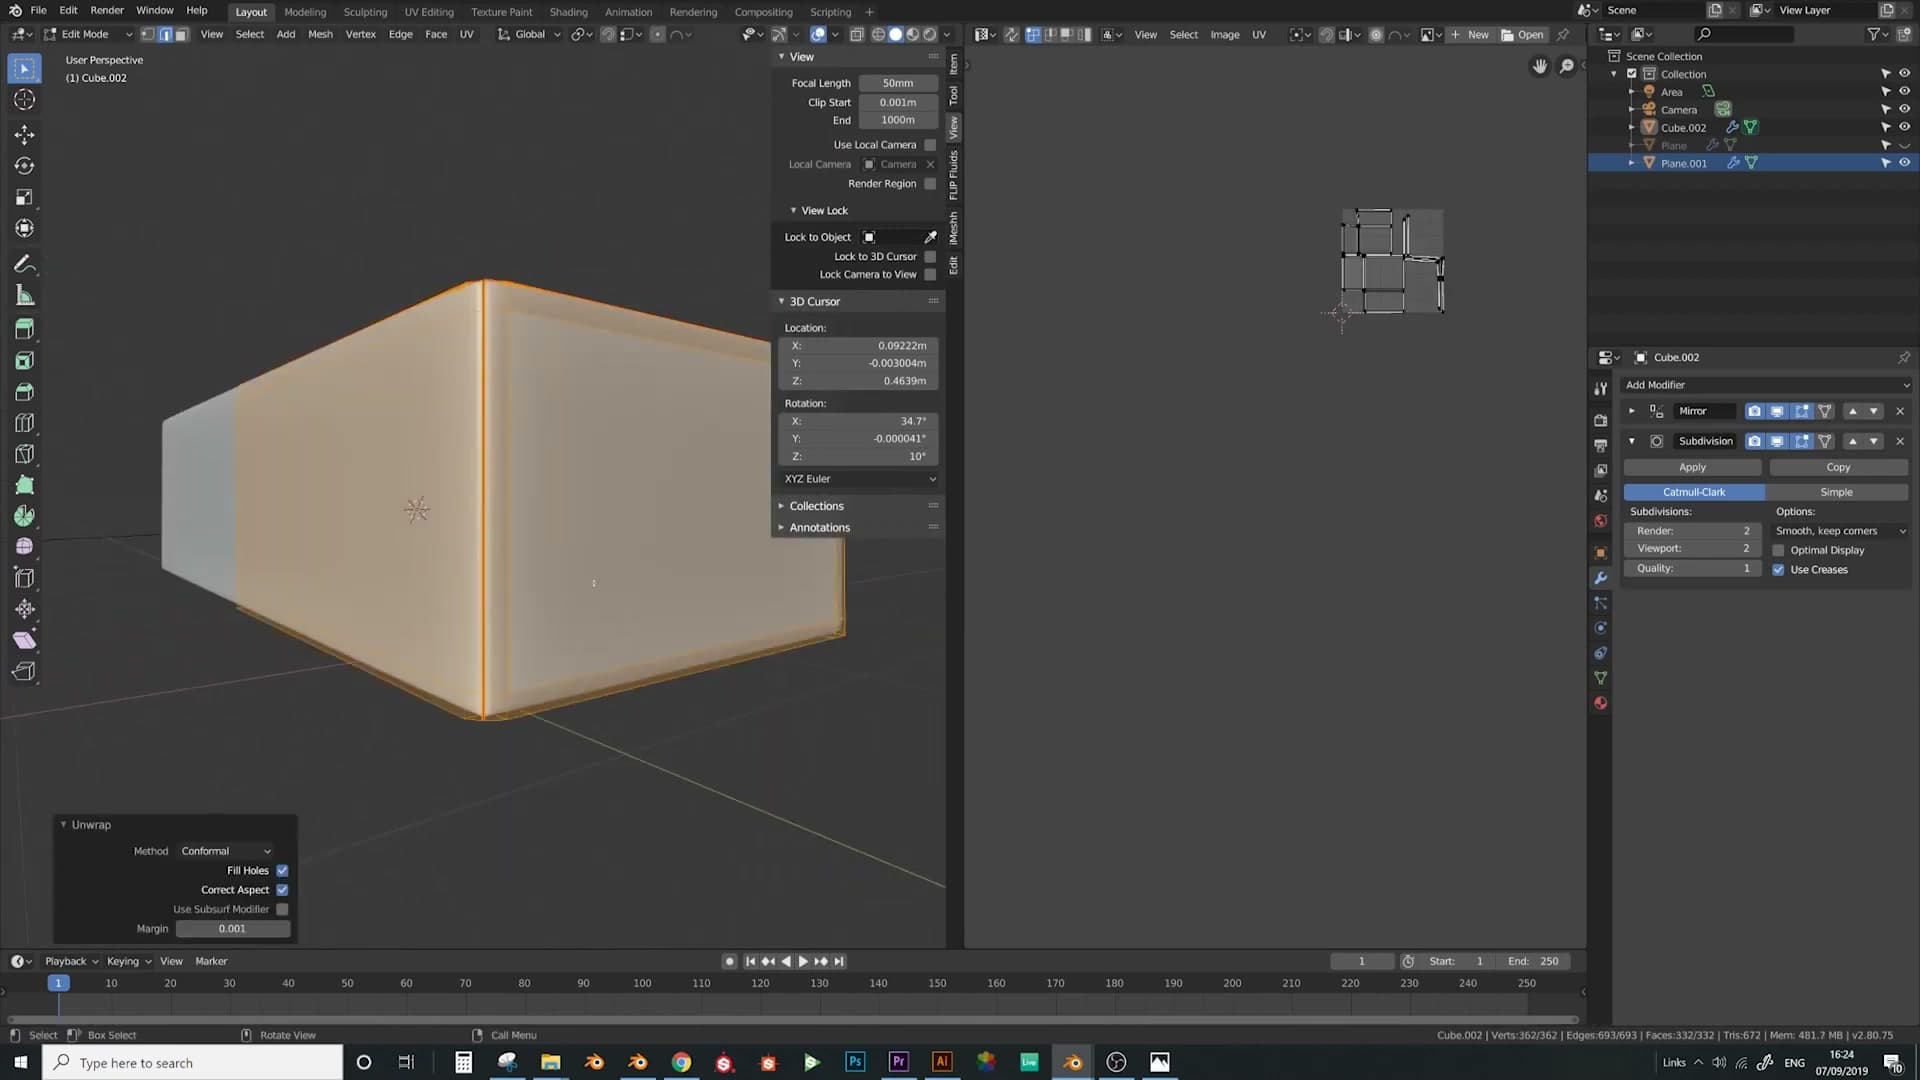
Select the inner edge ring of each bevelled seam, then run Mesh → Edges → Mark Seam (or Ctrl+E → Mark Seam). Press A to select the whole mesh and hit U → Unwrap to lay the islands flat.
If one of the rings doesn't register the first time (the bevelled topology is easy to under-select), grab that whole edge again, mark it as a seam, and re-unwrap. The islands should resolve into clean, squared-off panels that read as fabric stitched along each seam line.
Linking the material and fixing a stray edge
To check that the upholstery material flows onto the new frame, link it across from the cushion. Select both objects, click the cushion last so it becomes the active object, then press Ctrl+L → Materials.
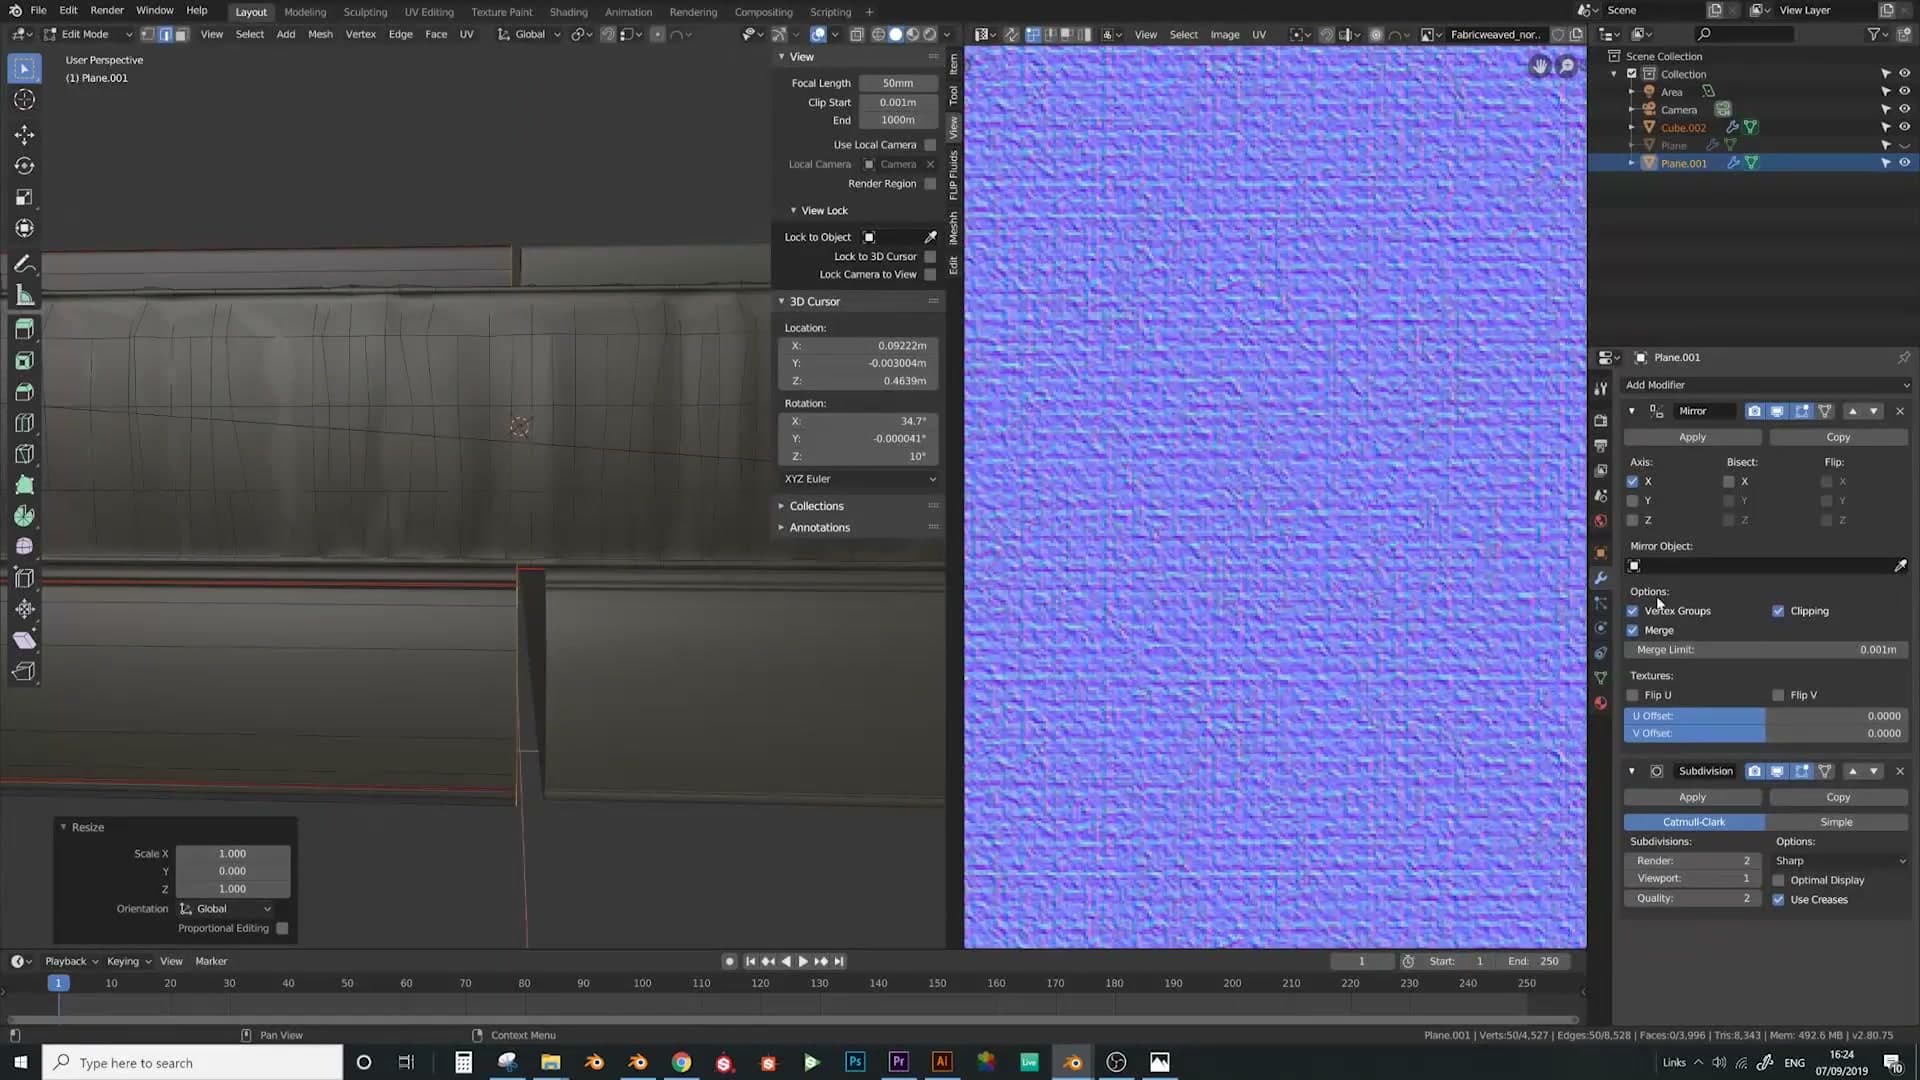
Drop in for a closer look and the frame should now read as fabric, with the bevelled seam catching light the same way the cushion does.
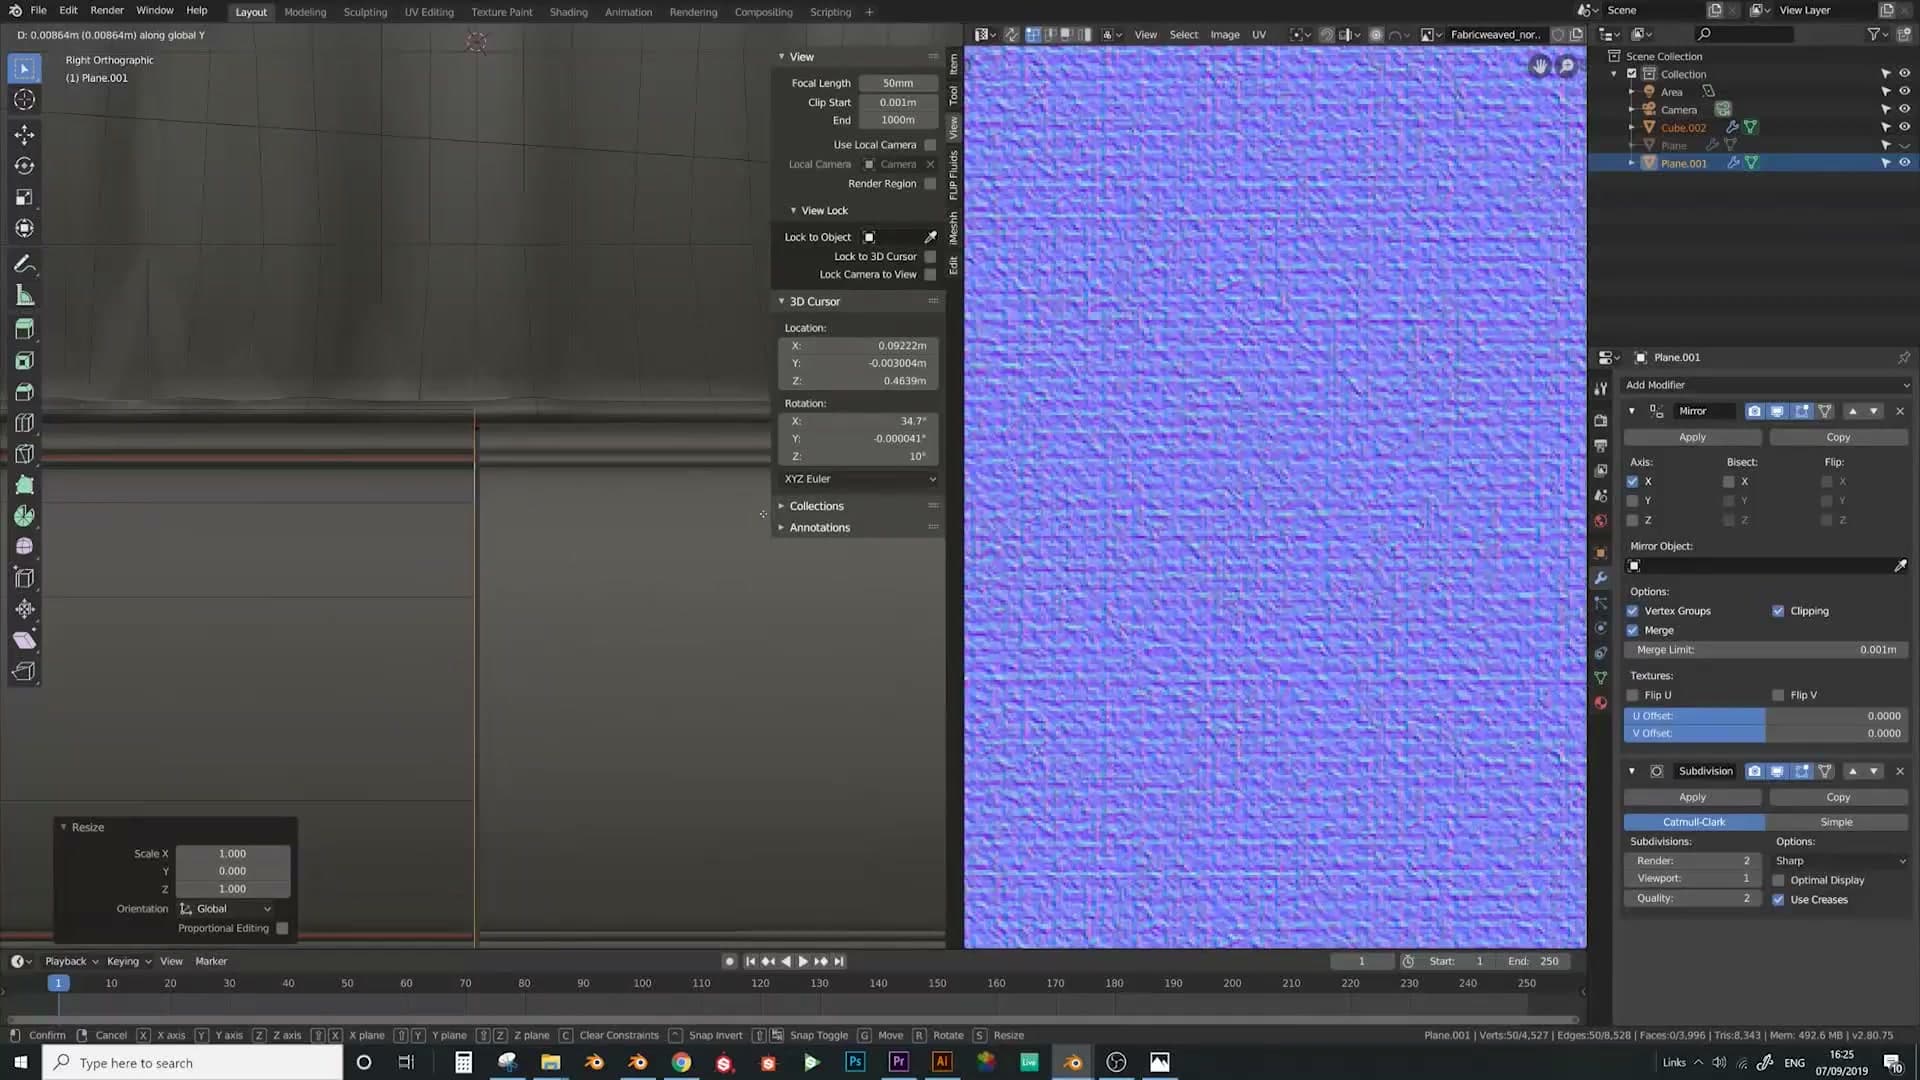
If a stray edge has drifted off the mirror plane and broken the seam at the centre line, select that whole edge and scale it on the Y axis to bring it back toward the axis.
Enable Clipping on the Mirror modifier so vertices crossing the mirror axis snap to it. If clipping alone doesn't close the gap, nudge the verts in by hand until they merge against the axis. At that point the seam tidies up and the upholstery reads cleanly across the join.
Adding fabric creases with loop cuts and pull-outs
Add many vertical loop cuts down each panel, then pull alternating edges outward to introduce the soft creasing that reads as real upholstery fabric rather than a rigid SubD blob.
Cutting vertical crease loops on the side panels
Move to the side panel of the frame and start dropping in vertical loop cuts with Ctrl+R. The aim is a column of straight edges running down the panel. These are the loops you'll pull on shortly to introduce fabric creases.
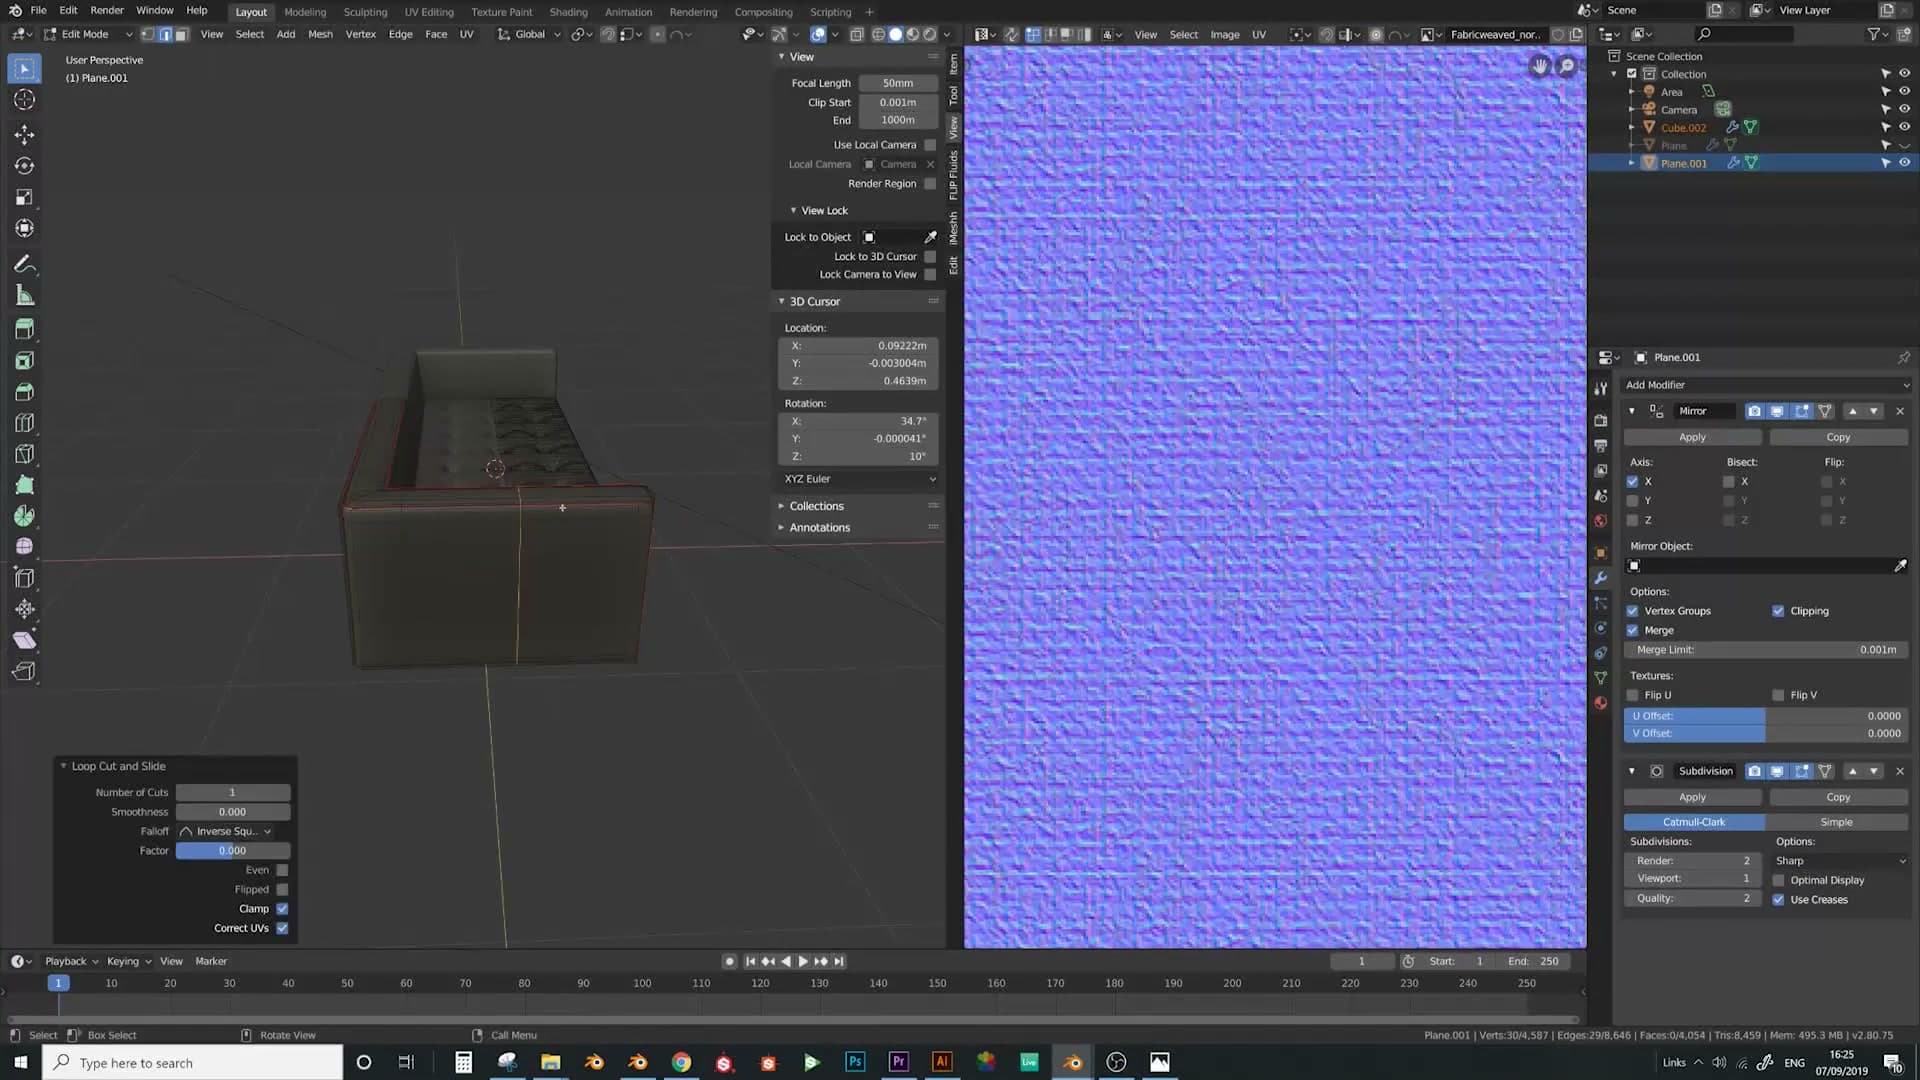
After each cut, scale it along the X axis (S then X) so the loop sits as a straight vertical line rather than tracking the rounded SubD surface. You want these edges straight down. If they bow with the panel, the creases that come off them will look bent rather than gravity-driven.
Add a second loop cut alongside the first and repeat the scale-on-X step. Two straight vertical loops is enough to start with; you'll multiply them in the next step.
Pulling alternating loops to create folds
Move across to the next panel and repeat the loop-cut pass, but this time scale the new cuts along the Y axis (S then Y) so they run straight relative to that face's orientation. Drop one additional cut in the middle to give yourself enough geometry to displace.
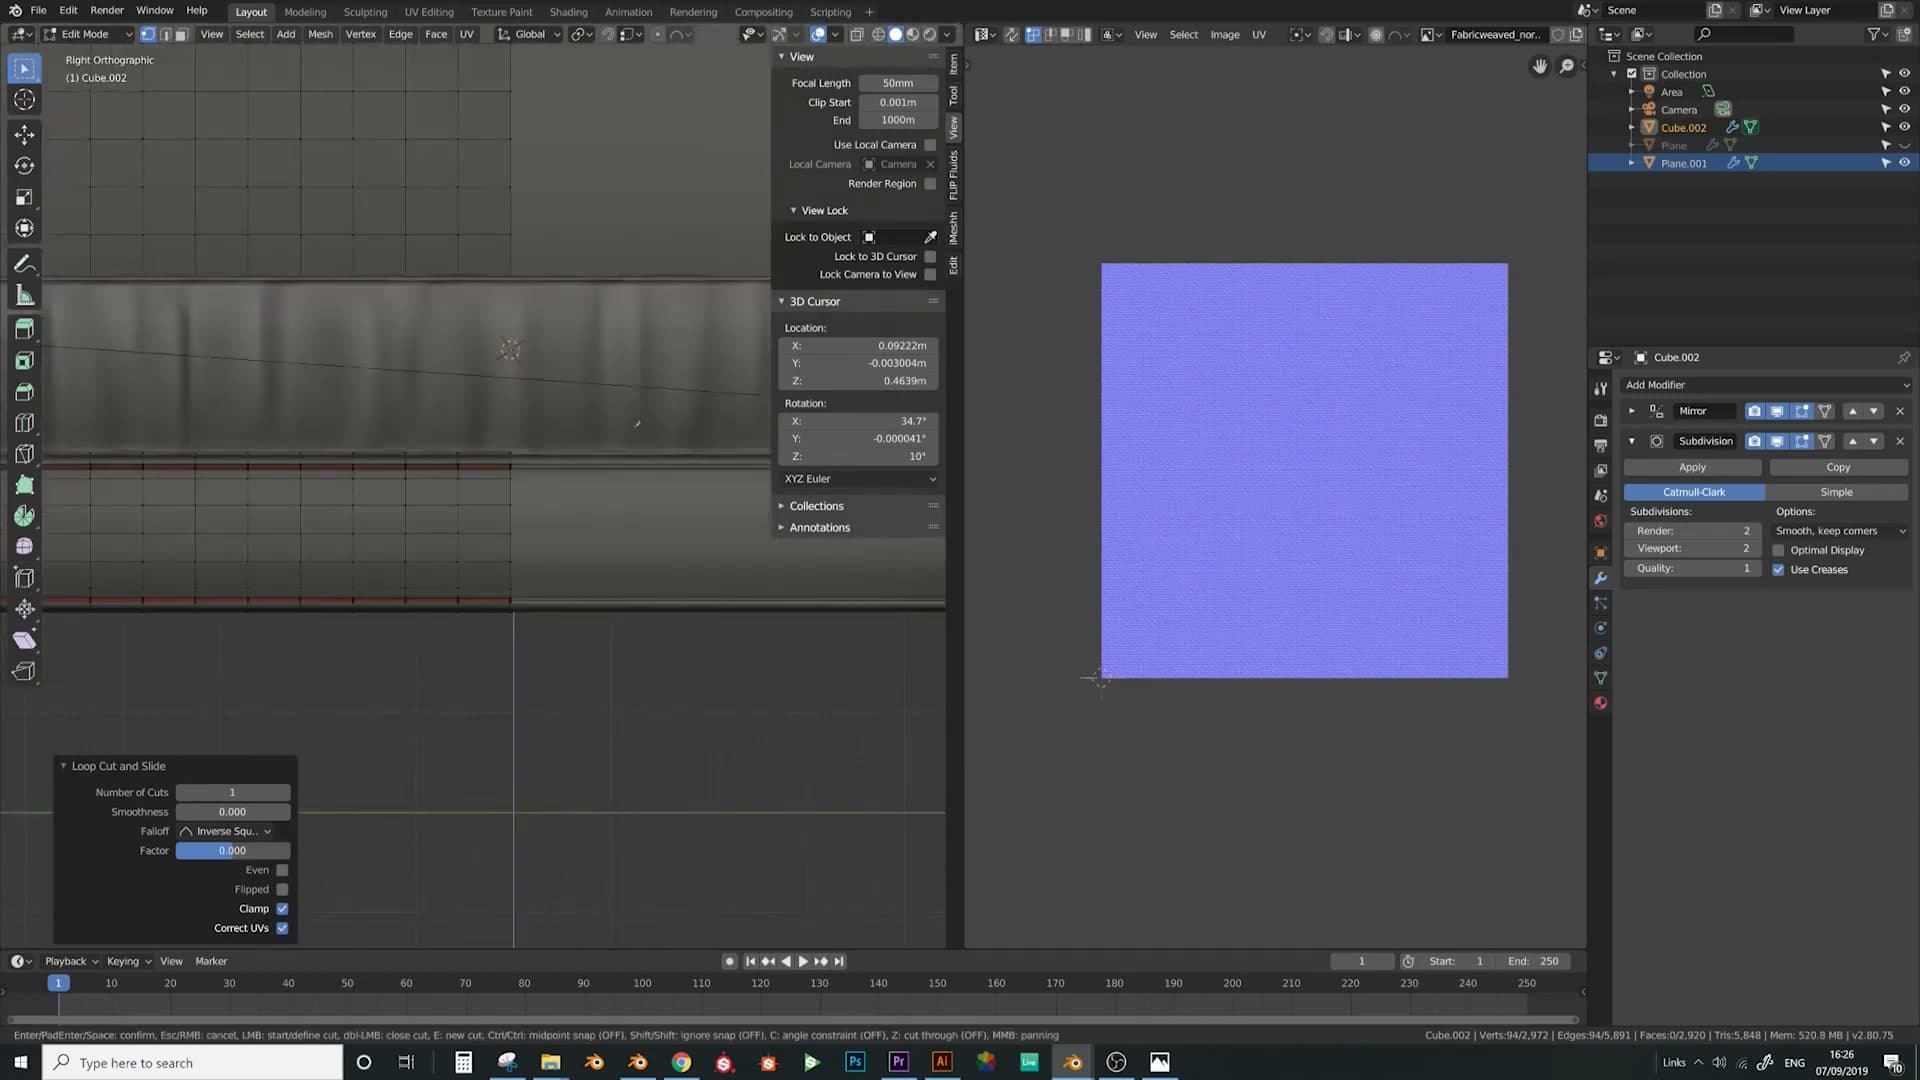
Now keep adding loop cuts all the way along each panel. Lots of them. The crease-pulling step needs plenty of edges to work with: a thin ladder won't read as fabric, and a sparse set of cuts won't give you the irregular folding that real upholstery has.
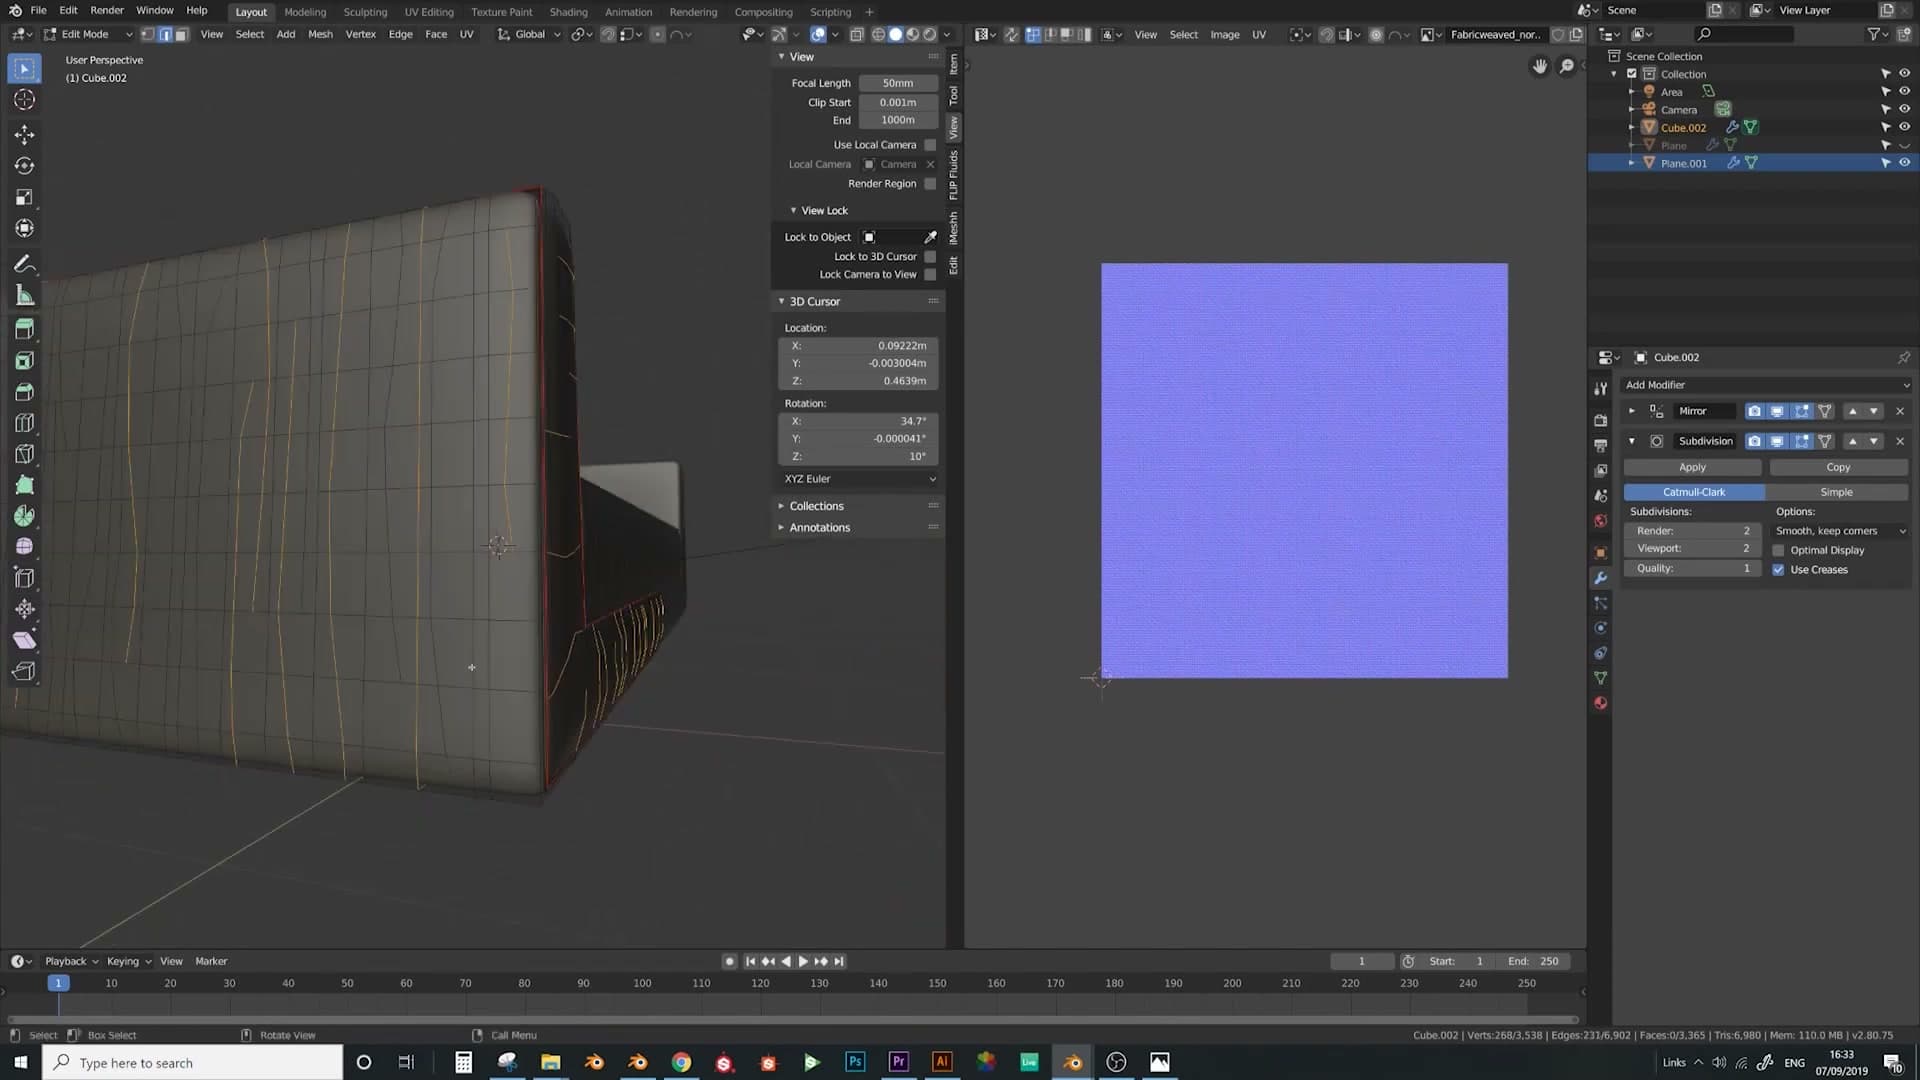
With the cuts in place, repeat the crease-pulling workflow from the previous video. Pull alternating loops outward along the panel's normal so the surface breaks into soft peaks and valleys. That alternating displacement is what turns a smooth box into something that reads as fabric rather than rigid plastic.
Step back and the side panel is visibly upholstered: seams and creases working together to give the SubD geometry the variation it needs.
Reviewing the frame and wrapping up
Compare the frame now to where it started. The panels have seams, raised piped edges, and the soft vertical creases that turn a rigid box into upholstered fabric. The crease pass on this side was deliberately rushed for the video, but the technique stands: go around the panel adding cuts and pulling alternating loops until the variation reads as cloth.
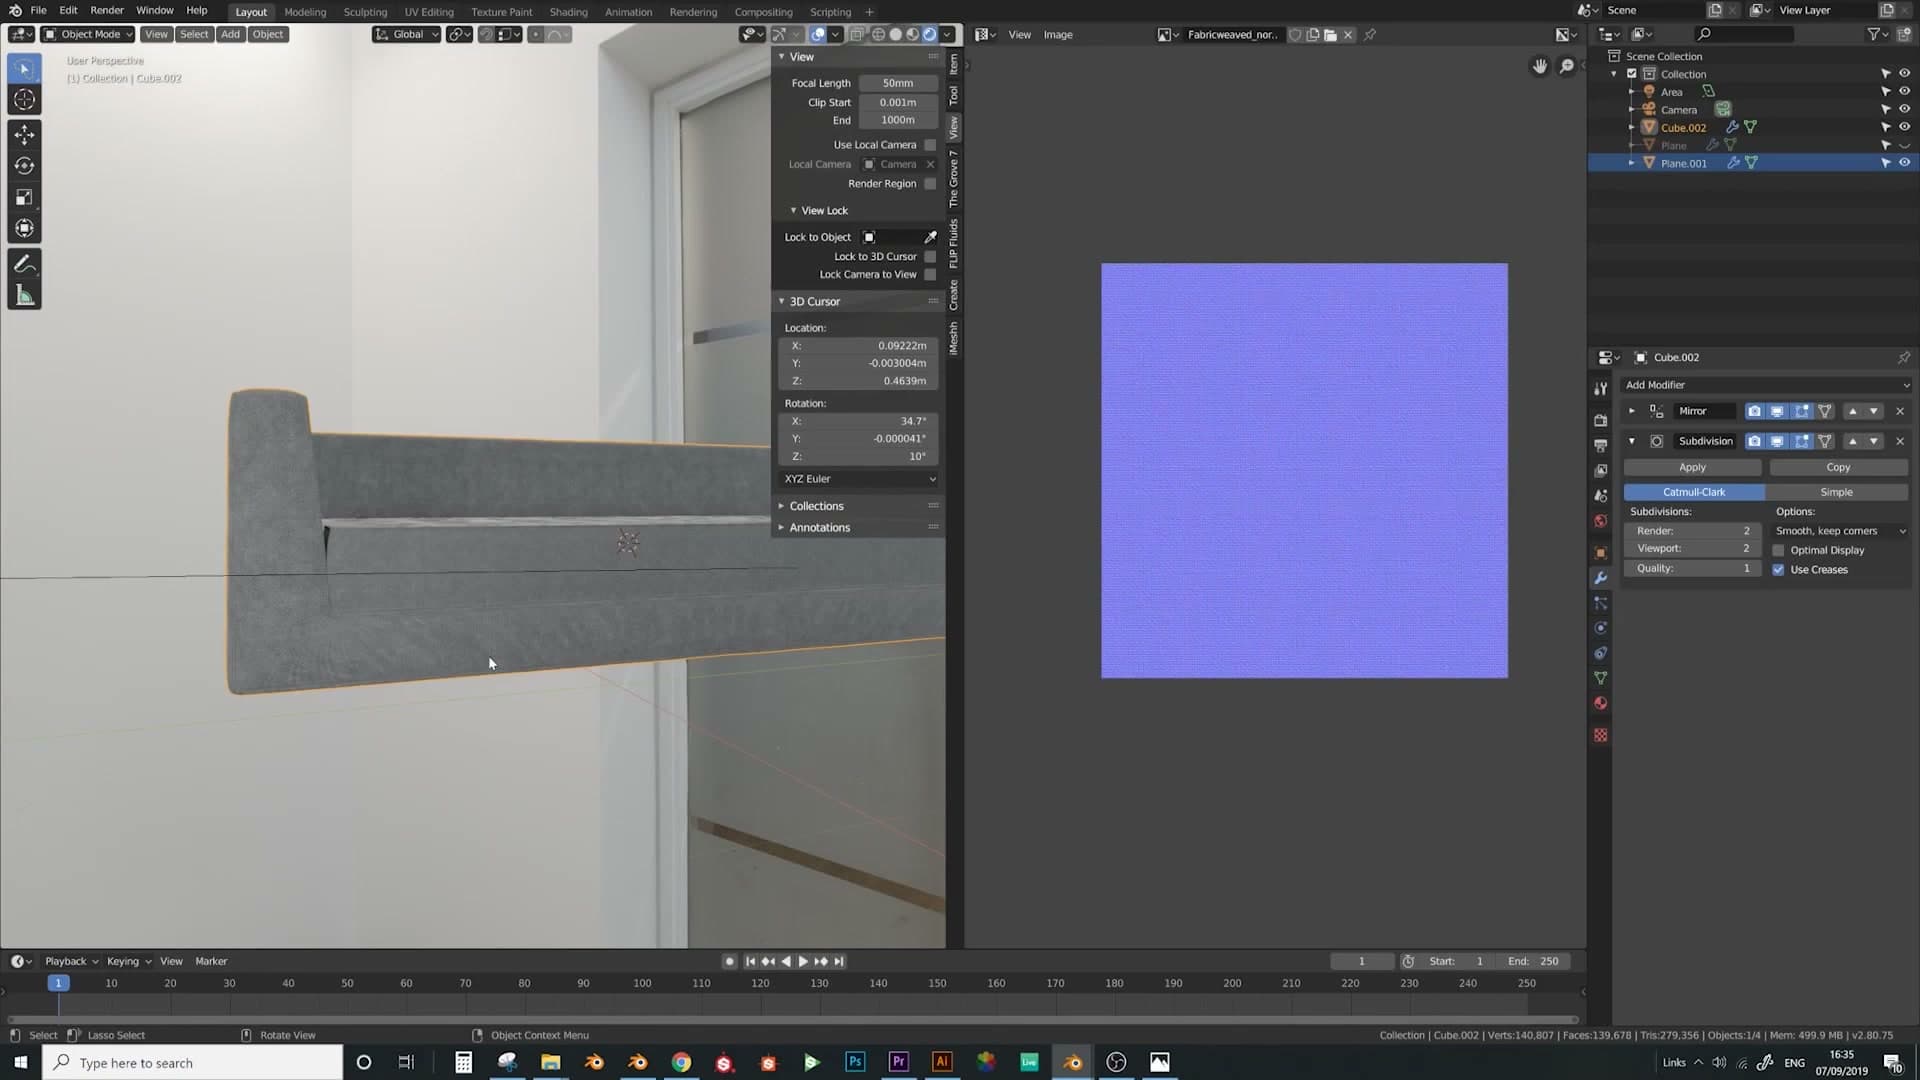
The bottom piece here was left less creased than the others on purpose. In reality, the bottom of a sofa sees far less fabric movement than the back or arms, so it doesn't need the same density of folds to look correct.
The back of the frame and the top haven't been creased on camera. Those panels are left as homework, since the workflow is identical to what you've just done. With the seams and non-cushion areas of the sofa modelled, the next step is the cushions themselves.
Tools and credits
Everything mentioned in this tutorial, with links.
- Blender (the renderer this entire build runs in).
- iMeshh (studio platform covering project management, client review, asset library and invoicing). The asset library used in this tutorial is included with every iMeshh Pro plan.
- Poly Haven (free CC0 textures and HDRIs).
Pillar guide: Modelling hub