The Blender roof generator that builds the whole roof, not just the tiles
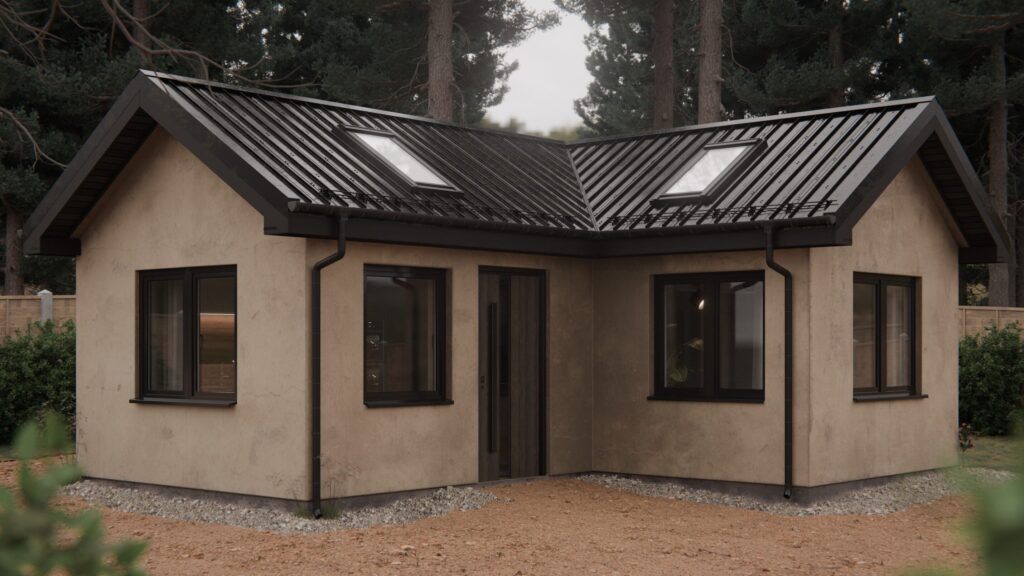
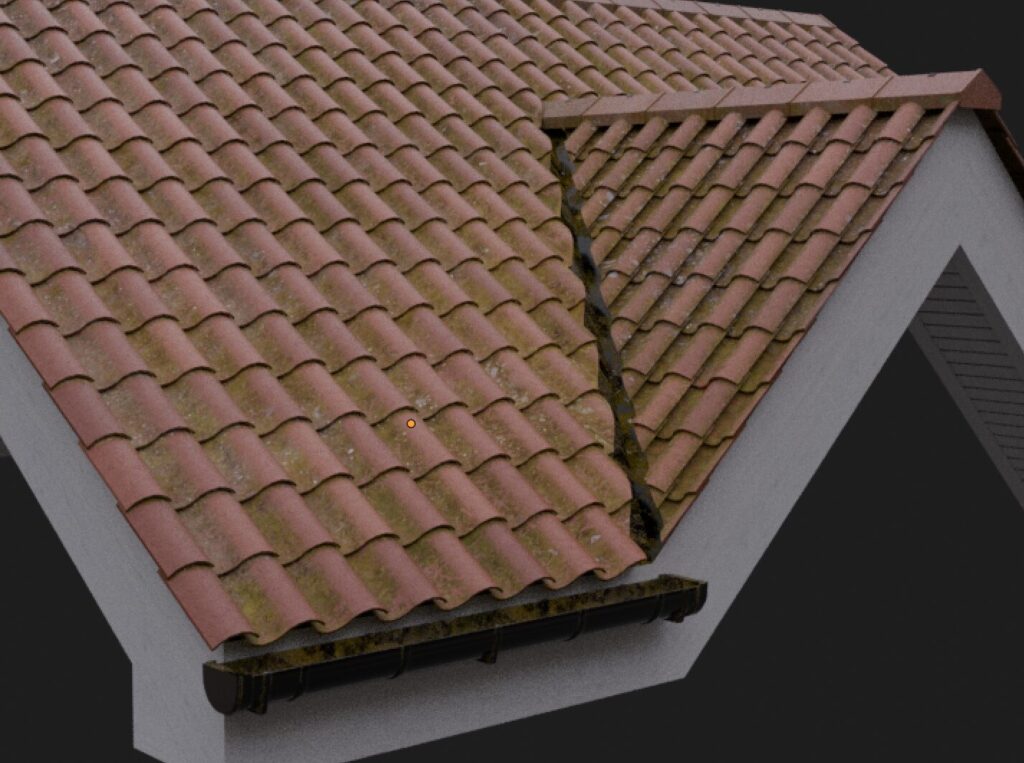
Model a simple base mesh and the generator does the roofing: tiles or metal panels, ridges and hips, fascia and soffit, valleys, flashing, gutters with downpipes, snow guards, even the moss.
Why roofs are the worst thing to model by hand
A roof is not one object, it is a dozen systems that all follow the same geometry: tiles that stop cleanly at every edge, ridges along the tops, hips down the corners, valleys in the internal joins, fascia and soffit underneath, gutters that end in downpipes. Change the footprint and every one of those has to be redone. That is why hand-modelled roofs eat days and still look wrong at the hips.
The generator inverts it: the base mesh is the only thing you model, and the systems follow it. Ridges, hips and valleys are detected from the mesh, trims cut the tiles at the boundary, and when the design changes you move edges, not roofing.
Control stays per-element through Blender's attributes. The generator ships with a pre-configured set, so giving one ridge a different overhang, gutters on only the street-facing edges, or tiles on only some faces is a Set Attribute in Edit Mode, not a manual rebuild.
Two roof systems, one workflow
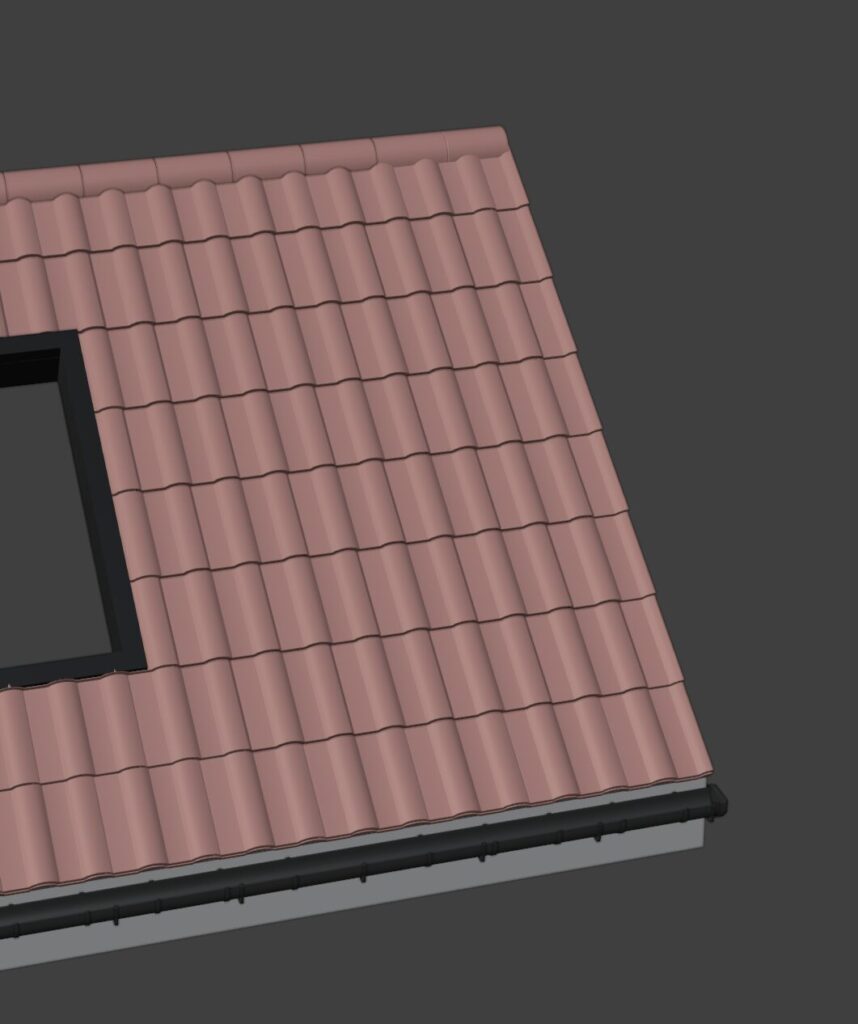
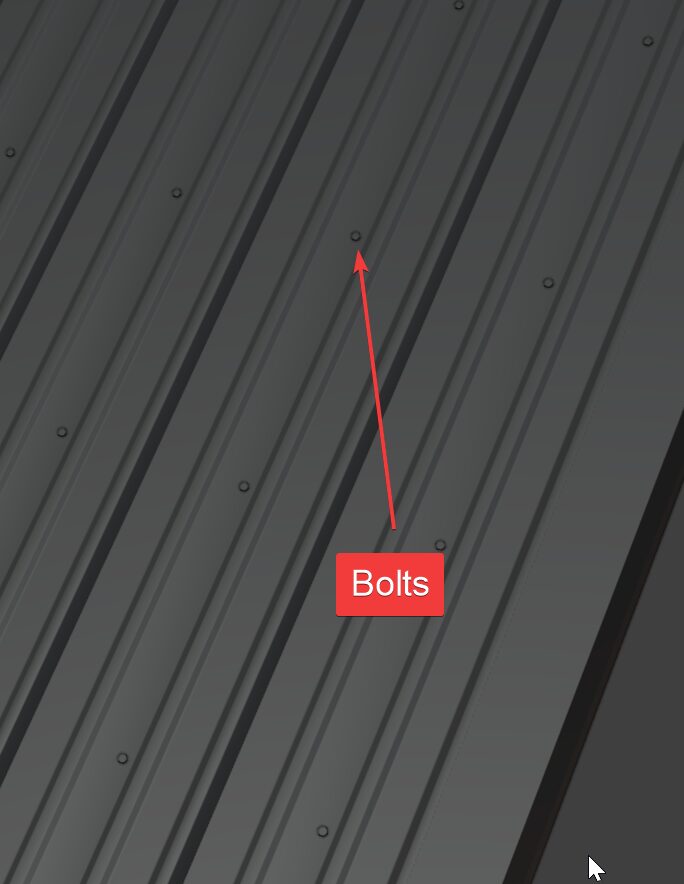
The tile system builds from a collection of tile objects: Half, Straight and Quarter bond patterns, randomisation with a Rough Edge option, and your choice of edge trim, from the accurate boolean cut to an alpha-map method that keeps heavy roofs fast in the viewport. The metal panel system builds from a profile curve instead, with panel thickness, drip edge, dry verge and procedurally placed bolts. Both accept your own objects: custom tiles, ridges and profiles follow the documented origin-point rules.
The details that make a roof read as real
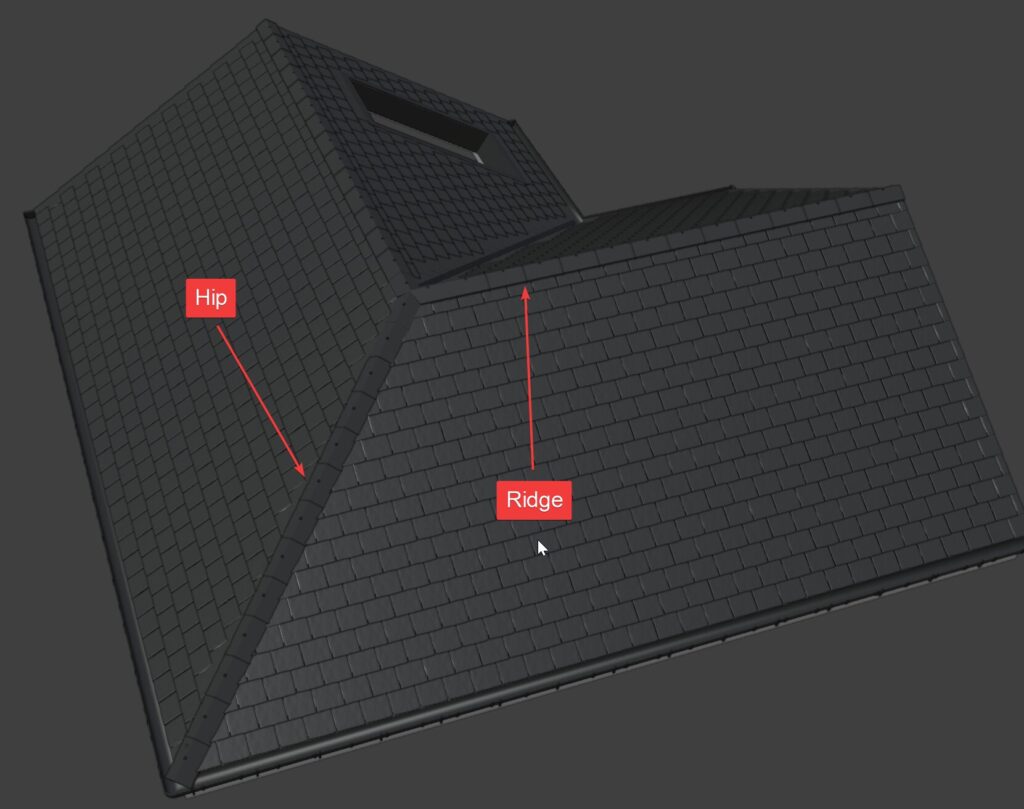
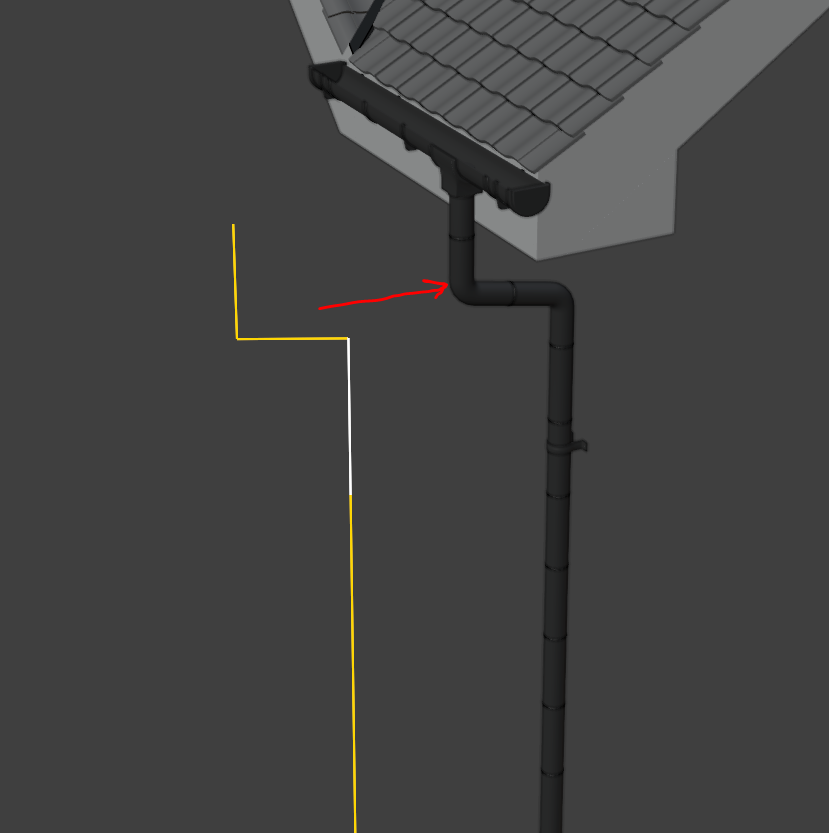
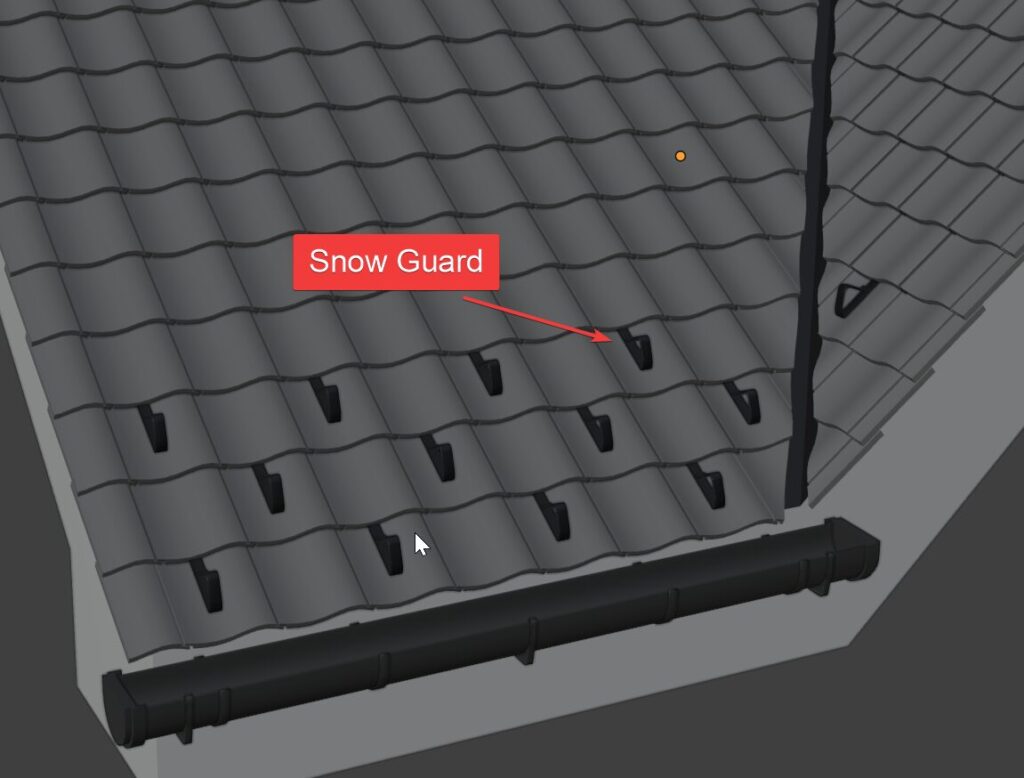
Ridges and hips place themselves and randomise through your collections, with cap objects for the ends. Fascia and soffit close the underside. Valleys drain the internal joins, flashing wraps window openings, and snow guards lay out in configurable rows with rails. Gutters have the neatest trick in the system: mark edges with the add_gutters attribute, and any standalone vertical edge becomes a downpipe that snaps to the closest roof edge, complete with connectors and supports.
Paint weathering straight onto the roof
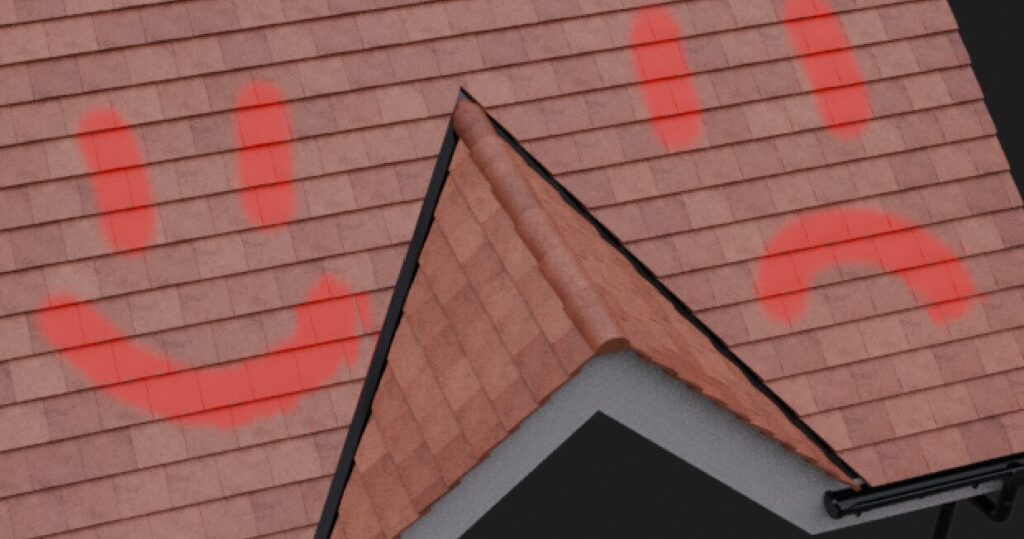
The texture painting workflow overlays the roof's own surface UV onto the generated tiles, so you can paint a mask across the assembled roof and drive a second material with it. Streaks below a chimney, concentrated grime on one slope, or something louder: you brush it exactly where you want it.
See it build a roof
The walkthrough goes from base mesh to finished roof, including the parts people model by hand for no reason.
What you actually get
Both roof systems, tile and metal panel, as Blender geometry nodes setups with the pre-configured attribute set, snow guard and bolt collections, the gutter system with profile curves, procedural moss, camera culling for heavy scenes, and the texture painting workflow. Delivered through the iMeshh asset library, included with plans, in the same generator family as the floor generator. Updates arrive through the library.
Questions
- Do I have to place ridges, hips and valleys myself?
- No. The system detects them from your base mesh: ridges along the horizontal tops, hips down the angled corners, valleys where faces meet internally. Attributes then give you the final say, with Remove to delete an automatic piece, Add for an edge it missed, and Reverse for asymmetrical ridge objects facing the wrong way.
- How do gutters and downpipes work?
- Gutters appear only on edges you mark with the add_gutters attribute. For a downpipe, you add a standalone vertical edge with no connected faces anywhere near the roof, and it snaps to the closest roof edge with connectors, supports and end pieces from the parameters.
- Can I use my own tiles?
- Yes. Tiles come from a collection, so any object you add is a candidate, and the system randomises through the collection. The guide covers the one rule that matters: the origin point sets where tiles start and how they overlap, and rotating or scaling the source tile updates every instance.
- Will thousands of tiles kill the viewport?
- The generator has three tools for that: camera culling hides tiles the camera cannot see, the Limit helper caps how many tiles display, and the alpha-map trim method trades viewport-accurate edges for speed while renders stay clean.
- Can I paint on the roof?
- Yes, directly. The texture painting workflow bakes the roof's surface UV over the tiles so a painted mask drives a mix of two materials, which is how you get weathering exactly where you brush it, or the graffiti render in the docs.
- What about moss?
- Moss is procedural: placement combines height from the surface, ambient occlusion and distance from edges, which mirrors where moss actually grows. Two controls, Show and Moss Height, keep it simple.
- How do I get it?
- The roof generator is part of the iMeshh asset library, included with plans next to the floor and fence generators. Updates arrive through the library. The full parameter reference lives in the documentation.
Stop modelling roofs. Start approving them.
Full parameter reference: the Roof Generator guide.