What a gobo is and where the technique comes from
A quick definition of gobos as 'go-between optics', why theatre and photography rely on them, and a real-world demonstration of a studio lamp with a metal cutout plate casting a shadow on a wall.
Defining the gobo: a go-between object that shapes light
Before we open Blender, it's worth pinning down what a gobo actually is, because the name sounds more exotic than the object. A gobo is short for go-between object or go-between optics — literally something that sits between a light source and a surface, shaping the light as it passes through.
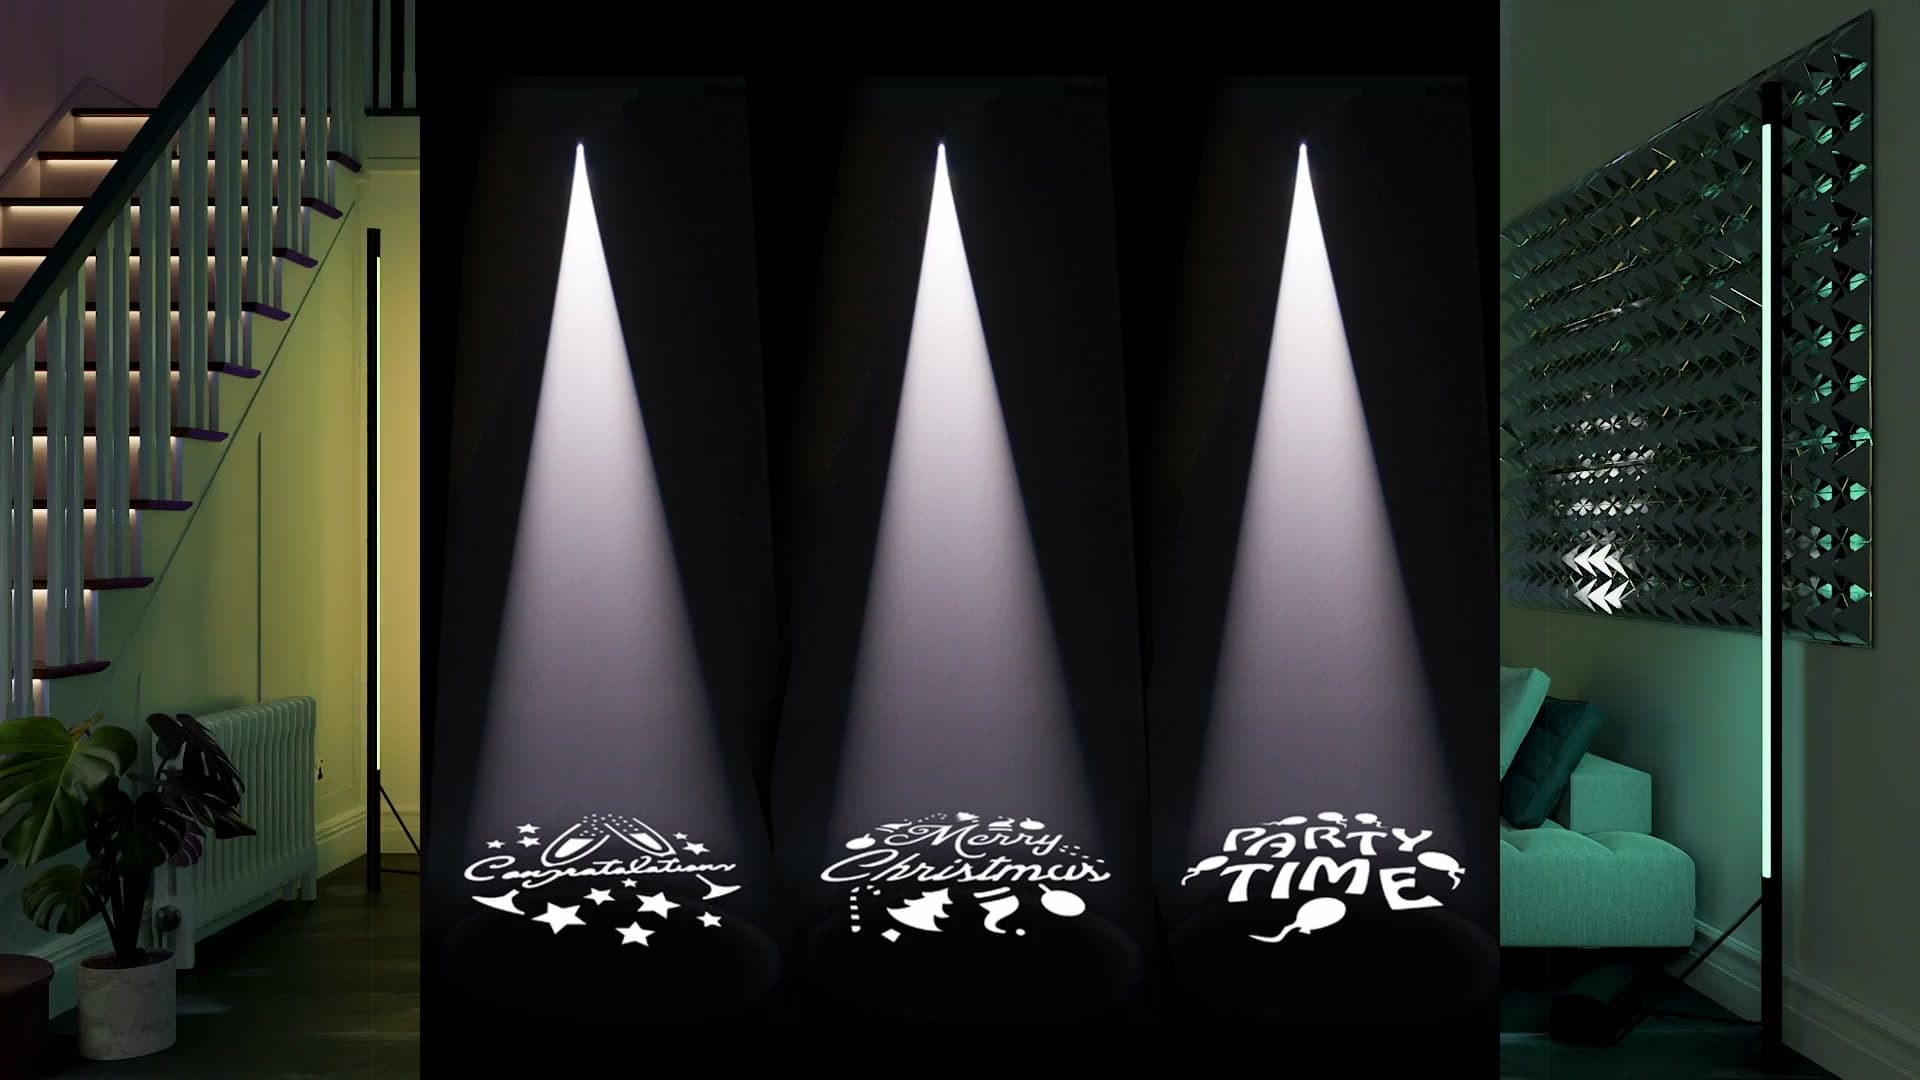
Theatres, film sets and photography studios have leaned on gobos for decades to throw window patterns, foliage, logos or abstract shapes onto a wall. If the technique is reliable enough for a stage director or a cinematographer, it's more than reliable enough for archviz — and as you'll see in the rest of this tutorial, Blender handles it with a single spotlight and a single texture.
Studio lamp demo: cutout plate, focal distance and sharpness
The clearest way to understand a gobo is to watch one work in the real world. Picture a theatre spotlight aimed at a back wall: with nothing in front of the lens, it throws a plain, uniform pool of light. That's the baseline — no pattern, no story, just illumination.
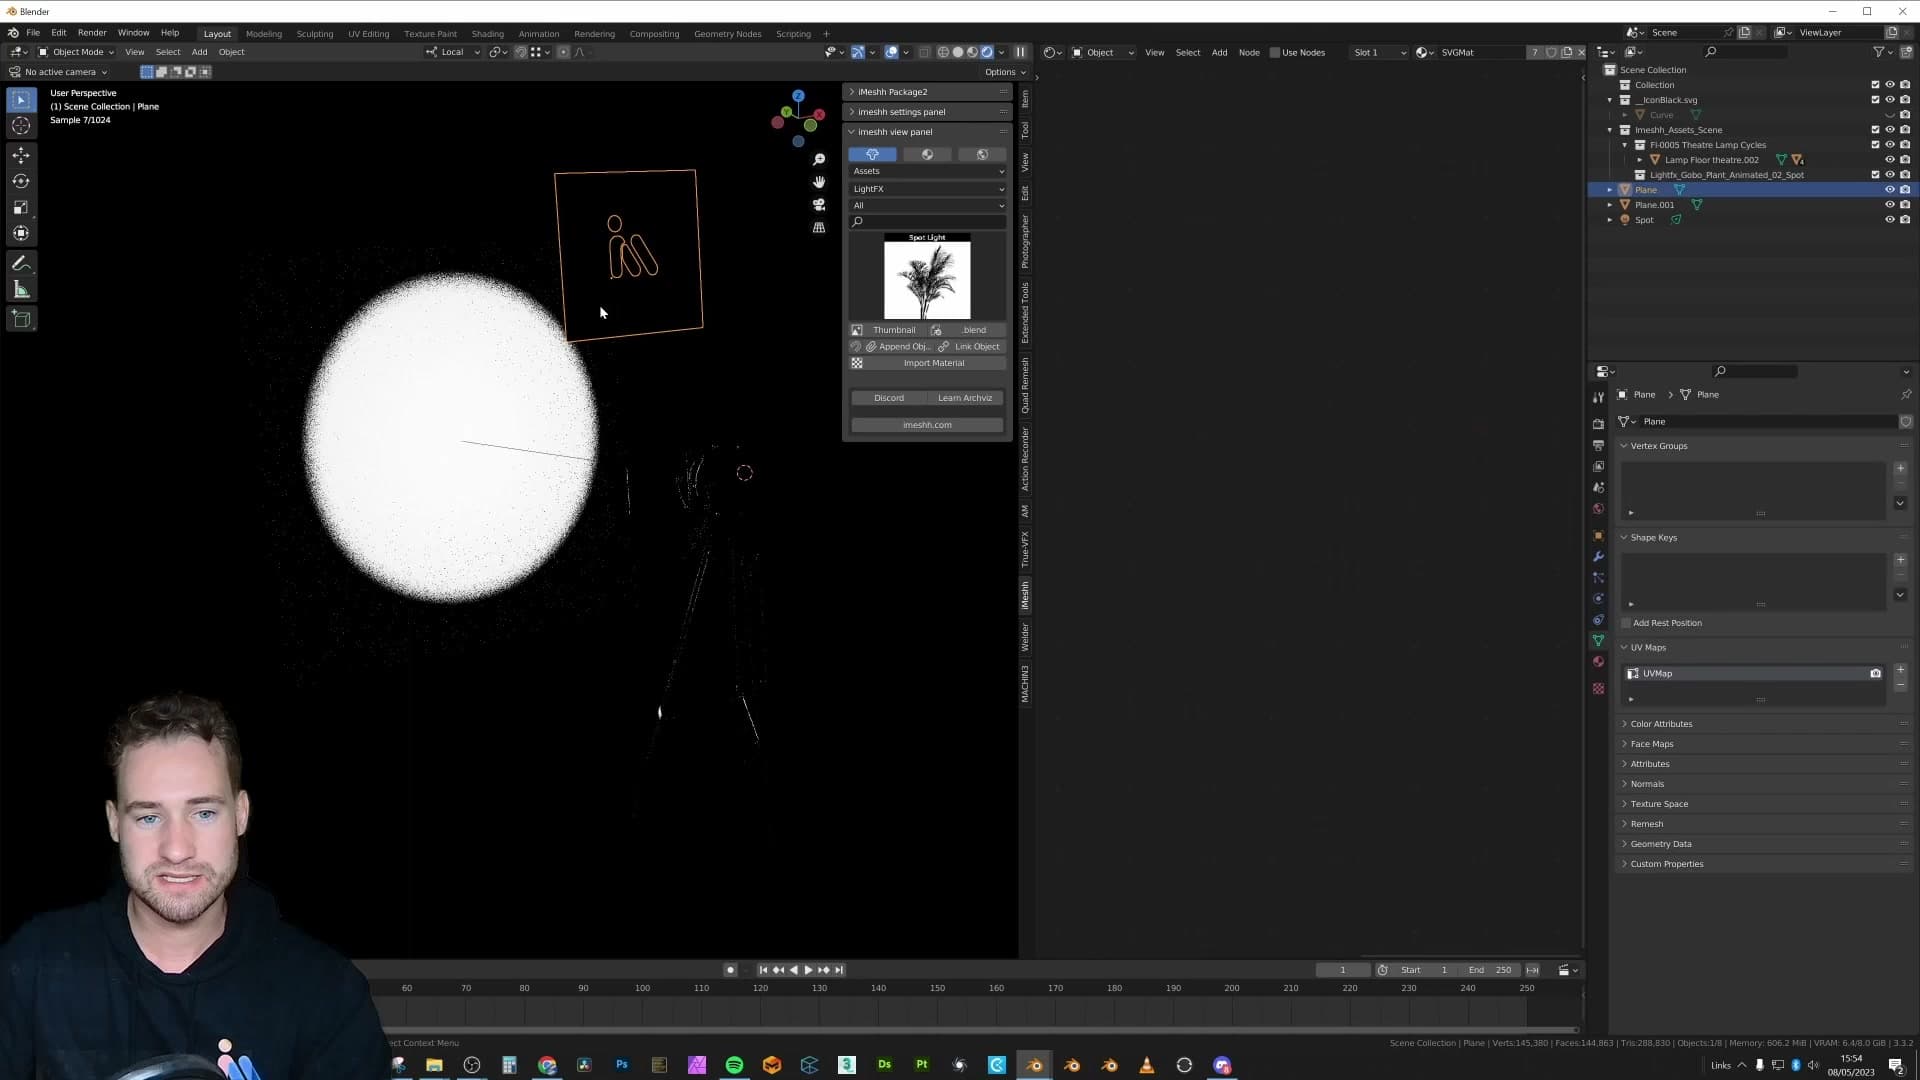
Now slide a thin metal plate with a shape cut out of it into the path of the beam. The light that makes it past the cutout still hits the wall, the rest is blocked, and what you see is a shadow with the inverse of the cutout sitting inside the pool of light. That cutout plate is the gobo.
The interesting part is how you control the sharpness. Push the plate closer to the wall and the projected shape gets crisper; pull it back towards the lamp and it softens and blurs. You can also adjust the lamp itself — bring its effective size down to zero for a razor-sharp edge, or open it up to soften the shadow into something more diffuse.
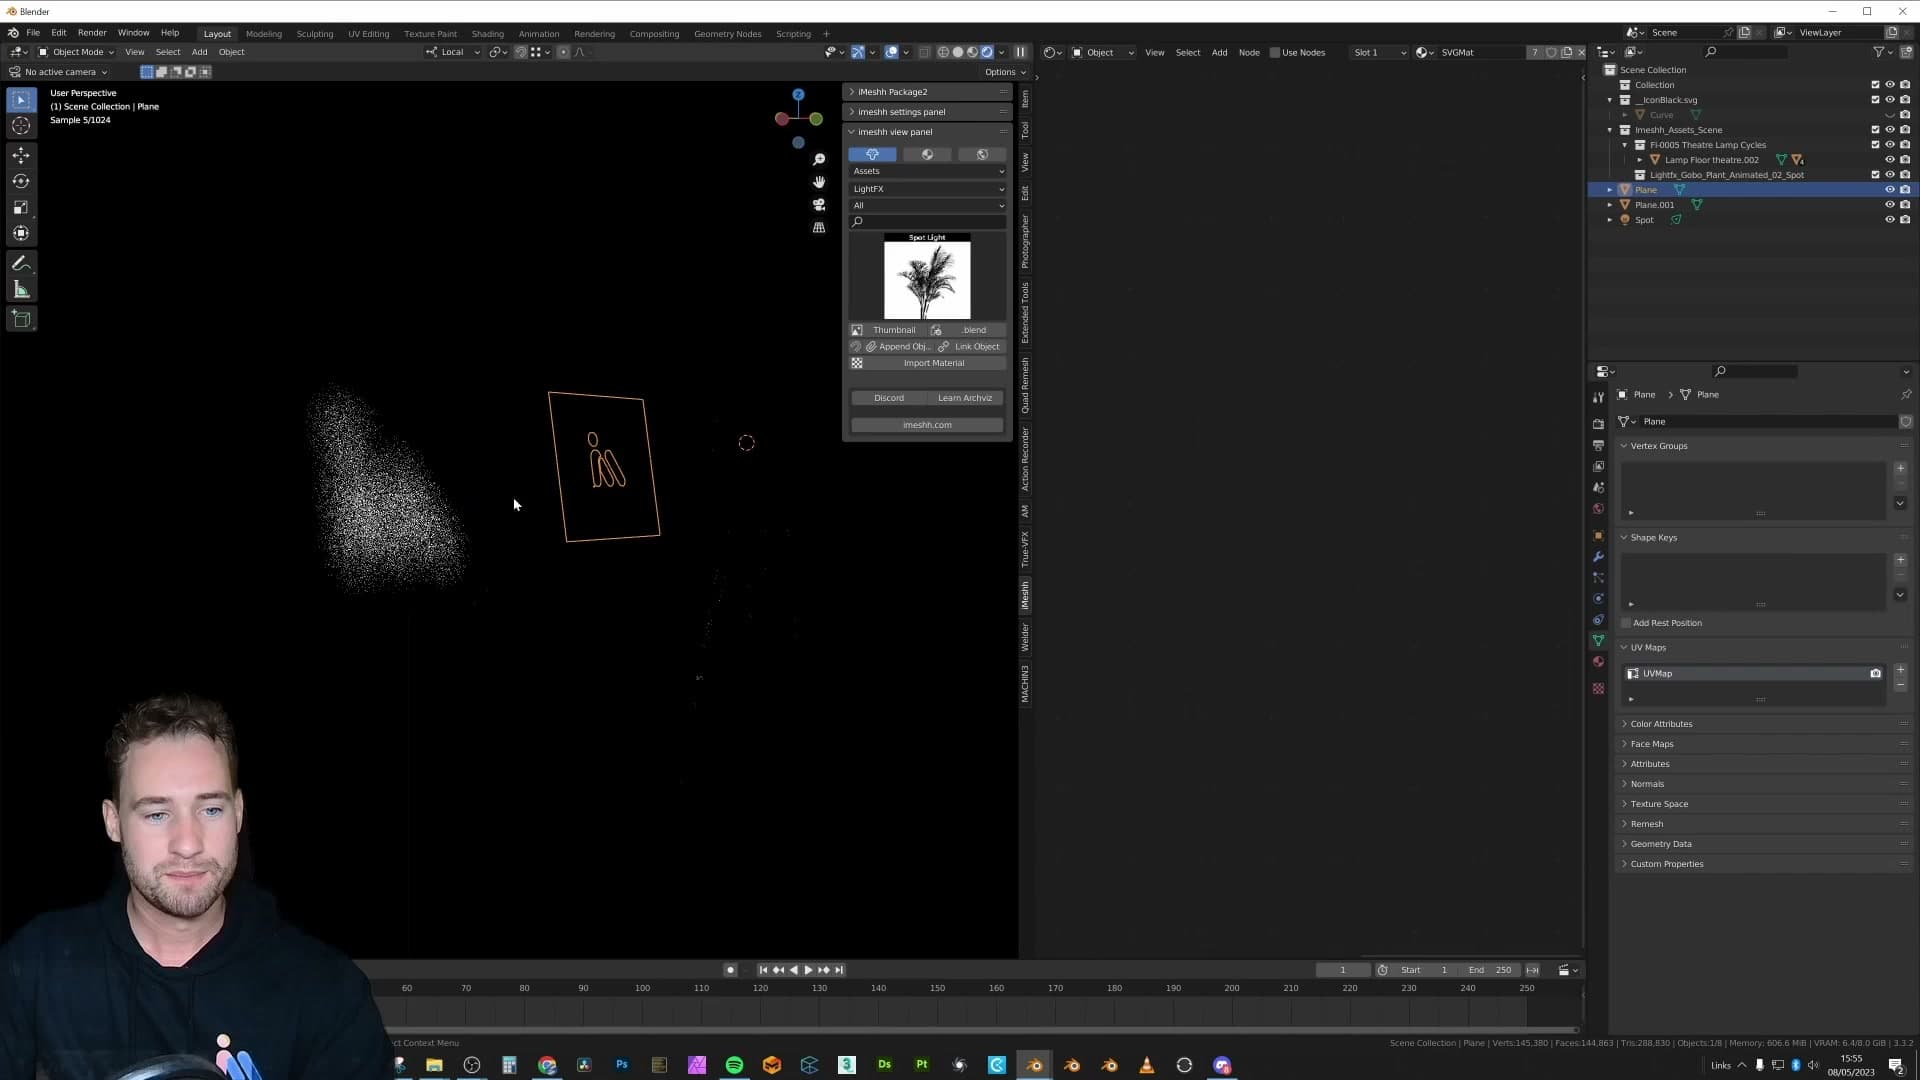
Hold onto that mental model, because the rest of this tutorial is essentially a recipe for reproducing the same focus behaviour inside Blender — without any physical plate, any geometry in front of the bulb, or any extra render cost.
Building a gobo inside Blender with shader nodes
Skip the physical cutout. Enable nodes on a spotlight, wire a black-and-white texture through Texture Coordinates → Normal, set the X and Y offsets to 0.5 and plug the result into Emission strength.
Enabling Use Nodes and wiring Texture Coordinates → Vector
Inside Blender, you don't need a physical metal cutout sitting in front of the bulb. You can drive the projection straight from the light itself. Select your spotlight and open the Shader Editor with the light still active. If the graph looks empty, click the Use Nodes button so the lamp's surface switches from its default flat emission over to an editable node tree you can wire into.
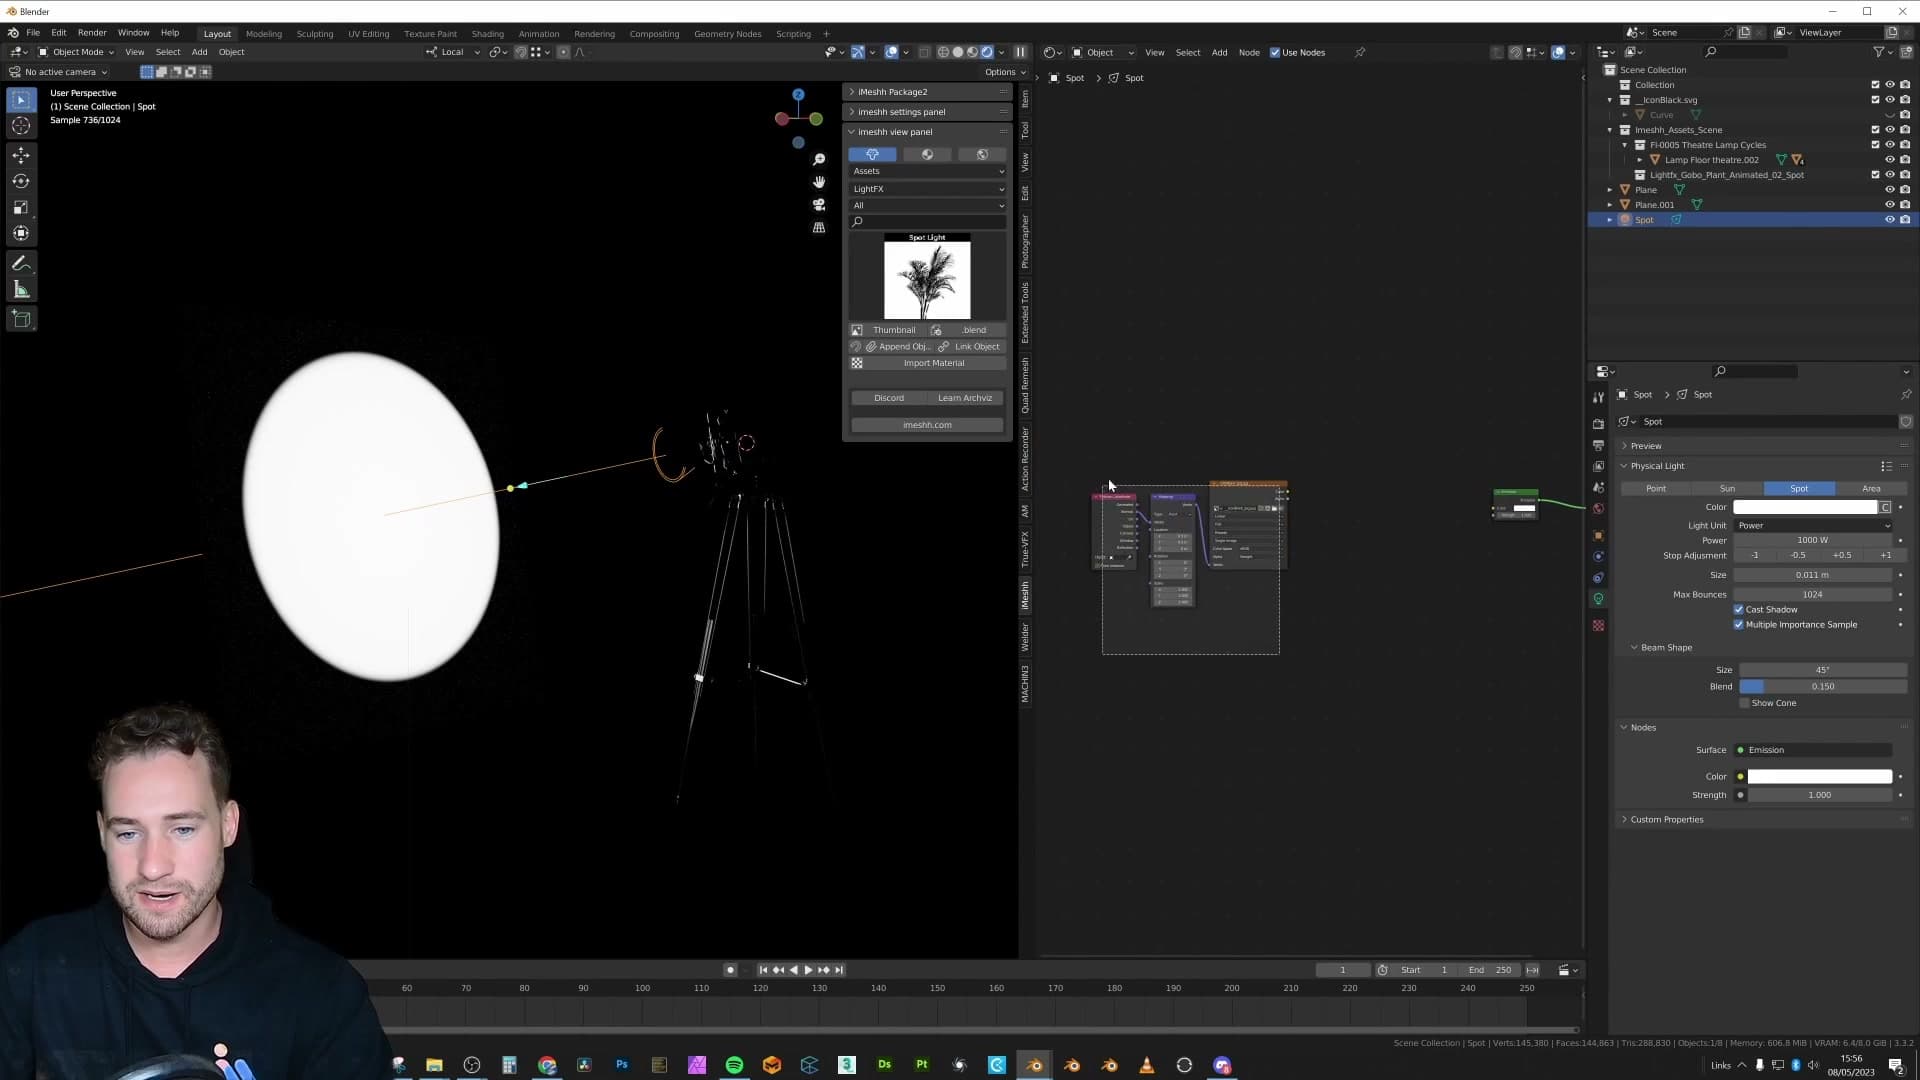
The texture that does the work is a black-and-white image: pure black where the light should be blocked, white where it should pass through. That's all a gobo really is. Drop your image into an Image Texture node and plug it into the Emission shader's Strength input rather than its Colour input. Wiring it into Strength means the texture controls where light reaches the scene, while the lamp's colour stays as whatever hue you want for the projection itself.
To make the pattern project cleanly onto the cone rather than tiling or drifting, add a Texture Coordinate node and route its Normal output into the Vector input feeding the image texture. Then set the X and Y offsets to 0.5. That centres the pattern on the spotlight so it lands square on whatever surface the light is aimed at, and it keeps the projection scaling correctly as you move or rotate the lamp.
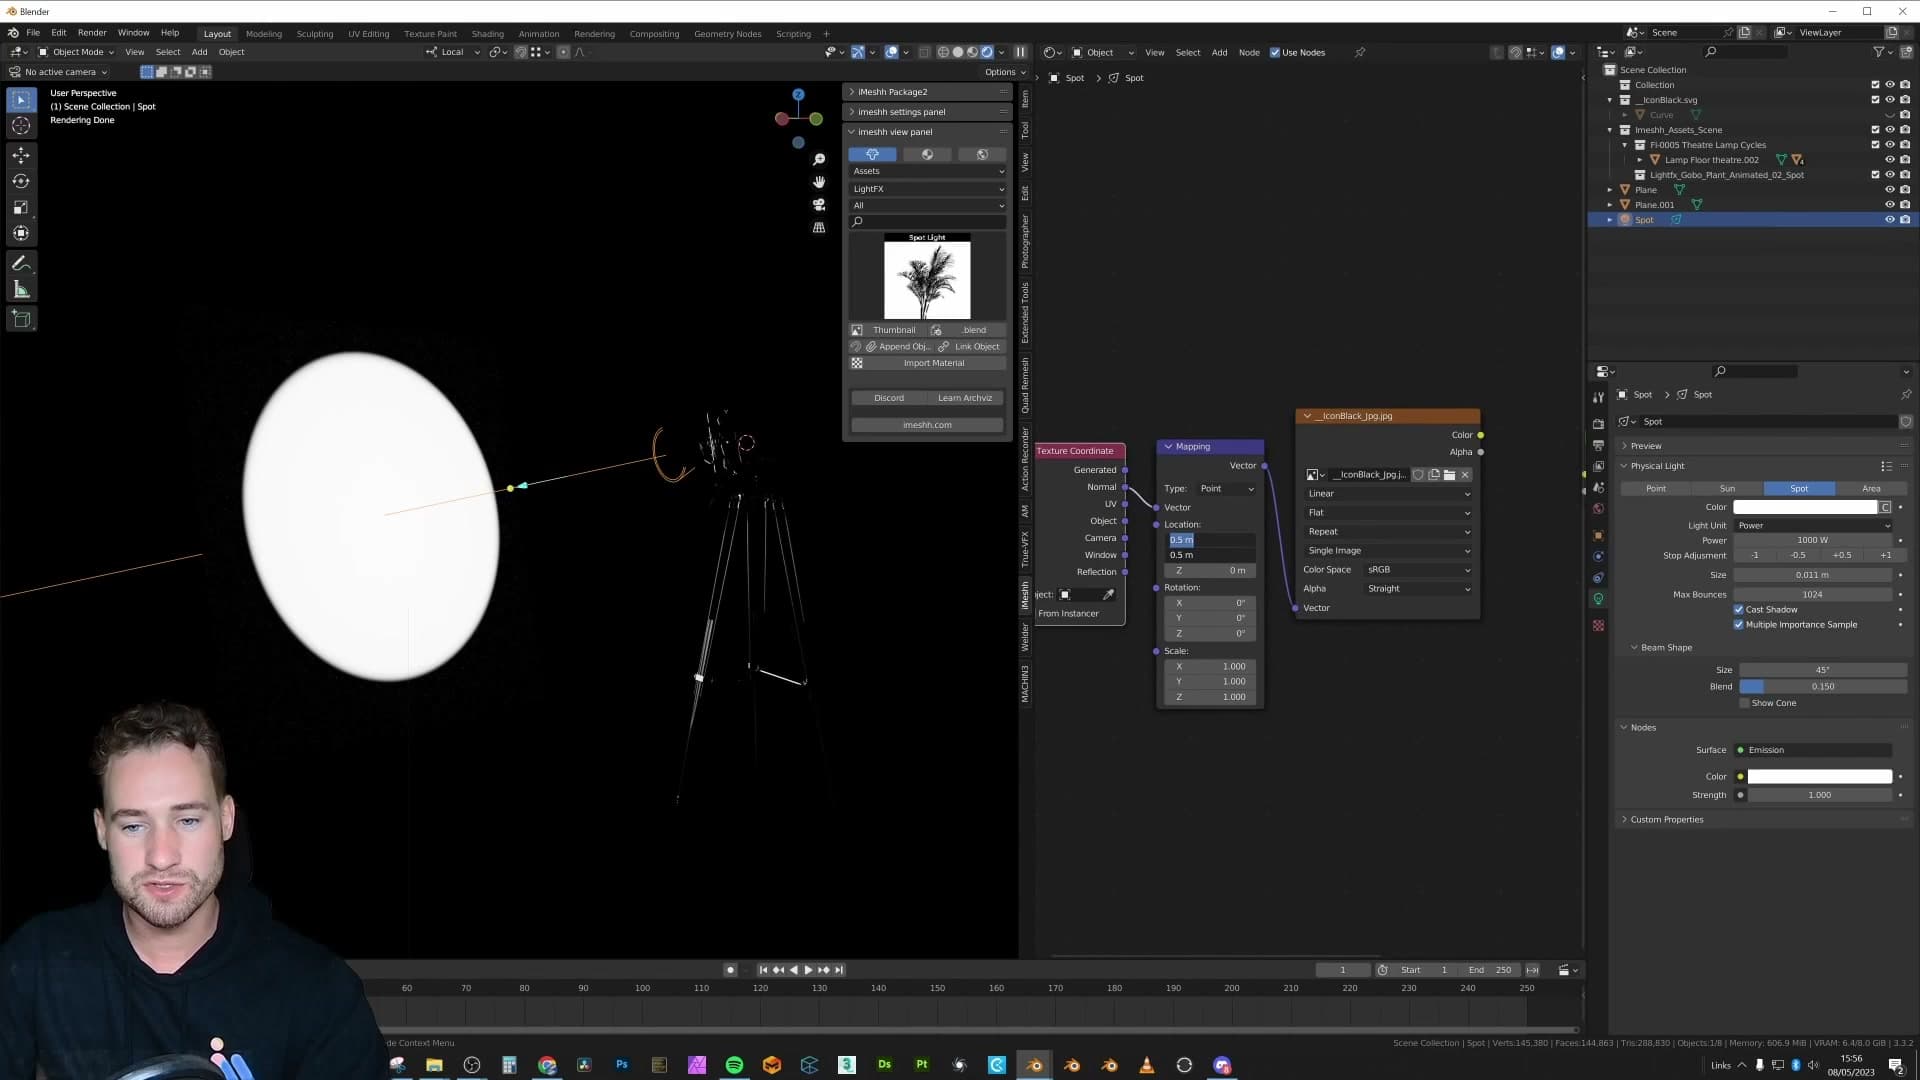
With everything wired, the gobo shows up directly on the receiving plane the moment you point the spotlight at it. You get a soft, natural fall-off around the edge of the cone where the light fades out. That's exactly the kind of behaviour you'd expect from a real lamp, built entirely from a single texture and a handful of nodes.
Sharpening or softening the projection via spotlight Size
How sharp or soft the projected shadow looks isn't a shader-graph problem. It's controlled by the spotlight's own Size value. Select the light, find the Size control in its data properties, and slide it. Drop it to zero and you get a razor-crisp pattern where every edge of the gobo is hard-cut into the surface. Push it upwards and the projection gradually softens, smearing the dark and light areas into the kind of blurry, dappled fall-off that reads as natural shadow rather than a stamped cut-out.
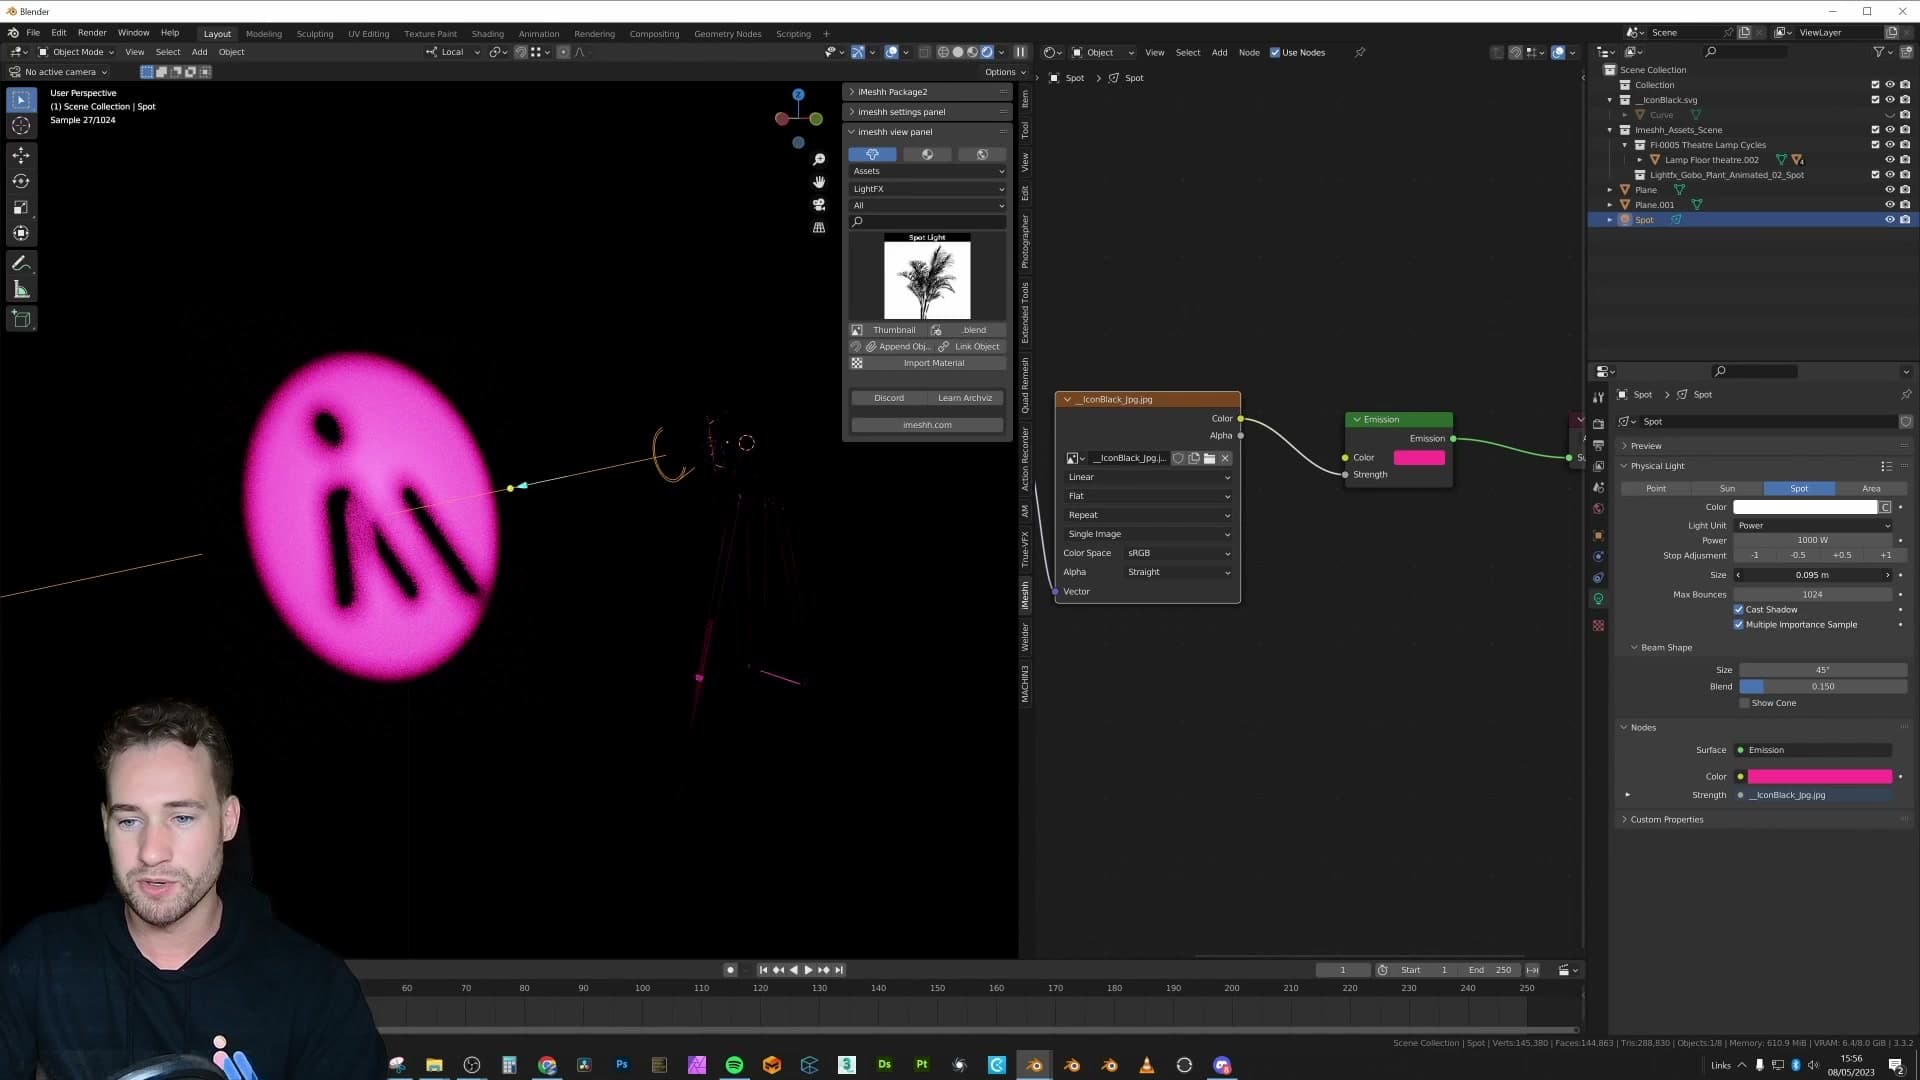
This is the same focus dial you'd get from physically moving a real metal cutout closer to or further from the bulb, except here it costs you nothing. There's no extra geometry to render, no second light source, no nudging a plate around in front of the lamp to find the sweet spot. One number on the light, one slider, and the projection responds straight away in the viewport.
Why gobos beat real geometry for mood and performance
Gobos add depth and visual drama to a render while costing almost nothing compared to the alternative: physically loading and animating a tree canopy in front of every light.
What gobos contribute: depth, mood and realism
Gobos earn their place in a scene because they add depth, mood and realism that flat lighting just can't reach on its own. A bare spotlight or a clean sun lamp gives you exposure, but it doesn't give you a story. A gobo does.
They also let you build visually dynamic lighting setups that are normally very difficult, or outright impossible, to achieve with standard lighting alone. Once you start projecting patterns through a light, your stills stop looking like every other Blender render and start to stand out.
The performance argument: an MP4 vs a full canopy of geometry
The other big argument for gobos is that they're incredibly lightweight for your scene. Think about what you'd have to do otherwise to get the same dappled, moving tree-canopy shadow: load physical trees into the scene, assemble a full canopy above the camera, animate every branch and leaf, and then ask Cycles to calculate it on every frame.
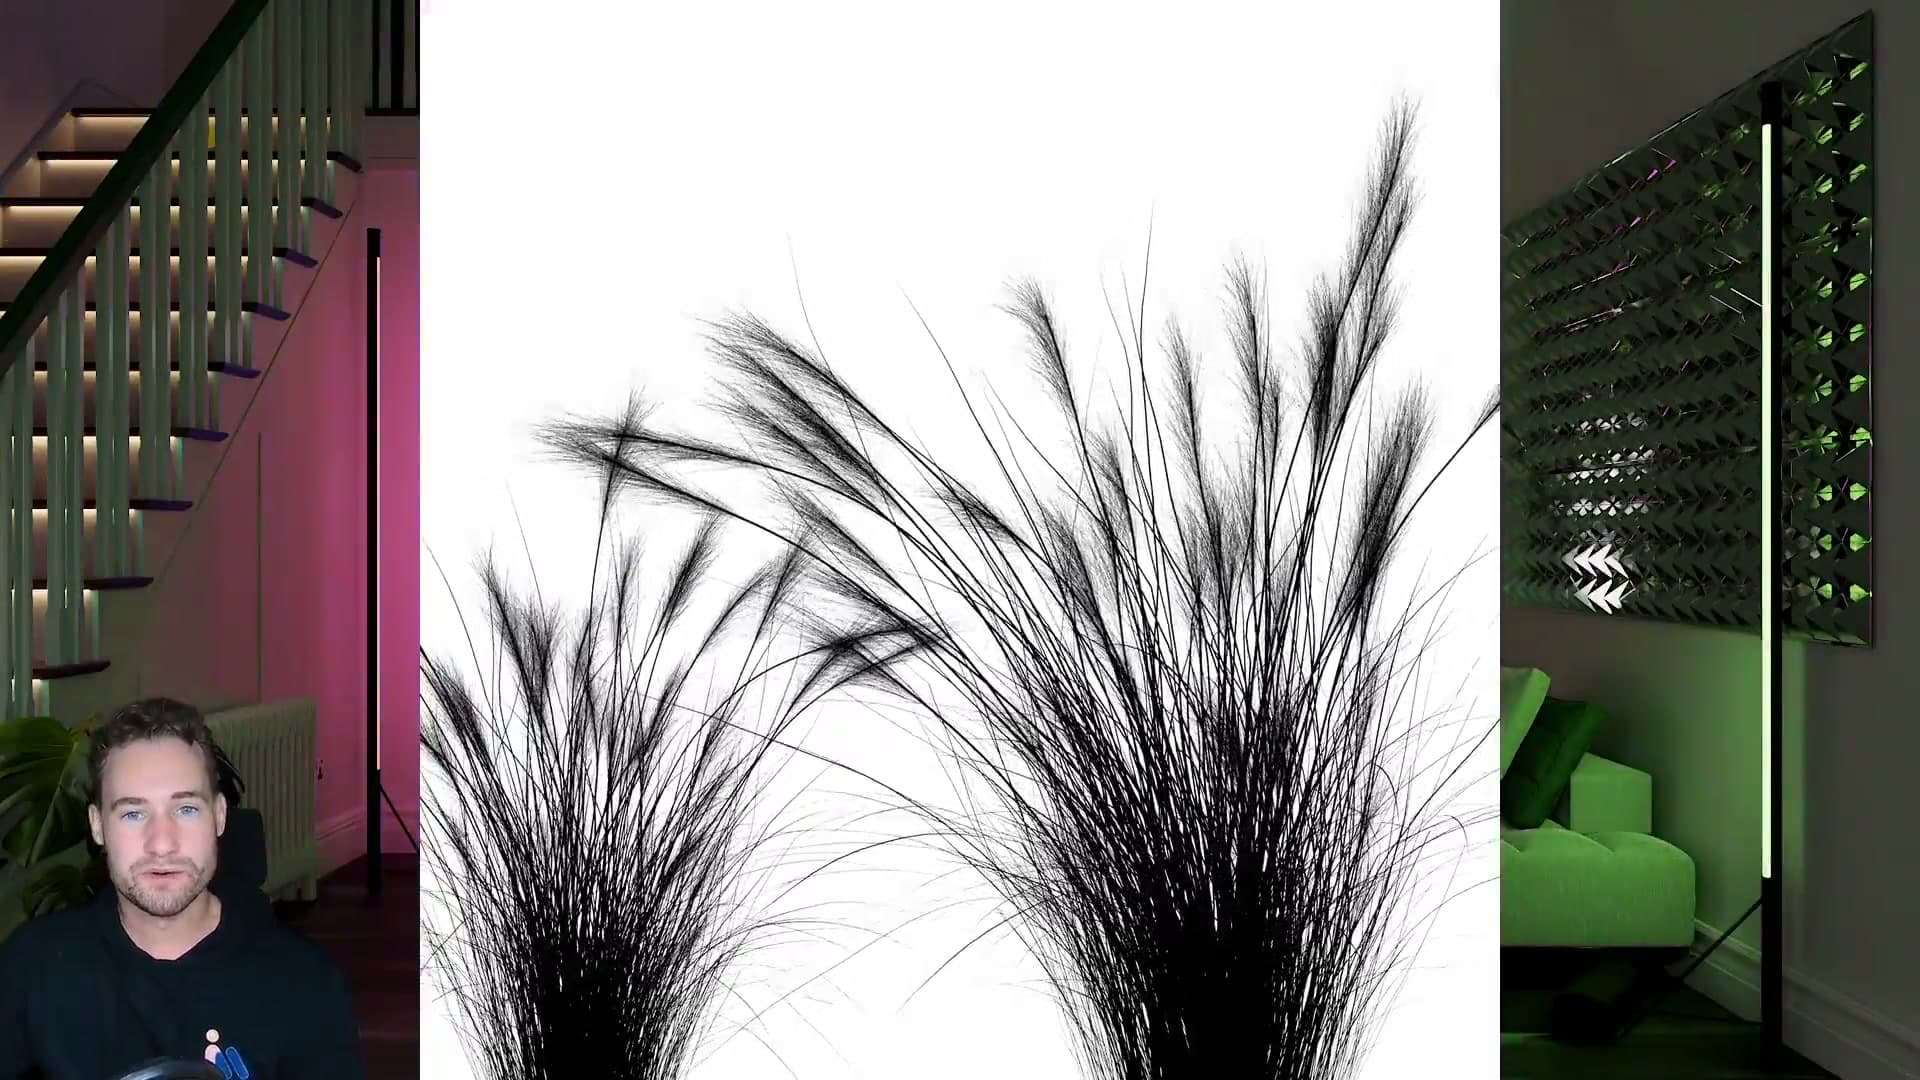
You can imagine how taxing that would be. Your render times balloon, and the viewport slows to a crawl long before you ever hit F12. None of that effort actually shows up directly in the shot. It's all just a means of casting one shadow.
The iMeshh gobo collapses that entire chain into a single flat MP4 that the spotlight projects onto the scene. There's no canopy geometry, no foliage simulation, no per-frame leaf calculation. Just a looping texture driving the strength of one lamp. It's far more efficient and far easier to work with.
That's the trade you're making whenever you reach for a gobo: you give up the physical accuracy of real geometry in exchange for a result that looks essentially the same on screen and costs a fraction of the compute.
The iMeshh animated gobos: sharp sources, clean loops and presets
Tour of the new animated gobo pack: sharp source footage you can blur later, leaf-level variation in opacity, seam-free loops, and two ready-to-use Blender presets per gobo (a spotlight and a shadow plane).
Authored sharp, looped seamlessly, motion kept generic
The first animated gobo in the pack is a tree canopy, and two things stand out the moment it starts playing. The leaf edges are sharp and crisp rather than soft, and individual leaves vary in how much light they let through. Some block almost everything, others pass a little, which reads as more believable dappled light than a pure binary cutout would.
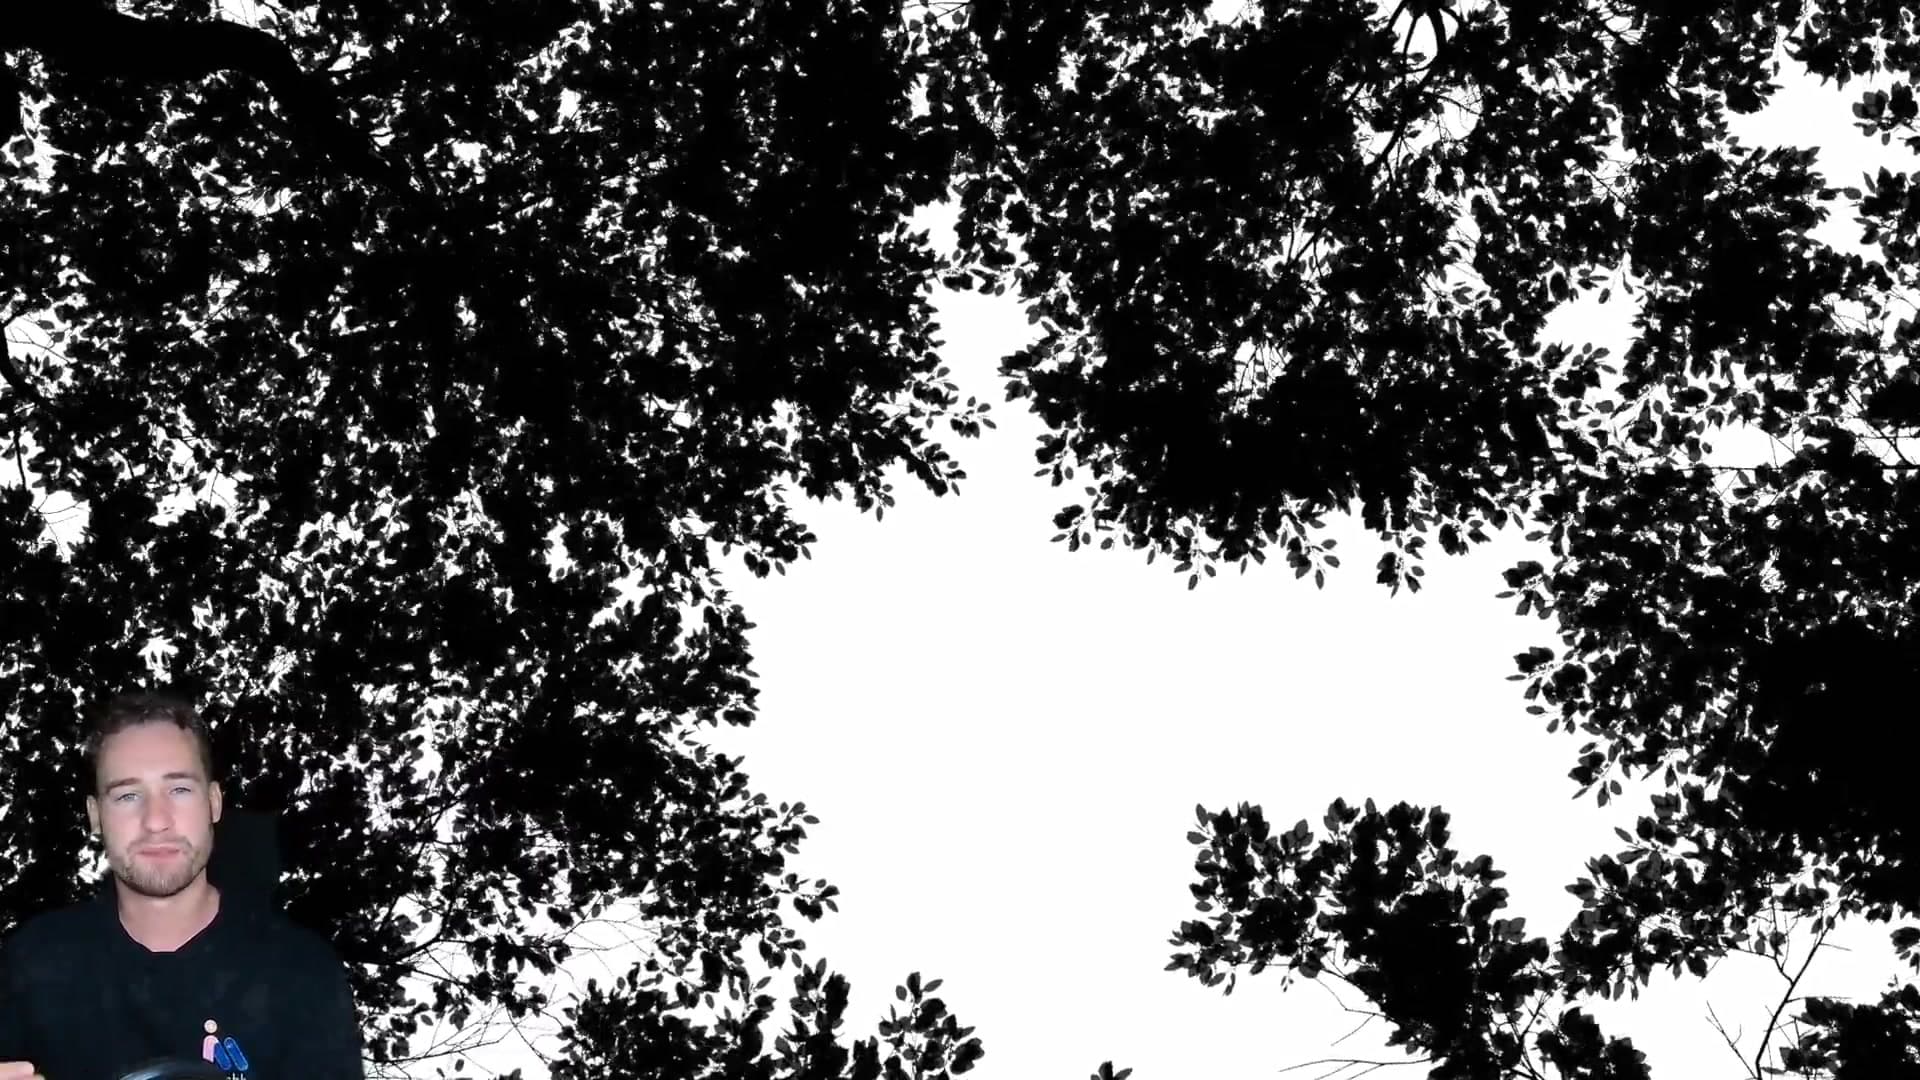
That sharpness is a deliberate authoring choice. You can always soften a gobo inside Blender by increasing the spotlight's Size value, but you cannot recover detail from a source that was already blurred when it shipped. The iMeshh team has seen gobo packs online that arrive pre-fuzzy, and at that point your only option is to live with the blur. Starting sharp keeps both ends of that dial open to you.
The clip also loops without a visible join. It has been running the whole time during the demonstration and you cannot spot the restart. Drop it onto a scene, let it play for the full length of an animation, and the cut stays hidden.
The invisible join is helped by the choreography of the leaves themselves. There is no hero branch with a big distinctive swing, and no single leaf that catches your eye. The motion is deliberately generic so that when the loop does restart, you do not see the same dramatic gesture repeating on the same branch a few seconds later.
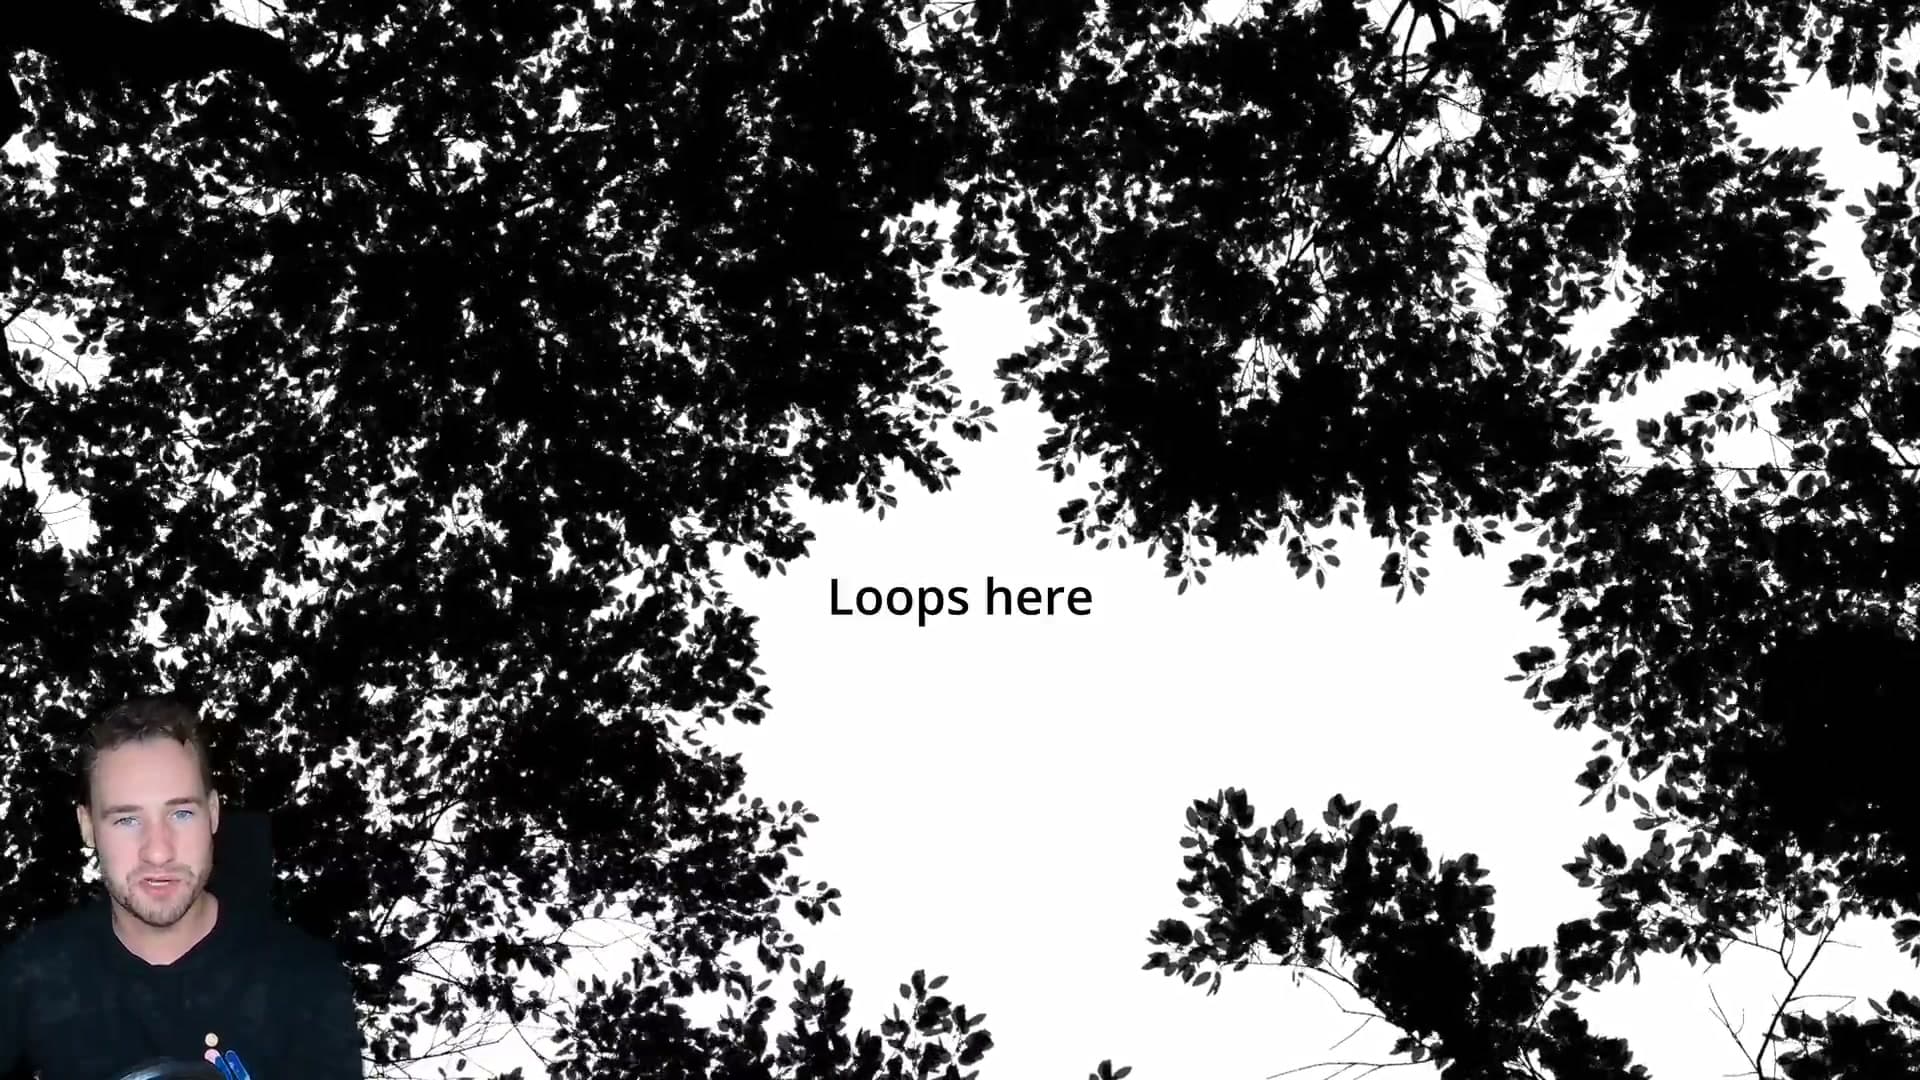
Two presets per gobo: spotlight and shadow plane
Every gobo in the iMeshh pack ships in two ready-to-use flavours rather than just a raw texture file. You get a pre-configured spotlight that already has the gobo wired into its emission strength and aimed correctly, and you get a shadow plane that you can drop straight in front of a camera.
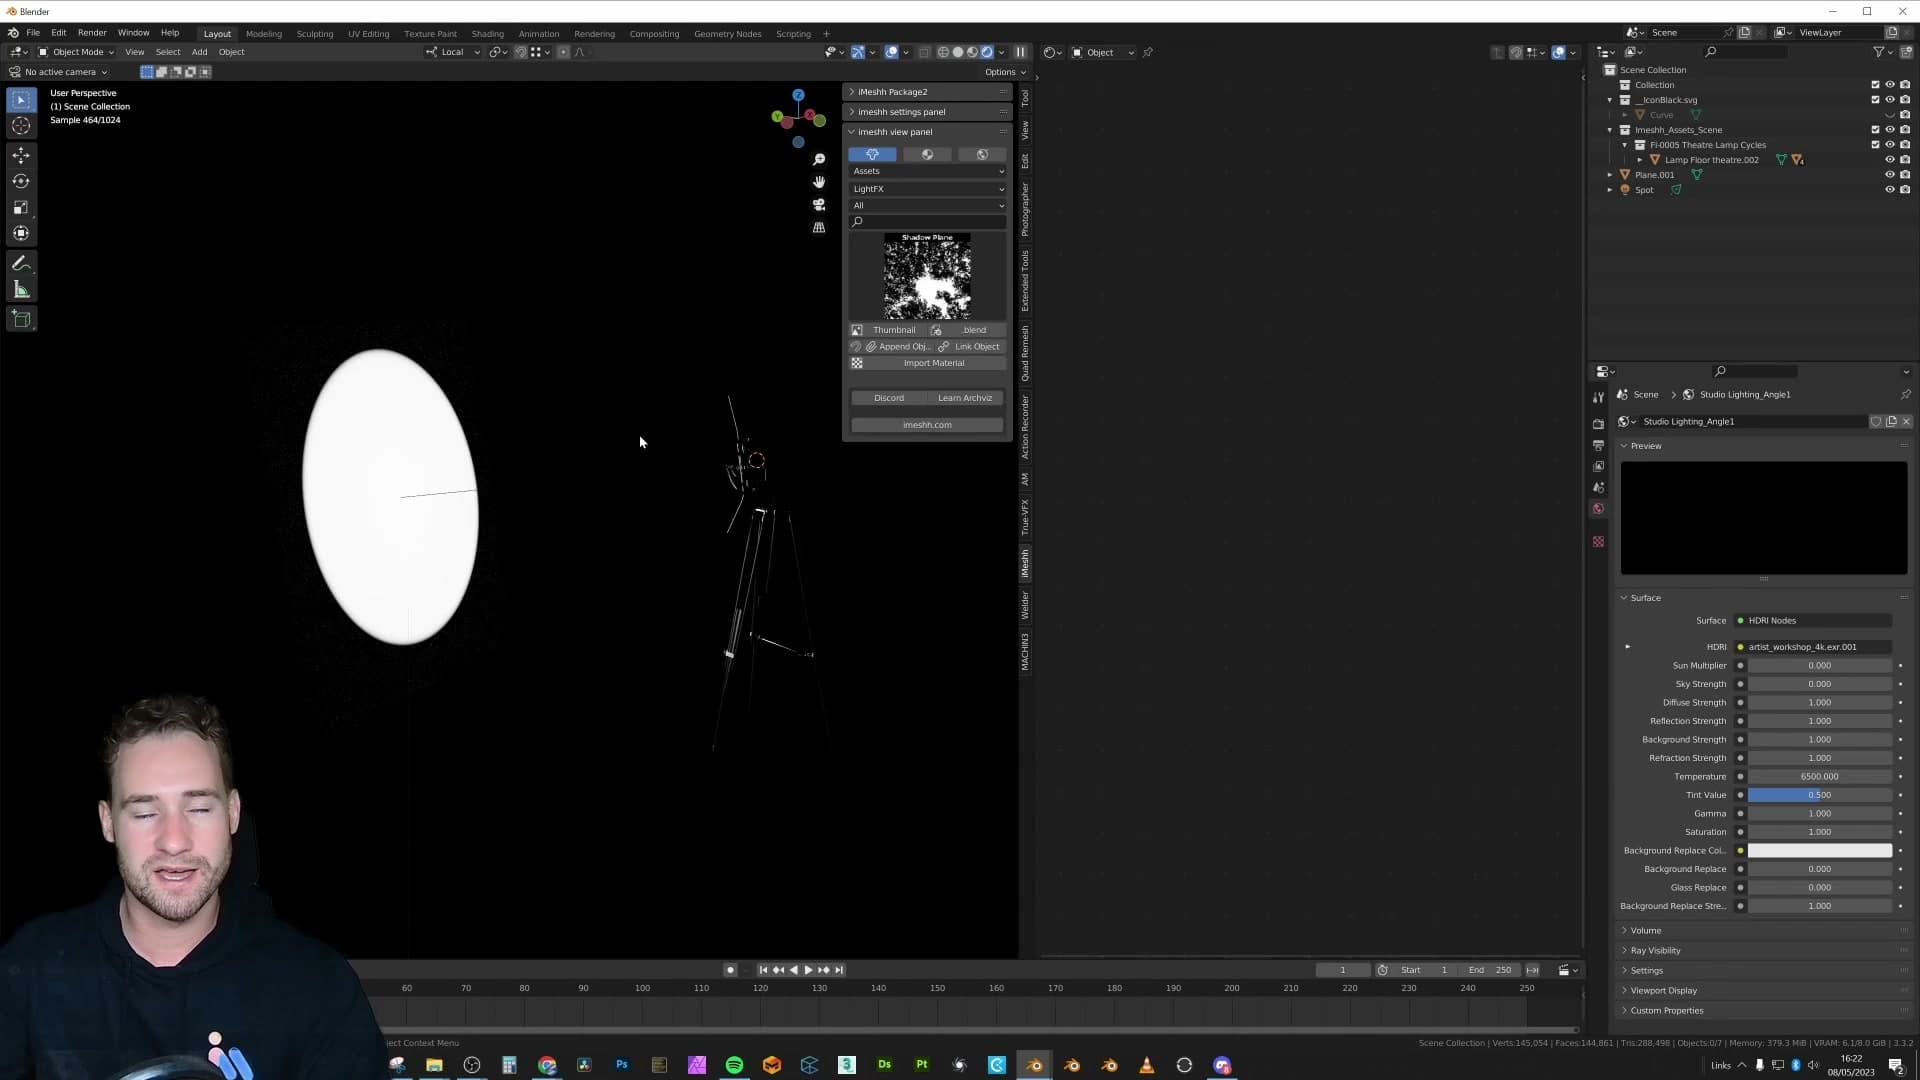
Which one you reach for depends on where you are in the scene. The common case is that you have already built the room, added a sun lamp, and locked in your main lighting. You do not want to redo any of that just to introduce some dappled movement. In that situation, the shadow plane is the faster path: append it, place it in front of the camera, and the animated pattern lays itself across the foreground of the shot without you touching the existing lights.
Aiming the spotlight preset and softening the shadows
The spotlight preset gives you full artistic control. Point it at a wall, dial in colour and intensity, and use Size to soften the dappled pattern.
Aiming the spotlight, tuning colour and Size
For full artistic control over where the dappled pattern lands, swap the shadow plane out for the spotlight preset. Append the spotlight into your scene, switch the viewport to rendered view, and delete any copy you no longer need so you're left with a single light to aim.
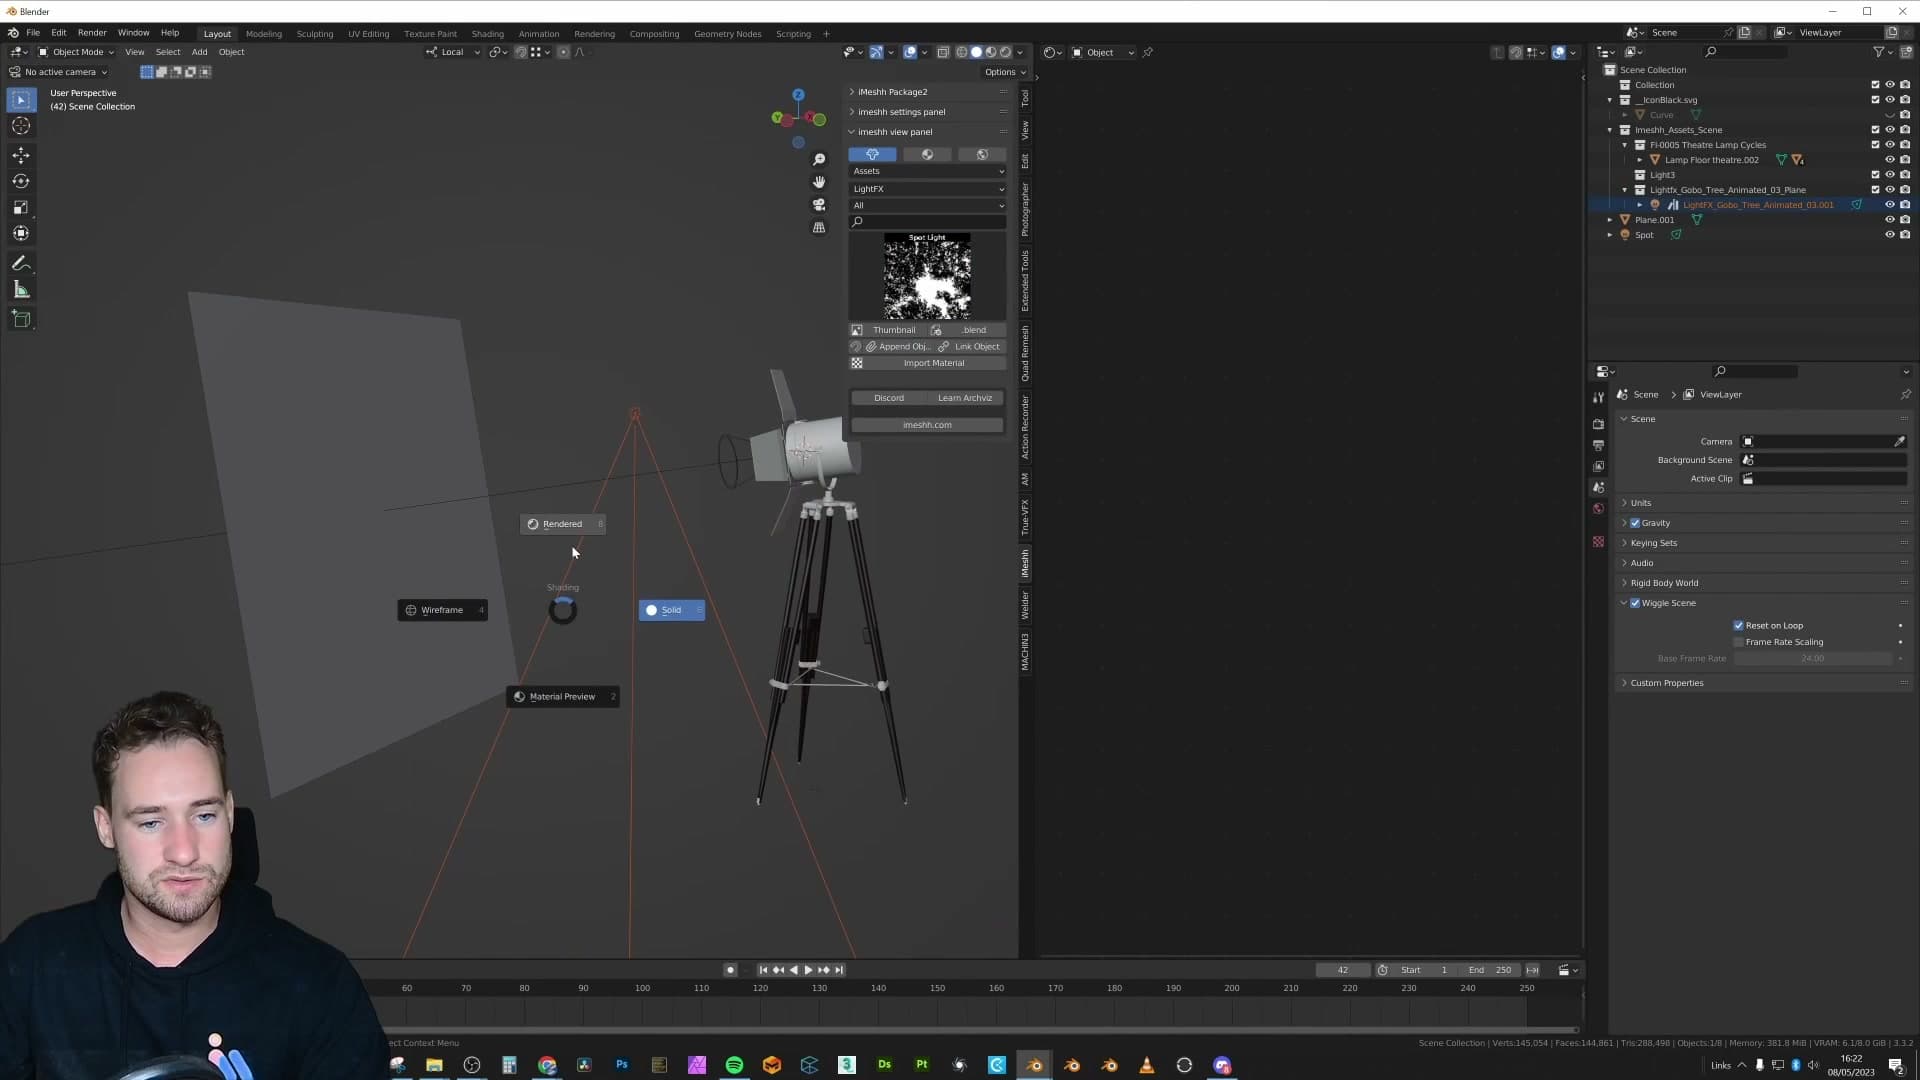
Point the spotlight at whatever surface you want the shadows to fall across (typically the back wall of an interior shot) and the projection re-centres on the new target. From here the gobo lamp behaves like any other Blender light: you can change its position, rotation, colour and intensity, and every adjustment updates live in the rendered viewport.
To soften the projected leaves, select the spotlight and increase its Size value. A low Size gives you crisp, hard-edged leaf shapes; pushing the Size up blurs the pattern into a natural dappled wash, much closer to the way real sunlight breaks up as it filters through a canopy.
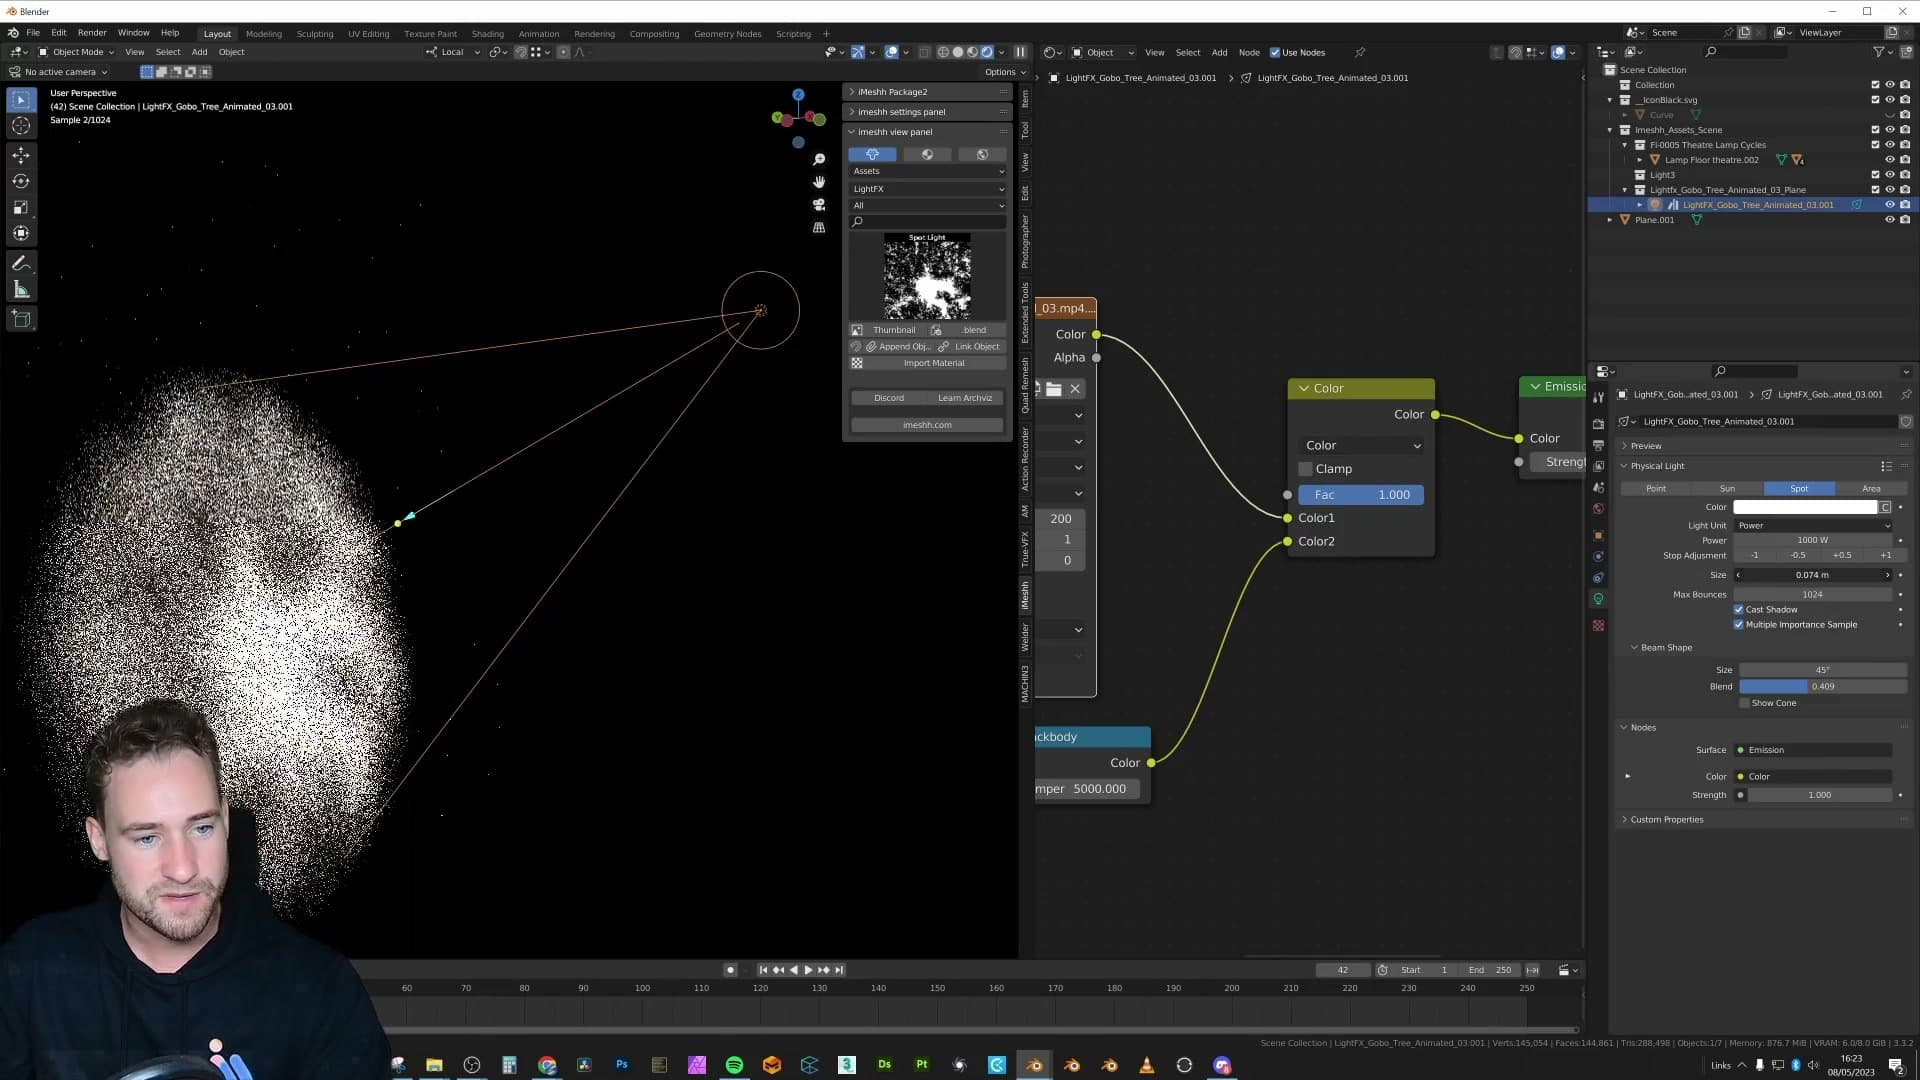
That's the whole setup. One appended spotlight, aimed at a wall, with Size dialled to taste. You've got a very quick result of some very nice lighting.
The bench scene demo and final thoughts
A short showcase scene proves the point: the moving gobo, not the camera, is what makes the shot feel alive. Plus closing notes on where to find iMeshh's gobos and Instagram showcase.
Bench scene: how the animated gobo carries the shot
To prove the point in motion, the video closes with a short bench scene built specifically to showcase one of the animated gobos. Watch it once through and you might assume the loop is broken halfway in. It isn't. The camera move itself loops imperfectly; the gobo and the plant motion driving it loop cleanly. That caveat is worth flagging up front so you're judging the technique, not the camera path.
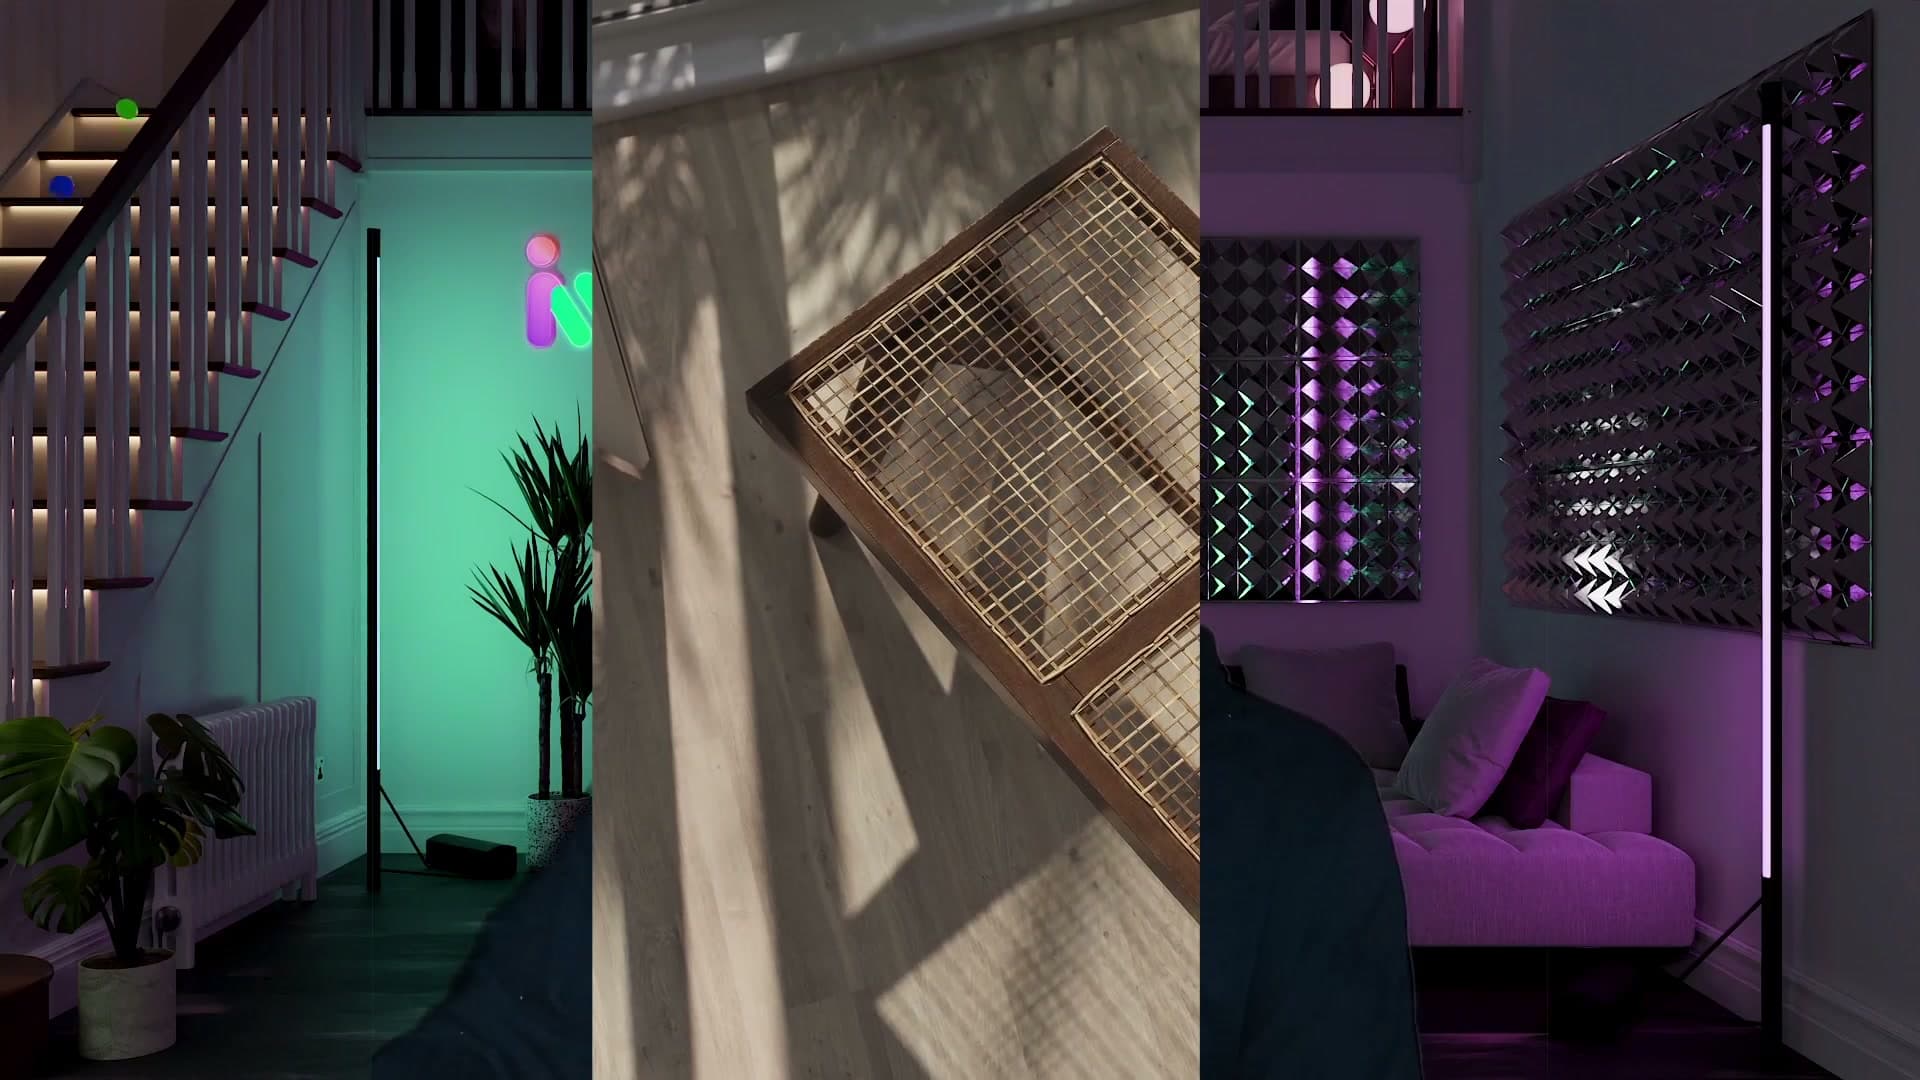
Strip the animated shadow out of that scene and what's left is a still bench under flat light. Pleasant enough, but inert. Layer the moving dappled shadow back on top and the frame suddenly feels alive, even though the camera is barely doing anything. That motion in the lighting is what sells the realism. It's a useful demonstration that the gobo, not the camera work, is doing most of the heavy lifting on the shot.
Where to share renders and final encouragement
That bench scene was originally posted to the iMeshh Instagram a while back, so if you want to see more finished work coming out of the studio it's worth a follow. The account has been relaunched with a higher quality bar for what goes on it, so most of what's there now is showcase-grade. Tag iMeshh on your own renders and there's a good chance they'll be shared on the feed.
And that's the technique. A black-and-white texture, a spotlight, a Texture Coordinates node wired through Normal, and one or two offset values. You've got dappled lighting that costs almost nothing to render but has a disproportionate effect on how grounded a scene feels. It really does feel like a secret hack for adding interesting lighting to an otherwise ordinary shot.
If you're an iMeshh subscriber, the new gobo category is live in the library. If there are specific environments you'd like to see covered beyond the ones shipped so far, let the team know and they'll be made. More dappled lighting and more use of gobos in archviz renders is exactly the outcome the studio wants to see.
Tools and credits
Everything mentioned in this tutorial, with links.
- Blender: the renderer this entire build runs in.
- iMeshh: studio platform (project management, client review, asset library, invoicing). The asset library used in this tutorial is included with every iMeshh Pro plan.
- Poly Haven: free CC0 textures and HDRIs.
Pillar guide: Lighting hub