Why this real-lens camera tool blew my mind
A look at the physically-modelled Blender camera rig that bends light through actual glass elements, and why it's worth experimenting with despite render times that stretch into hours.
Discovering a real-optics camera built inside Blender
The running theme on this channel is nudging you out of comfortable workflows: try a new lighting setup, swap your usual material approach, anything that breaks the rut of solving the same problem the same way every time. This post sits squarely in that spirit, and the tool driving it is the most extreme example of "try something new" I've covered in a while.
While browsing YouTube recently, I came across a Blender rig that genuinely earns the word maniac I used when describing its author. It's a virtual camera modelled inside Blender that uses real lens elements and a substantial amount of underlying maths to simulate how light actually bends through glass before it lands on the sensor. No post-effect, no lens-distortion shader: a physical optical stack rendered from the inside out.
Because the iMeshh channel has a deep catalogue of archviz tutorials, the natural test was obvious: take a handful of final renders from existing tutorial scenes and re-shoot them through this physically modelled camera to see what changes. The rest of this post walks through that and shows the finished shots side by side.
Why every render takes three to six hours
One large caveat goes up front: this is almost certainly not something to bake into your daily workflow. Every render through this camera takes roughly three to six hours, and even at that runtime the final image is still slightly noisy.
Sample counts sit at around 28,000, an order of magnitude above what a normal Cycles archviz scene would need, because the camera is tracing light through real glass with no shortcuts. There is no clever denoising trick or aggressive noise threshold to lean on; the light has to physically resolve through the modelled lens elements before a clean image emerges on the sensor.
The trade-off is the look. Final renders come out reading like an actual film camera rather than a 3D render, with the kind of natural distortion, glare and depth-of-field falloff you would normally only get by photographing a real scene with real optics. For occasional hero shots, that is well worth the wait.
Inside the virtual camera rig
A tour of the rig's controls (focus ring, aperture, exposure) plus the upside-down sensor camera, the viewfinder preview, and the compositor flip that makes everything read the right way up.
Lenses, focus ring, exposure and aperture controls
Open up the rig and you can see why it earns the "real-optics" label. There are actual lens elements sitting inside the camera body, and light bends through each piece of glass the same way it would in a physical lens. I'll be honest: I can't quite work out how it's been pulled off inside Blender, but the geometry is genuinely there for samples to refract through.
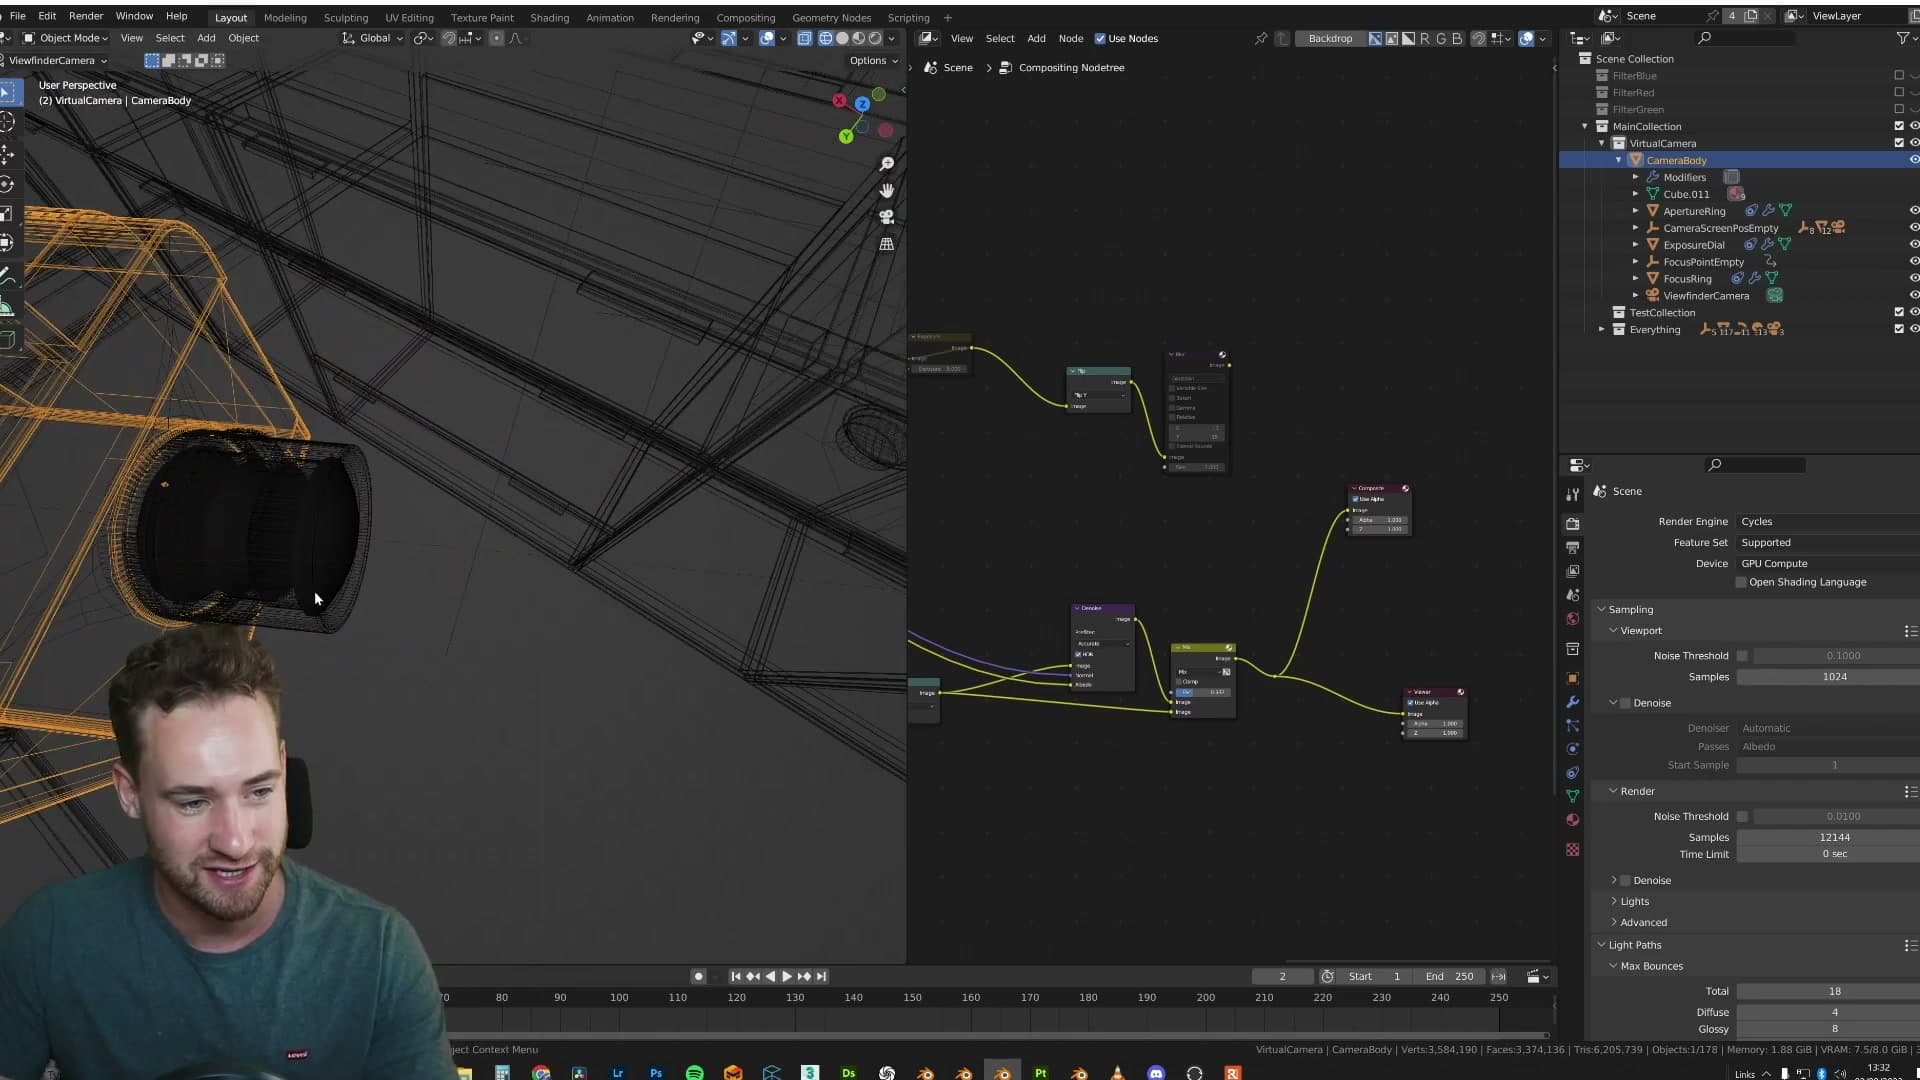
The controls sit on the rig itself and map directly onto the parts of a real camera you'd reach for. There's a focus ring you can use to shift where sharpness lands, an aperture control for depth of field, and an exposure control for overall brightness. An empty parented to the rig marks where the current focus point is in 3D space, so you can see exactly what the lens is locked onto rather than guessing.
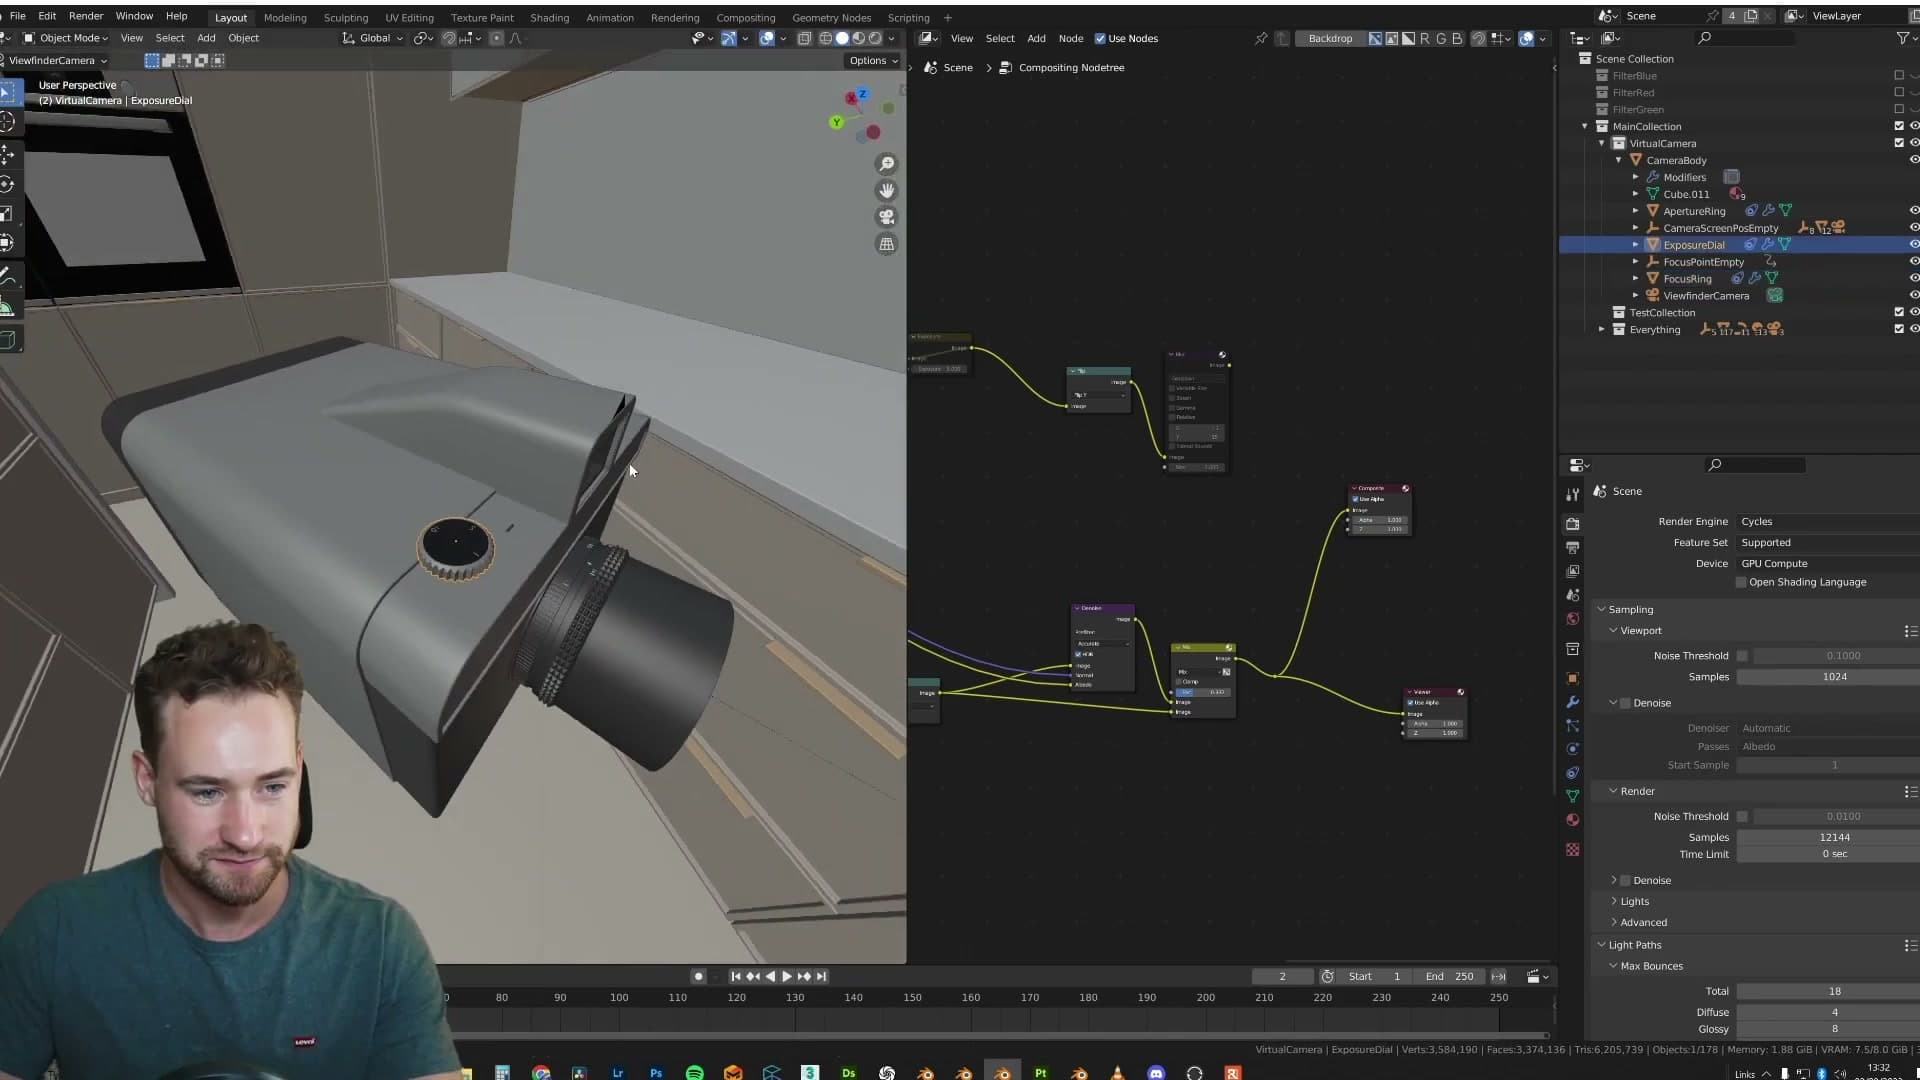
That combination means you can frame a shot the way a photographer would on set. Pick the subject, dial the focus to it, open or close the aperture for the depth-of-field falloff you want, then balance exposure. Nothing about it is faked in post; every cue you see in the final render is happening because of how light is moving through the rig.
The viewfinder and the upside-down sensor camera
There are two cameras in the rig and they do very different jobs. The first is a viewfinder camera. Switching to it gives you a rough live preview of the scene: not final-render quality, but enough to compose a shot and check framing quickly.
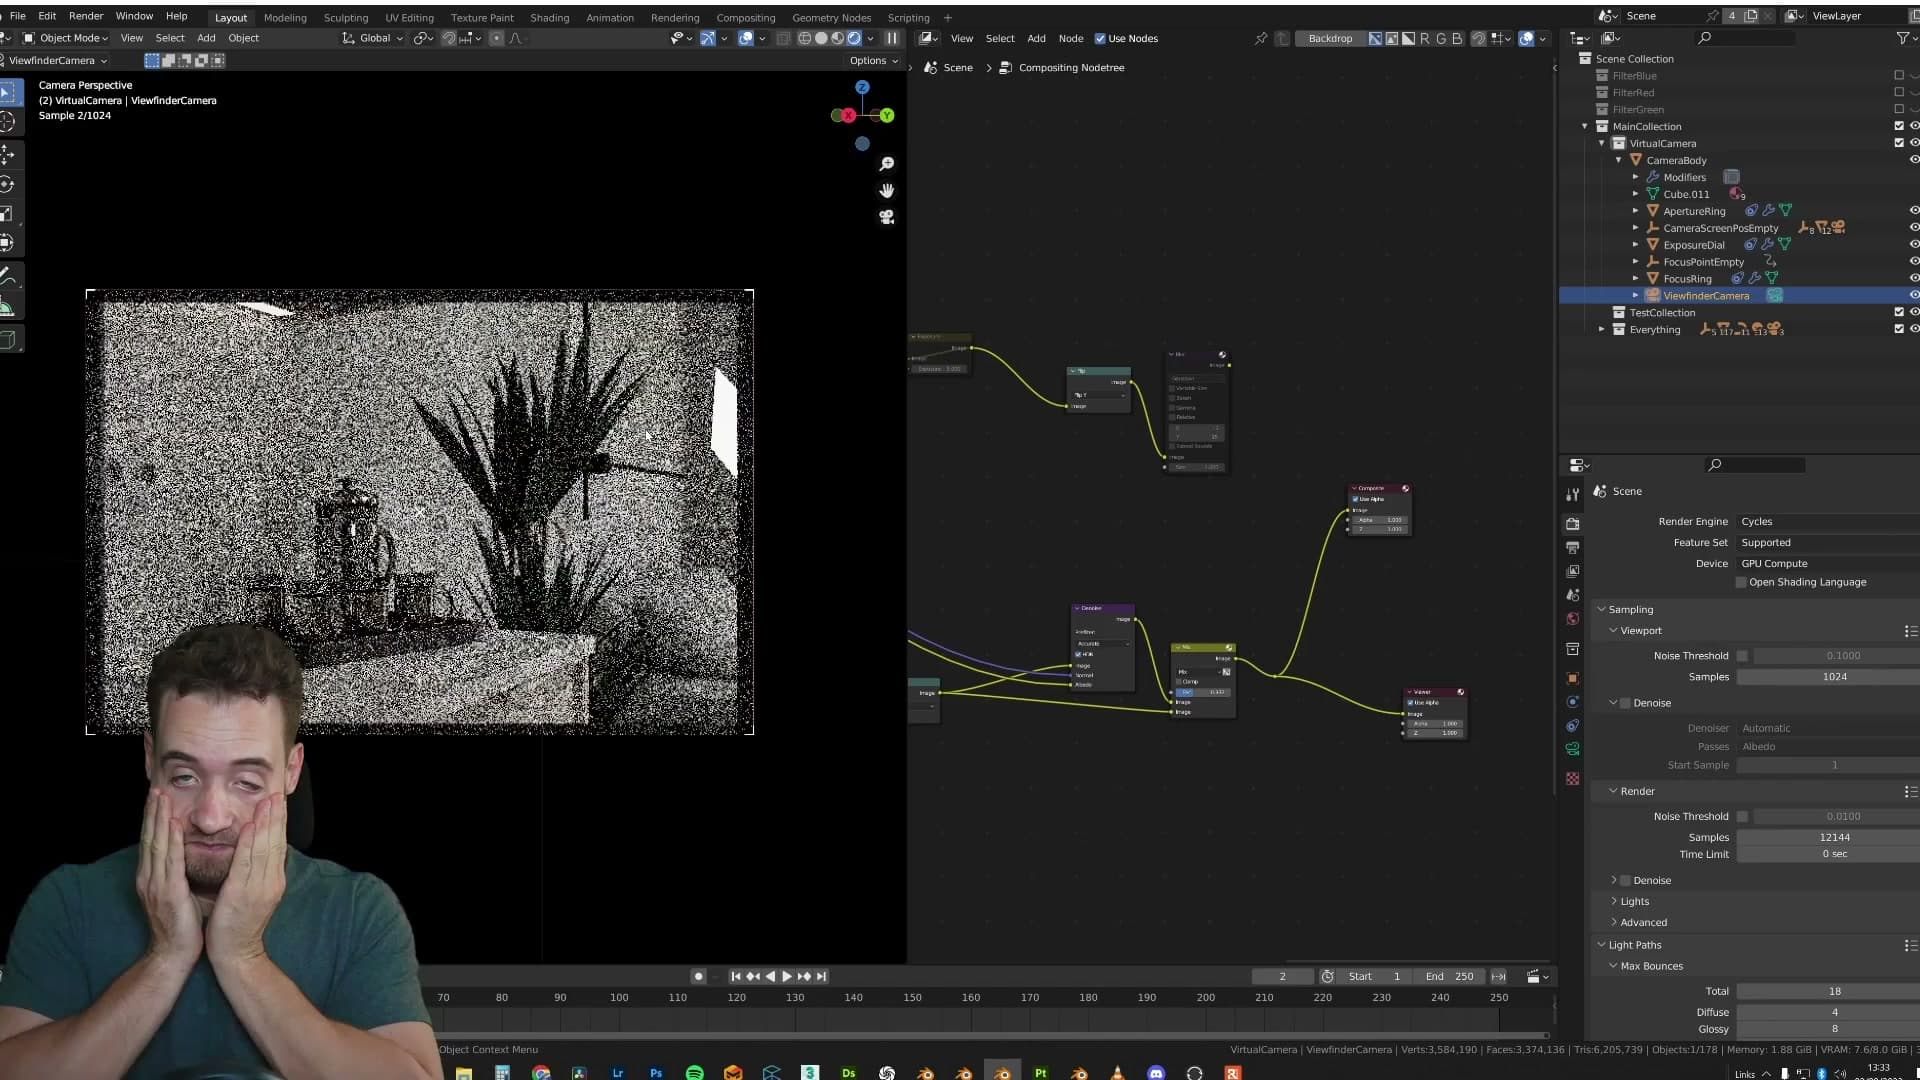
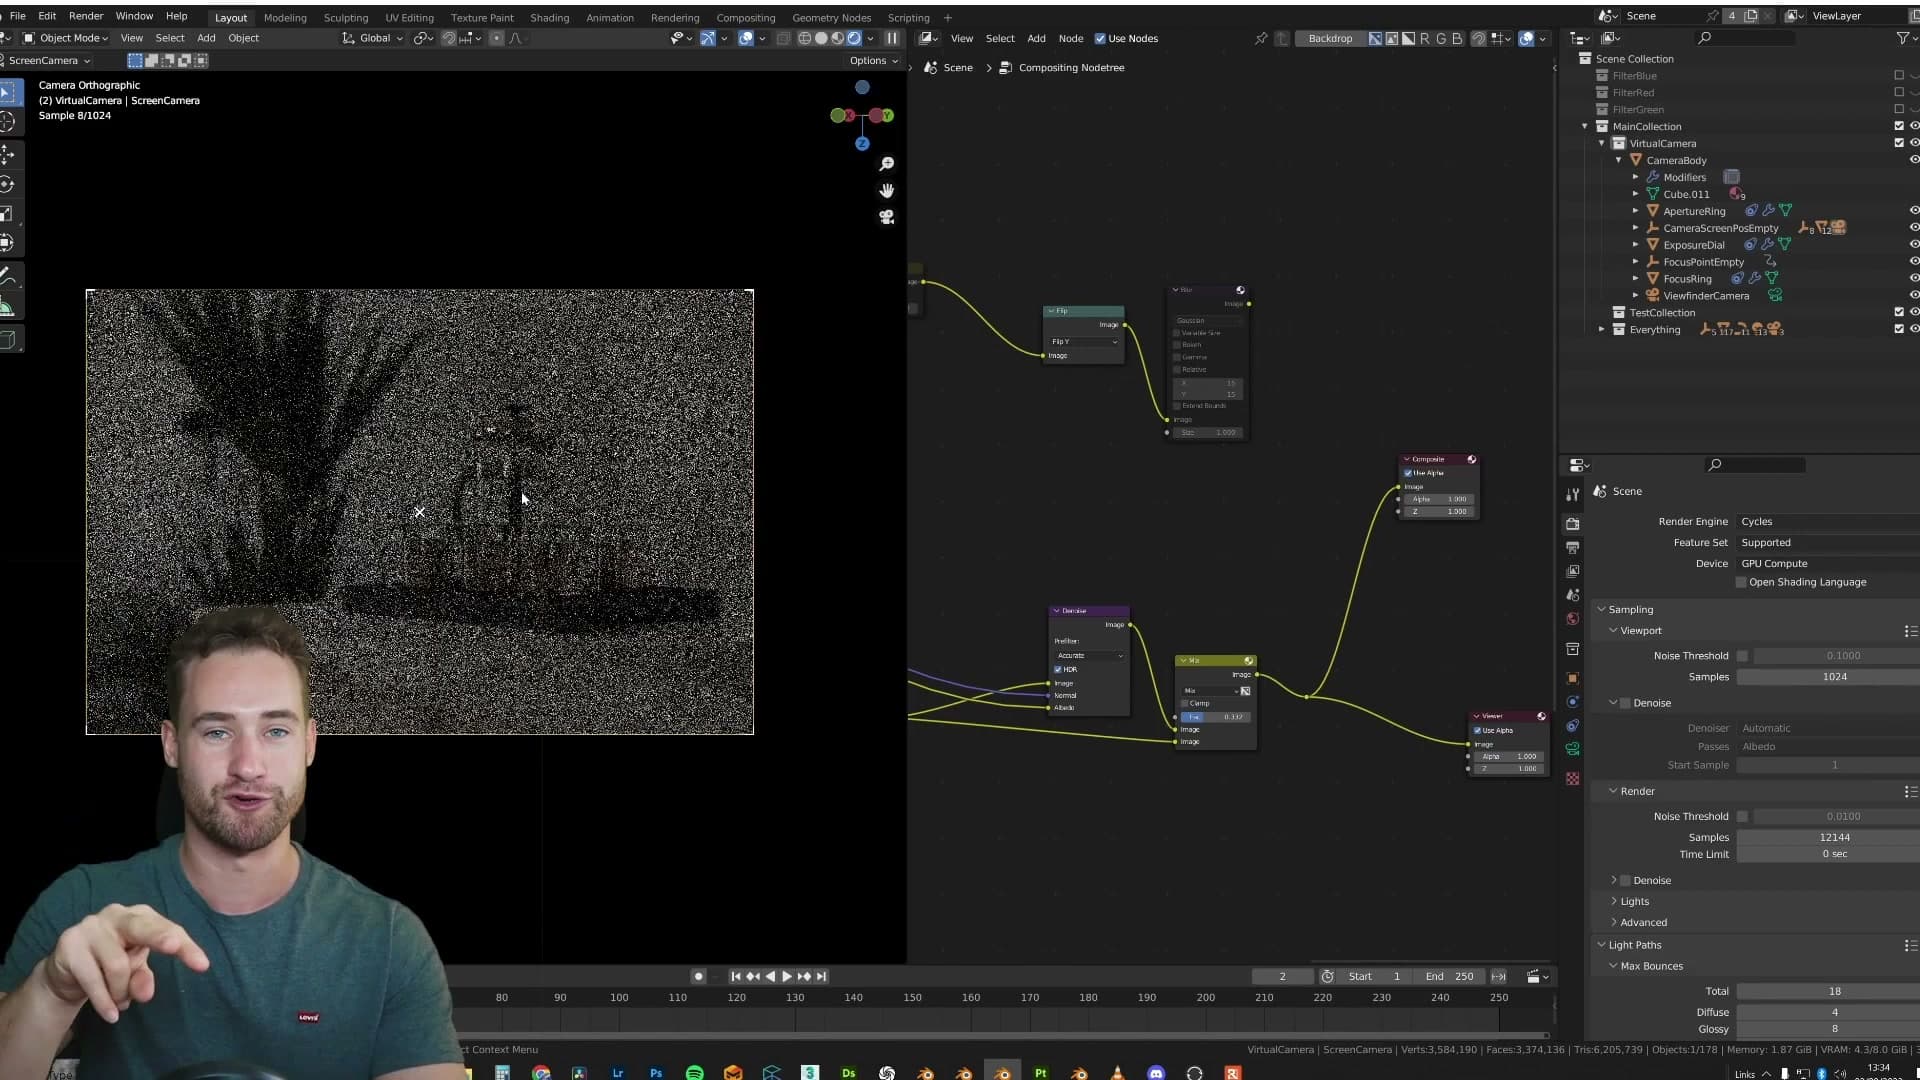
The second camera sits at the back of the rig where the sensor would be in a real camera body. This one only resolves an image once light has actually travelled through the lens elements, so dropping into its view in solid mode shows nothing at all. You won't see anything meaningful until you switch to rendered viewport and let samples start to accumulate.
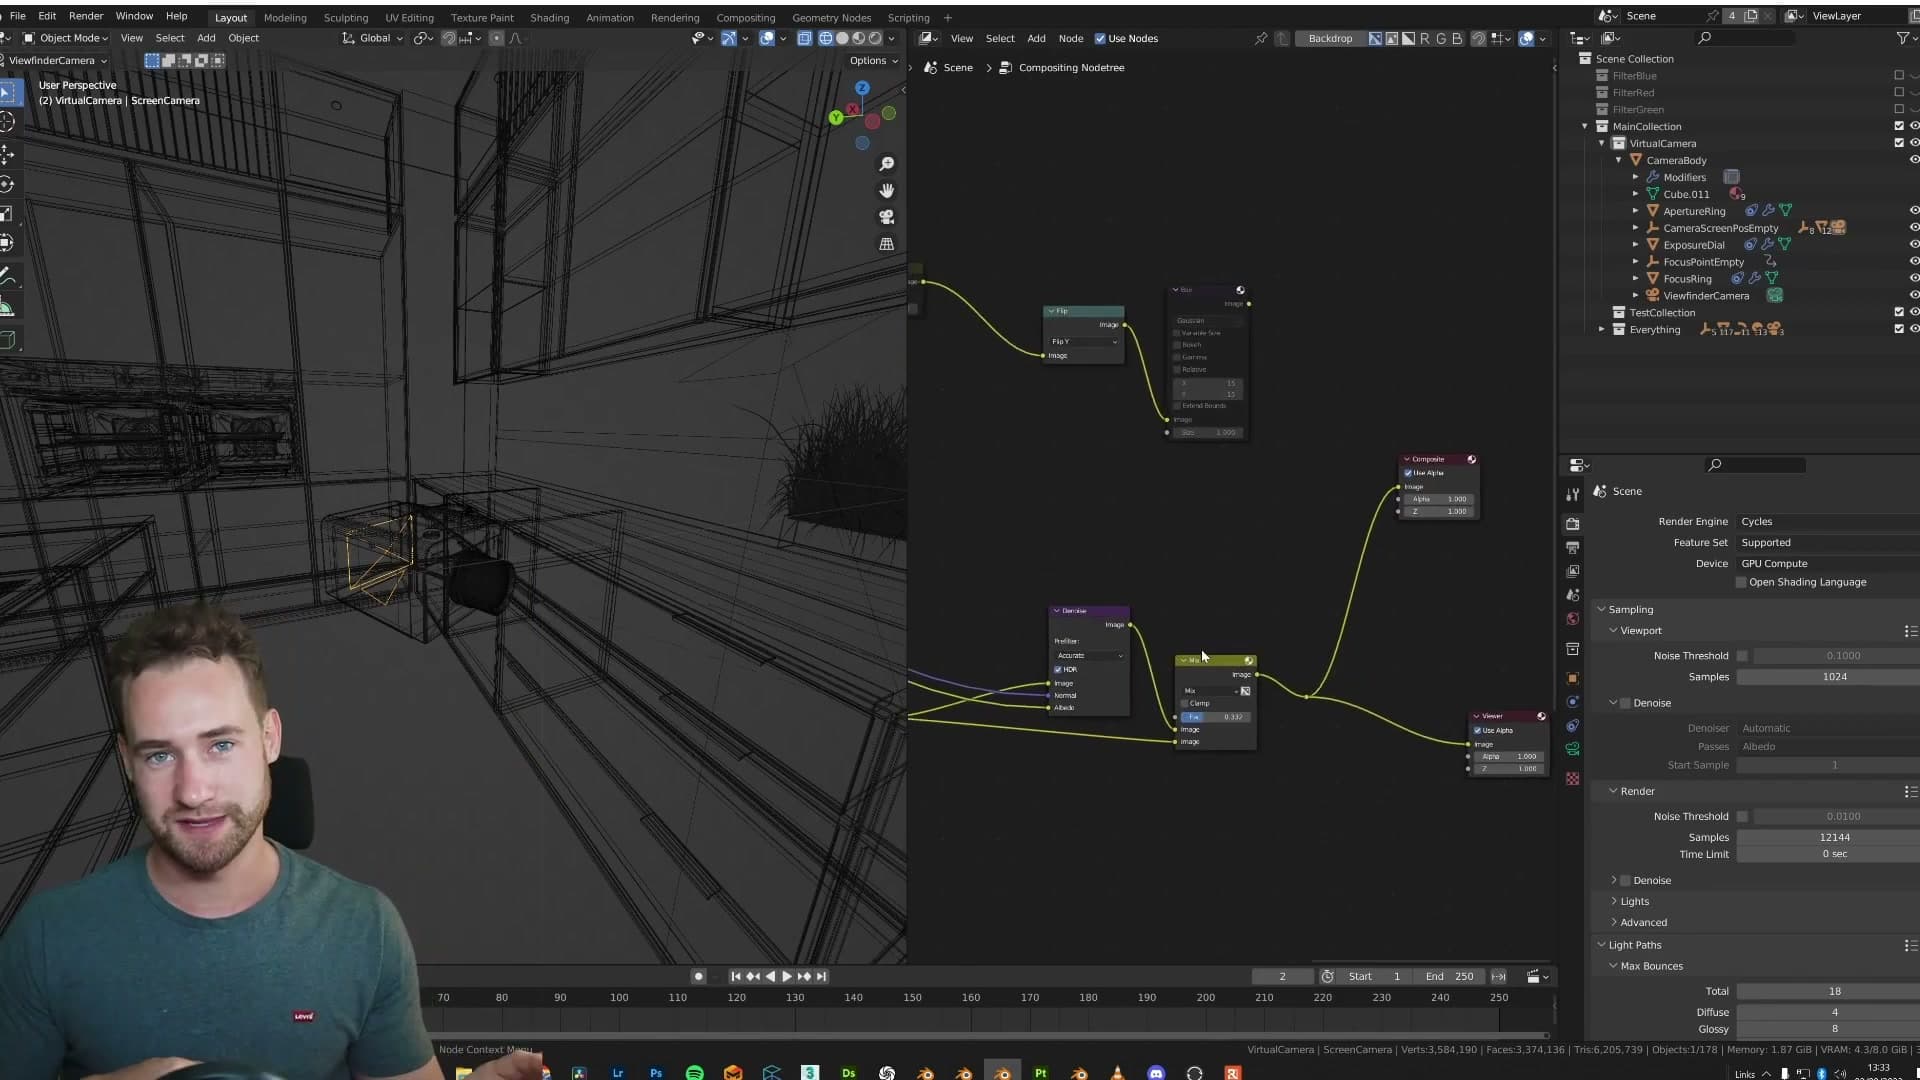
Real optics also flip the image upside down, the same way a film camera does before the body inverts it for you. The original rig handled this with a flip step in the compositor so the final render came out the right way up. My setup approaches it differently: I flipped the sensor camera itself upside down and then disabled the compositor correction, so the two inversions cancel out and the image reads correctly without an extra node firing on every frame.
Previewing the scene and racking focus
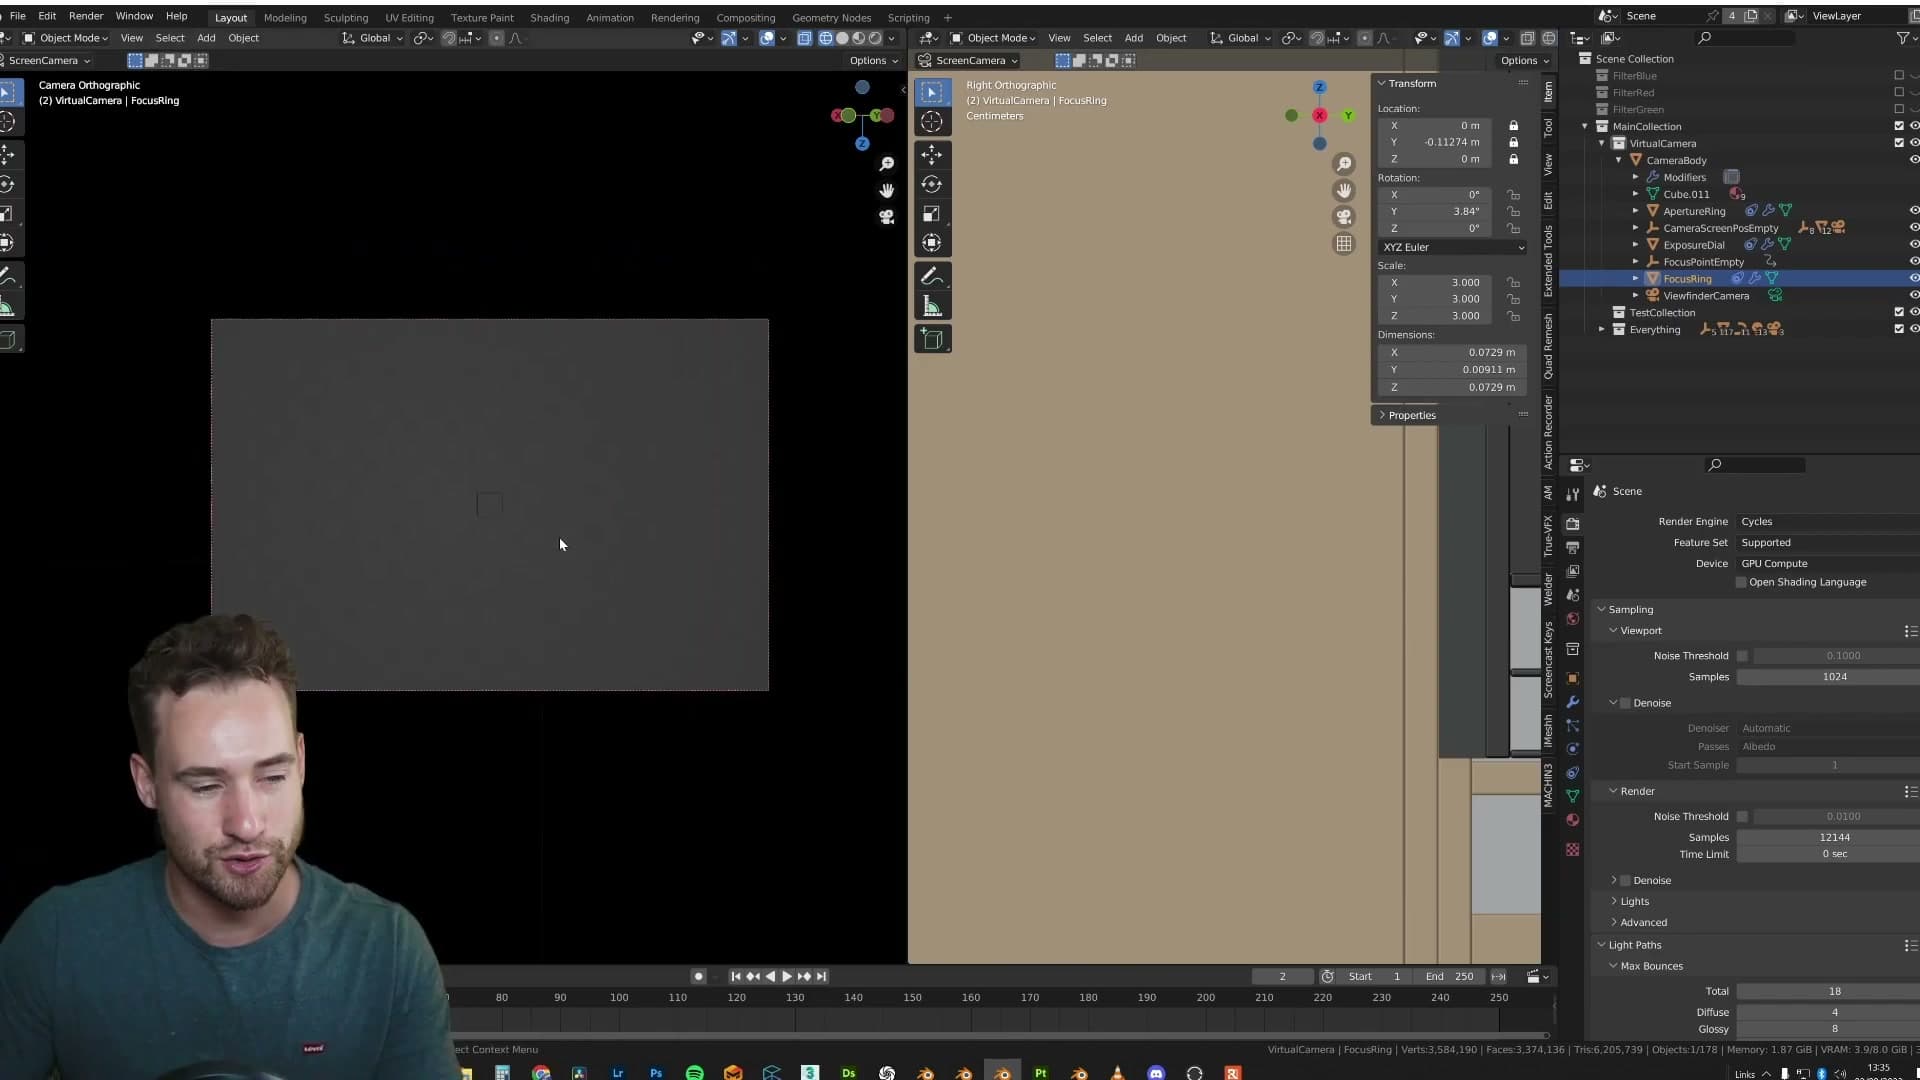
To get a usable preview you have to drop the rig somewhere it can actually see the scene, then sort the focus before you start sampling. Move the camera into a position you want to shoot from and check the focus empty. Wherever that empty sits is where sharpness will land in the final shot.
Racking focus means dragging the empty to whatever you want the camera locked on. If it's sitting in mid-air in front of the subject, push it deeper into the scene until it lands on the surface you care about. I moved mine out over the table for this preview so the tabletop reads clearly.
With the camera reframed and the focus empty repositioned, switch back into the sensor camera view and into rendered viewport. It's slow. That's the trade-off you accept for real light transport through real glass. But within a few seconds you'll start to see an image build up on the sensor as samples come through the lens.
Render settings for the physical camera
Why this rig needs an order of magnitude more samples than a normal Cycles shot, and the one Cycles setting that buys back a few hours of render time.
Pushing samples to 28,000 with no noise threshold
Once the rig is framed and focused, the render settings are where this workflow stops looking like a normal Cycles shot. Open the render properties, head to the sampling section, and you'll see the sample count sitting at 12,000. That's roughly a three-hour render on this scene, and it's about the minimum you can get away with before the image starts to feel underbaked.
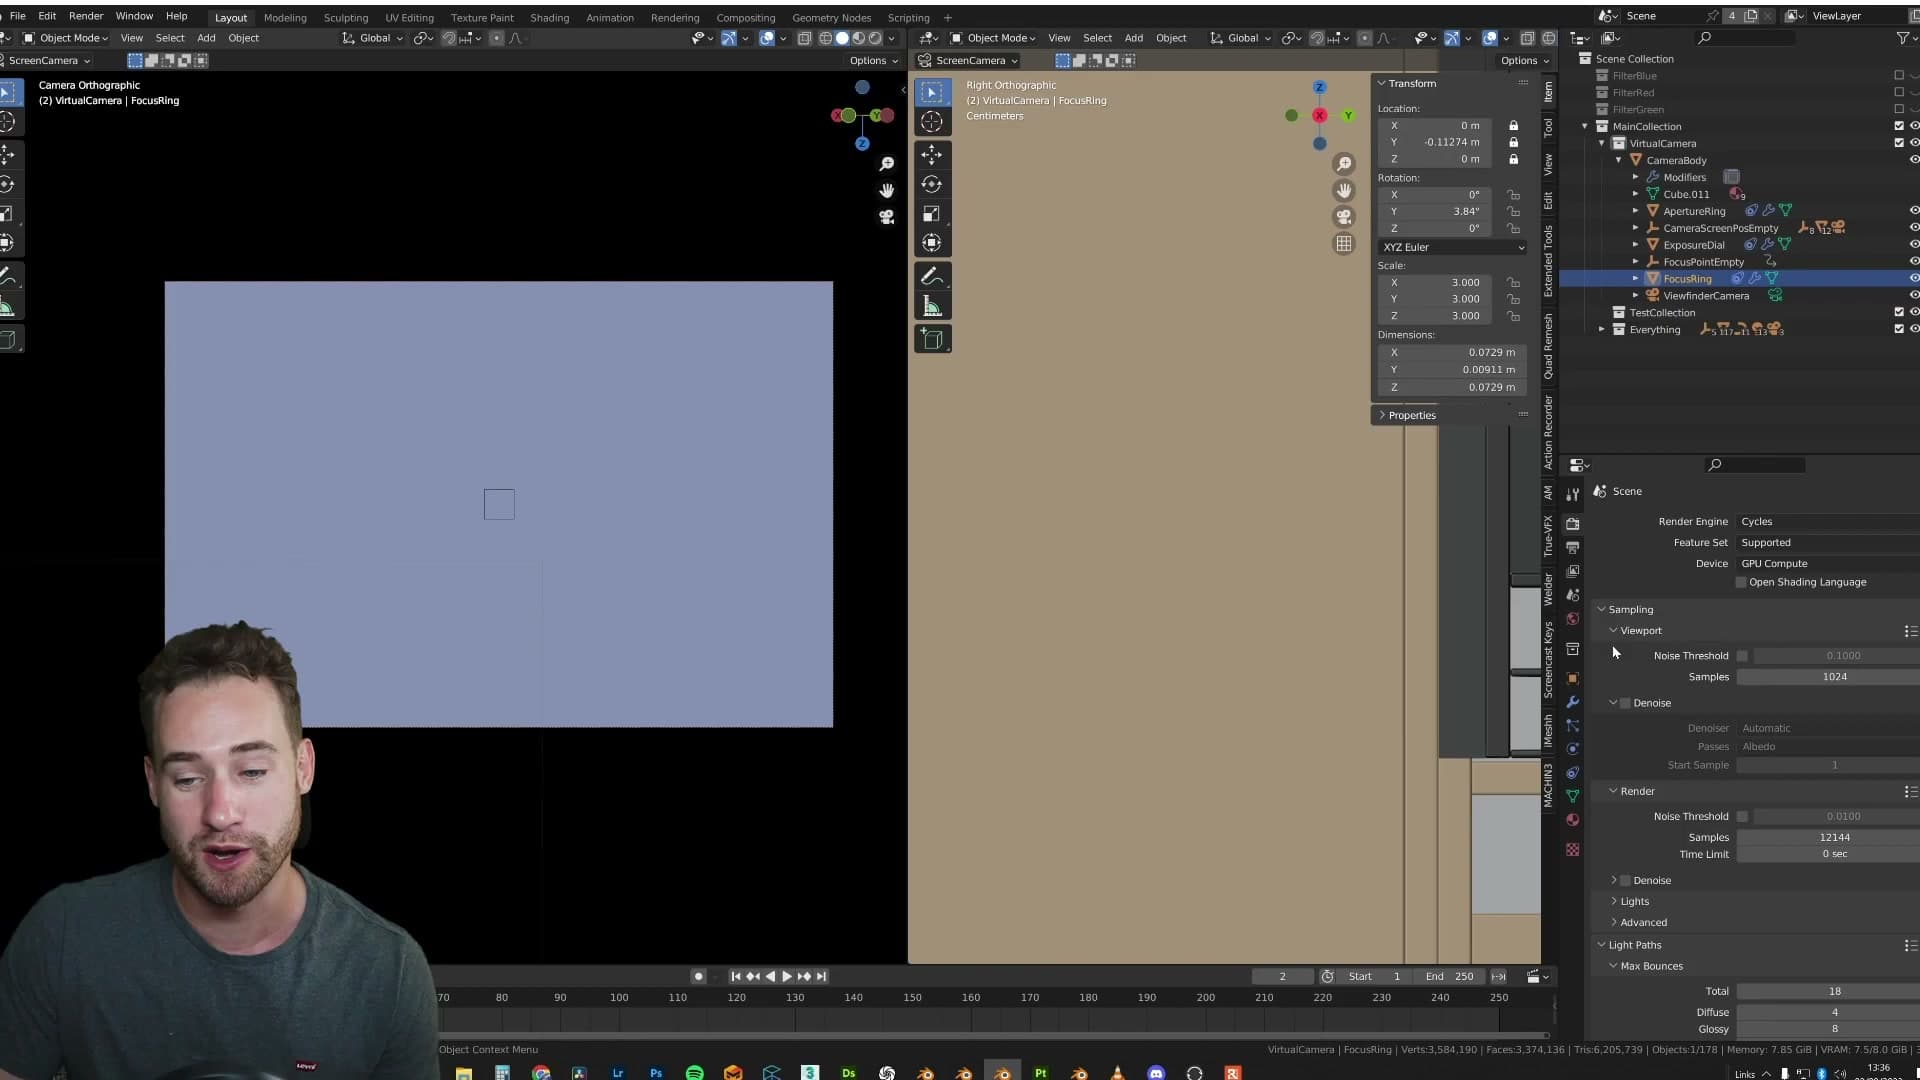
If you want a properly clean frame, you push that number up to 28,000 samples. It's a ridiculous count by any normal Cycles standard, but it's what the rig demands. There's no shortcut around it when every photon has to travel through actual glass before it hits the sensor.
Crucially, the noise threshold is left off entirely. No adaptive sampling, no extra denoising shortcuts, no additional calculations layered on top. This is pure light transport from the scene, through the lens elements, onto the virtual sensor. Nothing else is happening here; the whole point of the rig is to let raw light do the work.
Why indirect clamping is the one compromise
The one setting that does get touched is indirect light clamping. The raw light-transport approach throws fireflies (those bright single-pixel speckles where a single noisy sample lands on a high-intensity bounce), and clamping the indirect contribution is the cleanest way to suppress them.
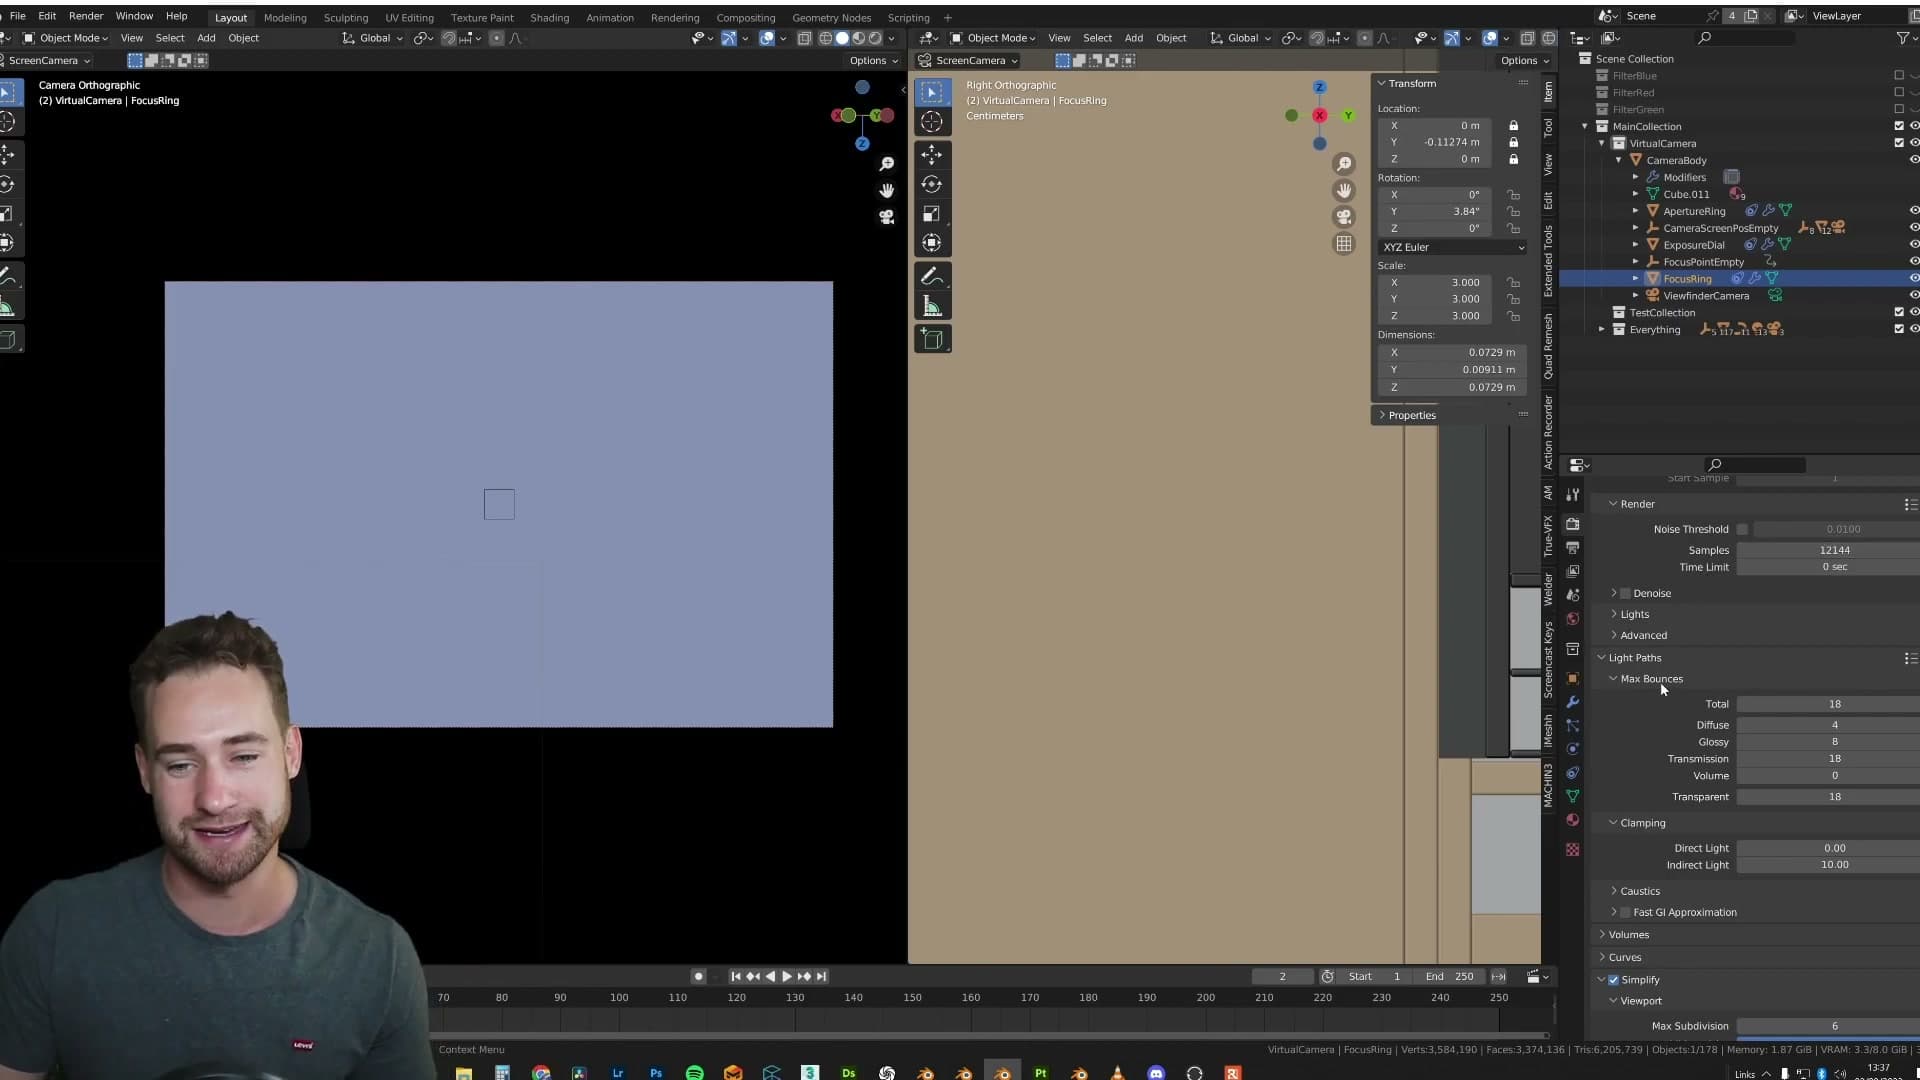
I'll be upfront that this is a compromise. Turning clamping on dials back a little of the raw, unfiltered character that the whole rig is built to preserve. The trade-off is worth it though: with clamping enabled you can drop the sample count meaningfully and still ship a usable image, rather than waiting six to ten hours for a frame that's otherwise barely cleaner.
The finished renders
Four shots rendered through the physical camera: natural lens distortion, real lens glare, deep depth of field, and a re-rendered masterclass scene that feels like a film still.
Natural lens distortion and real lens glare
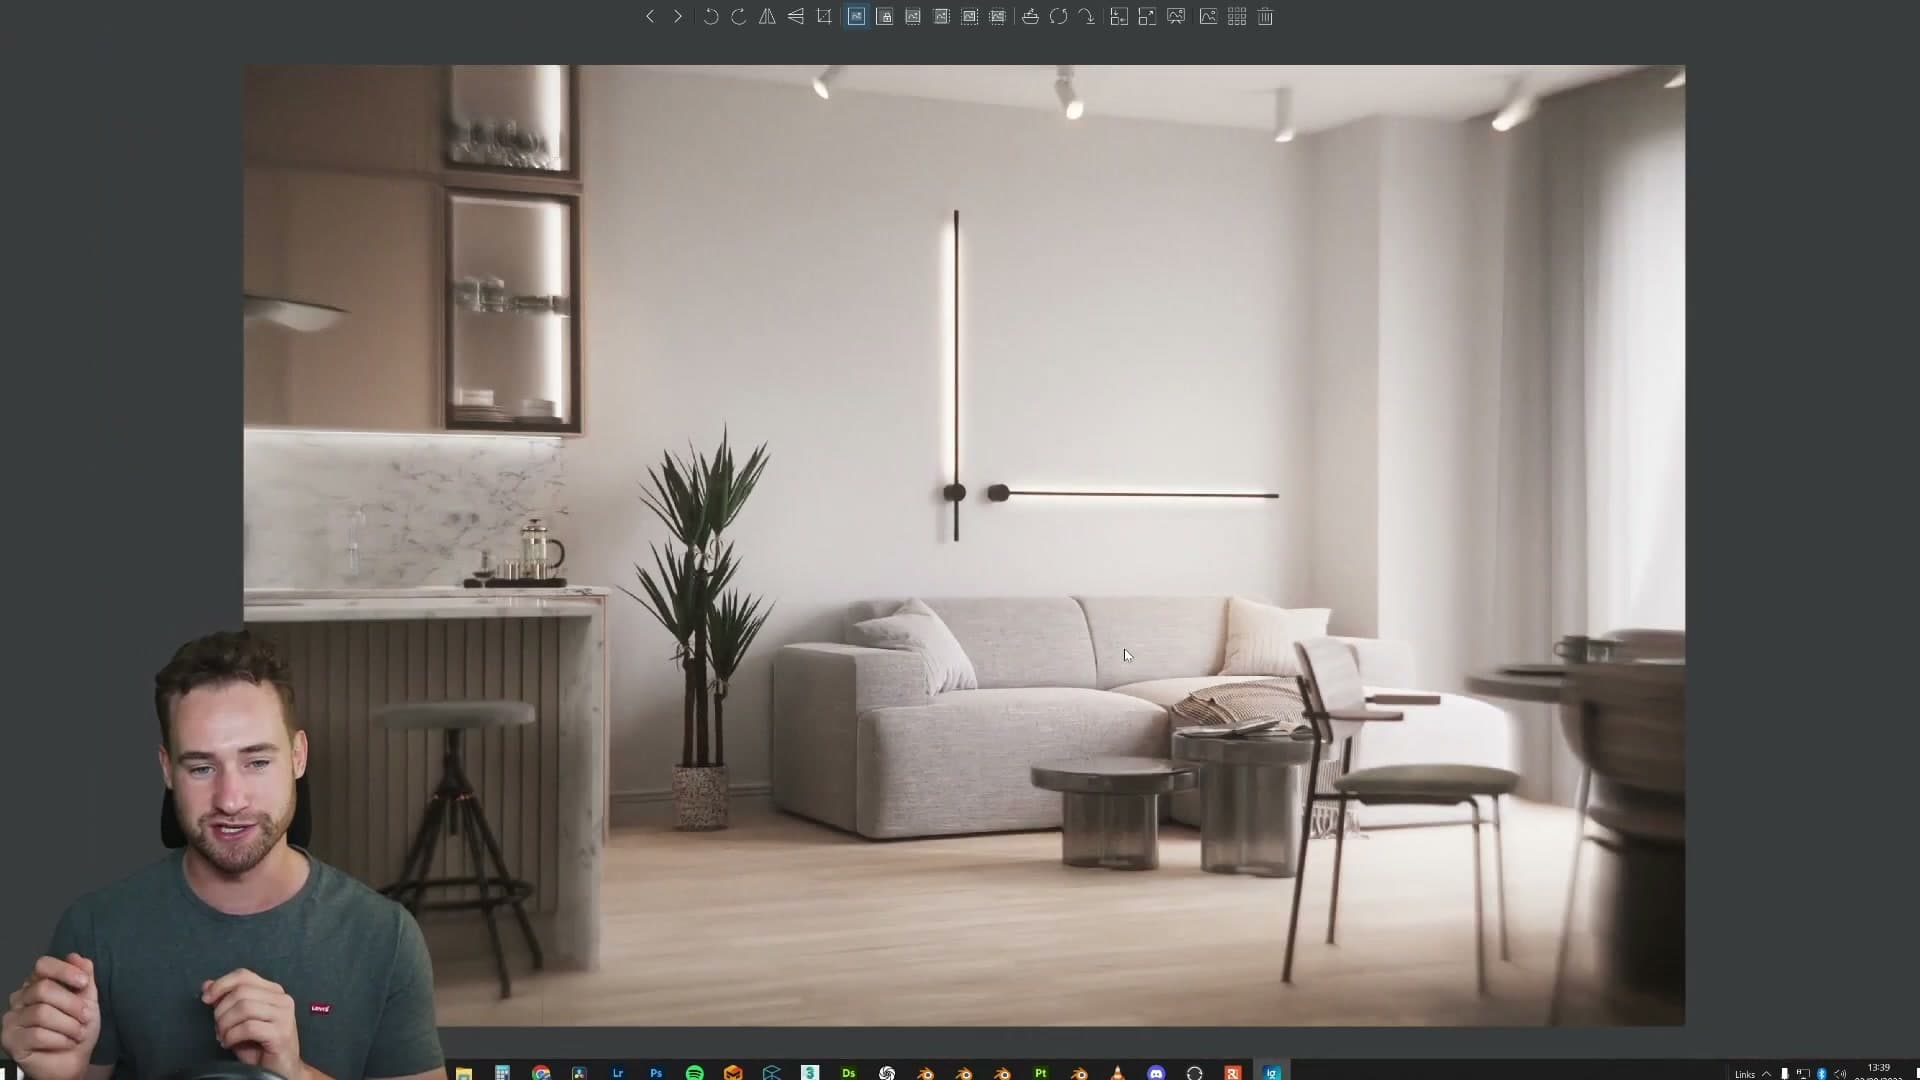
The first finished render is a controlled test of what the lens does on its own, and there are two things worth pointing out. The edges of the frame show subtle barrel distortion. Every real lens has some distortion at the edges, but it's not usually this obvious, and here it gives the shot a slightly unique character that reads as photographic rather than rendered.
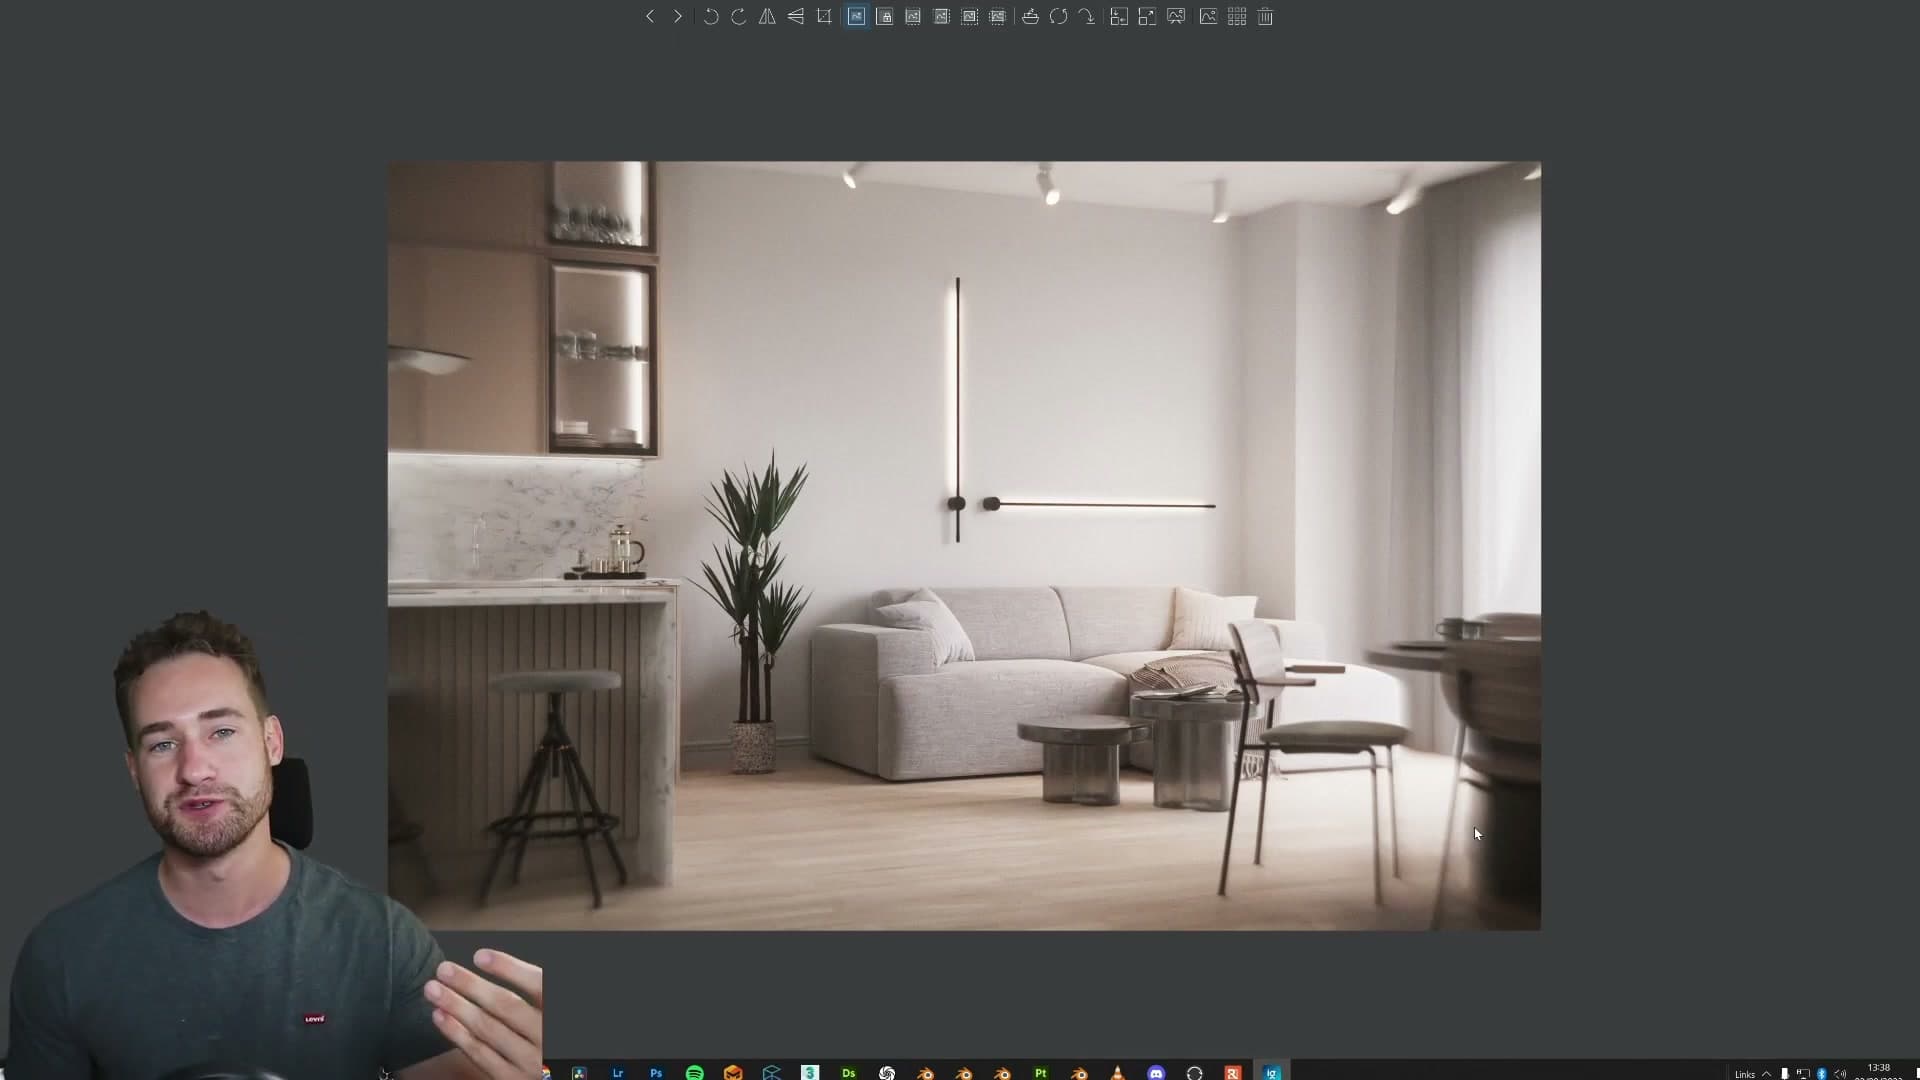
Look at any bright light source in the frame and you'll see soft glare blooming around it. There are no glare nodes enabled in the compositor for this shot. The bloom is coming from imperfections on the virtual glass elements as light passes through them. It's pure light transport through the lens, which is why it feels less like a post effect and more like something you'd get out of a real sensor.
After rendering, the shot went into Photoshop for a colour noise pass. The speckled colour artefacts were knocked back, but the underlying luminance grain was left alone. The result still has a fine grain to it, and that grain is what makes the image read as film rather than a clean digital render. Some additional colour corrections were also applied to taste, copied across from the source tutorial's grade.
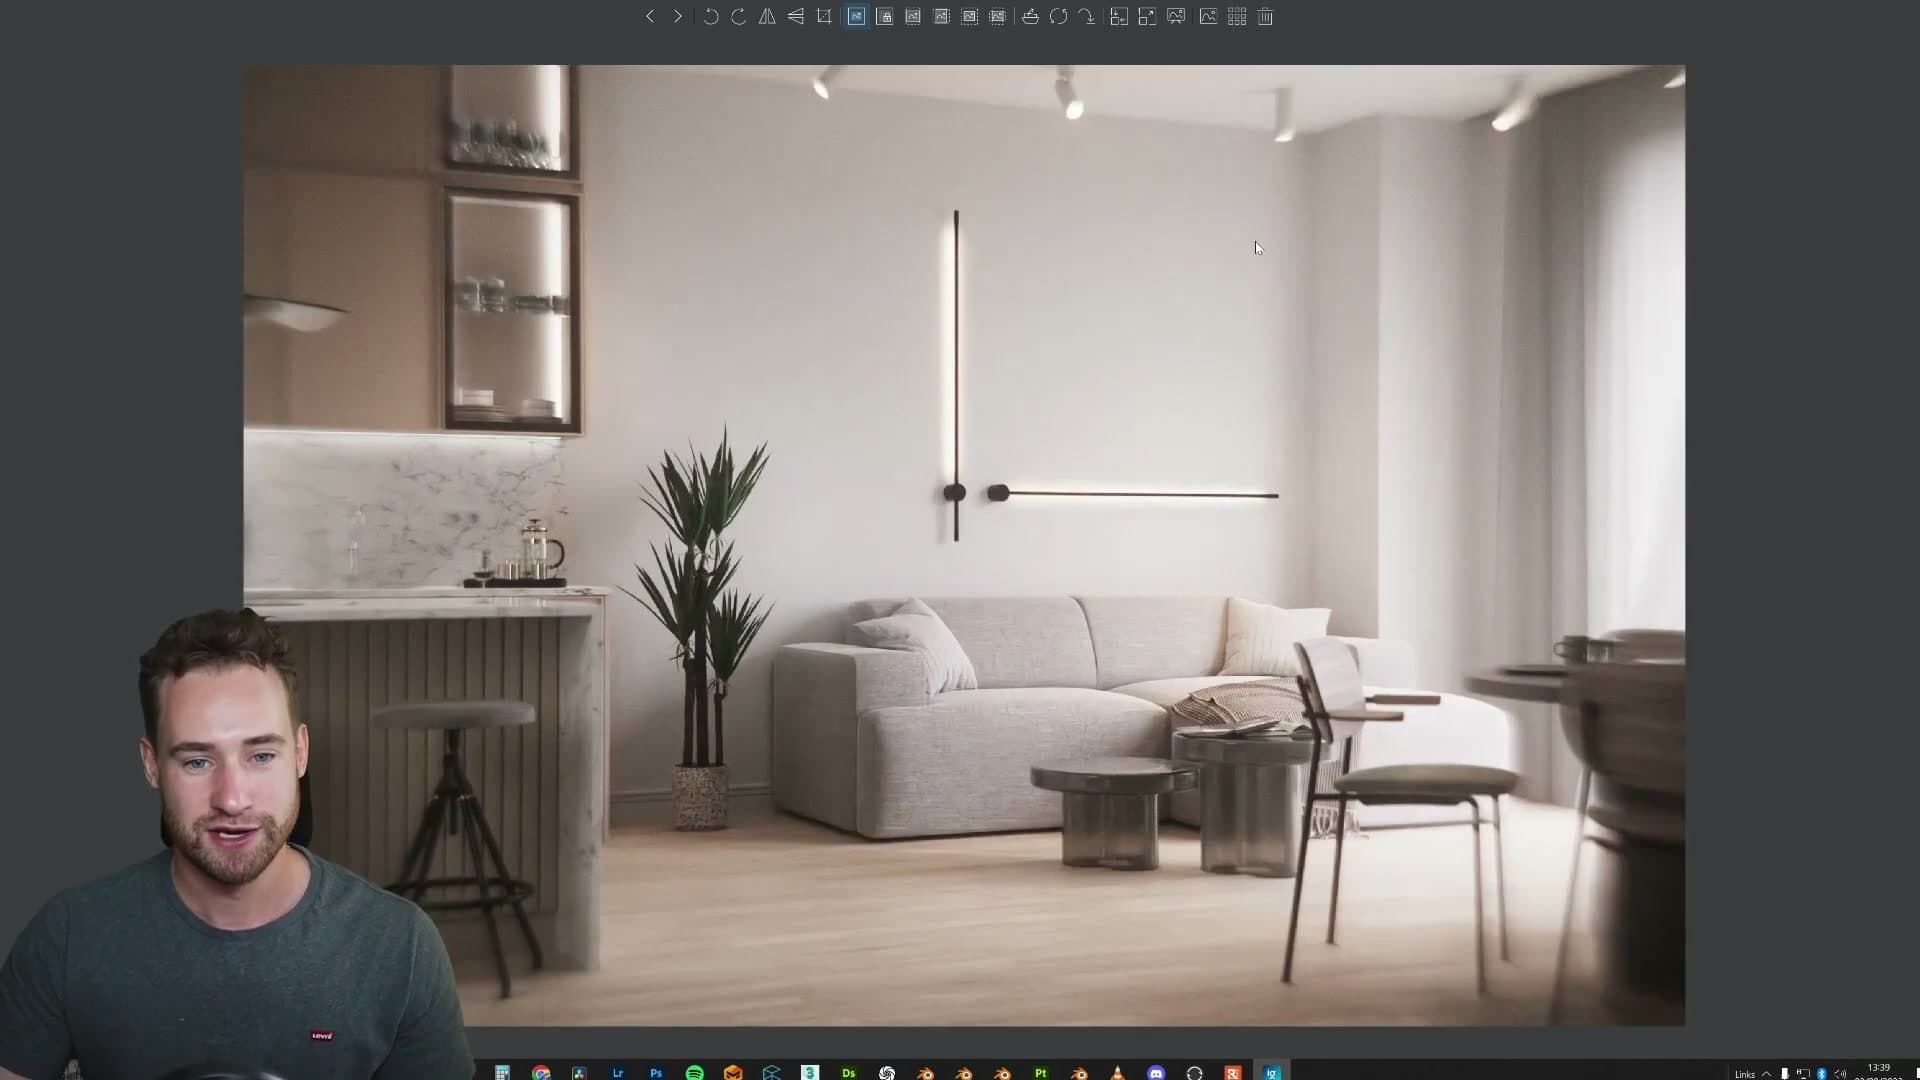
Put together, the natural distortion, the lens-borne glare, and the preserved film grain build up an image that doesn't really look like a Blender render at all.
Depth of field that looks like film
The second render leans much harder on depth of field. The aperture sits wide open and the falloff from sharp foreground detail into soft background blur is essentially the subject of the frame. The glare on the lighting is still present and still feels natural. Nothing about it reads as a compositor effect added after the fact.
The corner of the scene that sits well in front of the focus plane dissolves into a smooth, believable bokeh shaped by the aperture blades. That's the kind of look you normally only get out of a real camera at a wide stop. It's the sort of detail you can sit and look at for a while.
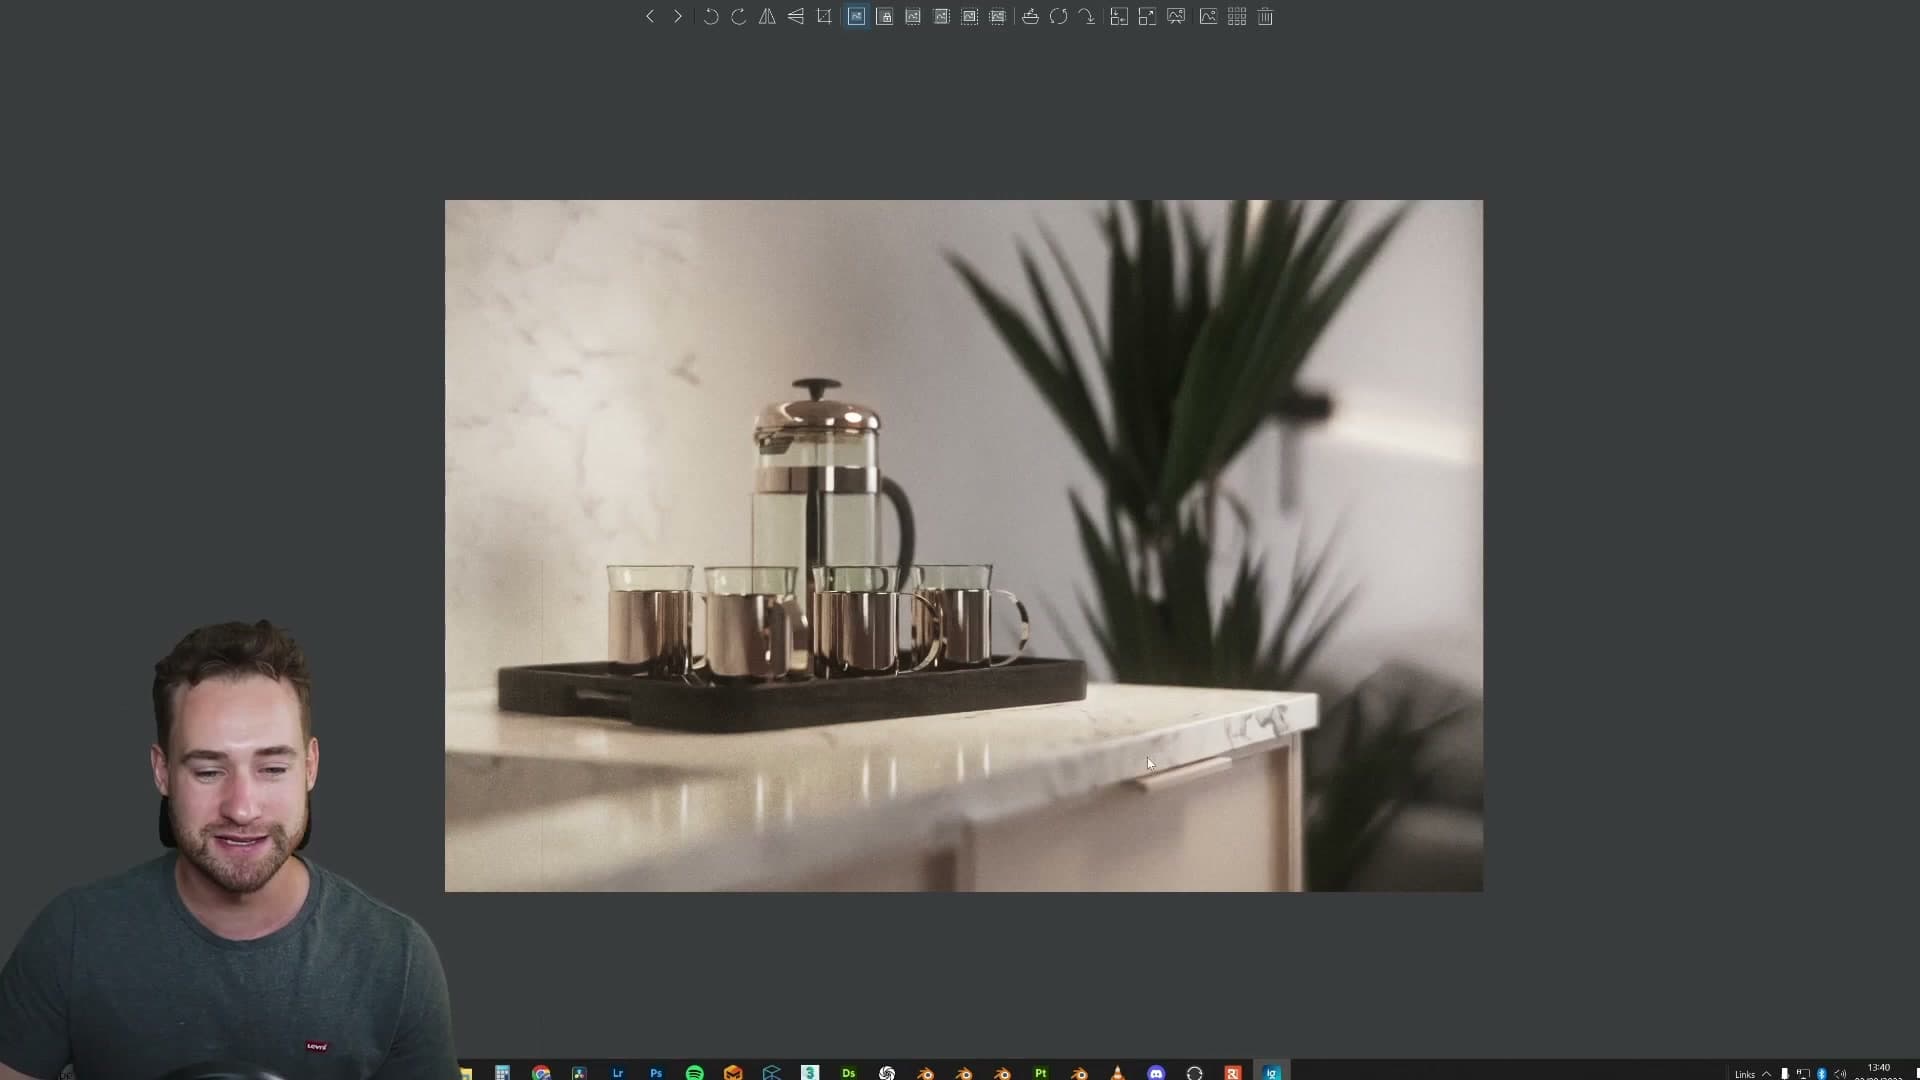
This particular shot took slightly longer than the first one to render, around four hours rather than the three-hour mark, for reasons that weren't fully obvious. With this much defocus blur in the frame, the renderer has to work harder to resolve clean falloff, so a slight bump in render time is expected.
Re-rendering masterclass scenes through the lens
The third shot is a re-render of a scene from the most recent masterclass tutorial on the iMeshh channel. The standard render of that scene already worked on its own terms, but pushing the same geometry, materials and lighting through the physical camera takes it somewhere else: edge distortion is gently present, and a strong streak of glare blooms across the plant in the foreground.
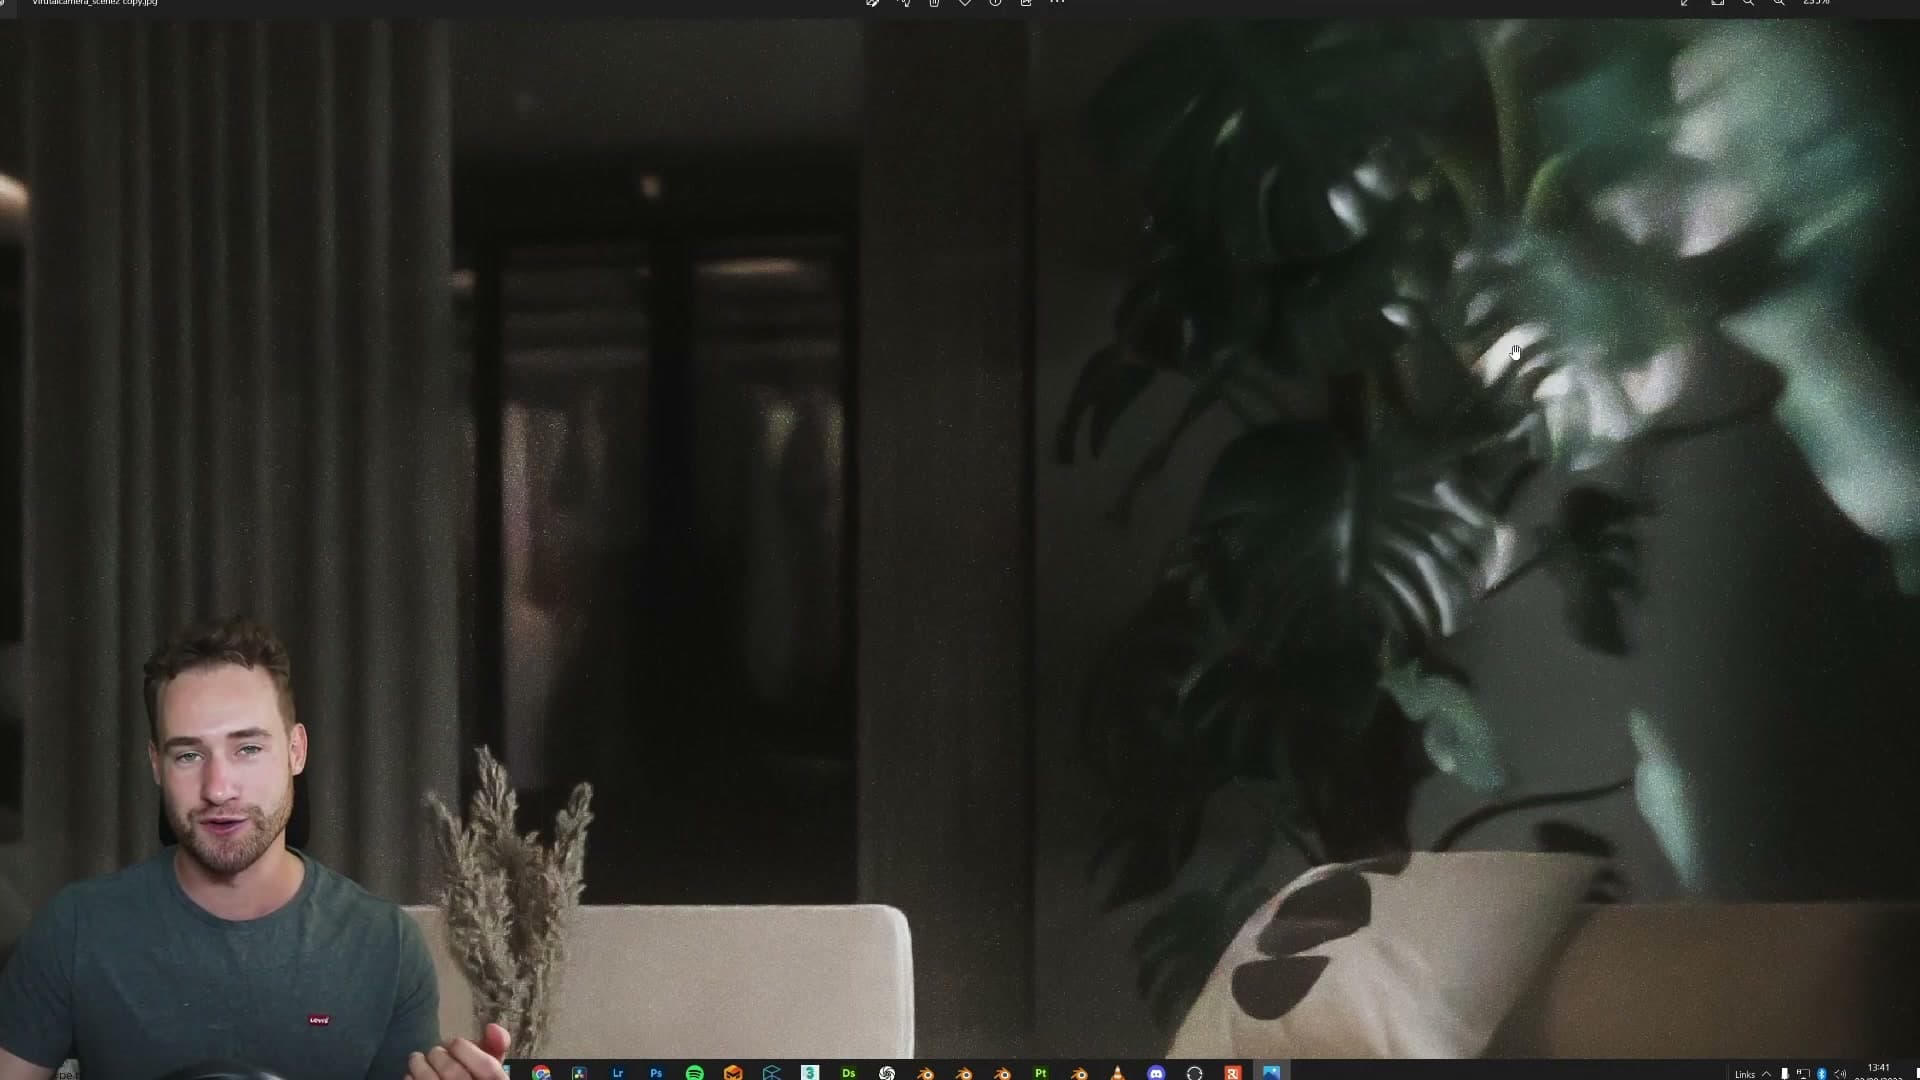
The overall feel is cinematic rather than archviz-clean. It reads like a frame from a film you'd happily sit and watch: soft, slightly dream-like, with all the imperfections you'd expect from a real lens.
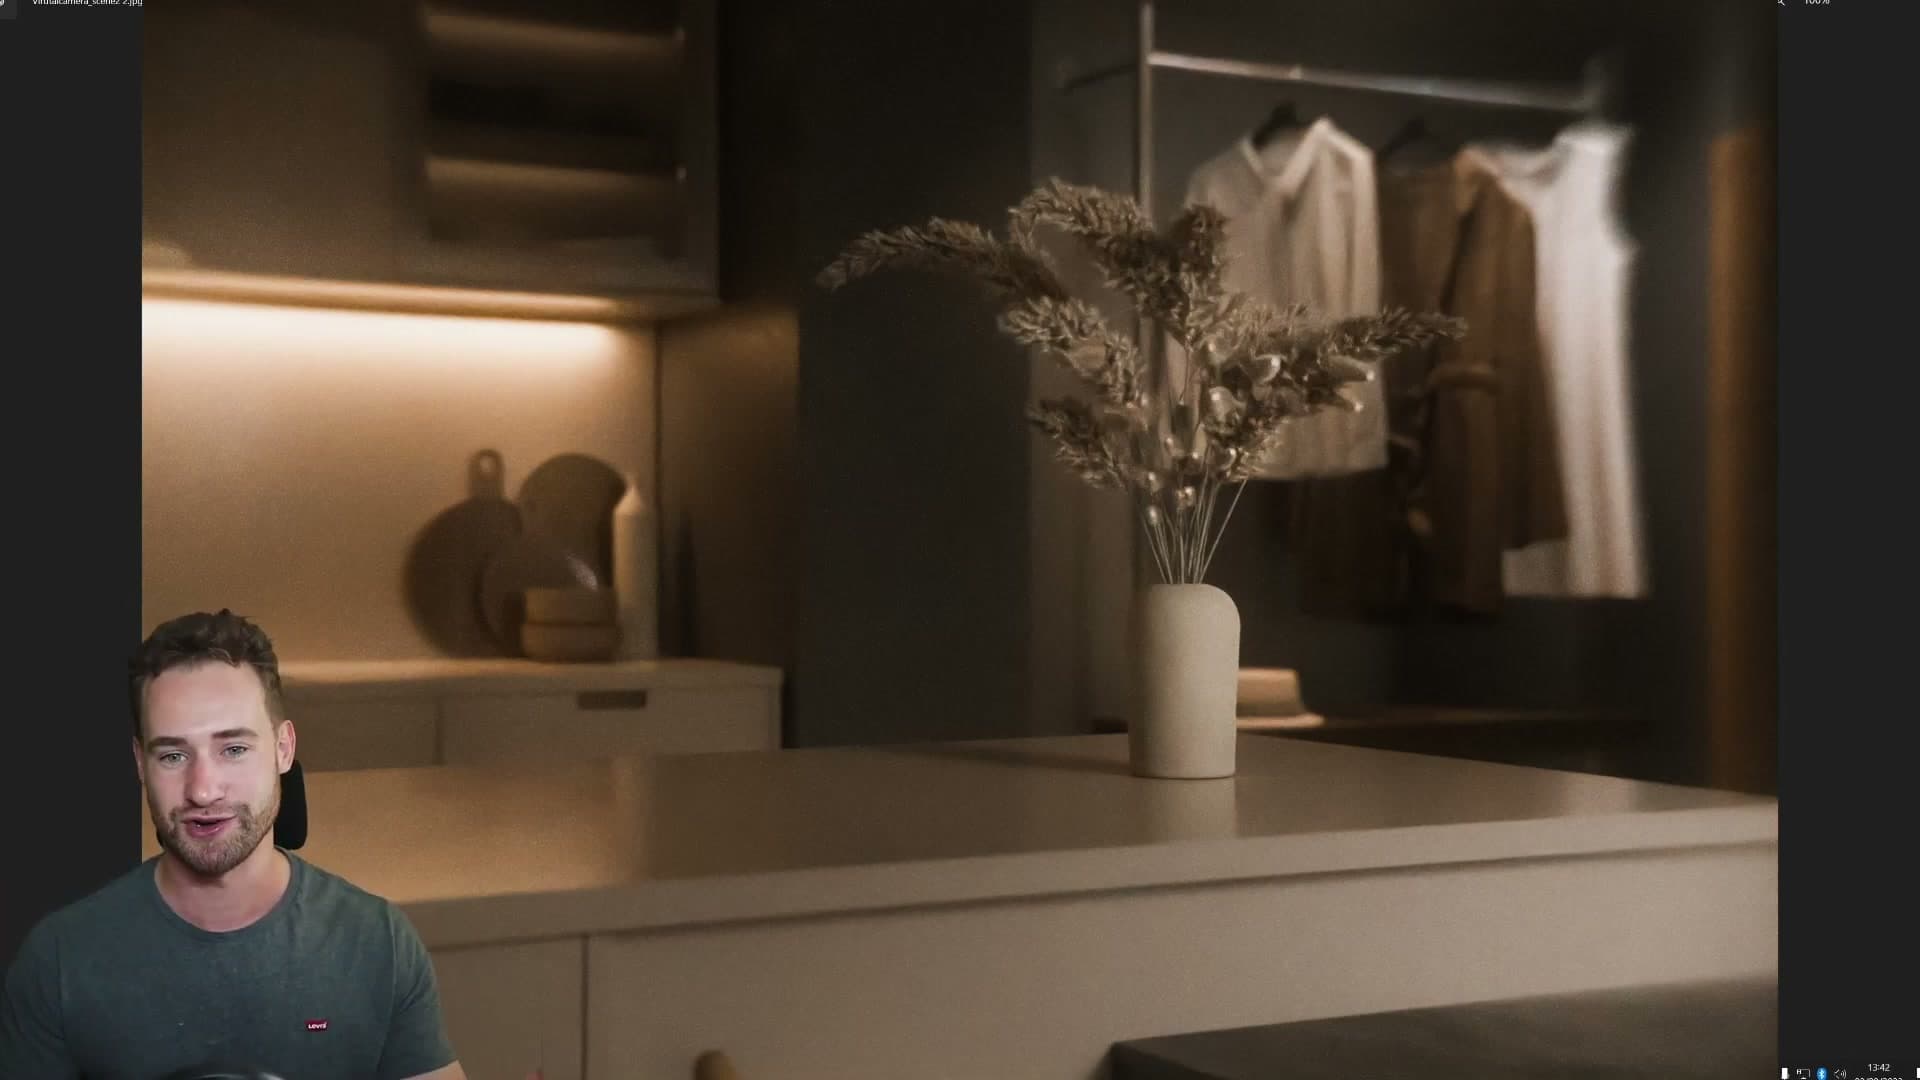
The final hero shot from the same scene pushes that further. A dress sits in the foreground, well out of focus, and a soft streak of glare cuts across the lens. The result feels closer to a still pulled from a film than a 3D render: inviting, slightly unreal, and not something the standard Blender camera produces on its own.
Final thoughts and where to get the camera
That's the case for the rig. If you want to try it, the original YouTube video is linked in the description. Grab the camera, drop it into a scene of your own and see what comes out. I couldn't recall whether there's a free version, a paid version or both, but the asking price was in the order of a few dollars.
Beyond the headline look, the real value is the way the lens forces you to think about light differently. The natural glare alone tends to push you toward lighting setups you wouldn't normally reach for, and that on its own can open up a different style of archviz work: moodier, more cinematic, and a little less polished in a way that often makes a render feel more believable.
Tools and credits
Everything mentioned in this tutorial, with links.
- Blender (the renderer this entire build runs in).
- iMeshh (studio platform: project management, client review, asset library, invoicing). The asset library used in this tutorial is included with every iMeshh Pro plan.
- Poly Haven (free CC0 textures and HDRIs).
Pillar guide: Camera Composition hub