The dog moment: Generative Fill on a finished Blender render
My first test of Photoshop Beta's Generative Fill: adding a realistic dog into a masterclass-quality archviz scene and finding that the AI handles fur, pose and lighting in one pass.
Discovering Generative Fill in the Photoshop Beta
AI tooling has produced a steady run of holy sh*t moments for me over the past year, and this one started innocently enough. I was just browsing Photoshop and stumbled across a mention of a new feature called Generative Fill, tucked away in the Photoshop Beta.
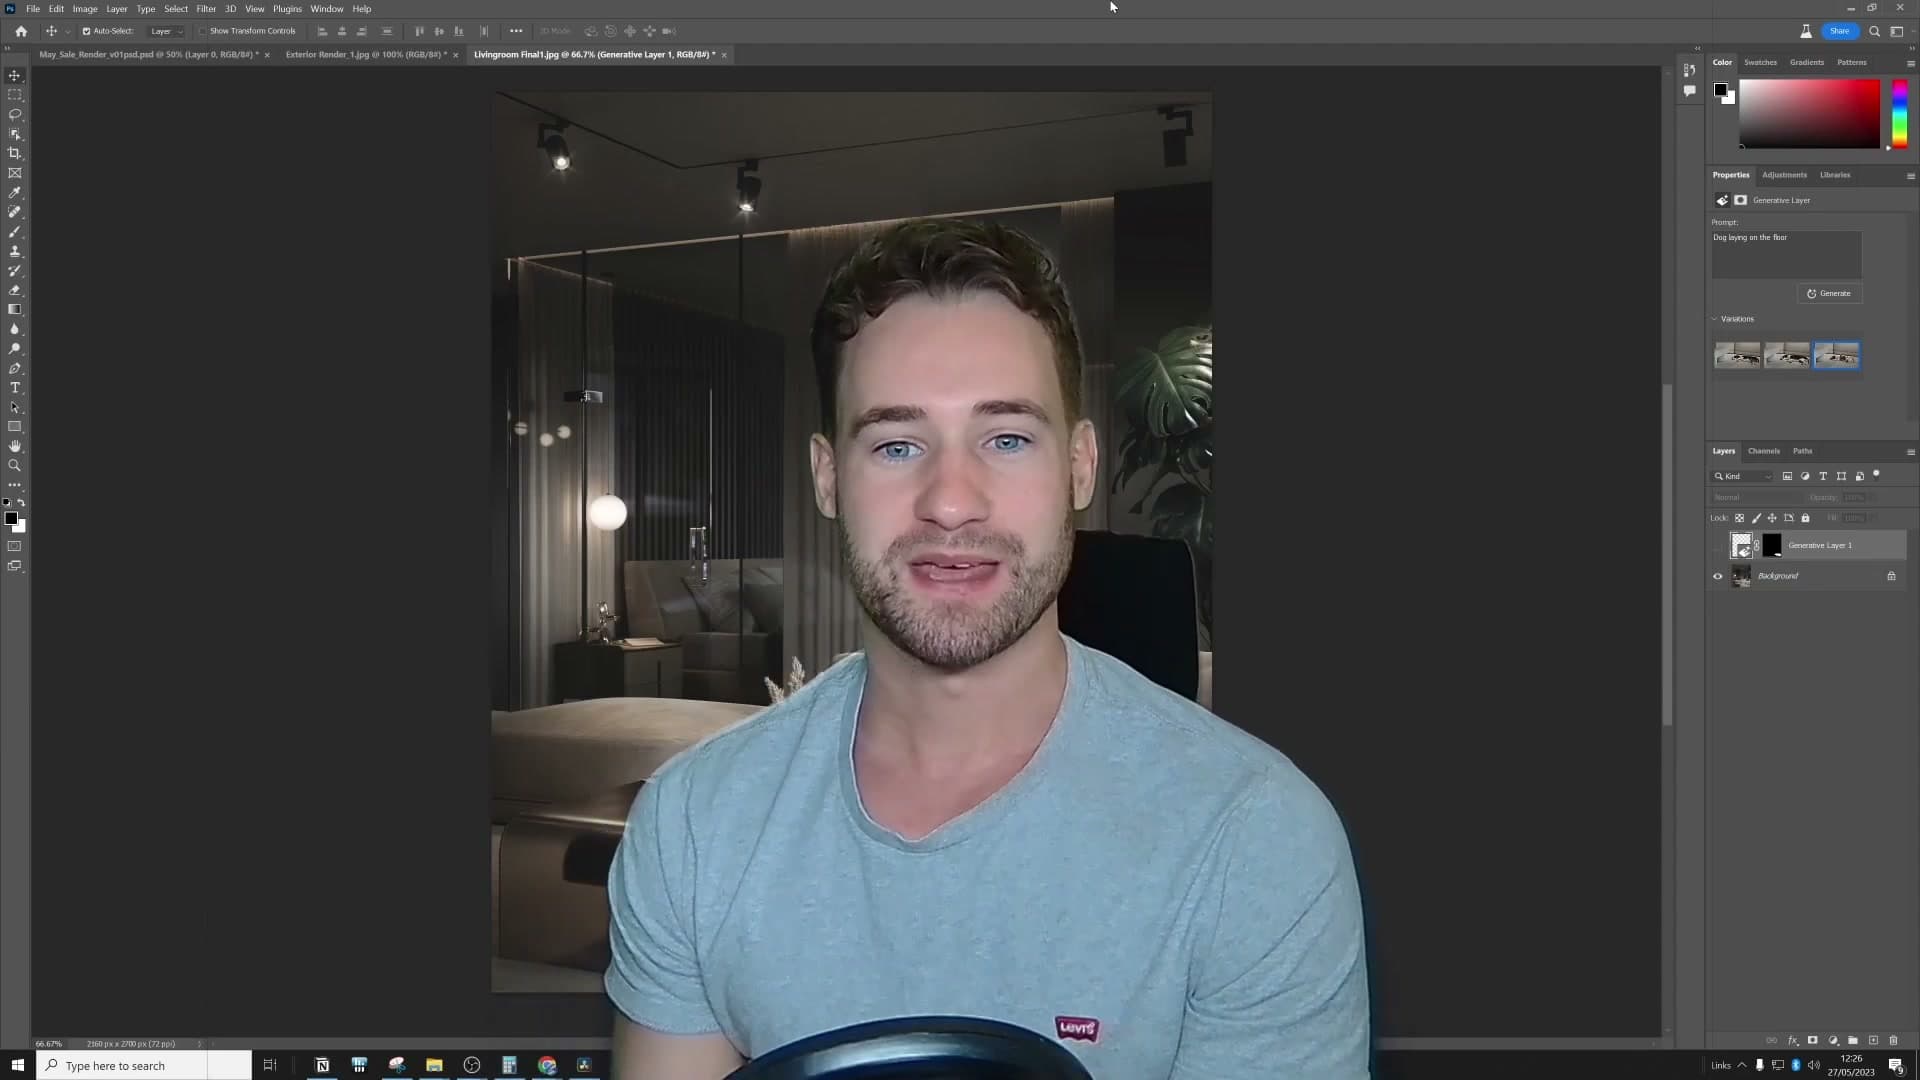
It looked promising enough to be worth a test. A few minutes later, that test had turned into another one of those moments, the kind that warranted recording a new video on the spot. That video is this one.
Adding a dog to the masterclass render
The test image was the finished 3D render from the iMeshh masterclass series: a fully lit interior scene already through final render. The goal was simple. Could Generative Fill just add a dog into the shot without breaking the lighting or the realism?
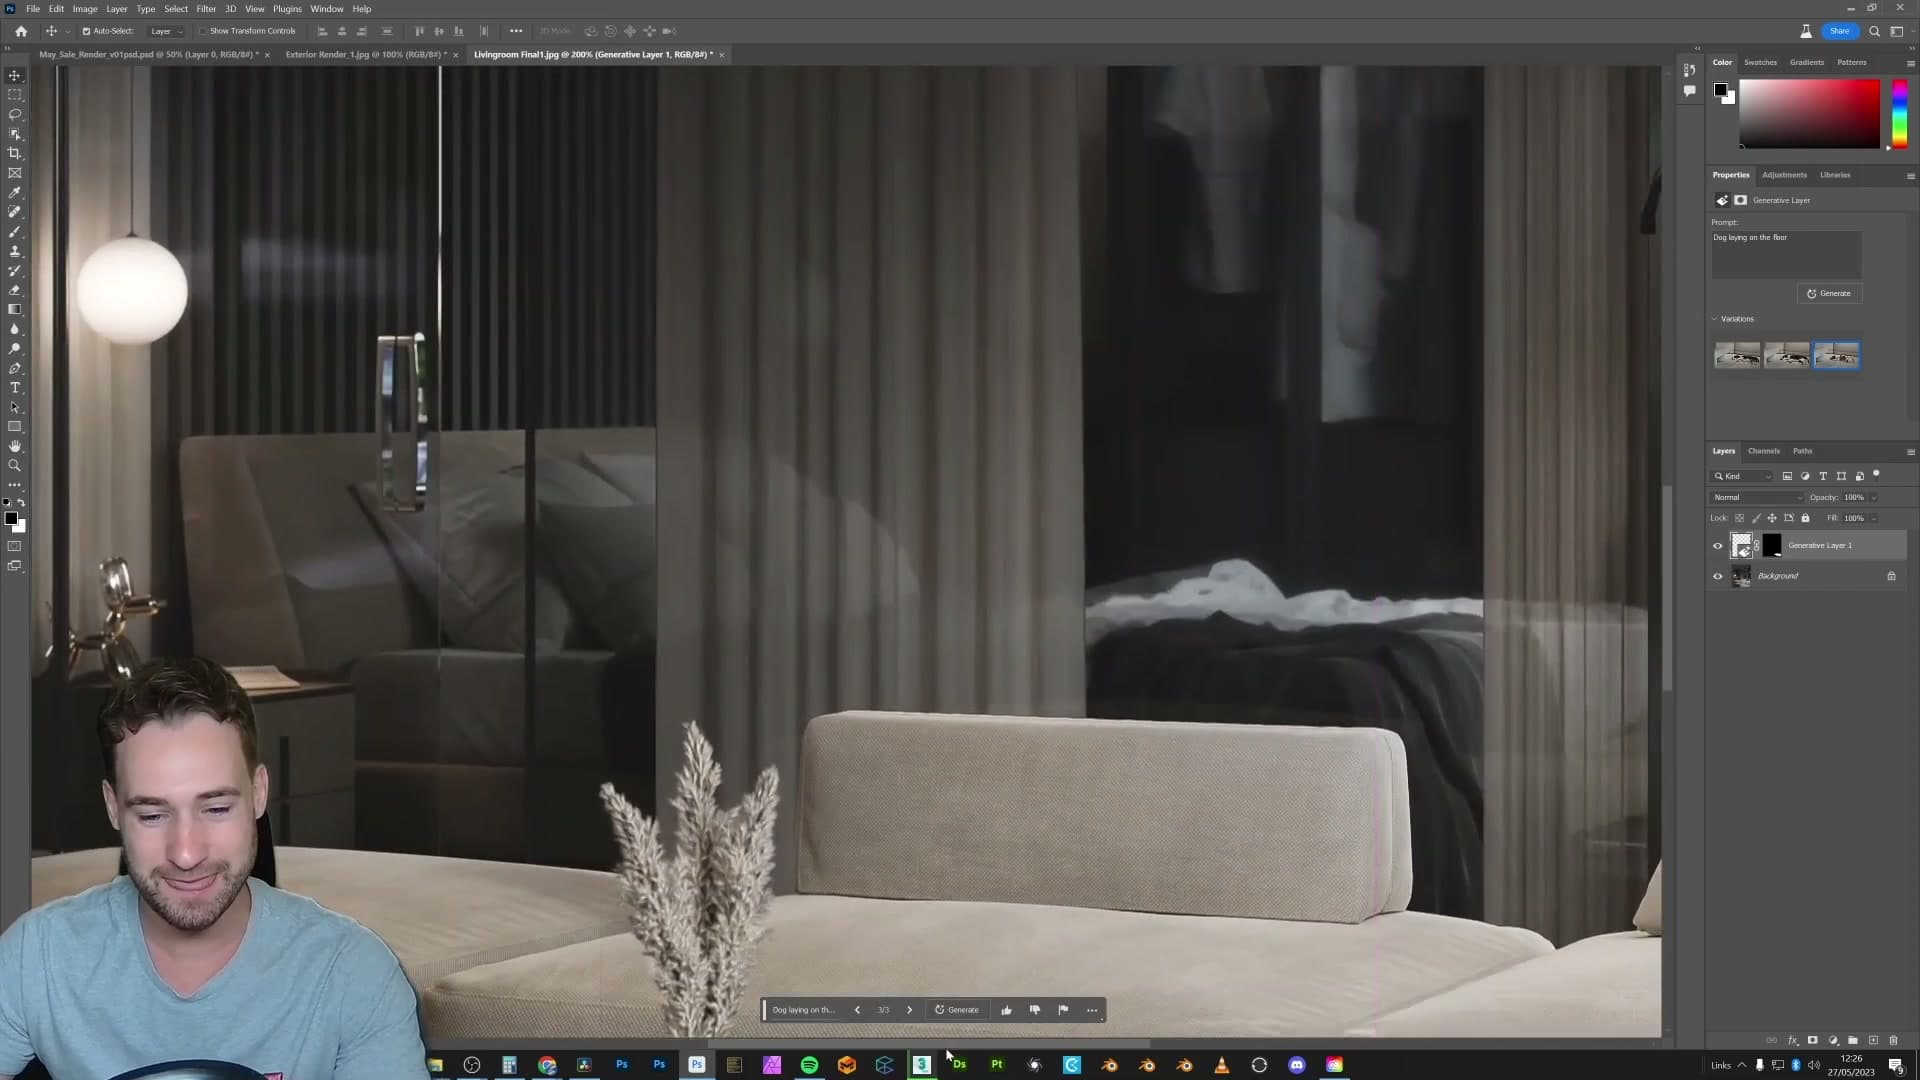
It added a dog. Not a smeary AI approximation of a dog. An actual, photoreal dog, dropped into the scene on a new layer, sitting where the marquee selection had been drawn. I zoomed in to inspect the fur, the eyes and the pose. All three held up.
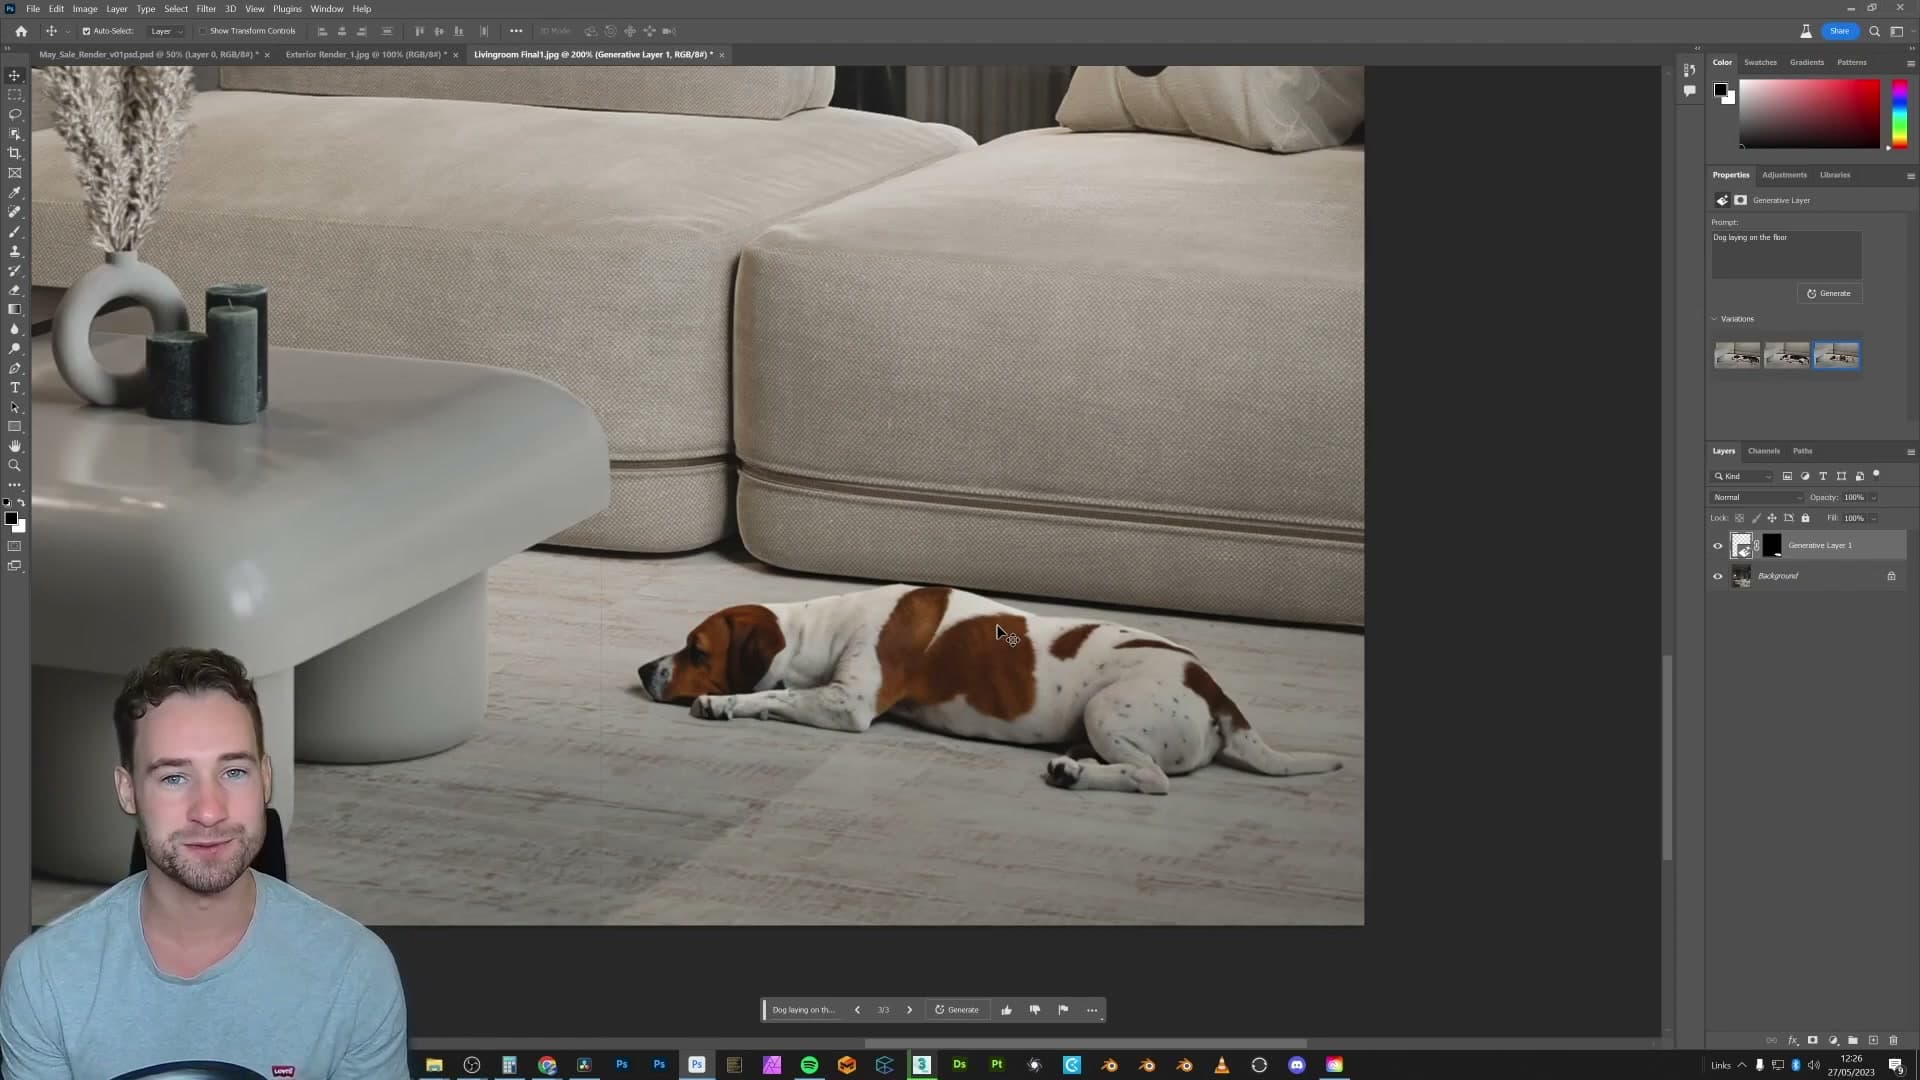
Generative Fill returns three variations on each generation, and across the three options the dog's expression, breed and posture shifted while the lighting on the fur stayed locked to the rest of the scene. One of the three was already a near-perfect candidate to keep.
Why animals have always broken archviz compositing
Animals in 3D renders have always been a problem. CG fur very rarely lands in the uncanny-valley-free zone unless you spend serious time on the groom, and the few asset libraries that do nail it are the exception rather than the rule.
The workaround until now has been to drop a real photograph of an animal into post, mask it out, and try to comp it back into the render. That route works in theory but reliably looks off. The lighting never quite matches, the edges never quite read clean. Generative Fill makes that whole detour unnecessary.
Cat + mug: matching coloured lighting and marquee-driven scale
Testing Generative Fill on a scene lit only with blue and pink rim lights, and finding that the selection box itself dictates object scale.
Generating a curled-up cat that respects the scene lighting
The next test is a render lit only by blue and pink rim lights. That kind of stylised setup is where a stock photo of a cat would refuse to sit comfortably in the plate. The plan is the same as the dog from the first scene: marquee, prompt, see what comes back.
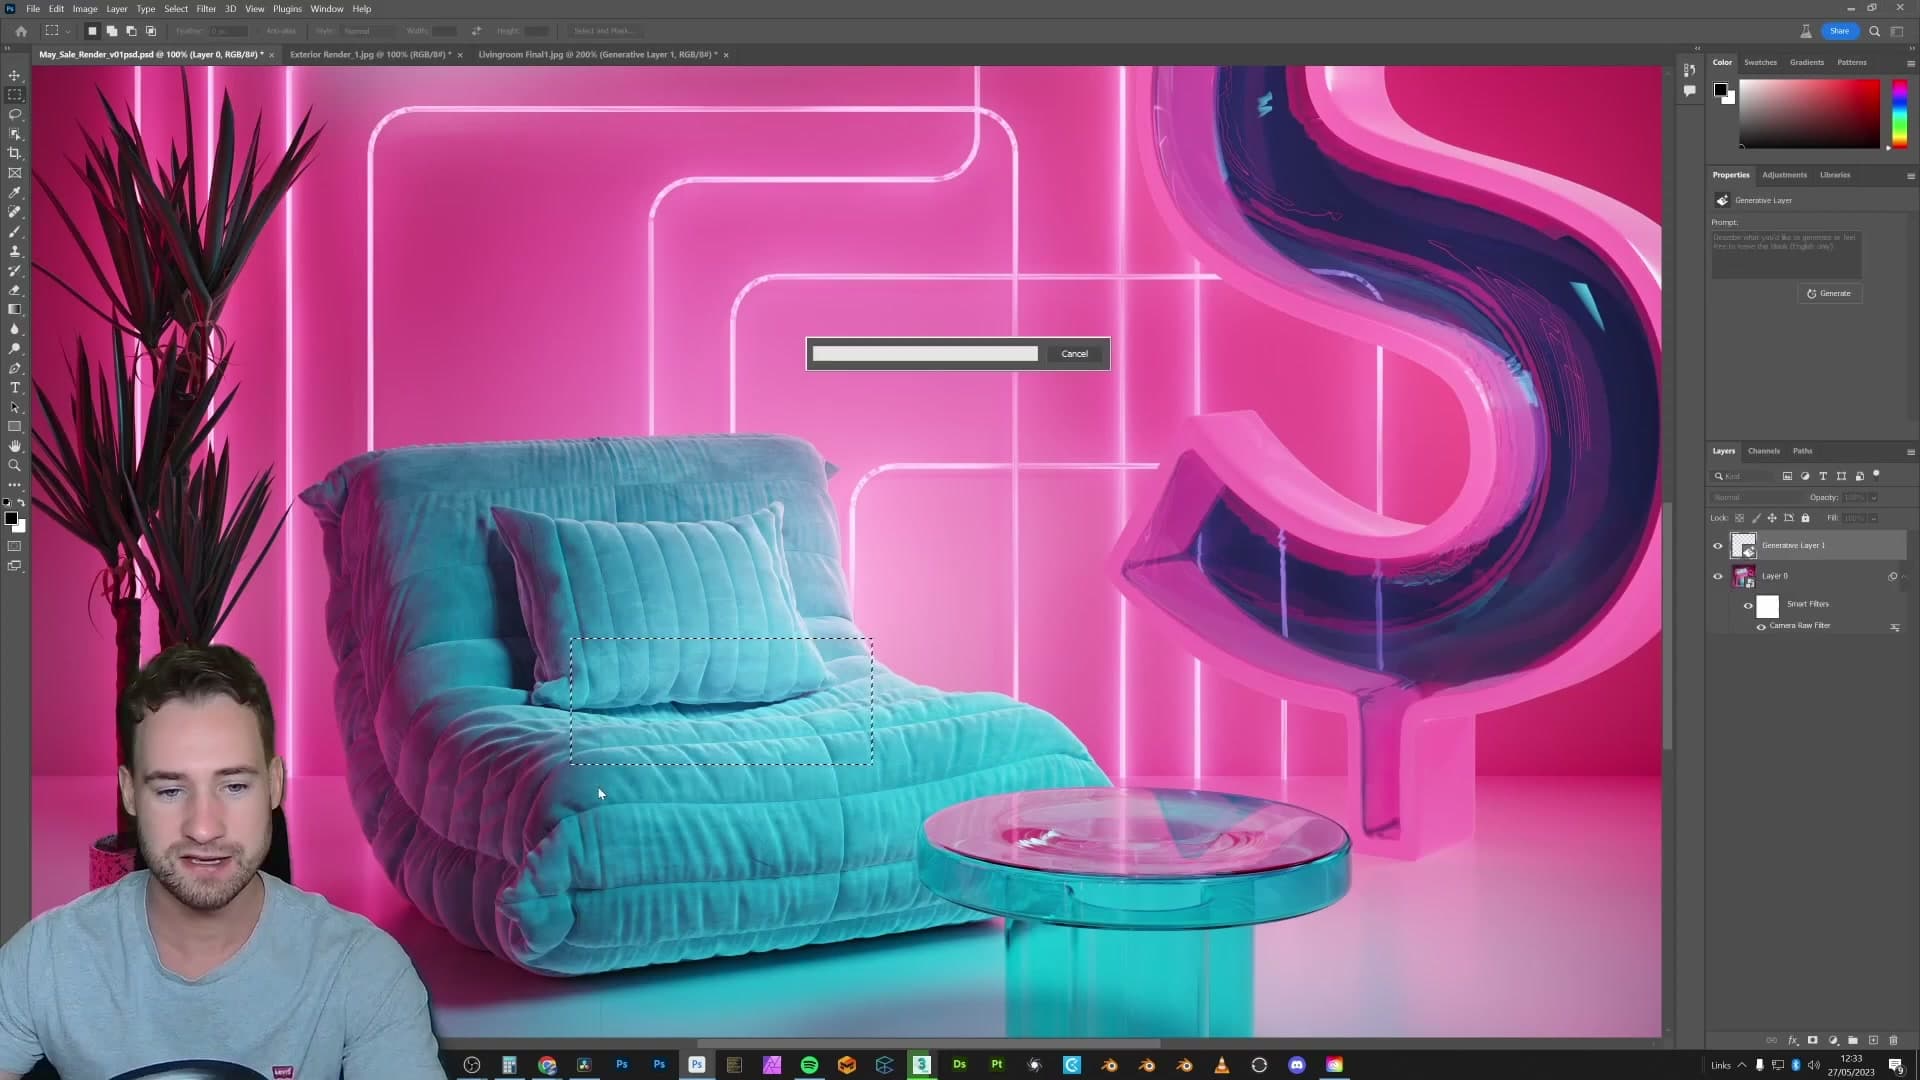
Draw a box on the sofa roughly the size of a curled-up cat, then type cat curled up and hit Generate. Photoshop drops three variants onto a new layer.
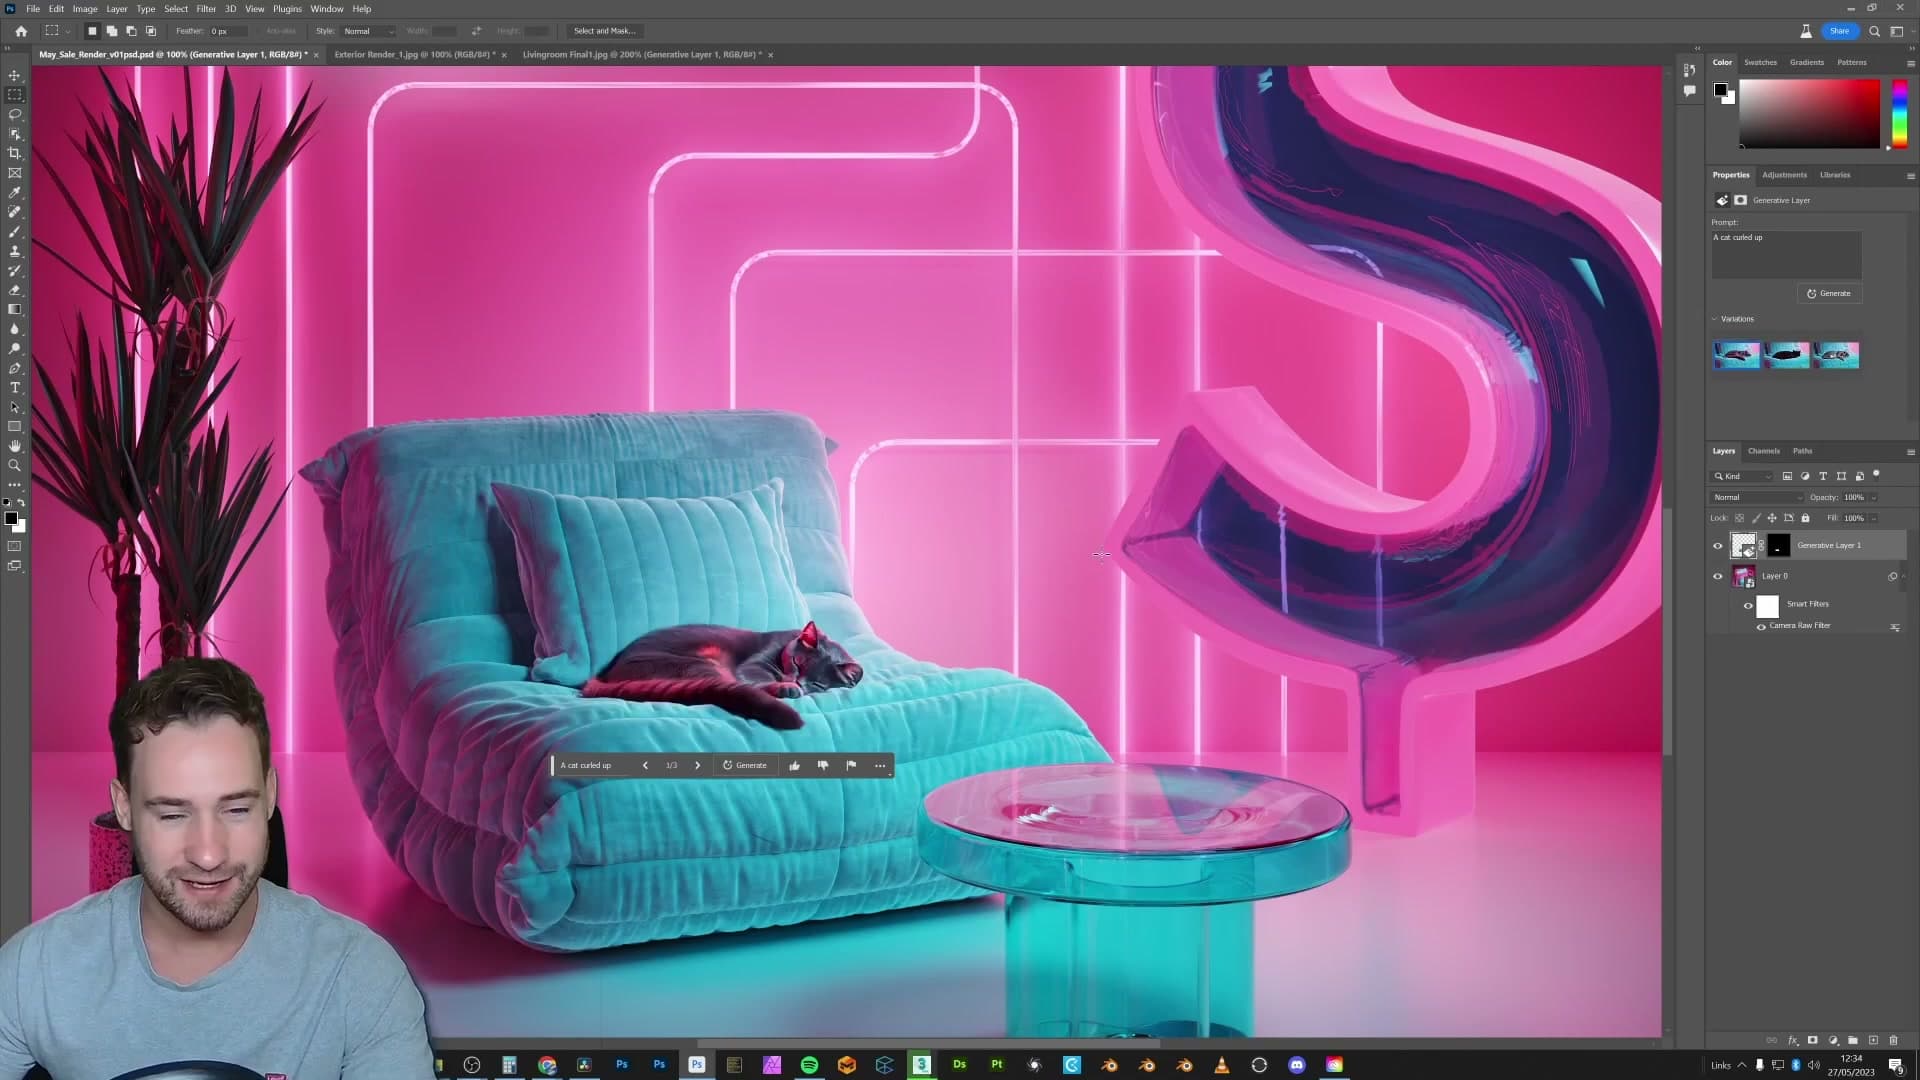
The interesting part is the lighting. With only two coloured rims firing into the scene, the generated cat picks up blue along one flank and pink along the other. That is the same gradient already painted across the cushion underneath it. There is no Curves layer, no manual colour grade; Generative Fill reads the surrounding pixels and matches them on its own.
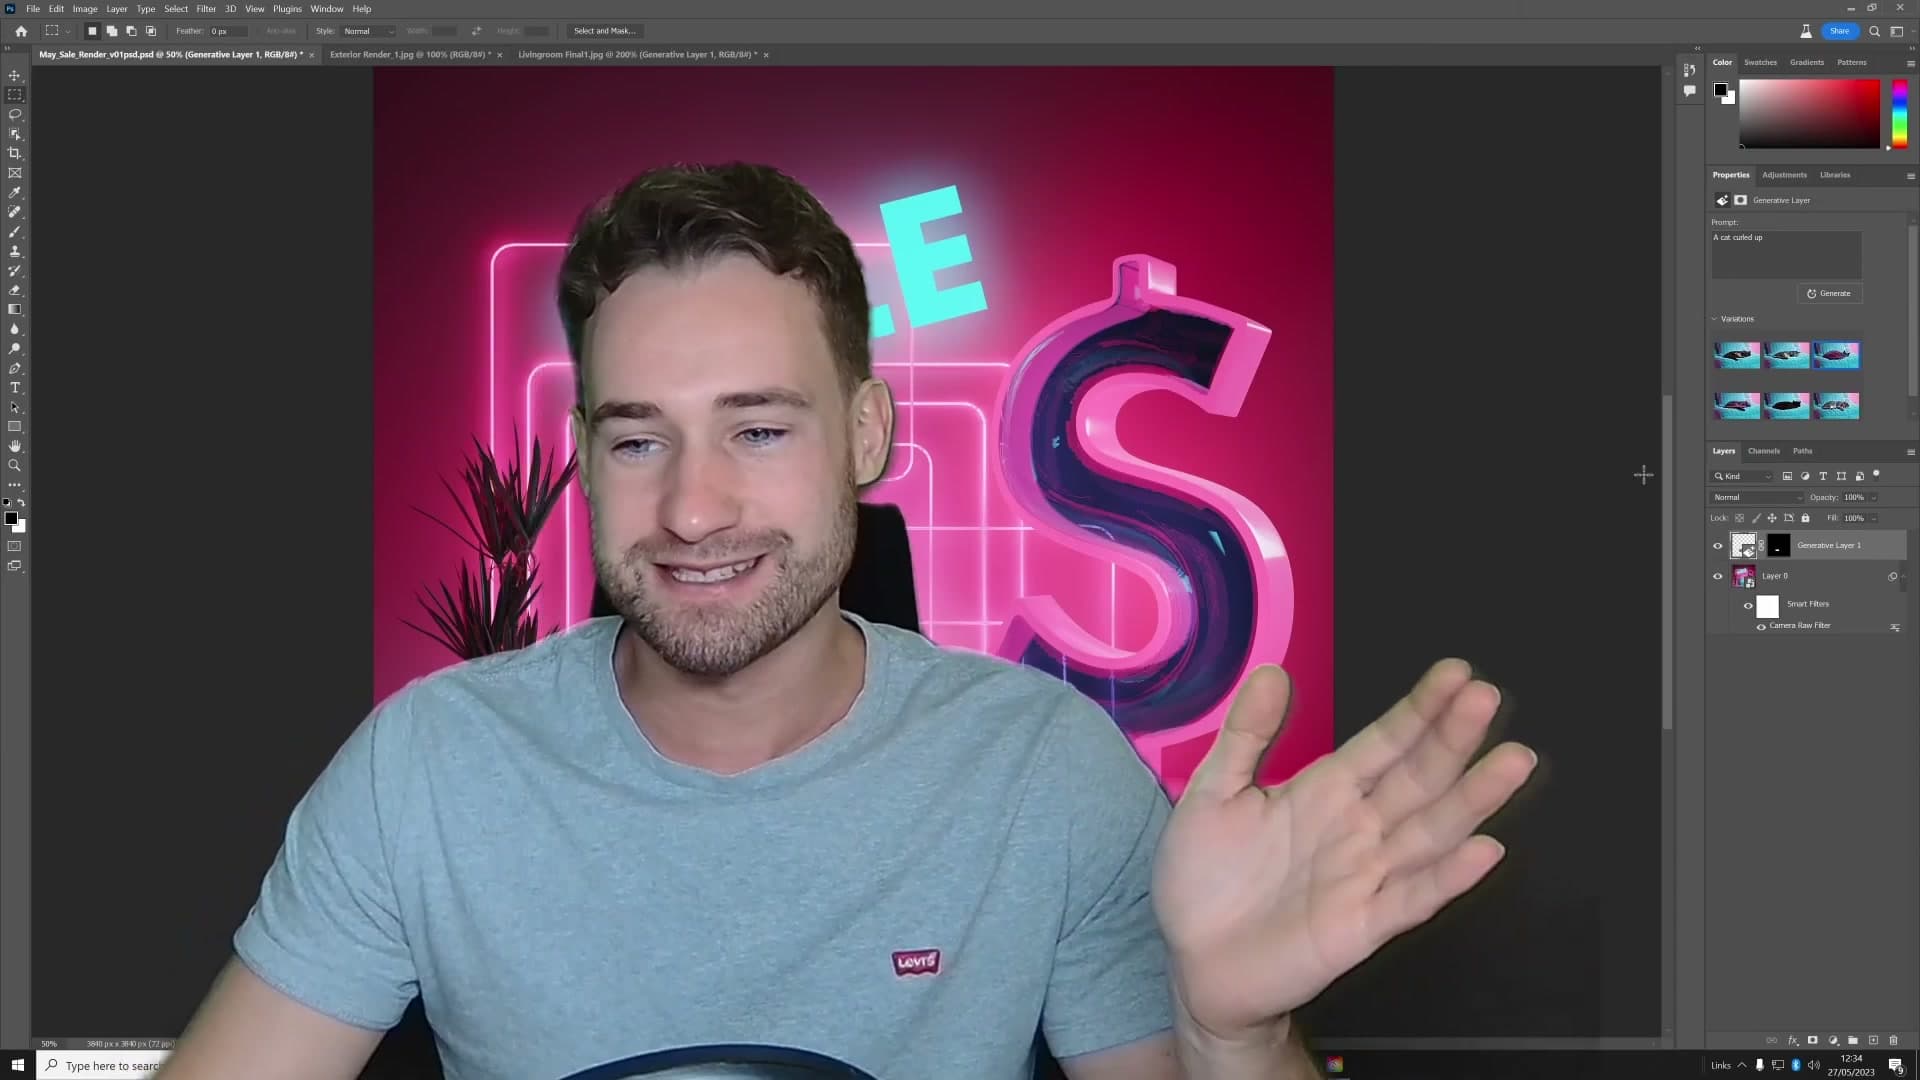
If the first batch is close but not quite right, click Generate again and Photoshop returns three more variants without touching the originals. Keep generating until one of the cats lands the pose and colour you want, then bin the rejects.
Adding a giant mug: selection size controls object scale
The coffee table in the same scene was looking empty, and the test here is less about subject matter than about scale: does the size of the selection actually control the size of the object Photoshop generates?
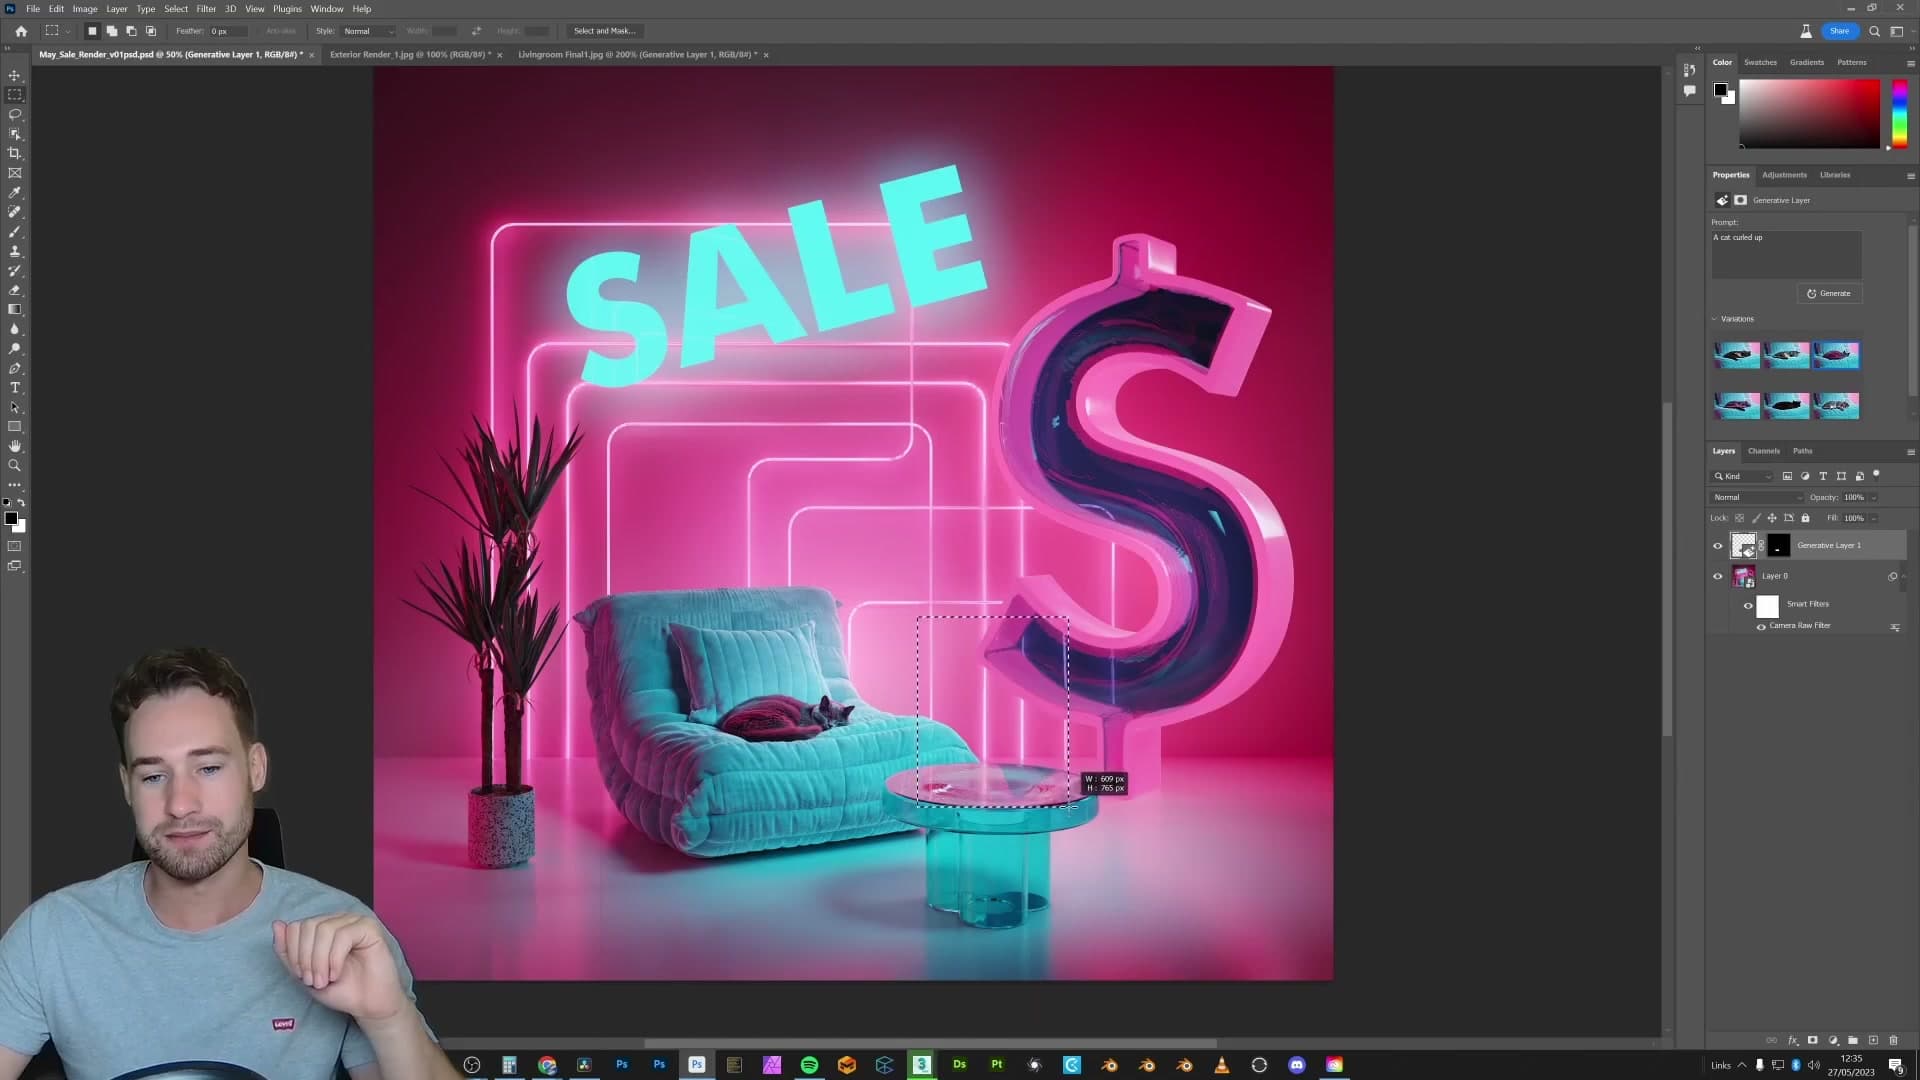
Draw a generous marquee on the surface of the table (deliberately bigger than a normal mug would be), then type a mug and hit Generate. The result is a comically oversized mug filling the box you drew, sitting on the table with believable contact shadow and the same blue and pink rim lights wrapping its rim as everything else in the shot.
That is the rule: small selection, small object; large selection, large object. There is no separate scale field anywhere in the Generative Fill bar. The marquee is the brief.
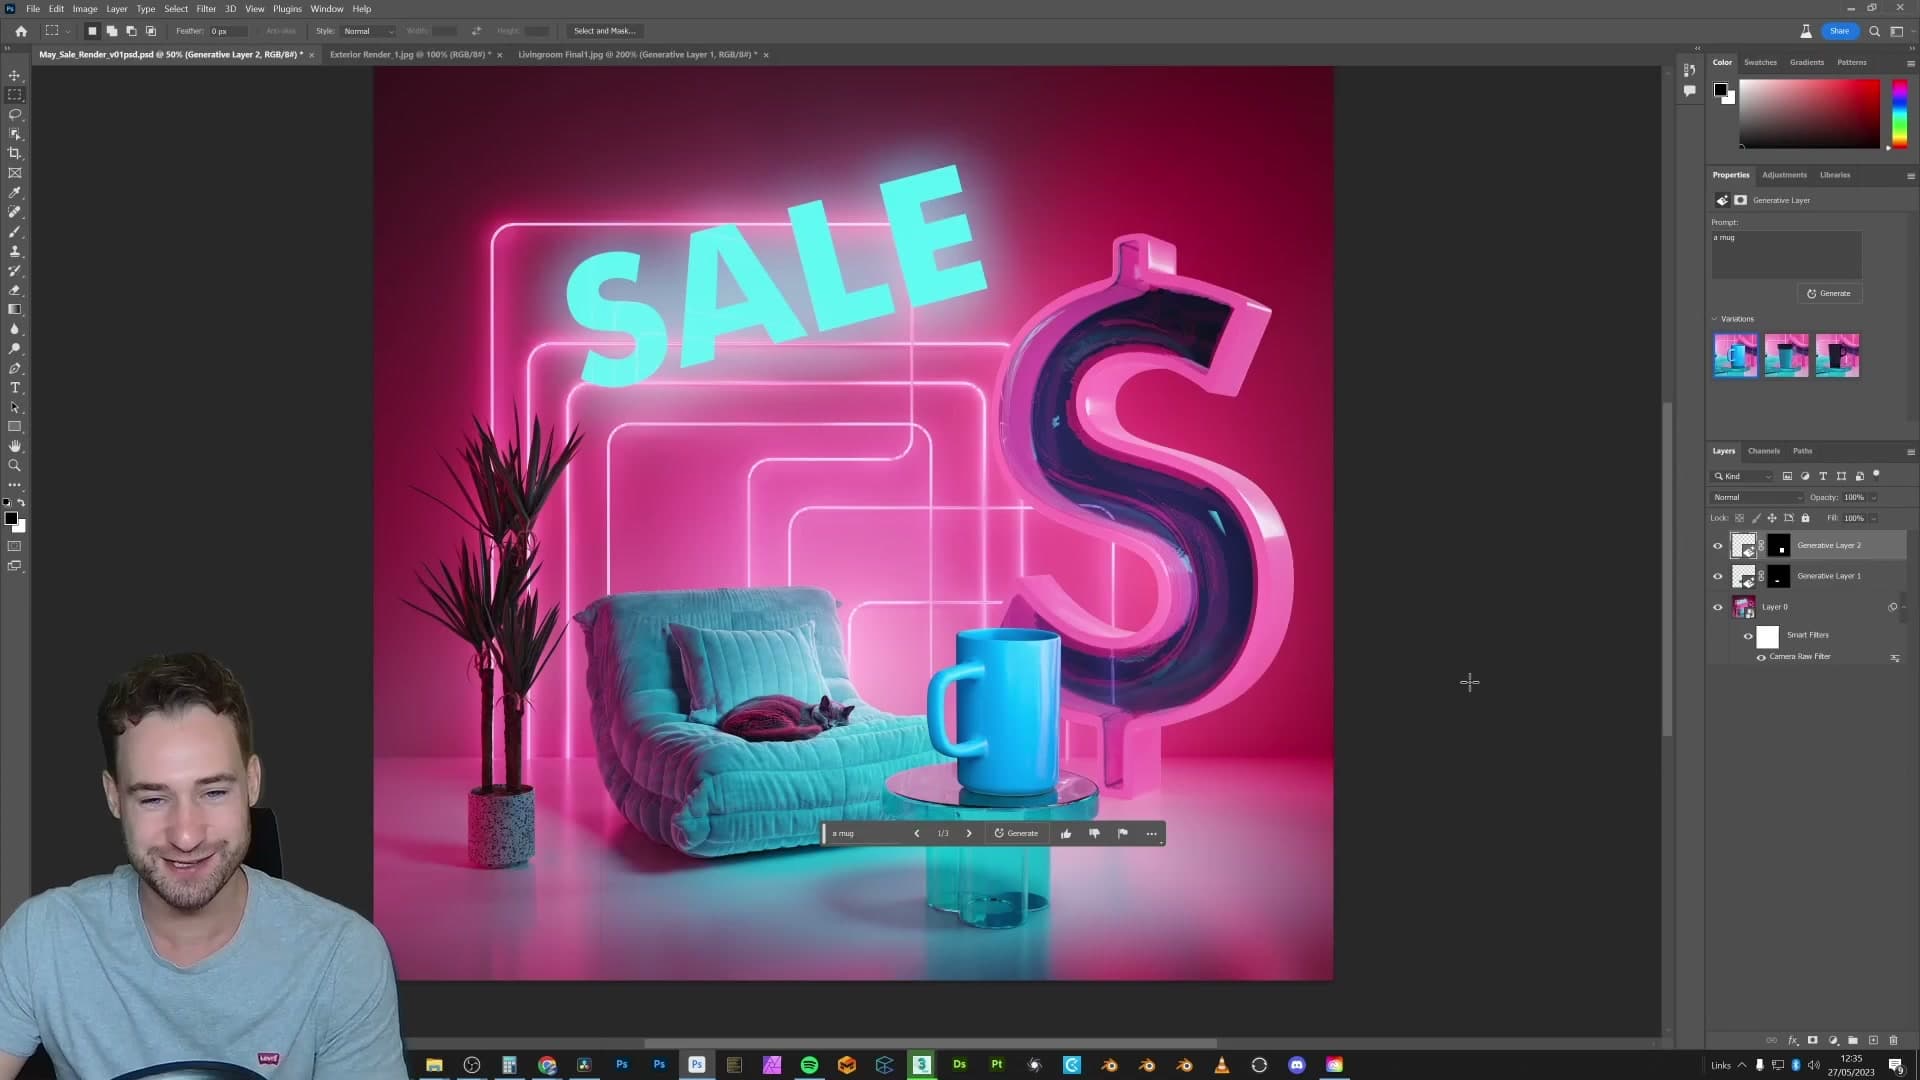
Compositing 3D renders is never going to be the same.
Outdoor scene: birds, branches, crowns and a hot air balloon
A harder test on a heavily-composited outdoor render. Every element from the tree line back was added in post. Generative Fill replaces hours of plate-hunting and masking.
Adding distant birds that match existing composited birds
The second test piece is another iMeshh tutorial render, and a much harder one for Generative Fill to fake convincingly. Everything from the tree line back is composited rather than rendered: the original birds had to be hunted down online, masked out and dropped into the plate by hand, which is exactly the kind of grunt work archviz post-production usually drowns in.
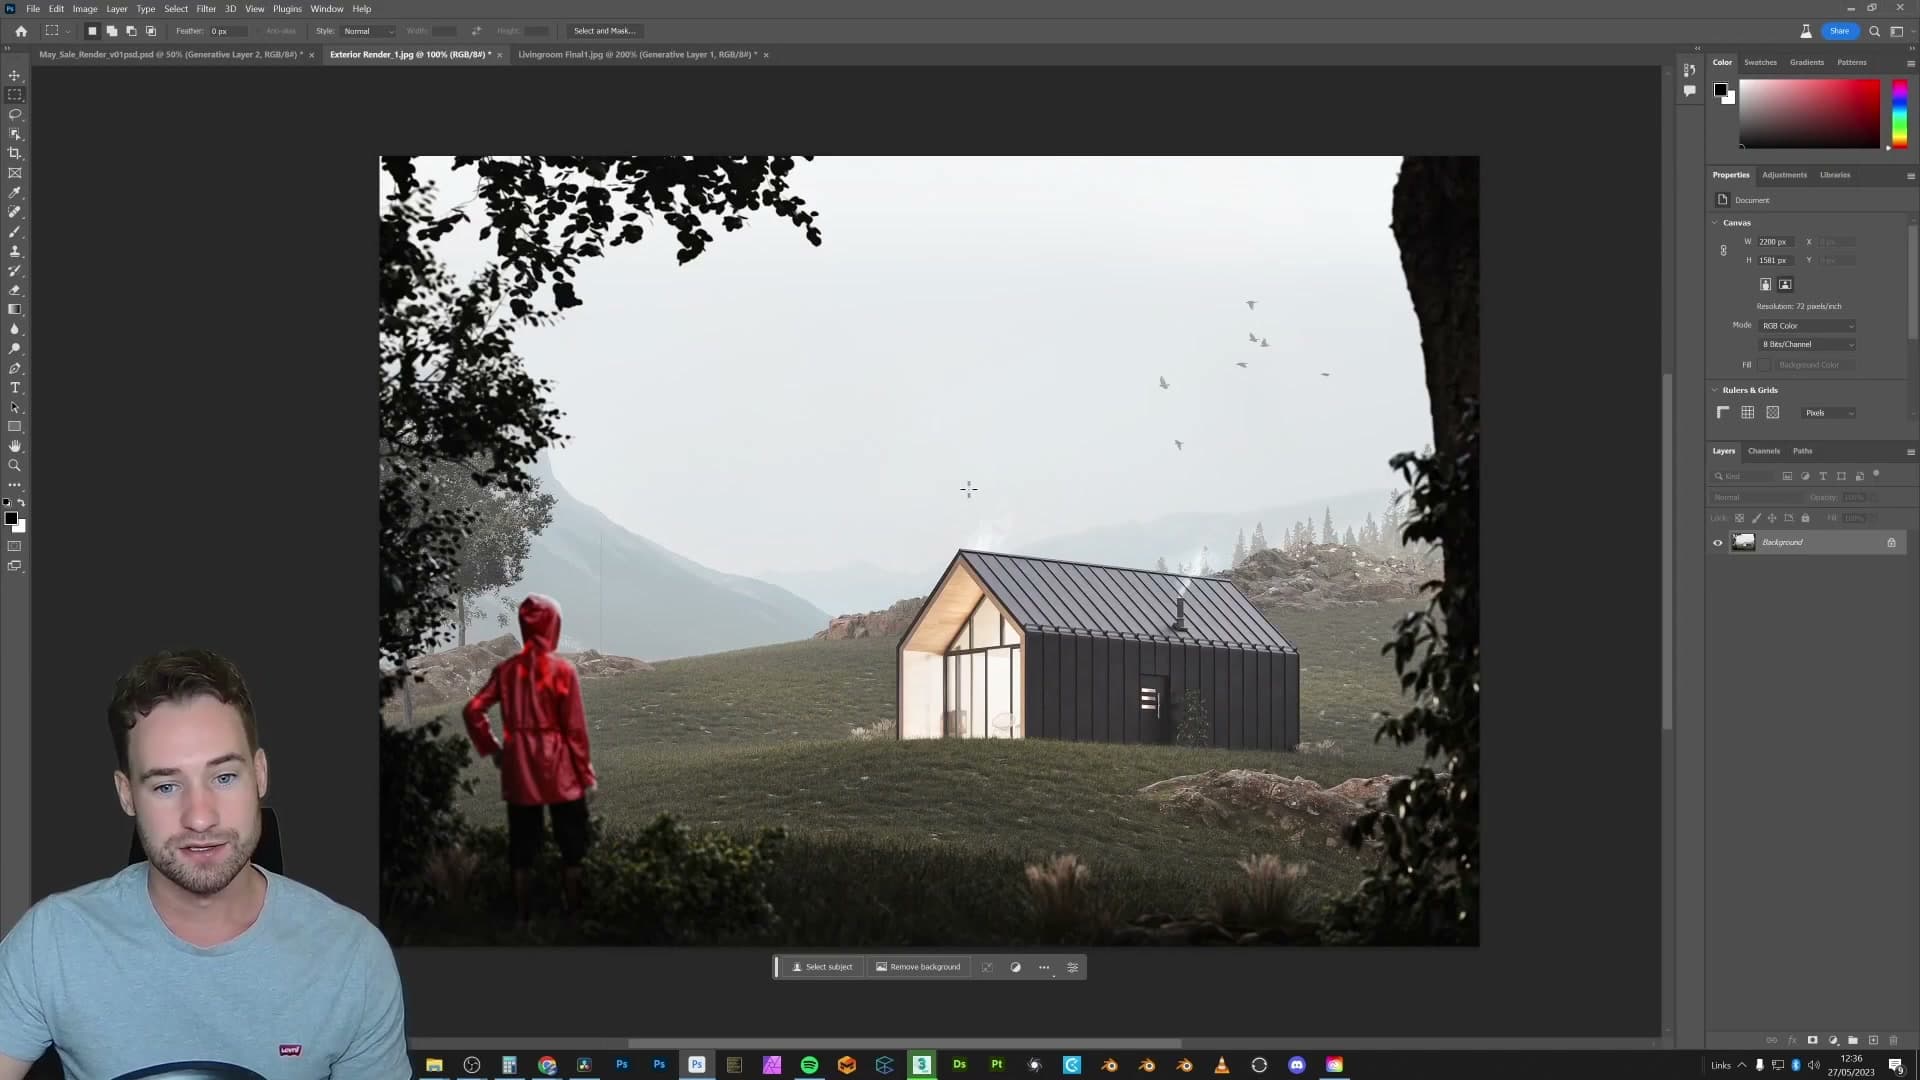
The question is whether Generative Fill can do the same job from scratch and still look like it belongs in the same scene as the hand-composited birds already in the sky.
Draw a marquee selection over an empty patch of sky and type the prompt small birds flying in the distance. Hit Generate.
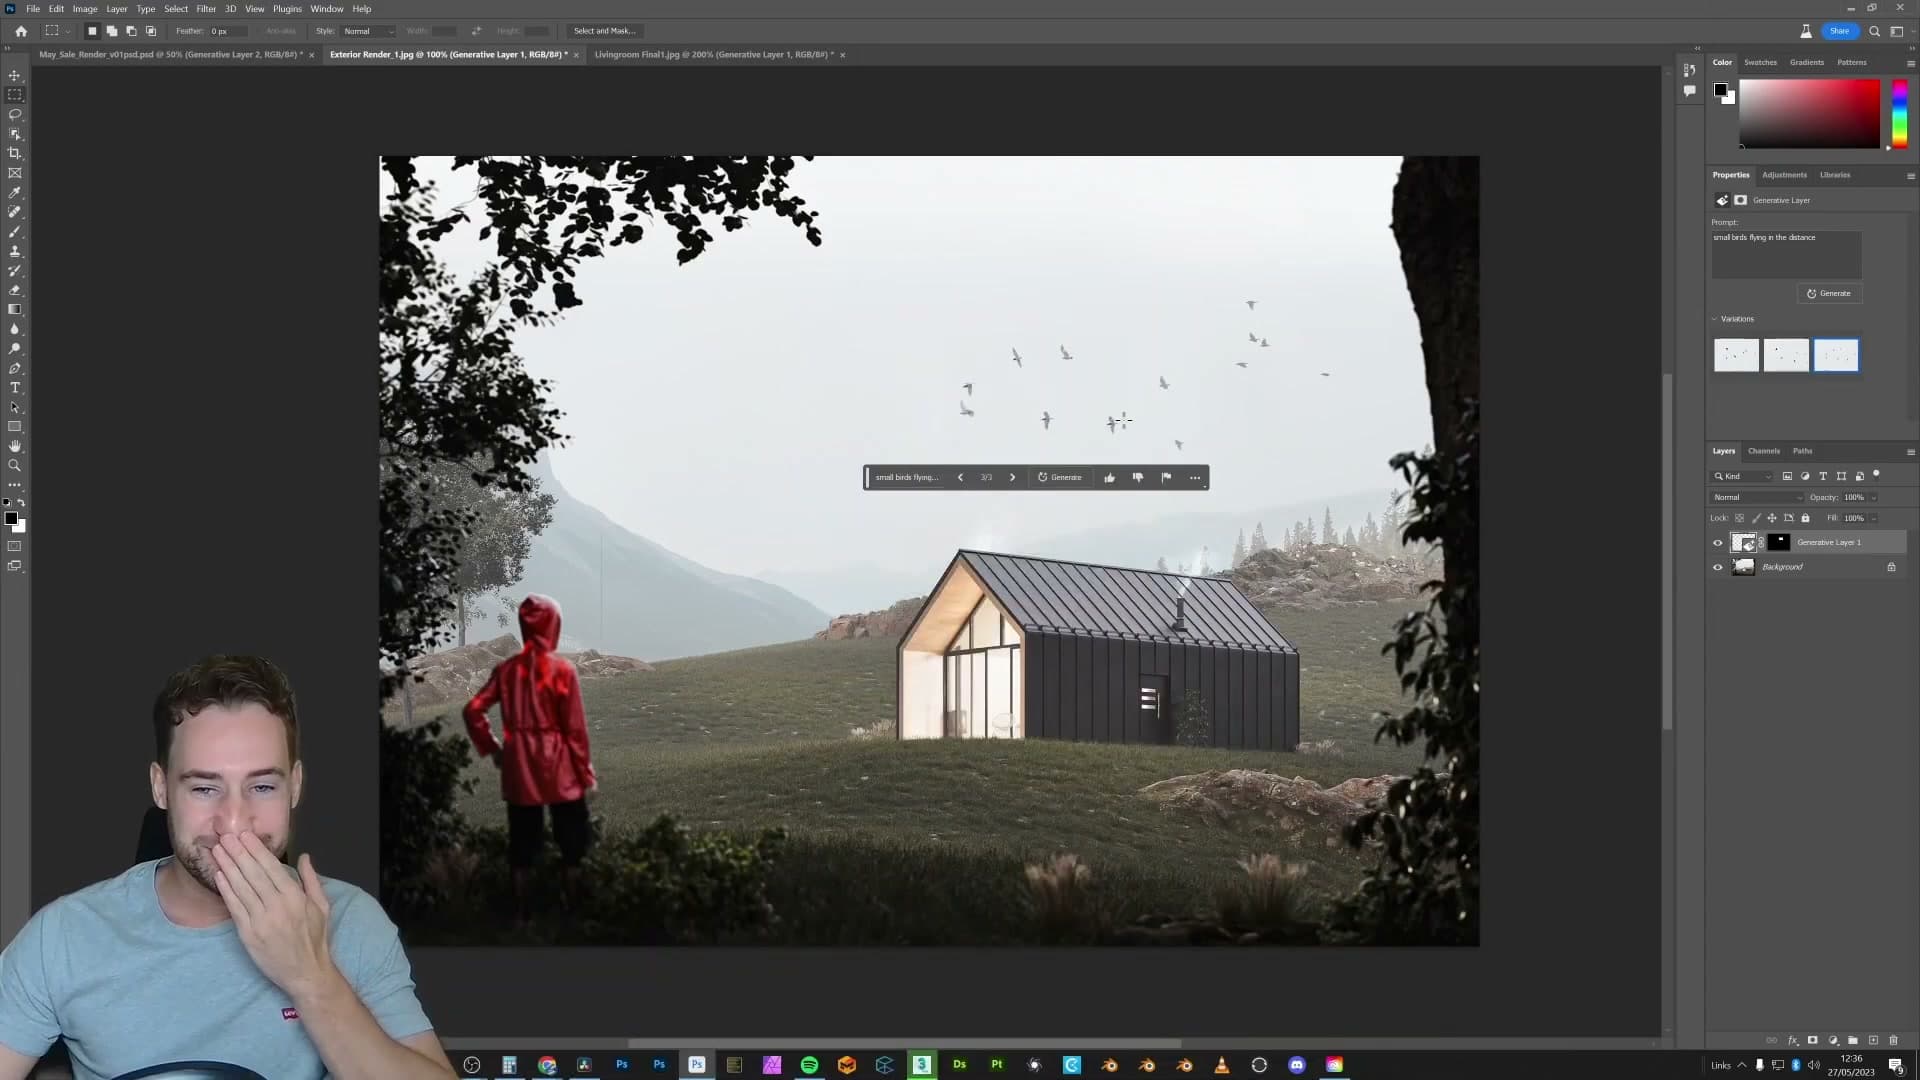
The new birds come back at the same scale, the same silhouette and crucially the same colour as the birds already composited into the plate. There's no manual matching step. Photoshop is reading the existing references in the image and aligning the generation to them.
Generating tree branches that match the existing leaf species
Next up, the same render is missing a few extra branches poking into frame. In a normal workflow that means finding a plate of the right tree species, cutting branches out, and praying the leaves match.
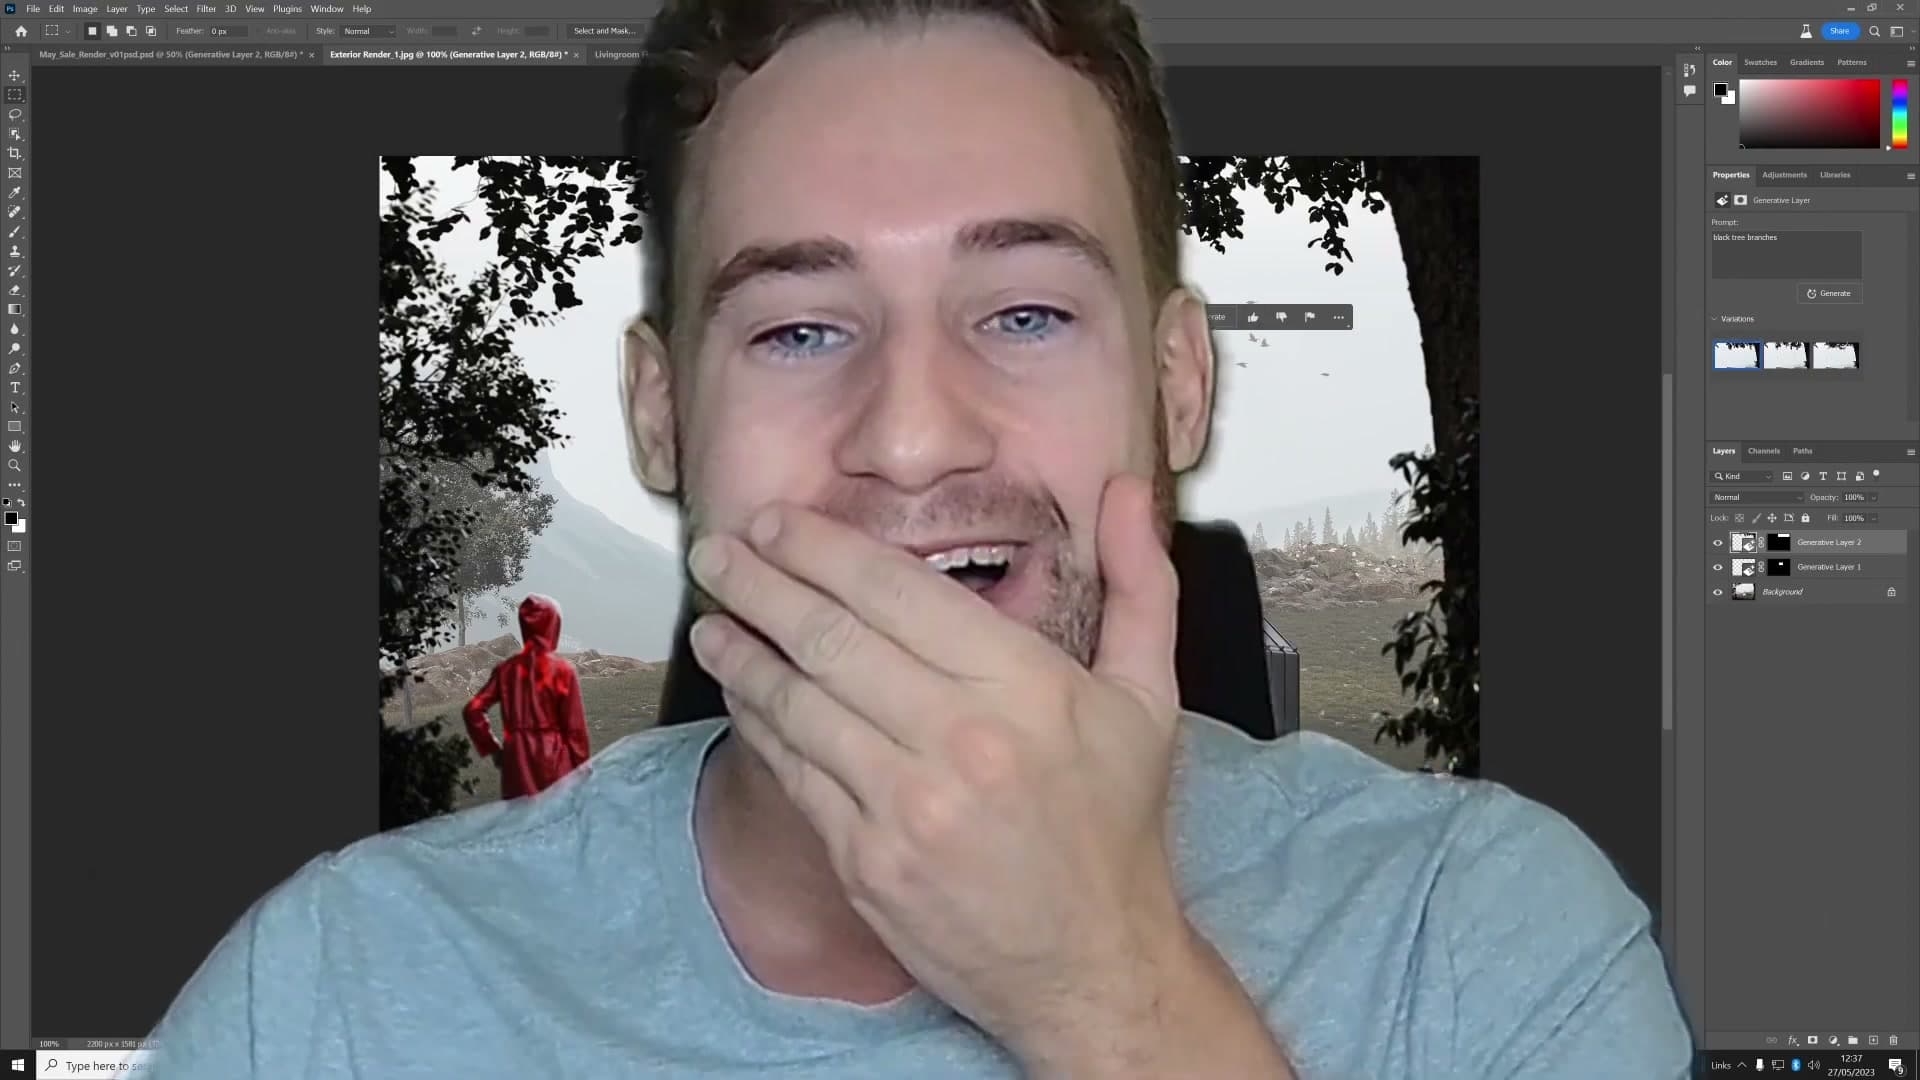
Draw a selection where you want the branches and type black tree branches. Generate.
The branches come back carrying the exact same leaf species as the surrounding foliage: same shape, same size, same colour cast. No species-matching, no plate-hunting, no painstaking masking around individual leaves.
Adding a crown, and watching it inherit the camera depth of field
The figure in this scene should be wearing a crown. First attempt: select the head area and type a person wearing a crown. That confuses the prompt. Photoshop generates a tiny person inside the selection rather than putting a crown on the existing one.
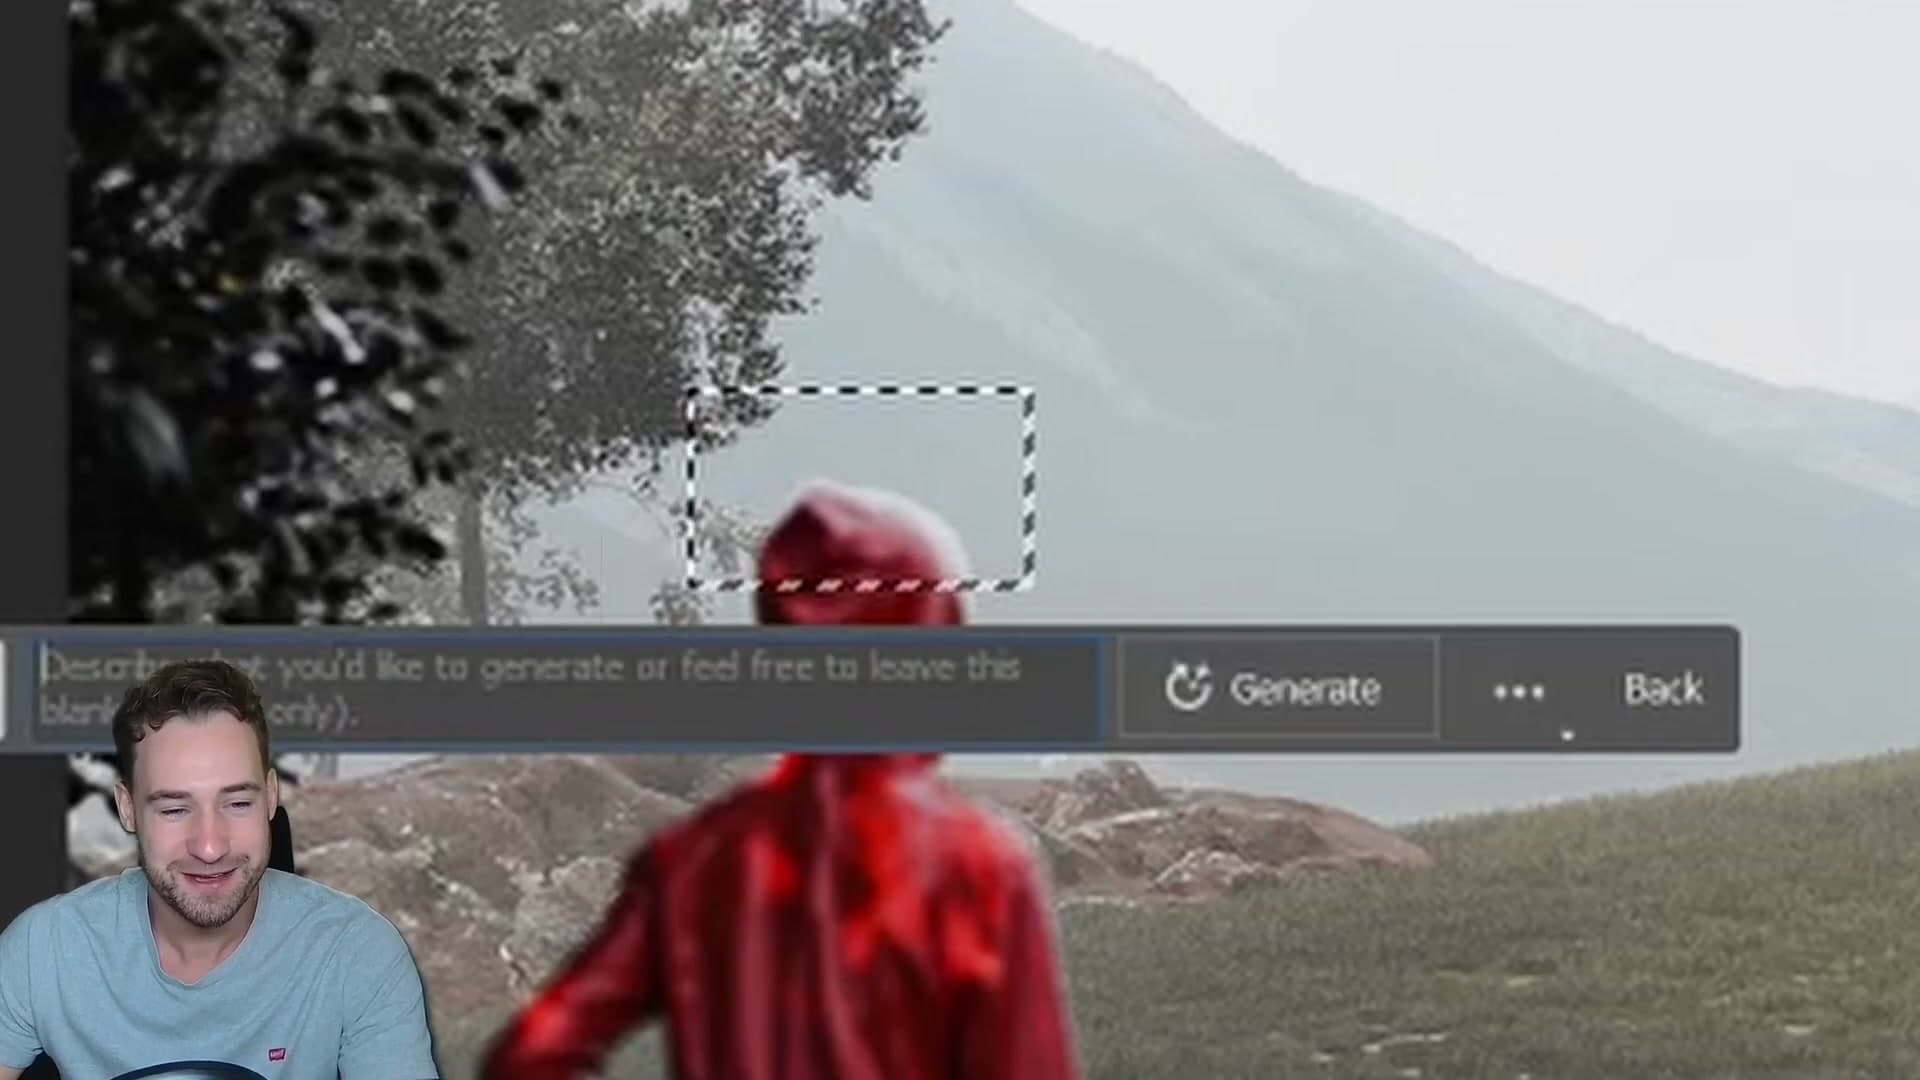
Lesson: describe the object you want, not the scene around it. Redraw the selection right on top of the head and prompt just a crown.
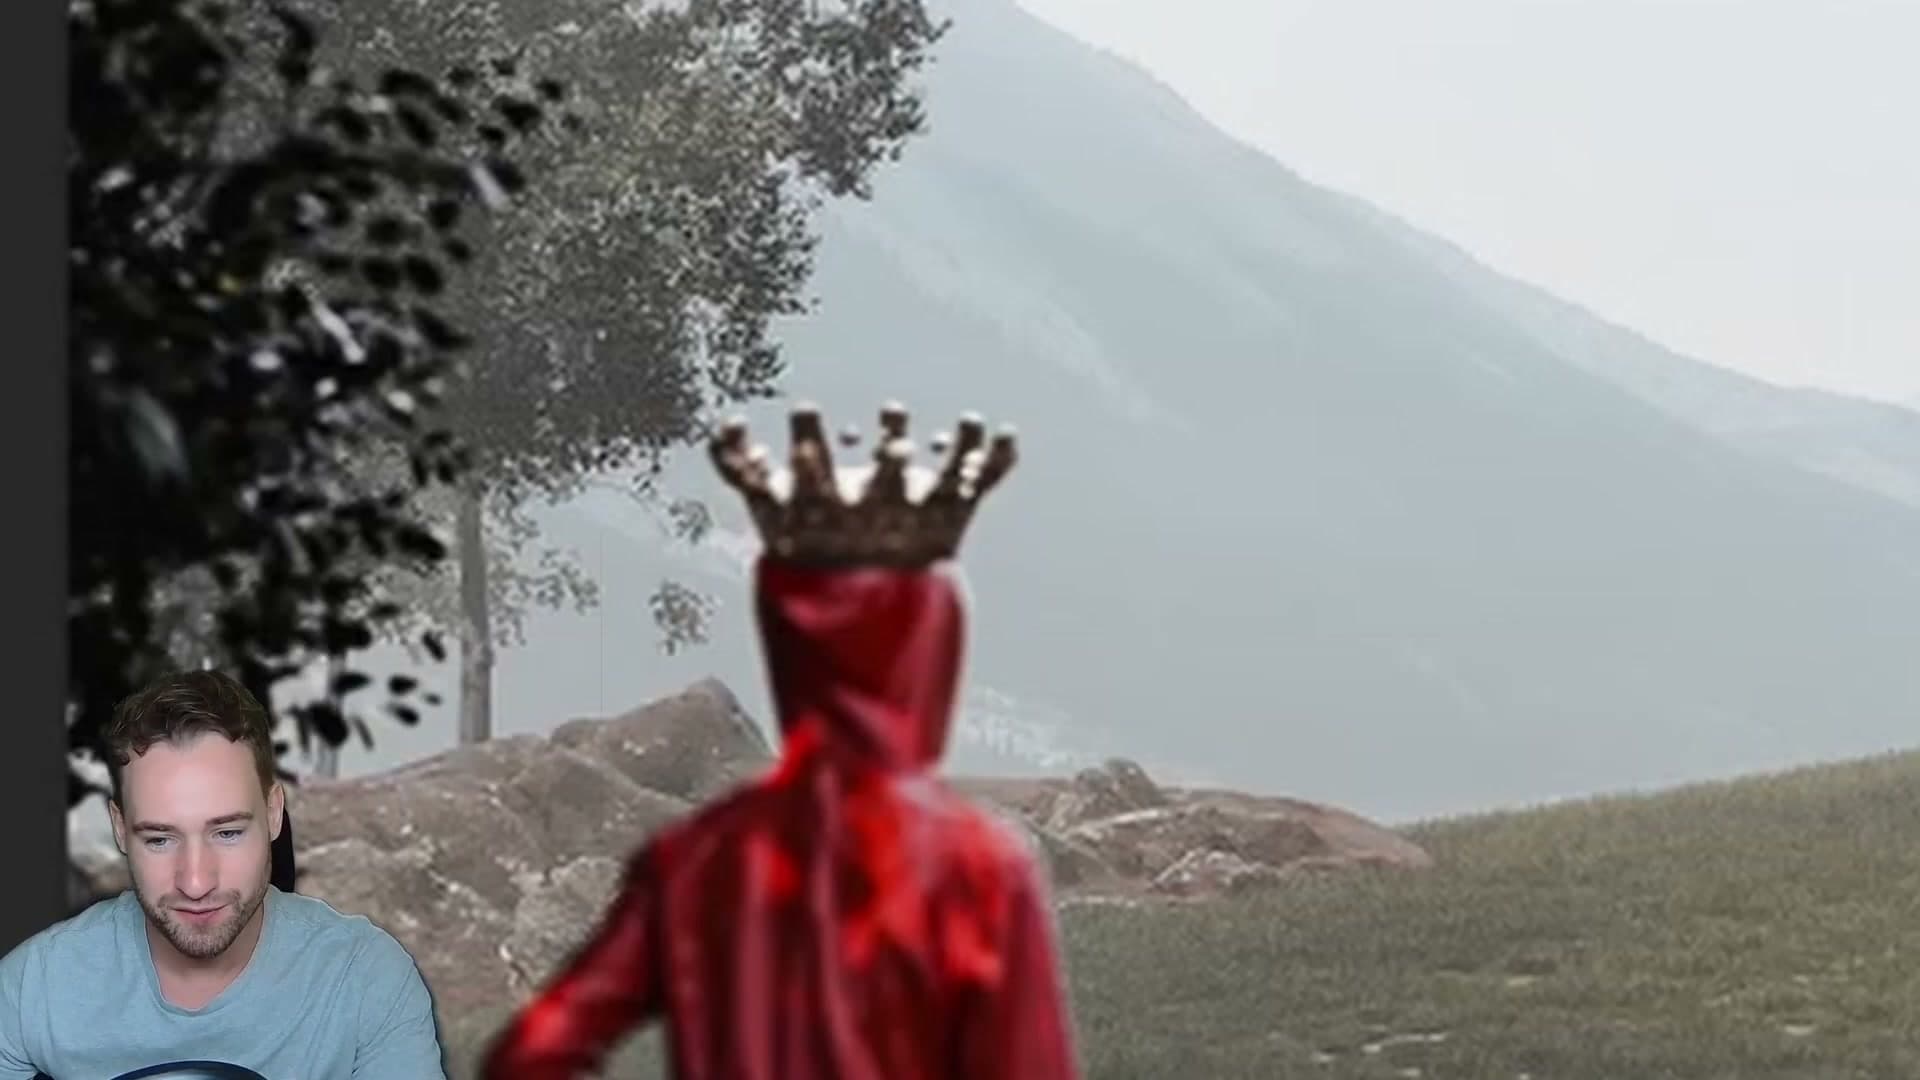
The crown lands in the right spot and picks up the camera's depth-of-field blur automatically, matching the softness of the subject around it. There's no separate step to dial in DOF. Generative Fill reads what's already in the image and bakes the same look into the result.
Hot air balloon and cleaning up the misses
Not every generation lands. Some of the earlier passes produced floating-ball artefacts that read as hovering nothings. They break the realism more than they help.
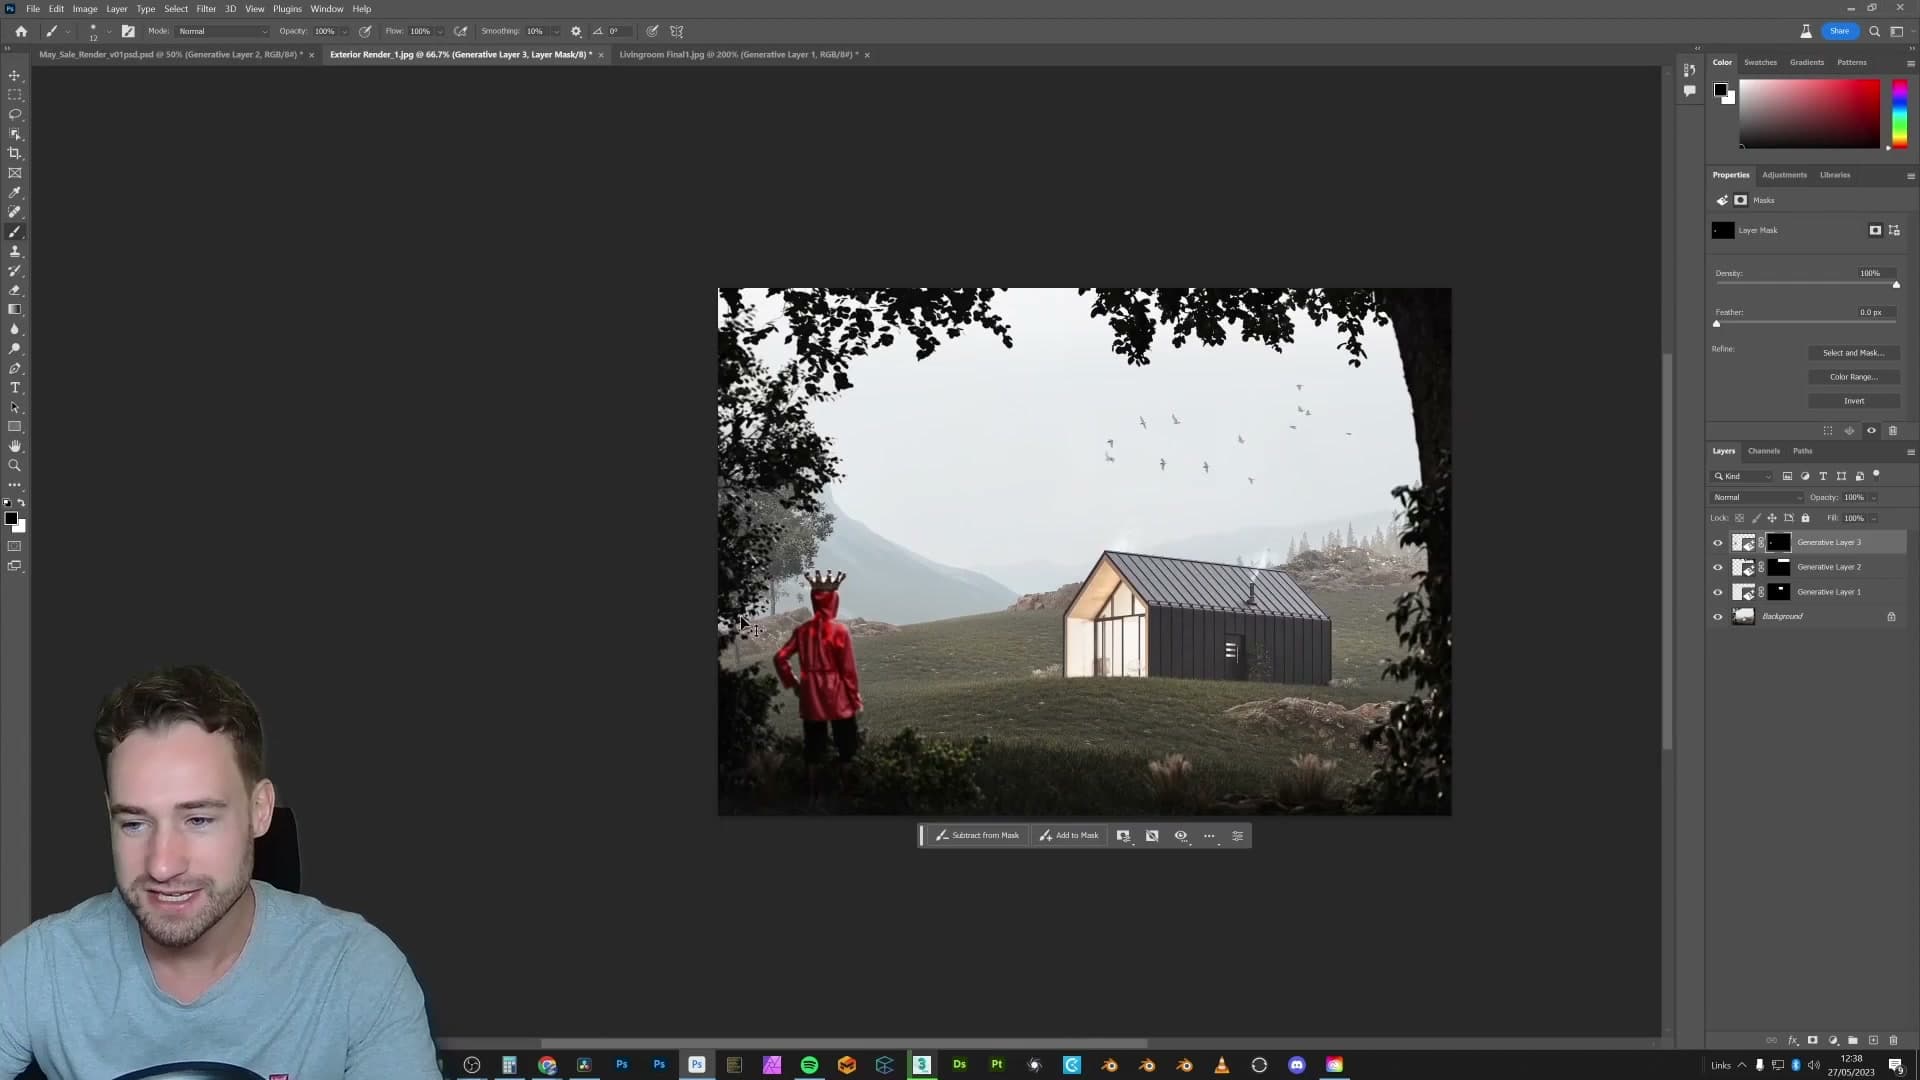
The fix is non-destructive: select the offending blobs and either delete the generation layer or paint them back to the original plate.
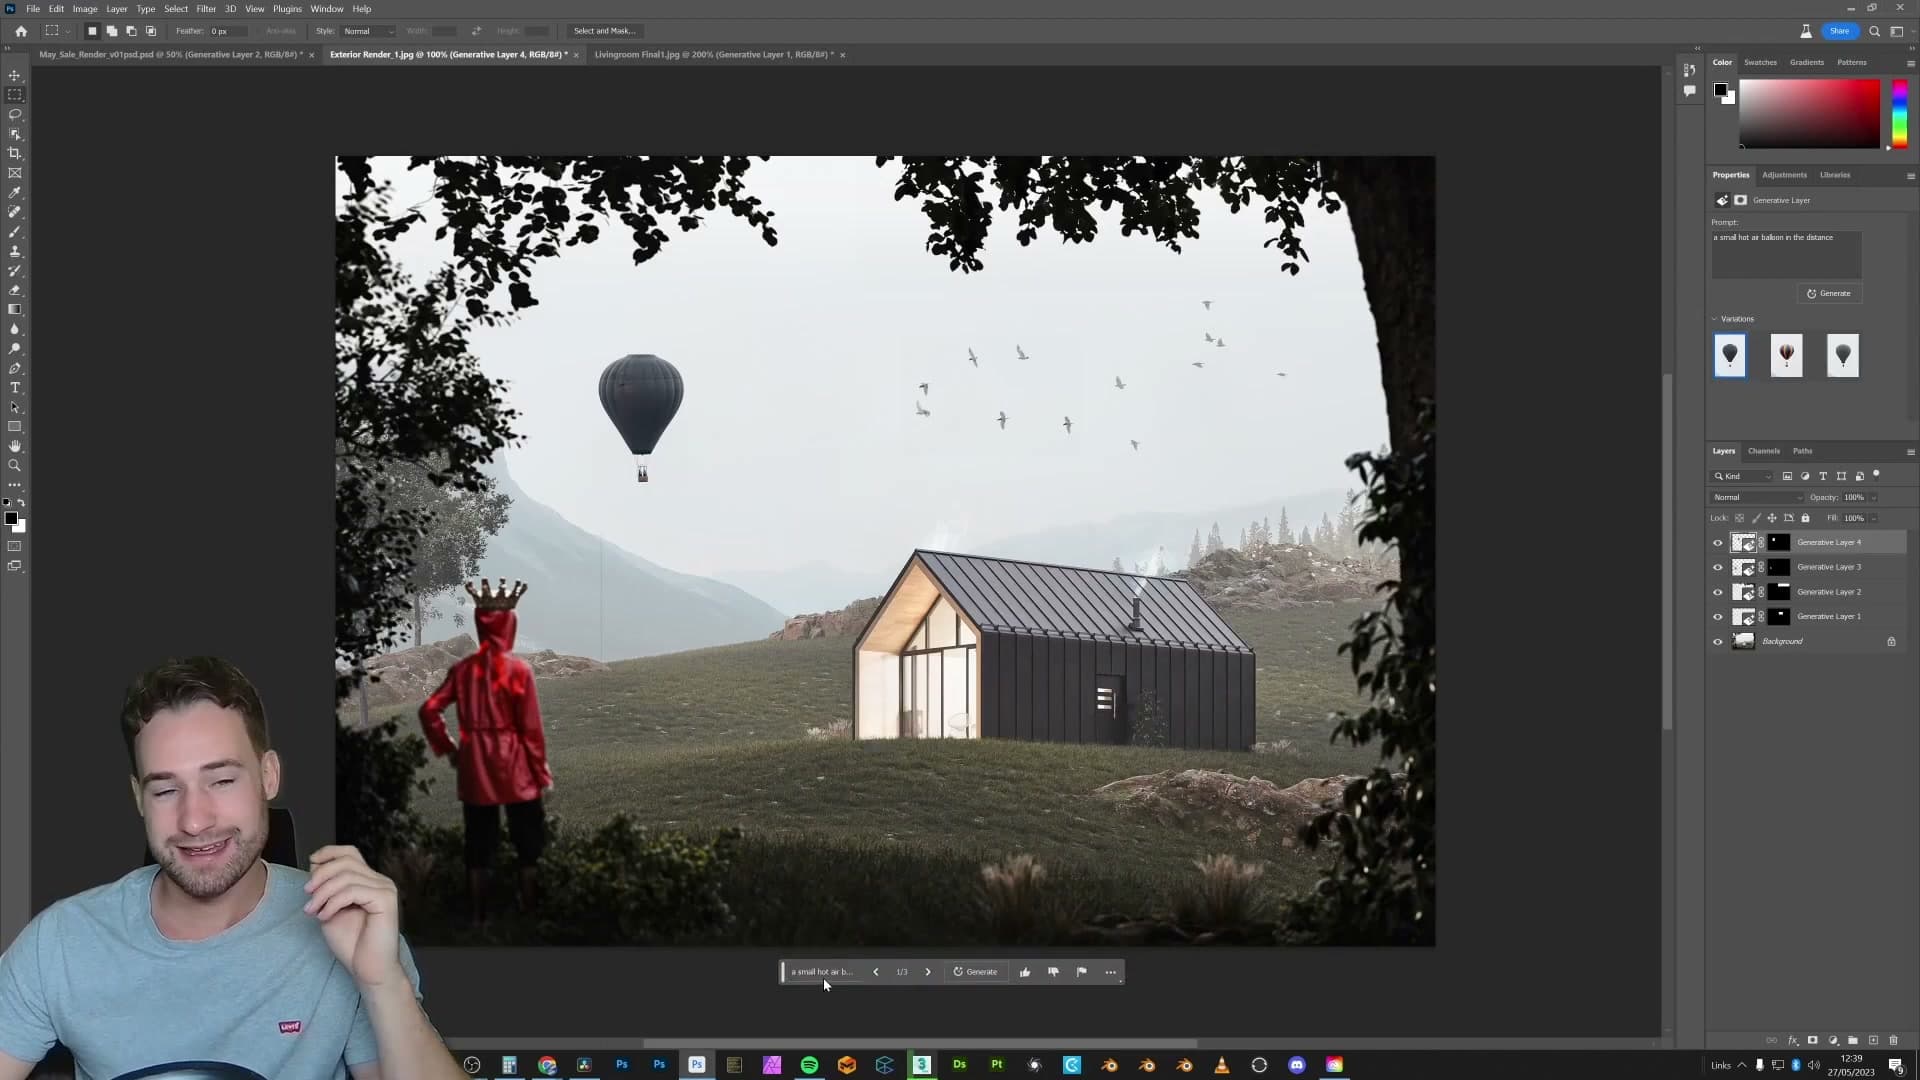
To finish the piece, draw a small selection up in the sky and prompt a small hot air balloon in the distance. The balloon drops in at the right scale and with the right amount of atmospheric haze to feel genuinely far away.
What used to be hours of compositing (plate-hunting, masking, colour-grading, scale-matching, DOF-faking) collapses into a marquee and a sentence. Compositing for archviz renders is genuinely never going to be the same again.
Installing Photoshop Beta and fixing greyed-out Generative Fill
Where to find the beta inside Creative Cloud, the Behance date-of-birth fix for users who see the feature disabled, and a final dirt-bike test that exposes the tool's edge cases.
Installing Photoshop Beta from Creative Cloud
Generative Fill lives inside the Photoshop Beta build, not the standard release, so you need to install it from a slightly different spot in Creative Cloud.
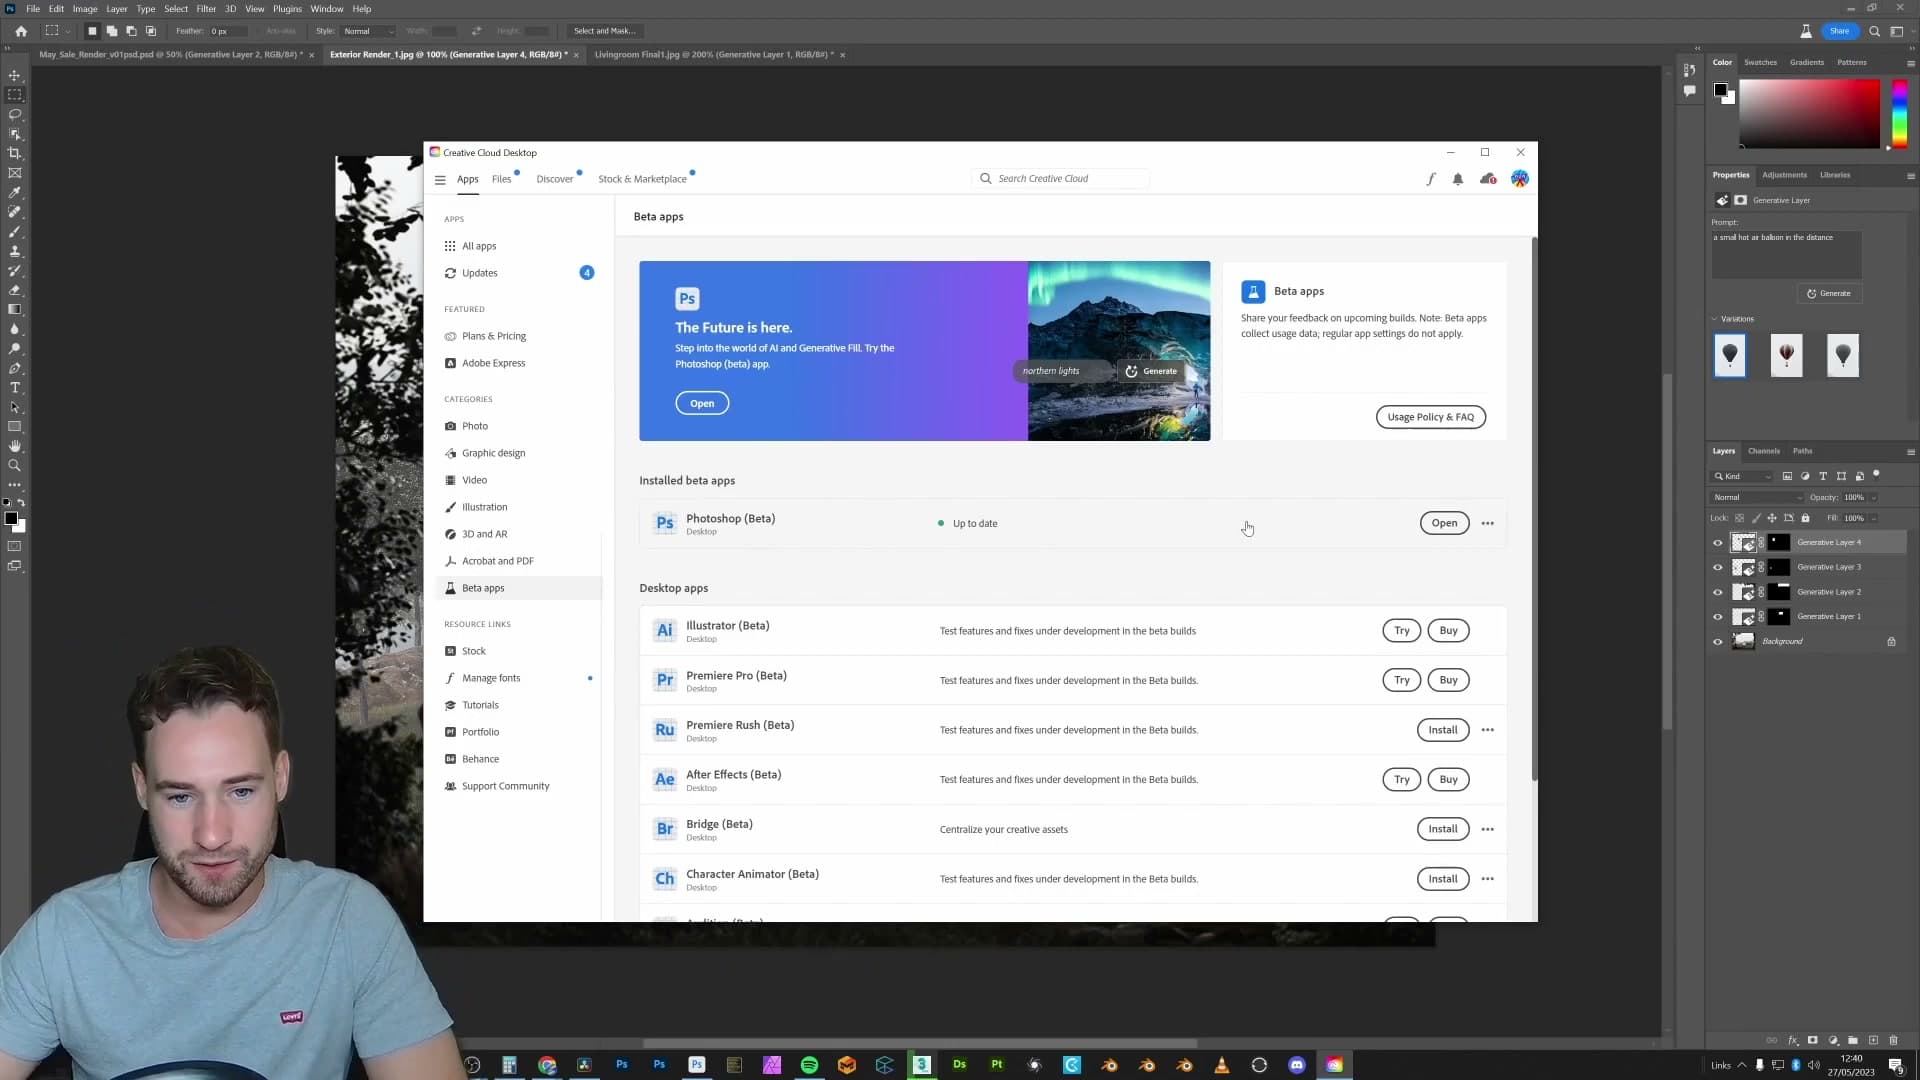
Open the Creative Cloud desktop app and look down the left-hand sidebar for the Beta apps section. Photoshop Beta sits in that list as a separate entry from the regular Photoshop install. Hit Install on it and let it download alongside your existing version. The latest build is what you want; that's the one that ships with Generative Fill enabled.
Fixing greyed-out Generative Fill via the Behance profile
Installing the beta doesn't always activate the feature. A subset of users open Photoshop Beta and find the Generative Fill button greyed out, with no obvious reason why.
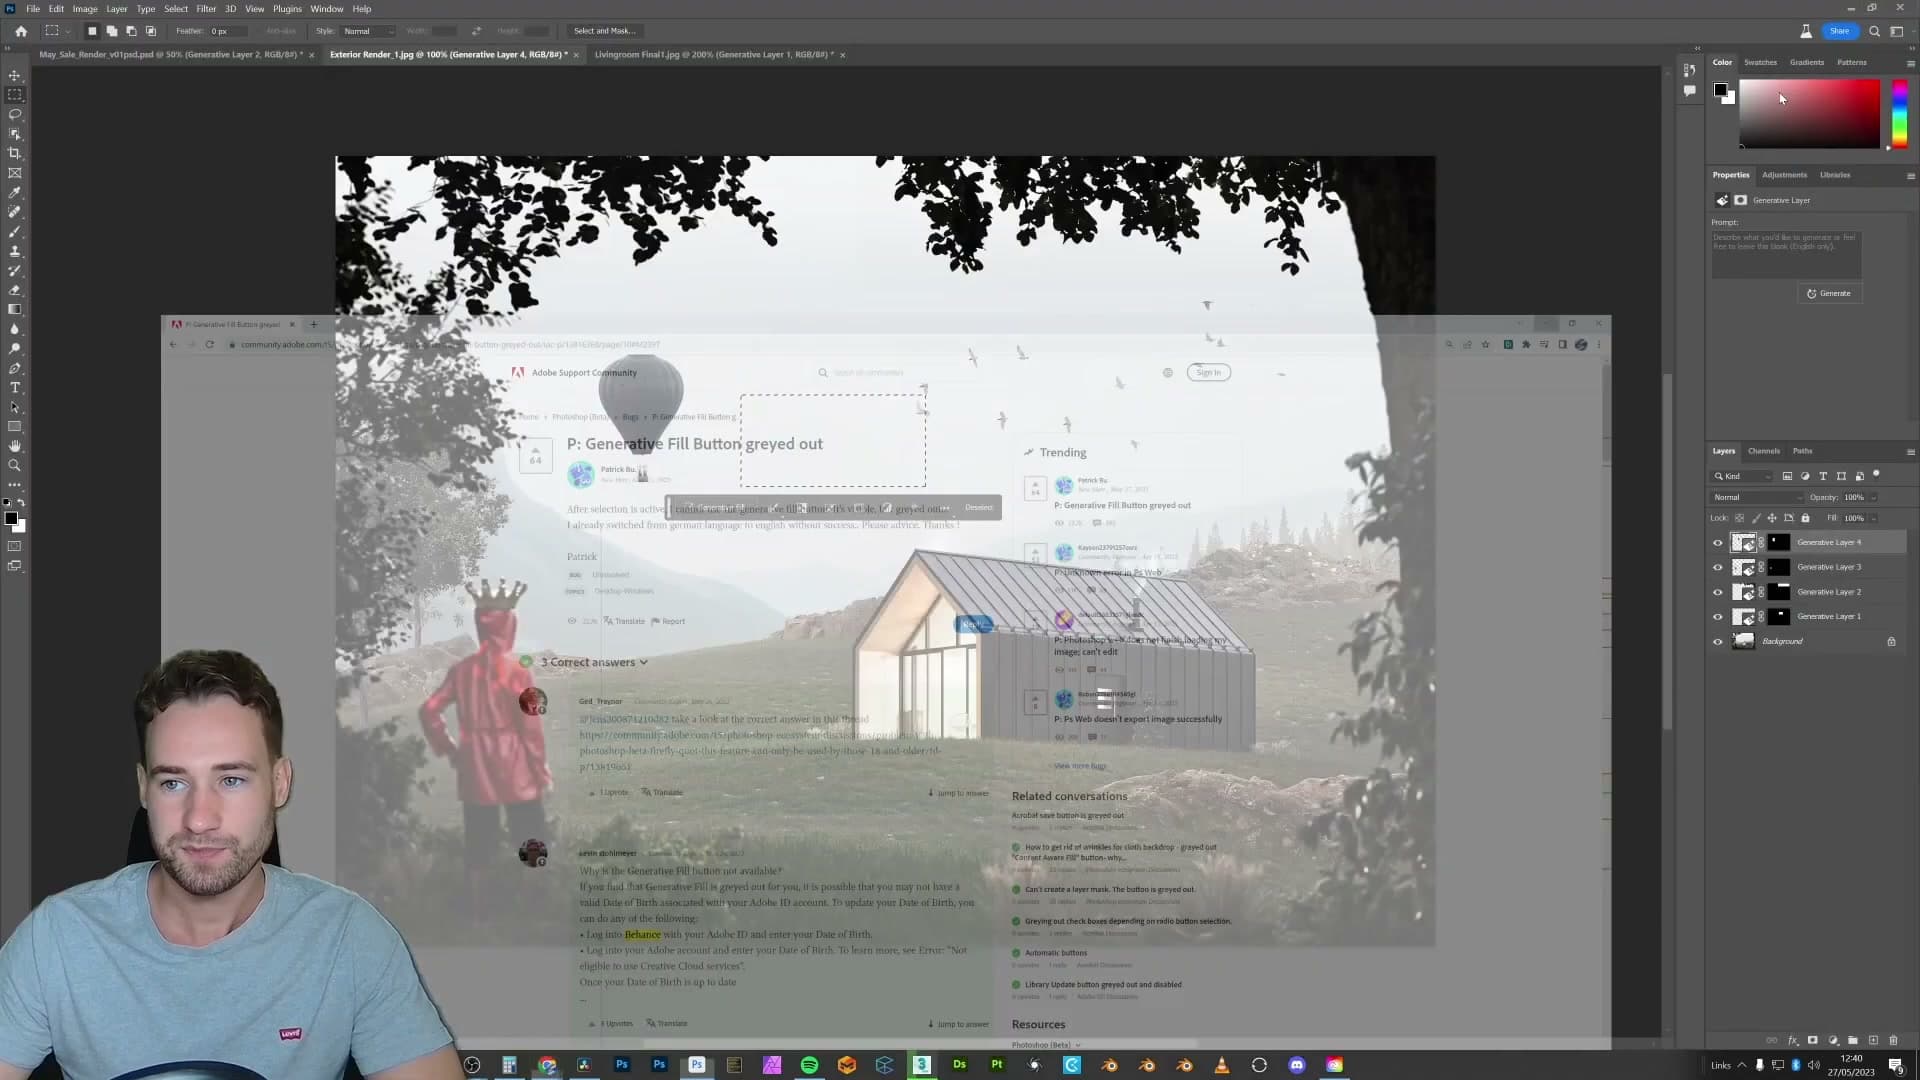
There's an Adobe community thread that covers the exact problem, and the most common fix is account-side rather than software-side: your Behance profile needs a valid date of birth on it, and that date has to clear Adobe's age requirements for AI features. Once you update the date of birth on Behance and sign back in, the button comes alive.
Final test: a dirt bike leaning against the wall
With the beta installed and the feature live, the last test is something the tool isn't naturally going to be brilliant at: a dirt bike leaning against the studio wall.
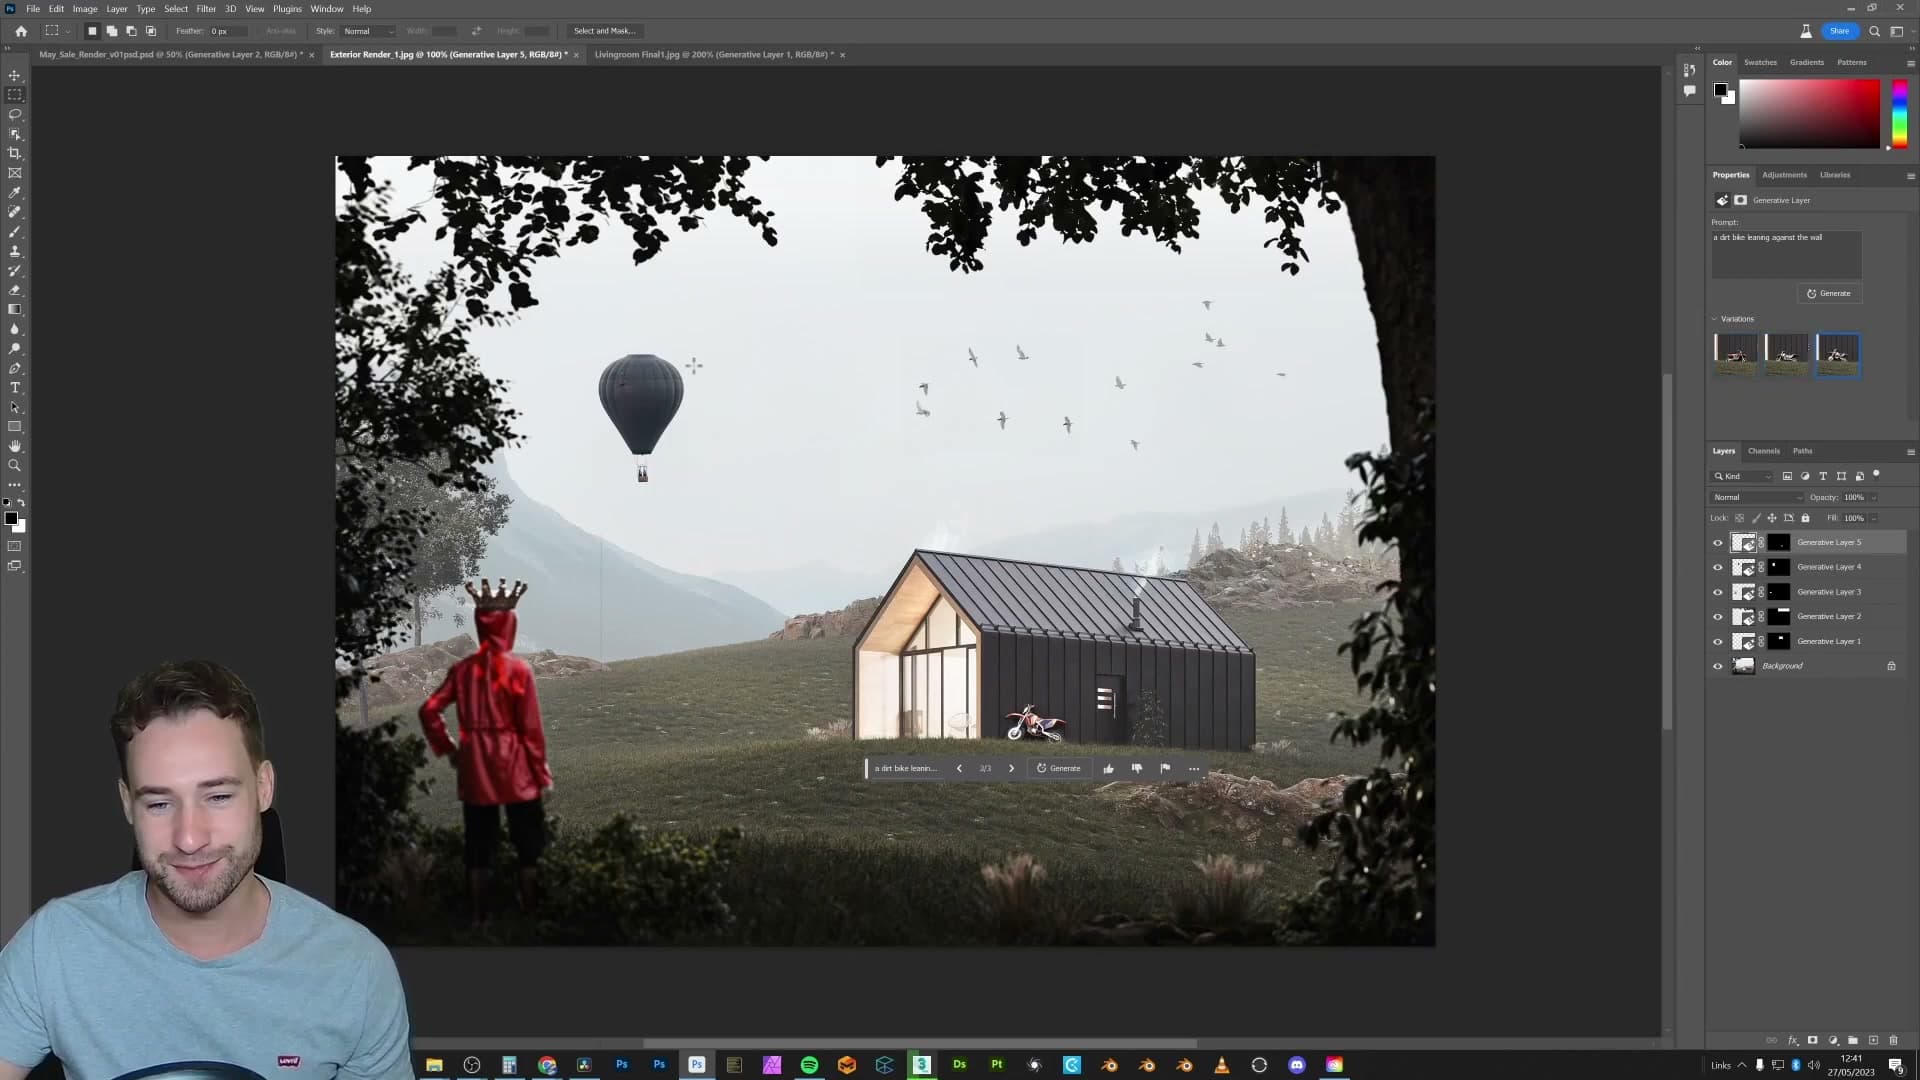
Draw a marquee against the wall, type a dirt bike leaning against the wall, and generate. The first pass comes back too large, so shrink the selection down and run it again at a more realistic scale.
The result is, honestly, a little bit janky. Dirt bikes are mechanically detailed in a way that fur and feathers aren't, so the model has more chances to slip up. It's still convincing enough at a glance, and it shows the honest edge of the tool: simple, organic subjects come out clean, complex mechanical ones come out as a believable-from-a-distance approximation.
Outro and the iMeshh archviz asset sale
That's the workflow end to end: install the beta, fix the account if you need to, and start dropping subjects into your renders. Generative Fill genuinely is the start of something big for archviz post-production, and the best way to feel that is to load up one of your own renders and try it.
Tools and credits
Everything mentioned in this tutorial, with links.
- Blender (the renderer this entire build runs in).
- iMeshh (studio platform: project management, client review, asset library, invoicing). The asset library used in this tutorial is included with every iMeshh Pro plan.
- Poly Haven (free CC0 textures and HDRIs).
Pillar guide: Rendering Post hub