Why handheld camera motion belongs in archviz
The first-person, you-are-there perspective is showing up everywhere in social, VR and AR archviz. It can make some viewers feel sick, but done well it pulls the viewer into the scene in a way a tripod shot cannot.
The viewer-perspective trend in archviz
Plenty of viewers have asked how the camera motion in the garden scene was put together, so this tutorial walks through the workflow. I took it on as an experiment because the look genuinely interested me. The result turned out well enough to be worth sharing.
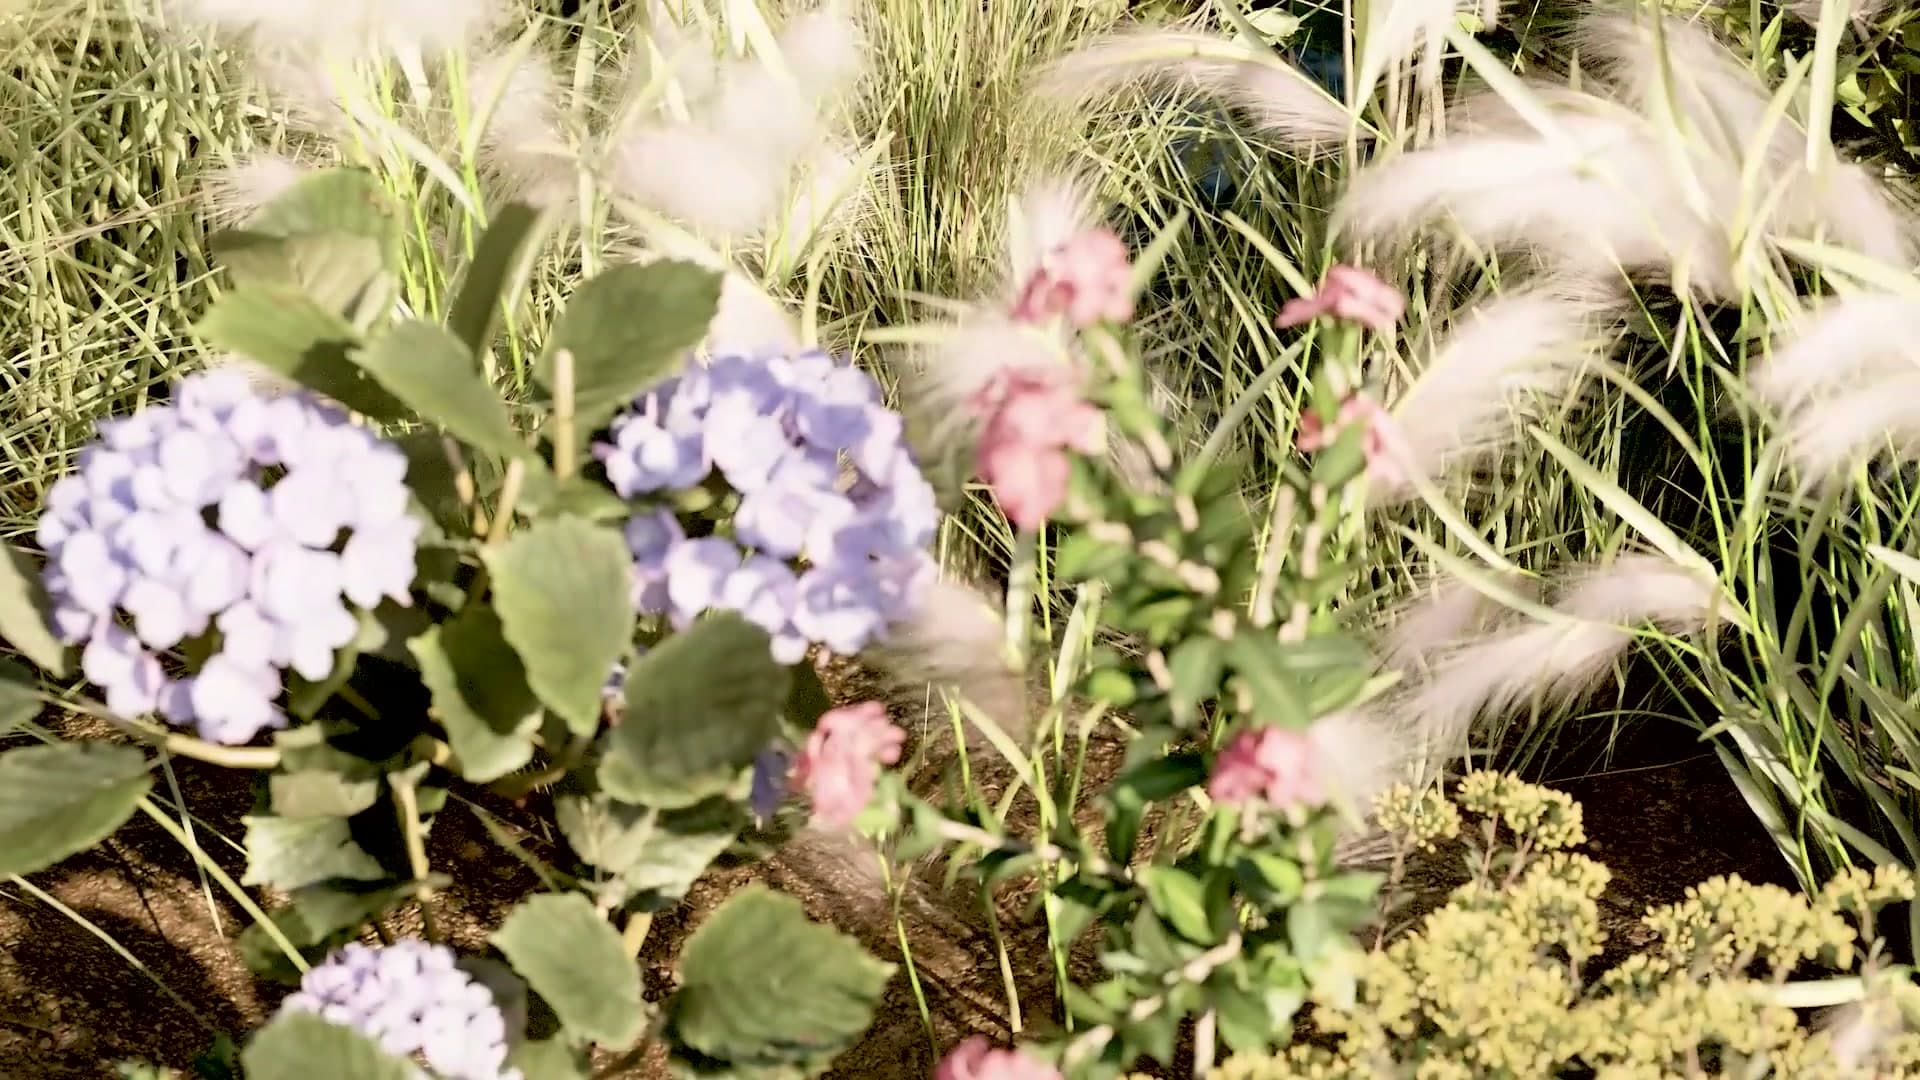
Part of why the style is interesting is about where archviz is heading. That first-person perspective (the feeling of seeing what the viewer is seeing) is showing up more often on social media, in virtual reality and in augmented reality. I expect it to keep getting more popular as those formats grow.
It is worth being honest about one drawback though. Some viewers find handheld camera motion uncomfortable, and a few have told me it makes them feel slightly sick. It is not a universal upgrade. As an experiment, though, it was a cool one and the technique is worth having in the toolkit.
What this tutorial covers (and what it doesn't)
The full garden scene is available in the iMeshh library as part of the subscription, so if you want to dig around inside the project file (see how the lighting, materials and animation are wired together), you can download it and explore the setup directly.
This tutorial keeps the scope tight. It covers how the handheld motion was captured on a phone, imported into Blender, and cleaned up afterwards, along with the specific gotchas you will run into if you try to copy the workflow. Everything else about the garden scene is for another day.
Capturing the take on your phone
The motion is recorded on a mobile app available on iOS and Android. The original creator's video is the reference for the phone-side setup. The key detail: place a marker on the floor as a focus point so you have something to imagine looking at while filming.
Setting a floor marker and recording the motion
The actual motion capture happens on your phone, not in Blender. I recommend watching the app makers' original walkthrough for the phone-side setup; they explain the recording flow better than this post can. The app is available on both iOS and Android, and once installed, capturing a take is as simple as pressing record and moving through the space you want to film.
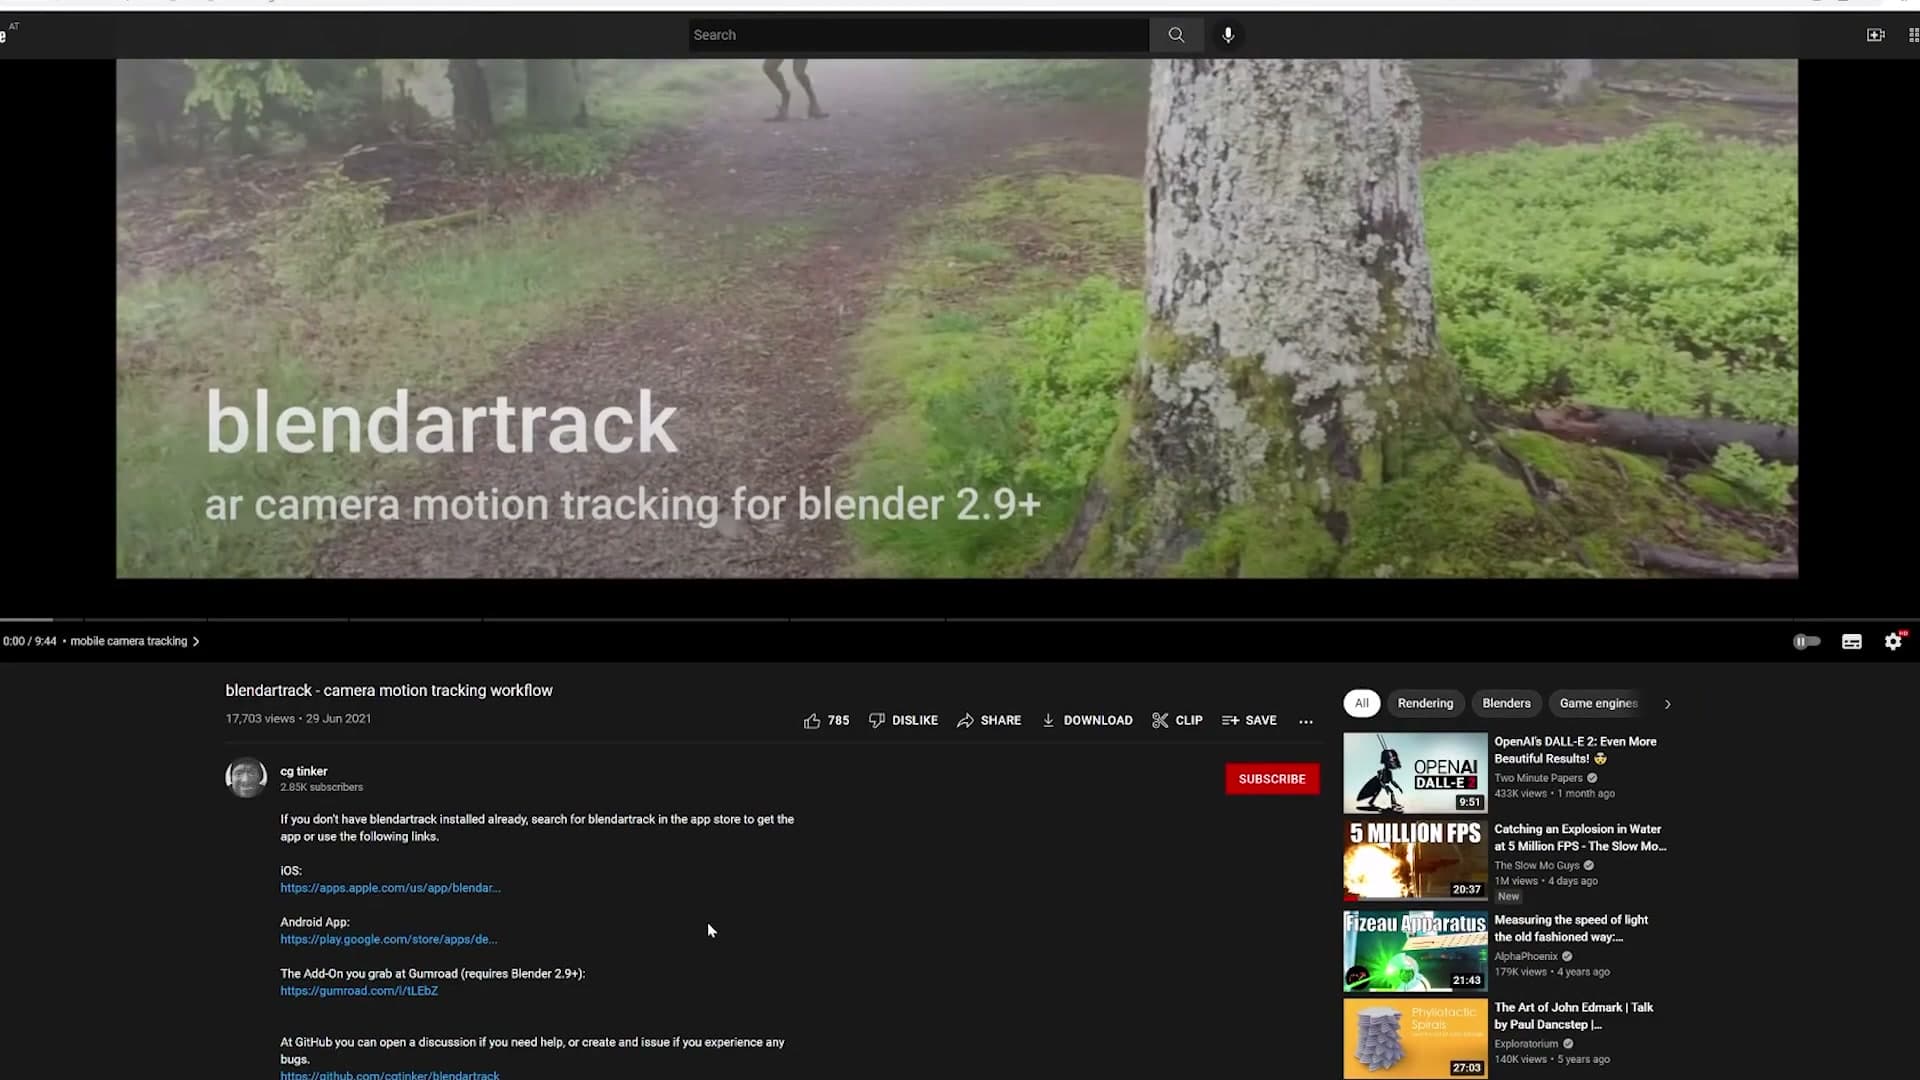
Before you start recording, place a marker on the floor and use it as your focus point. This sounds trivial but it is the single most important detail of the phone-side workflow. With a physical reference to look at, you can pretend you are staring at something specific in your future scene, and your body naturally moves in a way that reads as deliberate. Without one, the take drifts and the imported Blender camera ends up feeling aimless.
When the take is finished, the app packages the recording into a .zip file that you share across to your computer. The matching Blender plugin accepts that .zip directly: load it, click import, and the plugin drops a fully keyframed camera into your scene. The hand-off itself is straightforward. The rough edges only appear once you start scrubbing through the imported keyframes, which is where the next module picks up.
Importing the .zip into Blender
The phone app exports a .zip file the Blender plugin imports directly. Set the render resolution to 1920x1080 and jump into the imported camera. At this point you have working motion but a lot of unwanted baggage on the keyframes.
Loading the .zip via the plugin
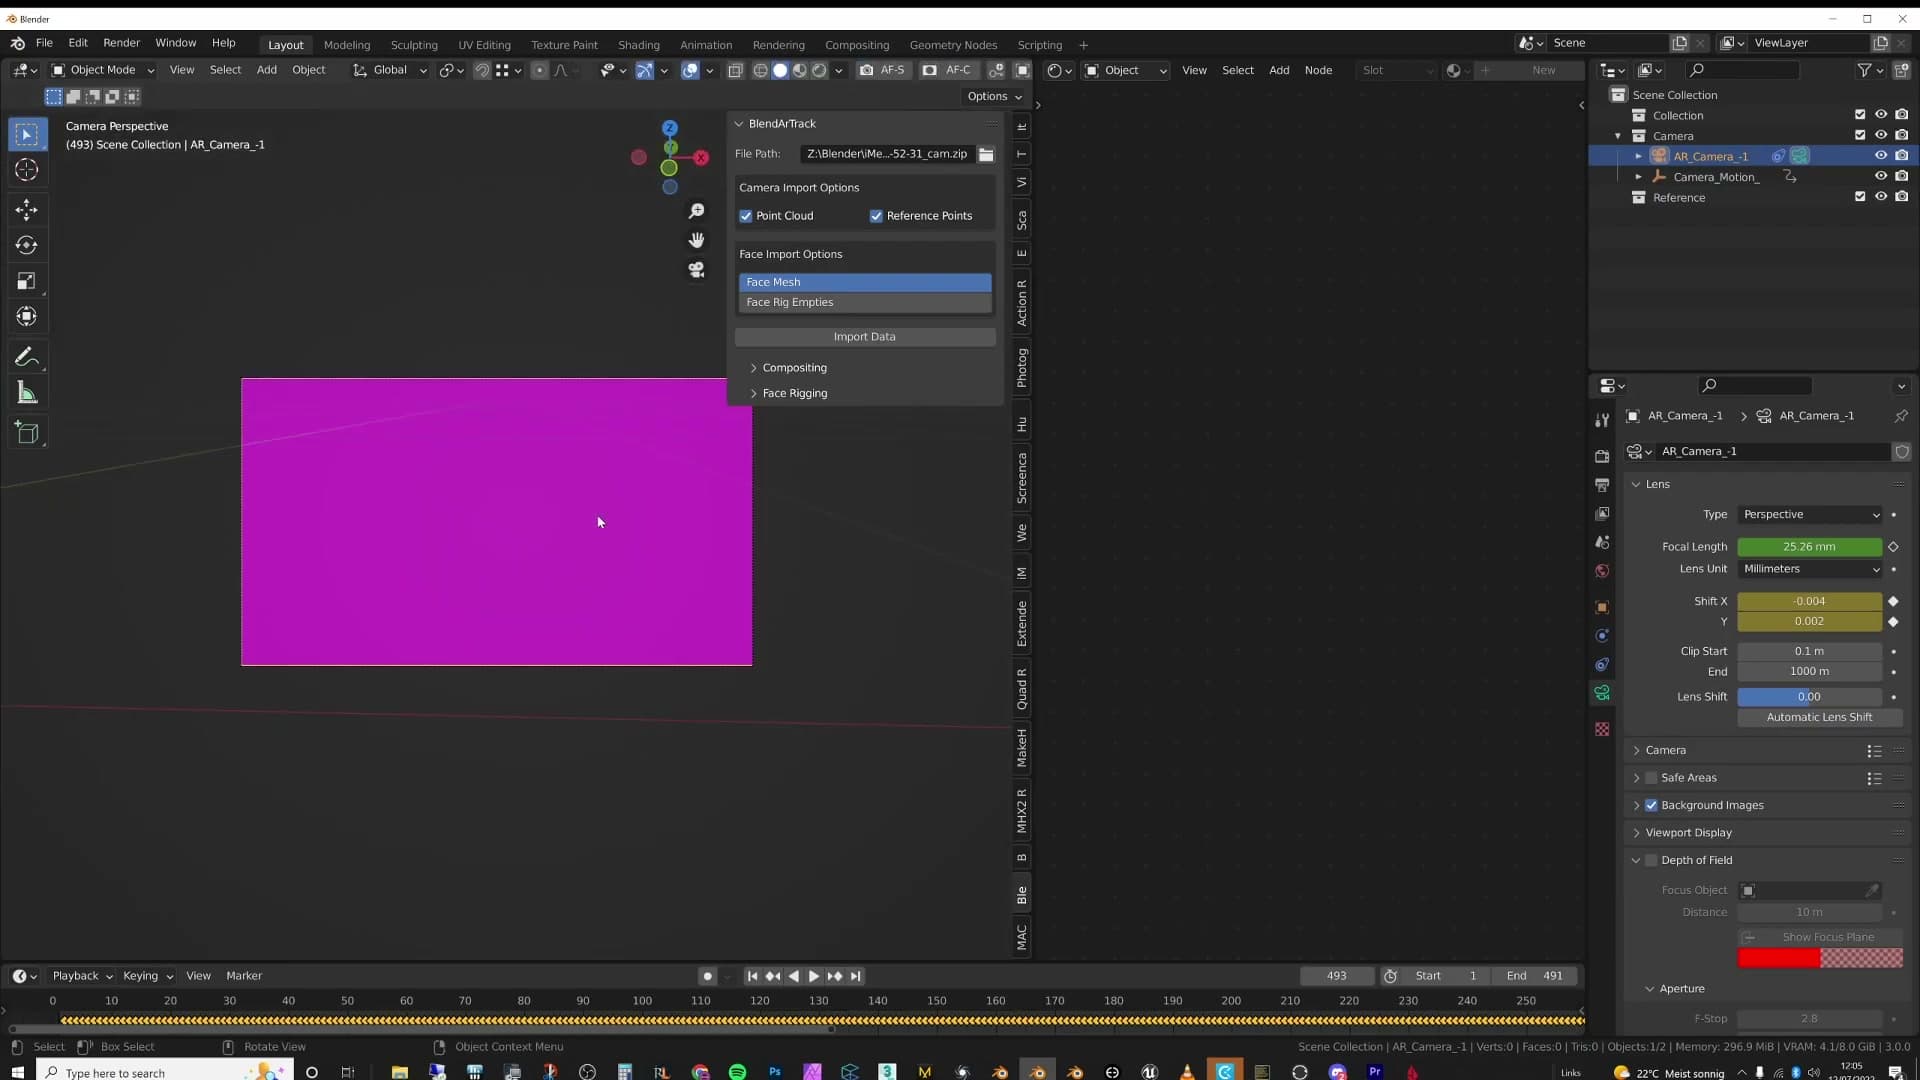
With your recording exported as a .zip from your phone, send the file across to your computer and let the Blender plugin import it. The plugin drops a new camera straight into your scene, already carrying every position, rotation, focal length and lens shift keyframe from the phone capture. That's the raw handheld motion you're going to clean up over the next few steps.
Render resolution and entering the camera
Set the render resolution to 1920x1080. If the app captured a video alongside the tracking data, you'll see that footage play in the background of the viewport as a reference for what the camera was pointed at. On my machine it wasn't behaving, and I found it unnecessary anyway because I was importing the camera into a scene that already had its own reference geometry.
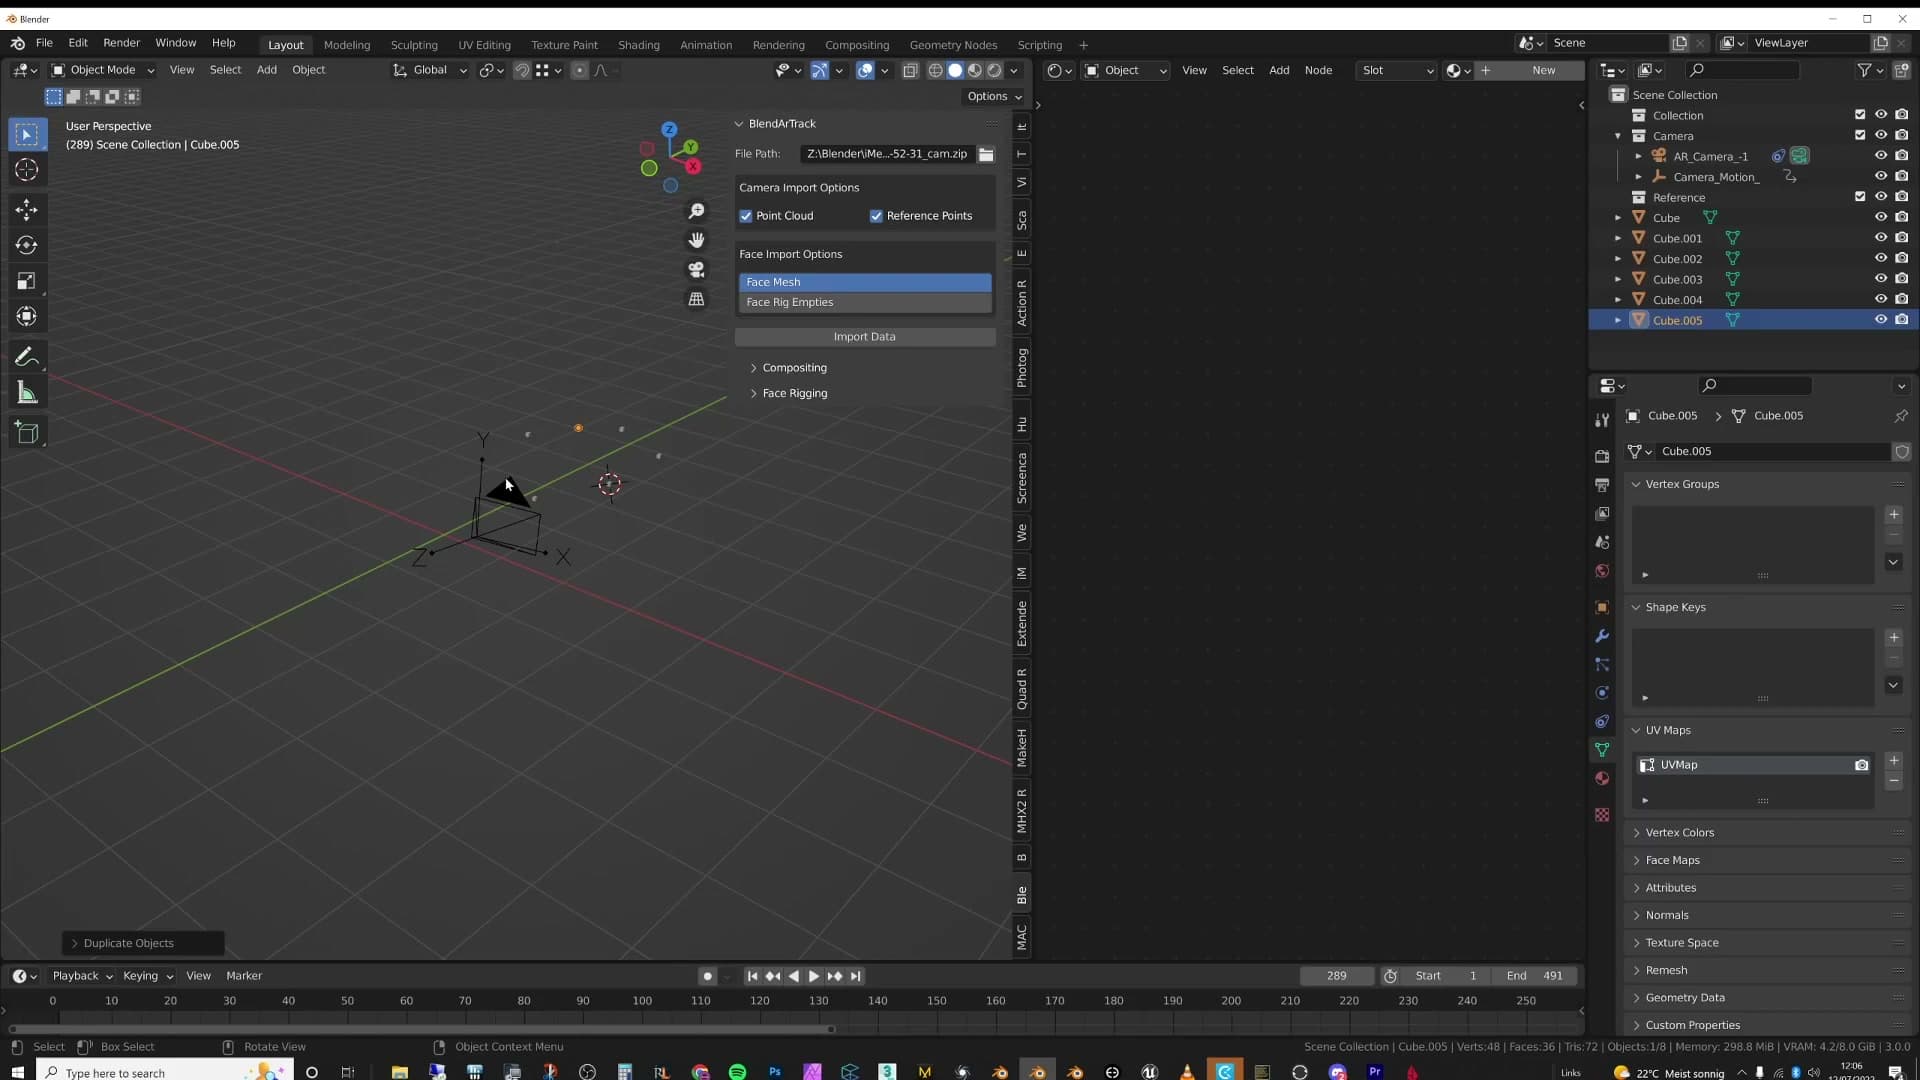
Jump into the newly imported camera and hit play. The motion is there: you're looking through the same handheld move you recorded on your phone, framed inside your Blender scene. It's working. But as the playhead runs, you'll spot a few jittery sections where the shake feels a little too aggressive to use as-is.
If your scene doesn't have any geometry yet, drop in a couple of cubes purely as visual reference so the shake is easier to see. I do exactly that for the demo, but if you're importing the camera into a real archviz scene with furniture, walls and props already in place, those existing objects will do the job for you. The cleanup itself lives on the camera's data block in the graph editor, and that's where the next module picks up.
Cleaning the imported camera keyframes
The import adds animation channels you don't want: focal length and lens shifts that cause subtle wobble, plus a Y rotation that flips from 0 to 360 and back. Both have to go before any smoothing makes sense.
Adding reference cubes to see the jitter
Before you start cleaning the curves, drop a couple of reference cubes into the scene. Without a static object in frame the camera shake is hard to spot: every frame looks much the same as the last. A pair of cubes sitting on the floor gives you something stable to compare against while you scrub through, so any sudden flips or twitches become obvious.
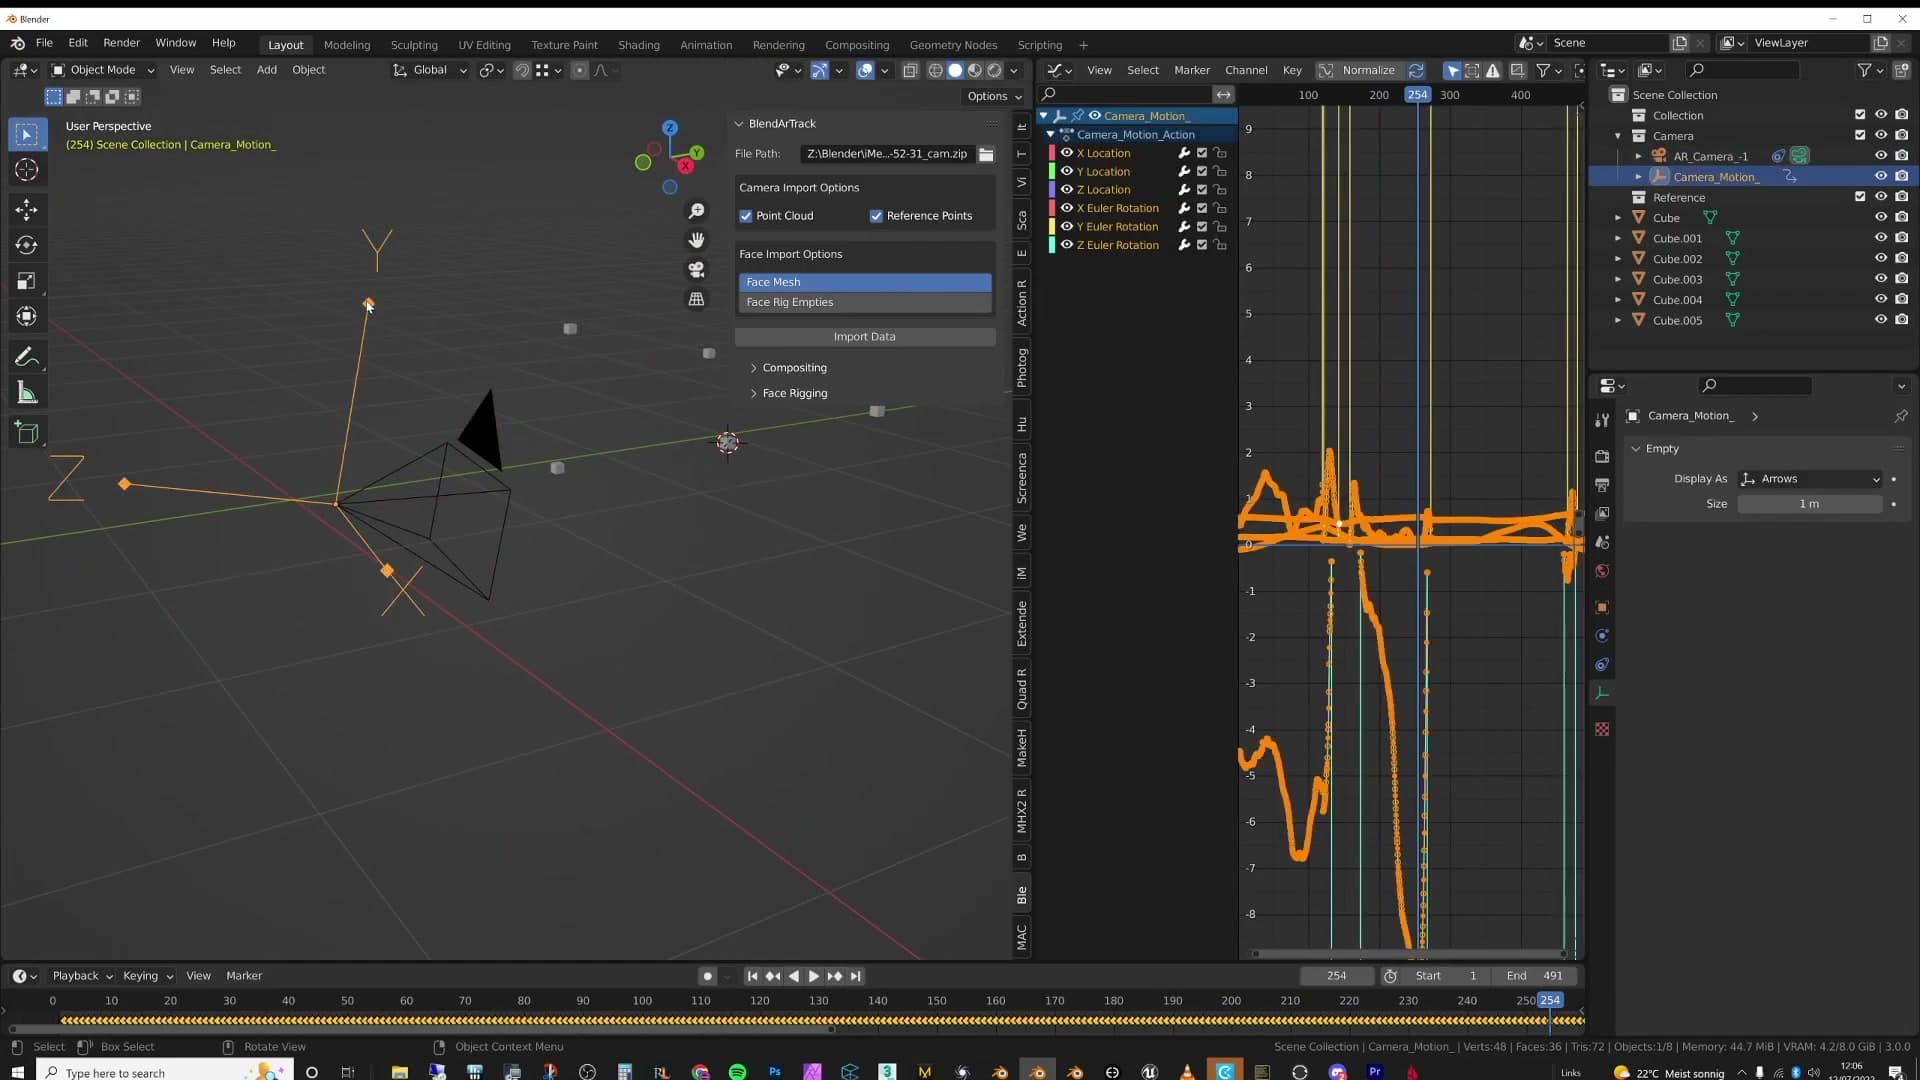
Deleting focal length and lens shift keyframes
With the camera selected, open the graph editor on the camera data block. You'll see animation channels for focal length and the two lens shift values. These came along with the import but you don't want them on a static archviz lens, and leaving them on the camera produces a subtle zoom wobble through the clip.
Select every keyframe on those channels and press X to delete them. The camera now holds a fixed focal length and a clean lens for the duration of the shot, which is what you want for a handheld walk-through.
Fixing the 360° Y rotation flip
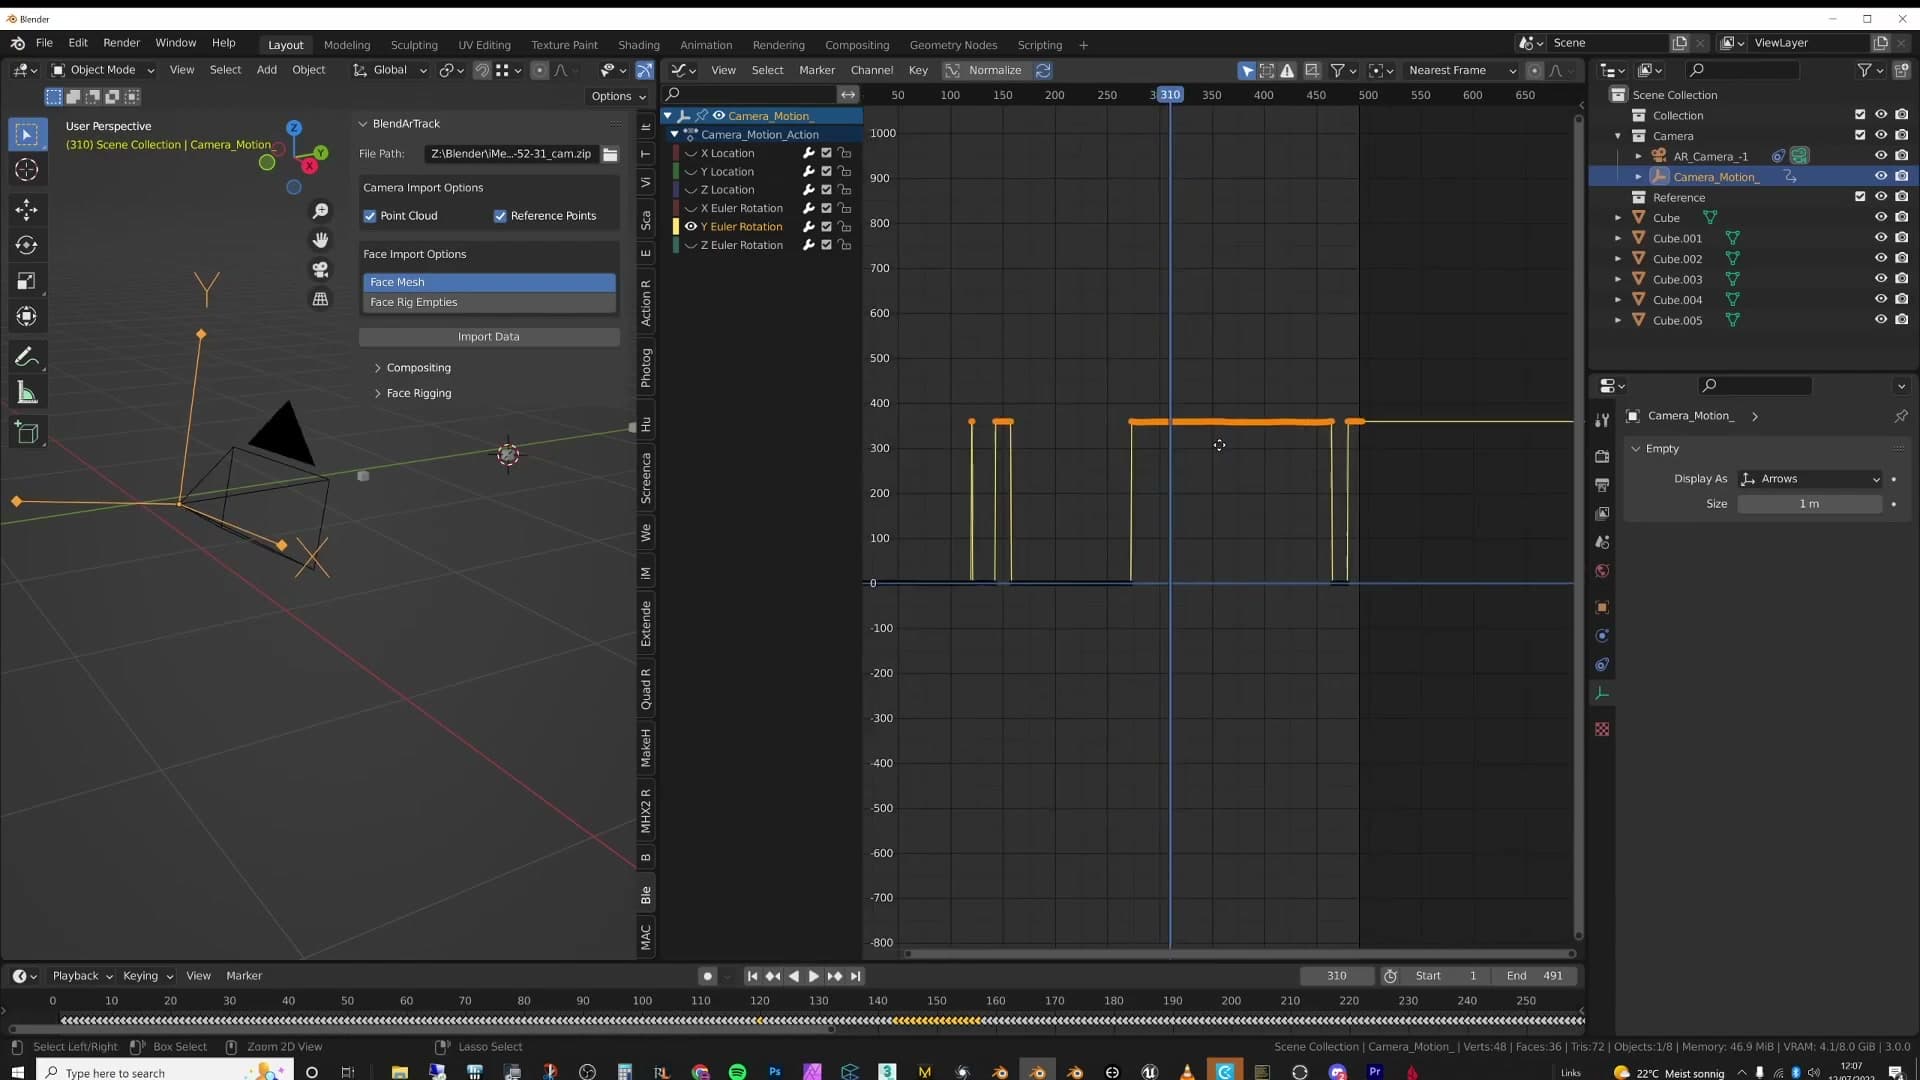
Now scrub through the rotation curves and you'll spot the bigger problem. The Y rotation sits at zero, jumps up to 360 mid-clip, then drops straight back down to zero. The plugin imports it this way; I don't know why. On playback the result is a camera that visibly flips over and back again.
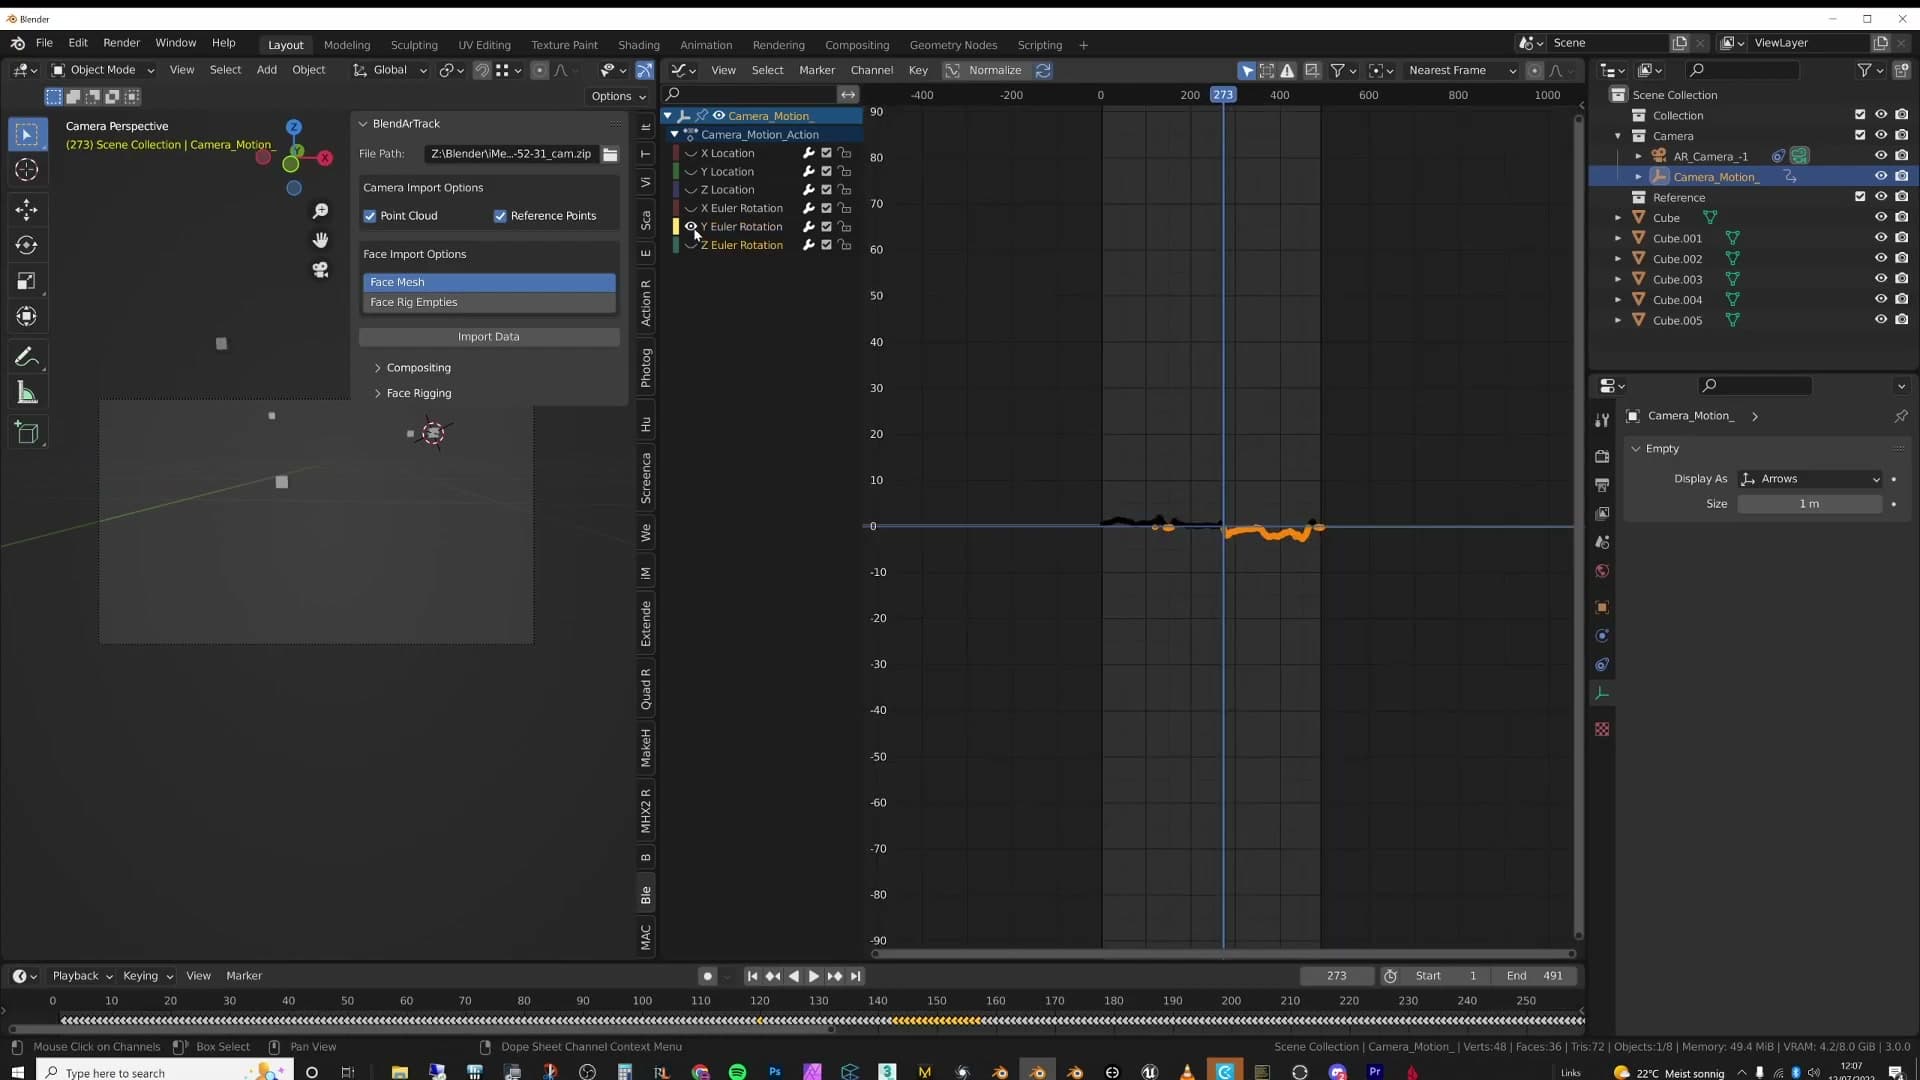
Select the keyframes that have shot up to 360, press G then Y to grab them on the Y axis, and drag them down to zero. The end-to-end motion is preserved. The camera still reaches the same final orientation. It just no longer makes an unnecessary full turn in the middle.
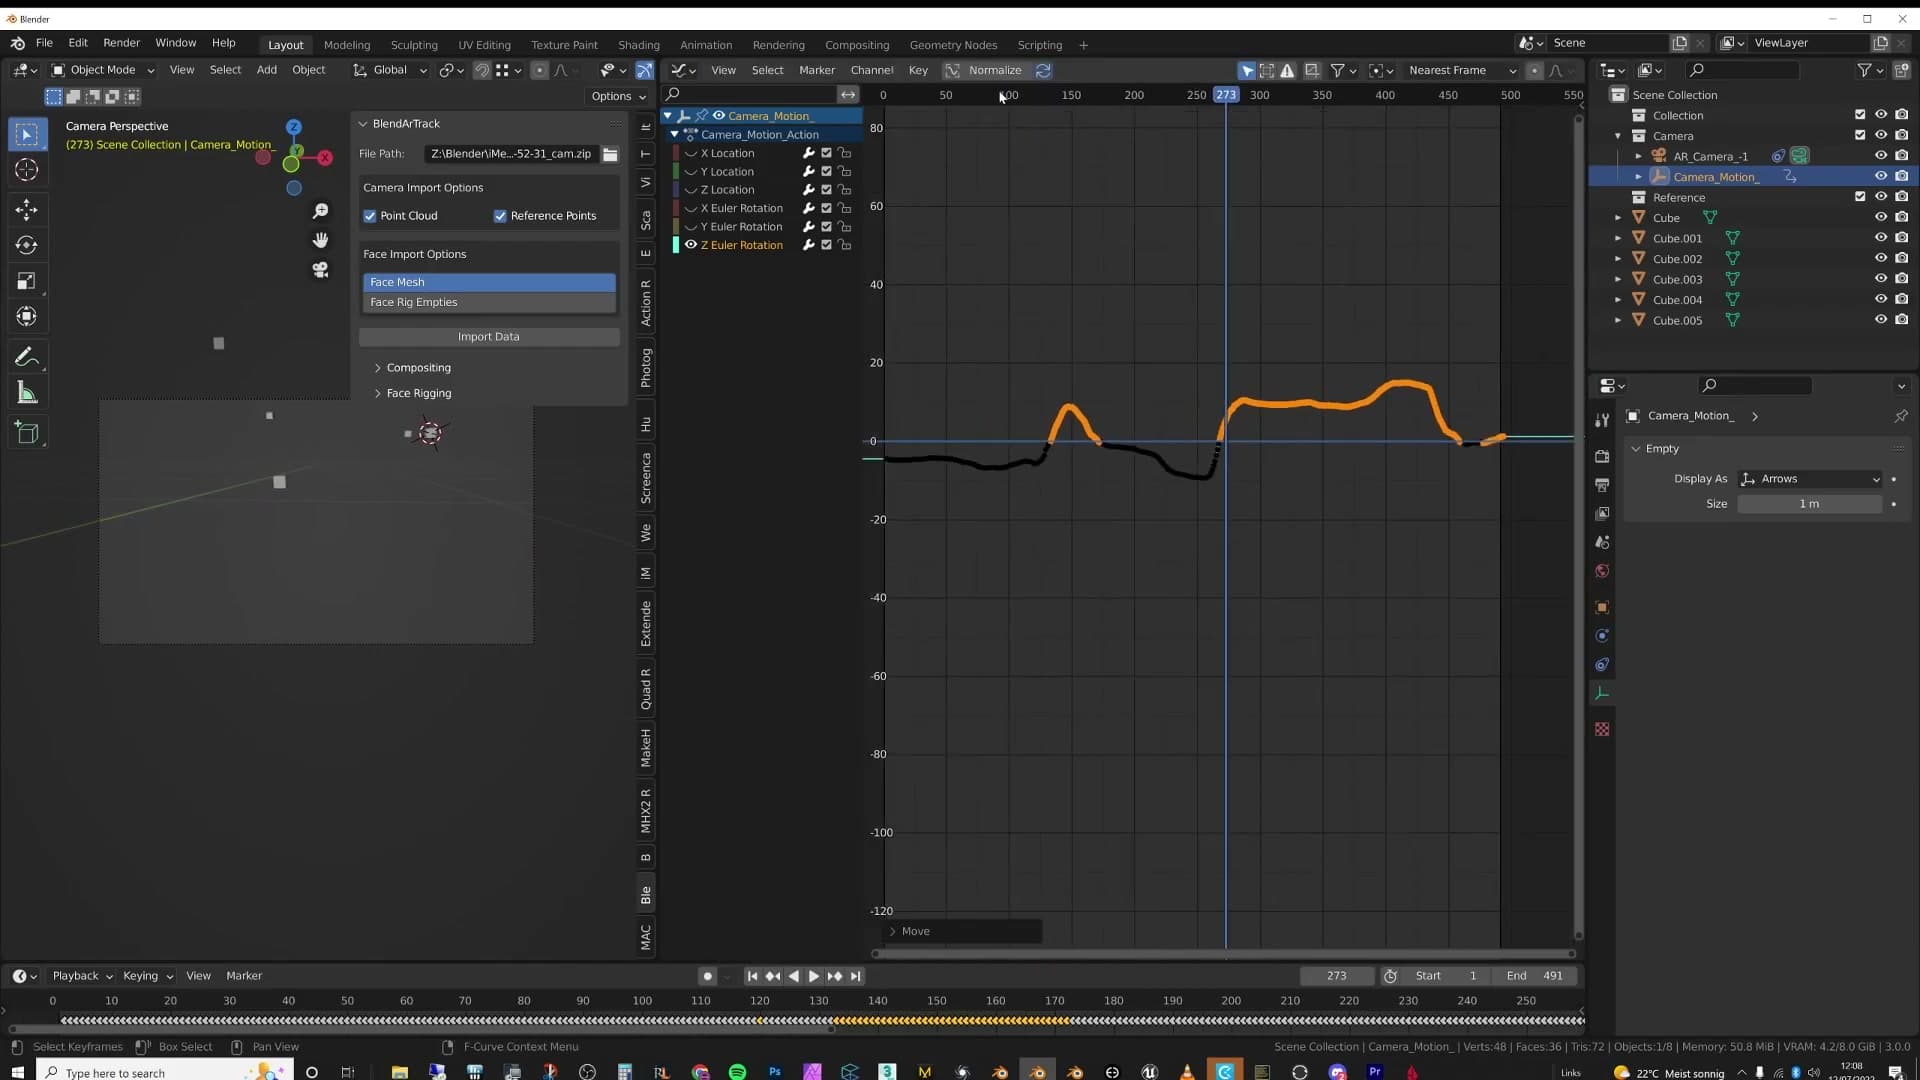
Flatten the flip before you try any smoothing. If you leave the 360° jump in place and run F3 → Smooth Keys, Blender tries to ease the curve across that huge gap and the surrounding frames slide around. Clean the flip first, then smooth.
Killing jumps and smoothing the handheld jitter
Once the rotation is sane, there are still occasional big jumps and a generally too-shaky feel. The fix is two-part: delete the offending keyframes outright so Blender interpolates over them, then apply F3 Smooth Keys. Go heavier on location, lighter on rotation.
Hunting and deleting jumpy keyframes
With the 360° flip sorted, the imported curve is sane but not yet usable. Jump back into the camera, hit play, and watch the viewport for the moments where the motion suddenly snaps rather than glides. Those are the keyframes you need to find.
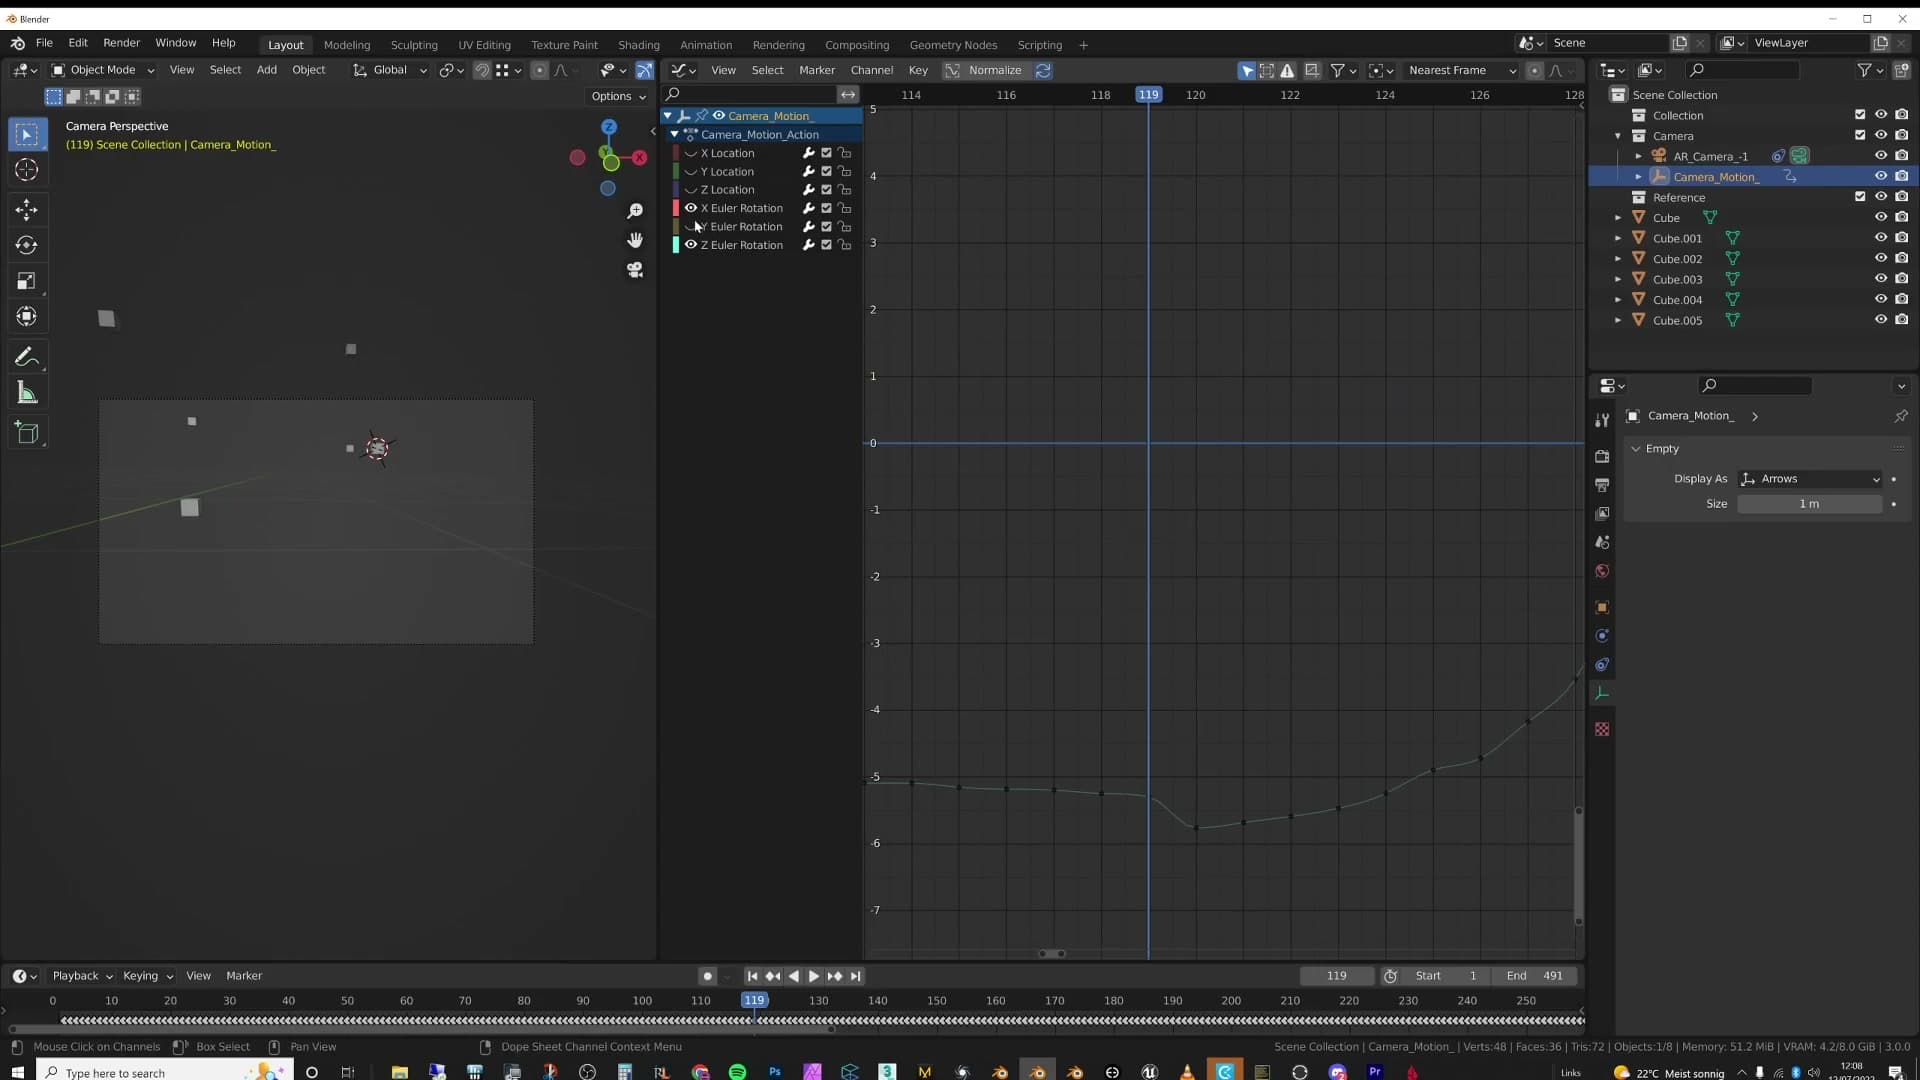
When you spot a jump, drop back into the graph editor and work out which channels are responsible. In this clip the culprits are Y and Z location, so hide every other channel and isolate just those two. The offending spike becomes obvious once the rest of the curves are out of the way.
The fix is the blunt one: select the bad keyframes and press X to delete them. Blender will interpolate straight across the gap, and because the keys either side already describe smooth motion, the missing samples don't register as anything missing. The jump is gone and the real handheld feel underneath is preserved.
Scrub through again afterwards. You may need to repeat the process a couple of times if there's more than one jump hiding in the clip; each pass tends to flatten out the curve a little further without flattening the motion itself.
Applying F3 Smooth Keys to location and rotation
Even with the jumps gone, the motion still reads as too shaky. Every micro-tremor your hand made while holding the phone is sitting on the curve. The cure is Blender's Smooth Keys operator, applied with a heavier hand on location than on rotation.
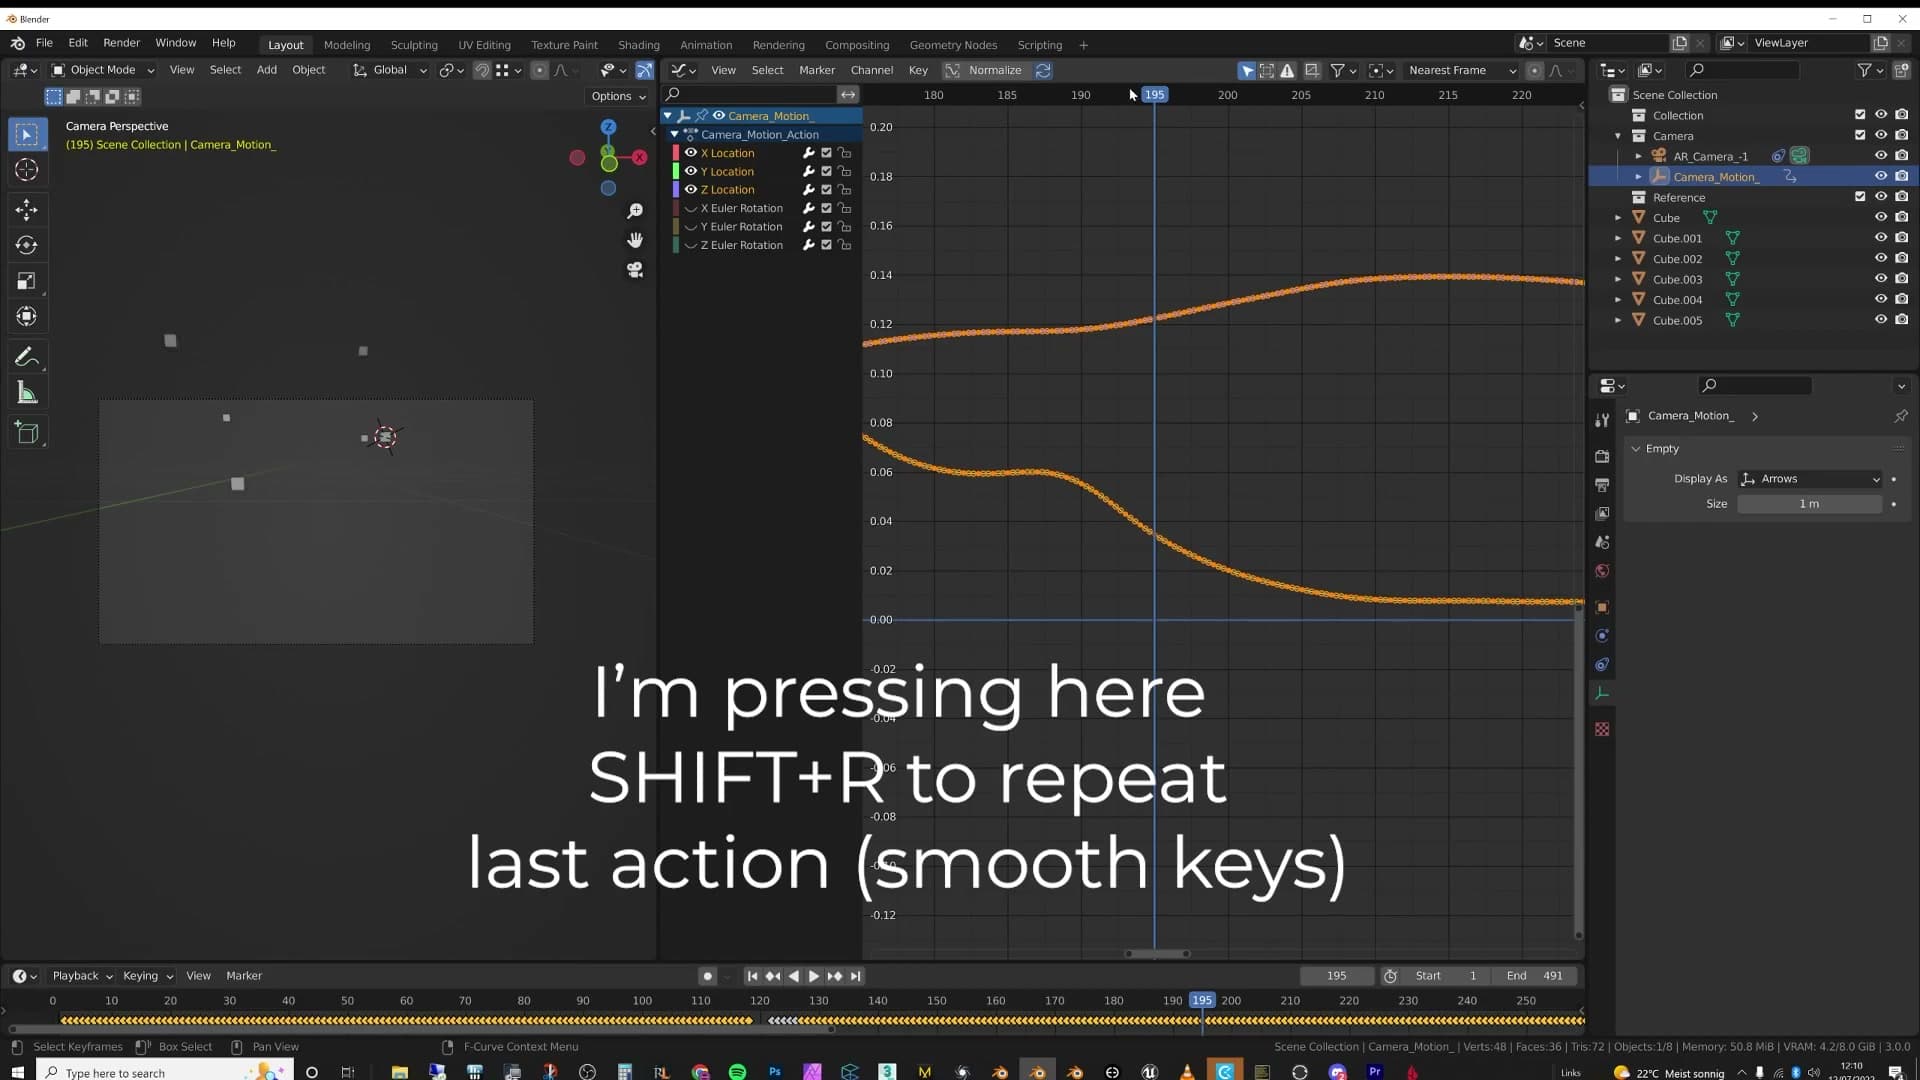
Start with the location channels. Select all the location keyframes (press A to grab everything in the channel selection), then press F3, type smooth keys and run it. Run it again. I sometimes run it a lot. Each pass nudges the curve closer to a clean handheld glide without ever going completely flat, so keep going until the worst of the tremor is gone.
Now do the rotation channels, but go lighter. Select the rotation keys, hit F3 > Smooth Keys just a couple of times, and stop. Smoothing rotation aggressively was the thing that made the motion start to feel CG again in testing, so a couple of passes is plenty.
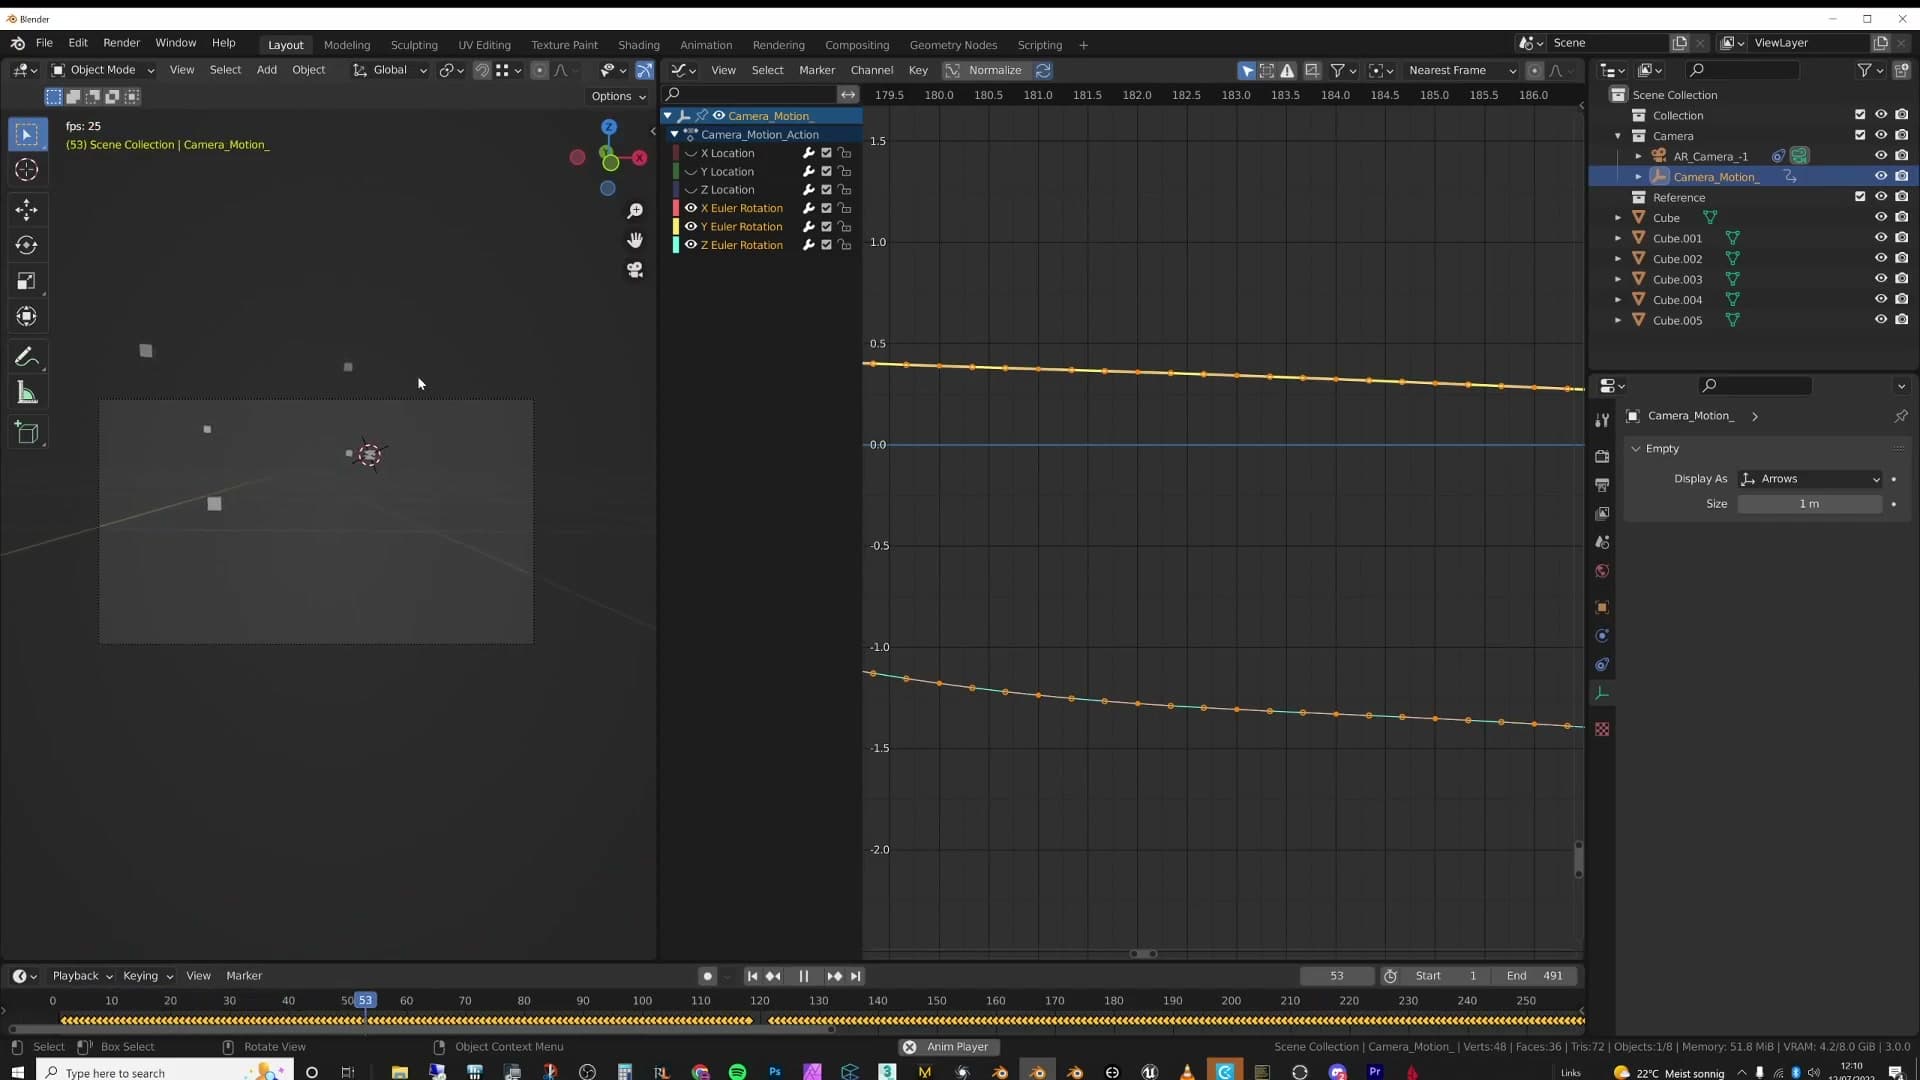
What you should be left with is a curve that's calmer than the raw phone capture but still wobbles in the organic, off-axis way real handheld footage does. That's the sweet spot: clean enough not to distract, alive enough not to look animated.
Repositioning and exaggerating with a parent empty
Moving the camera directly would wreck the keyframes. Instead: snap the cursor, add an empty, copy the camera's rotation onto it, parent the camera to it, then move the empty anywhere in the scene. As a bonus, animating rotation on the empty itself lets you exaggerate the motion (like the glance away from a flamingo in the source scene).
Cursor to selected, add empty, parent the camera
Once the curve is smooth, you might decide the camera path is in the wrong part of the scene, or pointing at the wrong thing entirely. The instinct is to grab the camera and drag it, but moving the camera directly would also drag every one of those carefully smoothed location keyframes with it, undoing the cleanup you just spent a module on.
The trick is to never touch the camera again. Instead, give it a parent empty and move the empty. Select the camera, press Shift+S and choose Cursor to Selected. The 3D cursor jumps to the camera's origin. Then press Shift+A and add an Empty; it spawns exactly where the camera sits.
To parent the camera to the empty, select the camera first, then shift-select the empty so it becomes the active object, and press Ctrl+P. The camera is now a child of the empty, and anything you do to the empty drags the entire animated rig along with it.
Copy Attributes (Ctrl+C) to transfer rotation
There's one alignment step worth sorting before you go any further. The empty was added with zero rotation, so it isn't facing the same direction as the camera. If you skip ahead and rotate the empty later, the camera will swing around the empty's axes rather than its own. That's almost never what you want.
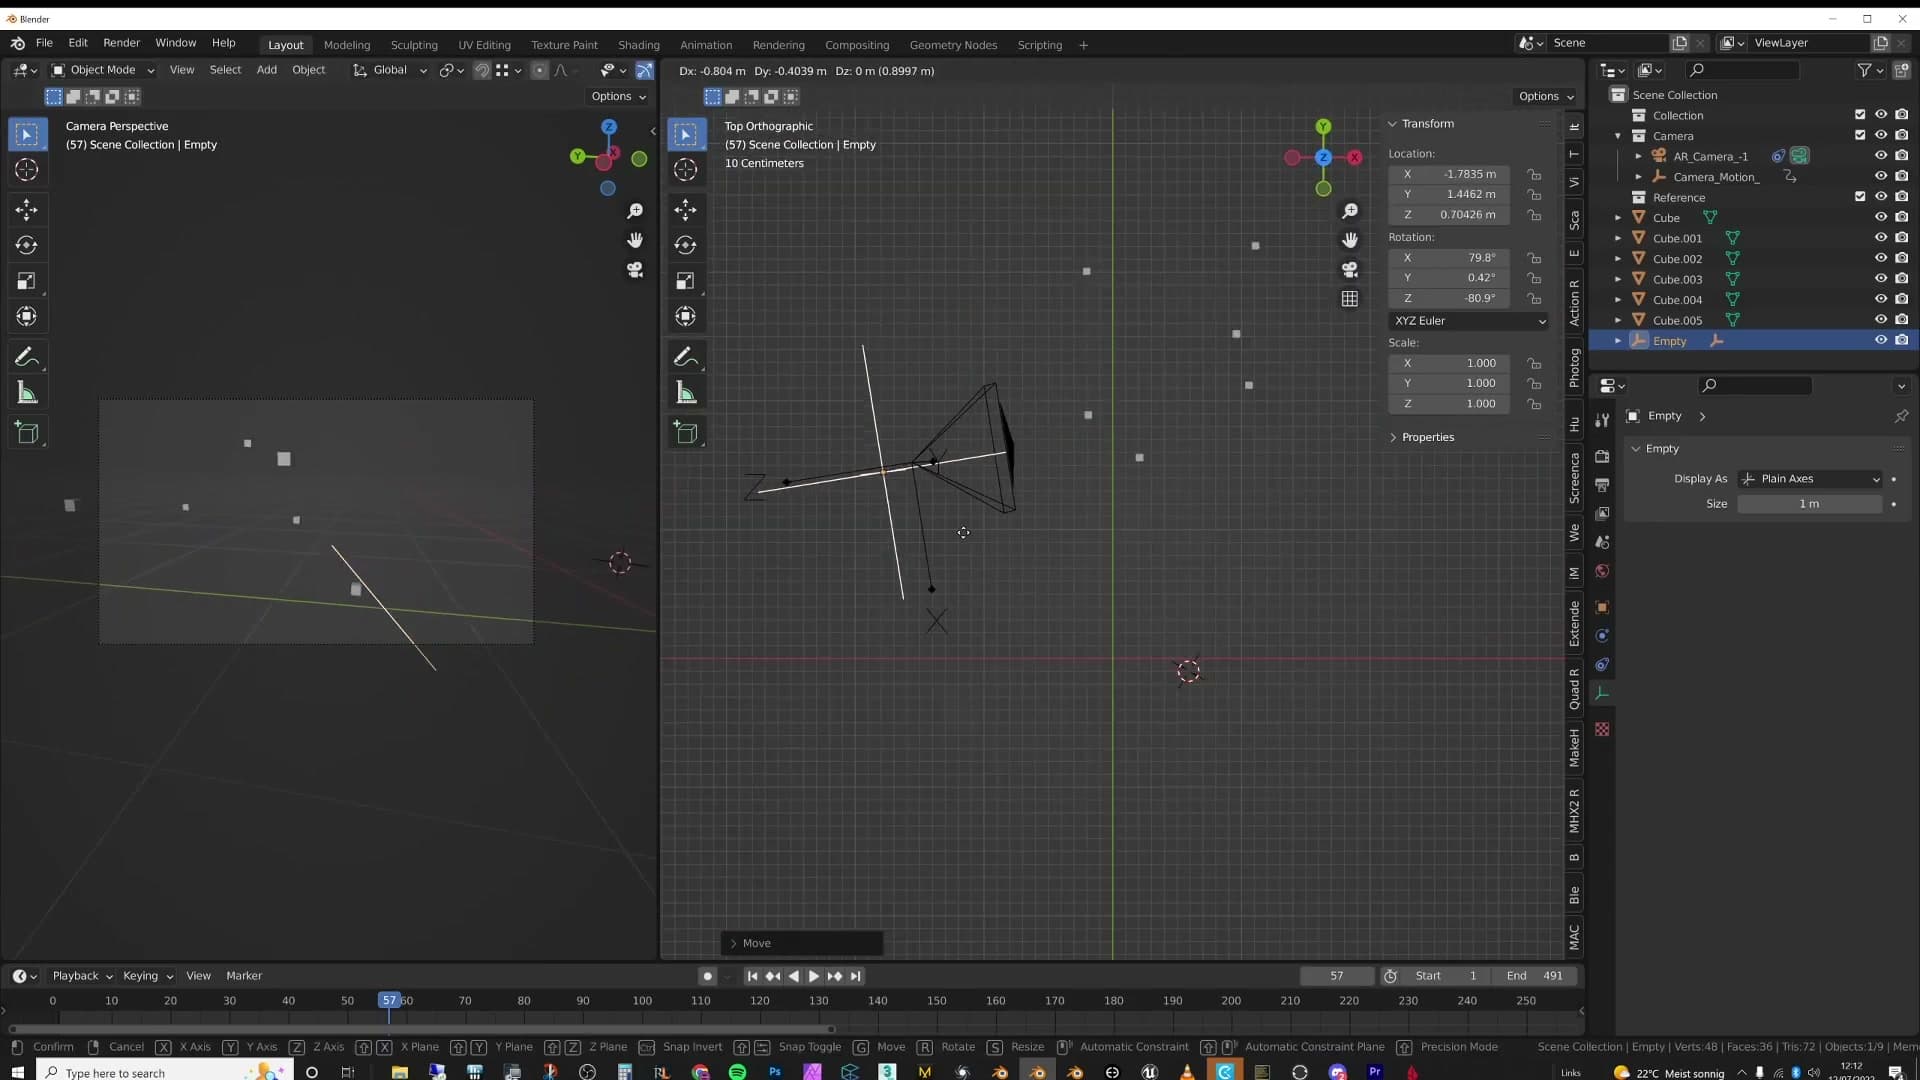
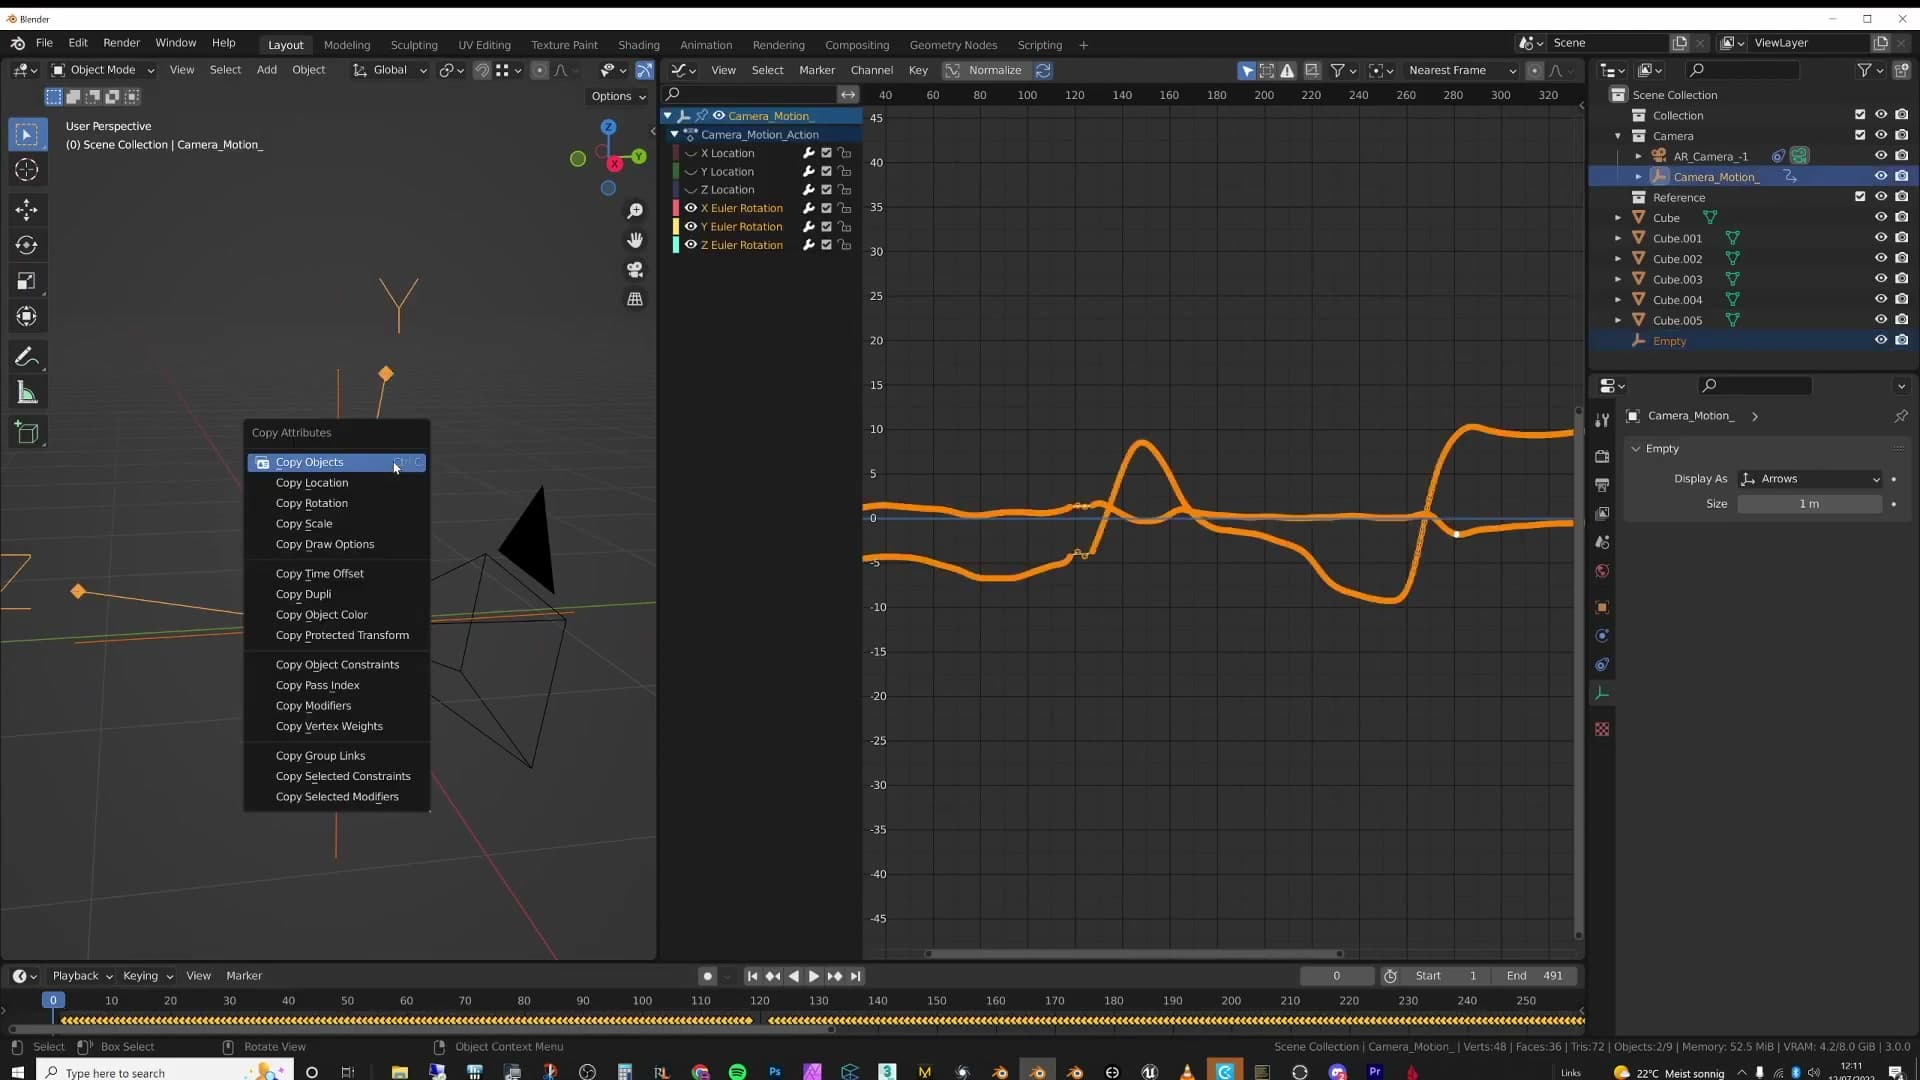
The fix uses the Copy Attributes add-on, which ships with Blender and just needs enabling in Preferences. Once active, Ctrl+C opens a small menu of properties you can copy from one object to another. At frame zero, select the camera first, then shift-select the empty so the empty becomes the active object, press Ctrl+C and pick Copy Rotation. The empty now matches the camera's orientation exactly.
Moving the empty to compose the shot
With the empty in place, repositioning the whole shot is just a matter of grabbing it and moving it. I switch to the top view and slide the empty through the garden scene, using the surrounding objects as visual reference points to centre the composition where it needs to be.
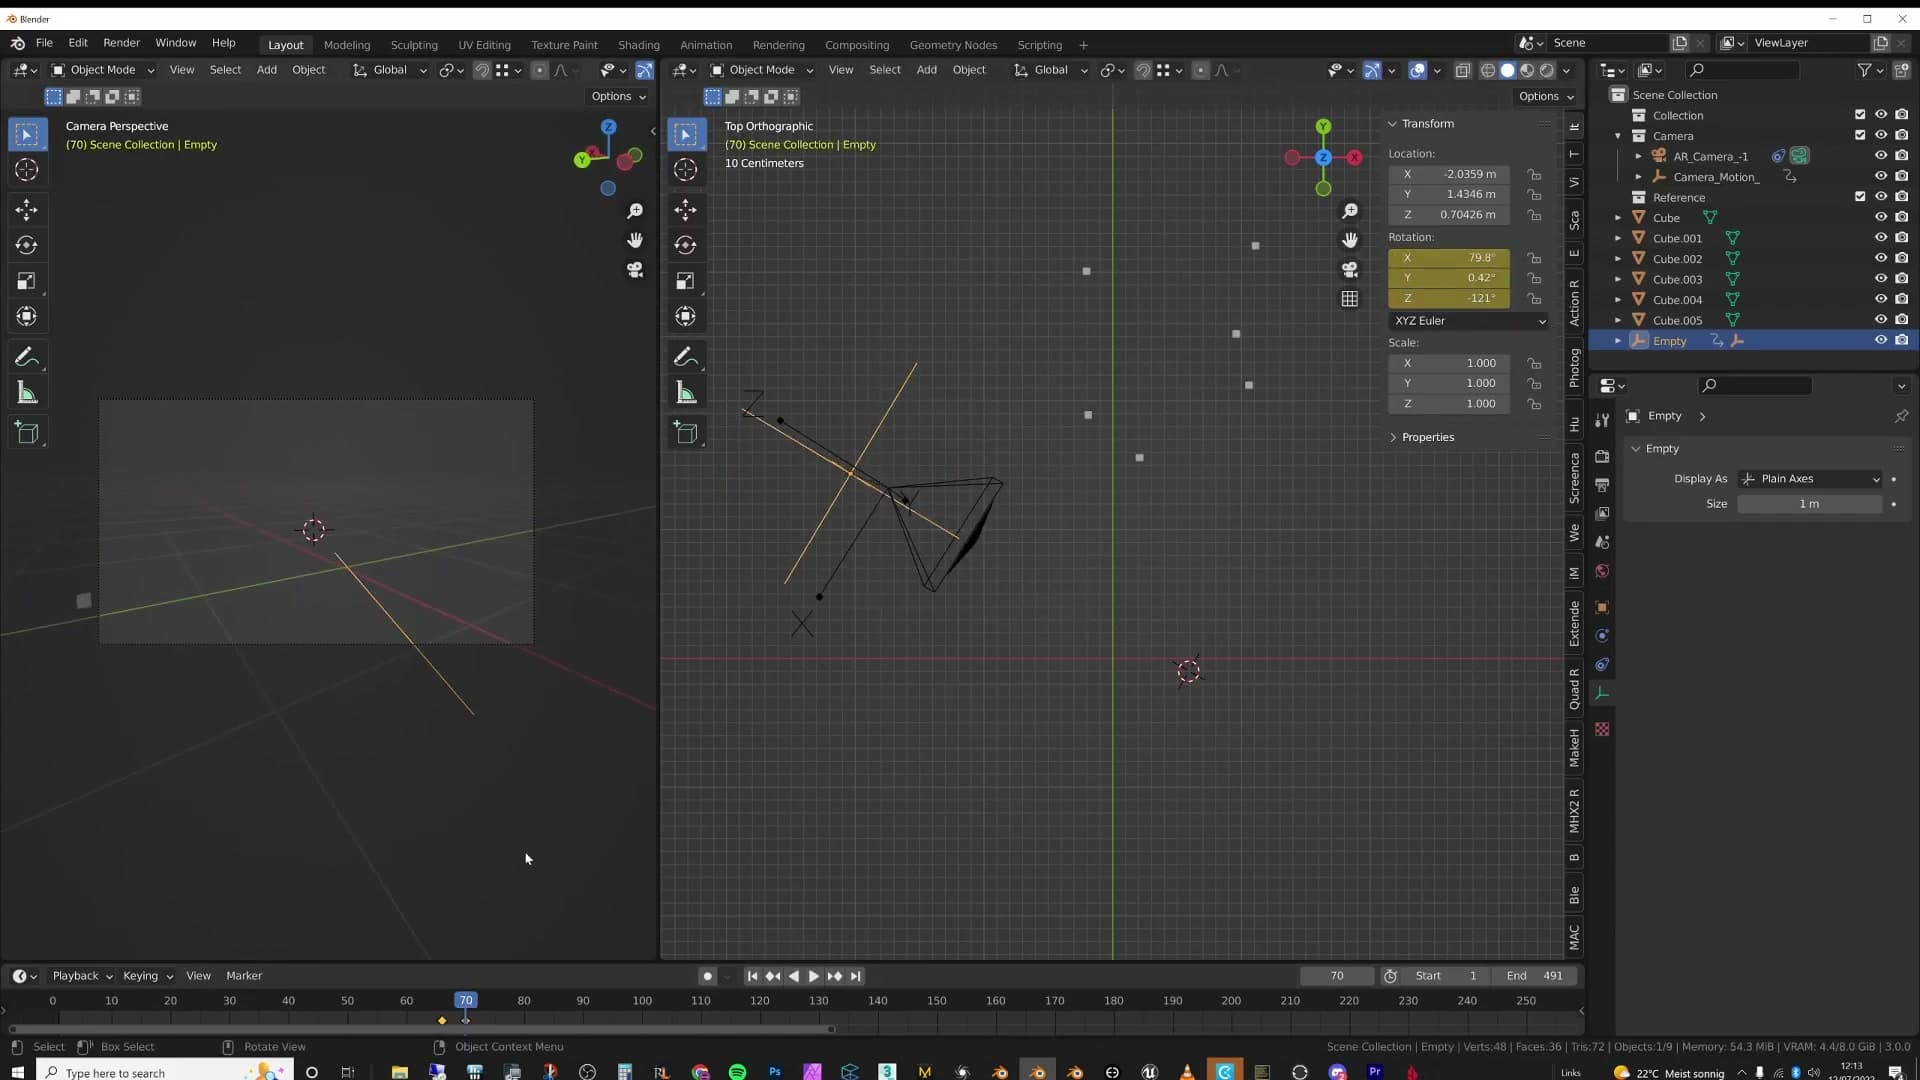
Because every keyframe on the camera is now relative to the empty, that single translation drags the entire smoothed motion path along with it. The curve you tamed in the cleanup module, the jitter you deliberately kept just-right for handheld feel: all of it lands intact in the new position. Nothing about the animation itself needs adjusting.
Keyframing the empty for extra exaggeration
The recorded handheld motion in this case wasn't quite exaggerated enough. I wanted a moment where the camera glances away from a "terrifying flamingo" later in the shot, and the original phone capture was a touch too subtle to sell it. Rather than going back and re-recording, you can just layer an extra rotation on top of the existing animation. The empty is the perfect place to do it.
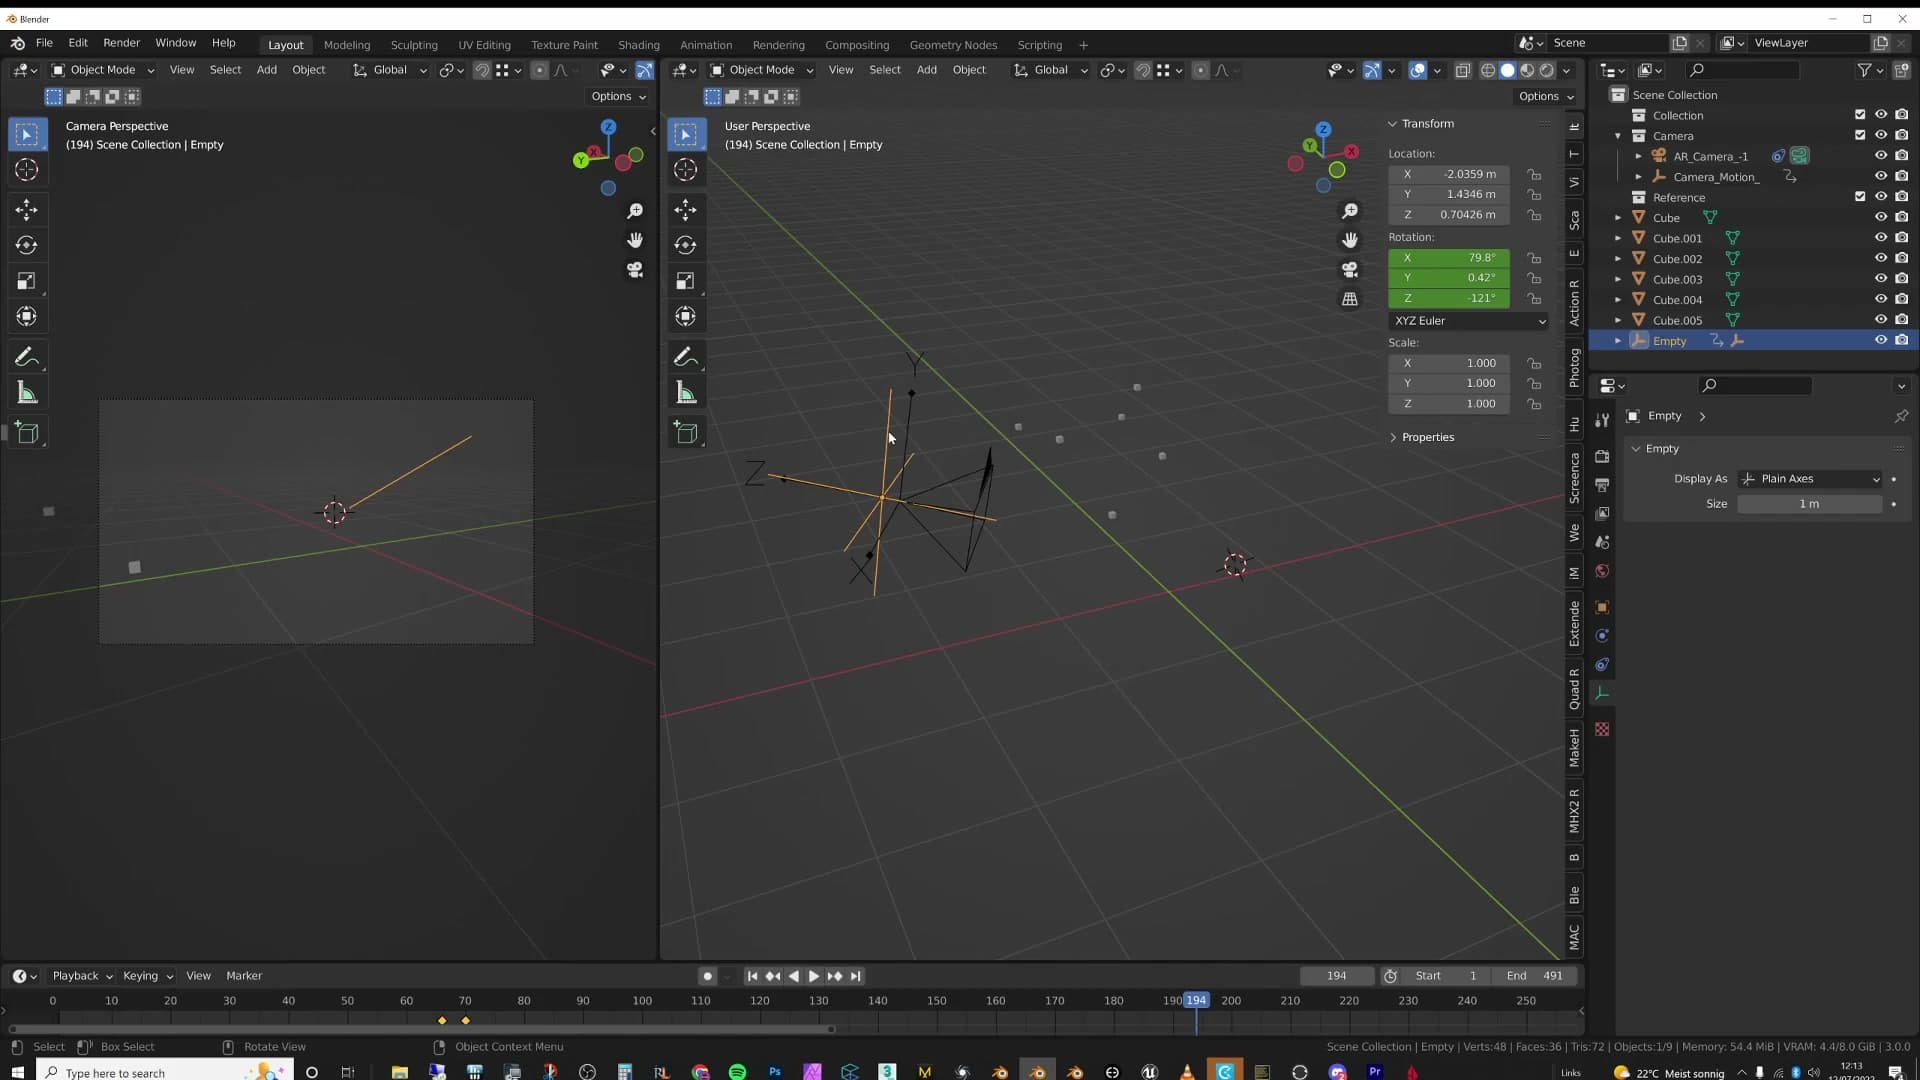
The workflow is simple. With the empty selected, press I over rotation to drop a keyframe at the current frame. Scrub forward in the timeline to where you want the secondary motion to land, rotate the empty by a touch (exact amount to taste), and press I again to set the second keyframe. The camera now performs its original tracked move plus the new glance you've layered on top of it.
It's a small move in the final result, but it demonstrates the principle: the parent empty is effectively a control rig for everything beneath it. A couple of subtle keyframes on the empty can punch up a shot without you ever having to touch the original tracked animation.
Final result and iMeshh scene credit
In the end, I'm happy with how the shot turned out. I'll warn you: "it might make you feel sick", which is more or less the point of a handheld camera in archviz. Looking back, I think a few moments are actually a little too smooth, particularly around the flamingo, where slightly more raw jitter would have sold the moment better. Worth bearing in mind on your own clips: it's easier to over-smooth than to add believable shake back in afterwards.
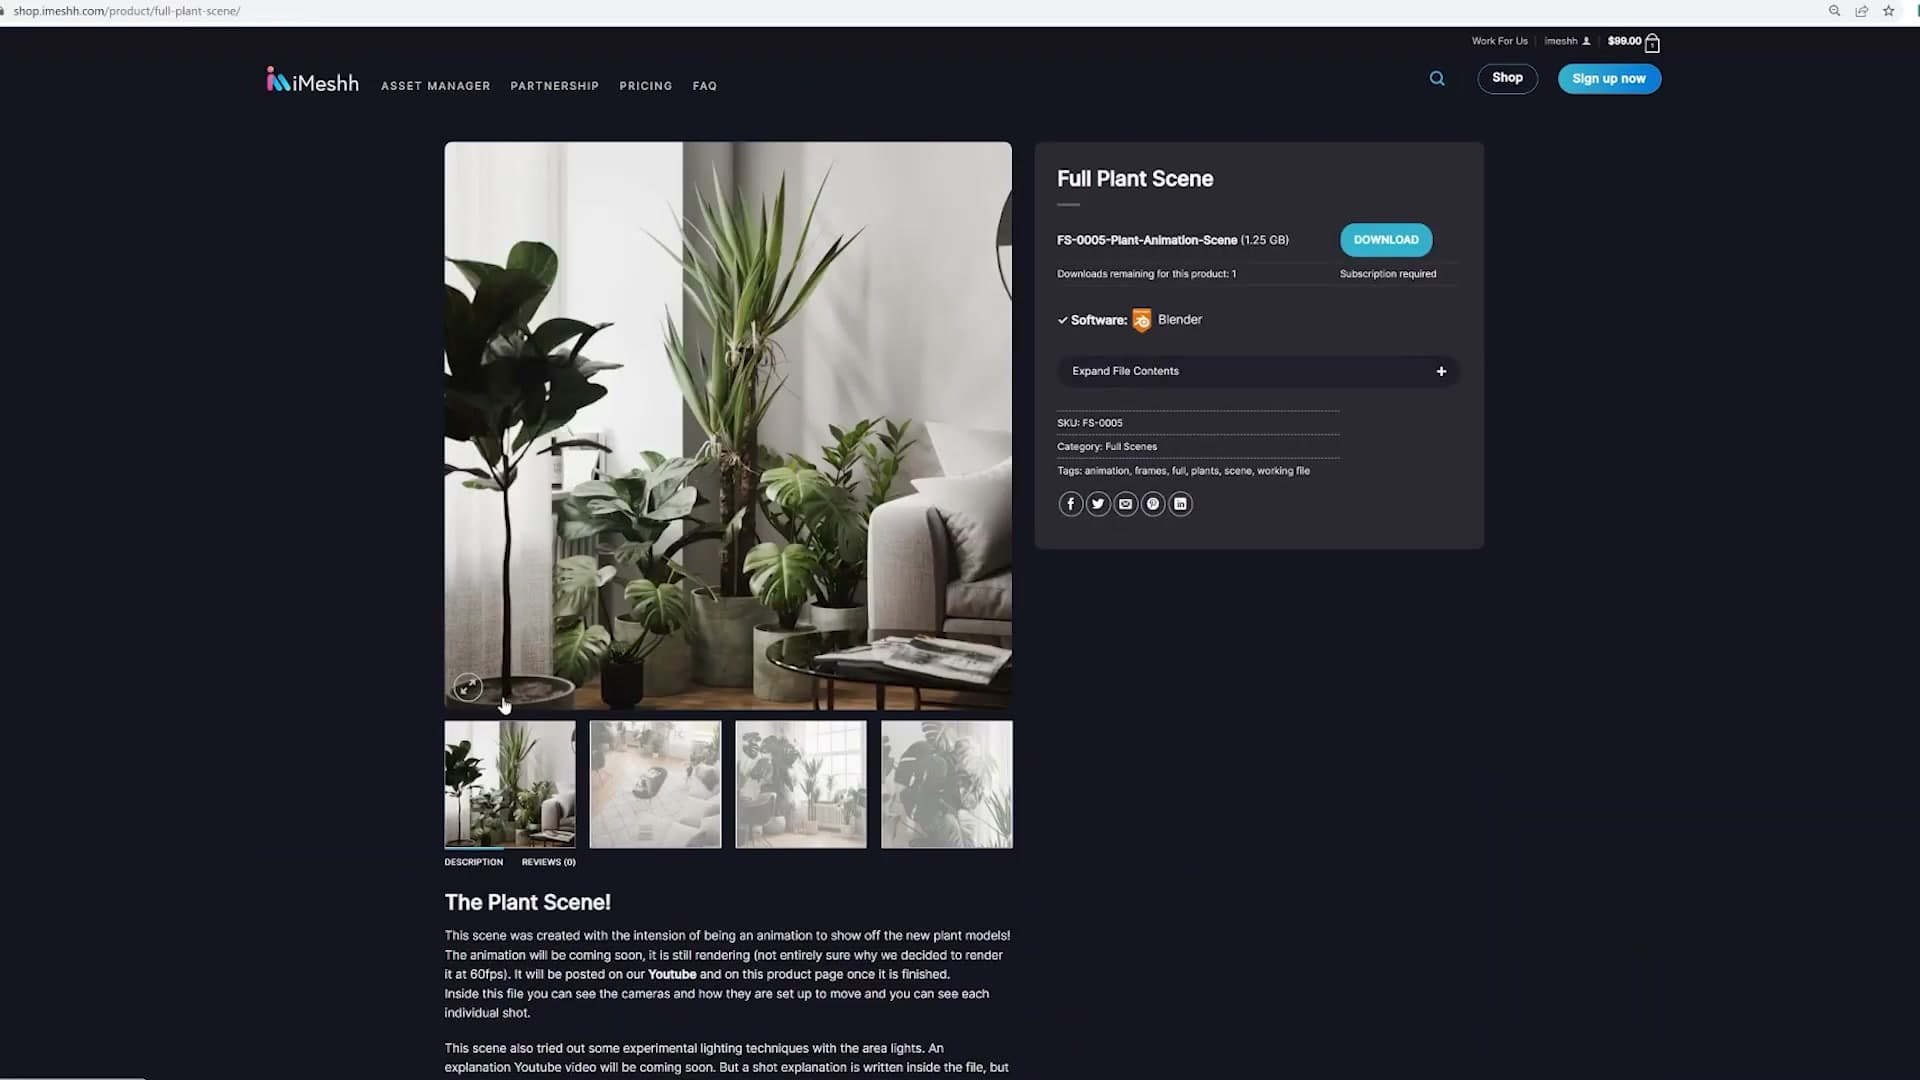
The garden scene used throughout this tutorial is part of the iMeshh library, alongside every other full scene and asset in the package. If you want to drop the same environment into your own project and try the technique on it, it's already available to subscribers. A longer render and a promo video for the scene are both on the iMeshh YouTube channel if you'd like to see how the final piece comes together. Thanks for following along.
Tools and credits
Everything mentioned in this tutorial, with links.
- Blender - the renderer this entire build runs in.
- iMeshh - studio platform (project management, client review, asset library, invoicing). The asset library used in this tutorial is included with every iMeshh Pro plan.
- Poly Haven - free CC0 textures and HDRIs.
Pillar guide: Camera Composition hub