Project overview and finished result
A look at the finished woven chair, why every strand connects into the next, and how this 10-hour build will be compressed into a process walkthrough.
The finished woven chair and how every strand connects
Welcome to this iMeshh tutorial. The chair you can see here is the build everyone kept asking about after the original weave render went up online, and this post is my answer to all those messages. Rather than a step-by-step reconstruction, treat what follows as a guided tour of the blend file. Same route I took, just compressed so you can keep up without sitting through the whole thing.
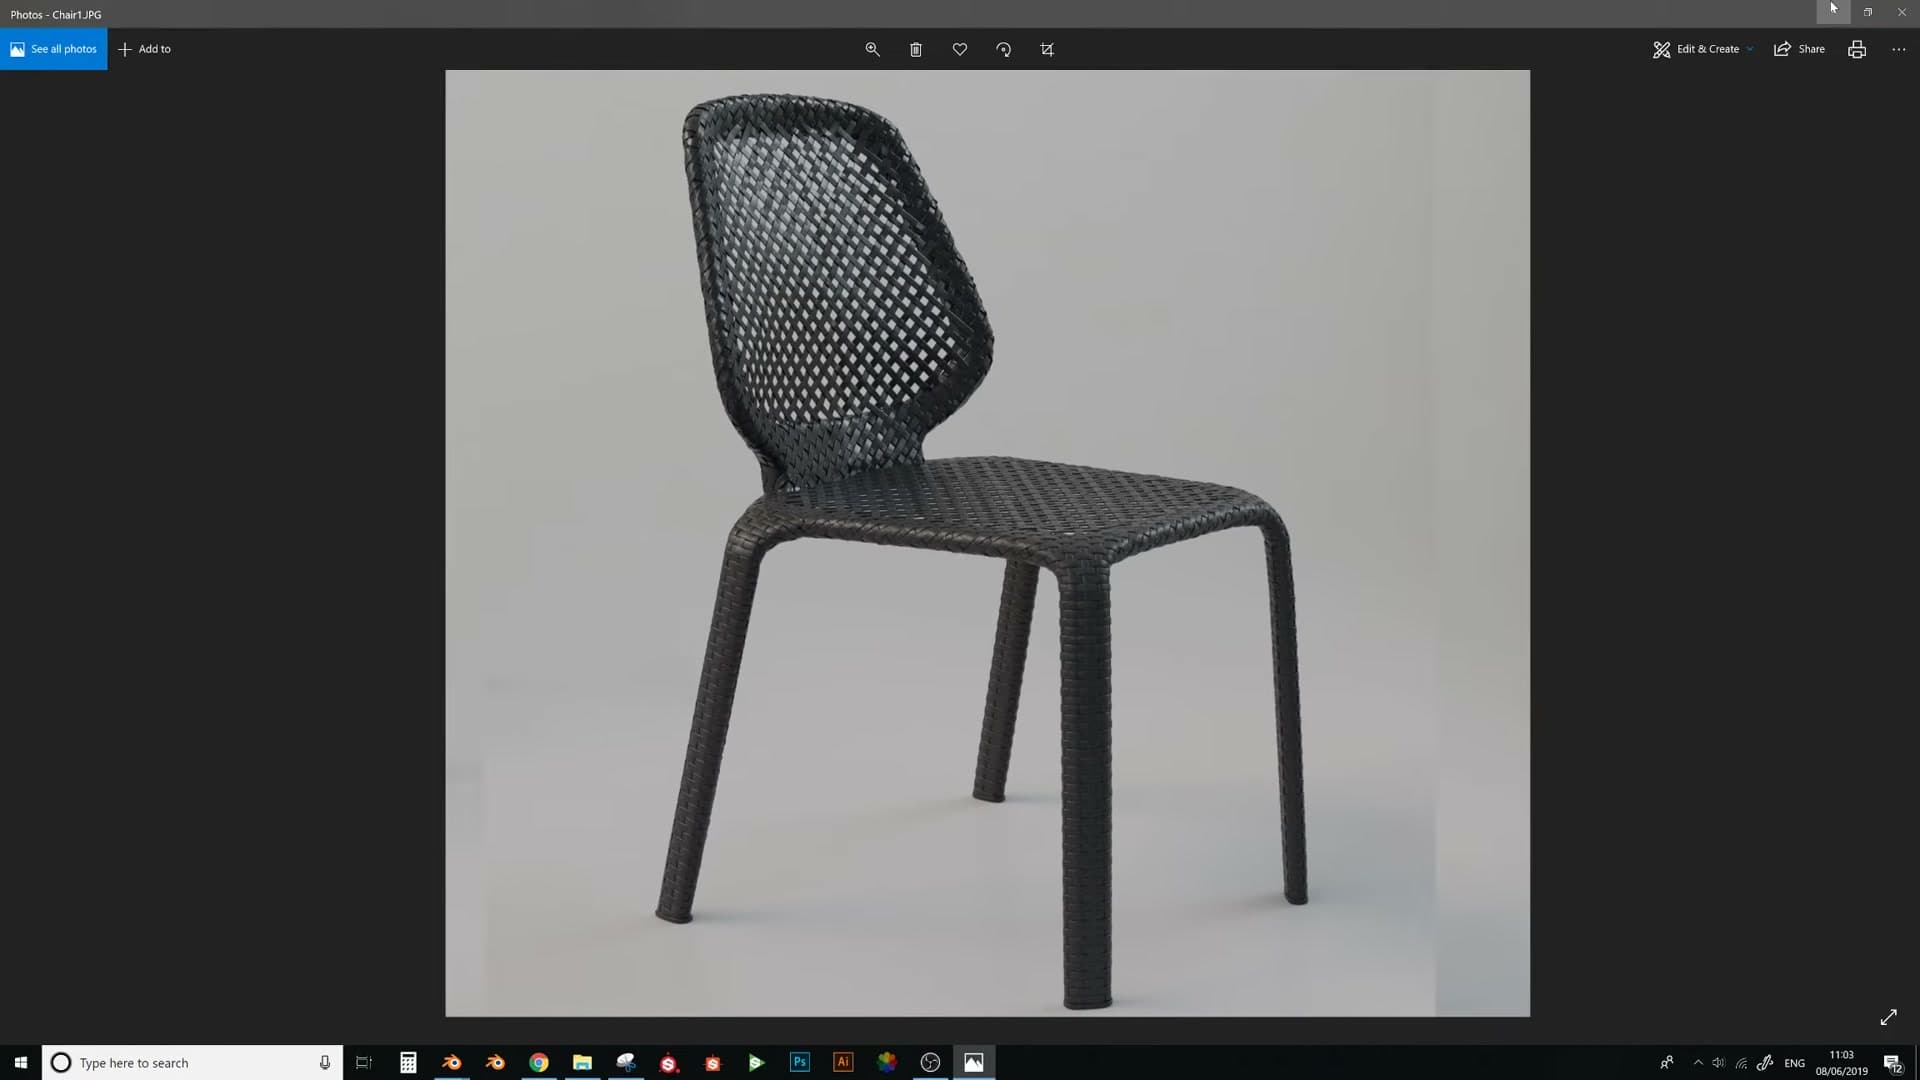
The reason for the compression is simple: the original build took roughly ten hours of work, and a ten-hour tutorial isn't useful to anyone. What you're getting instead is the process and the decisions behind each stage, so you can apply the same workflow to your own woven furniture without having to reverse-engineer every click.
The single design goal that drives the whole build is continuity. Every strand of the weave should travel into its neighbour with no loose ends, and the woven surface should flow into the base chair frame just as cleanly. That continuity is what stops the model reading as a tiled texture wrapped onto a shape, and it's the thing most weave attempts get wrong.
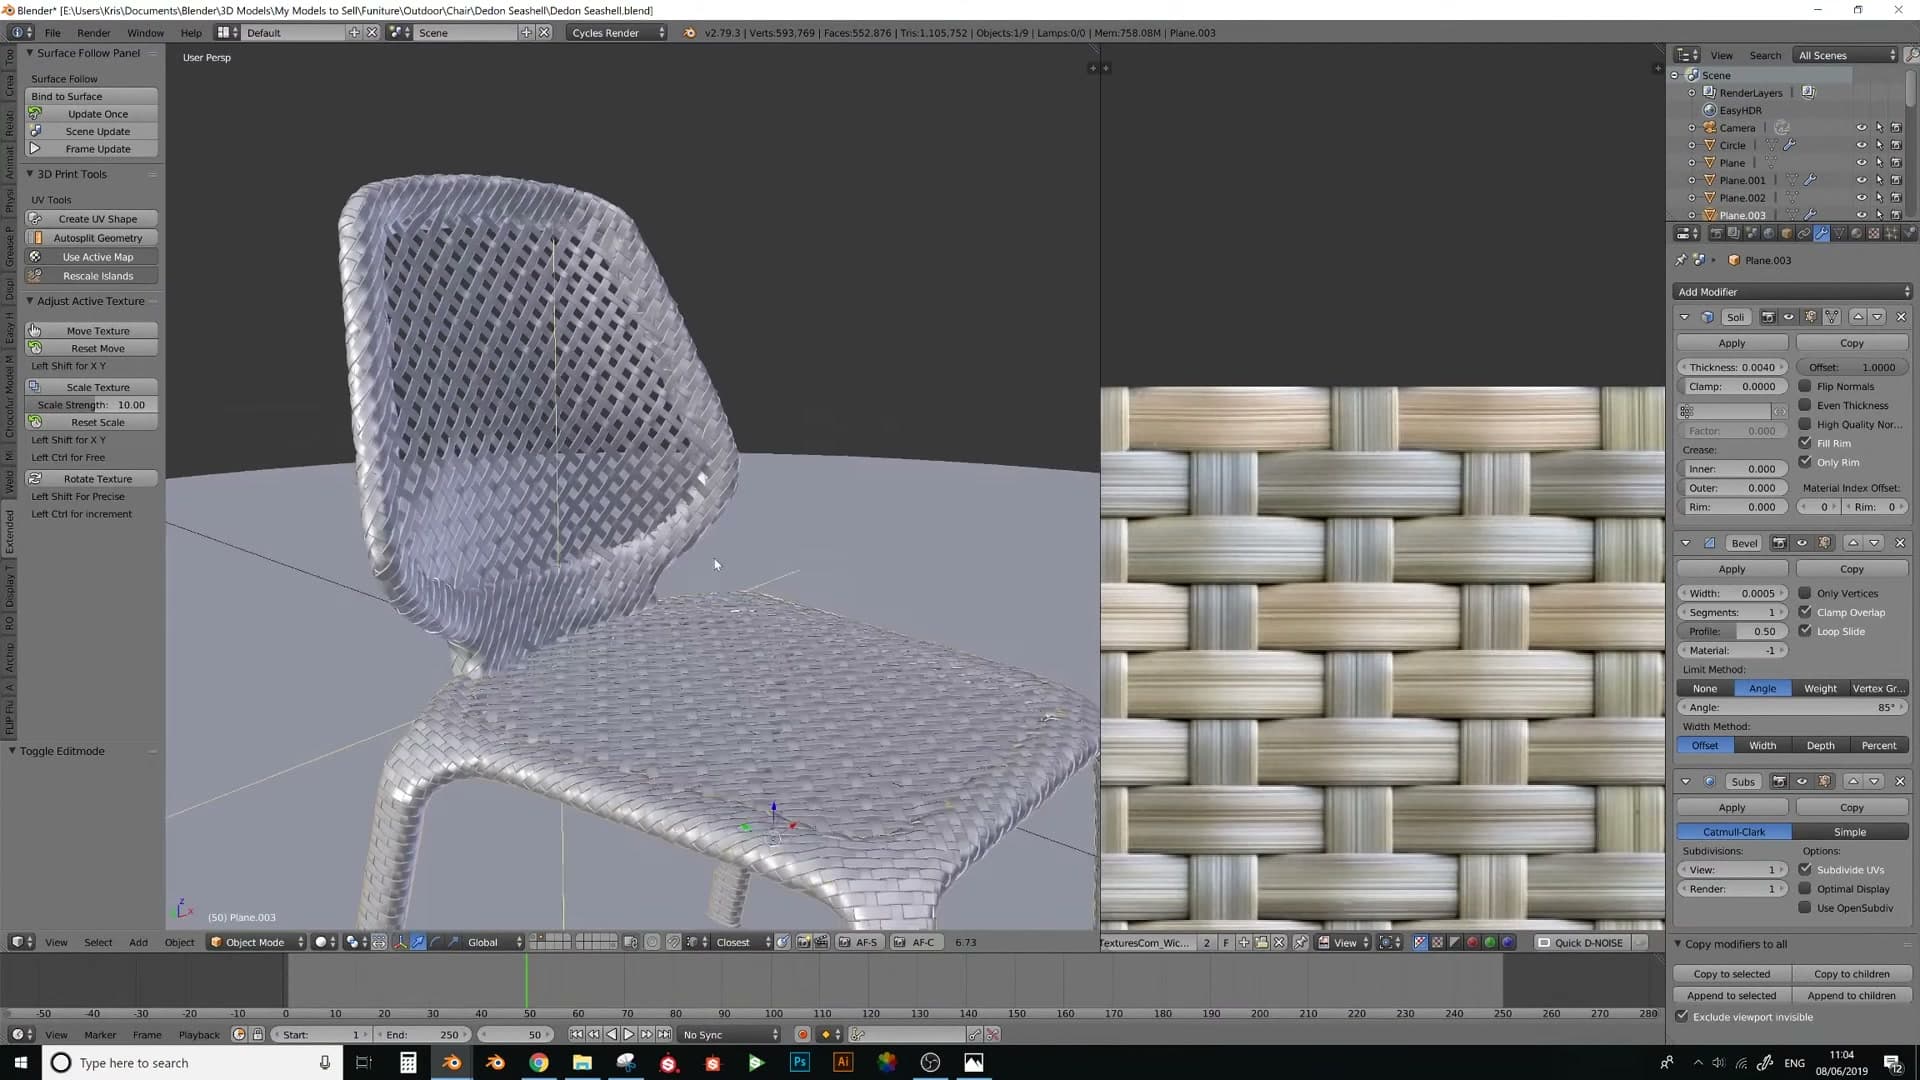
A few places in the finished mesh are admittedly a bit messy if you zoom right in, but you're never going to see them from the camera distance you'd actually render at. When an object carries this much fine detail, small irregularities stop looking like mistakes and start reading as realism. That's what you want from a hand-woven piece.
Building the base chair model
Trace the manufacturer plans with planes, then add Solidify, Bevel and Mirror to produce a clean symmetric shell that the weave will later wrap around.
Tracing planes from the manufacturer plans
Before any weave goes anywhere near this chair, you need a clean base shell to wrap it around. The starting point is the manufacturer's product plans for the real chair: front, side and top views pulled straight from the source. Working from accurate drawings rather than freehand reference keeps the proportions honest and gives you something concrete to trace against.
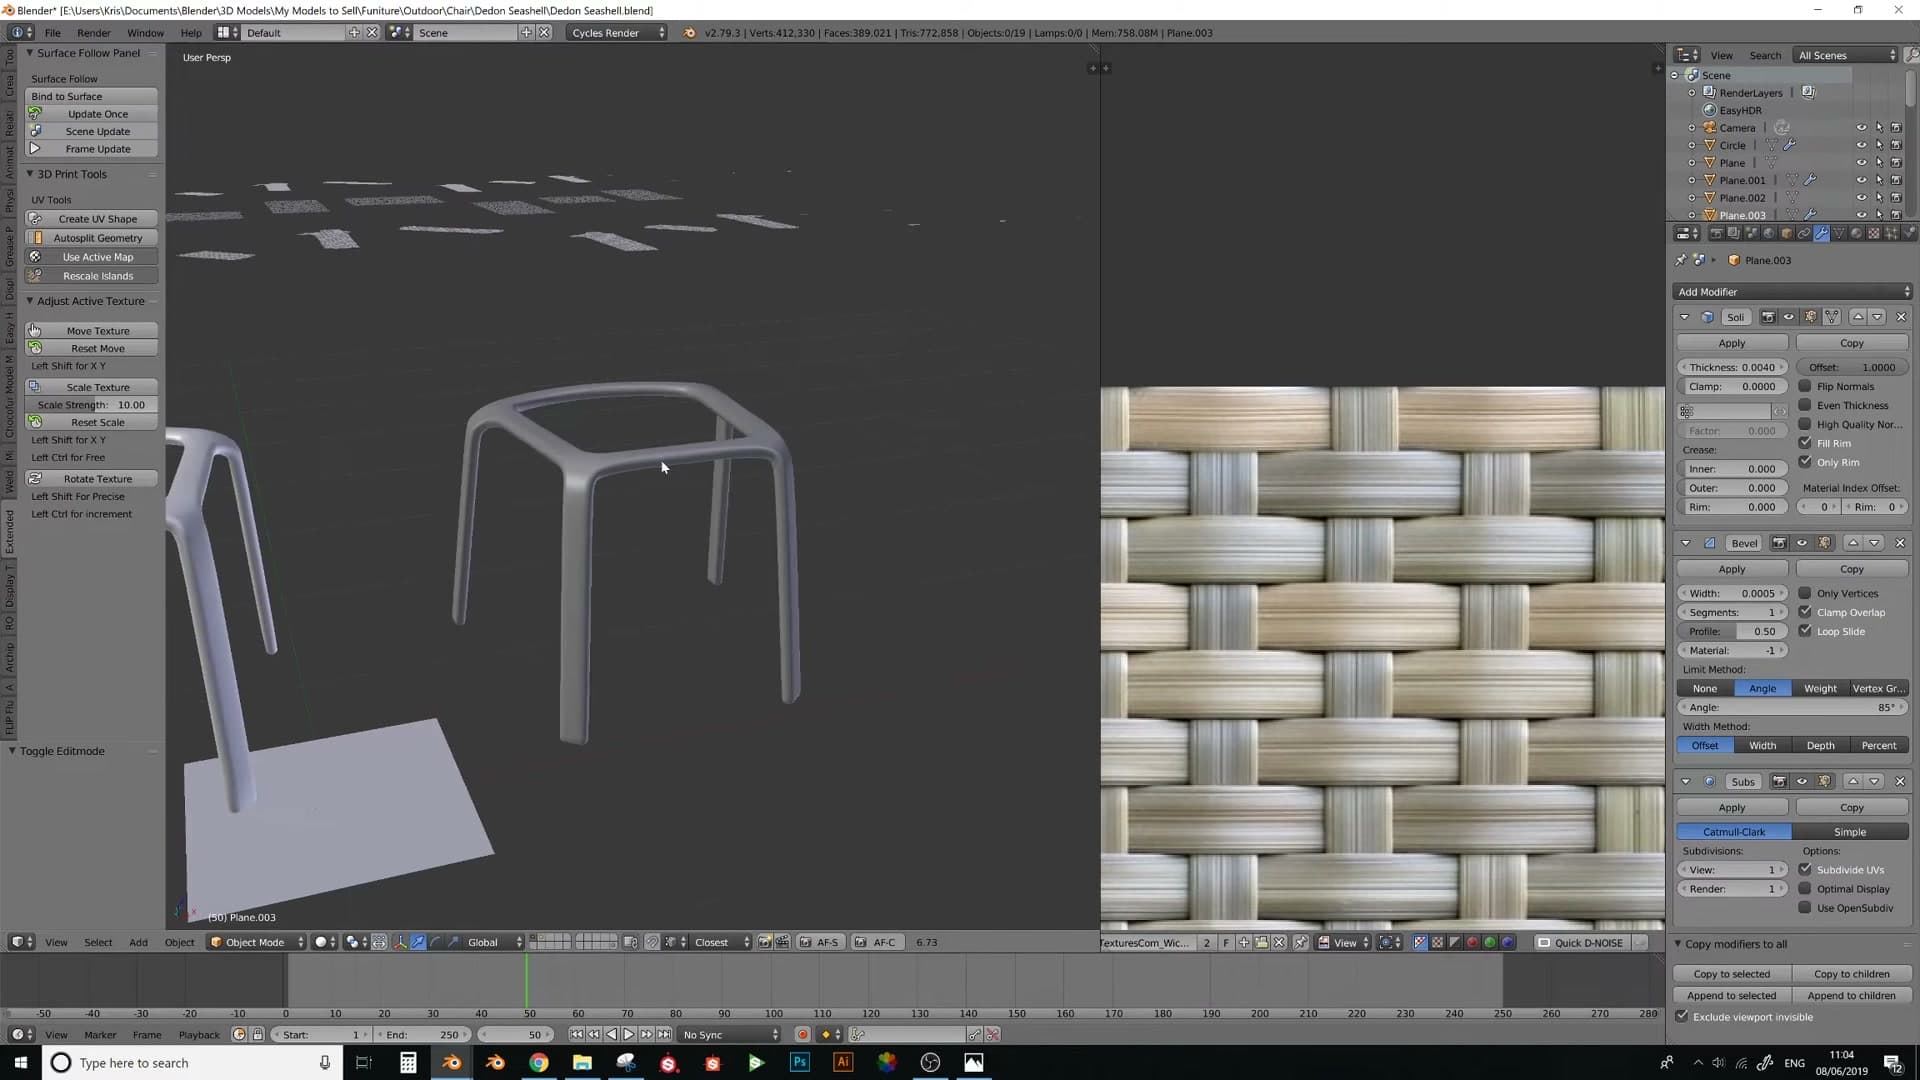
Drop those plans into your scene on a working layer (don't worry if it ends up a little messy, this is throwaway scaffolding) and use them as backdrops to trace flat planes over. The goal at this stage isn't a finished model; it's a silhouette. Build the product first as a base model, then iterate from there once the overall shape reads correctly.
Solidify, Bevel and Mirror for the base shape
With the silhouette planes in place, three modifiers turn that flat outline into a believable shell. Add them in this order:
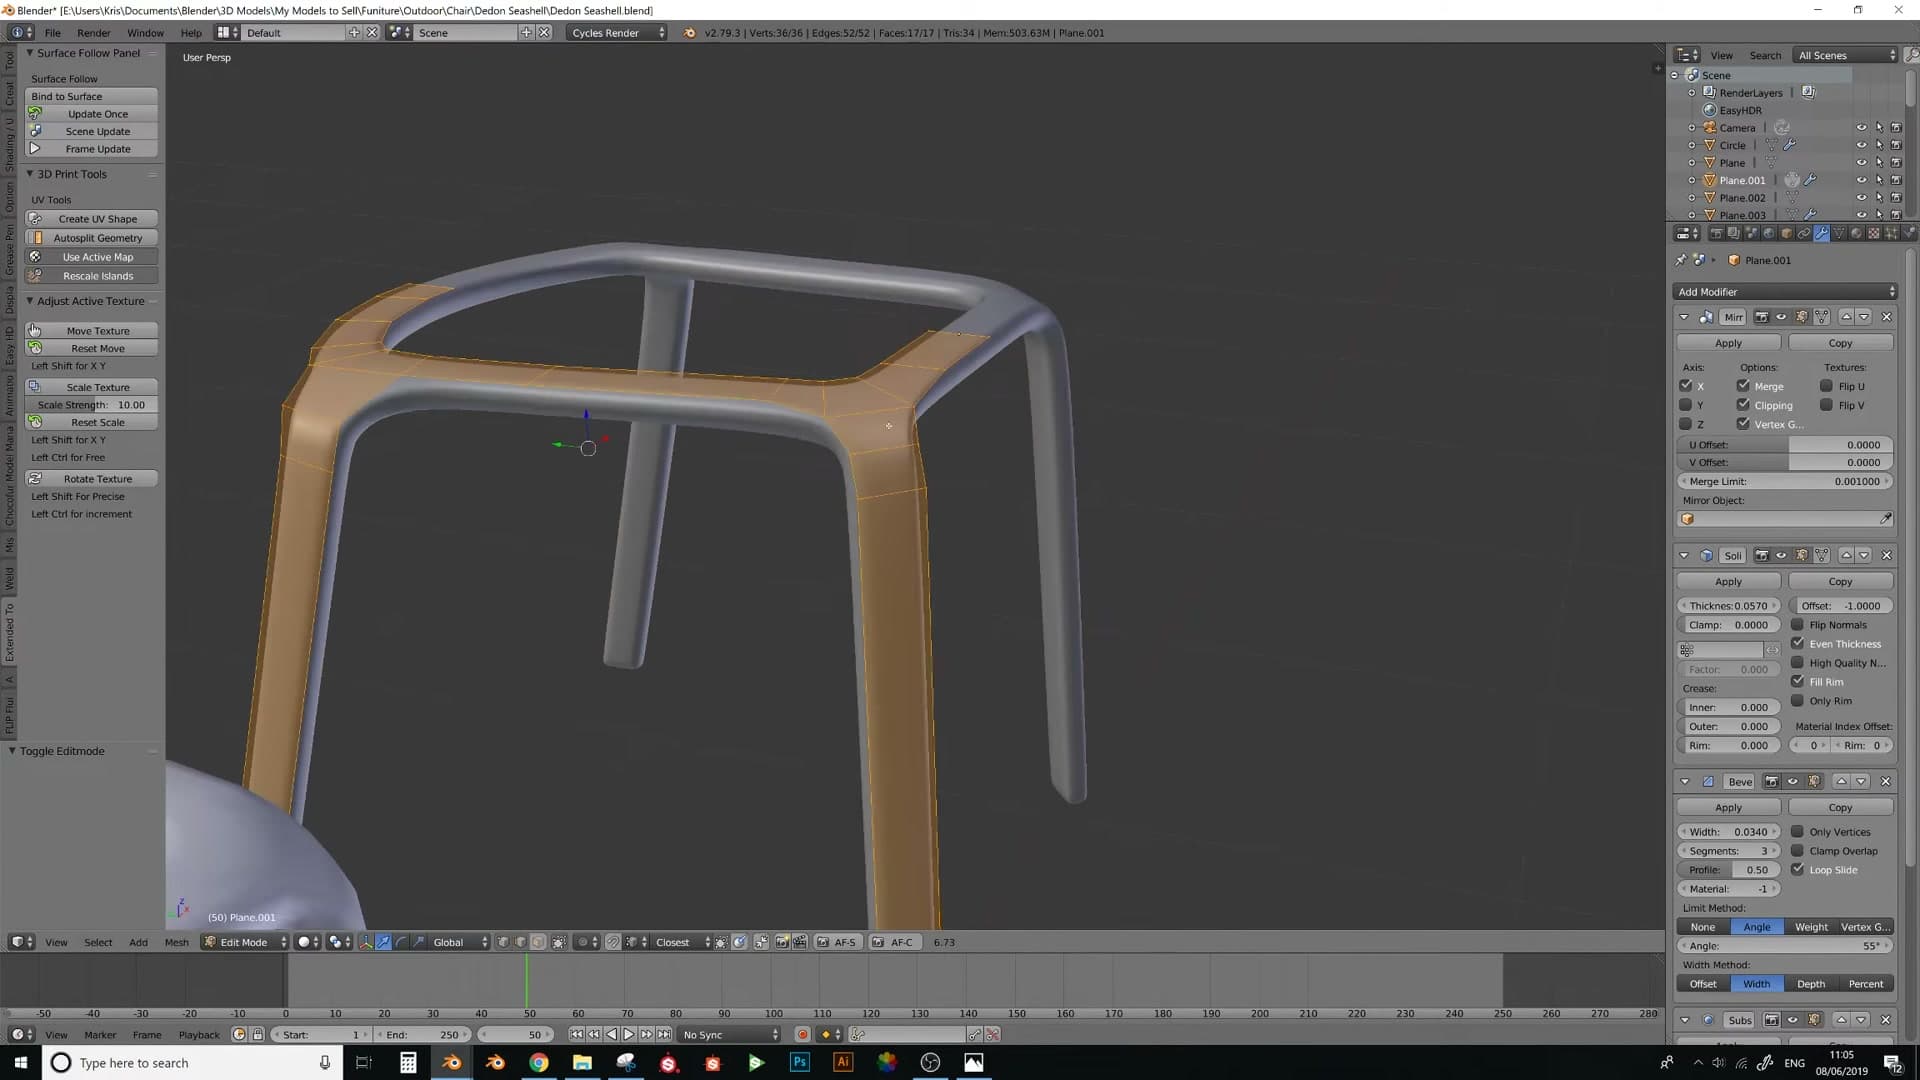
1. Solidify gives the plain planes real thickness so the chair frame has volume rather than reading as paper-thin cards. 2. Bevel rounds off the freshly created edges. This is the modifier doing most of the visual work. Without it the chair looks like sharp-cornered cardboard; with it the corners soften into the smooth, moulded look of real wicker furniture. 3. Mirror handles symmetry. The chair is symmetric the whole way around, so there's no point modelling both sides. Trace one half, mirror the other.
Exact values aren't critical here. The right Solidify thickness and Bevel width depend on the scale of your reference plans, so dial them in until the proportions match the manufacturer's drawings. The principle matters more than the numbers: plane, thickness, rounded edges, symmetry.
Unwrapping the base with a weave reference texture
Cut seams that follow how the real weave wraps the product, then apply a weave texture and align UV islands so every strand runs in the right direction.
Applying seams and 45-degree UV cuts
With the base shell finished, apply the Solidify modifier so you have a single closed mesh to unwrap. The unwrap itself is the awkward part of this build. The goal is not a tidy checker pattern, but a UV layout that mirrors how the real wicker wraps around the physical product.
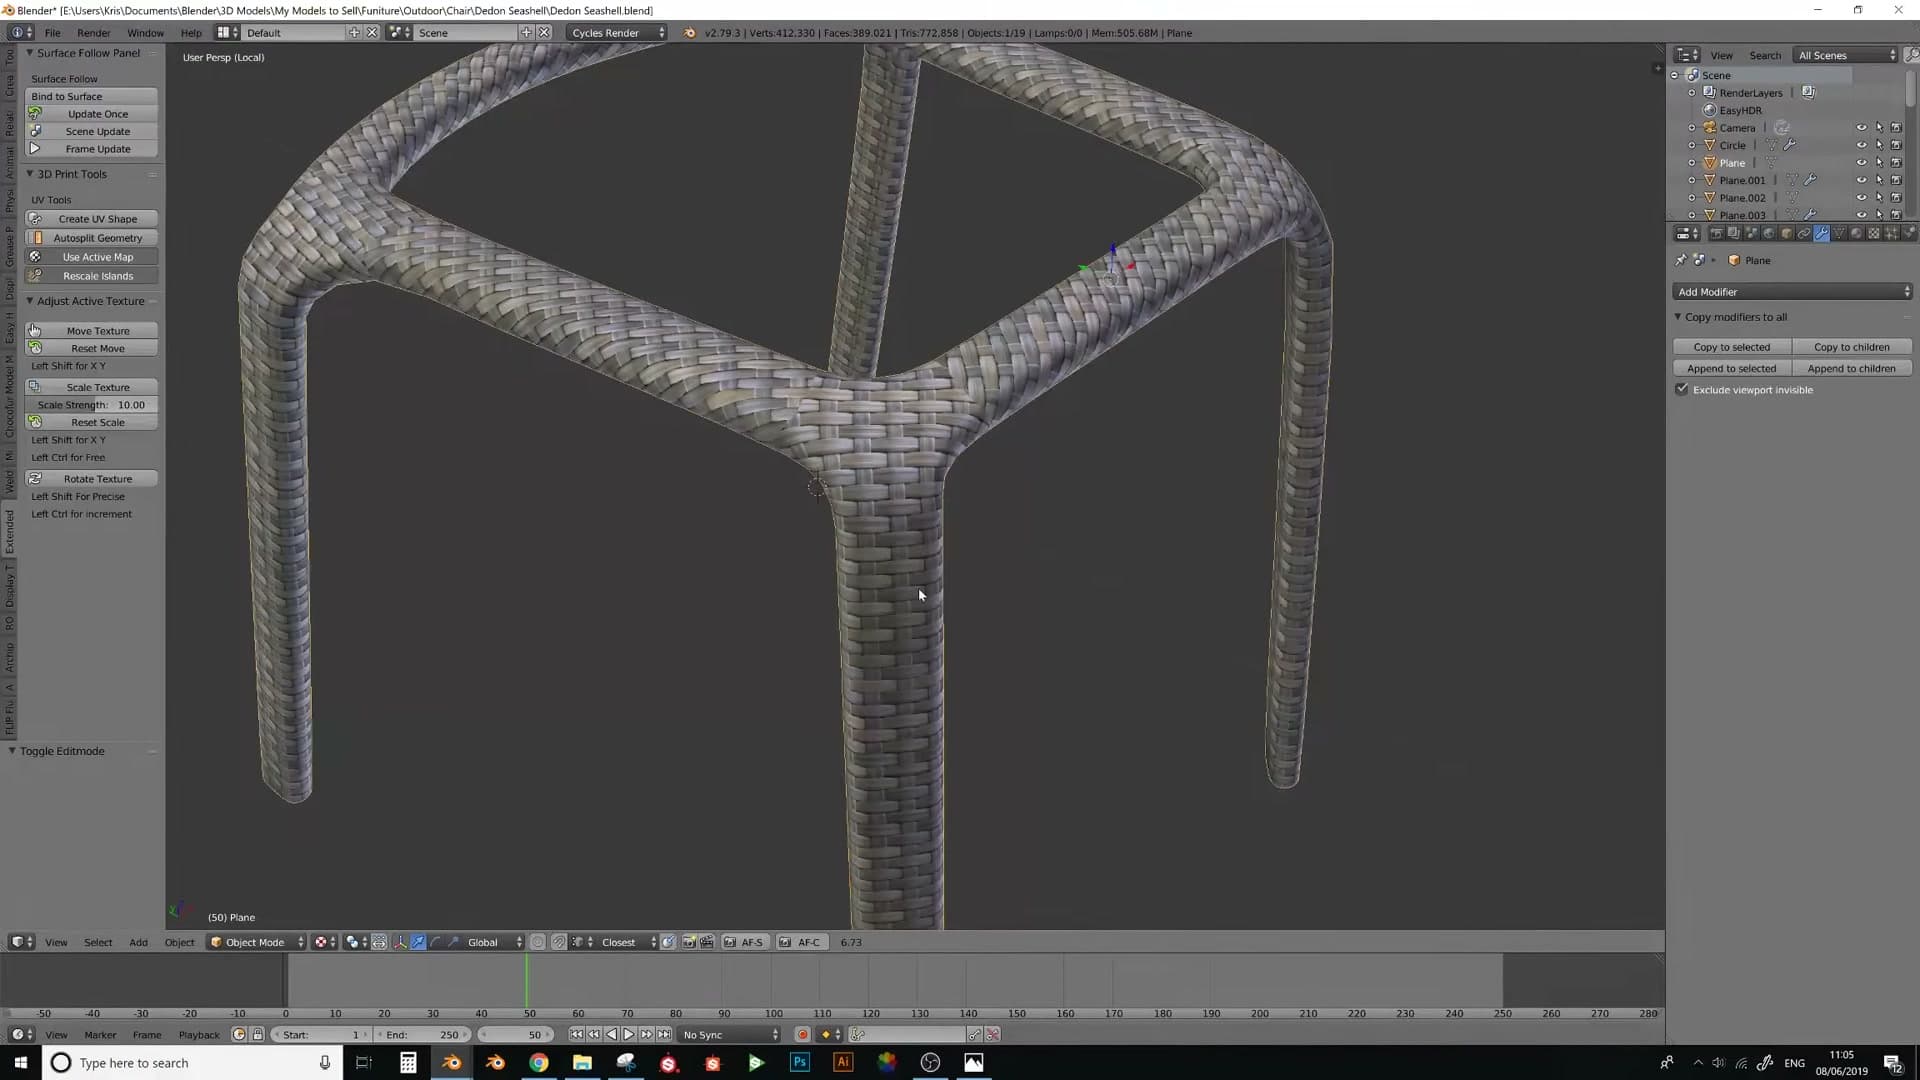
Before placing a single seam, study the actual chair. Look at where the strands run straight, and look for the points where they pivot and start tracking around the frame at roughly a 45-degree angle. Those pivot points are where the weave changes direction in real life, and they are exactly where your seams need to go.
To make this easier to read on screen, switch the viewport to texture view and apply a reference weave material to the chair, the same style of weave you intend to build later. With the texture visible, you can see at a glance whether the strands are running the way they should.
Now mark the seams. Place a UV cut everywhere the real weave turns at that 45-degree angle around the product. Do not try to be clever with one continuous seam. Follow the physical reference and let the chair tell you where the breaks belong.
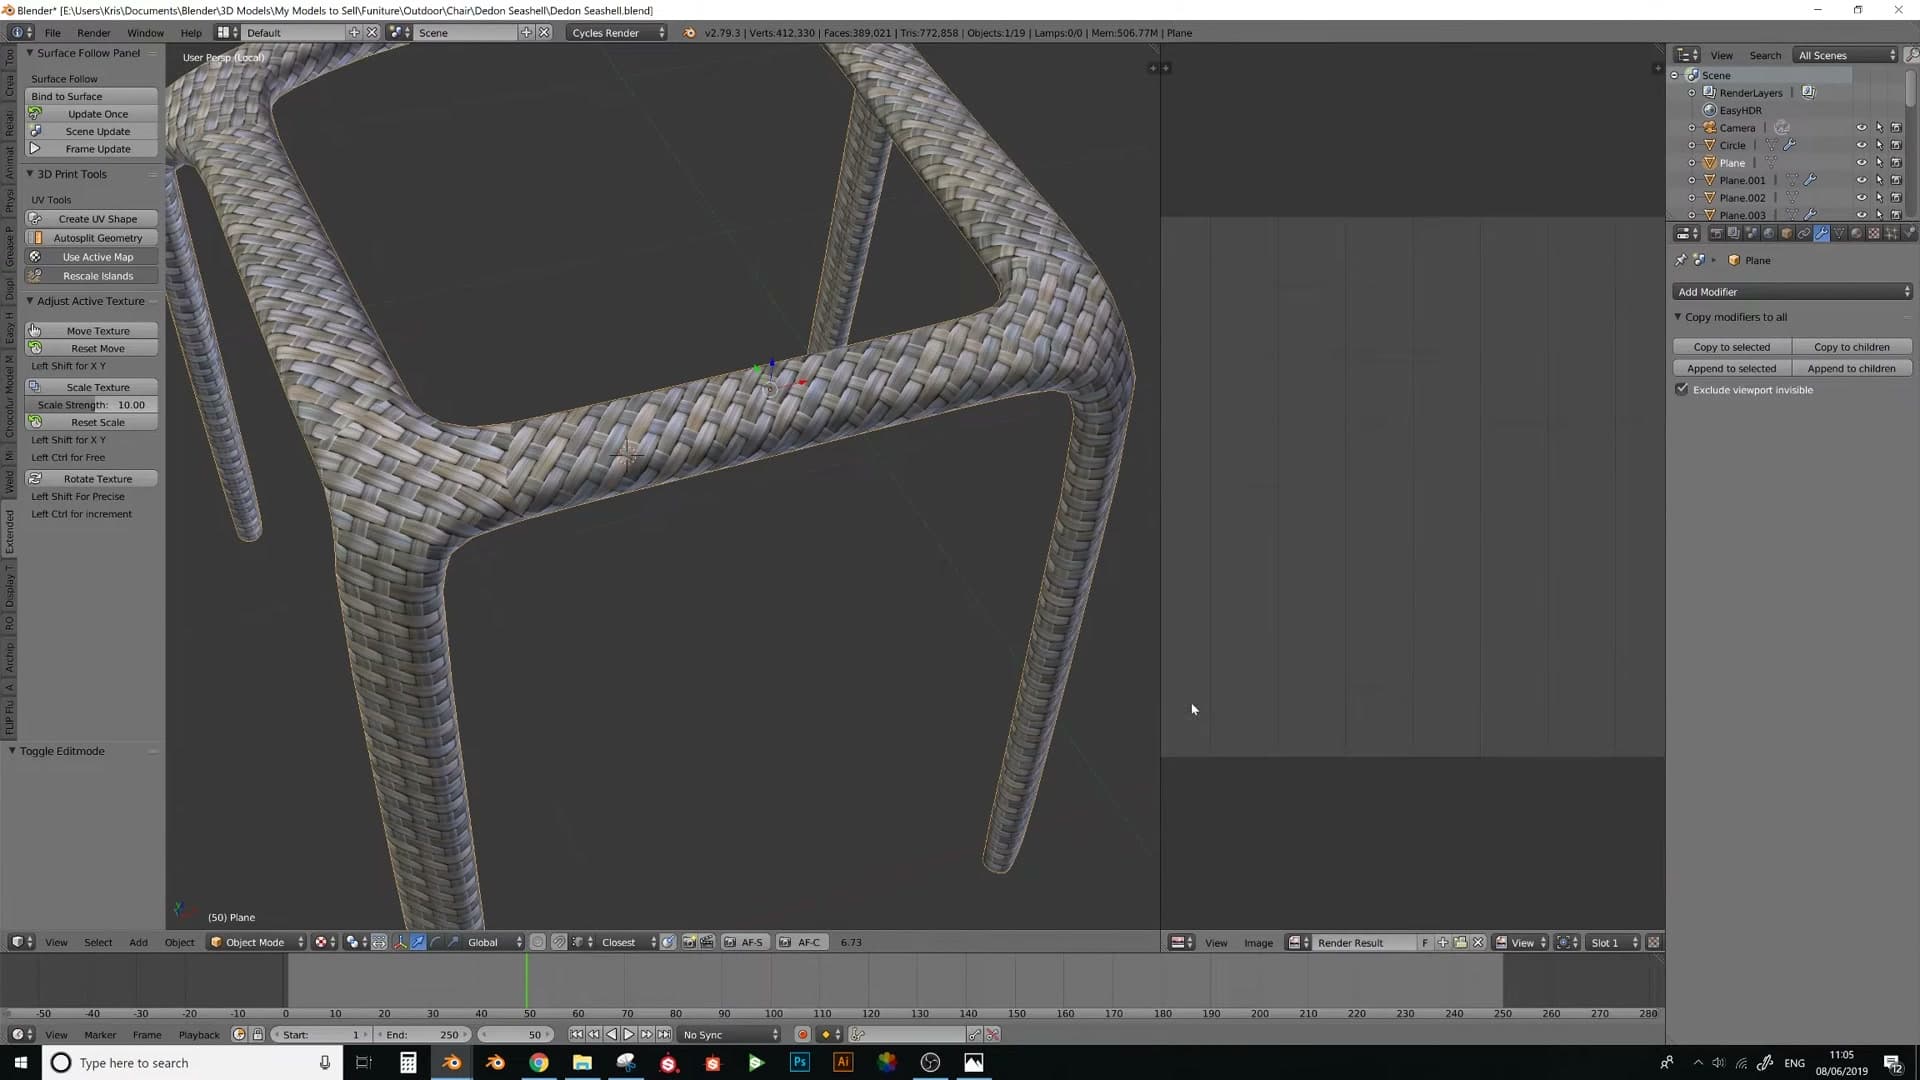
Aligning UV faces with proportional editing
With the seams cut, jump into the UV Editor and load a tileable weave texture as a reference. I grabbed mine from textures.com. This image is purely a visual guide so you can see which way the strands are pointing on each UV island.
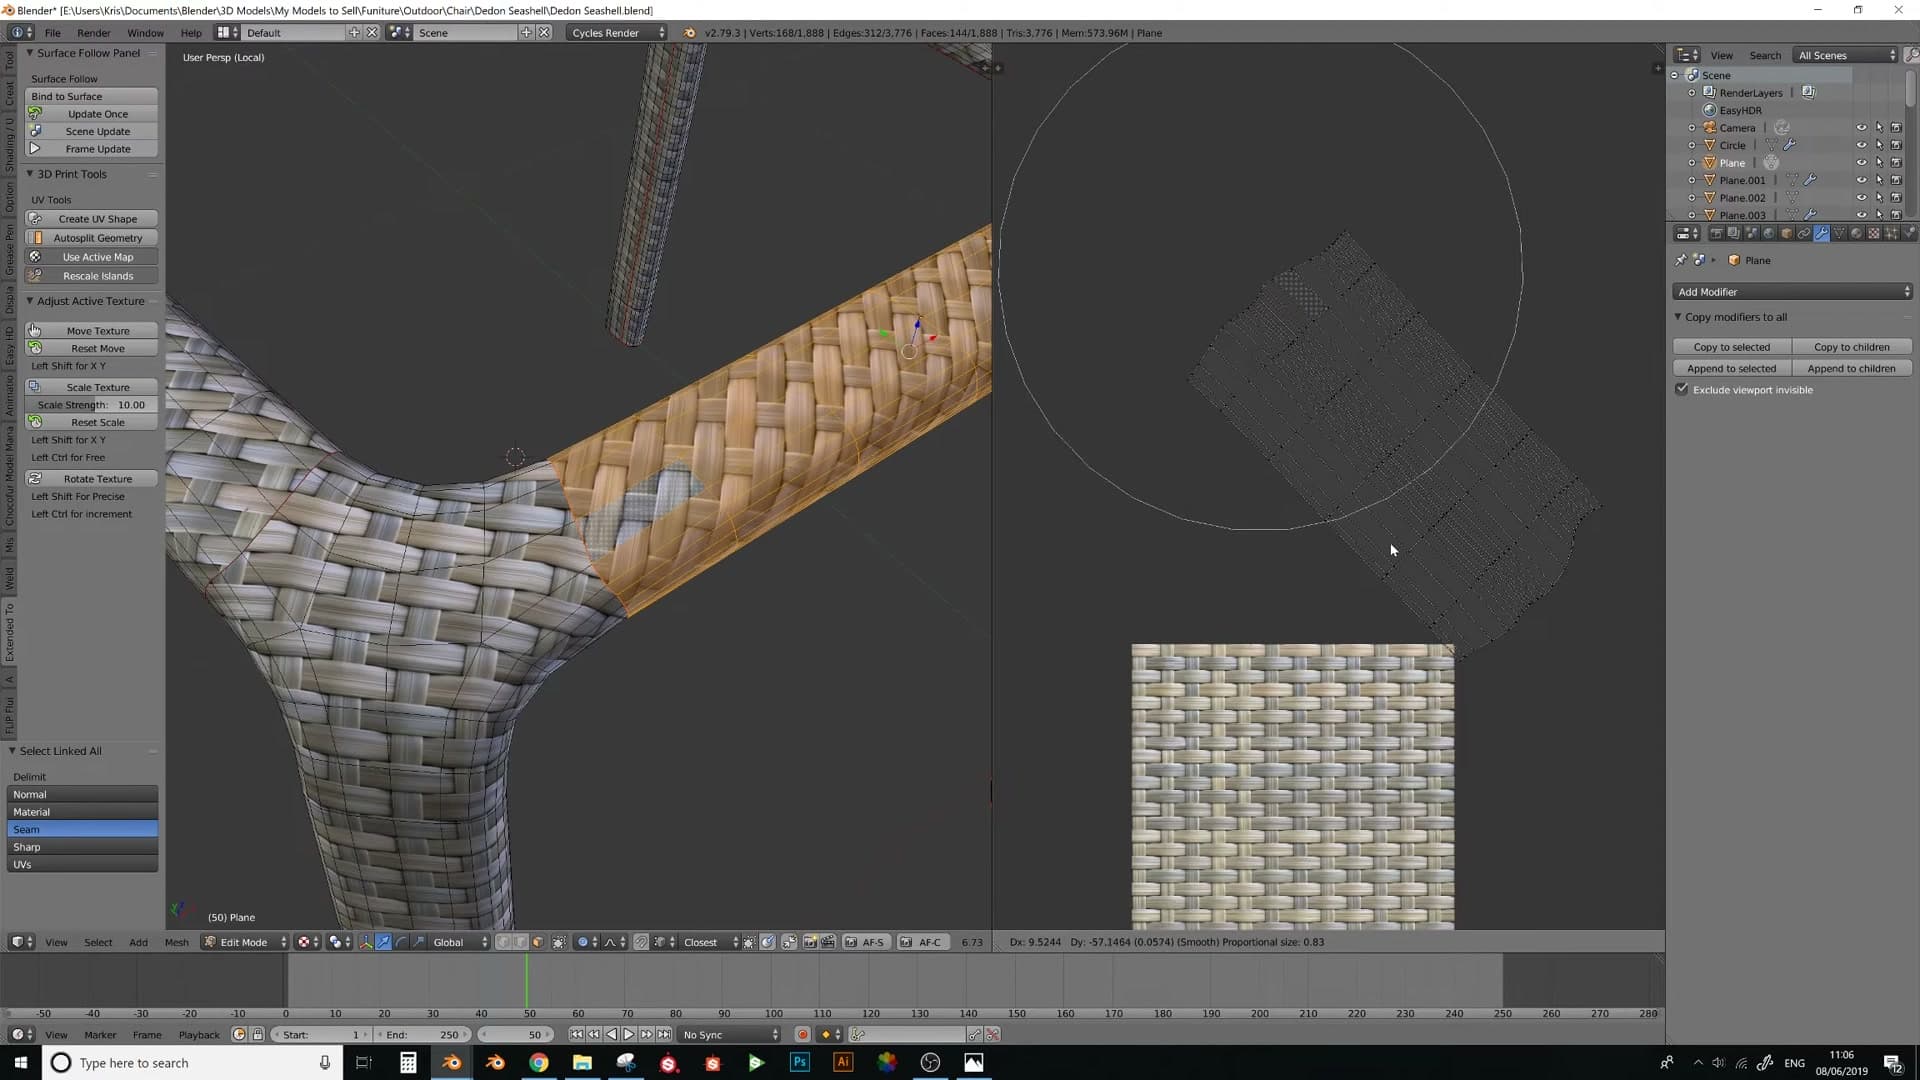
Switch the UV Editor to face select, turn on proportional editing, and pick the faces one at a time. With proportional editing active, you can nudge and rotate islands and have the surrounding UVs follow along smoothly, so the weave pattern stays continuous as it crosses each seam.
Work your way around the chair, aligning the islands so the strands flow consistently: straight where the frame runs straight, and at a clean 45 degrees around the curved sections where you placed the cuts. The aim is for the texture to read as one continuous weave wrapping the product, not a patchwork of mismatched tiles.
Do not obsess over pixel-perfect alignment here. The reference texture only exists so the physical weave you build later sits in the correct orientation; any small mismatches get hidden once the real strands are wrapped onto the surface.
Flattening the model into a UV shape key
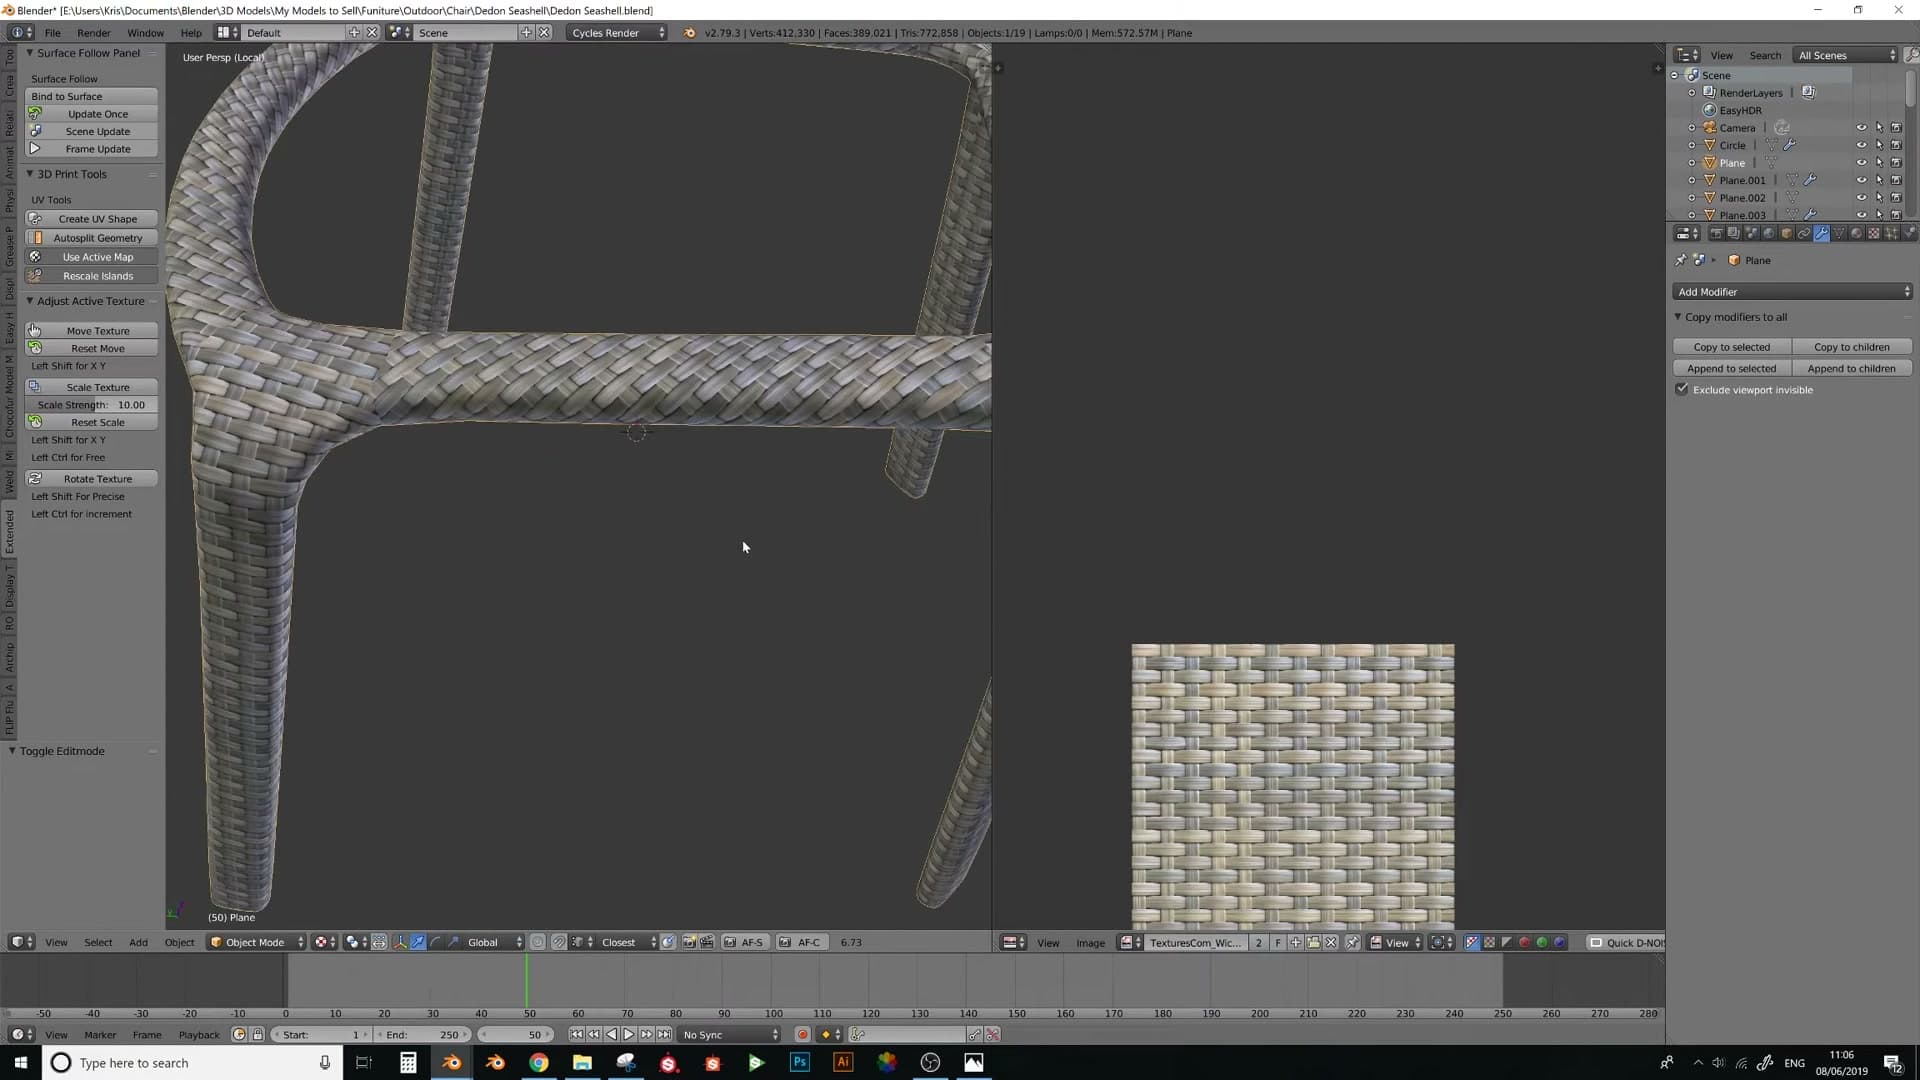
Split the seams with V and use the Create UV Shape addon to generate a shape key that lays the chair flat against its UVs. This flat state is the binding target for Surface Deform.
Splitting seams with V and the Create UV Shape addon
With the UVs aligned, the next job is to flatten the chair against its UV layout so the weave has something flat to bind to. I do this with a third-party addon. Not 3D Print Tools, but a separate one referred to as Create UV Shape. Searching Google for create UV shape should turn up a build that matches your Blender version.
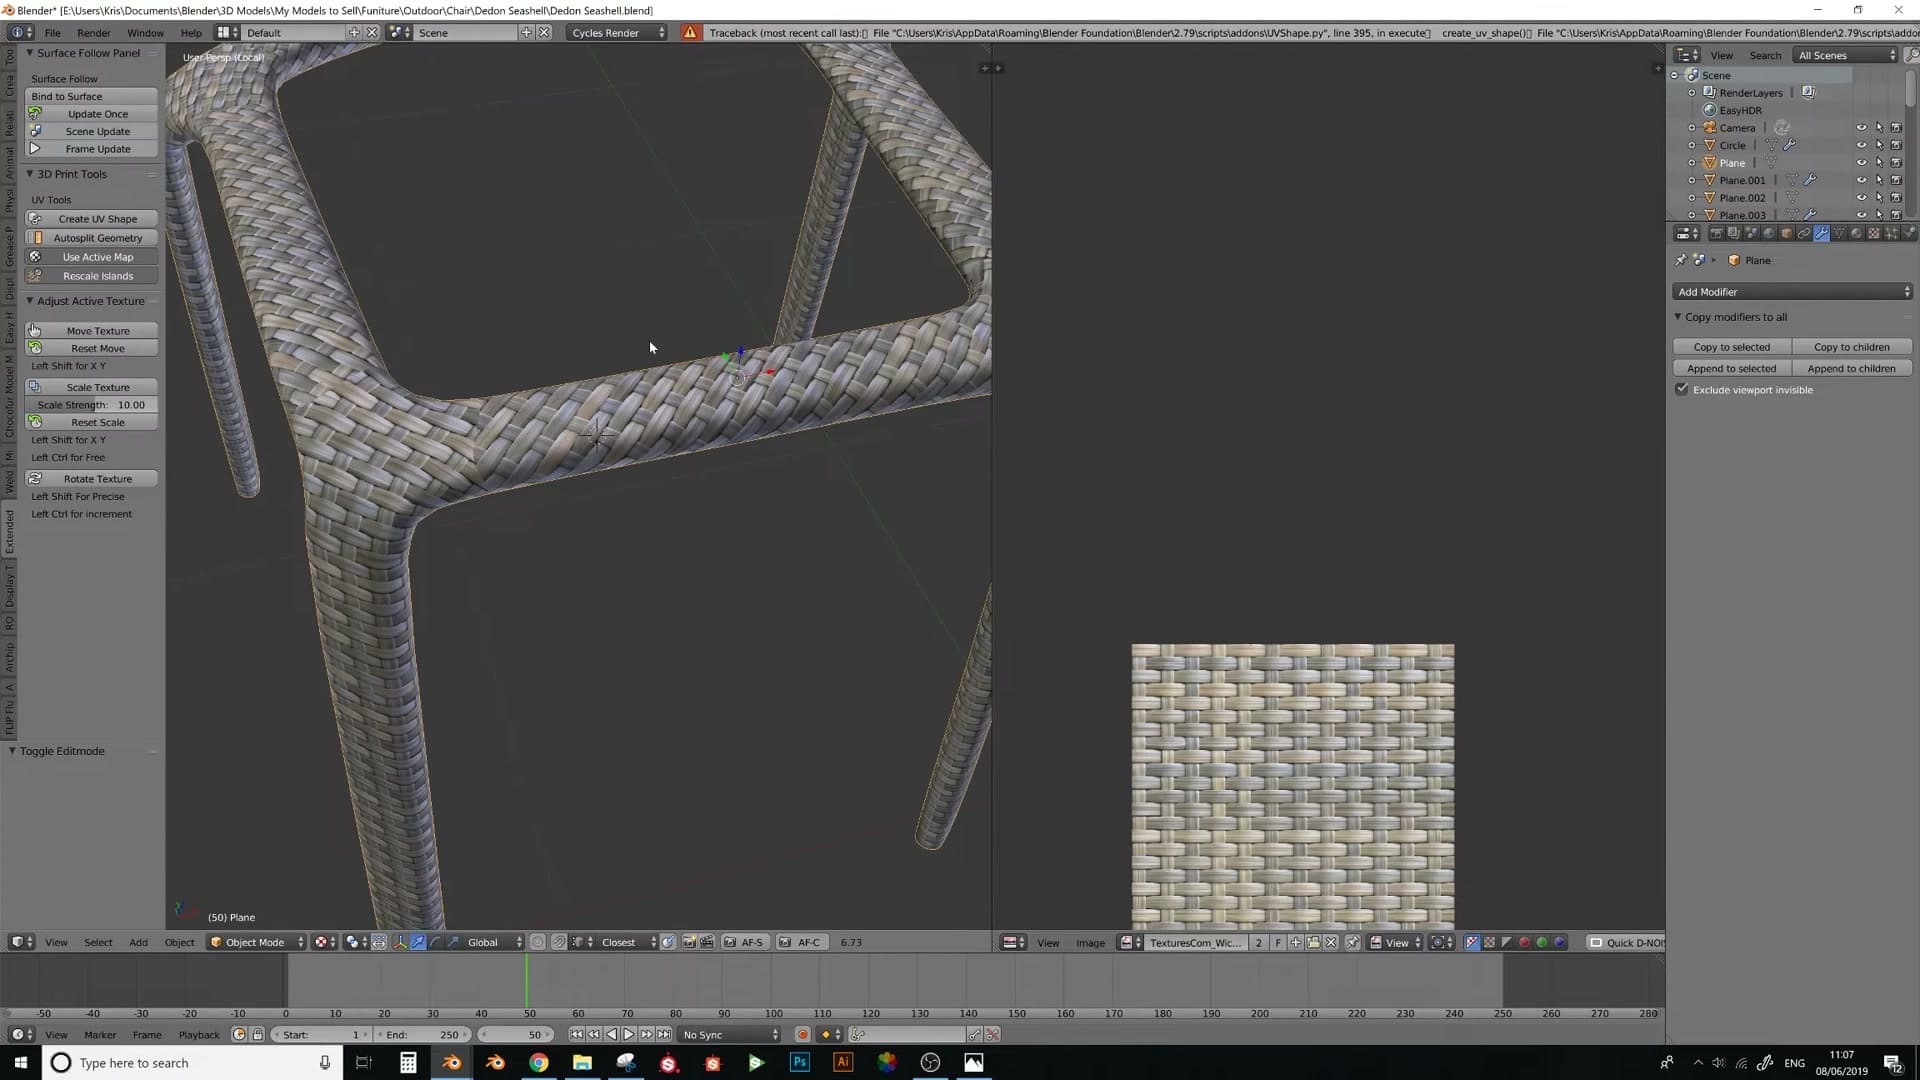
Before running the addon you need to physically separate the mesh along its seams so the islands can come apart cleanly:
1. In Edit Mode, select all the seam edges you marked earlier. 2. Turn off proportional editing (it will distort the split if left on). 3. Press V to rip the selected edges apart, separating each UV island from its neighbours.
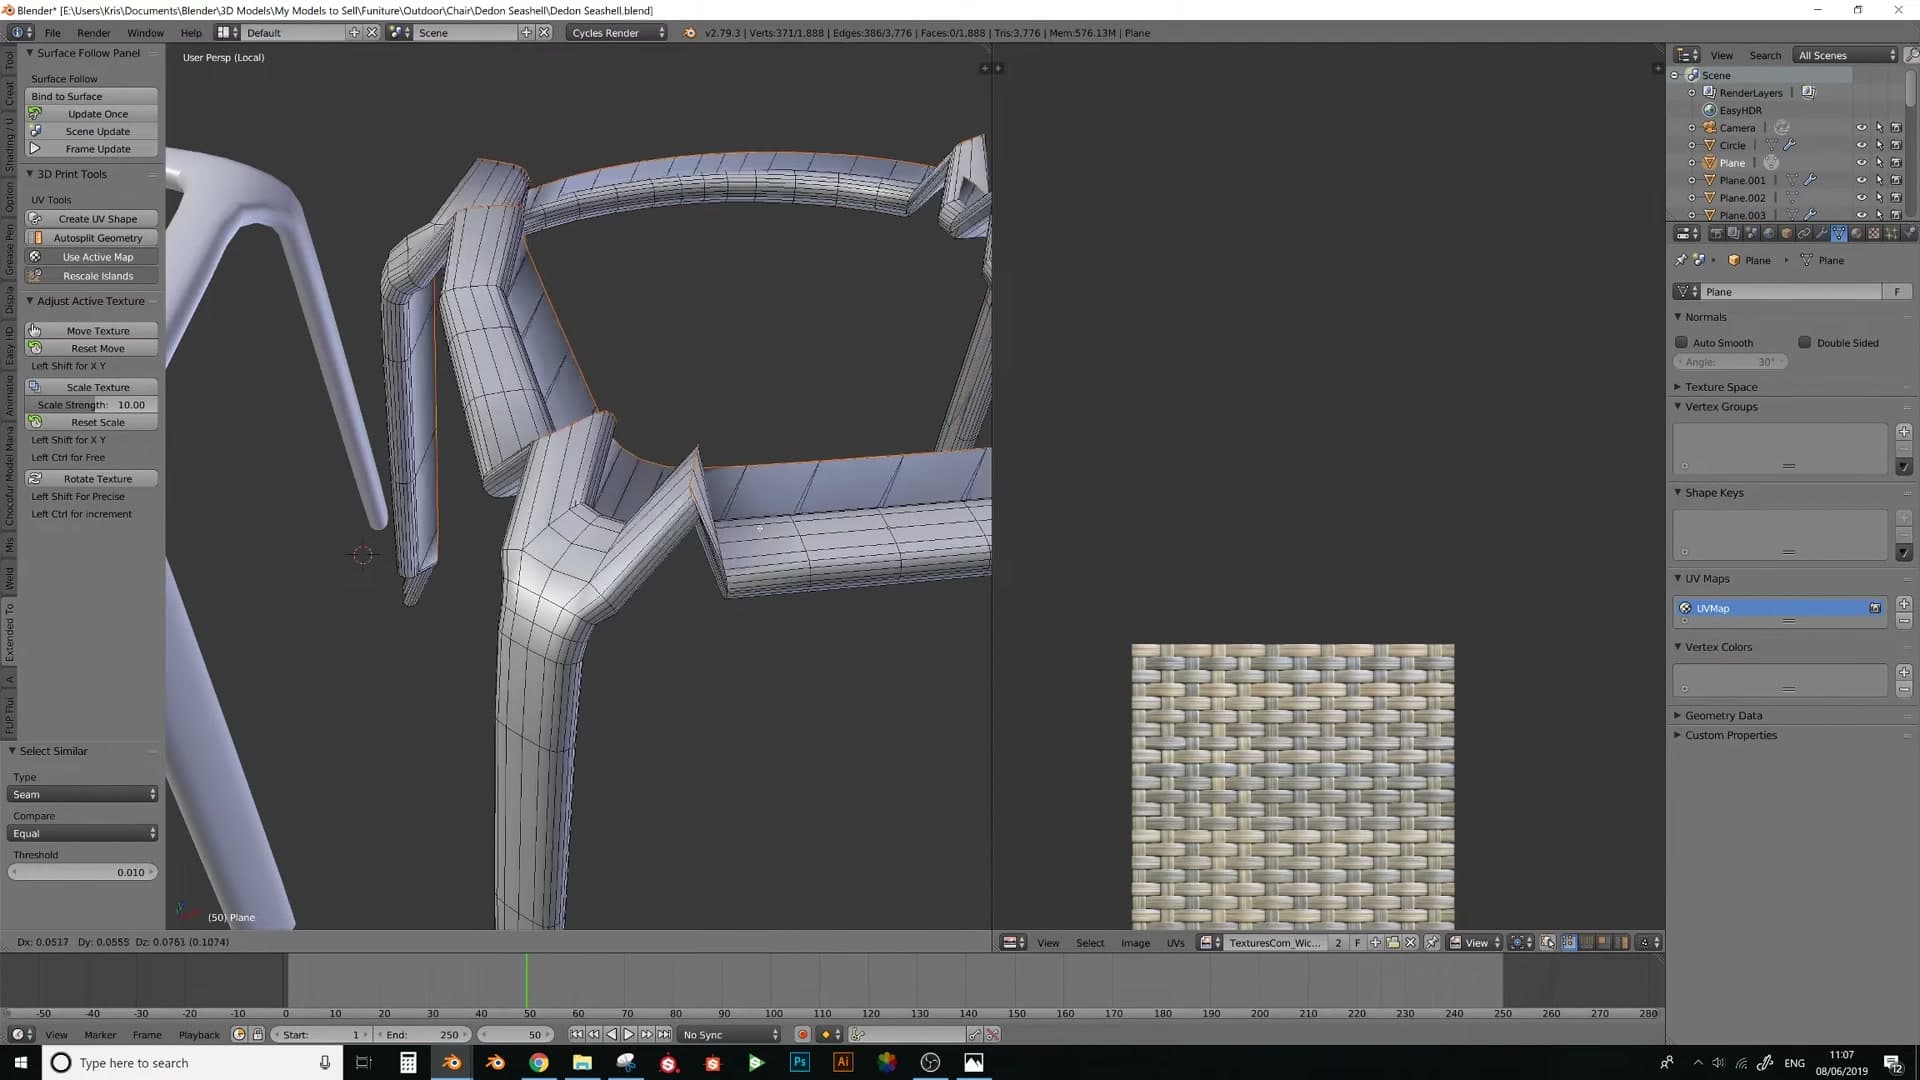
With the seams split, switch to the addon panel and run the Create UV Shape action. There are also two preparatory buttons in the addon to click before the main one; these set the source and target the addon uses to generate the shape key.
Verifying the flat shape key returns to the chair
What the addon produces is a shape key that flattens the entire chair onto its UV layout. With the shape key value at 1.0 the chair lies completely flat, with every island sitting exactly where its UVs say it should, including the weave alignment you set up earlier with proportional editing. Slide the value back to 0.0 and the mesh springs back into the 3D chair shape.
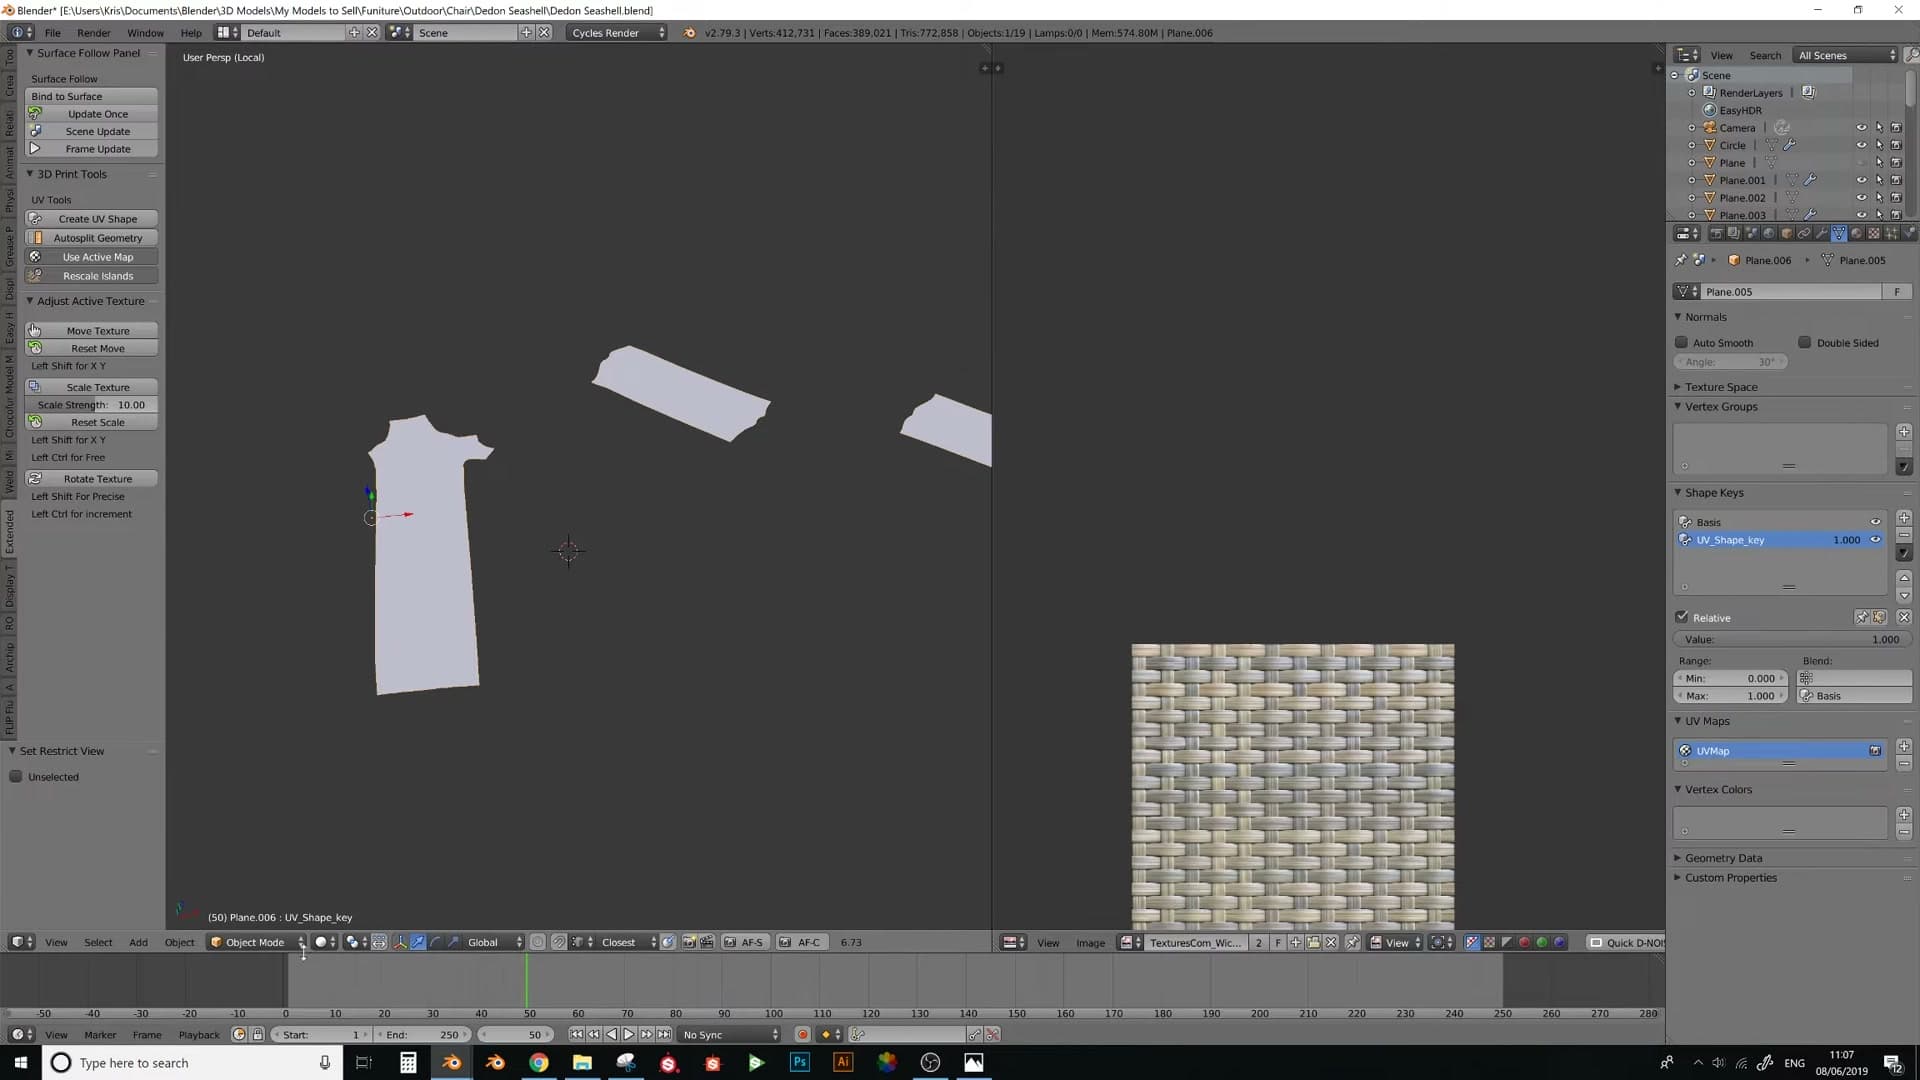
That toggle is the whole point of this stage. The flat state is what you will bind a tileable weave patch to in the next module; the 3D state is what you want to return to once the weave is bound, so it conforms to the curved chair frame. Confirm the shape key drives cleanly between both extremes before moving on. If islands tear, overlap, or refuse to flatten, go back and check that every seam was both marked and ripped with V.
Building the tileable weave patch
Construct a small low-poly weave patch, array it across the surface, and align array edges so vertex merging stitches the seams cleanly.
Keeping the weave low poly with array merge
The woven sheet that wraps the chair is not modelled strand by strand. It is one small patch of geometry that gets multiplied across the surface by an Array modifier, and that patch is built deliberately low poly. Every vertex you add here is paid for many times over once the array runs, and again once Solidify, Bevel and Subsurf stack on top, so resist the urge to round things off at this stage.
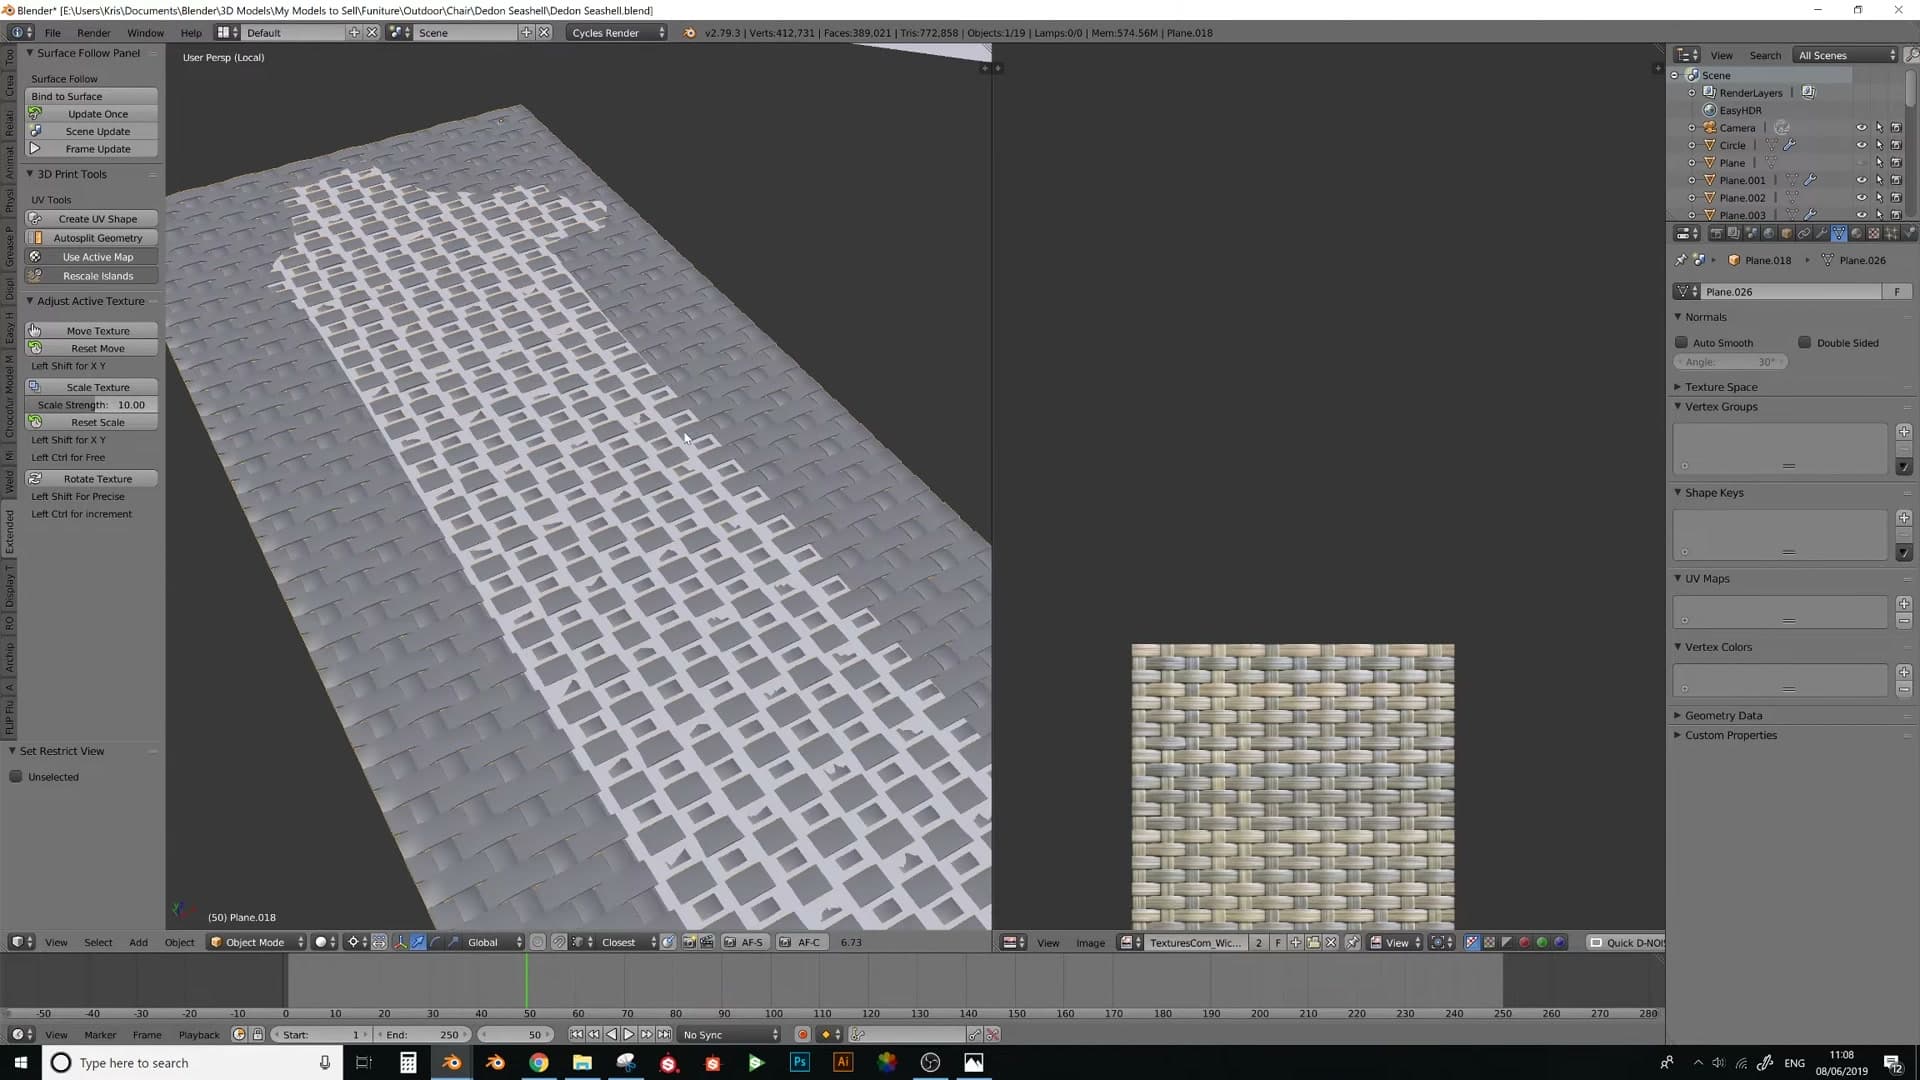
Build the patch as a single tile of the weave, just enough geometry to describe one crossing of the strands, then add an Array modifier and fan it out. A second Array on the perpendicular axis turns the strip into a full sheet. Keep checking the result with the other modifiers temporarily disabled so you can see the raw, low-poly cage you are actually working with.
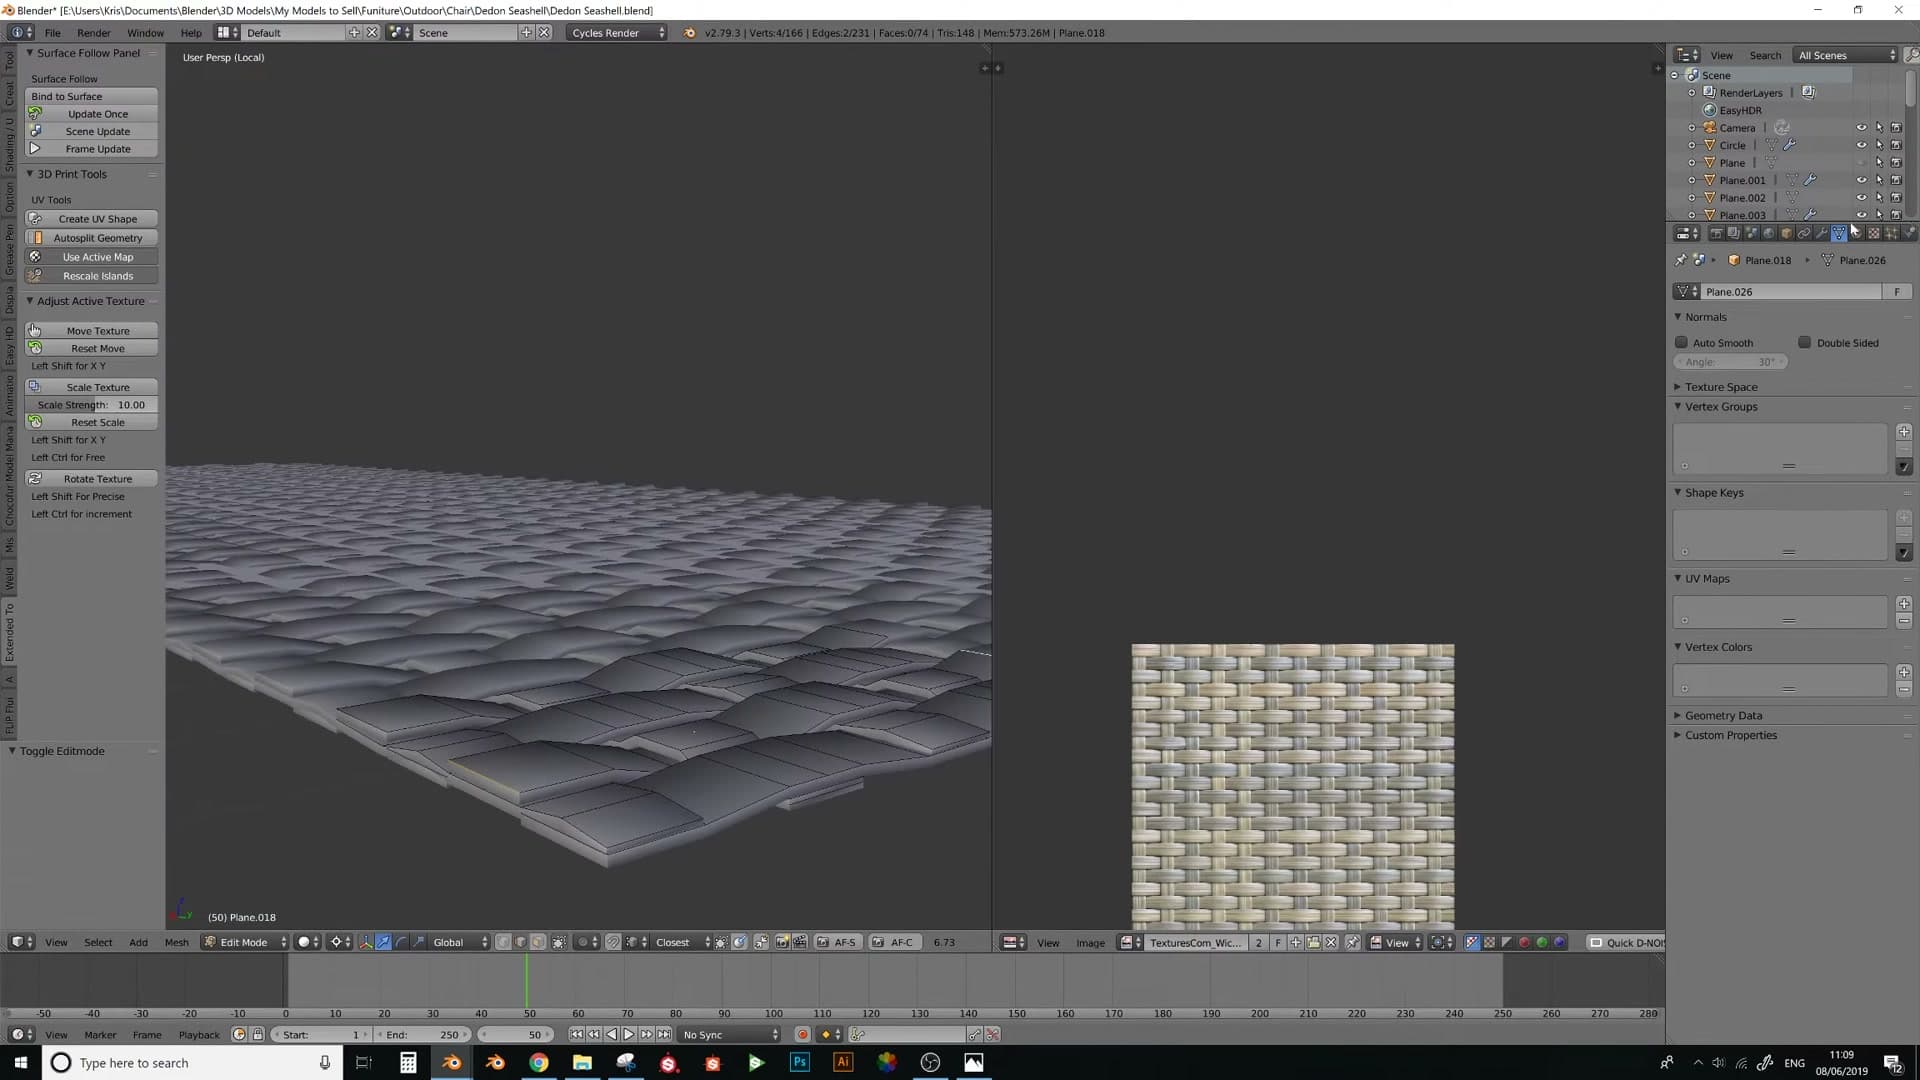
If you ever need to jump straight to whichever object you have selected, hit the full stop on the numpad. The viewport recentres on the selection, which is invaluable when you are darting between the chair shell and the tiny weave patch.
Aligning array edges so vertices merge correctly
The Array modifier is set to Merge so that the seam between one tile and the next welds together into a continuous strand. For that to work cleanly, the edges on either side of the patch have to line up. If one strand end sits even slightly above or below its counterpart on the next tile, the merge can grab the wrong neighbour. Instead of joining to the strand coming in opposite it, an edge can fuse onto the strand sitting just below.
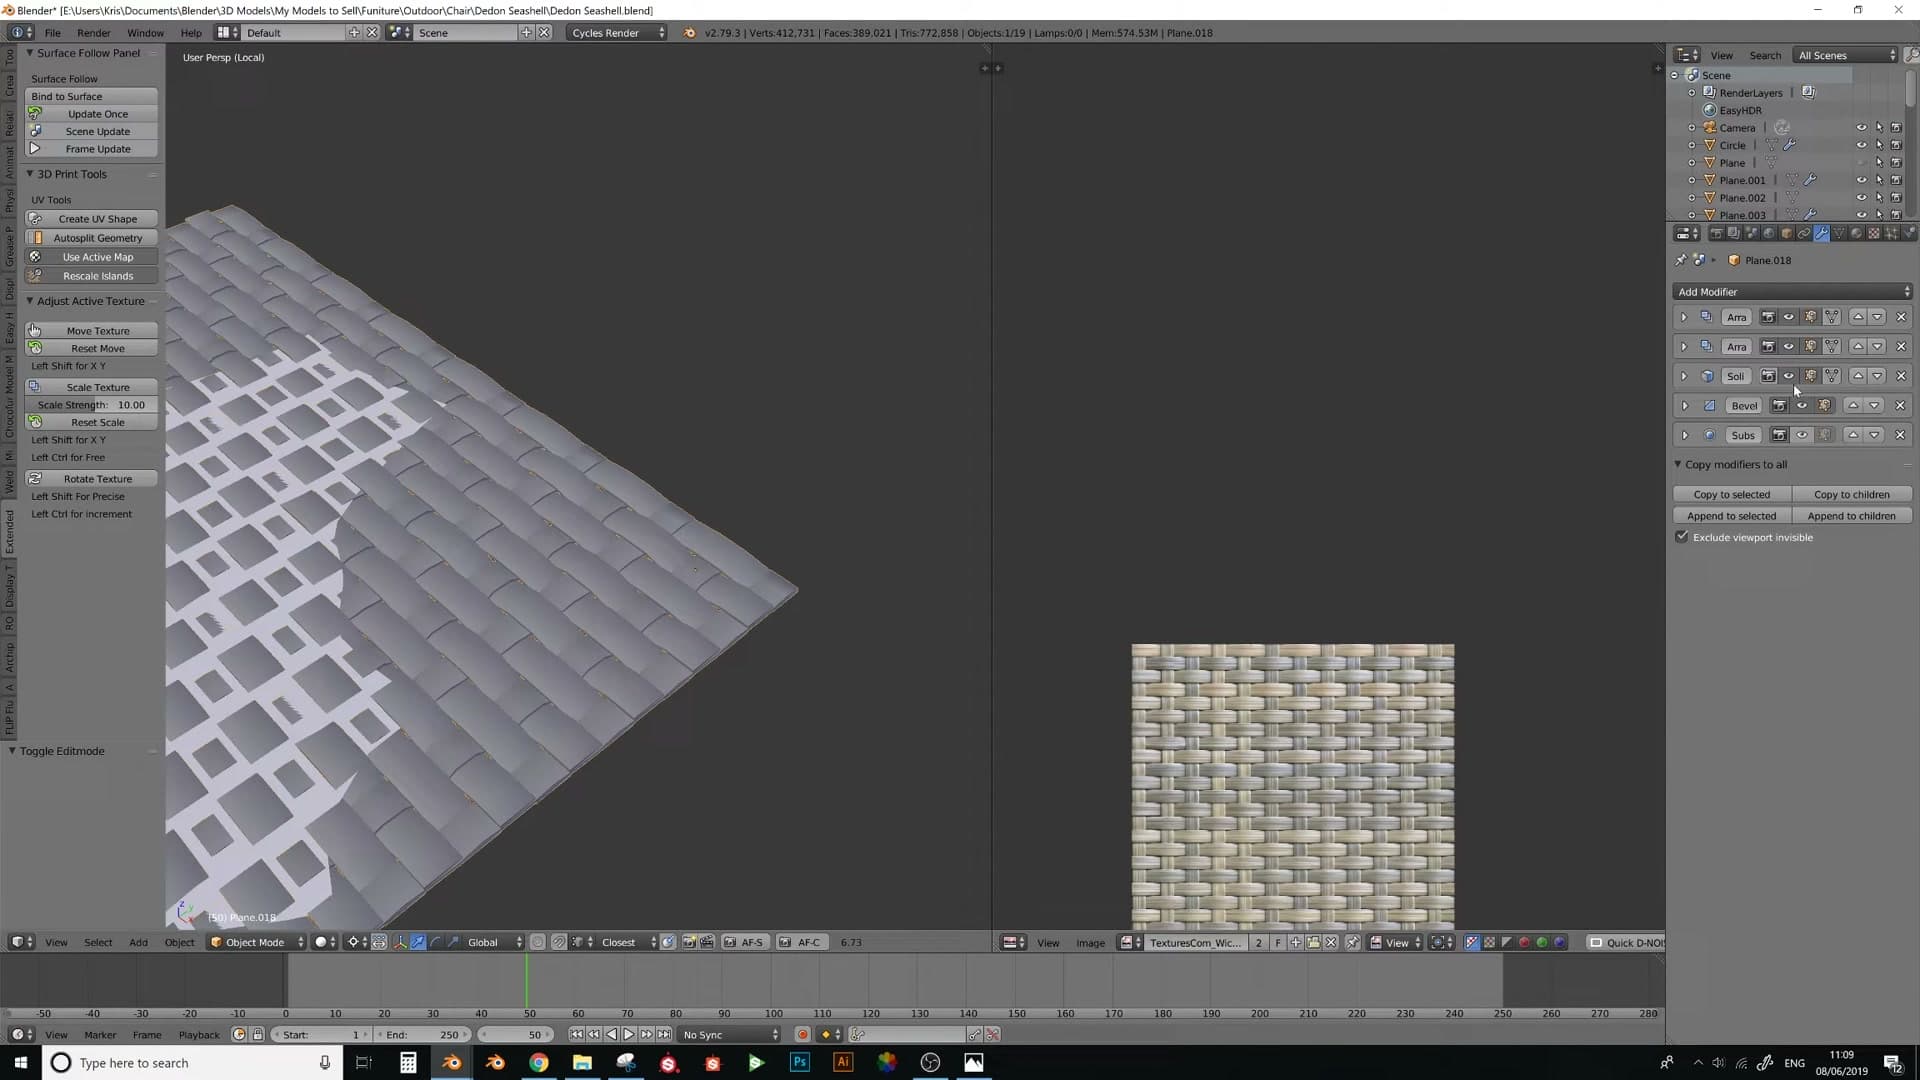
Test it by nudging the patch close to its neighbour in Edit Mode and watching where the merges land. Every edge on the seam side of the tile should marry up to the correct edge on the array side. If anything jumps to the wrong piece, go back and align the verts before moving on.
Once the patch is merging cleanly, the full stack reads as Array, Array, Solidify, with Bevel and Subsurf above. The cosmetic modifiers can be toggled off while you work. They only add to the poly count at this stage and obscure the underlying cage. Turn them back on when you want to preview the final look.
One thing to flag at this stage: on the reference product, the strands were noticeably thinner than what I built in this scene, closer to half the thickness. If you are matching a real piece of furniture, it is easier to make the base patch thinner now, before Solidify and Bevel layer on, than to try to slim everything down later.
Trimming the weave to fit the chair silhouette
Use circle-select to delete faces outside the silhouette, then sweep up orphaned edges with Shift+G amount-of-faces-around-edge.
Circle select cleanup with face delete
With both arrays applied, you have a single continuous weave that overshoots the silhouette of the chair. Trim it back so it fits the profile.
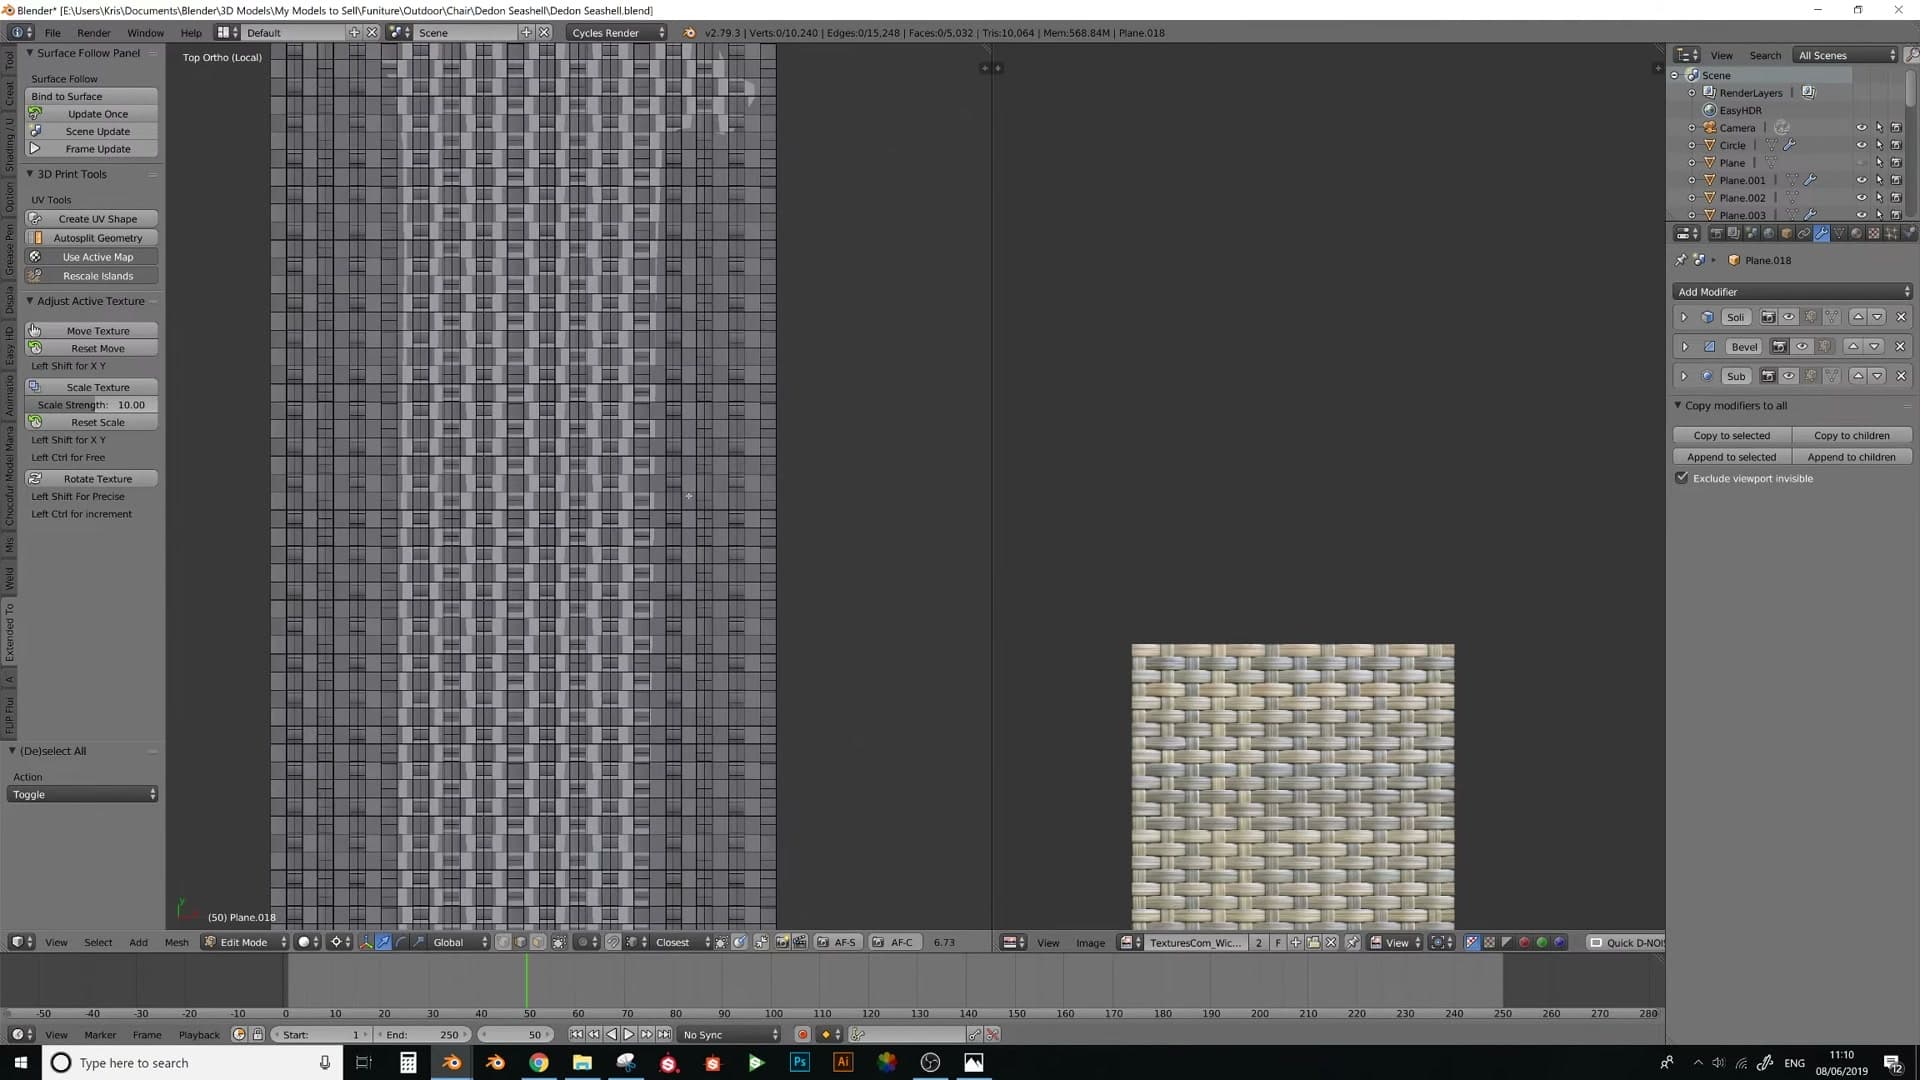
Switch to face select mode and press C to enter circle-select. Paint over the faces that sit outside the chair's outline. You can see the edge of the underlying shell showing through the weave, and that's the line you're aiming for. Once the selection looks right, press X and choose Delete Faces.
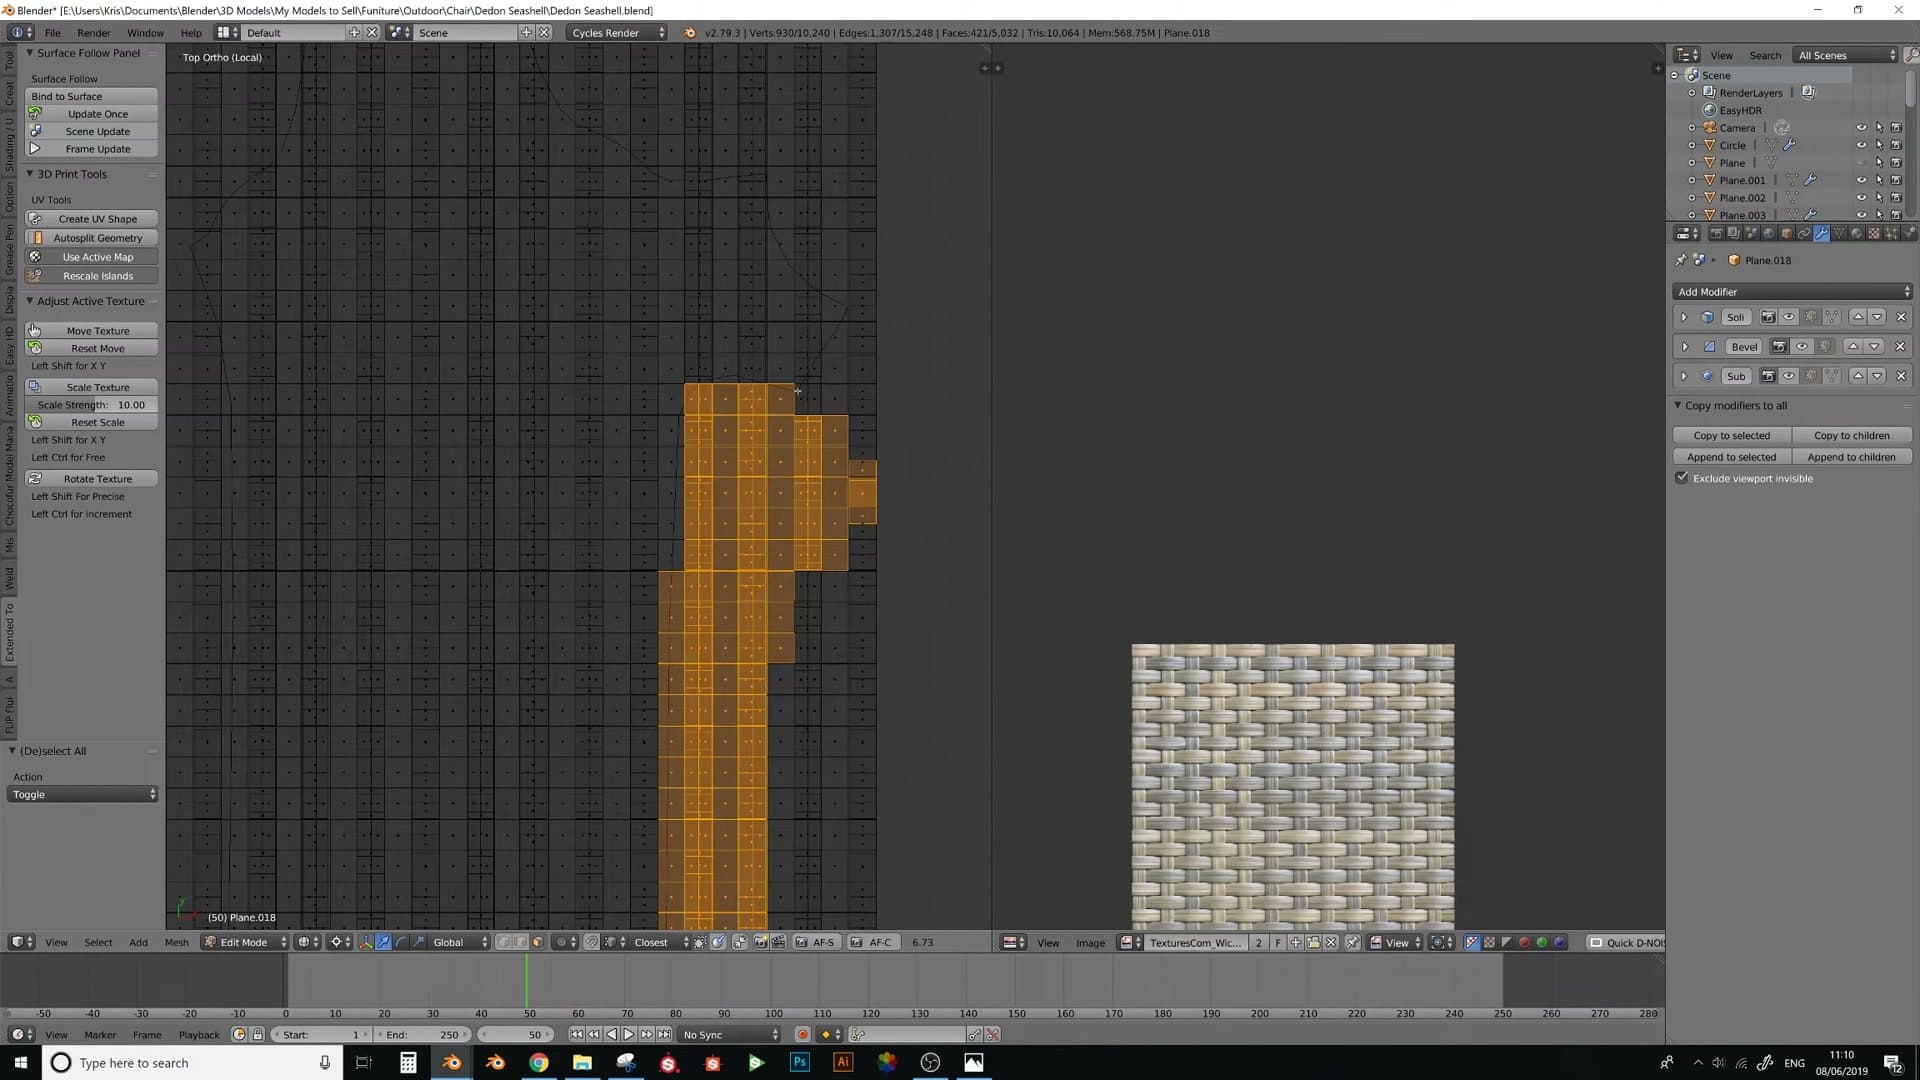
When in doubt, cut a little over the line rather than under it. Excess geometry hanging outside the silhouette causes problems later when you come to merge the strands together. The stitching step is much cleaner if the trim is tight, even if you've sliced slightly inside the chair's edge.
Removing orphan edges with Shift+G
Deleting faces tends to leave orphan edges behind: single edges that no longer belong to any face. Rather than hunting them down one at a time, sweep them all up in a single selection with Select Similar.
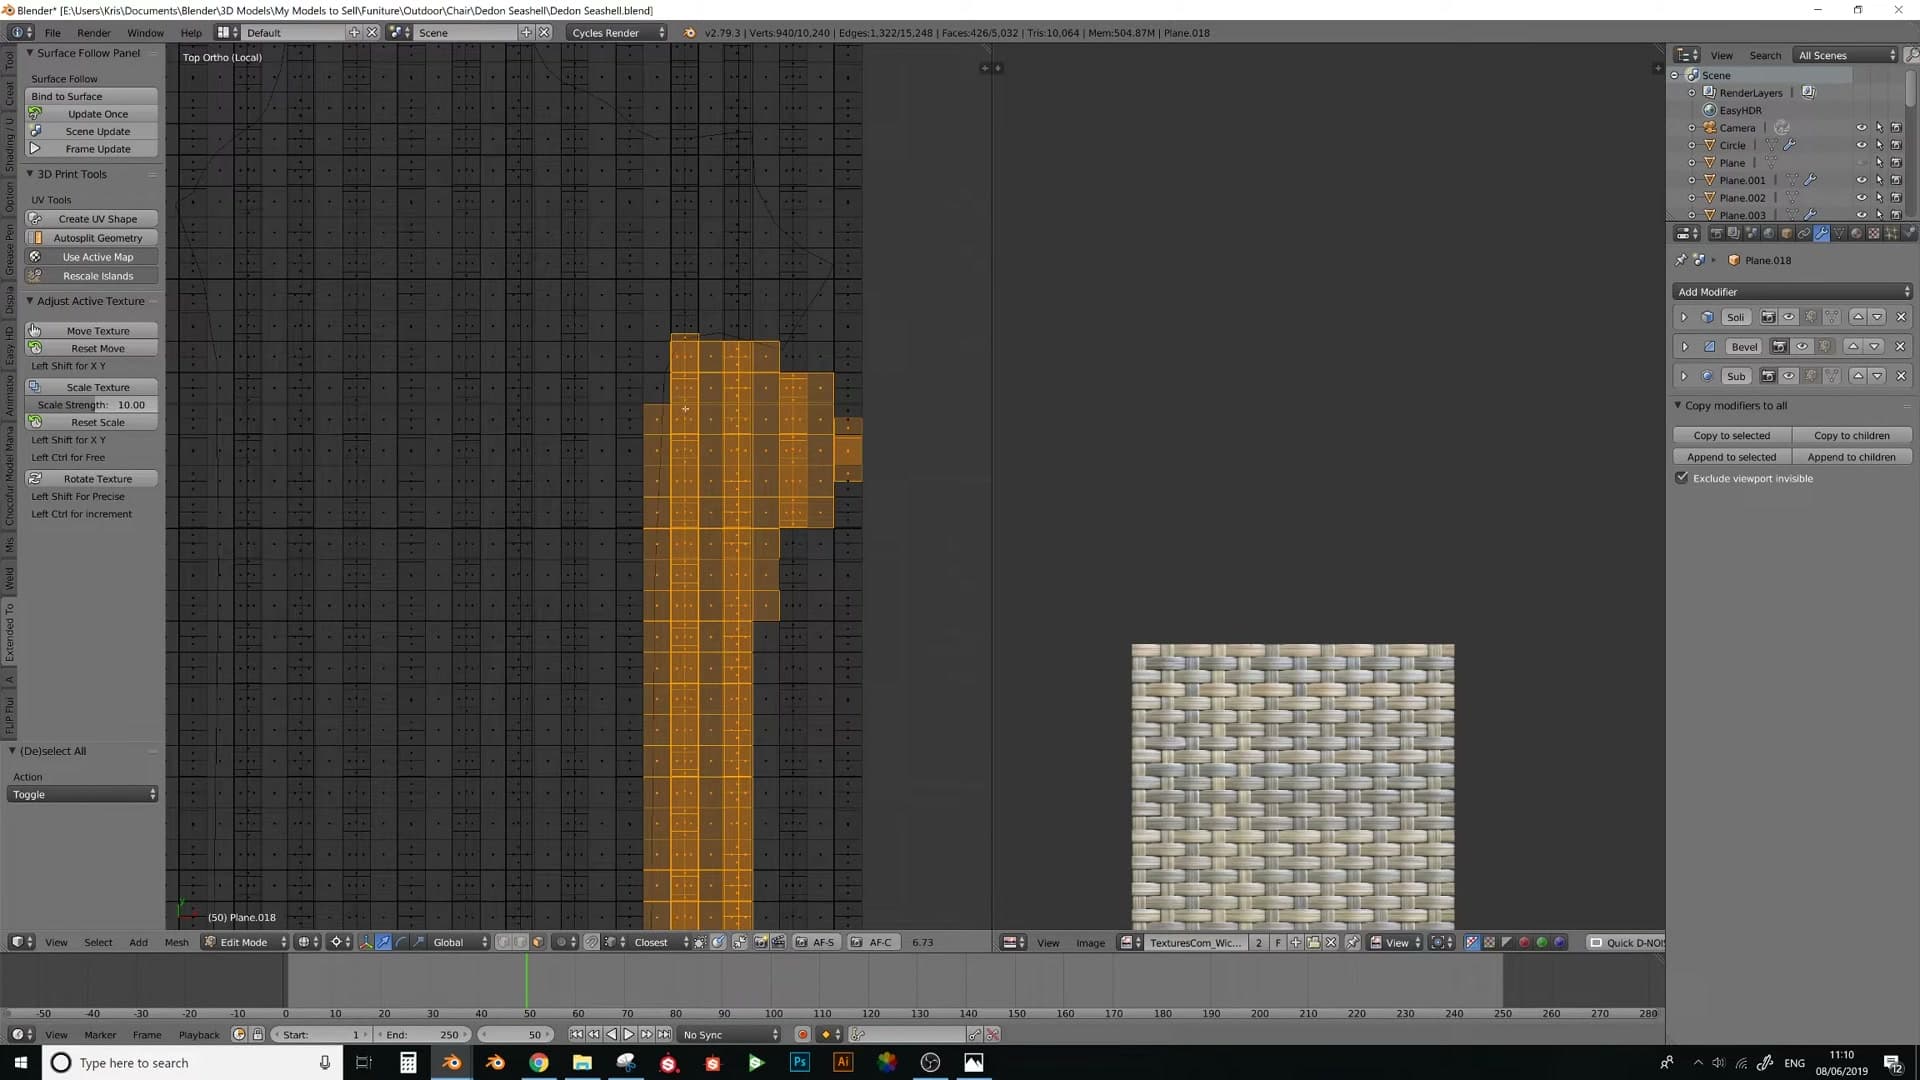
Switch to edge select mode and click one of the stray edges. Press Shift+G and choose Amount of Faces Around an Edge. Blender selects every edge in the mesh with the same face count. For an orphan that's zero, so every loose edge lights up at once. Delete the selection and the trimmed silhouette is clean and ready for stitching.
Binding the weave with Surface Deform
Add a Surface Deform modifier to the flat weave, bind it to the flat shape key, then revert the key to 1.0 so the weave wraps the curved chair. Finally re-enable Solidify, Bevel and Subsurf for thickness.
Targeting the flat plane and binding the weave
With the weave laid out and tidied up, select it and open the modifier panel. Add a Surface Deform modifier. This is the modifier that will marry your flat weave to the underlying curved geometry the moment you bind it.
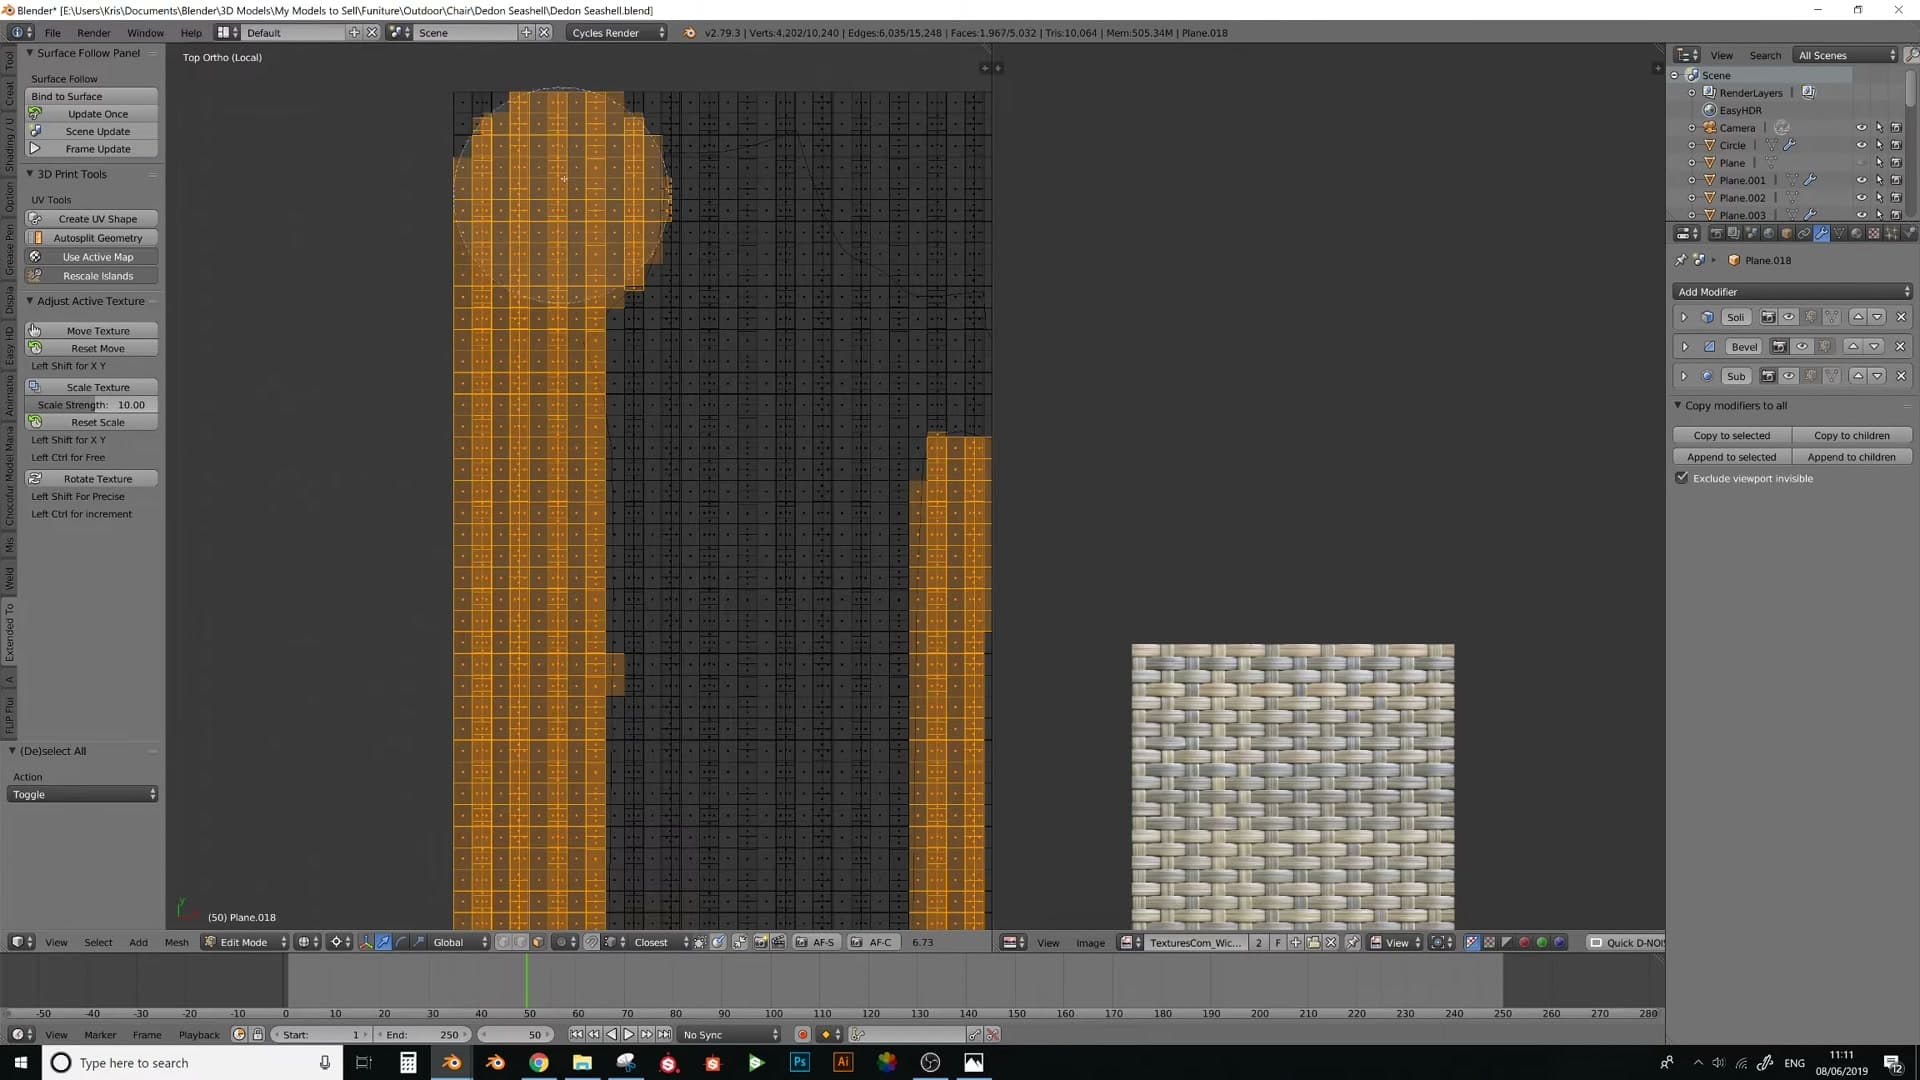
Click the Target picker and choose the flattened chair plane, the one carrying the UV shape key from the previous module. Then, with the weave still selected, press Bind. Blender records the relationship between every vertex on the weave and the surface beneath it, locking the two together for the next step.
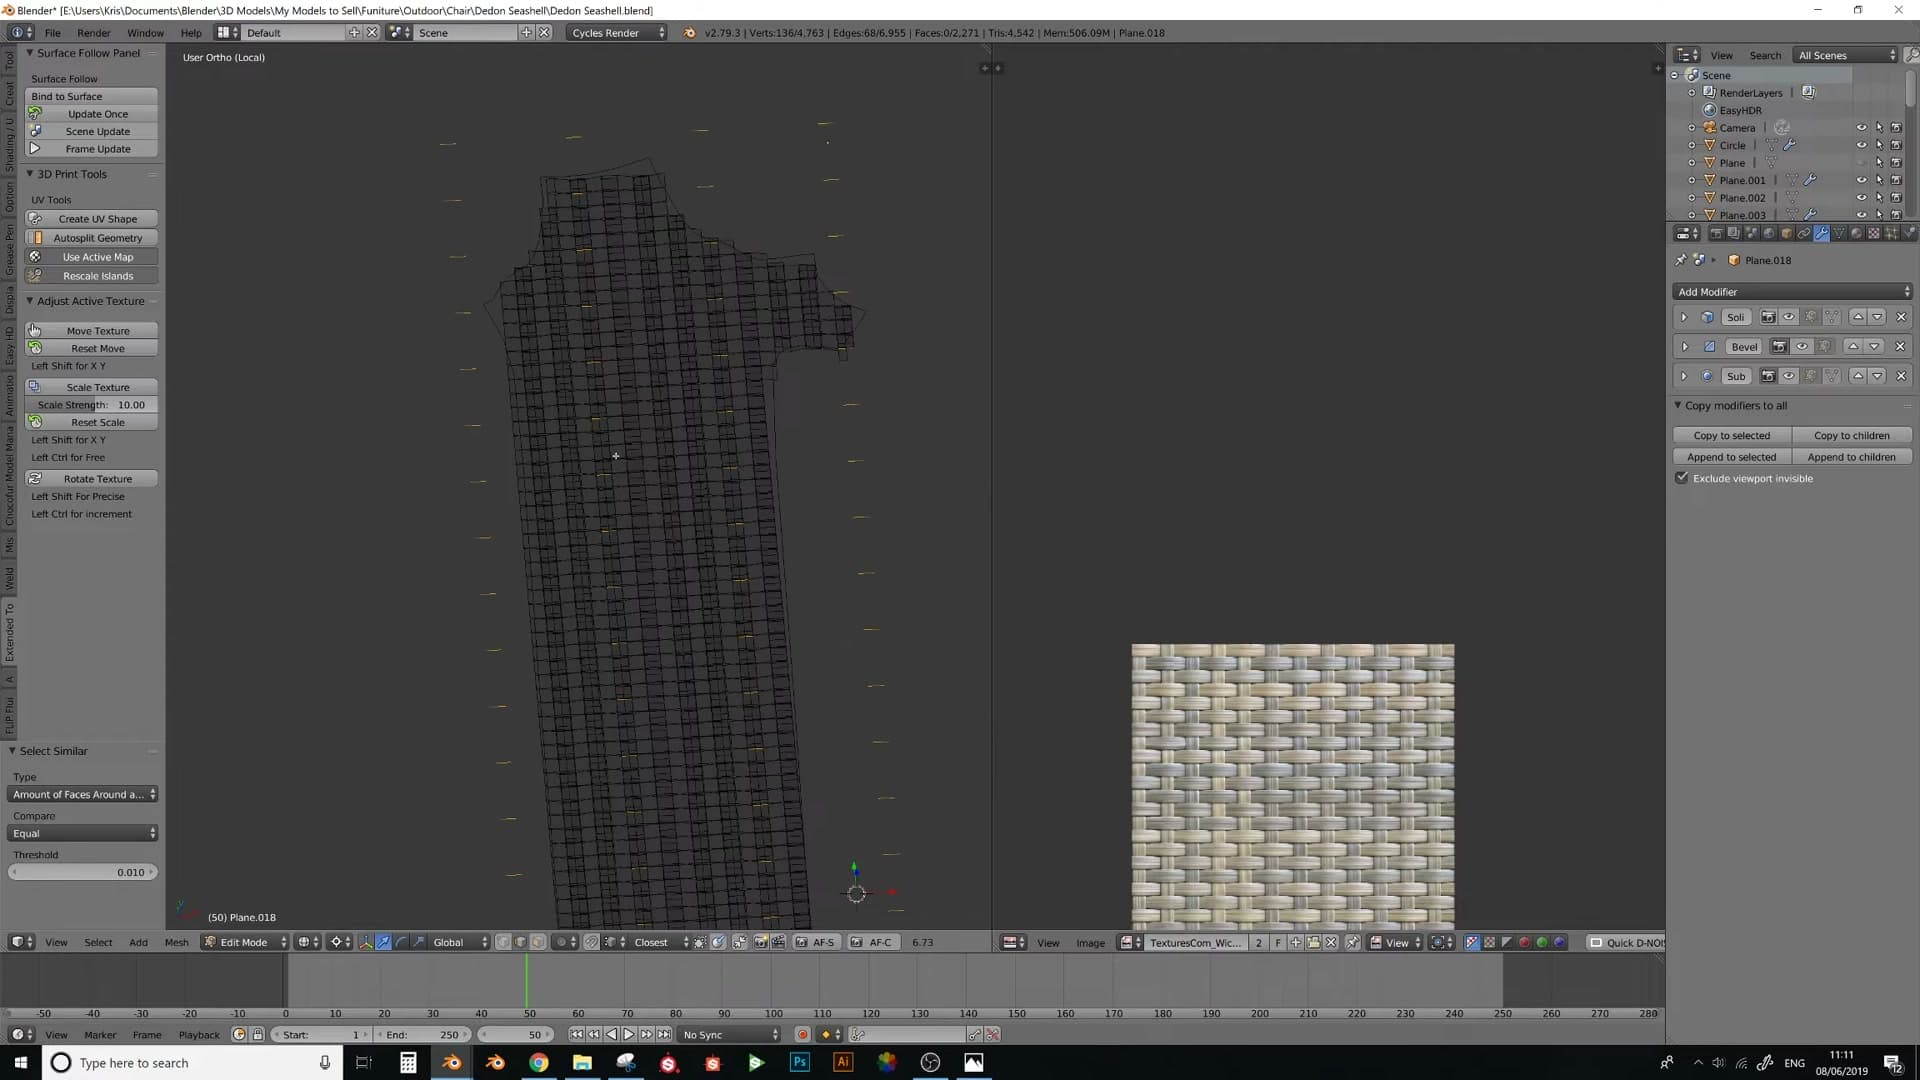
There is a third-party add-on that performs a very similar wrapping operation, but Blender's built-in Surface Deform handles this job perfectly well with no extra installs required.
Reverting the shape key to wrap the weave on the chair
Now select the chair plane and open its shape key panel. The flat state is what the weave was bound against, so slide the shape key value back to 1.0 and the plane returns to its original curved chair shape.
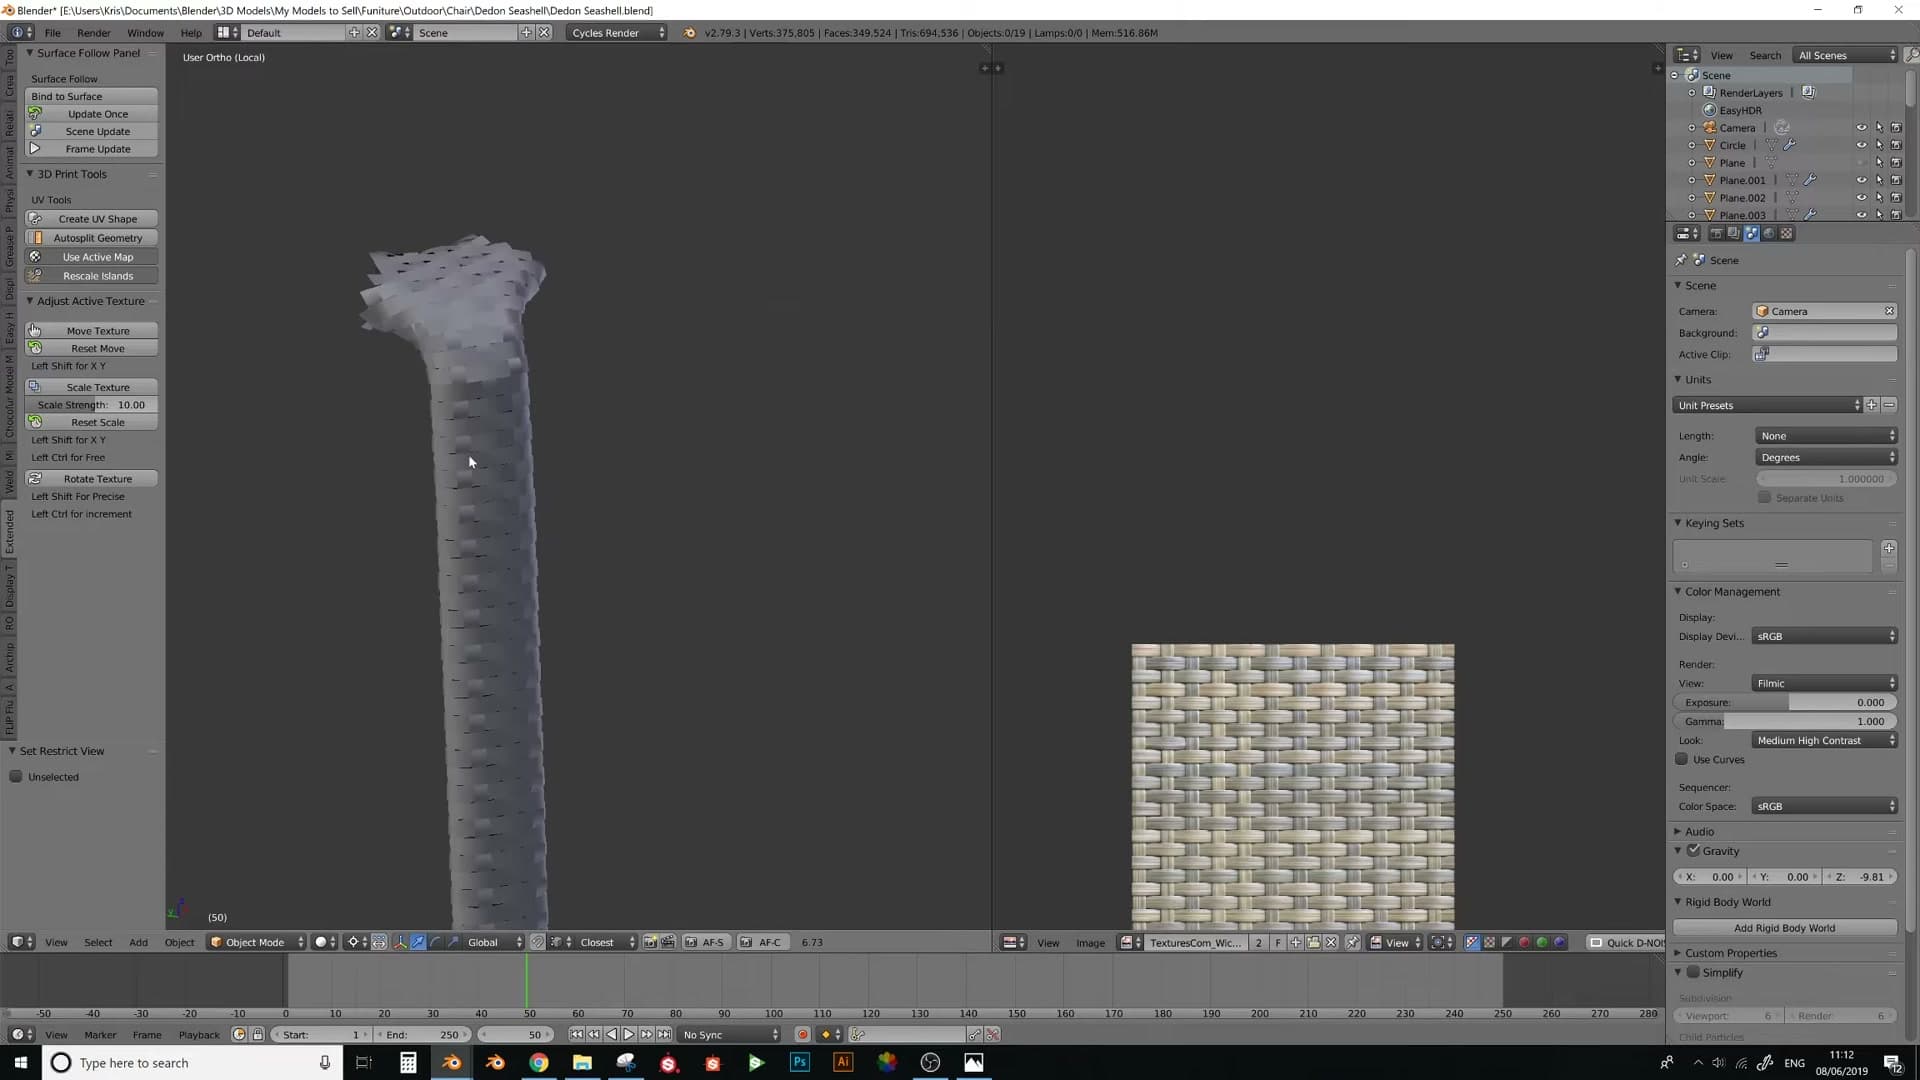
Because the weave is bound to that surface, it conforms to the new geometry automatically. Every strand follows the curvature of the chair without any further intervention. You can hide the underlying chair plane at this point; the weave now describes the silhouette of the product on its own.
Applying Solidify, Bevel and Subsurf for thickness
The weave is still a paper-thin sheet of faces, so the final step is to bring back the destructive stack you switched off earlier. Re-enable Solidify, Bevel and Subdivision Surface on the weave, and make sure they sit at the top of the modifier list, above Surface Deform, so the wrapping happens first and the thickening is applied to the already-conformed shape.
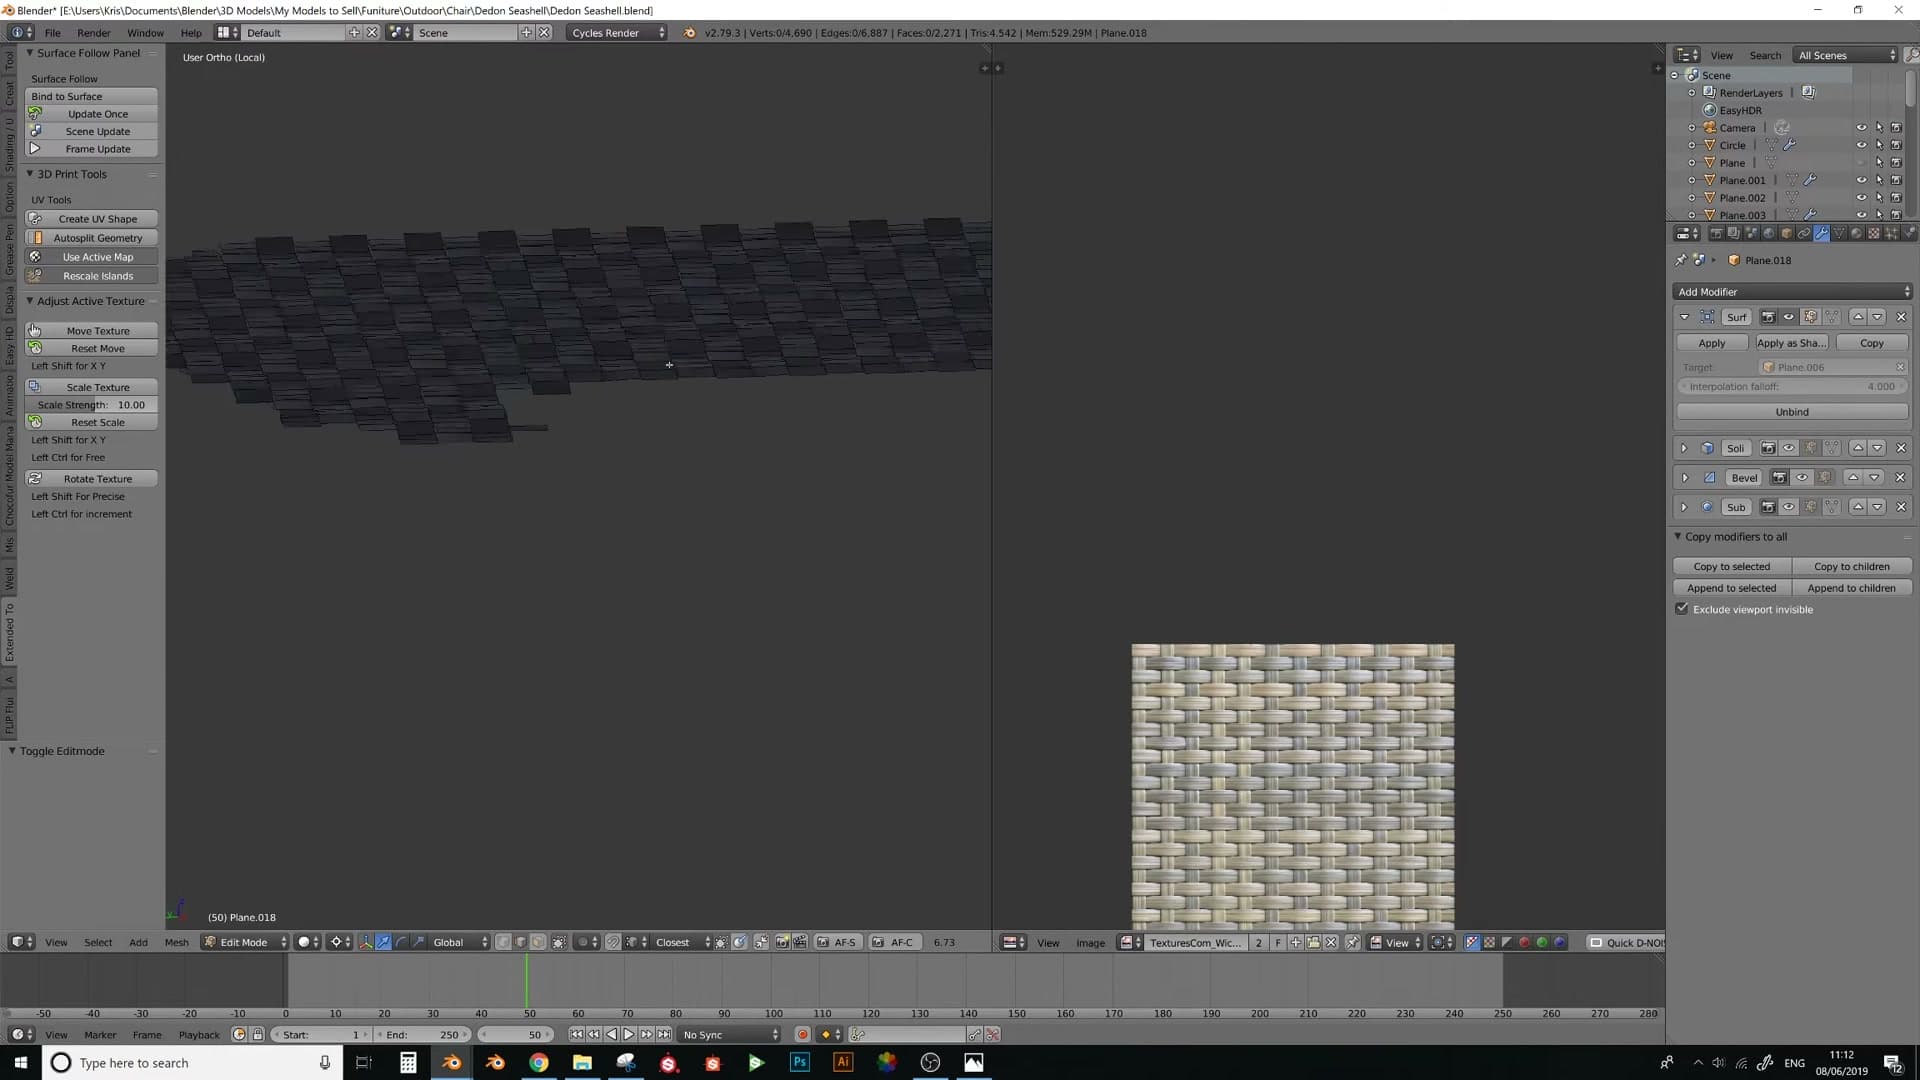
With those three modifiers active the weave finally reads as a physical object: rounded strands with real volume, sitting cleanly across the chair frame.
Stitching weave edges together
Travel around the chair joining matching strand ends with Bridge Edge Loops > Merge, then hand-build any missing weaves by adding faces and tucking them under crossings.
Bridge Edge Loops with Merge for horizontal weaves
With the Surface Deform bind applied, your chair now wears the weave, but every strand stops dead at the seams you cut earlier. The next pass is the patient one: travel around the model and stitch matching strand ends back together so the weave reads as a single continuous lattice.
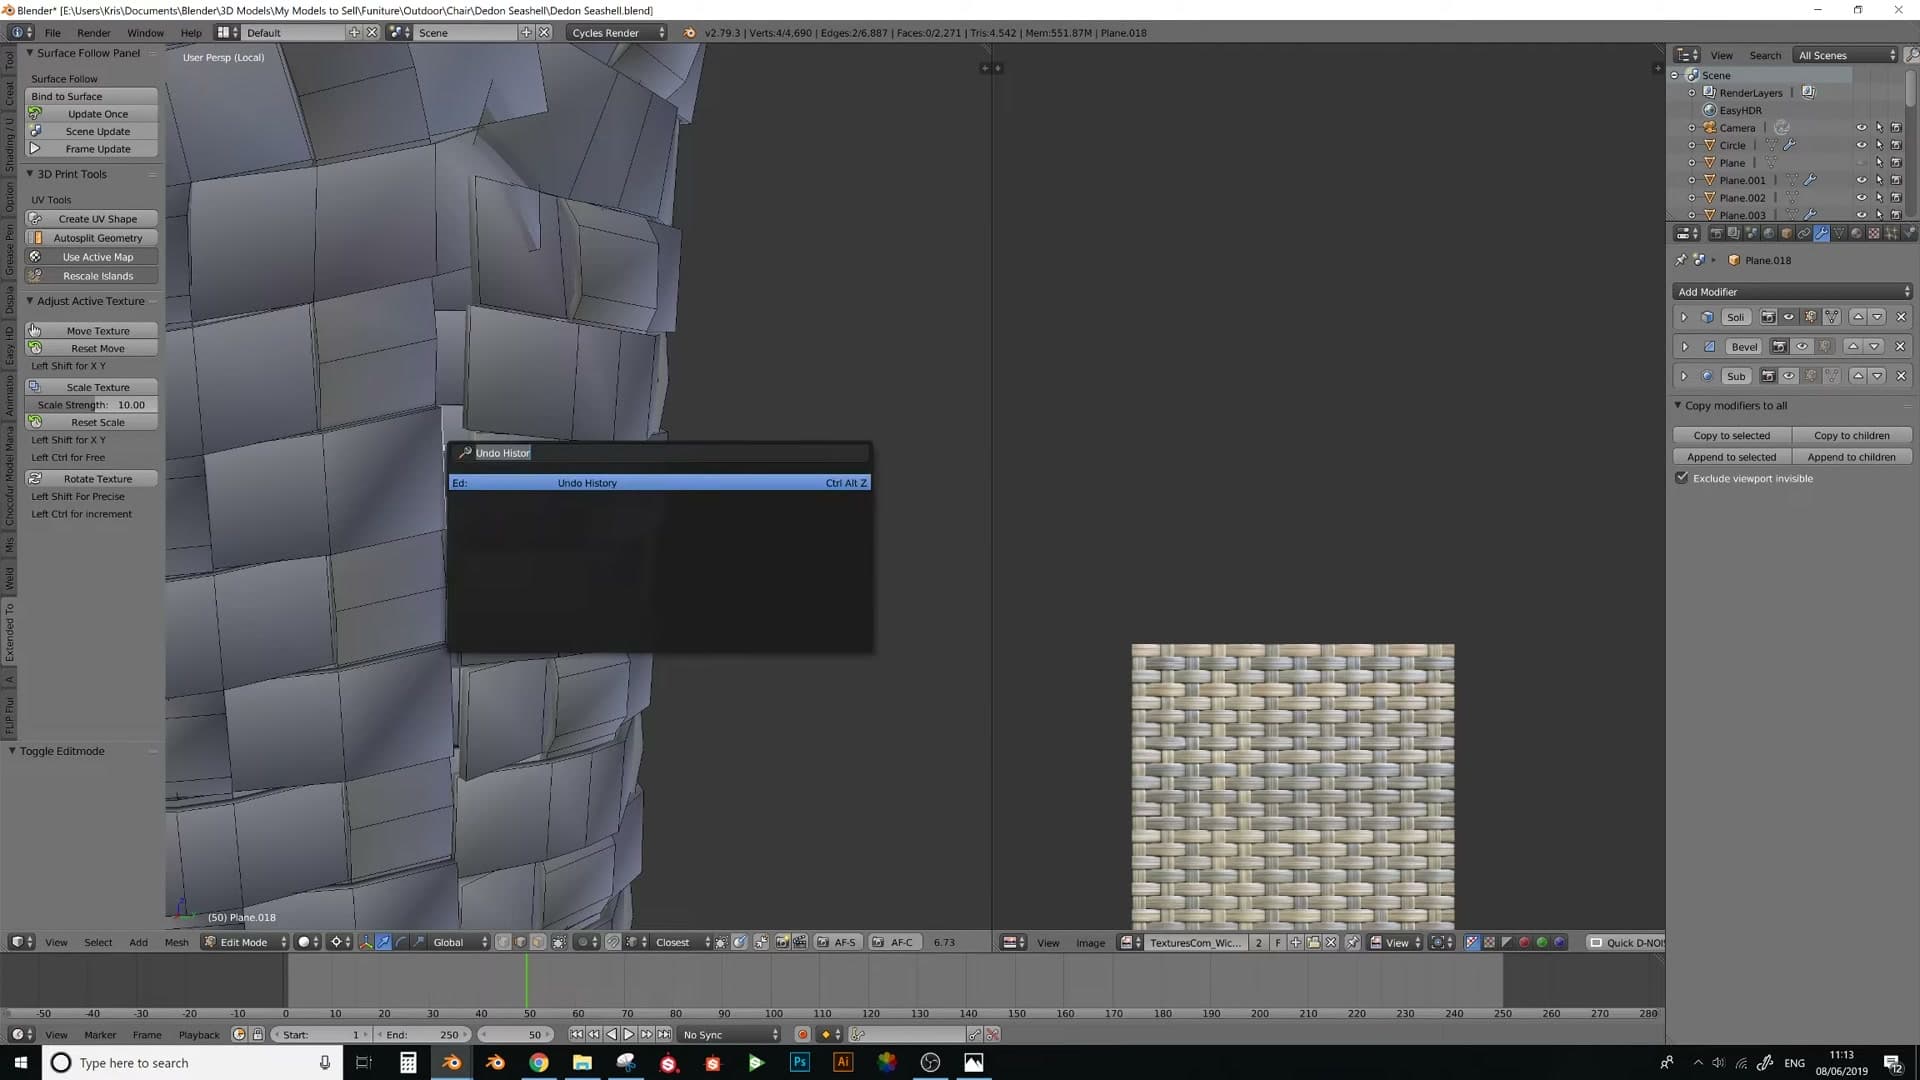
Turn the reference weave texture back on while you work. It is far easier to see which loose end belongs to which neighbour when you can read the over/under pattern visually rather than guessing from geometry alone. Look for a strand running horizontally on one side of a seam and find the strand running horizontally on the other side that wants to meet it.
Select the two open edges that should connect, then run Edge > Bridge Edge Loops and tick the Merge option in the operator panel. The two ends fuse into one continuous weave. Move to the next pair down the model, repeat, and keep going: all the way down, then all the way back up the other side.
There is no clever shortcut here. Any edge that belongs to a weave strand and looks like it should continue into a neighbour needs to be merged by hand, one pair at a time.
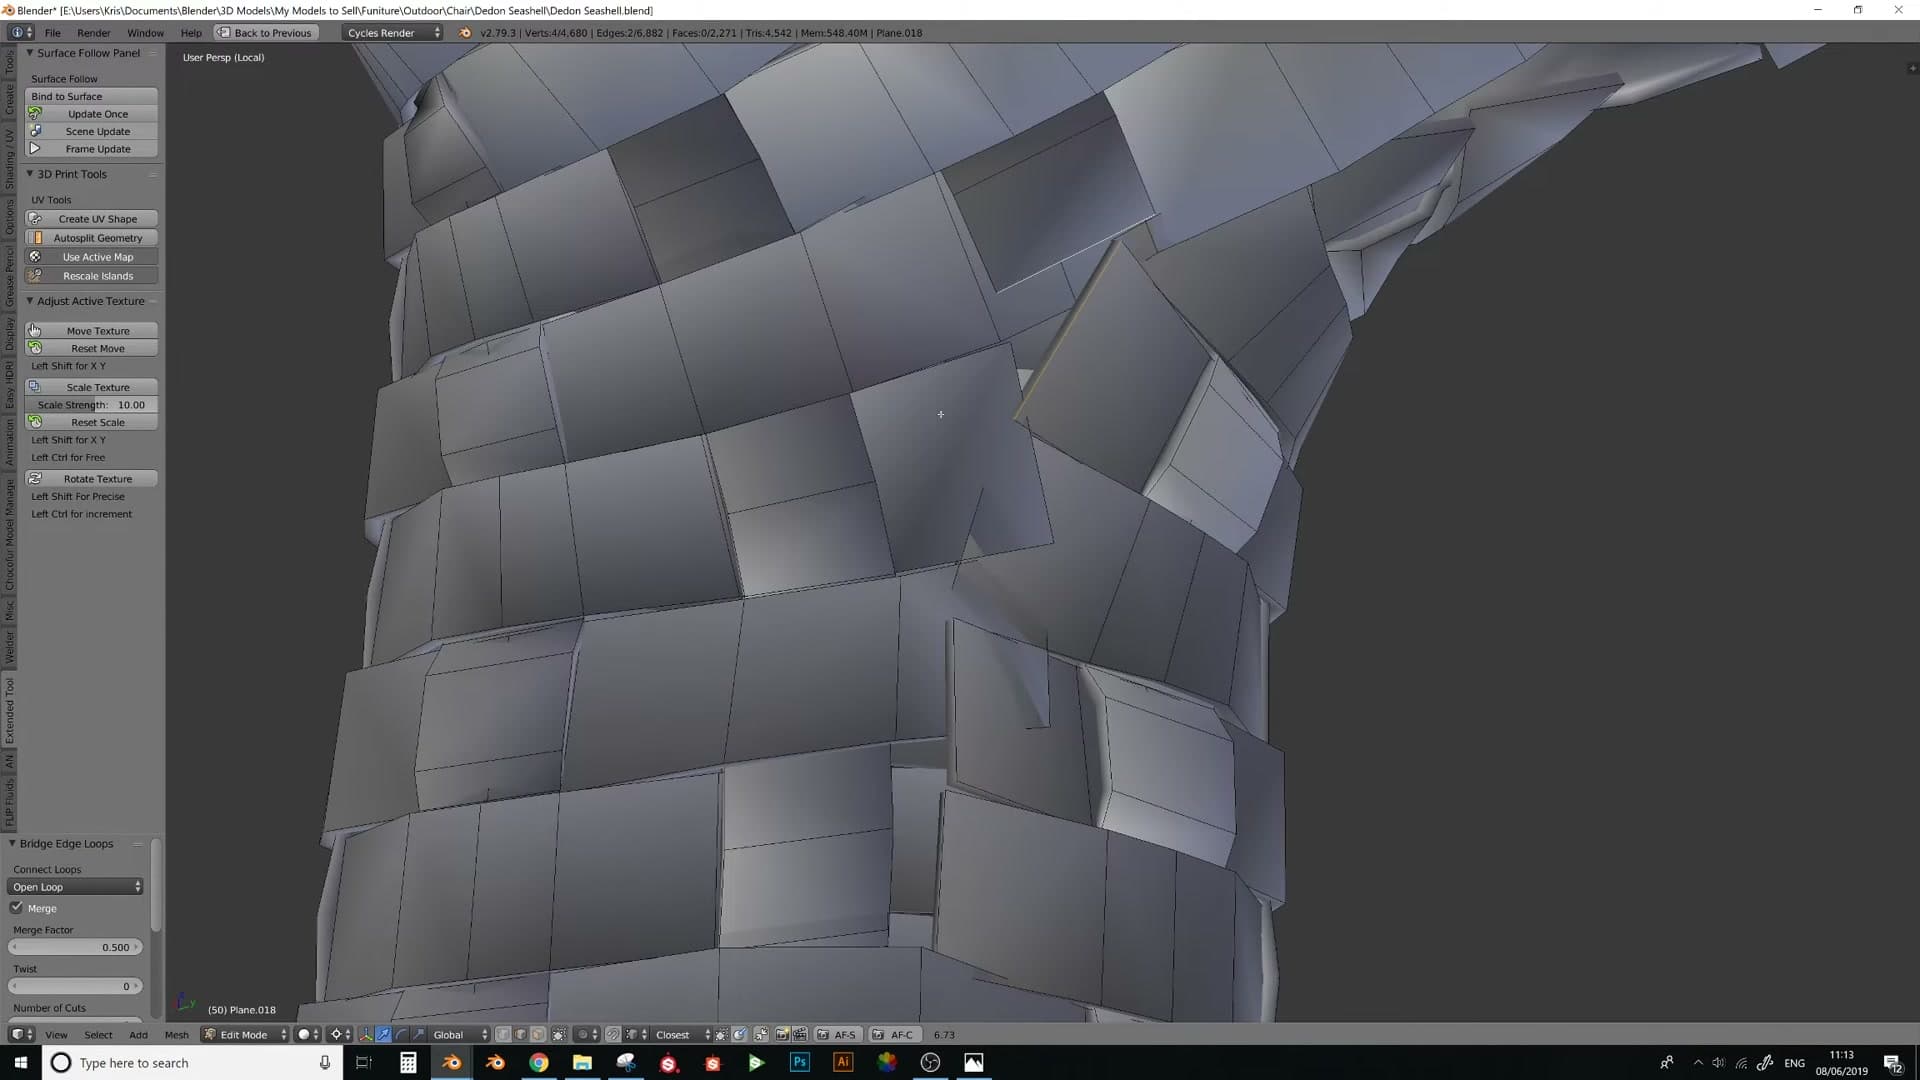
Hand-fixing missing weaves and tucking faces
Not every loose end will have a clean partner waiting on the other side of a seam. Where the original tiled weave does not quite line up with its neighbour, usually because the UVs were not perfectly aligned earlier, you have to improvise and build the missing weave by hand.
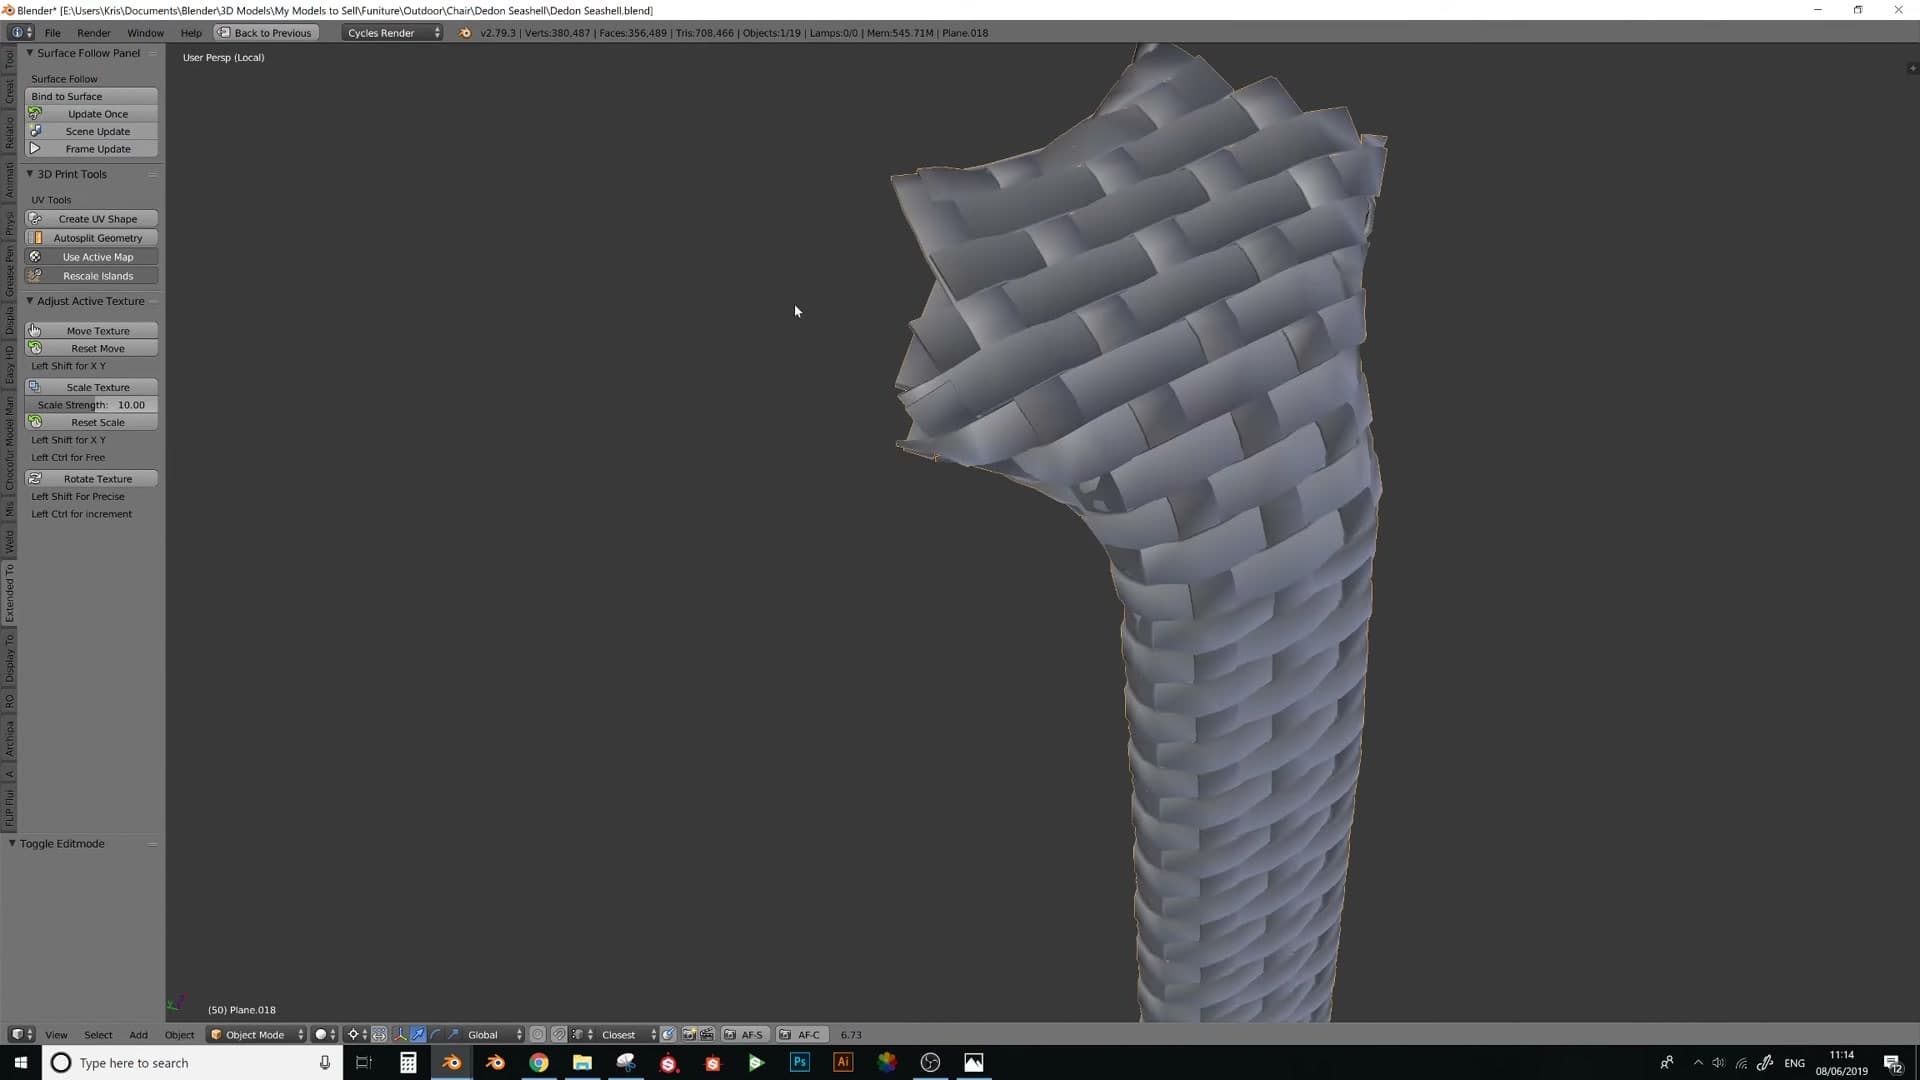
Add new faces between the strands that should connect, then nudge the new geometry into place so it follows the over/under rhythm of the surrounding pattern. If a strand naturally wants to pass under a crossing weave, tuck the new faces beneath it; if it should pass over, lift them above. You are essentially faking a few centimetres of weave to bridge the gap.
This is the stage that pays back the time you spent aligning UVs in the first place. Where the UV direction was set carefully, weaves flow into each other almost for free. Where it was not, you will see the pattern jump across a seam and it is on you to patch it manually. That's the situation to avoid next time by being stricter with the UV rotation step.
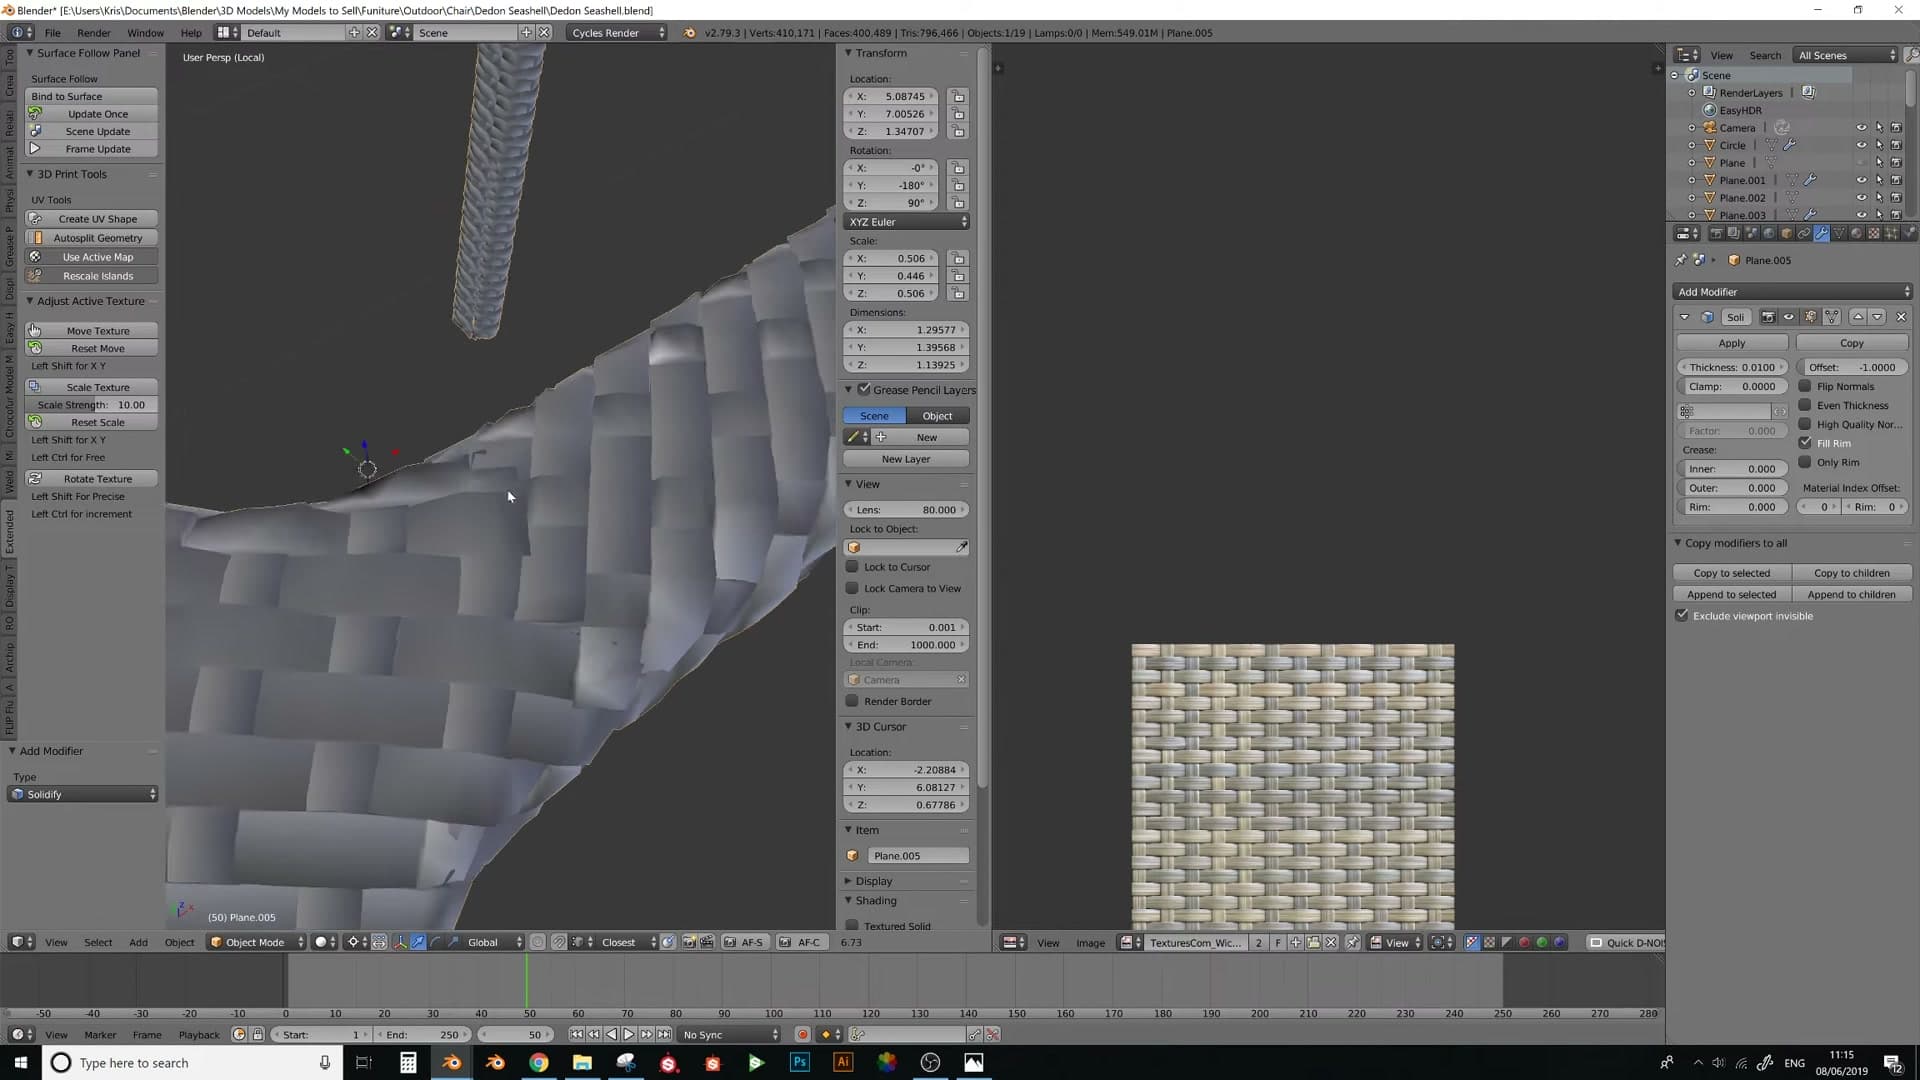
Work your way around the entire chair, stitching the clean pairs with Bridge Edge Loops and hand-building the awkward ones. By the end every weave should trace continuously into its neighbour, with no loose ends left over and no obvious breaks in the over/under pattern.
The back section: a rounder, trickier shape
Repeat the entire flatten-bind-stitch workflow on the chair's back panel. The rounded form is harder to unwrap cleanly than the squarer base.
Separating the back and repeating the workflow
With the base section finished, the next part is the back panel. The workflow is identical to what you've already done: separate the back piece from the rest of the chair, flatten it into a UV shape key, bind a fresh tileable weave patch with Surface Deform, then stitch the strands together with Bridge Edge Loops.
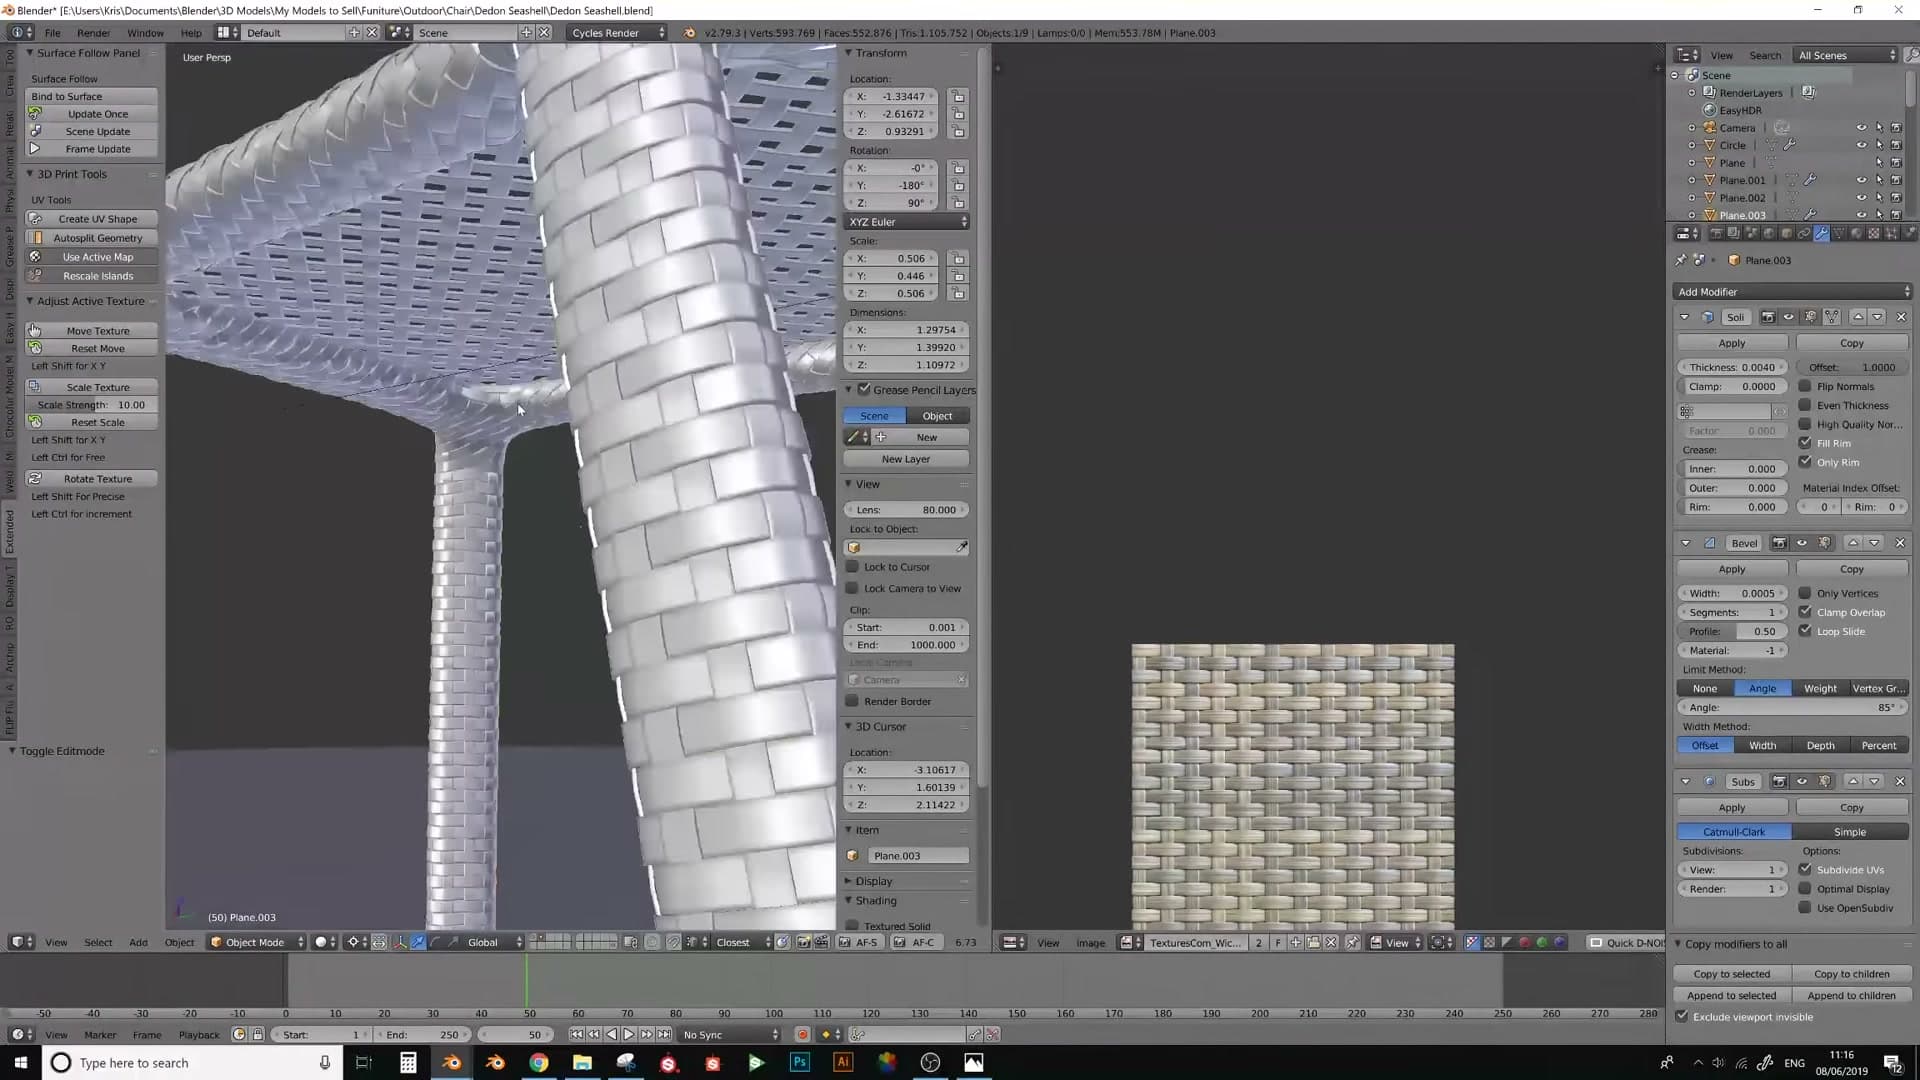
Expect the back to fight you more than the base did. The base section of this chair is relatively square, which is why the flat weave wrapped onto it so cleanly. The back is a rounded form, and that rounder shape is harder to unwrap and harder to keep tidy once the weave is bound. For some reason it just doesn't behave as neatly as the squarer geometry.
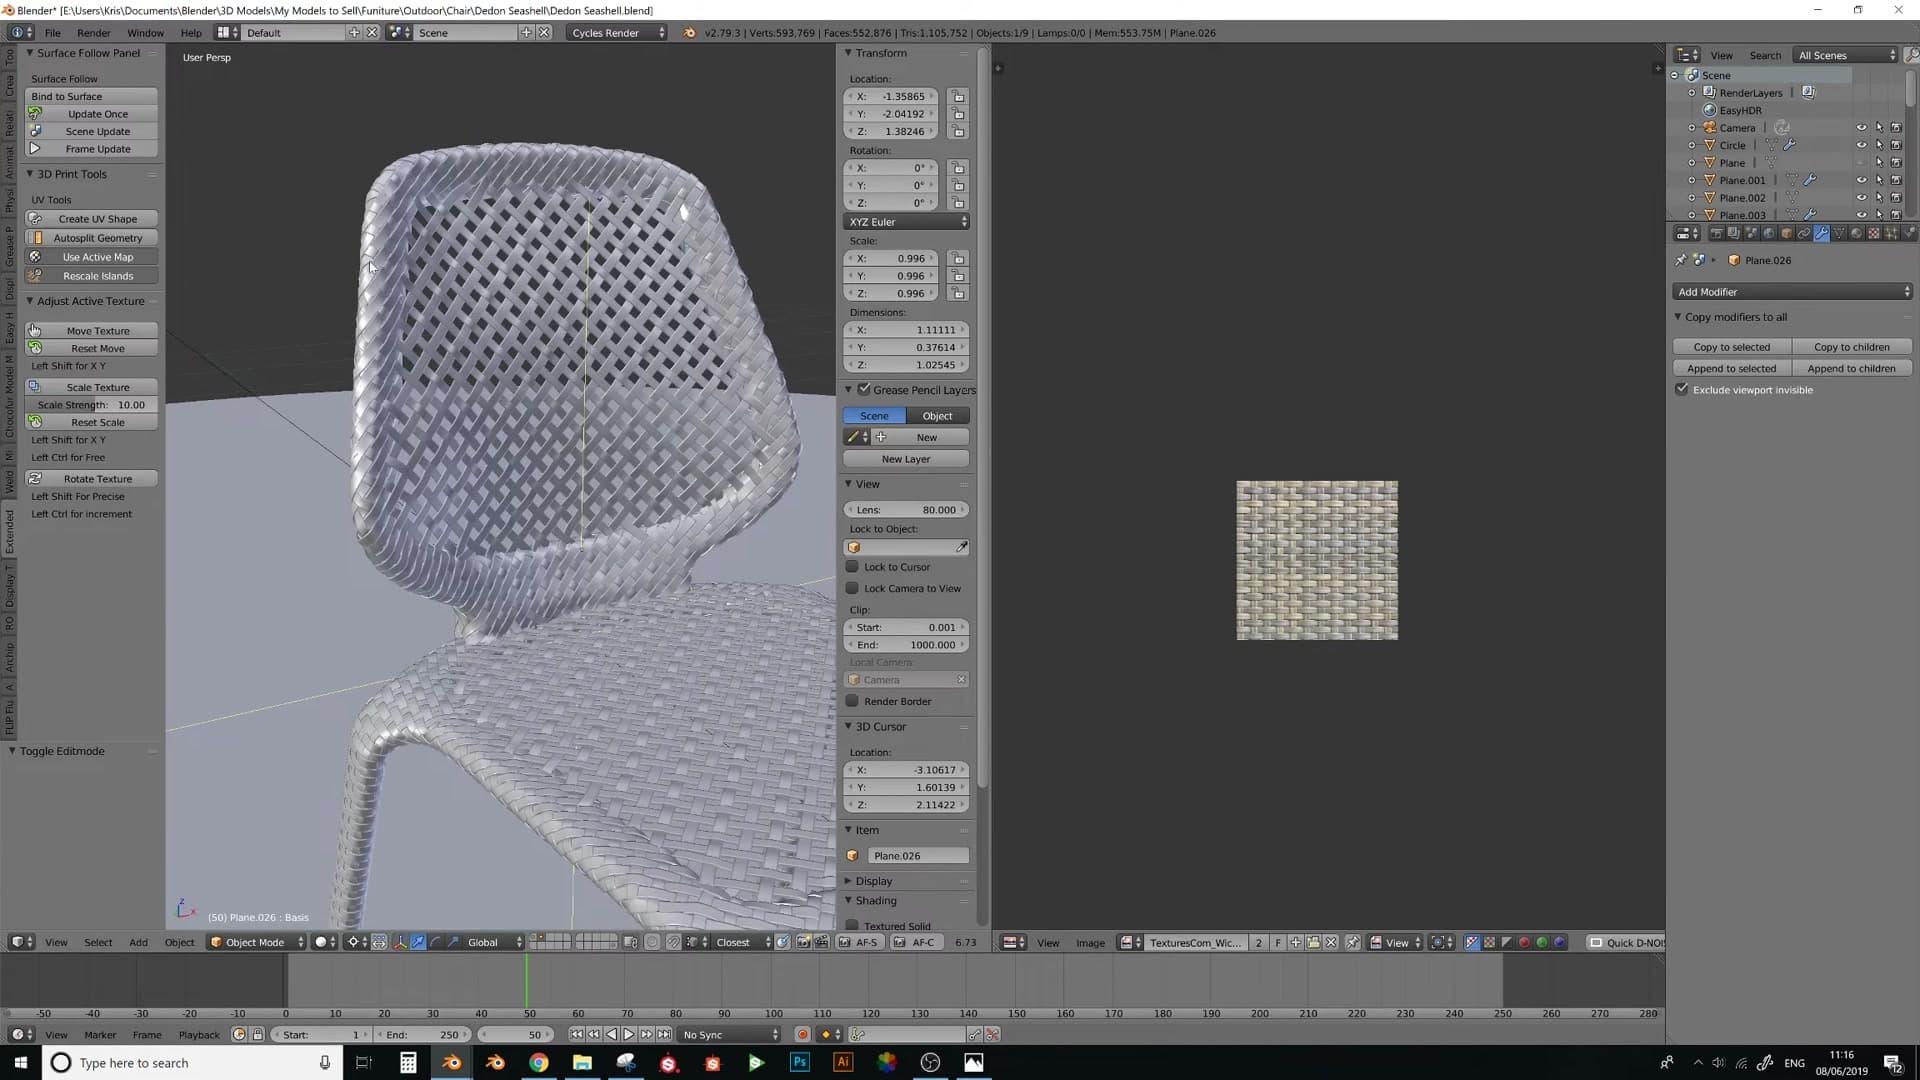
Do the best you can with it and don't chase perfection. When you compare the finished back to the real product, the actual weave on the manufactured chair reads pretty similar: slightly messy up close, but right at viewing distance. In architectural visualisation nobody is studying the back panel from inches away, so a result that matches how the real chair reads is good enough.
The seat base: spaced weave pattern
The seat uses a sparser, square-gap weave. Space copies of the same weave one width apart using Shift+Tab snap and G+Y, then fill the gaps with a second perpendicular layer.
Spacing weaves with snap to closest vertex
The seat base uses the same weave you already built for the rest of the chair, but spaced out so the strands sit a regular distance apart instead of touching. The trick is to duplicate the weave and push each copy exactly one width along the axis, so the gaps between the strands stay perfectly square.
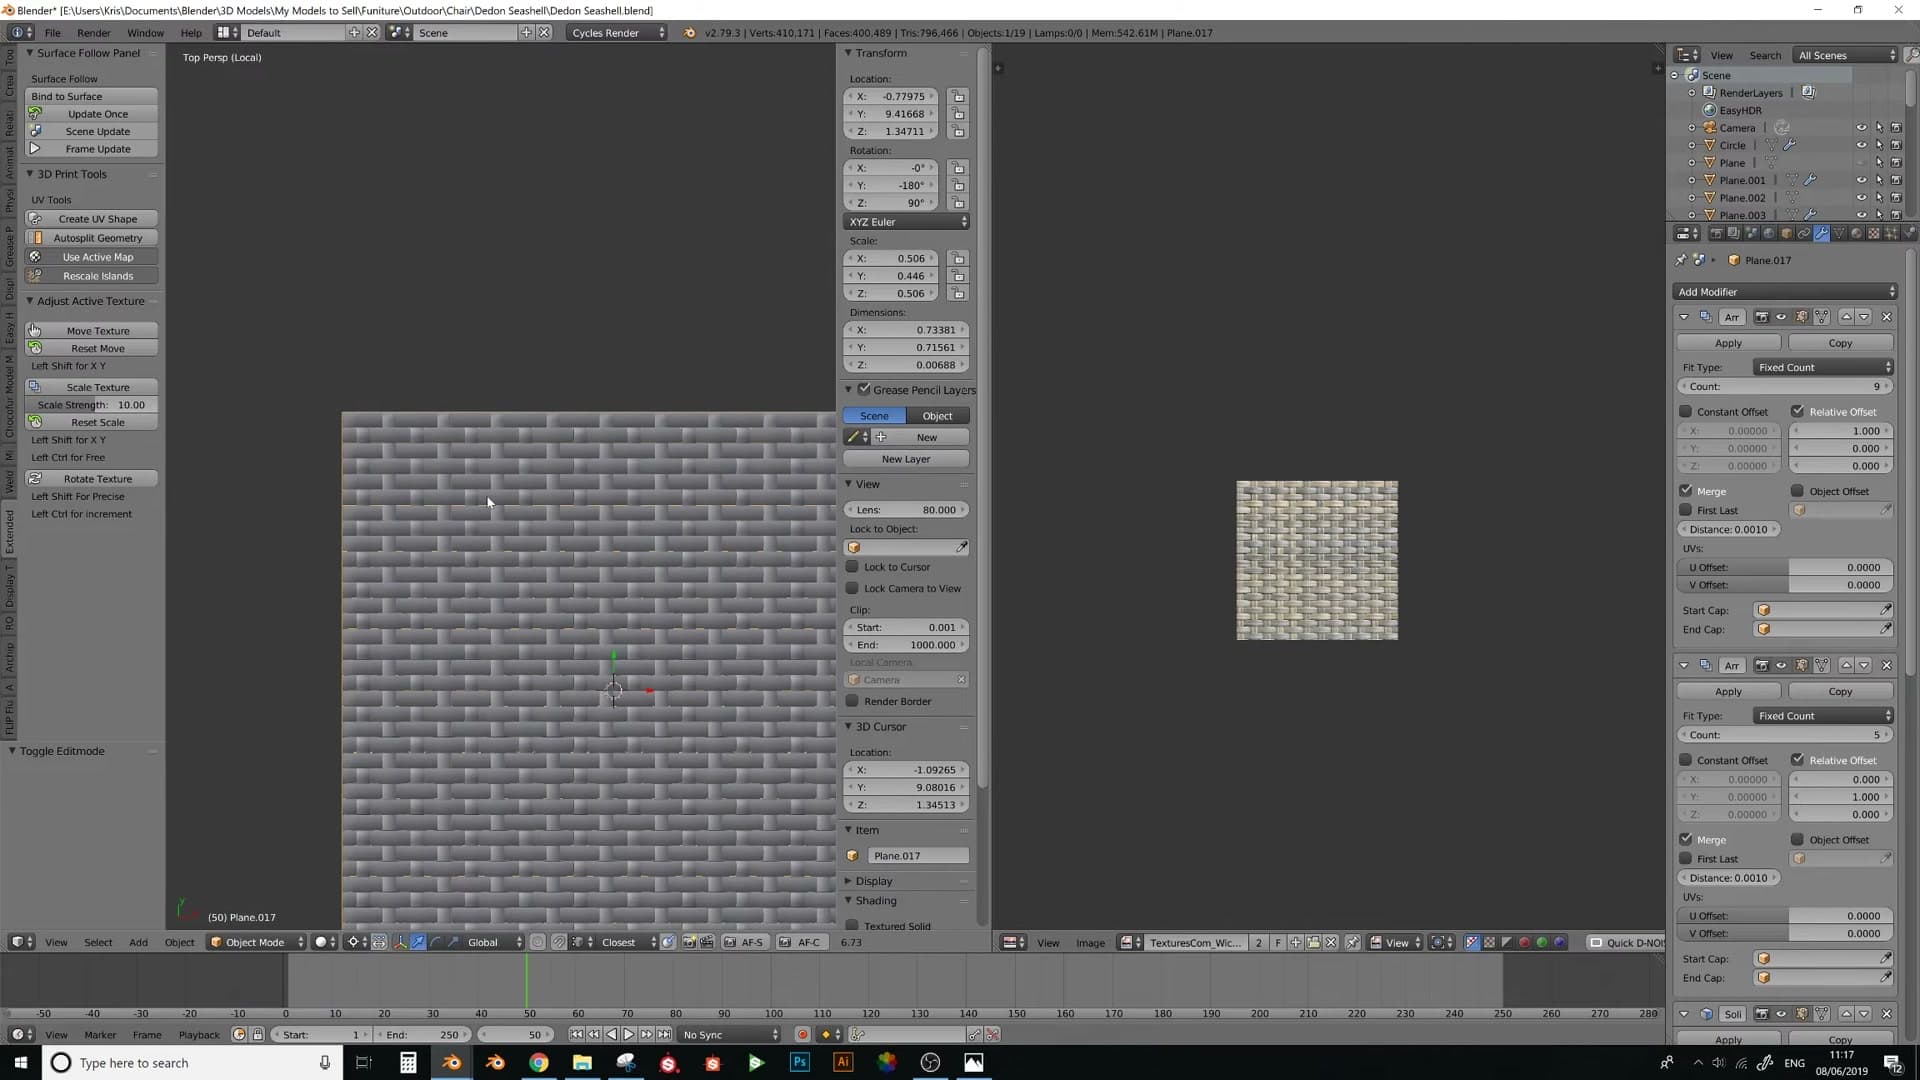
To get that exact spacing, lean on Blender's snap. Press Shift+Tab to toggle snapping on, with the snap target configured to align to the closest vertex. Grab a duplicate of the weave, press G followed by Y to constrain movement to the Y axis, and slide the copy across. It locks straight onto the next vertex on the original weave, one full weave-width away.
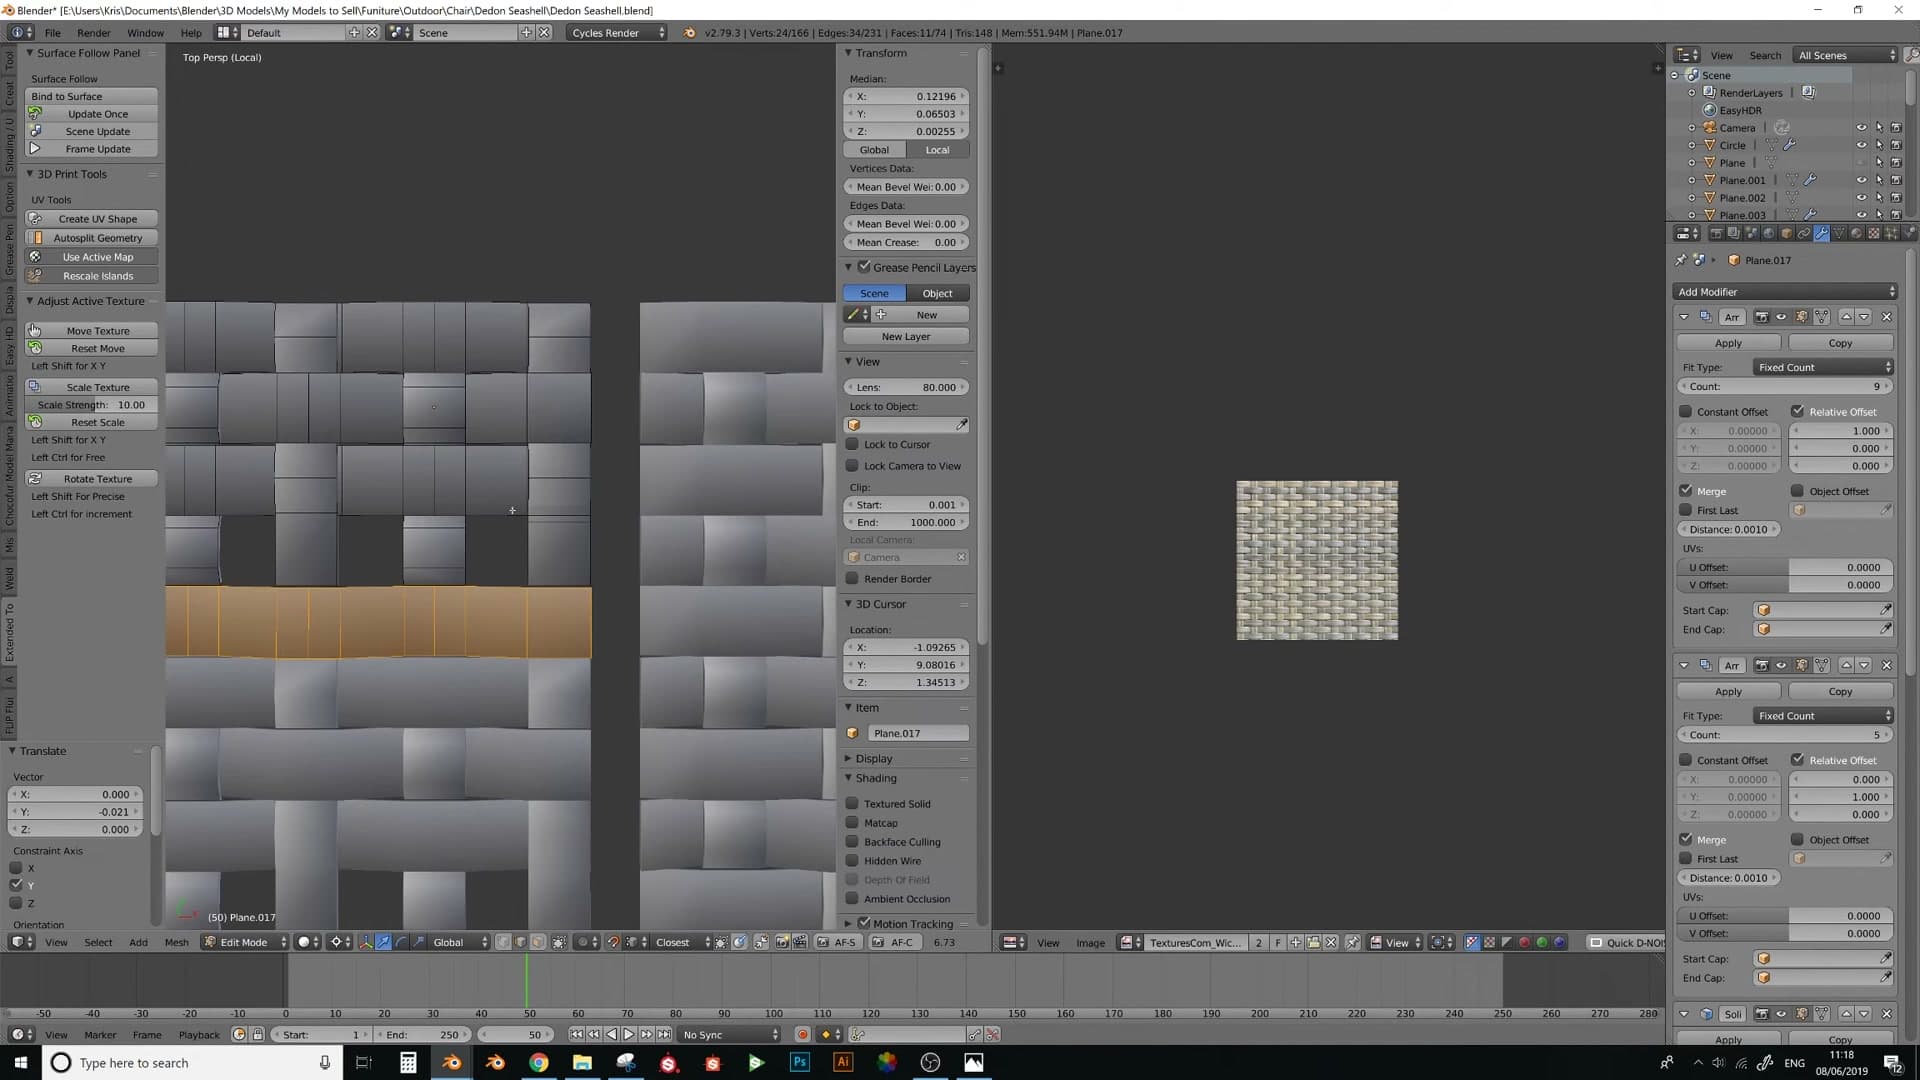
Repeat the duplicate-and-snap step for each new copy across the seat. Because every move snaps vertex-to-vertex, the spacing stays uniform along the whole row. The strands look a little loose and messy at this point, but the underlying grid is exact: each weave sits one width apart from its neighbour, leaving a clean square of empty space between every pair.
Filling the squares with a second weave layer
Those square gaps between the spaced strands are where the perpendicular layer threads through. Build it the same way you built the rest of the chair: create a plane, apply the reference weave texture, and rotate the UVs so the texture runs across the gaps rather than along them.
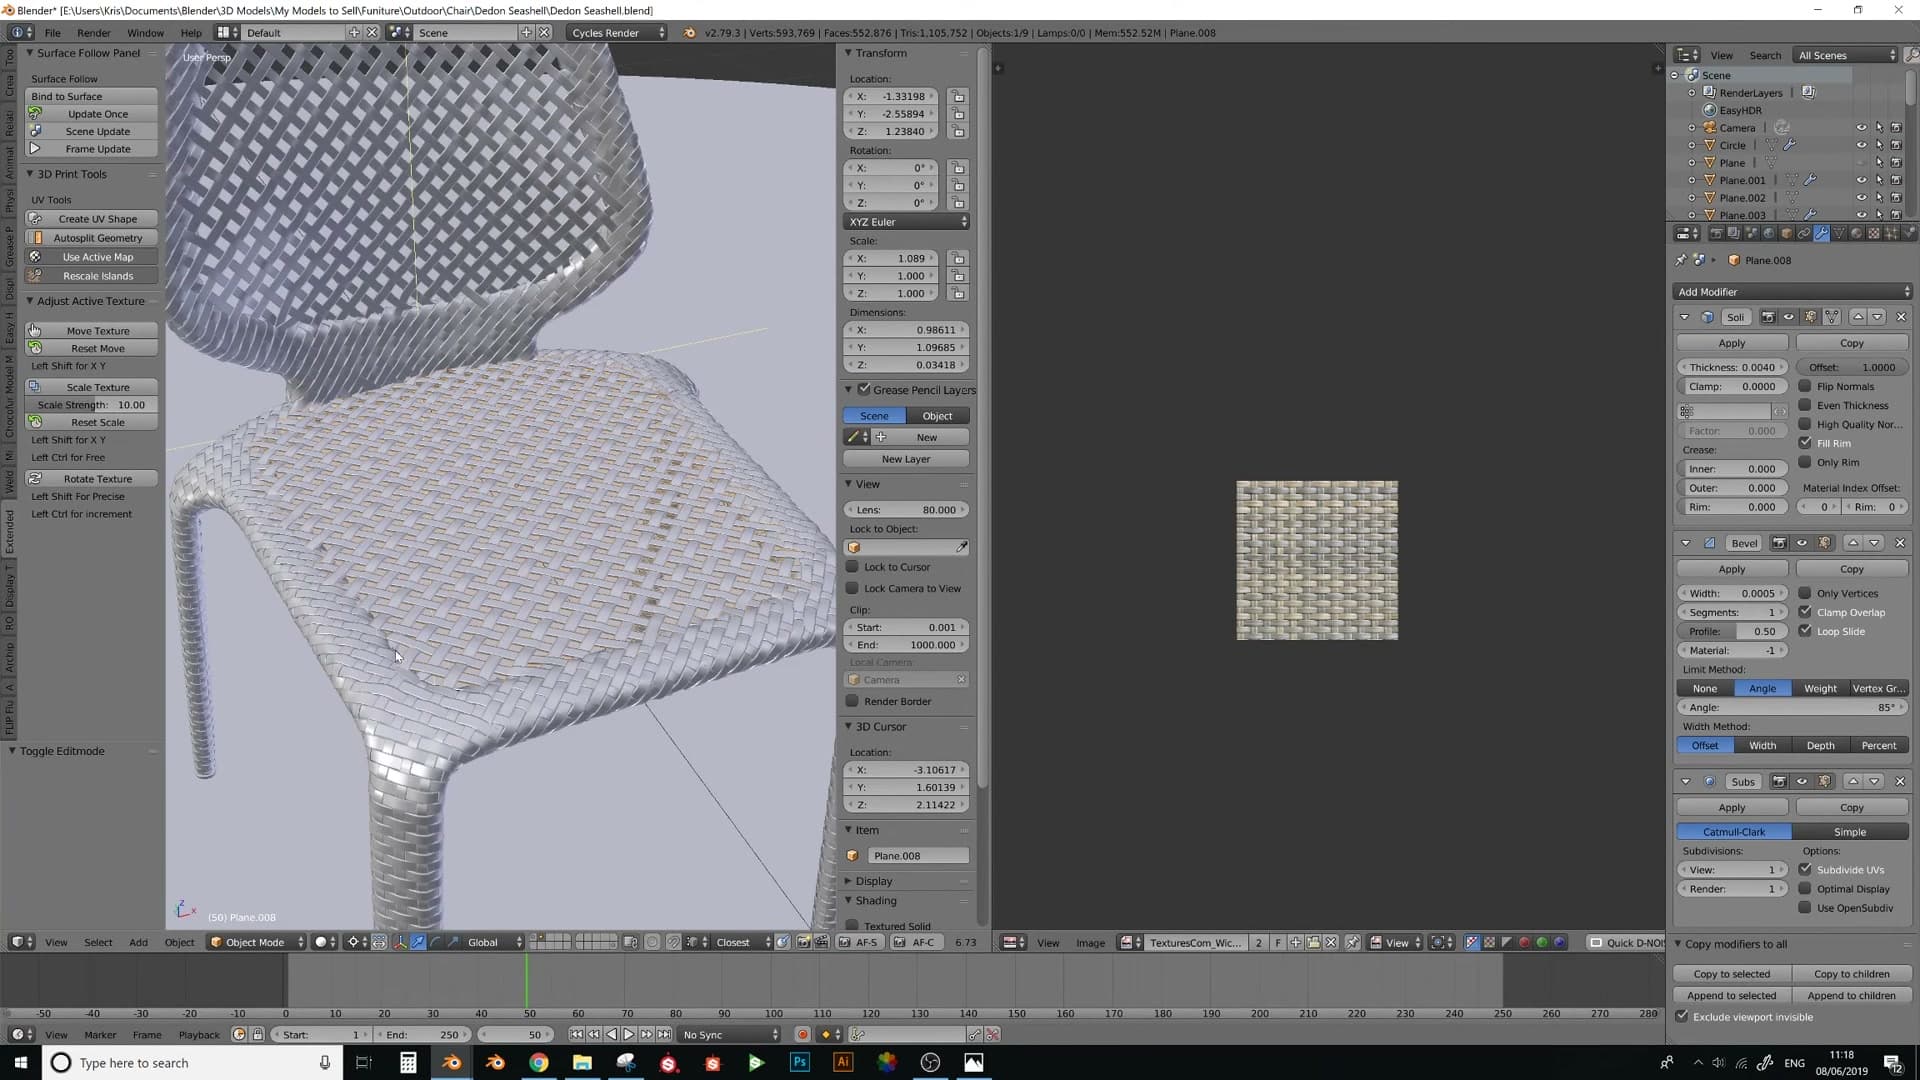
Apply the weave on top using the same flatten-and-bind Surface Deform workflow from the earlier modules, then work your way around the edge of the seat, weaving the new strands into the existing layer as cleanly as you can. This is honestly one of the trickier parts of the build. Every crossing needs to read correctly, and you'll often have to nudge individual strands so they tuck under their neighbours convincingly.
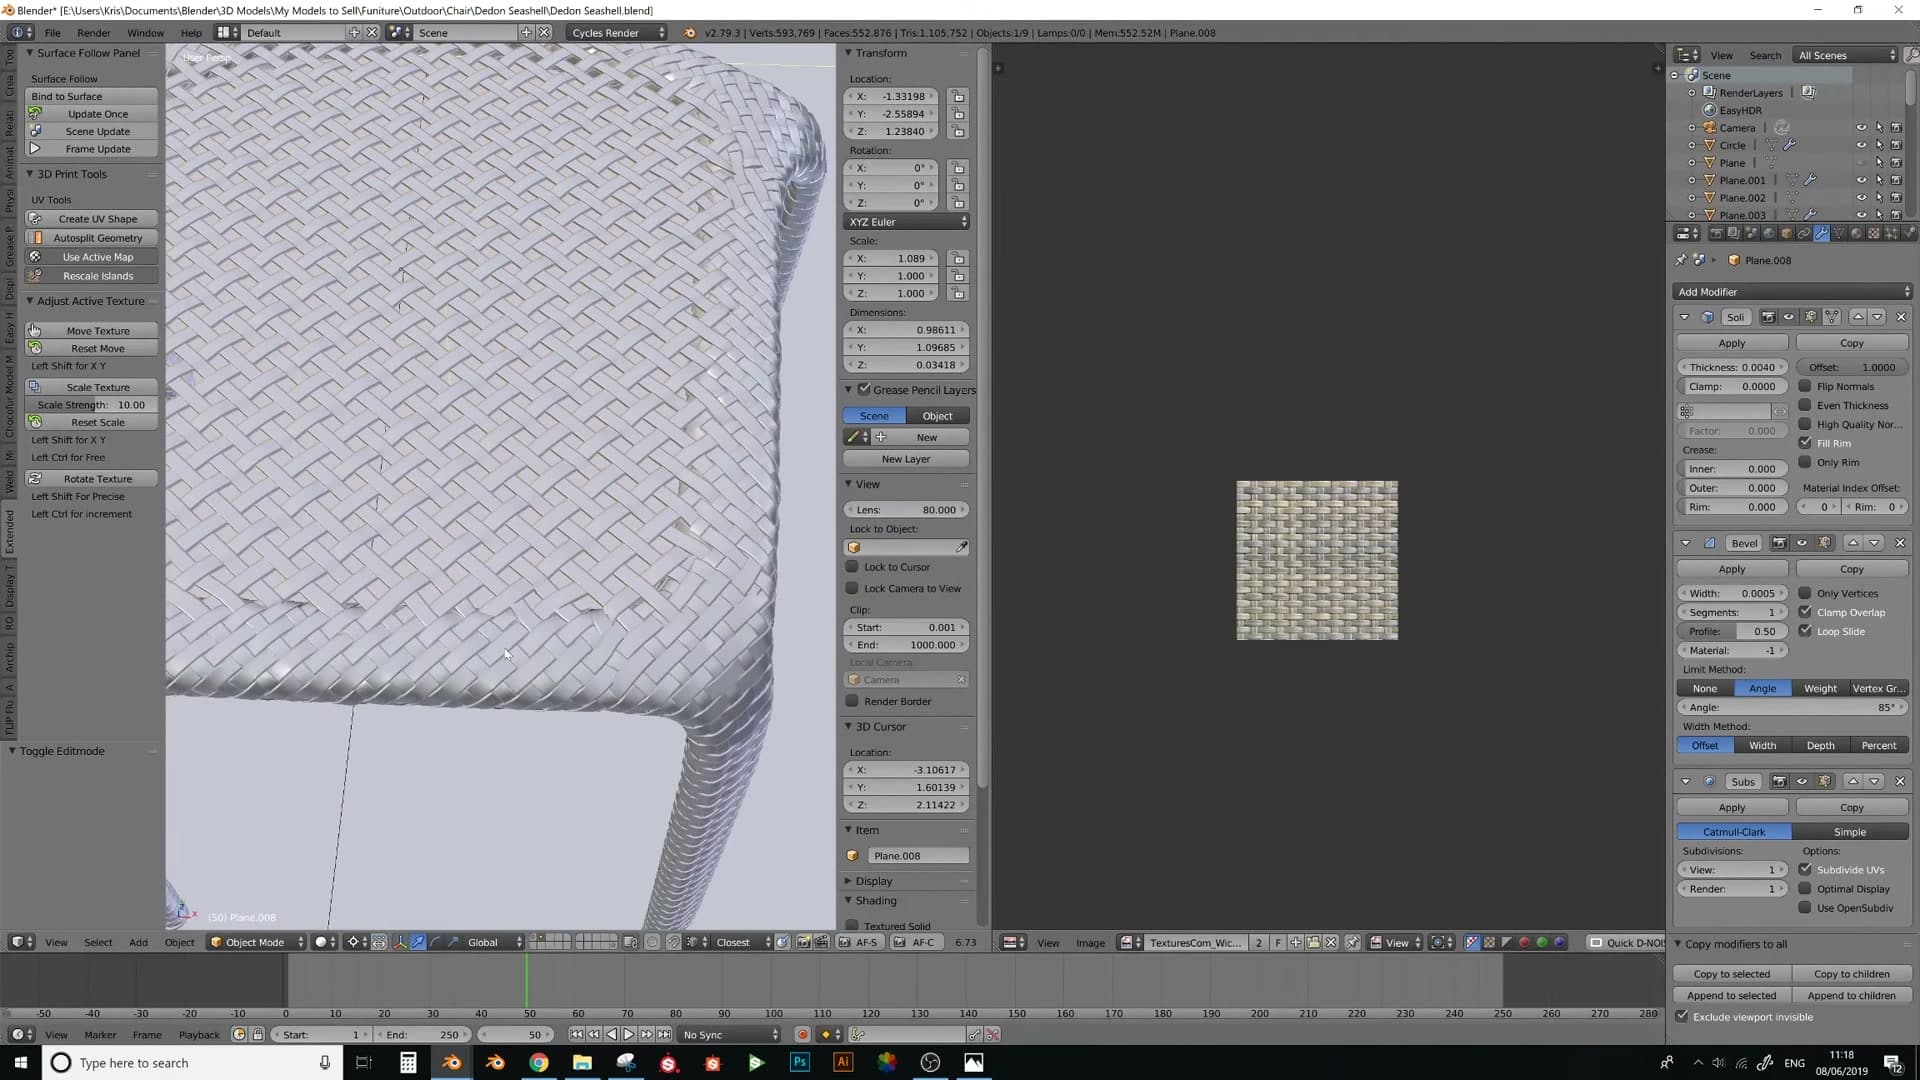
With both layers in place the seat reads as a proper open-weave pattern: the original strands form one direction of the lattice, the new ones cross perpendicular through the gaps, and what looked like an empty grid moments ago now has the same dense, woven feel as the rest of the chair.
Final touches and cloth simulation
Thin the weave for realism, then apply a cloth simulator to make the entire chair fall apart in animation. This works because every strand is its own separate piece.
Adjusting weave thickness for realism
Stepping back from the finished frame, I have one honest critique of my own model: the weave reads a touch too strong. The strands feel thicker than the real product they were modelled from, and on a closer pass I'd thin them down before calling the chair done.
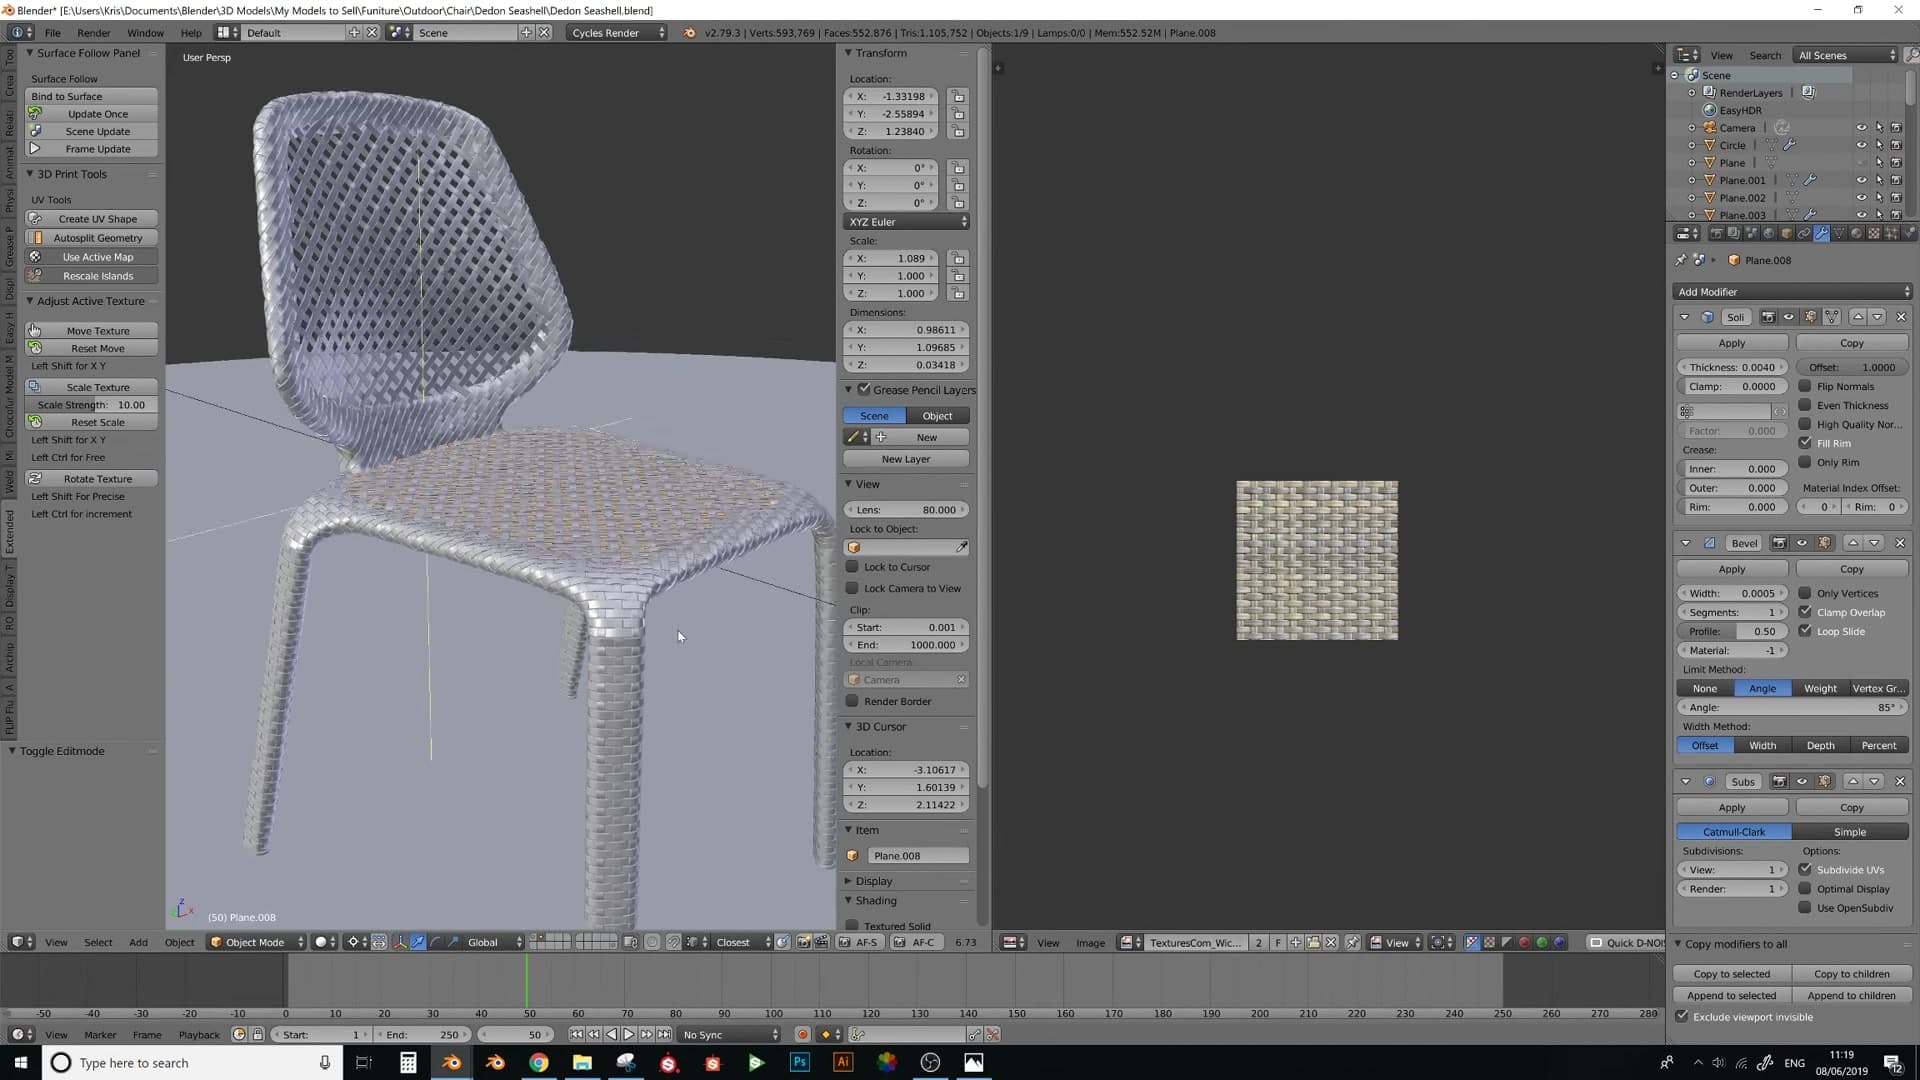
It's a small change, but a worthwhile one. Because the weave is built from a tileable patch driven through Surface Deform, you can adjust the underlying strand profile and the change ripples through every wrapped section at once. No need to redo the stitching work from the previous module.
For a first weave, though, I'm happy enough with the result. The geometry sits in the right place, the strands run in the right direction, and the chair reads as a believable wicker piece even before any material work.
Cloth simulation to make the chair fall apart
Once you've worked out the wrap-and-bind workflow on one chair, it's tempting to apply weaves to everything in your library. I'll admit that's exactly where my head goes next. The technique scales to almost any curved product where a tileable surface pattern needs to follow the form.
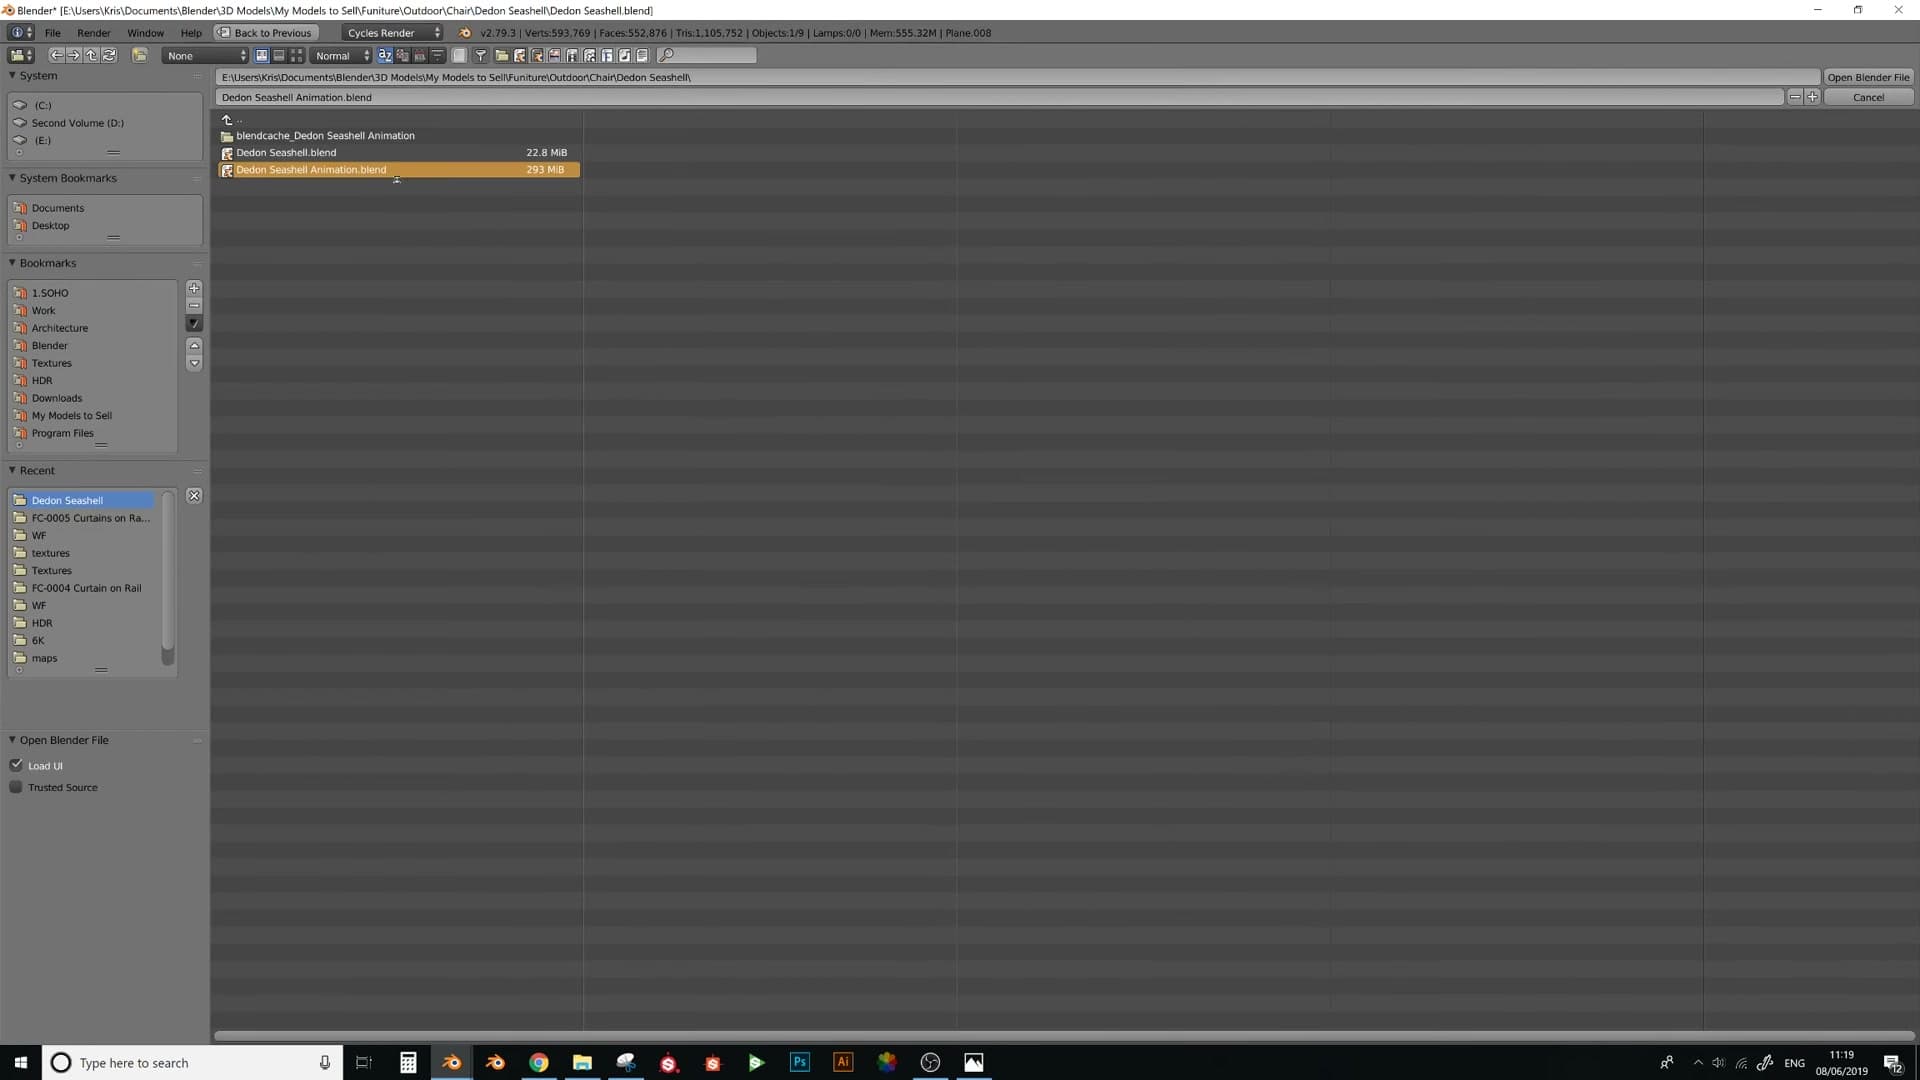
There's also a slightly unexpected payoff to building the chair this way. Because every single weave strand exists as its own discrete piece of geometry rather than one welded mesh, the model is unusually well-suited to a cloth simulation. I open the Animation workspace and run a sim across the whole chair to demonstrate.
Hit play and the chair falls to pieces. Strands fly outward, spin through the air and tumble around the scene individually. Played in reverse (or with the right keyframed forces), the same simulation snaps the strands back into the silhouette of the chair. That's the shot I find most satisfying.
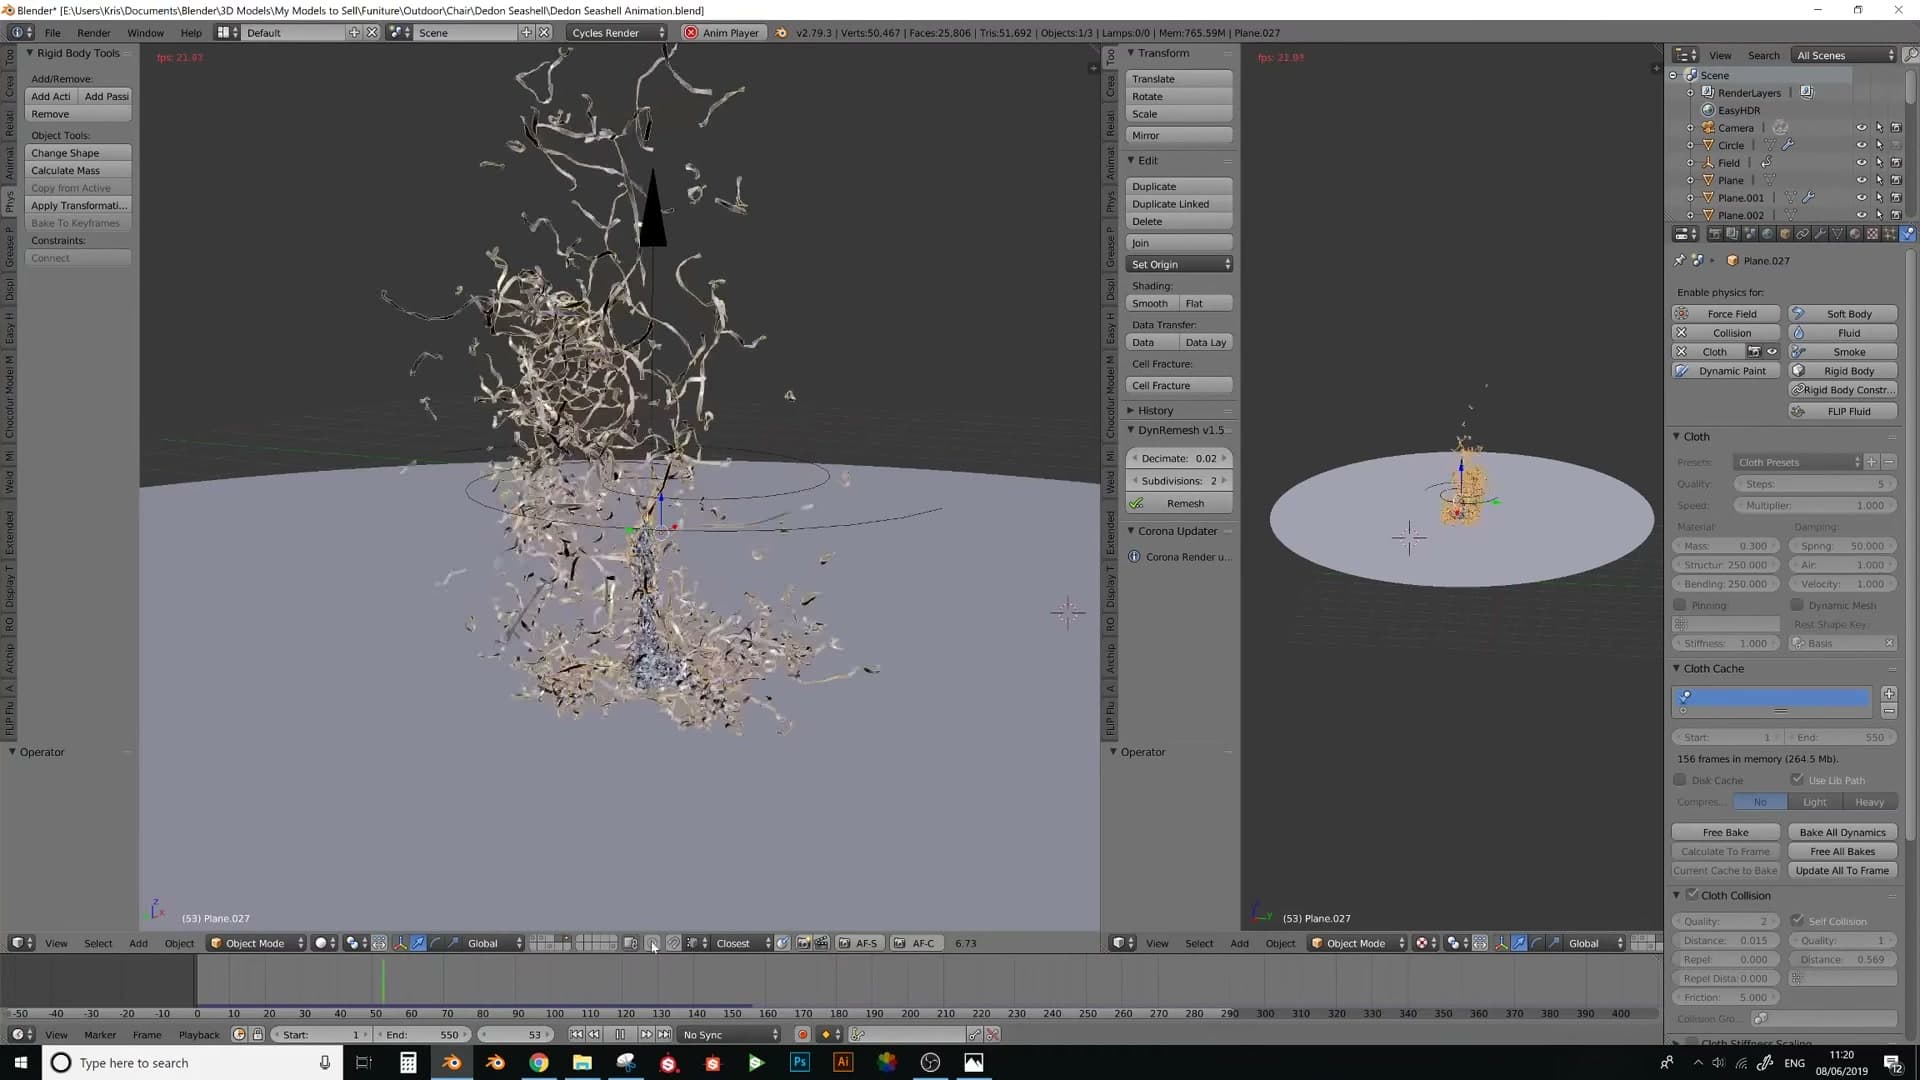
I keep the demo brief and don't walk through the cloth settings on screen, treating it more as a fun bonus than a step-by-step. Consider it a hint of what's possible once your woven model is built from genuinely separate strands rather than a single fused mesh.
And that wraps up the build. If any step felt rushed (the UV alignment, the Surface Deform binding, the stitching pass) let iMeshh know and a deeper-dive video on that specific stage can follow. The chair is done, the weave is wrapped, and the technique is yours to take to the rest of your scene.
Tools and credits
Everything mentioned in this tutorial, with links.
- Blender the renderer this entire build runs in.
- iMeshh studio platform (project management, client review, asset library, invoicing). The asset library used in this tutorial is included with every iMeshh Pro plan.
- Poly Haven free CC0 textures and HDRIs.
Pillar guide: Modelling hub