Why your duplication method matters
Heavy archviz scenes carry millions of polygons, and the wrong duplication shortcut will push an 8 GB GPU past its VRAM ceiling before render time. Three Blender methods produce very different costs: standard Shift+D duplicates, Alt+D linked duplicates, and collection instances.
The million-polygon problem
Every duplication shortcut in Blender looks identical in the viewport. The object moves, you carry on building the scene, and nothing flags a problem until you hit render and watch the GPU run out of VRAM. That gap between what you see and what the file actually weighs is the whole point of this lesson.
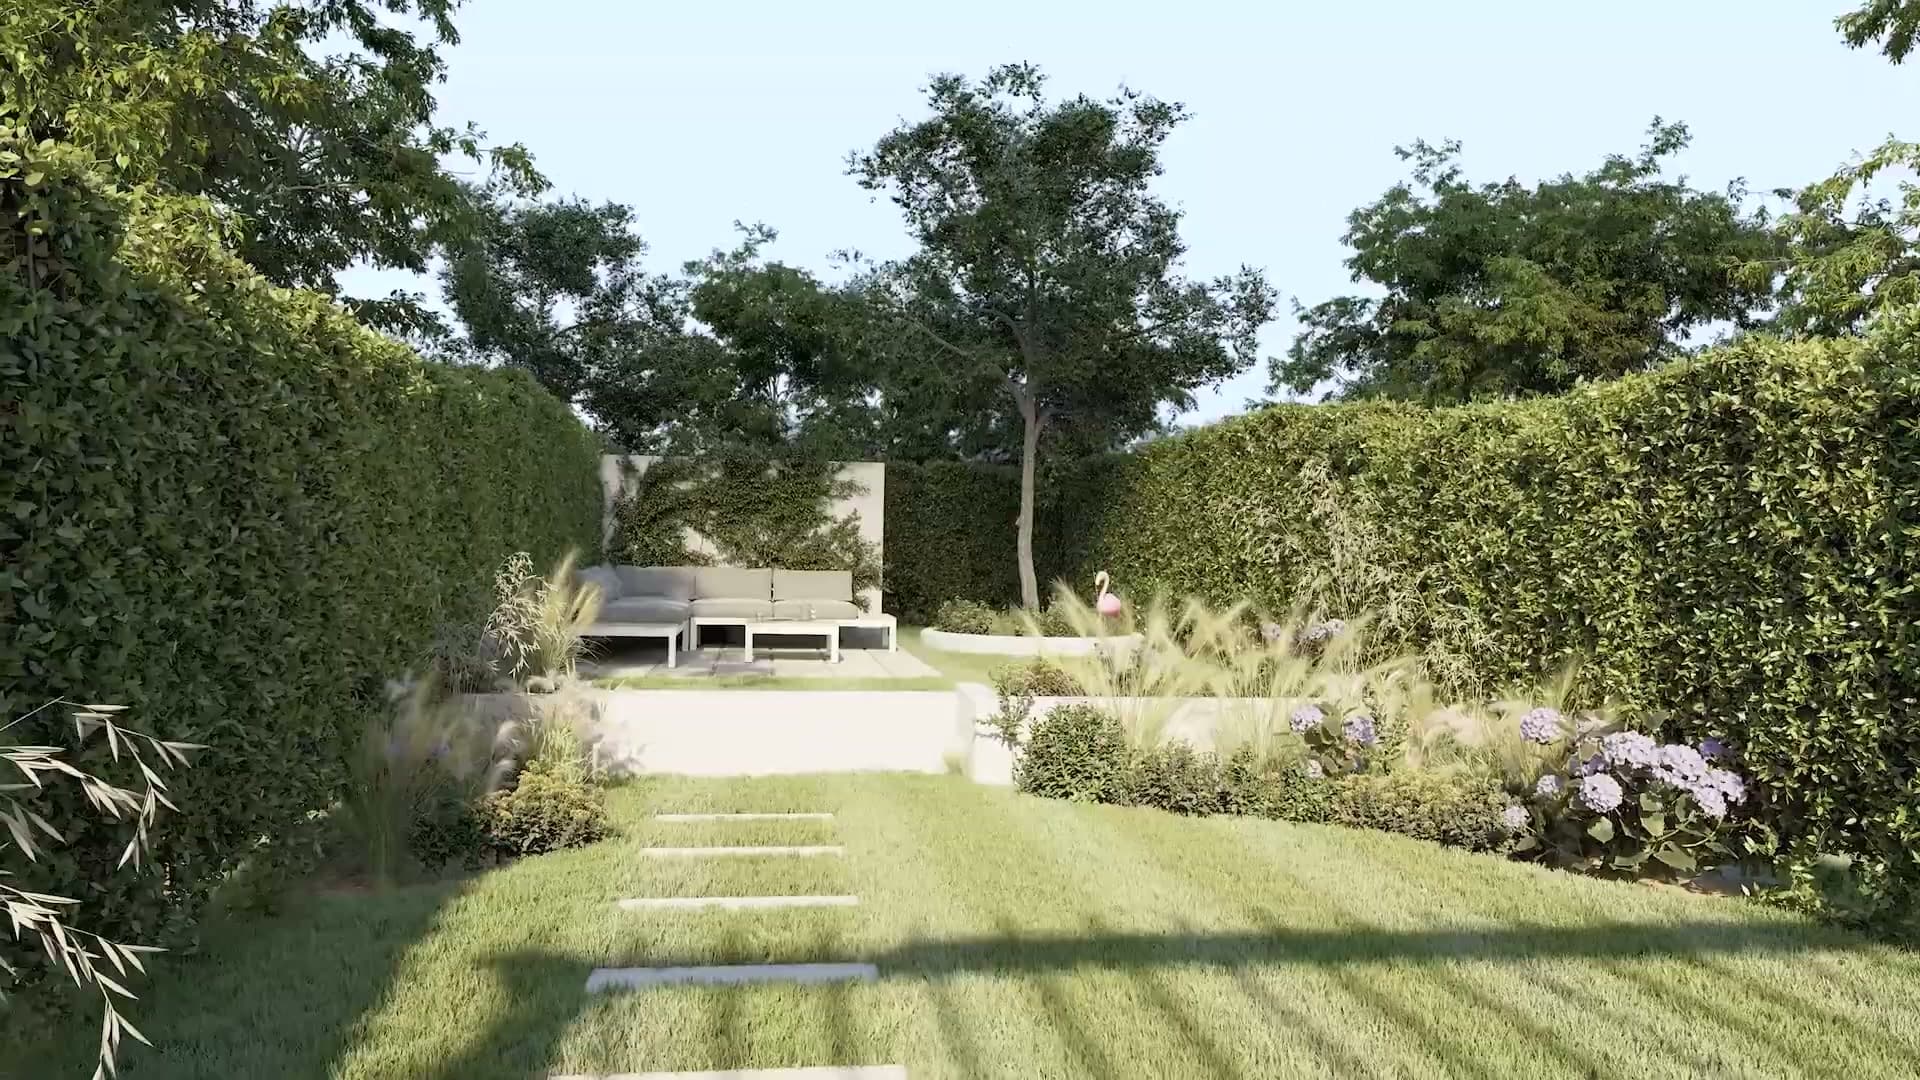
The scene that motivated it carried millions, possibly billions, of polygons across its assets, and it had to render on an 8 GB GPU. There was no headroom to waste. Anywhere a tree, a chair, or a tile pattern could be copied more cheaply, it had to be. Otherwise the file would not fit on the card at all.
Blender gives you three options for that copying job, and they are not interchangeable. Shift+D creates a standard duplicate, Alt+D creates a duplicate that shares its mesh data with the original, and Shift+A → Collection Instance reuses an entire group of objects as a single referenced unit. The rest of this post walks through each one, what it costs you, and where to reach for it.
Standard duplication with Shift+D
Shift+D is the default copy. It shares material data with the original but gives every duplicate its own mesh data (Blender calls this a shadow link). That's fine for a handful of objects, and there's a clean way to break the material share when you need a duplicate to look different.
The basic Shift+D copy
Press Shift+D with an object selected and Blender drops you straight into the move tool with a fresh duplicate. Slide the mouse along an axis, or type X, Y, or Z to lock the direction, then click to confirm. At a glance the new object is an exact copy of the original.
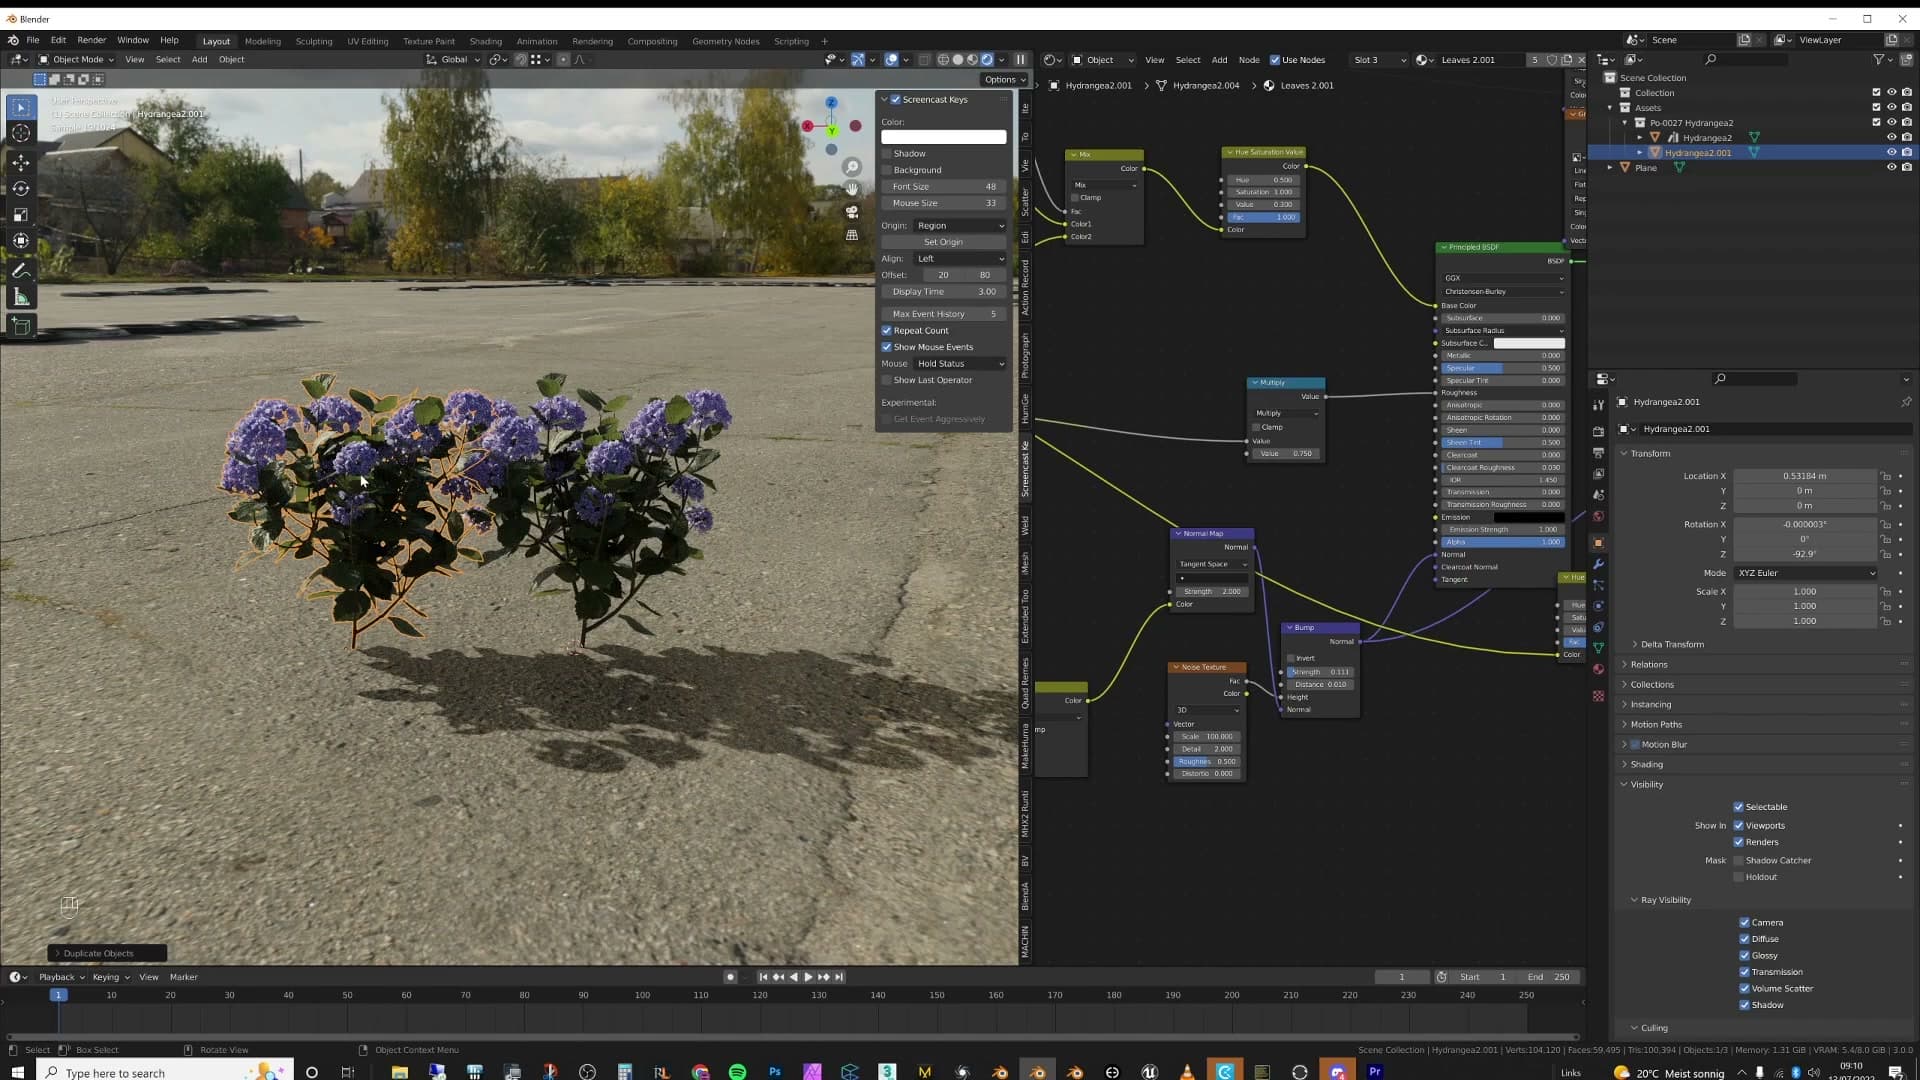
Look closer, though, and the two aren't completely independent. Shift+D shares some information between original and duplicate, and keeps other information separate. The next two sub-lessons unpack what's linked and what isn't.
Shared materials and the shadow link
Open Material Properties on the duplicate and you'll see the same material datablock listed as on the original. Change the colour on one and the other shifts with it. Both objects are pointing at exactly the same material.
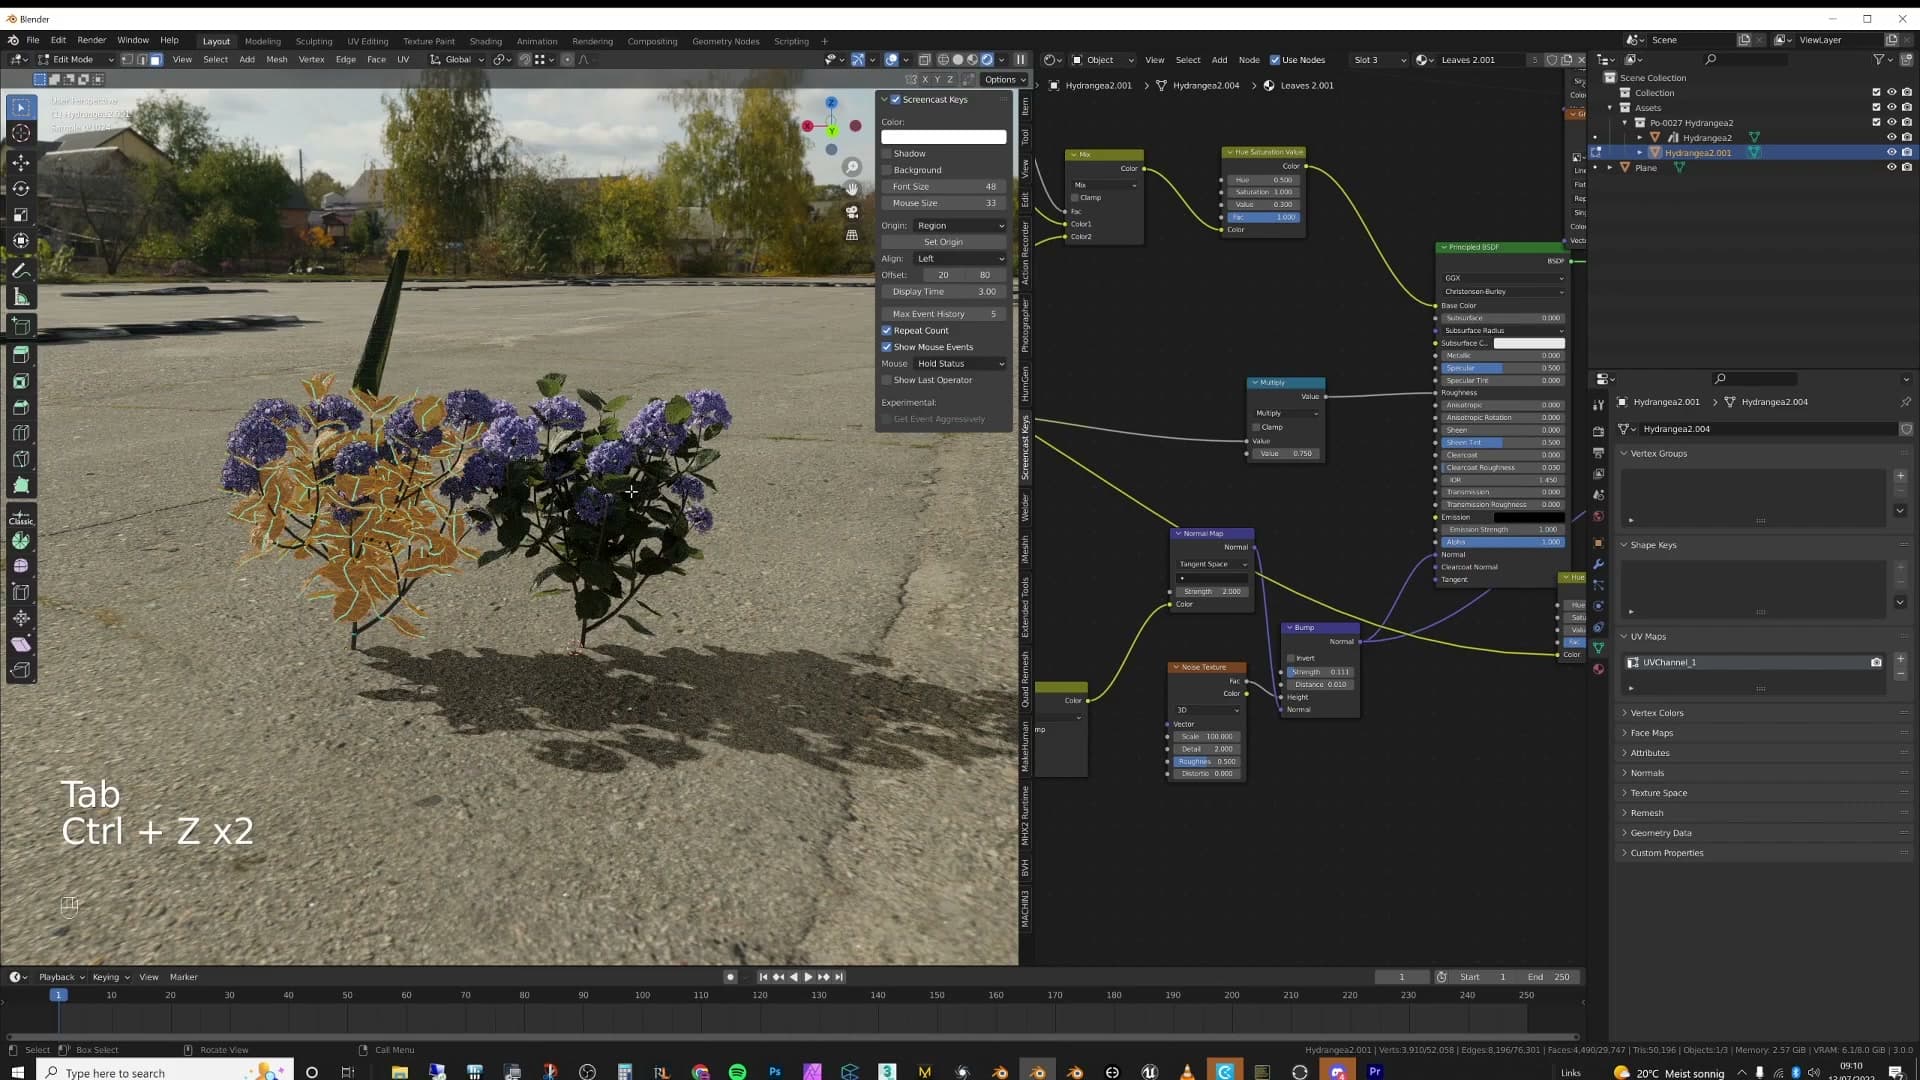
Object data is a different story. Switch to Object Data Properties and the duplicate has its own mesh datablock. Tab into edit mode, pull a vertex around, and the original sits there untouched. The geometry is no longer linked; only the material slot is.
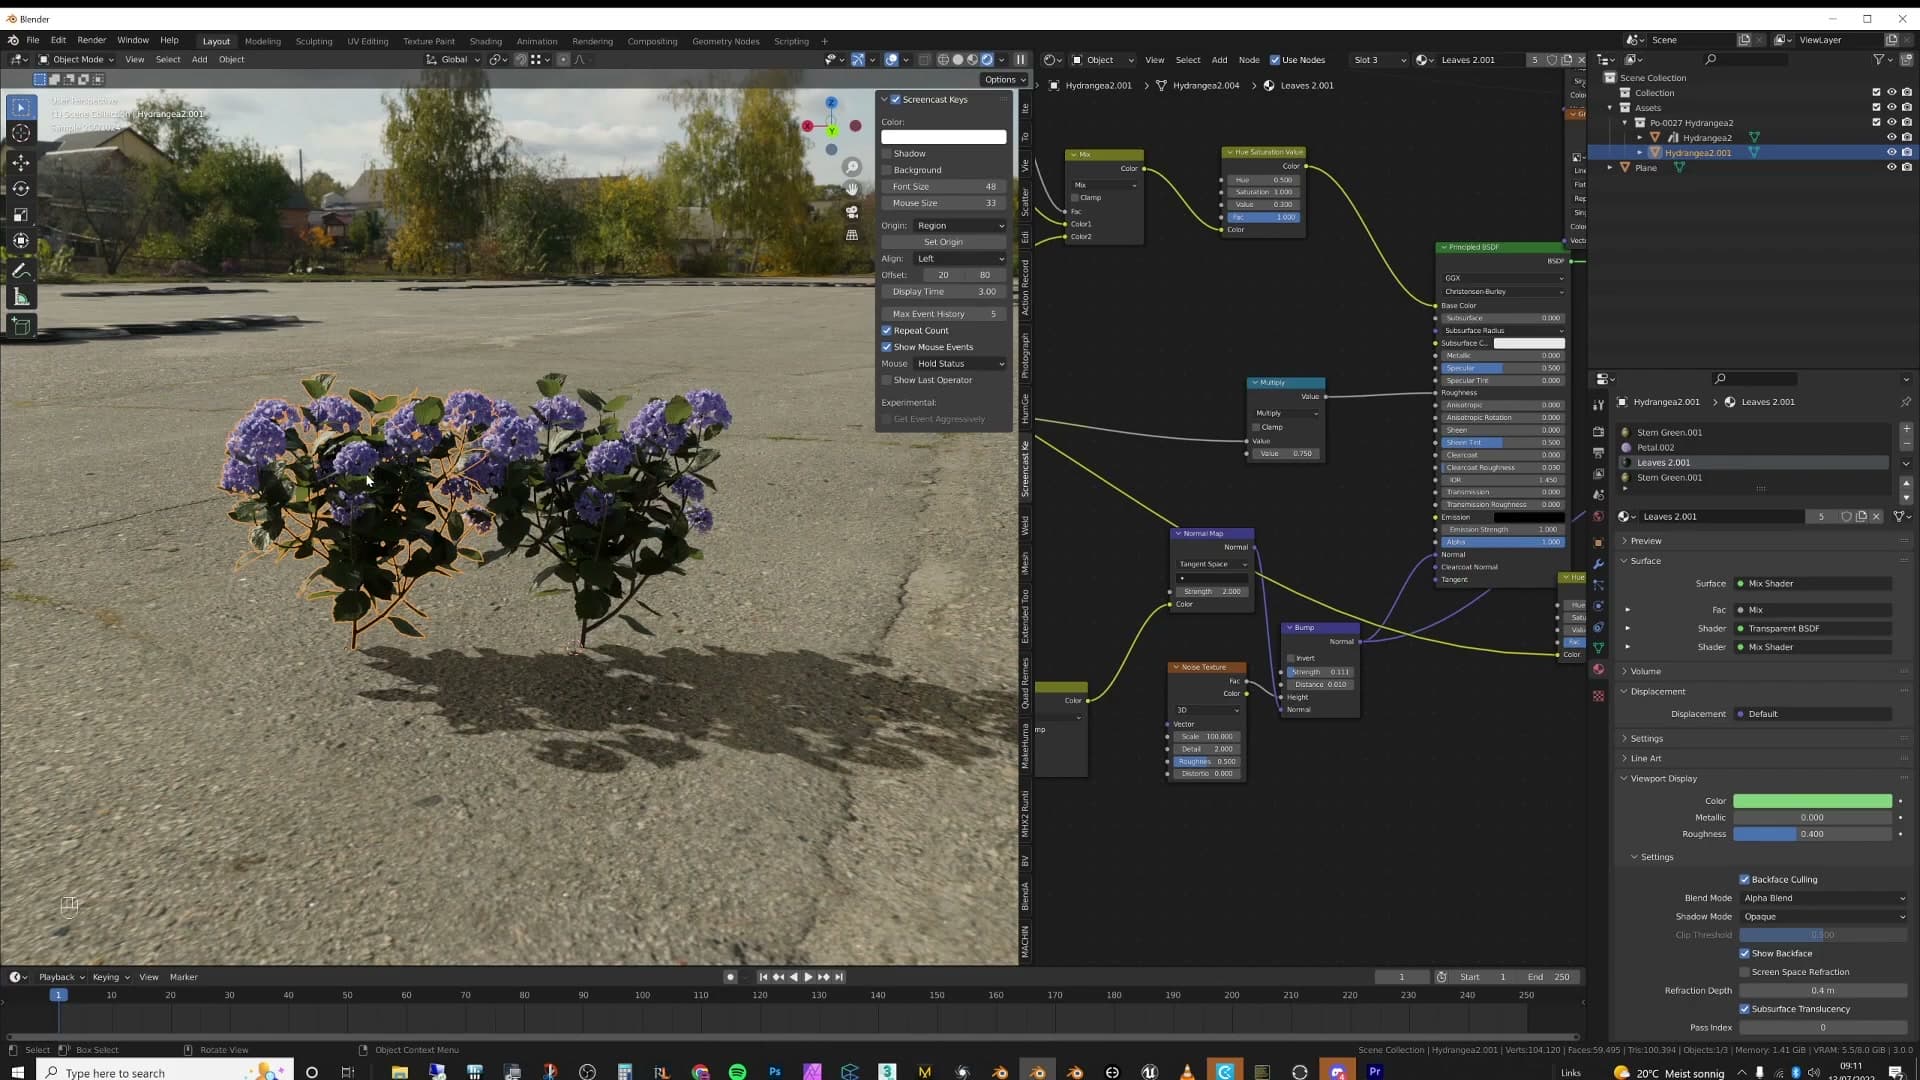
Because Shift+D shares some data and not others, Blender describes this state as a shadow link. The link is selective: materials follow each other across copies, mesh edits do not.
Making the material a new user
When you do need a duplicate to look different from the original (say, a single stem repainted white while the rest of the plant stays green), you have to break the material link on that copy only.
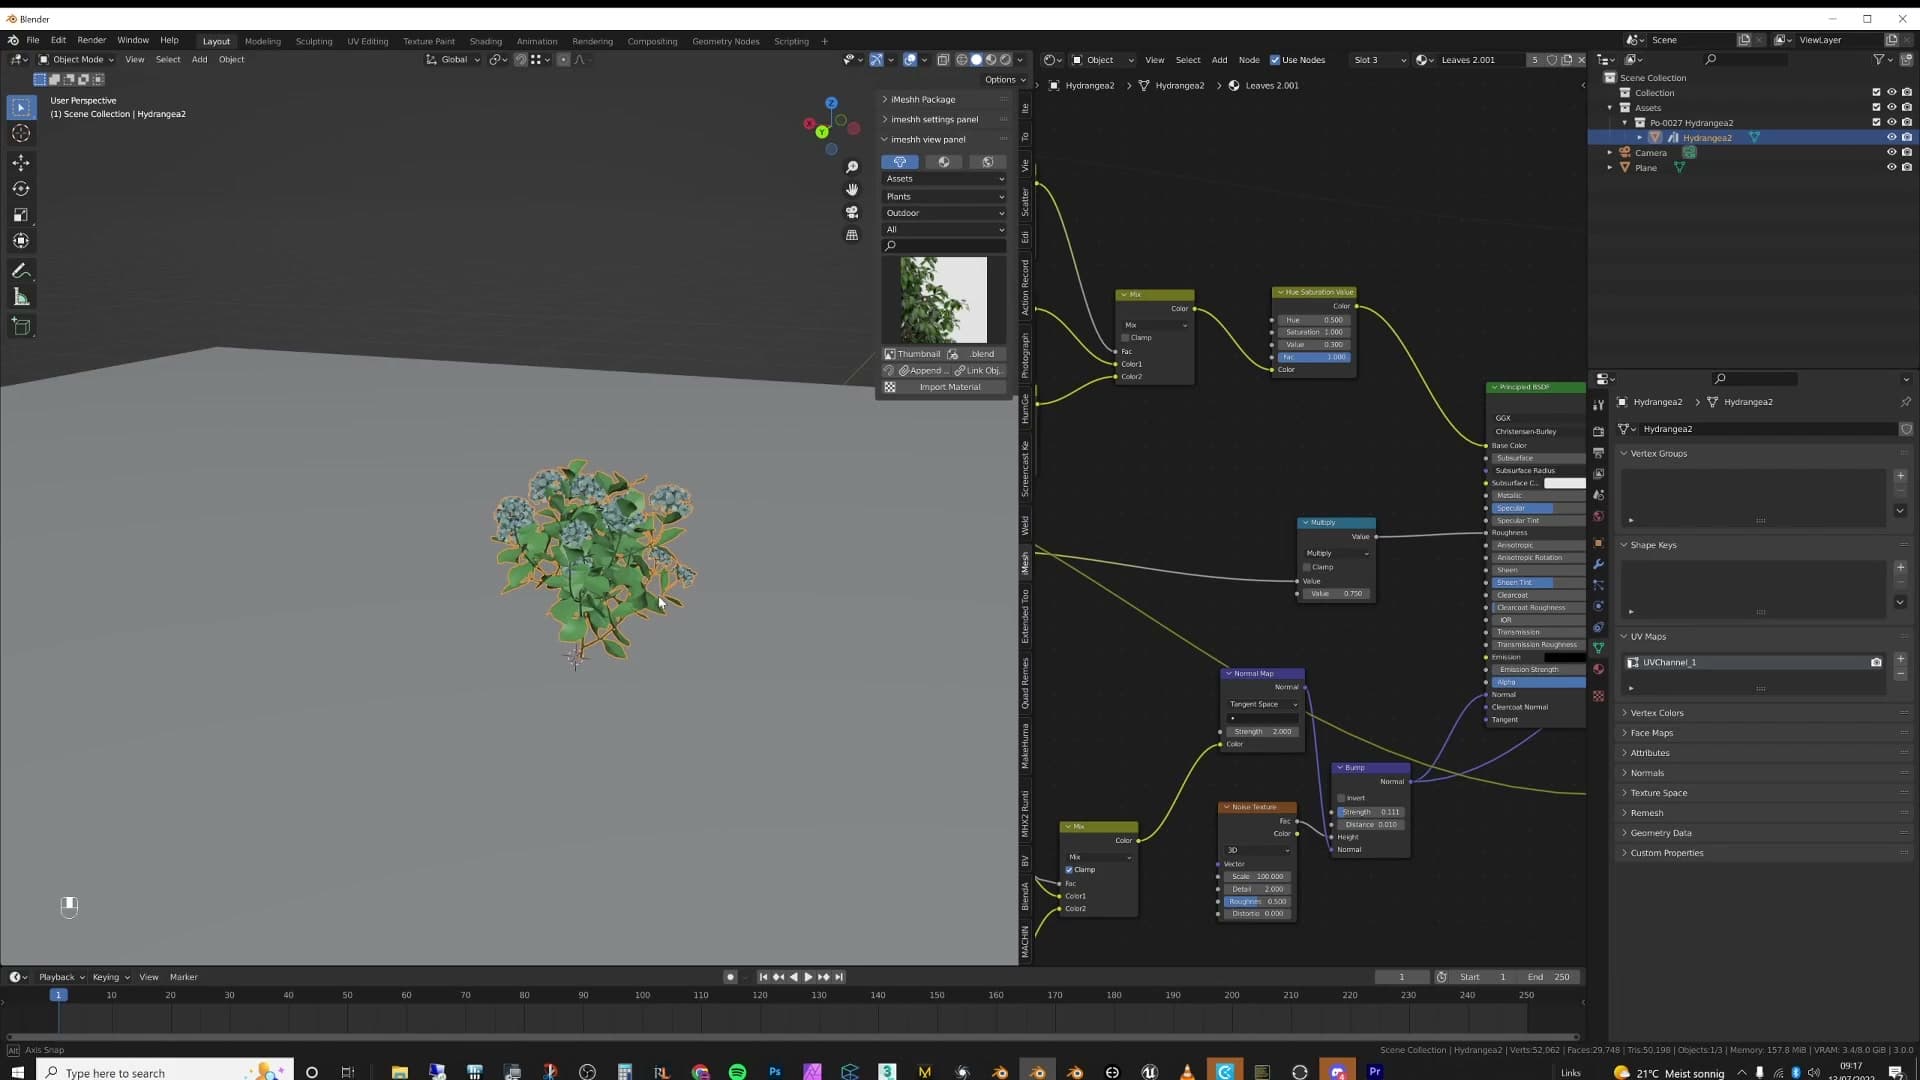
Select the duplicate, open Material Properties, and click the user-count badge next to the material name to make it a new user. The slot now holds its own copy of the material datablock. Recolour it to white and only that one object changes; the original and every other duplicate stay as they were.
If you change your mind later, point the slot back at the original material and the duplicate snaps back to being an exact match. That's the full extent of standard duplication: simple, easy to reason about, and absolutely fine for a handful of objects.
How Shift+D burns your GPU
Because every Shift+D copy adds its full vertex count to the scene, polygon totals stack fast. A live demo duplicates a plant across the viewport until the GPU fails the render outright.
Every copy adds vertices
Turn on Blender's Statistics overlay and watch the face count as you press Shift+D. A single plant in this scene sits at roughly 39,000 faces. Duplicate it once and the readout jumps to 89,000. Duplicate again and you're at 118,000. The climb keeps going every time you tap the shortcut.
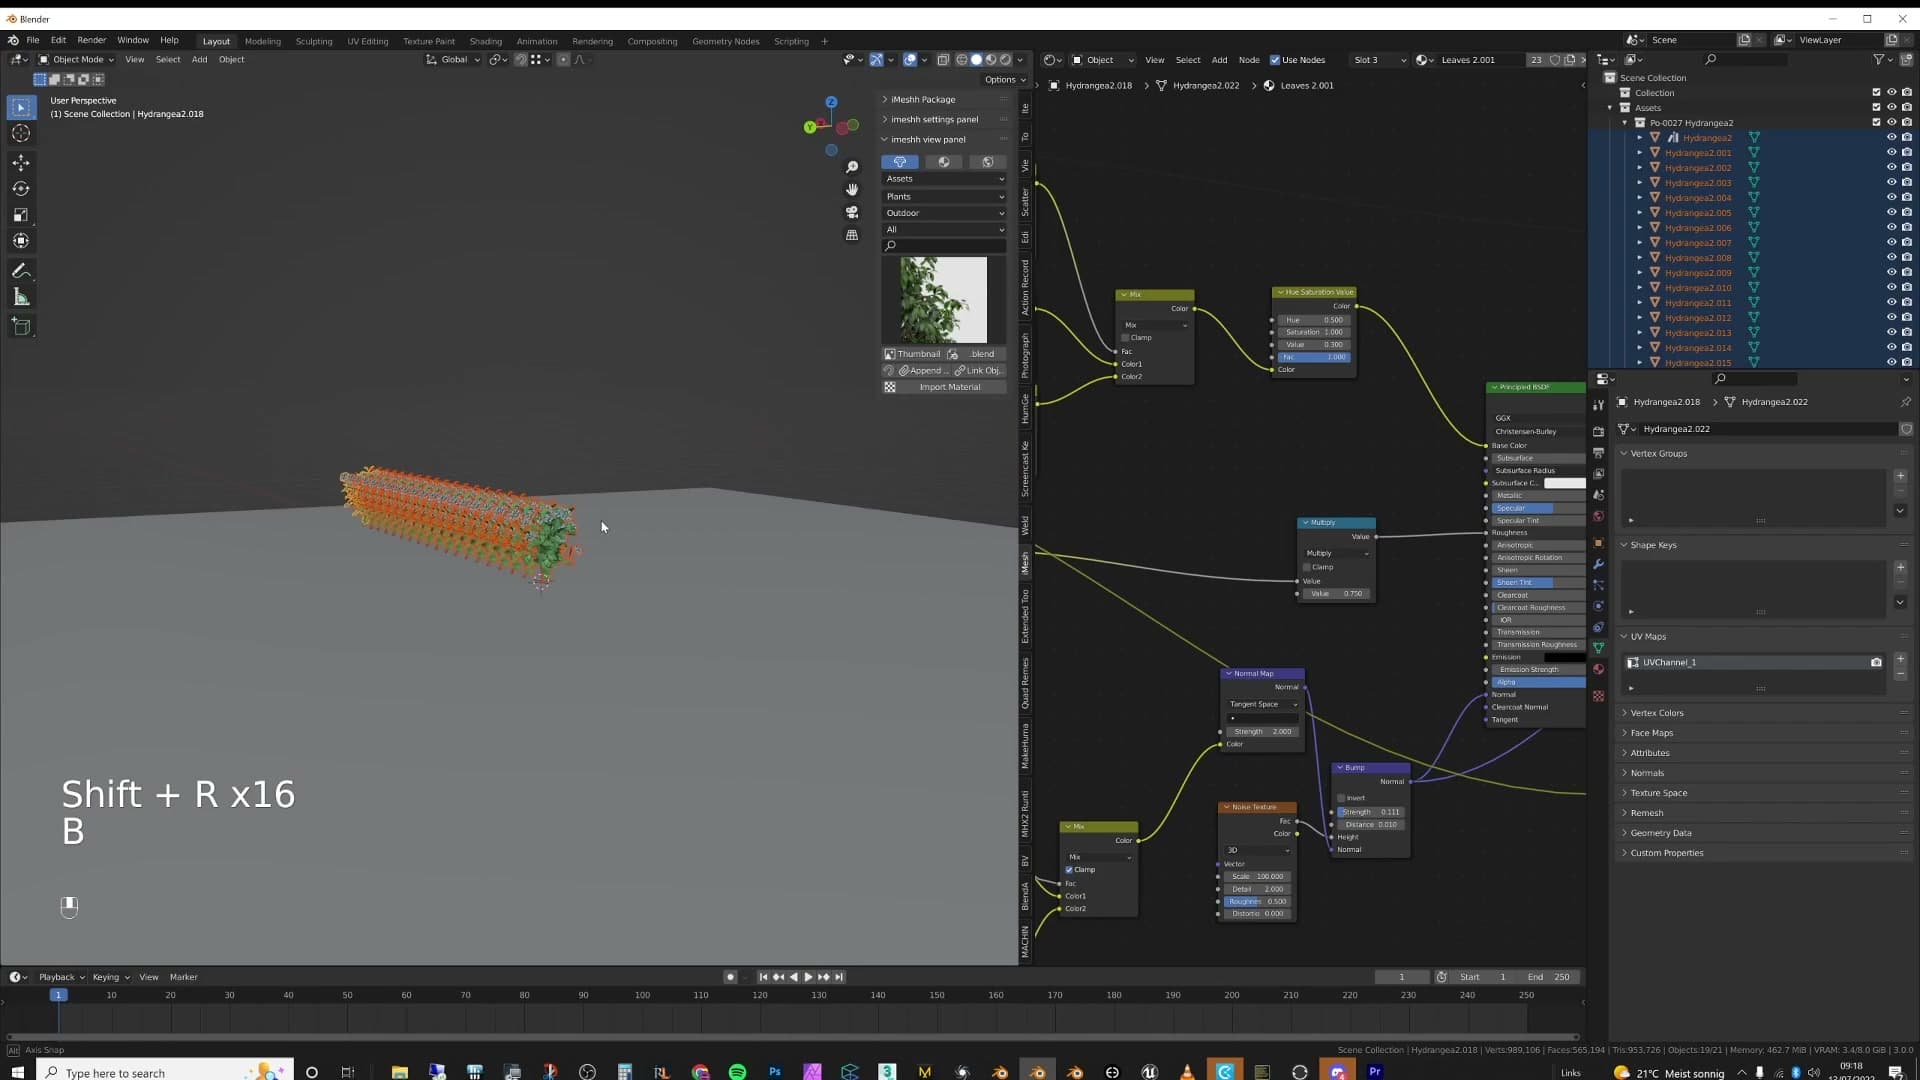
That's the whole problem in one sentence. Every Shift+D copies the full mesh data, so each duplicate adds its own vertex count to the scene total. Seventeen plants on screen is fine. Marching that same plant across an entire viewport one keystroke at a time is not.
Keep the Statistics overlay on while you're populating any dense scene. It's the quickest way to spot a duplication strategy that's about to bite you, long before the viewport slows down enough to tell you the same thing the hard way.
Crashing the GPU live
To prove the point live, I keep spamming Shift+D and dragging the plant across the viewport: up, across, up again, building a grid. Within a few rows Blender is visibly struggling. The viewport stutters between rotations, and the overlay can barely keep up with what you're doing.
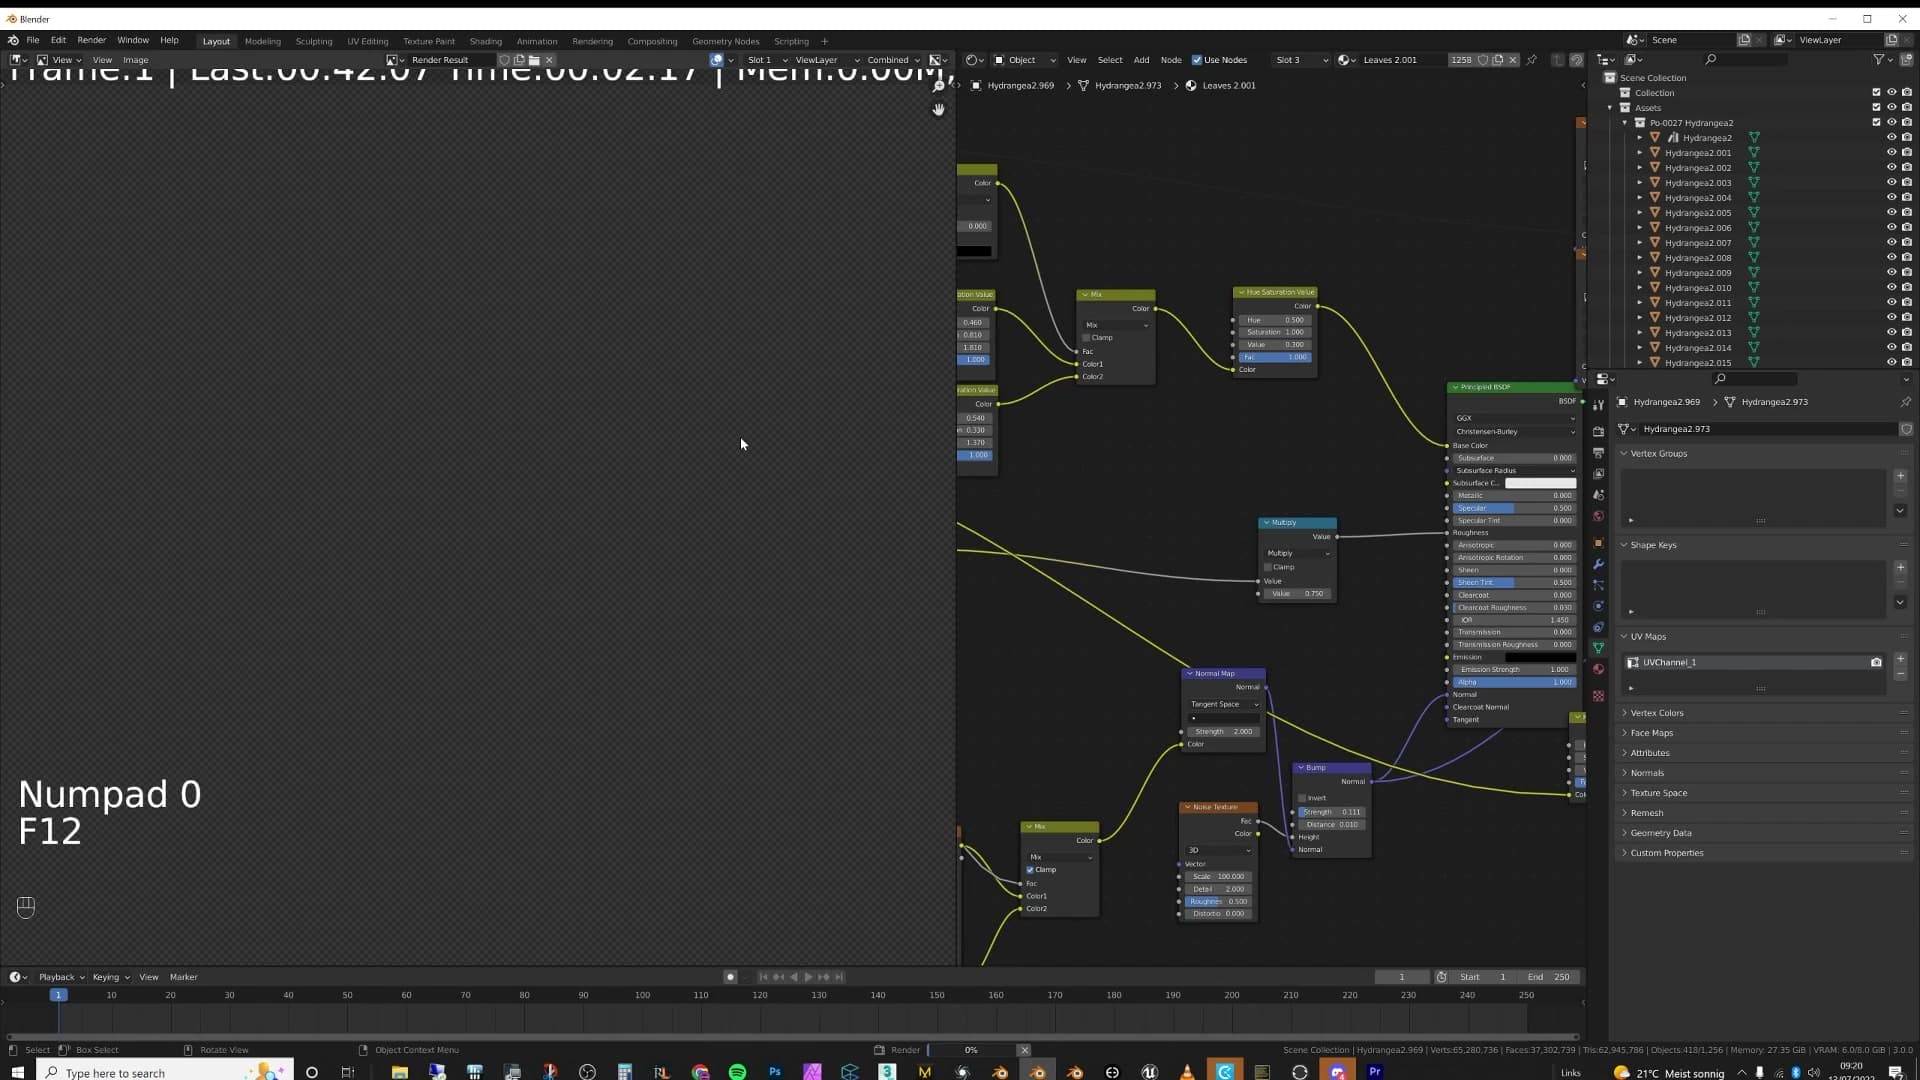
There's an important piece of context before you read the result: before adding a single duplicate, this scene's VRAM was already sitting at around 6 GB. The source scene is heavy in its own right, so on an 8 GB card there isn't a lot of headroom to play with. That's exactly the situation most archviz scenes end up in.
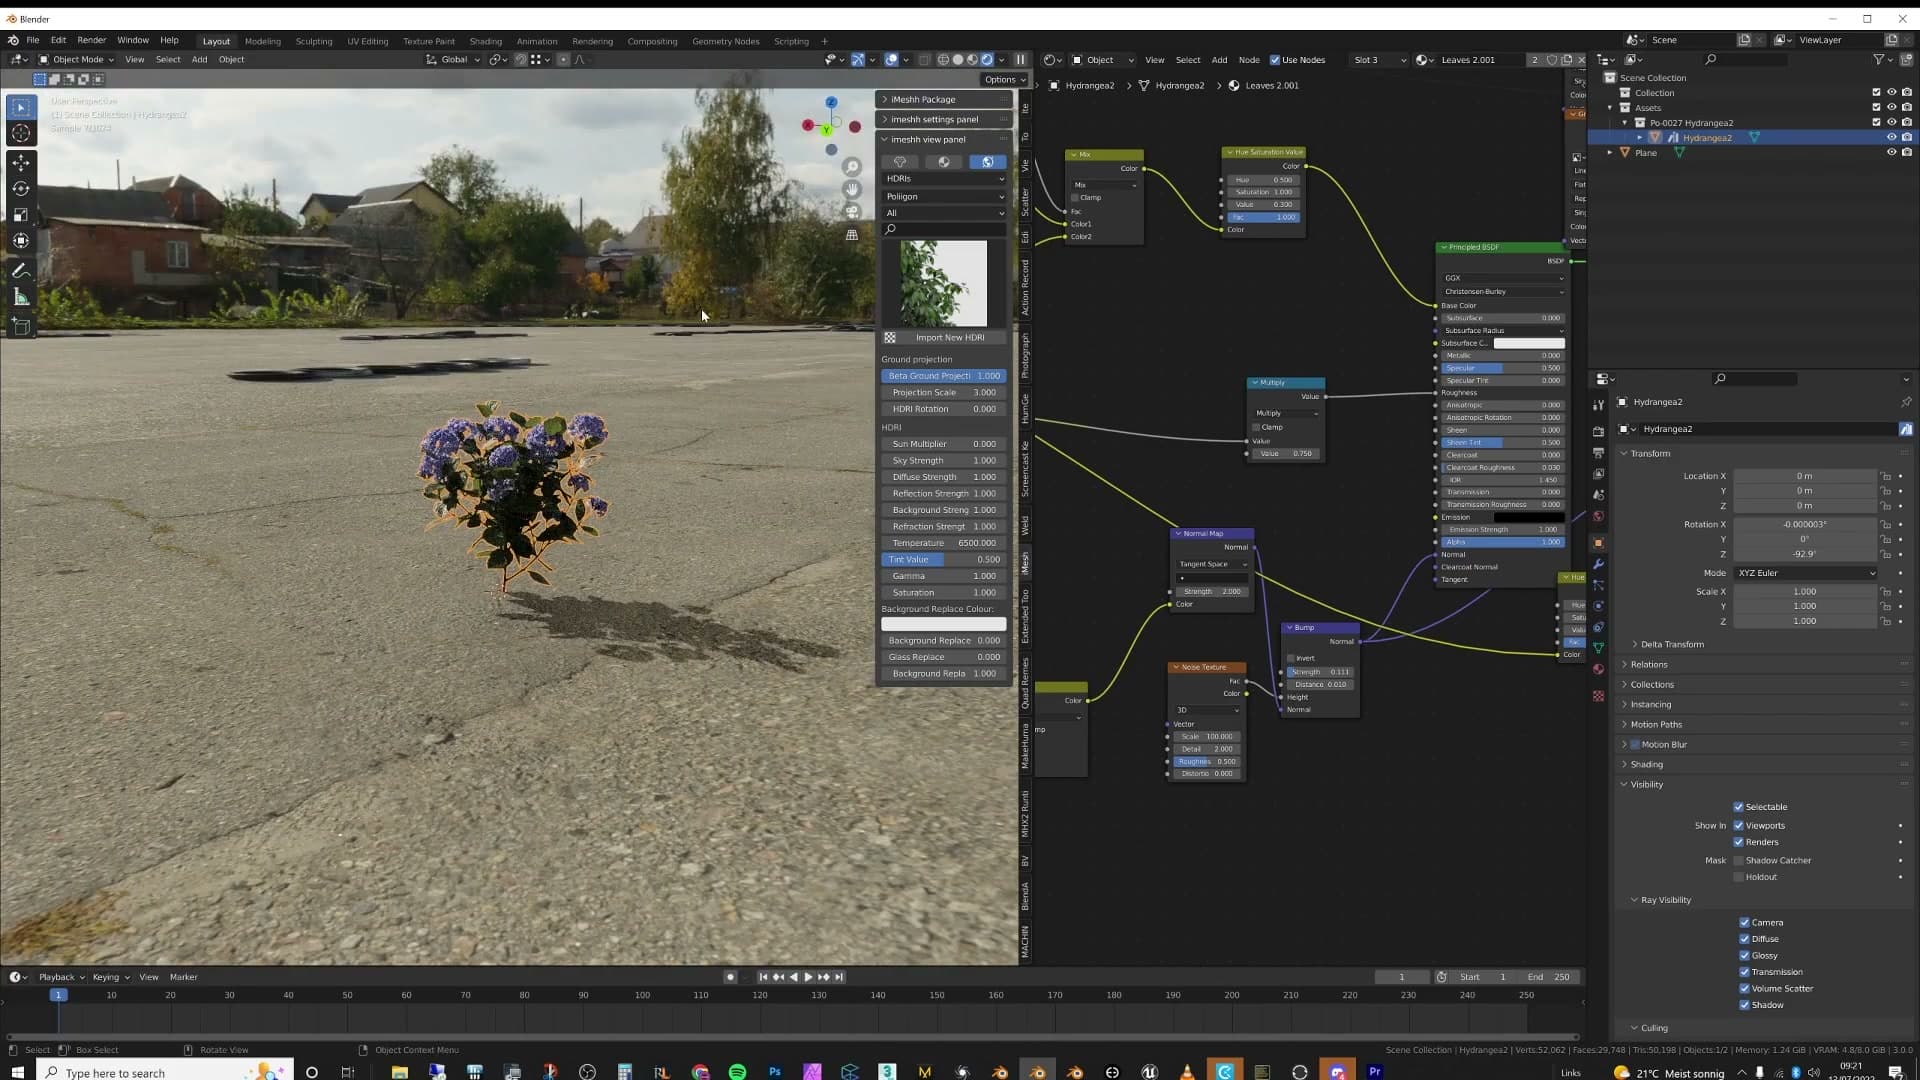
Hit render and the GPU refuses outright. Cycles fails to start because the geometry no longer fits in VRAM. Standard Shift+D duplication has crashed out well before reaching anything close to the polygon counts a real archviz scene actually needs. That's what makes the next method, Alt+D, worth learning.
Duplicate linked with Alt+D
Alt+D produces a new object that points to the same mesh datablock. Blender already knows the geometry, so each new instance only stores a transform. The face count never moves and VRAM stays flat even as thousands of copies stack up.
How Alt+D shares the mesh datablock
Alt+D is Blender's duplicate-linked shortcut. Hover over the object you want to copy and press Alt+D and a new object appears. Open the Object Data Properties panel and you'll see the new object is still pointing at the same mesh datablock as the original. The wrapper is new; the geometry inside it is the same one Blender already had loaded.
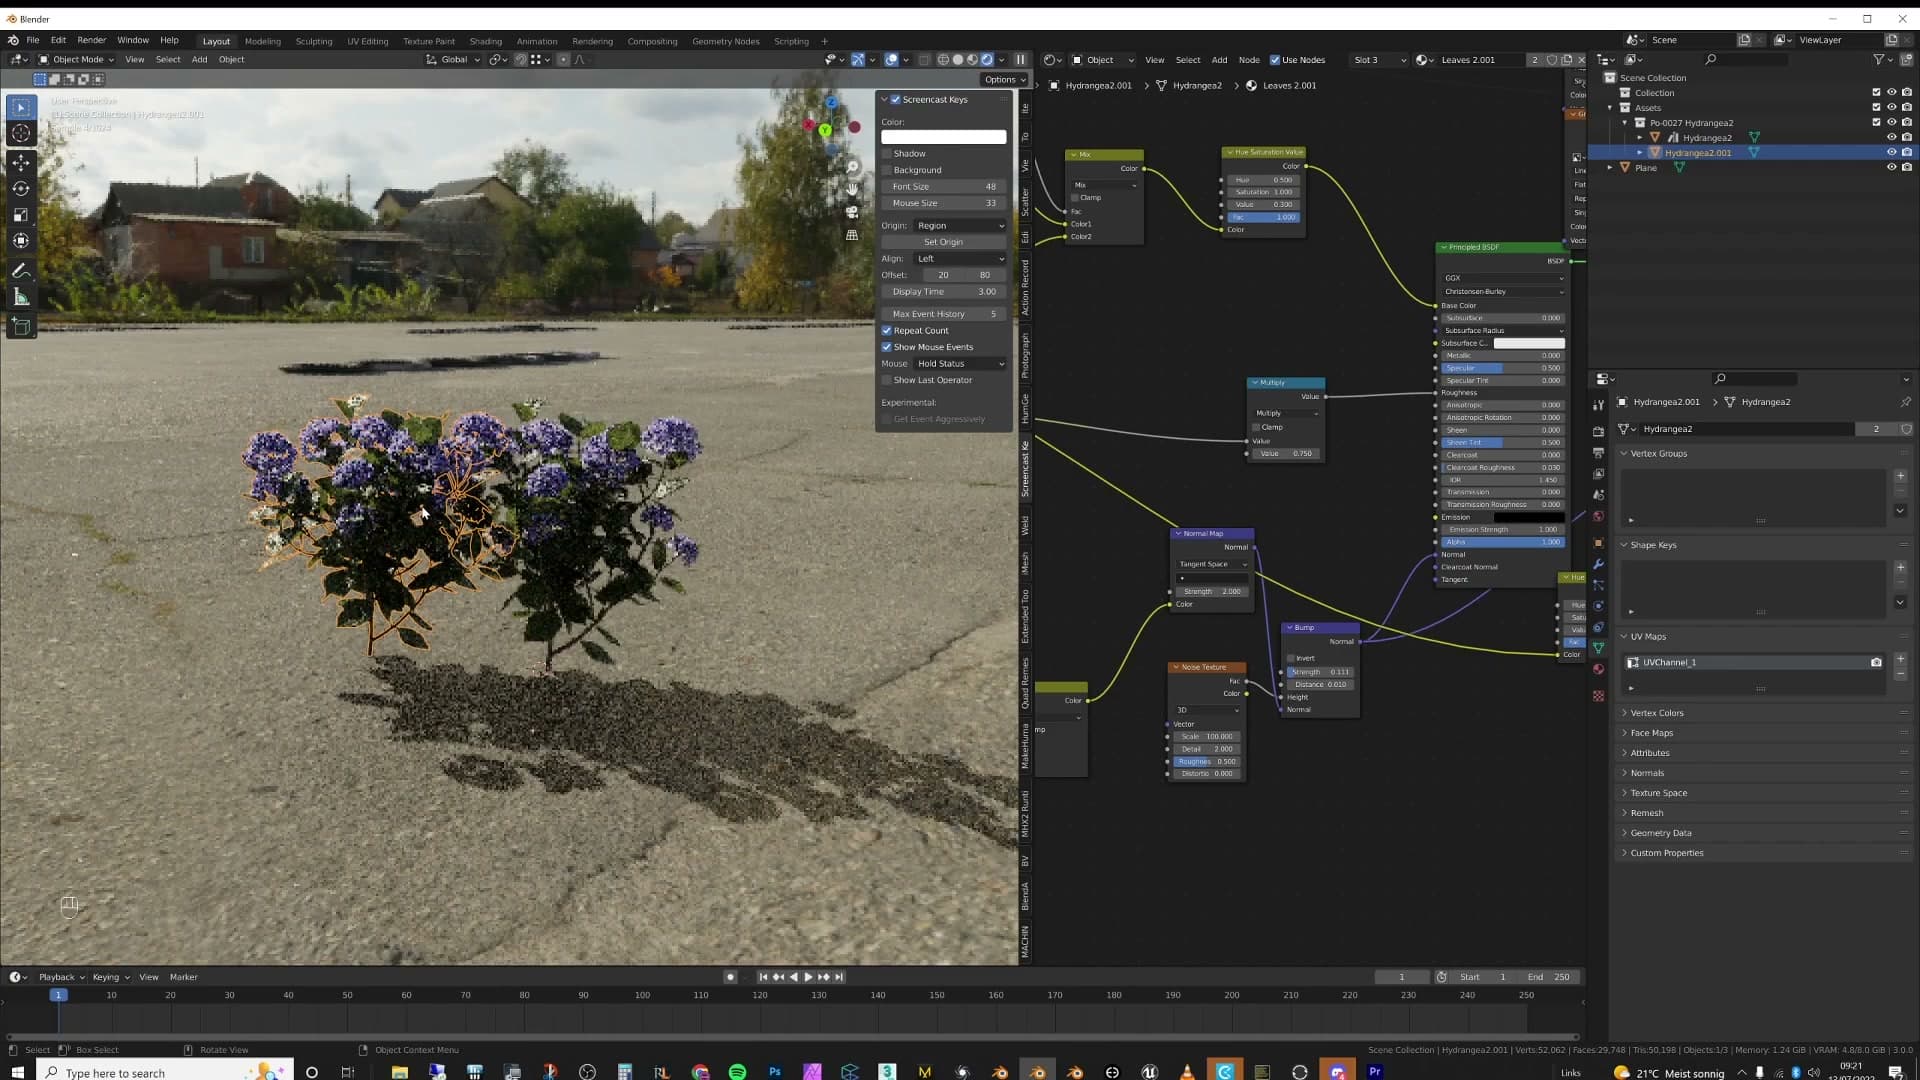
Because the mesh is shared, edits propagate. Drop into edit mode on the new copy, move a vertex, and the original moves with it. The duplicate has been given a new object name, but the mesh underneath is the same datablock you started with.
That shared datablock is what saves the VRAM. When Blender adds up the geometry in the scene, it doesn't need to store the vertex positions for every Alt+D copy. It already knows them. All it has to track for each new instance is where that instance sits in space.
Face count stays flat across copies
The face counter is the easiest way to see what Alt+D is doing. With the source object selected, the statistics overlay reads 29,000 faces. Press Alt+D and place a copy: still 29,000. Another copy, still 29,000. The number never moves, because no new geometry is being added to the scene.
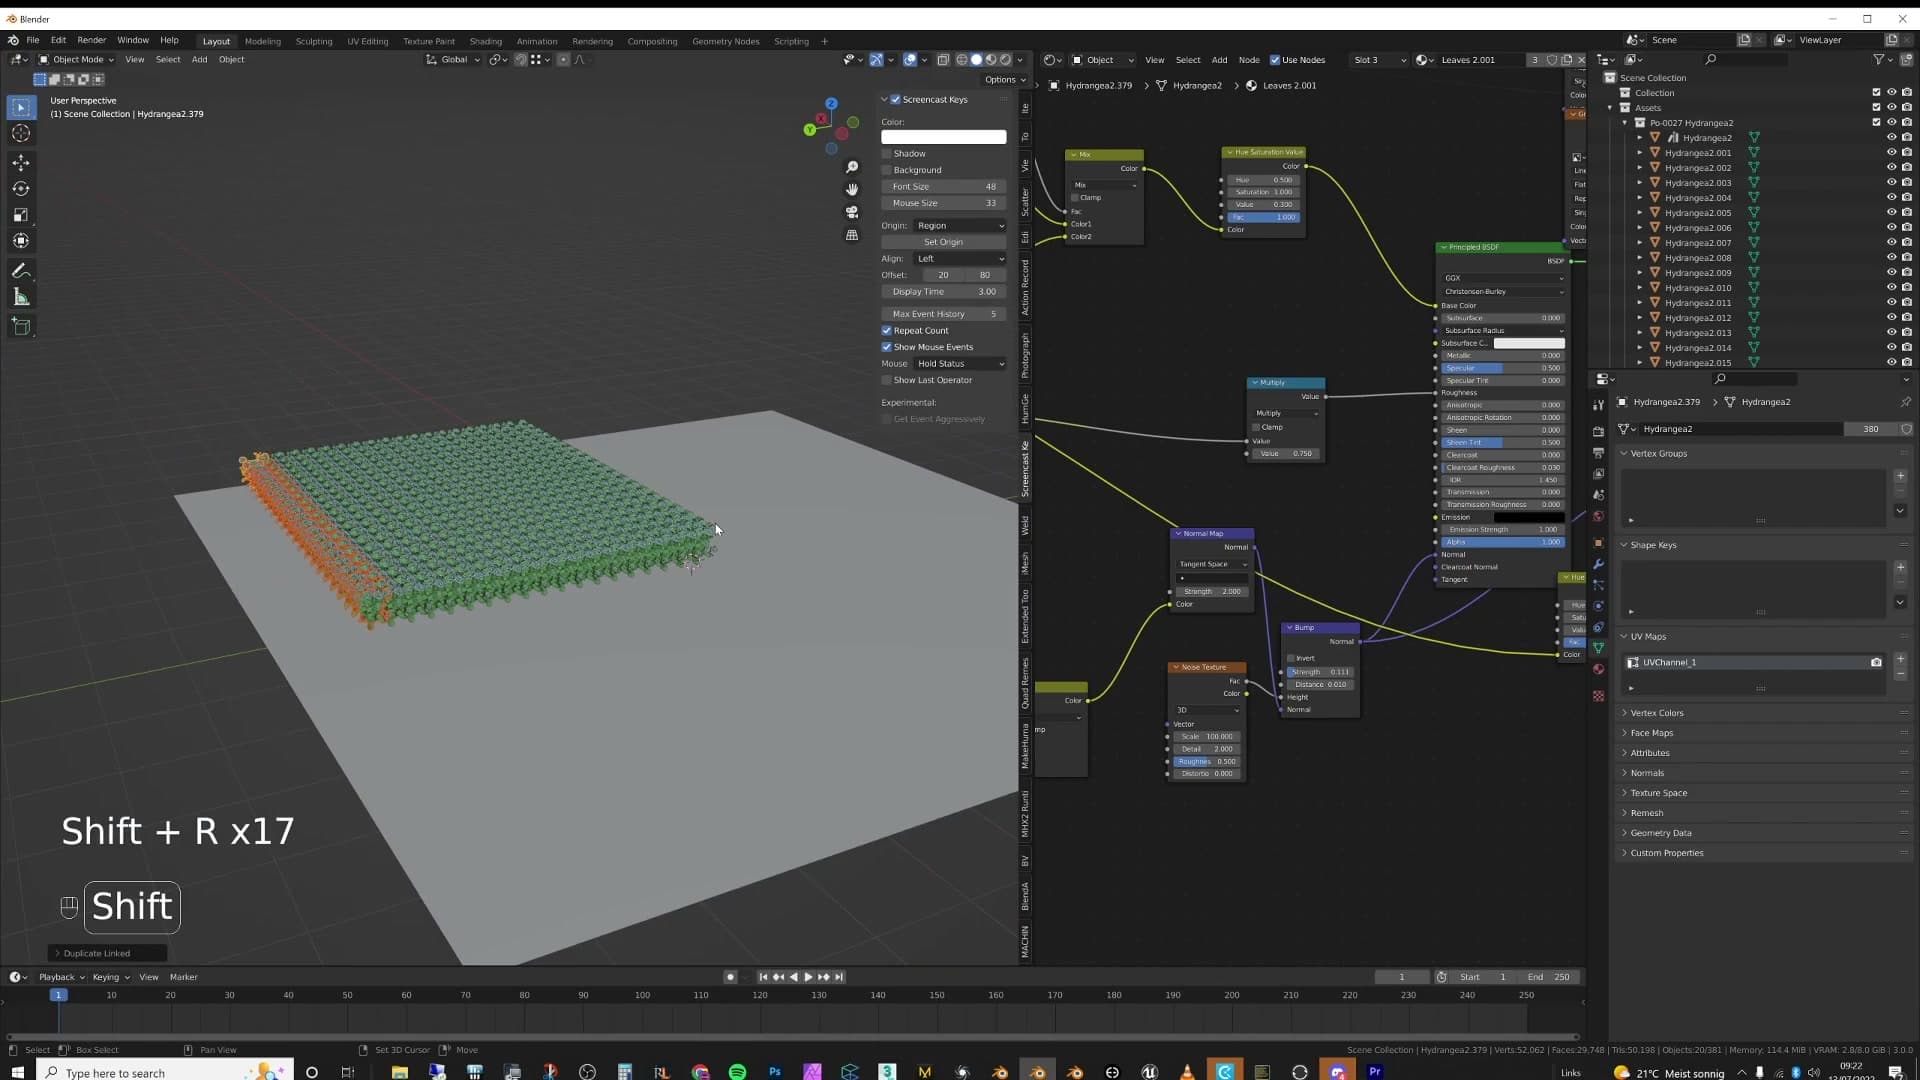
Speed follows the same story. Alt+D copies snap in noticeably faster than Shift+D copies of the same object, because Blender isn't allocating fresh mesh data each time. It's only writing a new transform. You can hold the shortcut and stack copy after copy without the viewport bogging down.
Push that far enough and you end up with thousands of instances in the scene. Five thousand linked duplicates of a dense object would have been unthinkable with Shift+D; with Alt+D, the face counter is still parked on the original 29,000.
VRAM comparison vs Shift+D
Drop a camera into the scene full of Alt+D copies, hit render, and the difference shows up immediately. With thousands of linked duplicates loaded, VRAM usage sits at around 2.8 GB. The earlier Shift+D test had pushed VRAM to roughly 6 GB for a small fraction of the geometry now on screen.
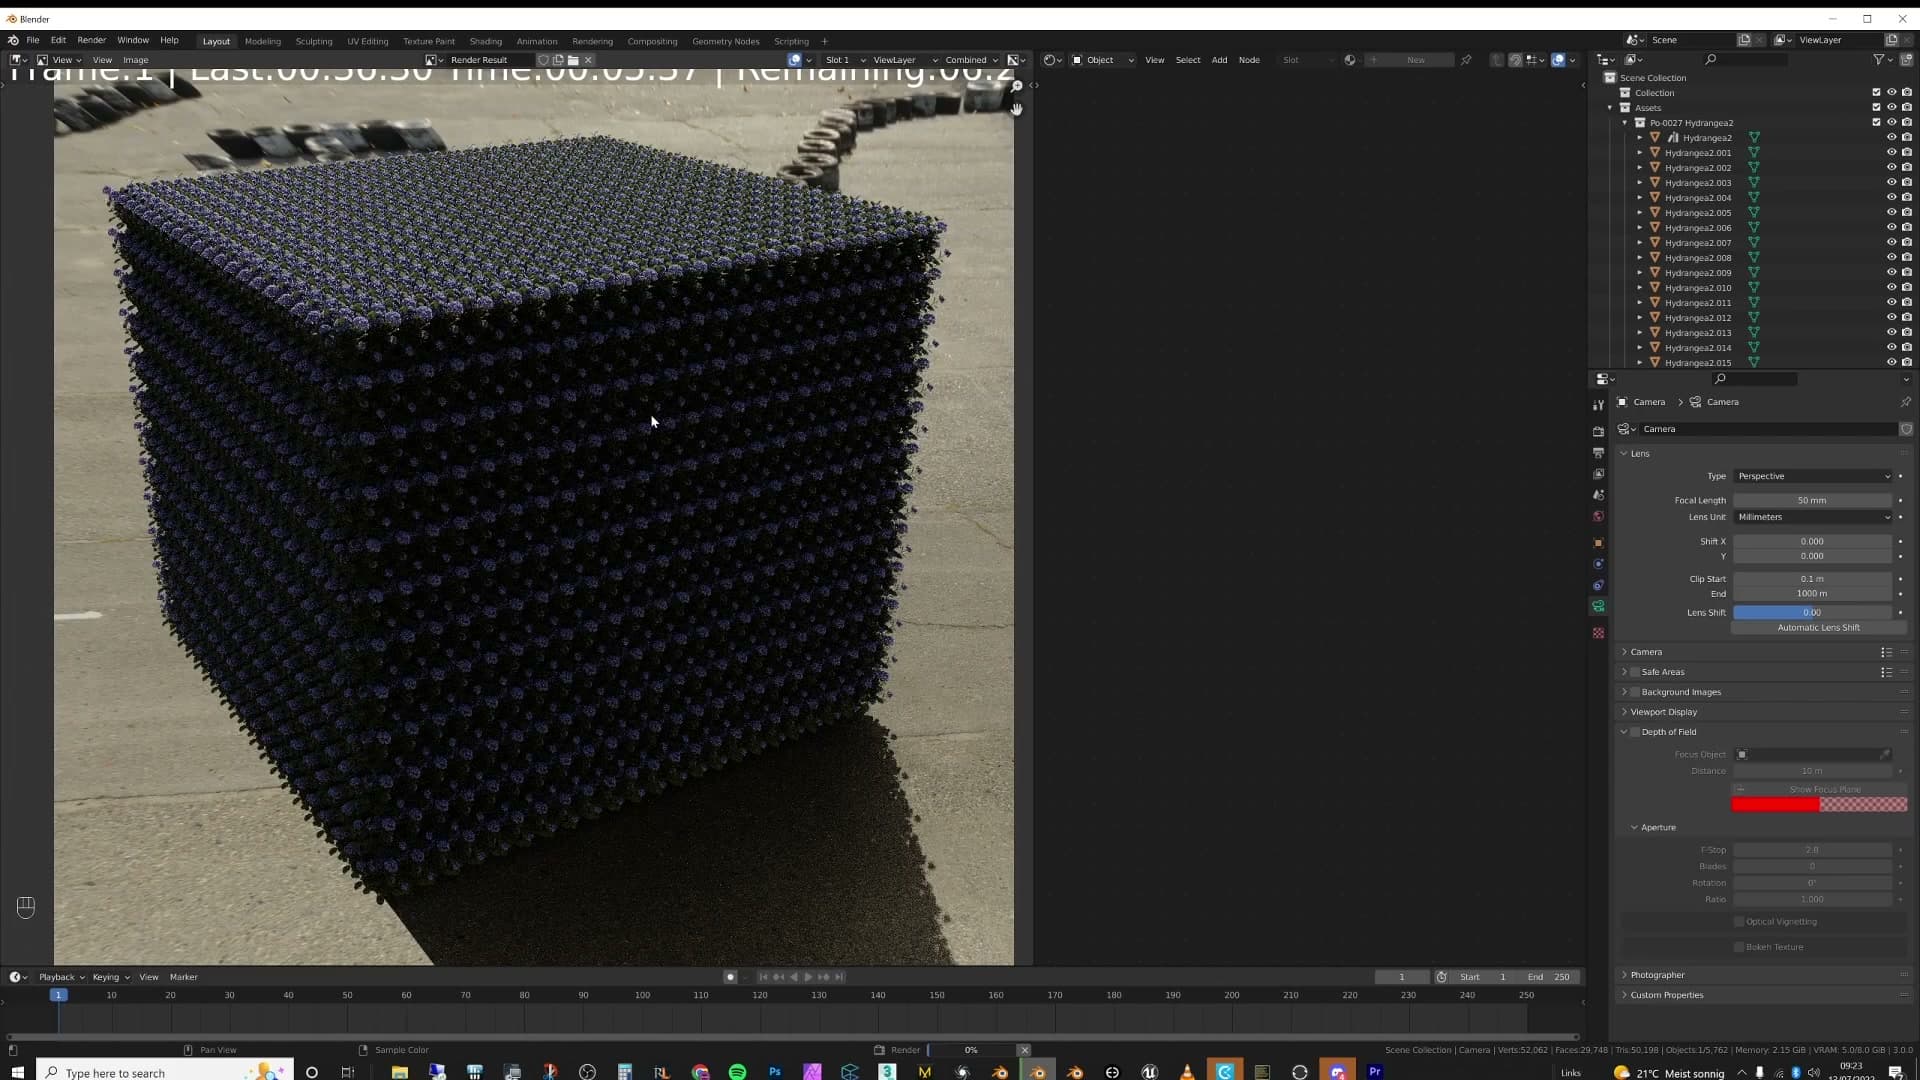
The render itself also starts faster. Cycles doesn't have to build BVH data for every duplicated mesh. It builds it once for the shared datablock and reuses it across every instance. That's the same trick that keeps the VRAM low, paying off a second time at render kick-off.
The takeaway is simple: wherever a scene calls for many copies of the same object, reach for Alt+D instead of Shift+D. You can stack as many linked duplicates as you like and the render will still fit on the GPU.
Alt+D with modifiers, scale and rotation
Linked duplicates still accept their own modifiers and their own transforms. Add a Wireframe modifier to one, rotate and scale others, and a single plant datablock becomes a varied set of bushes, all without spending extra VRAM.
Unique modifiers per linked copy
Sharing mesh data on Alt+D doesn't mean the duplicates are locked together visually. Each linked copy keeps its own modifier stack, so you can add, remove, or tweak modifiers on one without touching the original or any of its siblings.
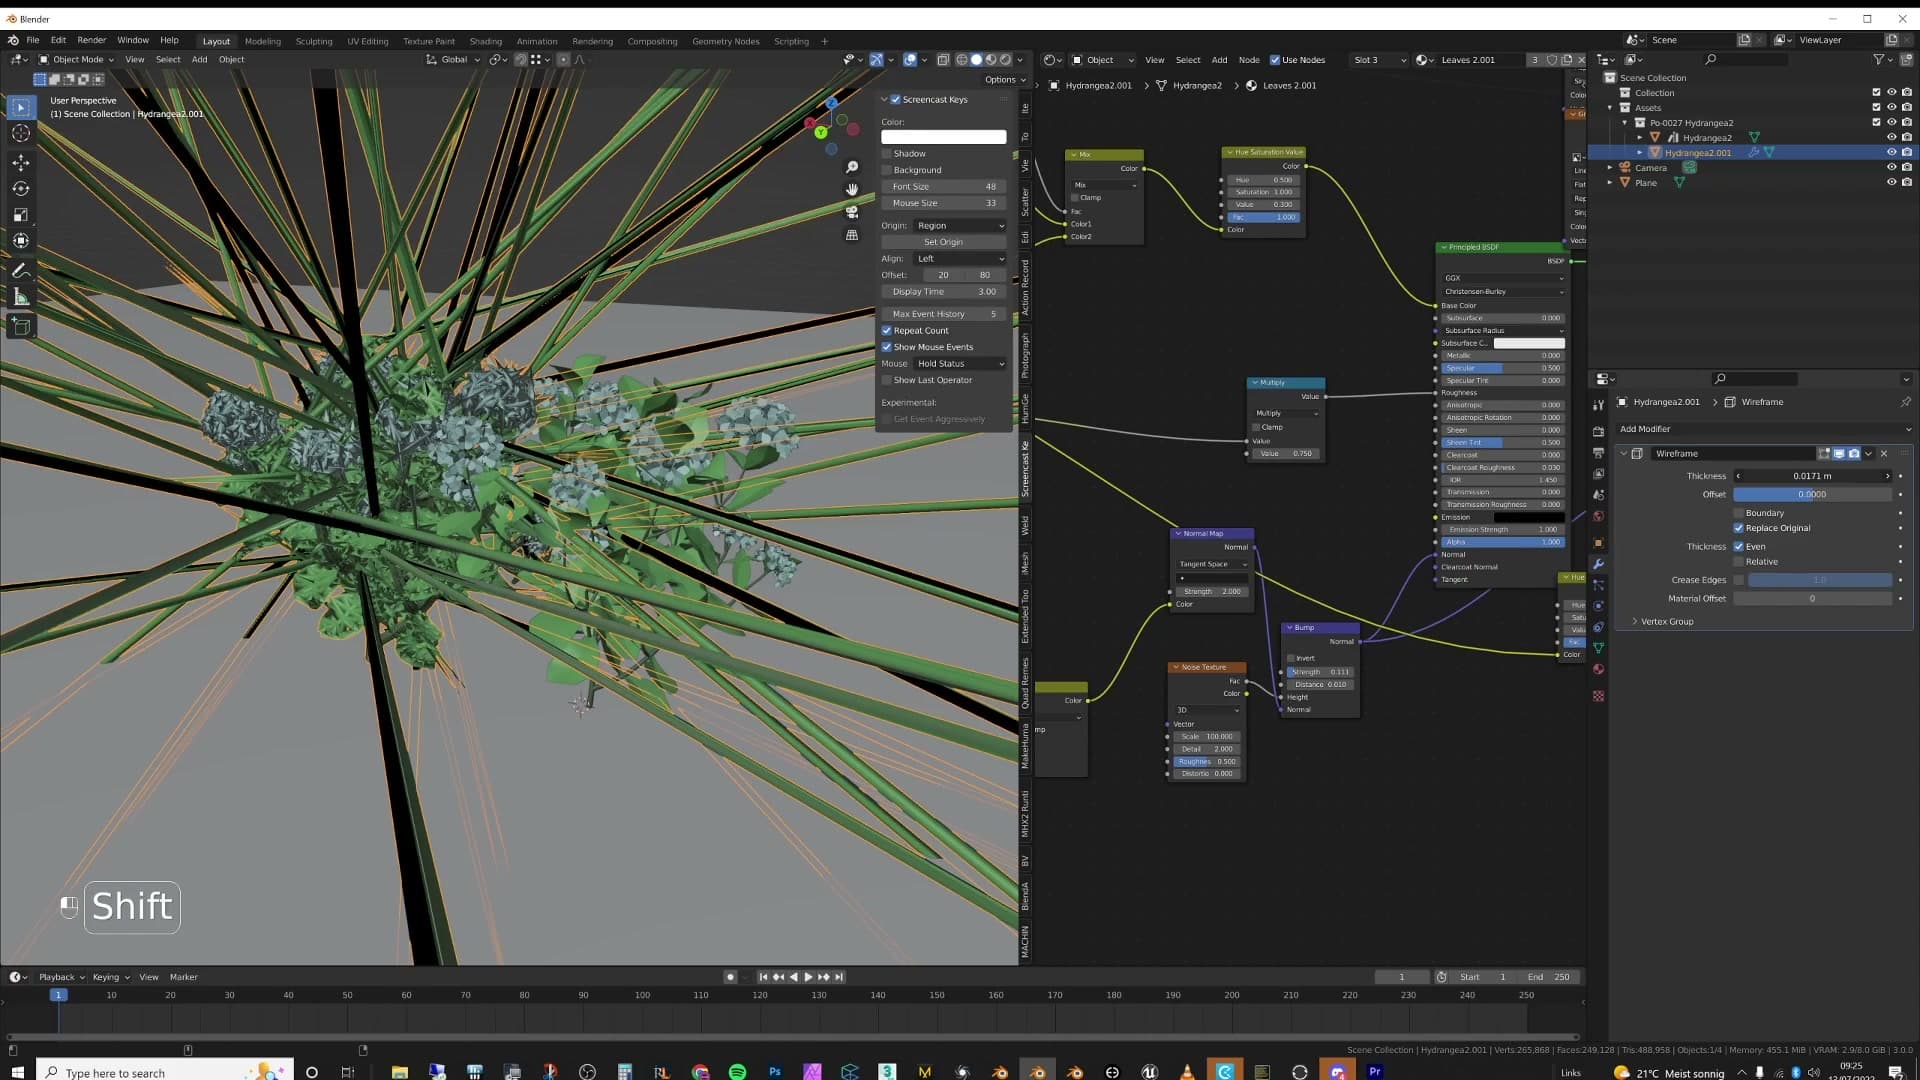
Select one of your Alt+D copies, open the Modifier Properties panel, and add a Wireframe modifier. That copy collapses into a wireframe lattice while the original carries on looking solid and normal. Same mesh data underneath, different result on screen.
It's a useful trick when you want the exact geometry of an object but a different read. You might keep a plant solid in the foreground and run a wireframe version of it in the background, all from one shared datablock.
Scaling and rotating for variety
Transforms are the other thing Alt+D copies don't share. Scale, rotation, and location live on the object, not the mesh, so you can resize and spin linked duplicates freely without breaking the link or pushing fresh geometry into VRAM.
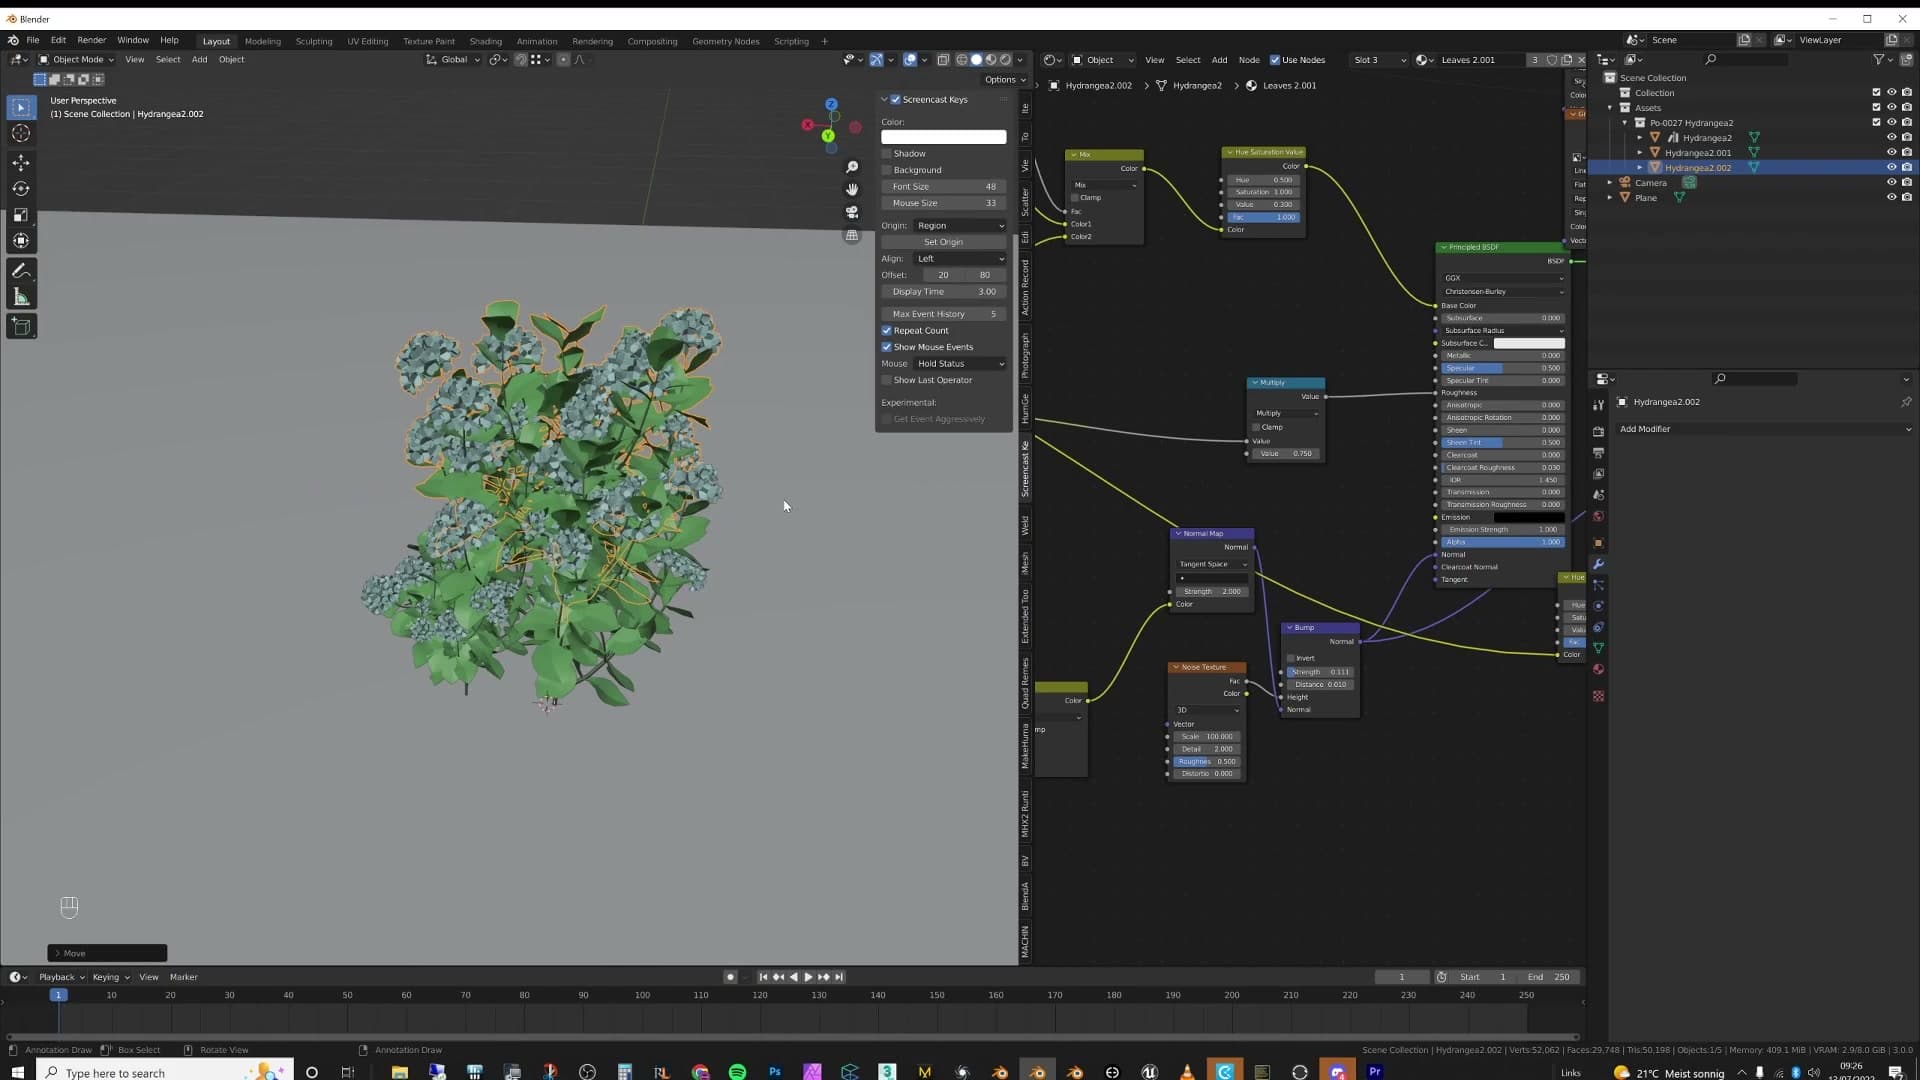
Try it on a plant. Press Alt+D, drag the copy sideways, scale it up, give it a rotation. Make another, scale that one smaller, and rotate it a different way. After two or three of those, the same datablock starts reading as a totally different bush.
VRAM either doesn't move at all or moves by a sliver. The transform itself is tiny compared with the geometry it's pointing at. Repeat the trick as many times as you like and a single plant can carry an entire varied planting, without ever duplicating the mesh.
Collection instances basics
Collection instances do for whole collections what Alt+D does for a single object. Press M to push selected objects into a collection, then Shift+A → Collection Instance to drop in a linked copy. Edits to the source collection ripple to every instance, and Set Offset From Cursor pins the origin where you want it.
Building a collection with M
Collection instances do for whole collections what Alt+D does for a single object. They give you linked copies of an entire group, and any edit to the source ripples through every instance you've placed.
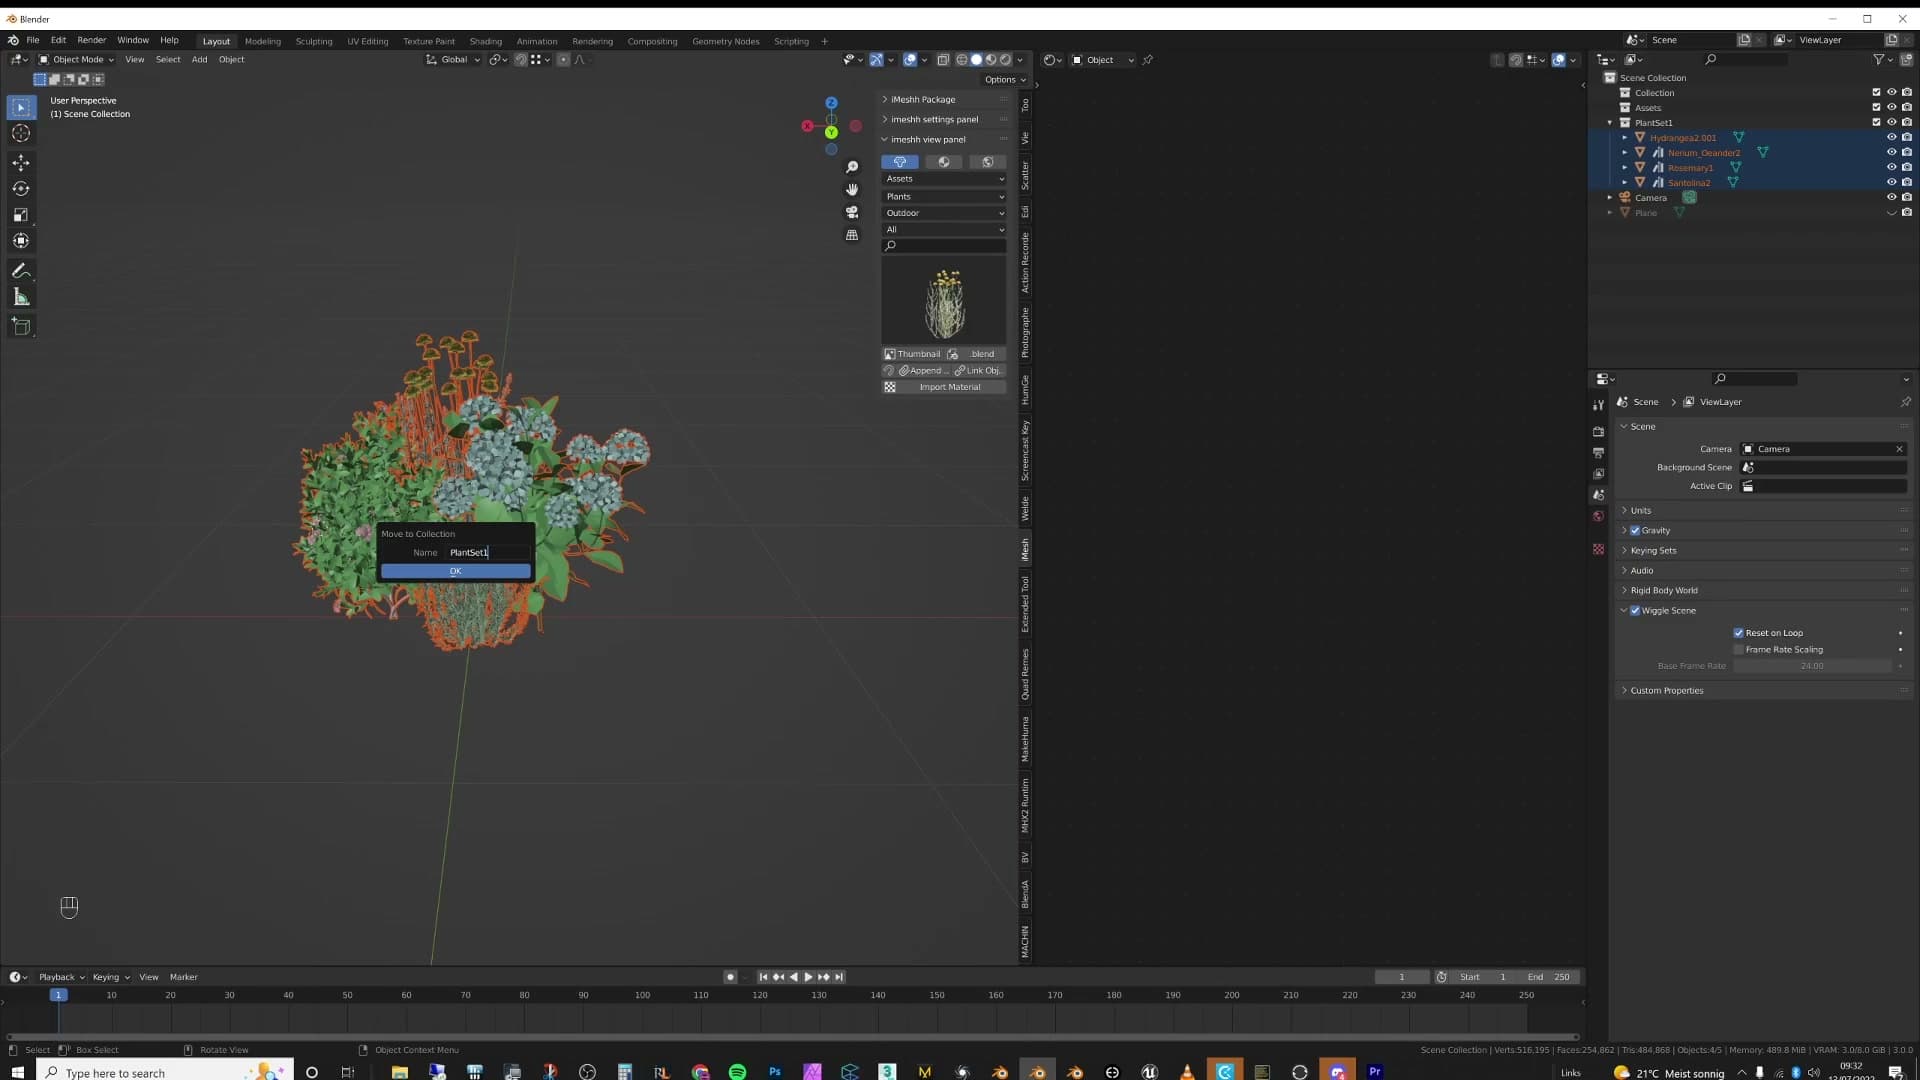
Start by selecting everything you want bundled together, in this case a cluster of plants. Press M, choose New Collection, and give it a name like Plant Set 1. The selected objects now sit inside that collection in the outliner.
Repeat the process for any other groups. Select the next batch, press M again, move them into a new collection called Plant Set 2, and you've got two independent sets in the outliner ready to be instanced.
Adding a collection instance
With your collection built, press Shift+A, hover over Collection Instance, and pick Plant Set 1 from the submenu. Blender drops in what looks like a single object but displays the contents of the entire collection.
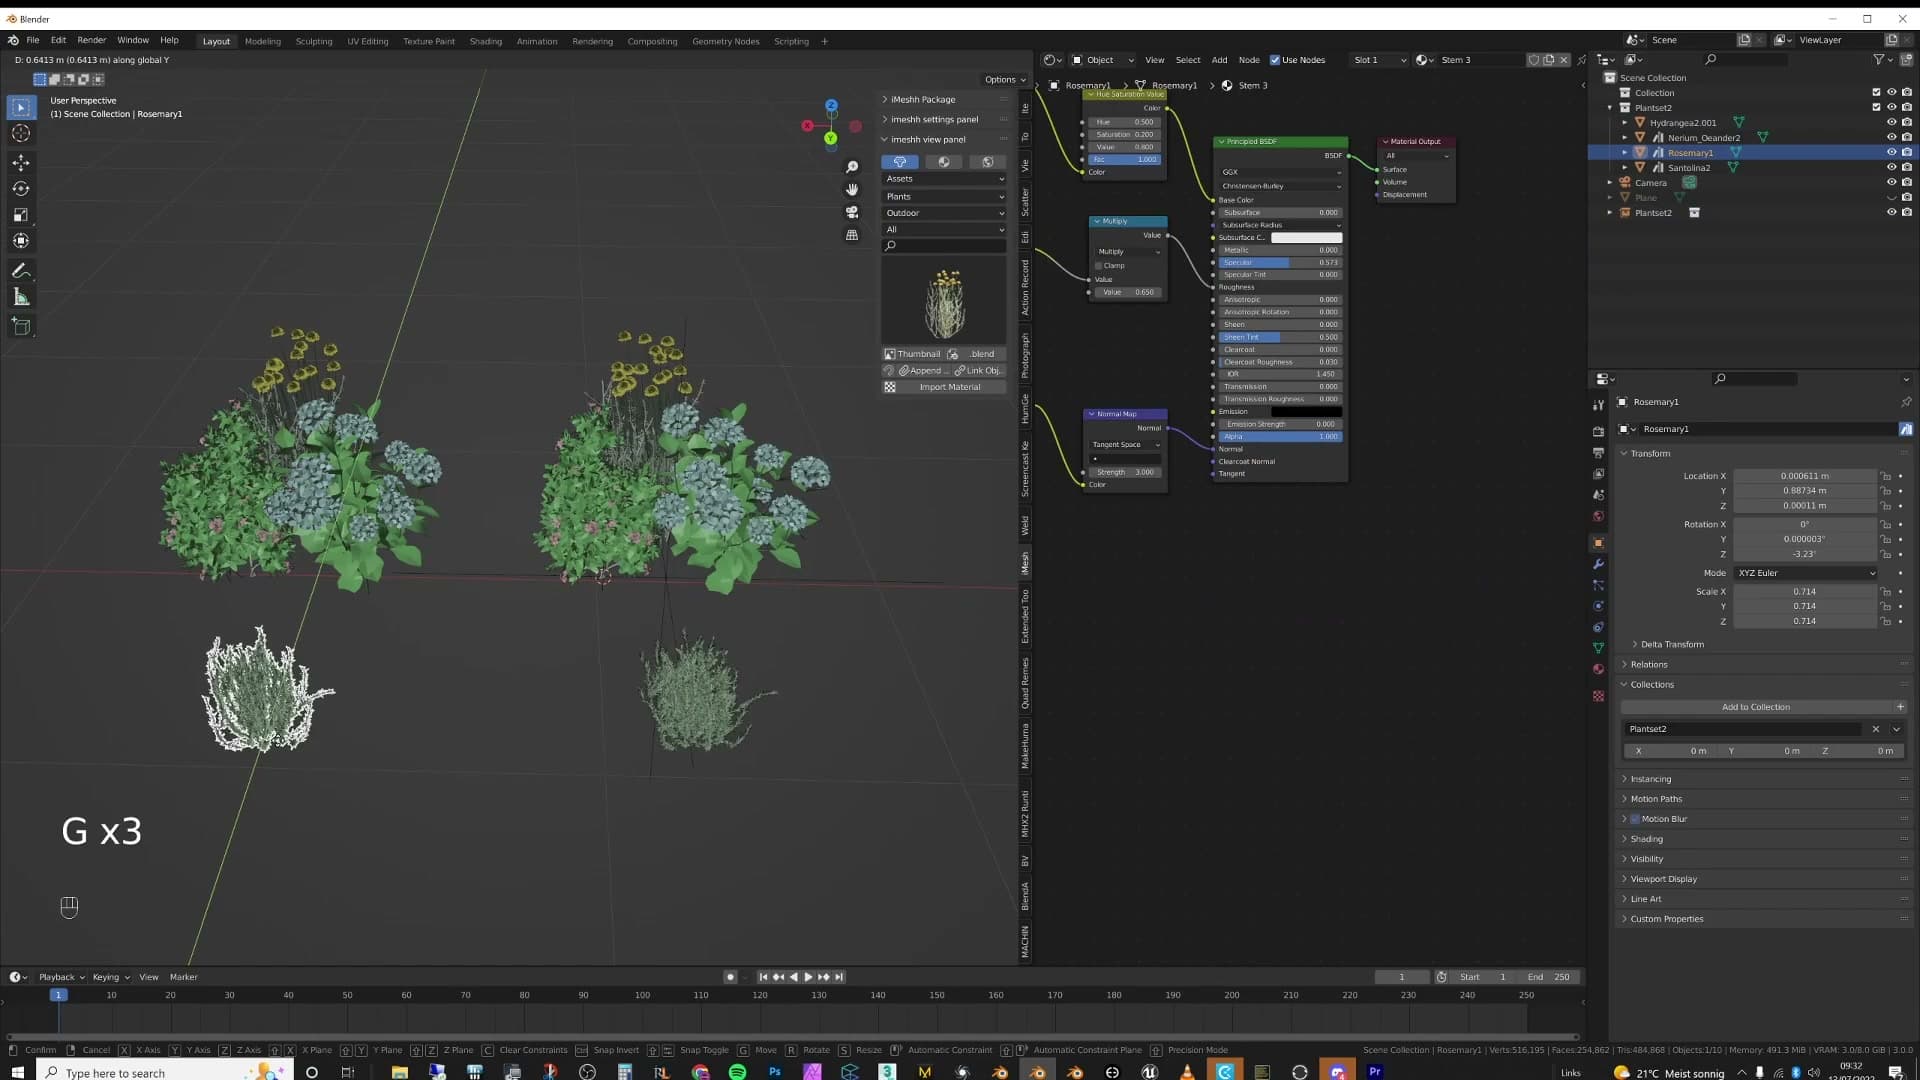
The instance is fully linked to its source. Move an object inside Plant Set 1, add a modifier, or rearrange the layout, and every instance you've spawned updates to match. From the outside, the instance behaves like one tidy object (you can grab it, rotate it, duplicate it again) while the geometry it represents lives once in the source collection.
Fixing the origin with Set Offset From Cursor
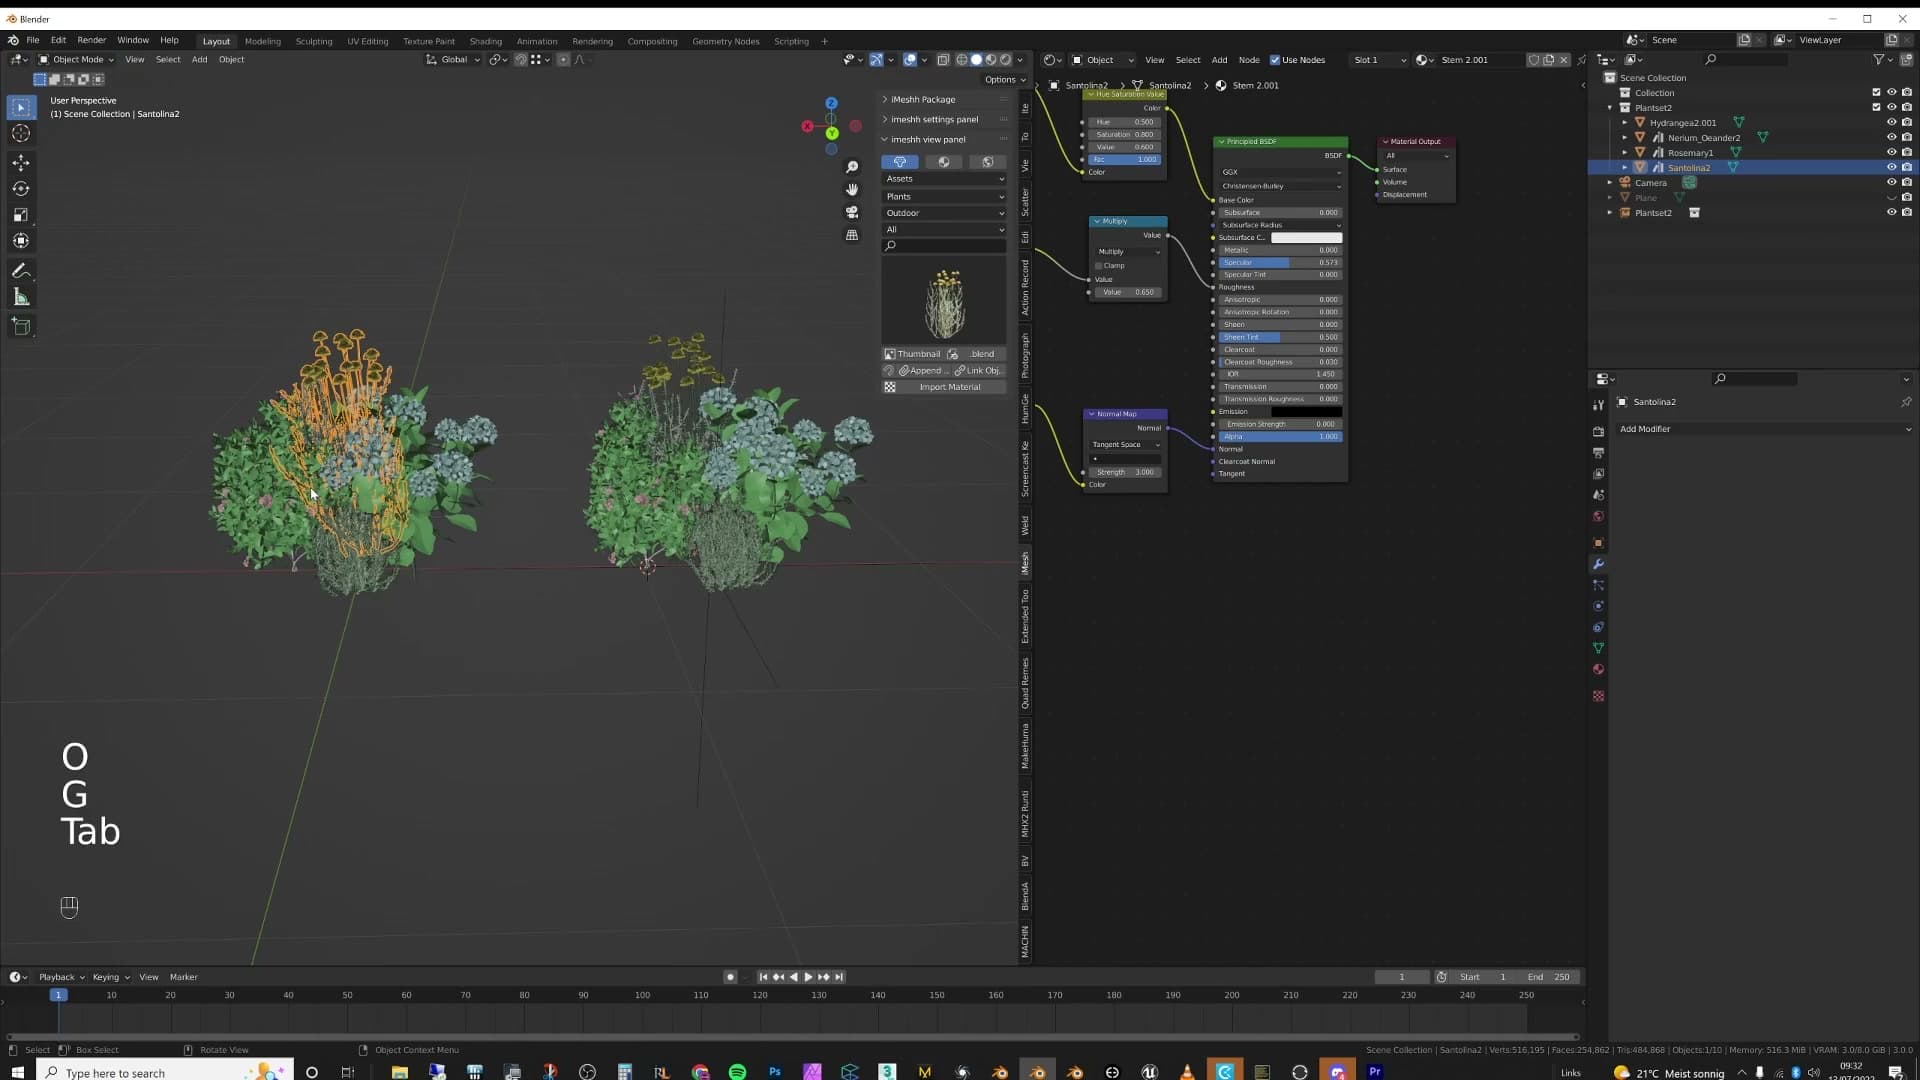
Collection instances often spawn in the wrong place. You build a tidy arrangement in the corner of the scene, press Shift+A → Collection Instance, and the new copy lands somewhere else entirely rather than next to the cursor.
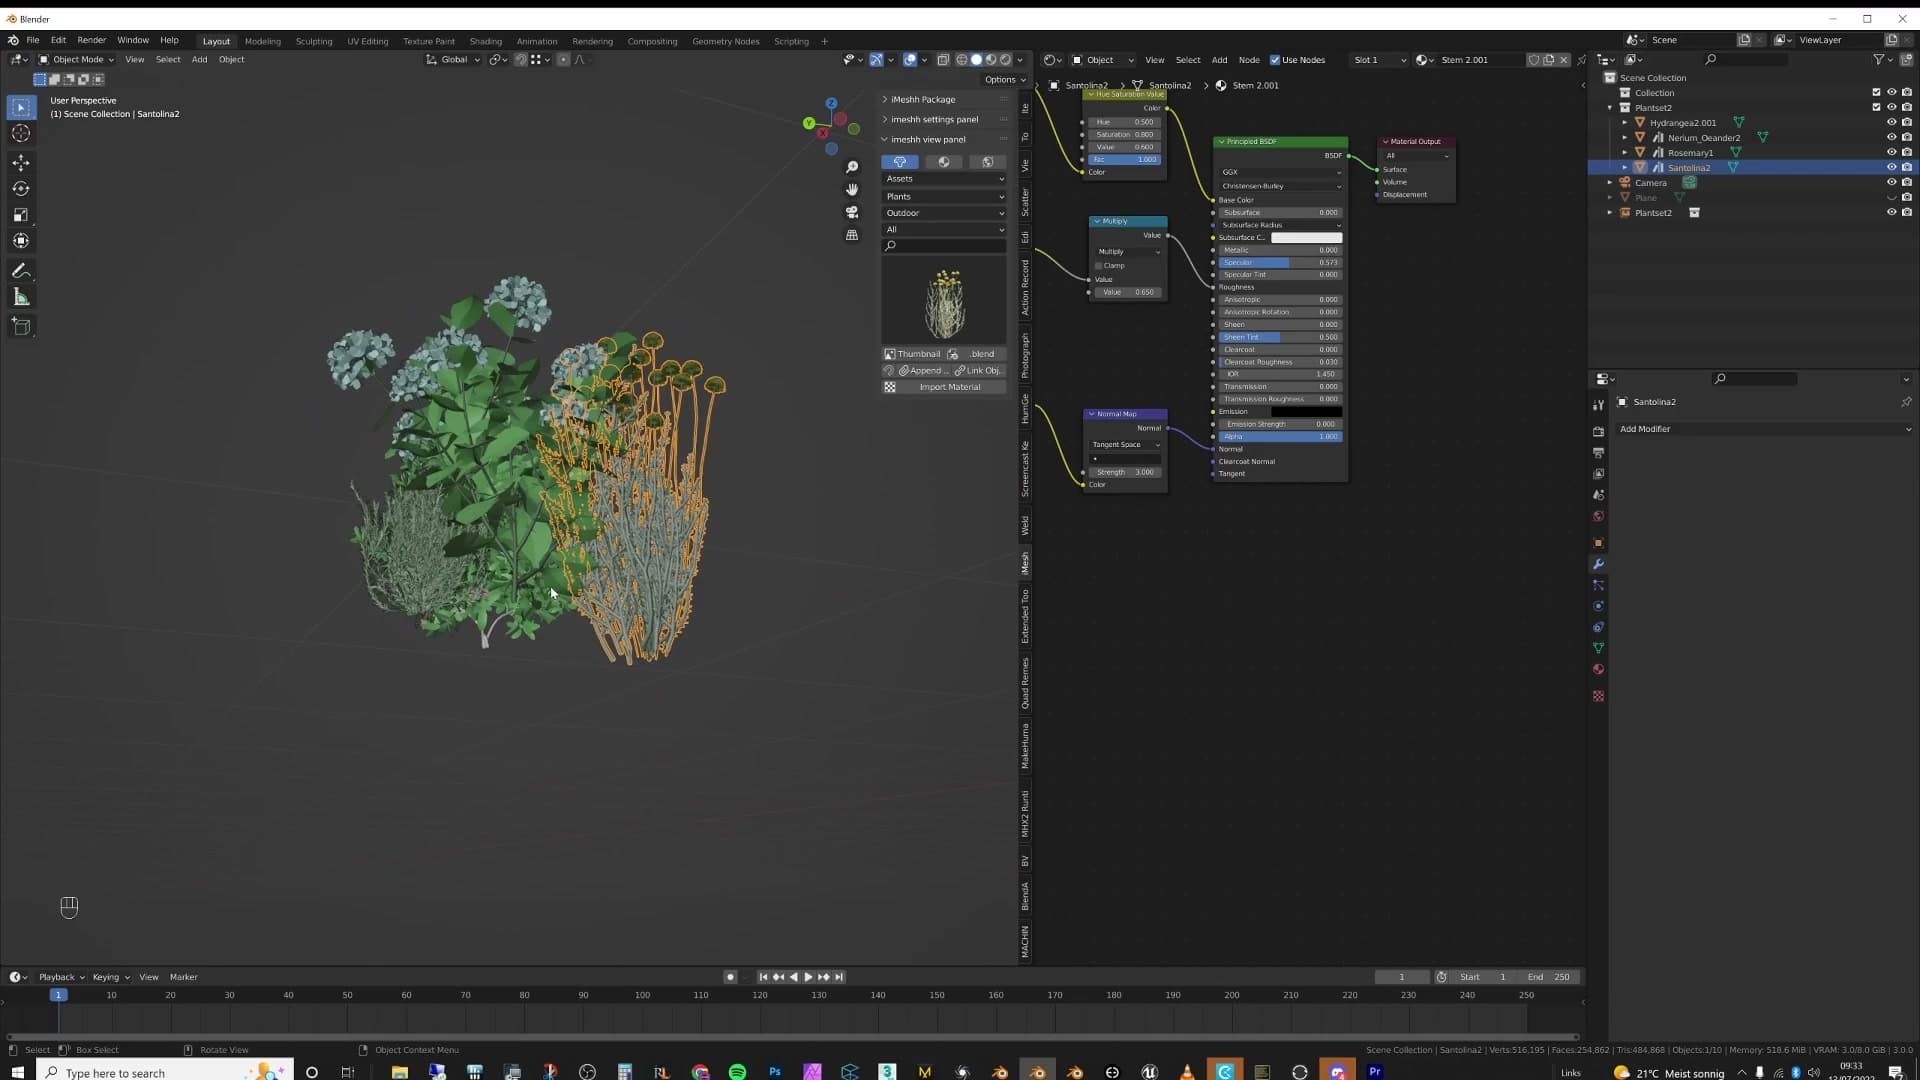
That happens because Blender treats 0,0,0 as the collection's pivot. The instance itself sits at the 3D cursor, but its contents are drawn relative to the source collection's origin. If your source objects are far from world zero, the instance ends up that same distance off-target. Moving the source back to 0,0,0 would fix it, but you don't actually have to. The collection's origin can sit anywhere you like.
Decide where the origin should be. A sensible reference point is usually the centre of the group or one of its corners. Place the 3D cursor there with Shift+Right-click.
Select one of the objects inside the collection, then open Object Properties and scroll down to the Collections panel. Make sure the correct collection is highlighted in that panel and click Set Offset From Cursor. The existing instance snaps to its correct position immediately, and any future instance you drop will land relative to the new origin.
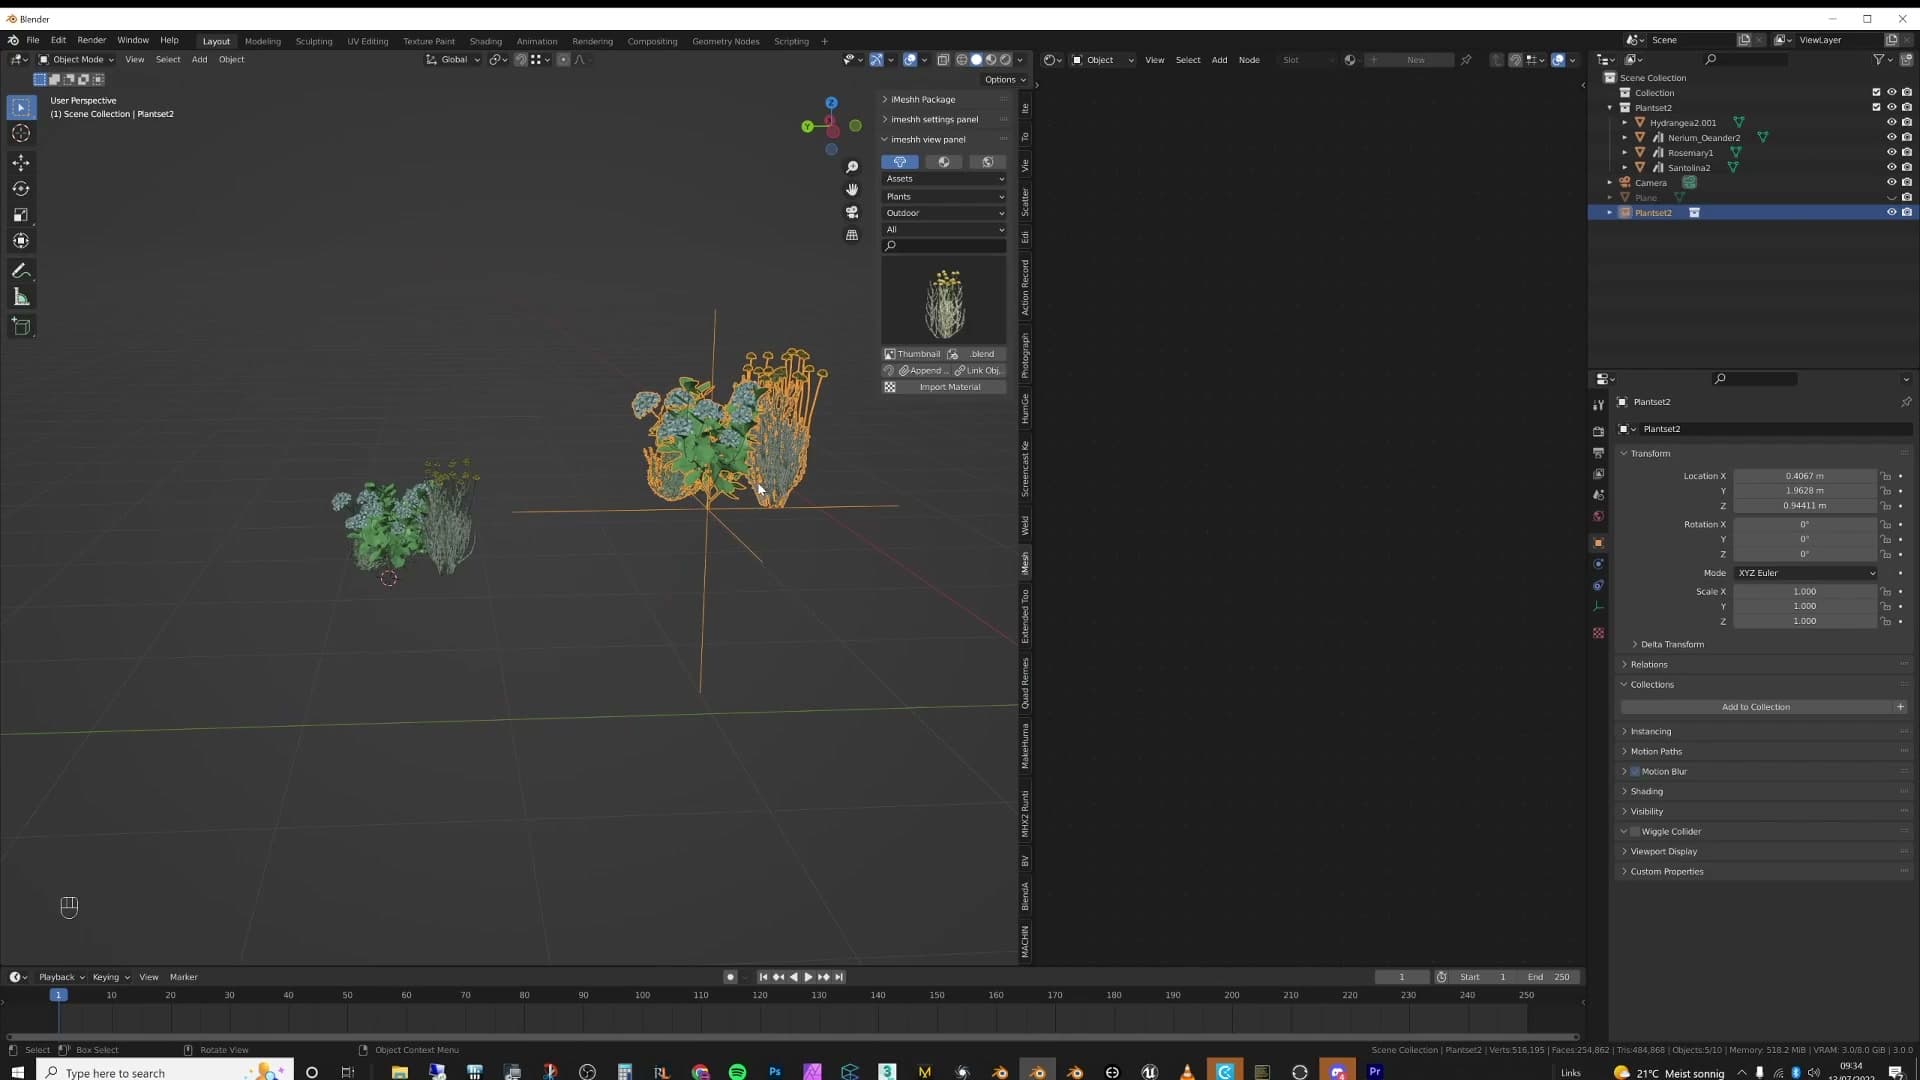
You can rerun the same step at any time. If you'd rather the origin sat at the top of the group instead of the base, move the cursor up, select an object in the collection, and hit Set Offset From Cursor again. The offset updates and every instance follows.
Sharing objects and using empties
One object can belong to several collections at once, so the same plant can appear in two different plant-set instances. Empties can also host collection instances through the Object Properties → Instancing → Collection workflow.
Adding an object to multiple collections
A single object isn't locked to one collection. The same plant mesh can live inside Plant Set 1 and Plant Set 2 at the same time, which means it will appear in every collection instance that draws from either set. Useful when you've already built one bush and want it to show up in a second arrangement without duplicating the geometry again.
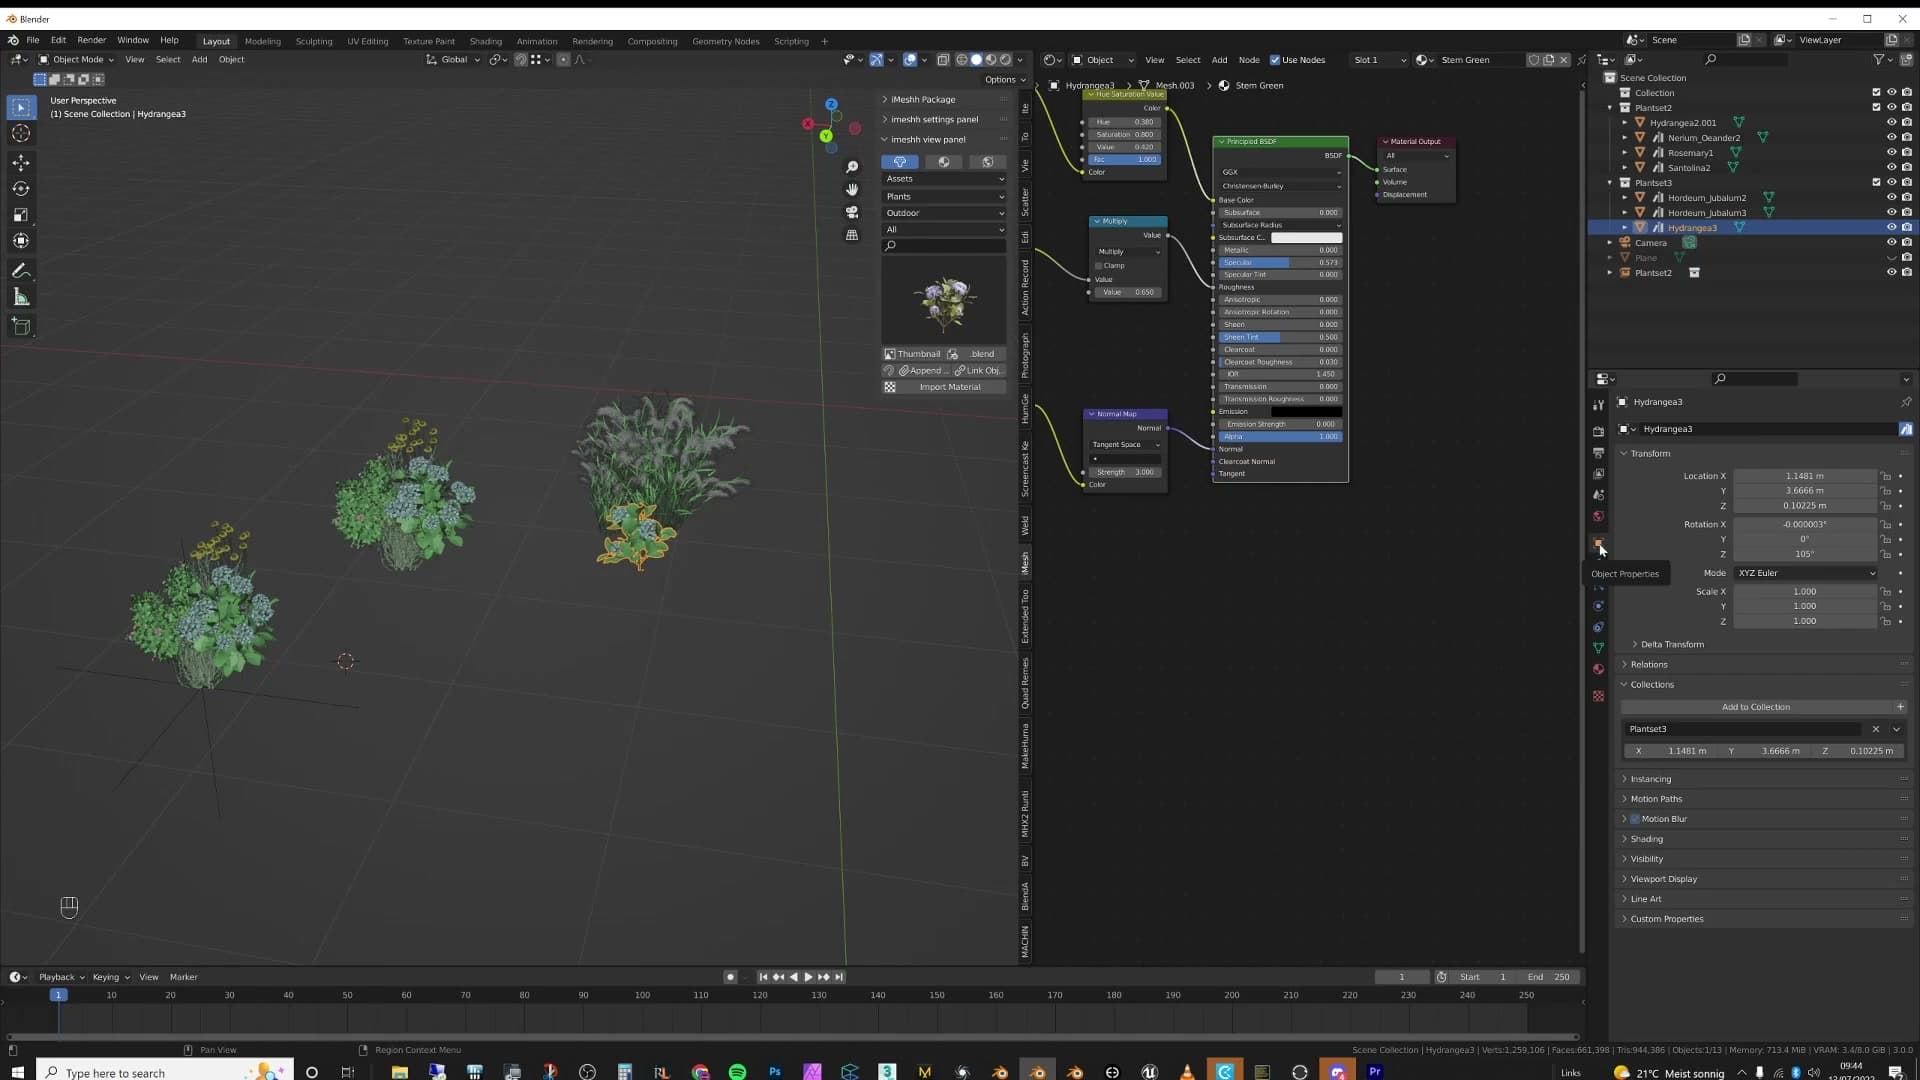
Select the object in the viewport, open the Object Properties tab, and scroll down to the Collections panel. Add it to a second collection (for example Plant Set 2) and Blender will start drawing it inside every instance of that collection alongside the original assignment.
Because the link is just a membership flag, no mesh data is duplicated. The object's origin still belongs to the object itself, and the collection instances pick it up wherever they happen to be placed in the scene.
Attaching collection instances to empties
Collection instances don't have to be created through Shift+A. You can attach one to an empty instead, which is handy when you want a clearly visible handle in the viewport that controls a whole grouped asset.
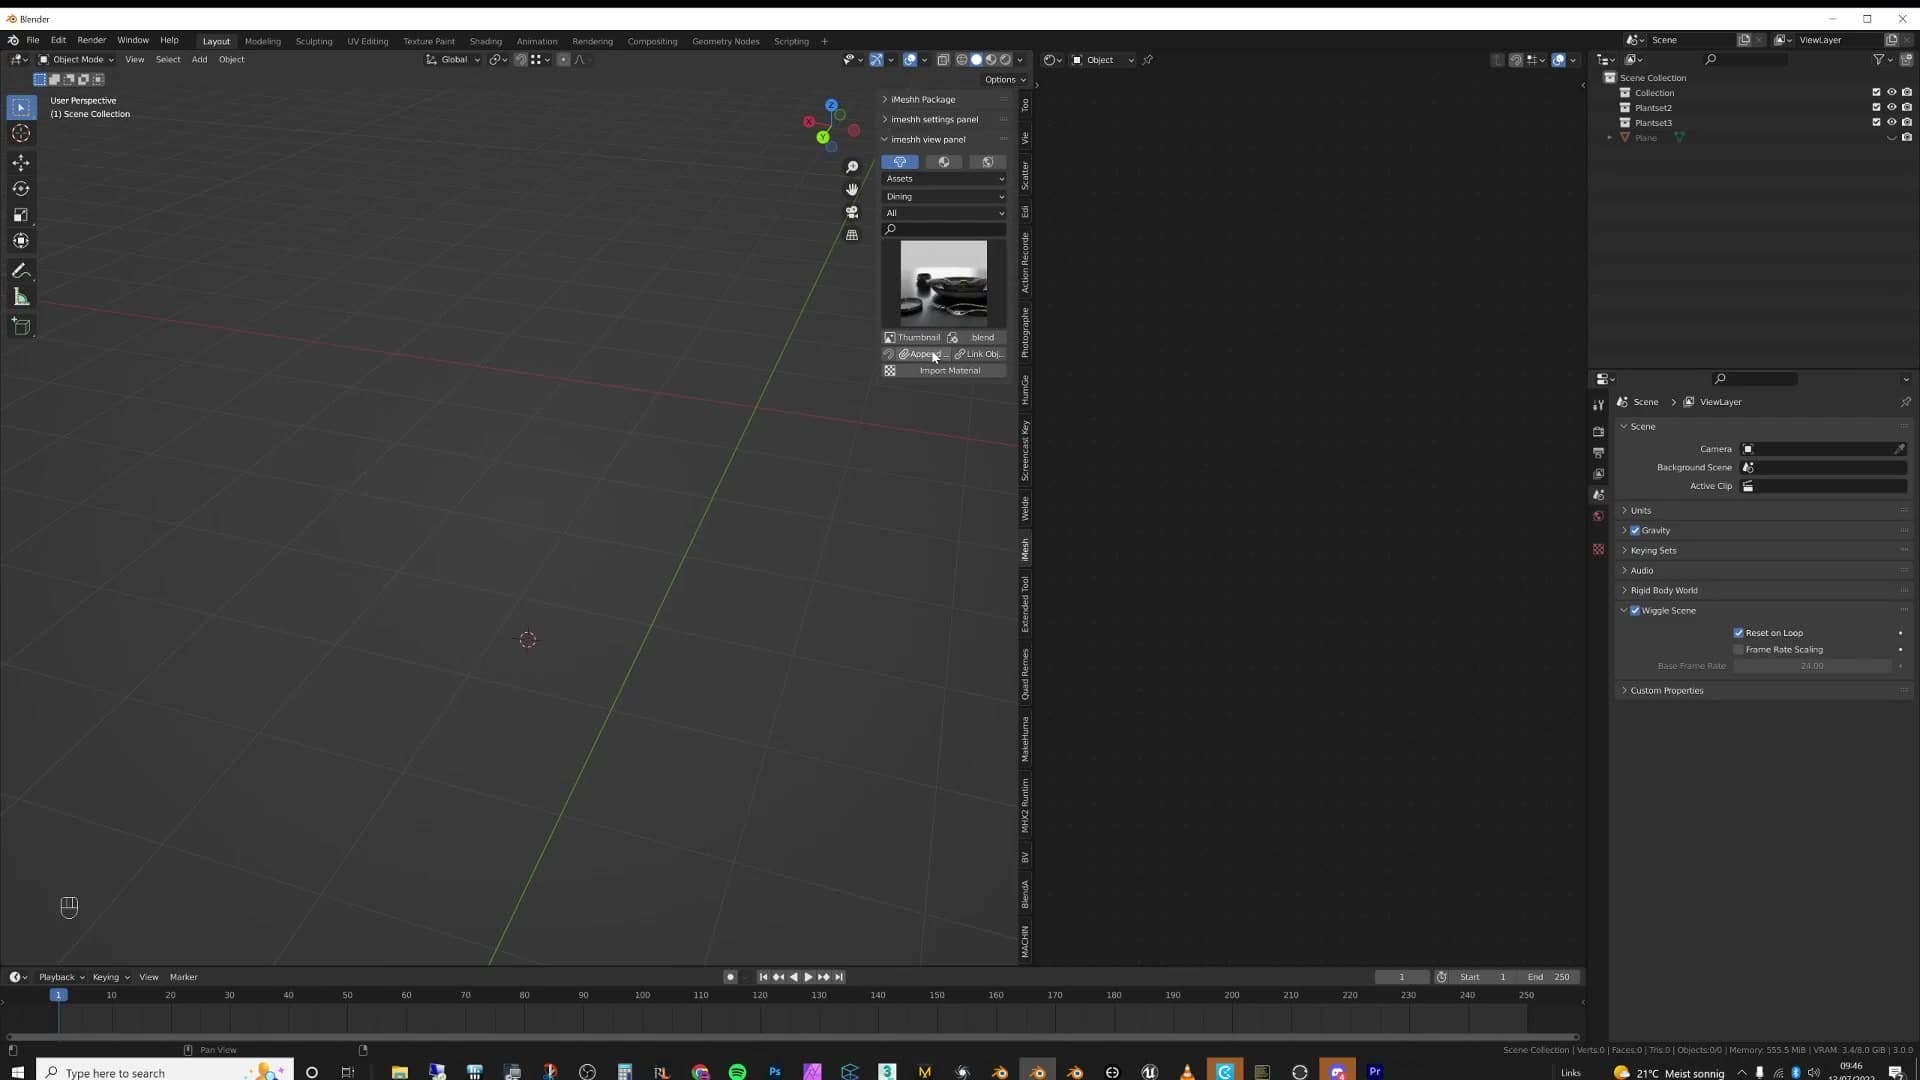
Add an empty, select it, then open the Object Properties tab. Expand the Instancing section, switch the instancing type to Collection, and pick the collection you want to instance from the dropdown. The empty now renders that collection wherever it sits, and moving the empty moves the whole set.
Real-world use case: dining table sets
Appended iMeshh dining sets land as loose parents and children that have to be selected carefully to move together. Wrap the whole set in a collection instance and the entire arrangement behaves like a single object, much closer to a 3ds Max group.
Appended assets and the grouping pain
Most of the time you won't be duplicating bare plants or single chairs. You'll be working with full sets dropped in from a library. Take a dining table set: append one in and what looks like a single arrangement is really a parent with a stack of children, table top, legs, chairs, place settings, the lot.
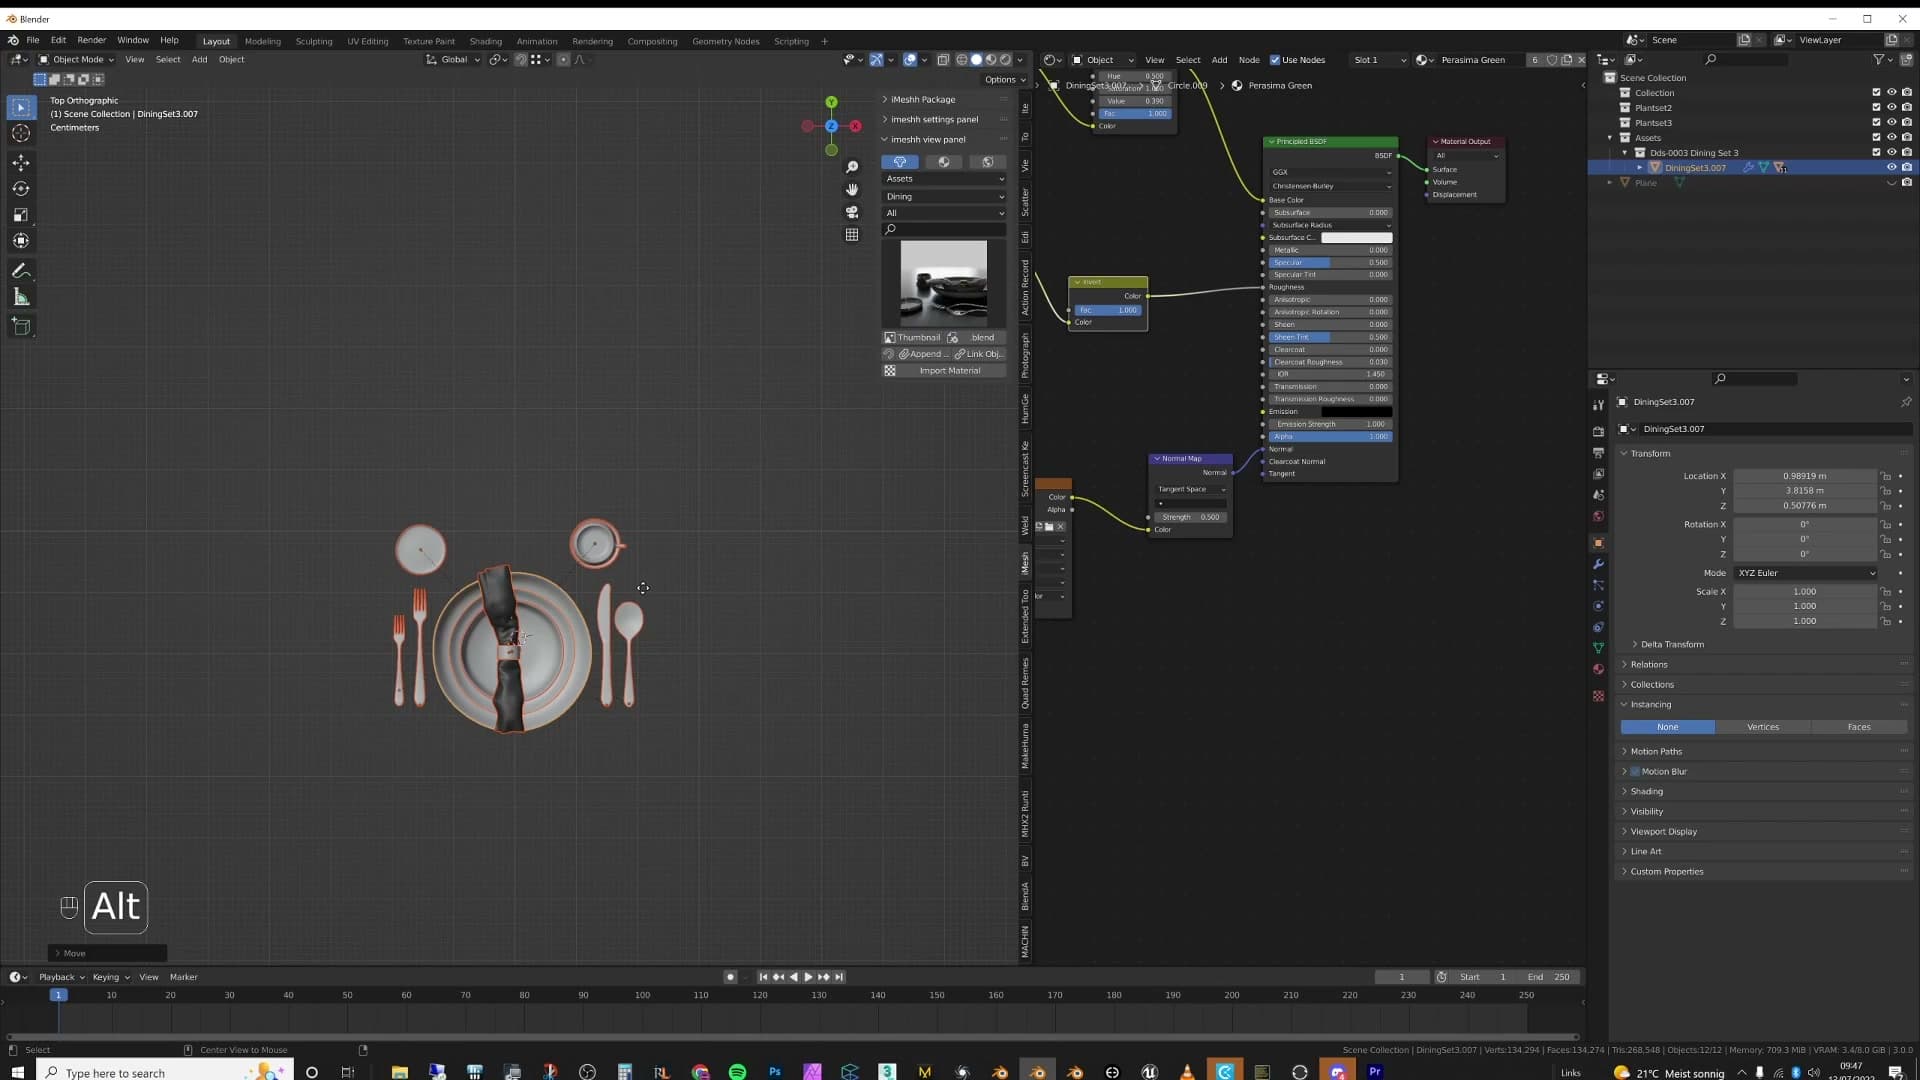
You can still Alt+D the whole selection and rotate the copy 180° to face it down the other side of the room, and the linked duplication works exactly as it did with the plants. The problem is what you're left with in the outliner: a long list of individual objects when, conceptually, you only have two dining sets. Every time you want to nudge a set into a new position you're carefully reselecting dozens of children and hoping nothing gets left behind.
This is the scenario collection instances were built for. Wrap the set in a collection, drop in an instance, and the whole arrangement starts behaving like a single object. Much closer to what a 3ds Max group gives you out of the box.
Treating the set as one instance
Start by finding which collection the set already lives in. In this example it's the Dining Table Set collection. Press Shift+A, choose Collection Instance, and pick that collection from the menu. Blender drops in a single empty that represents the entire set.
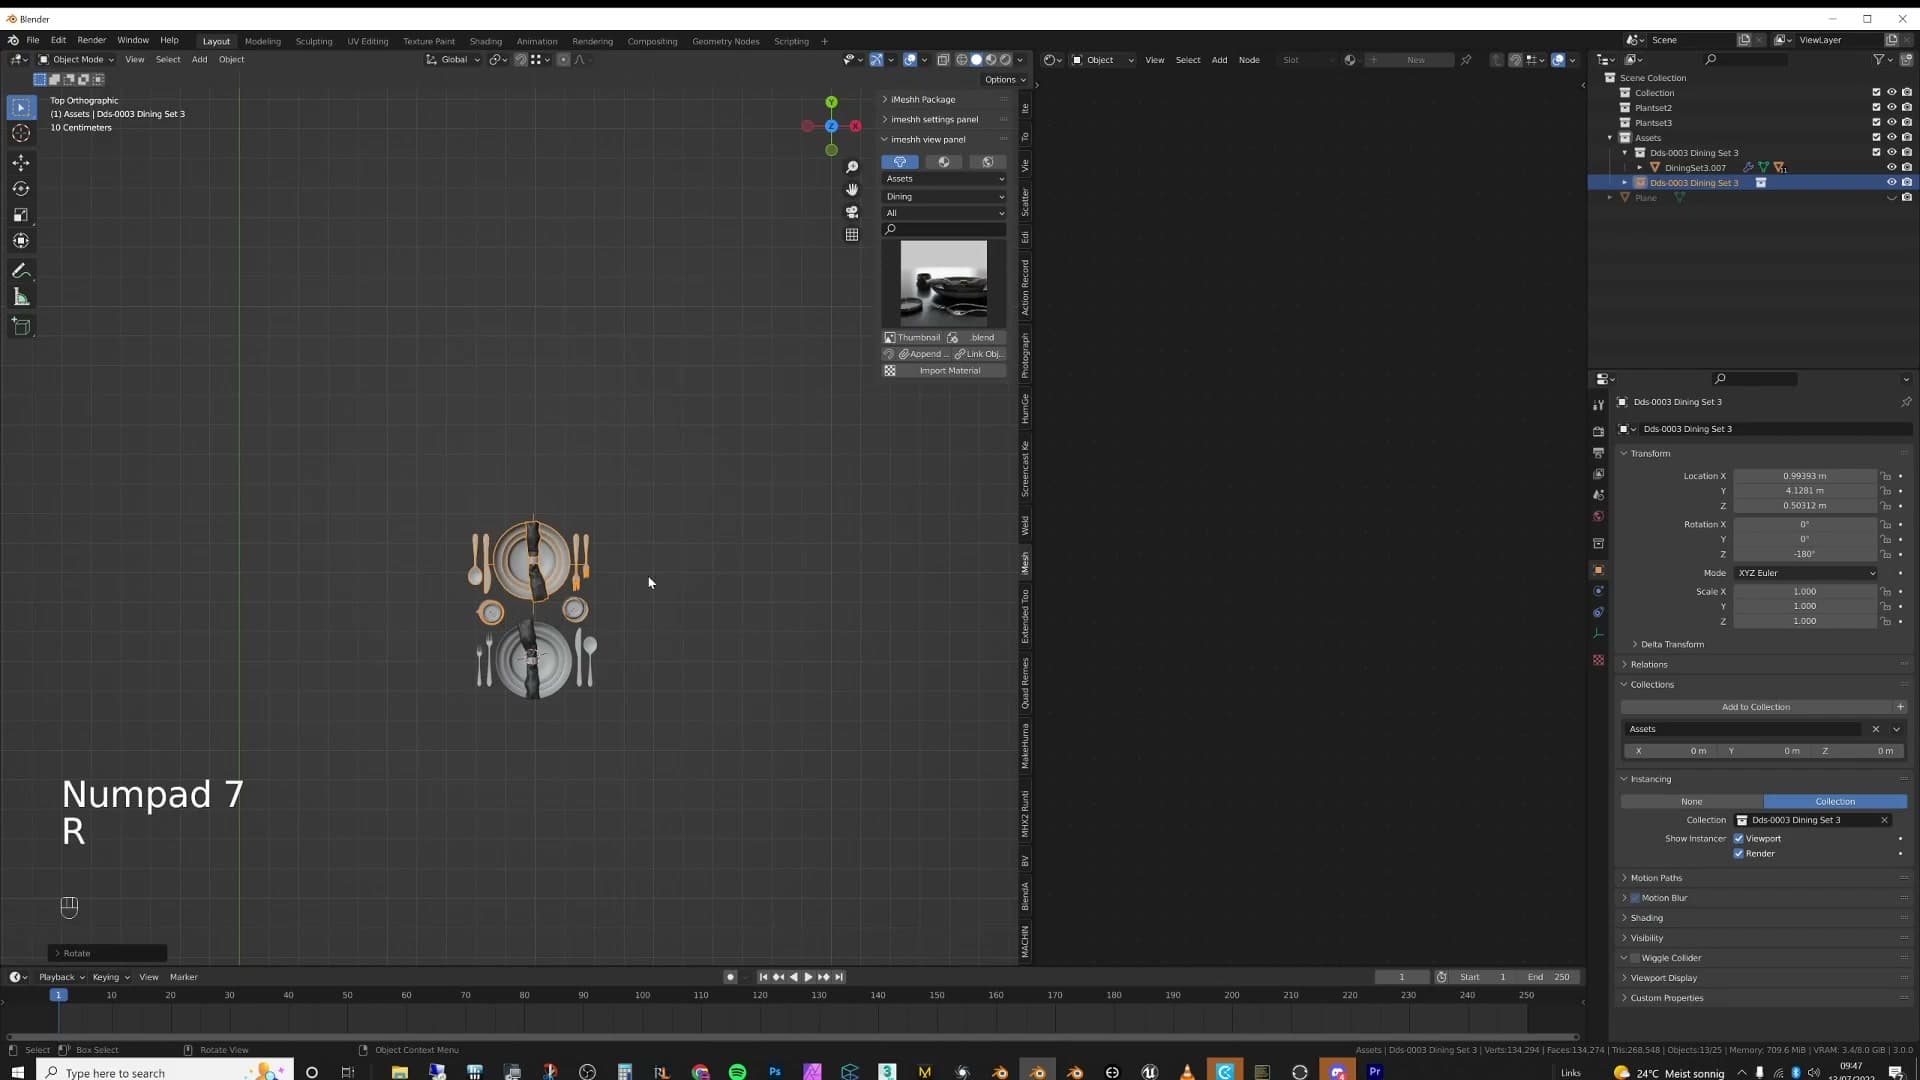
The new instance almost always lands with its origin in the wrong place. To fix it, select the parent object inside the source collection, press Shift+S and choose Cursor to Selected so the 3D cursor snaps to that point. Then open Object Properties → Collections, select the right collection row, and click Set Offset From Cursor. The instance origin now sits where you actually want to grab it from.
The empty itself can be cramped and hard to click. Right-click on it, choose Adjust Empty Size, and drag the mouse until the empty is large enough to be comfortable in the viewport. Pure quality-of-life, but worth doing once.
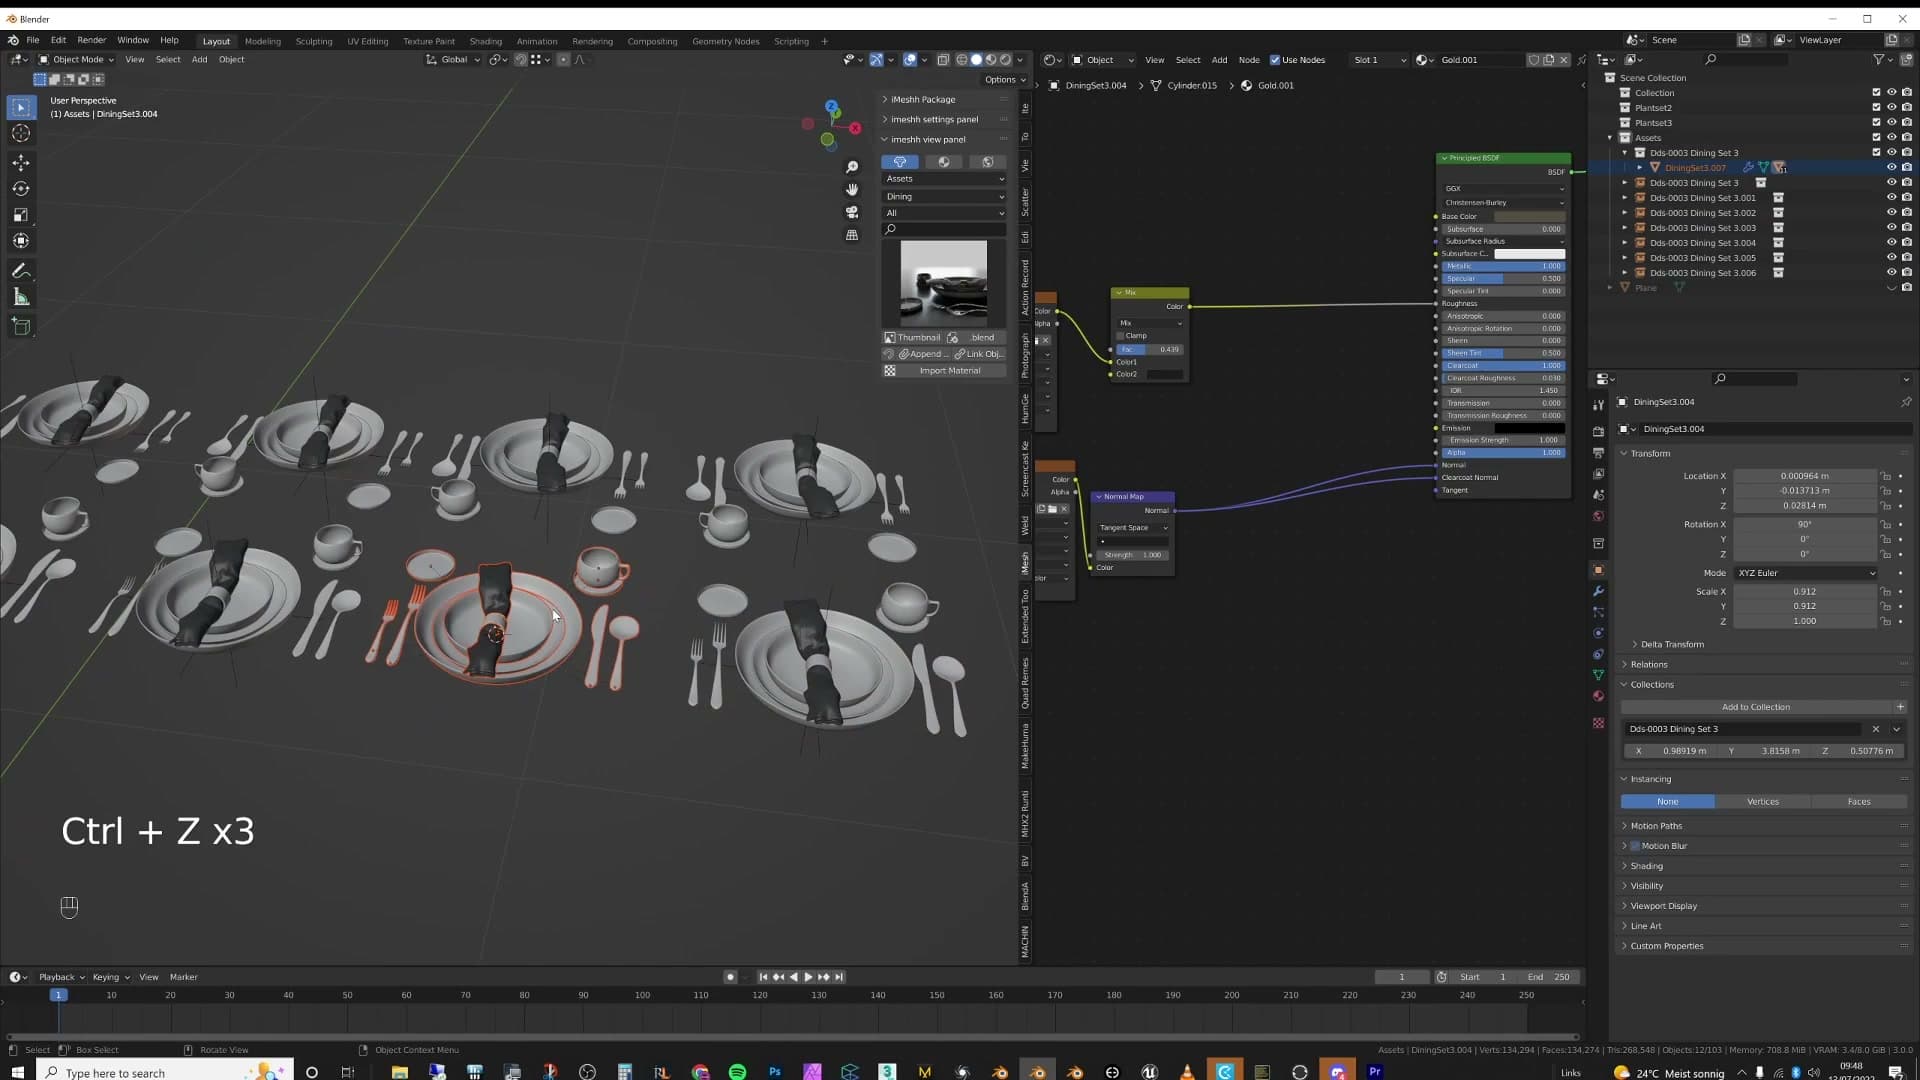
From here, position the new instance, duplicate it with Alt+D, and rotate the copy 180° to form a long banquet table out of two dining sets. Each one is now a single, easy-to-select object. If you prefer a cleaner scene, hide the original collection and work only with the instances.
The Quick Instances add-on
Quick Instances collapses the entire collection-instance workflow to a single shortcut. Select objects, press Ctrl+G, and the add-on moves the source into a Library scene and leaves a clean instance behind. Tab into the instance to edit the source in place, then Tab back out to the working scene.
Installing Quick Instances
The Quick Instances add-on collapses everything from the last module into a single shortcut. Once installed, you select objects and press Ctrl+G to turn them into a collection instance: no manual collection creation, no Shift+A menu, no chasing origin points afterwards.
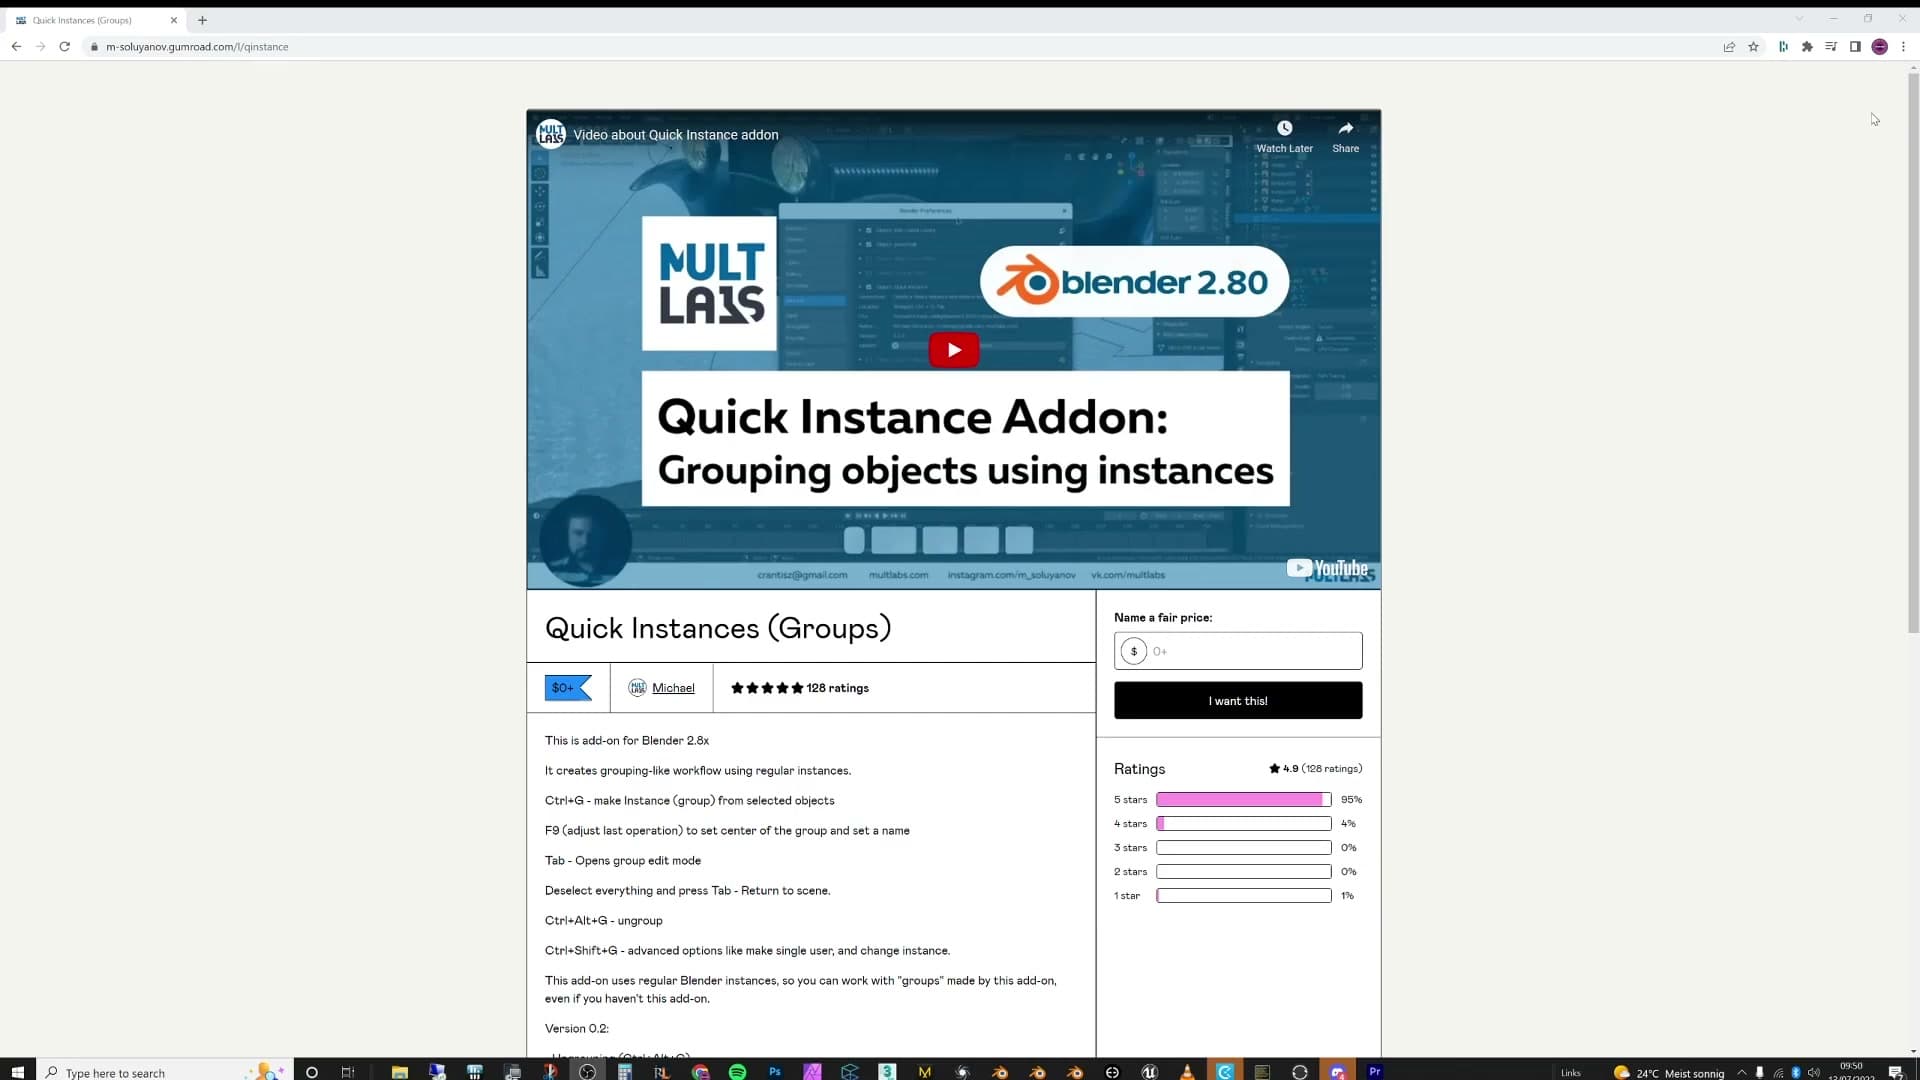
Download the Quick Instances add-on, then open Edit → Preferences → Add-ons, click Install, point Blender at the zip file, and tick the box to enable it. The preferences panel lists the hotkeys for the add-on, so you can confirm Ctrl+G is bound and ready to use.
Ctrl+G to instance, Tab to edit
With the add-on enabled, the workflow becomes a two-key loop. Select every object you want grouped (a dining setup with plates, glasses and cutlery is the example used here) and press Ctrl+G. The selection collapses into a single collection instance that moves as one object.
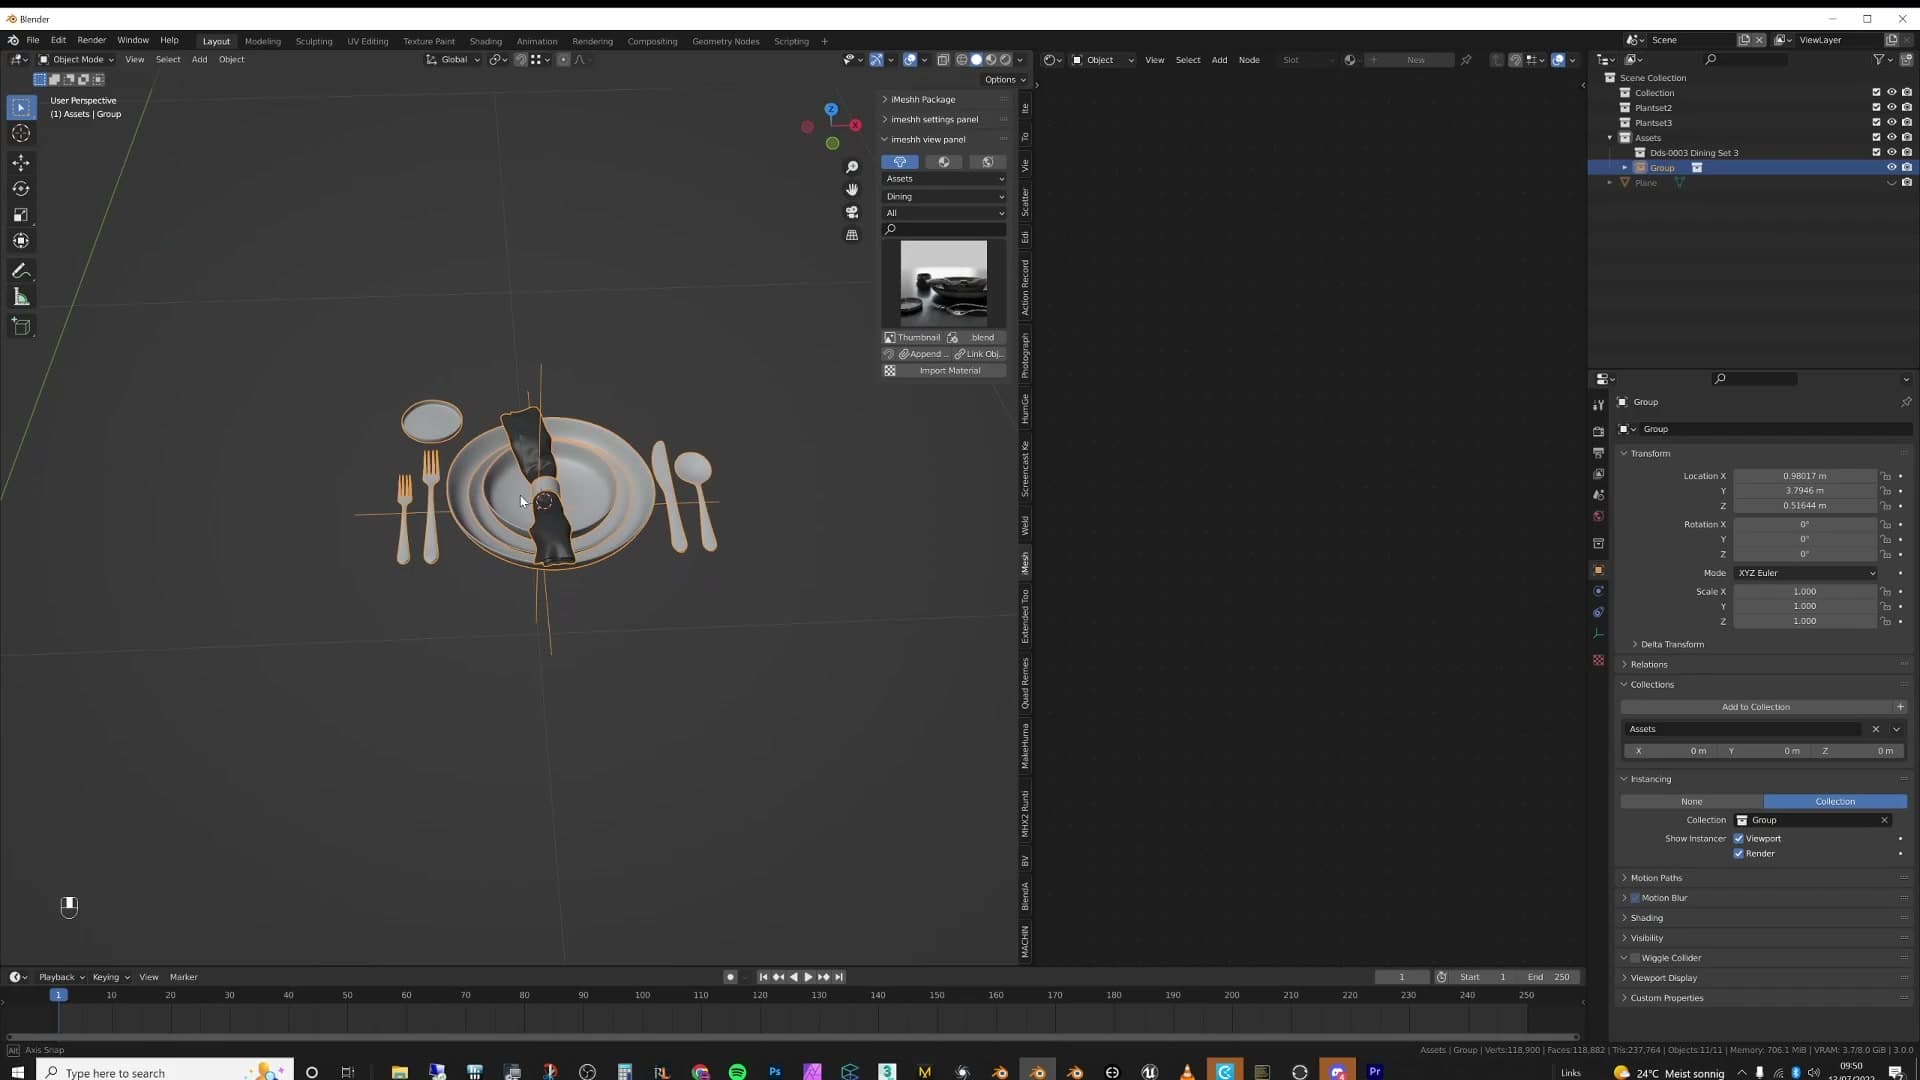
Behind the scenes, the add-on does three things at once: it takes the original objects, moves them into a new scene called Library, and centres them so the origin sits in the right place. What's left in your working scene is a clean collection instance with the correct pivot.
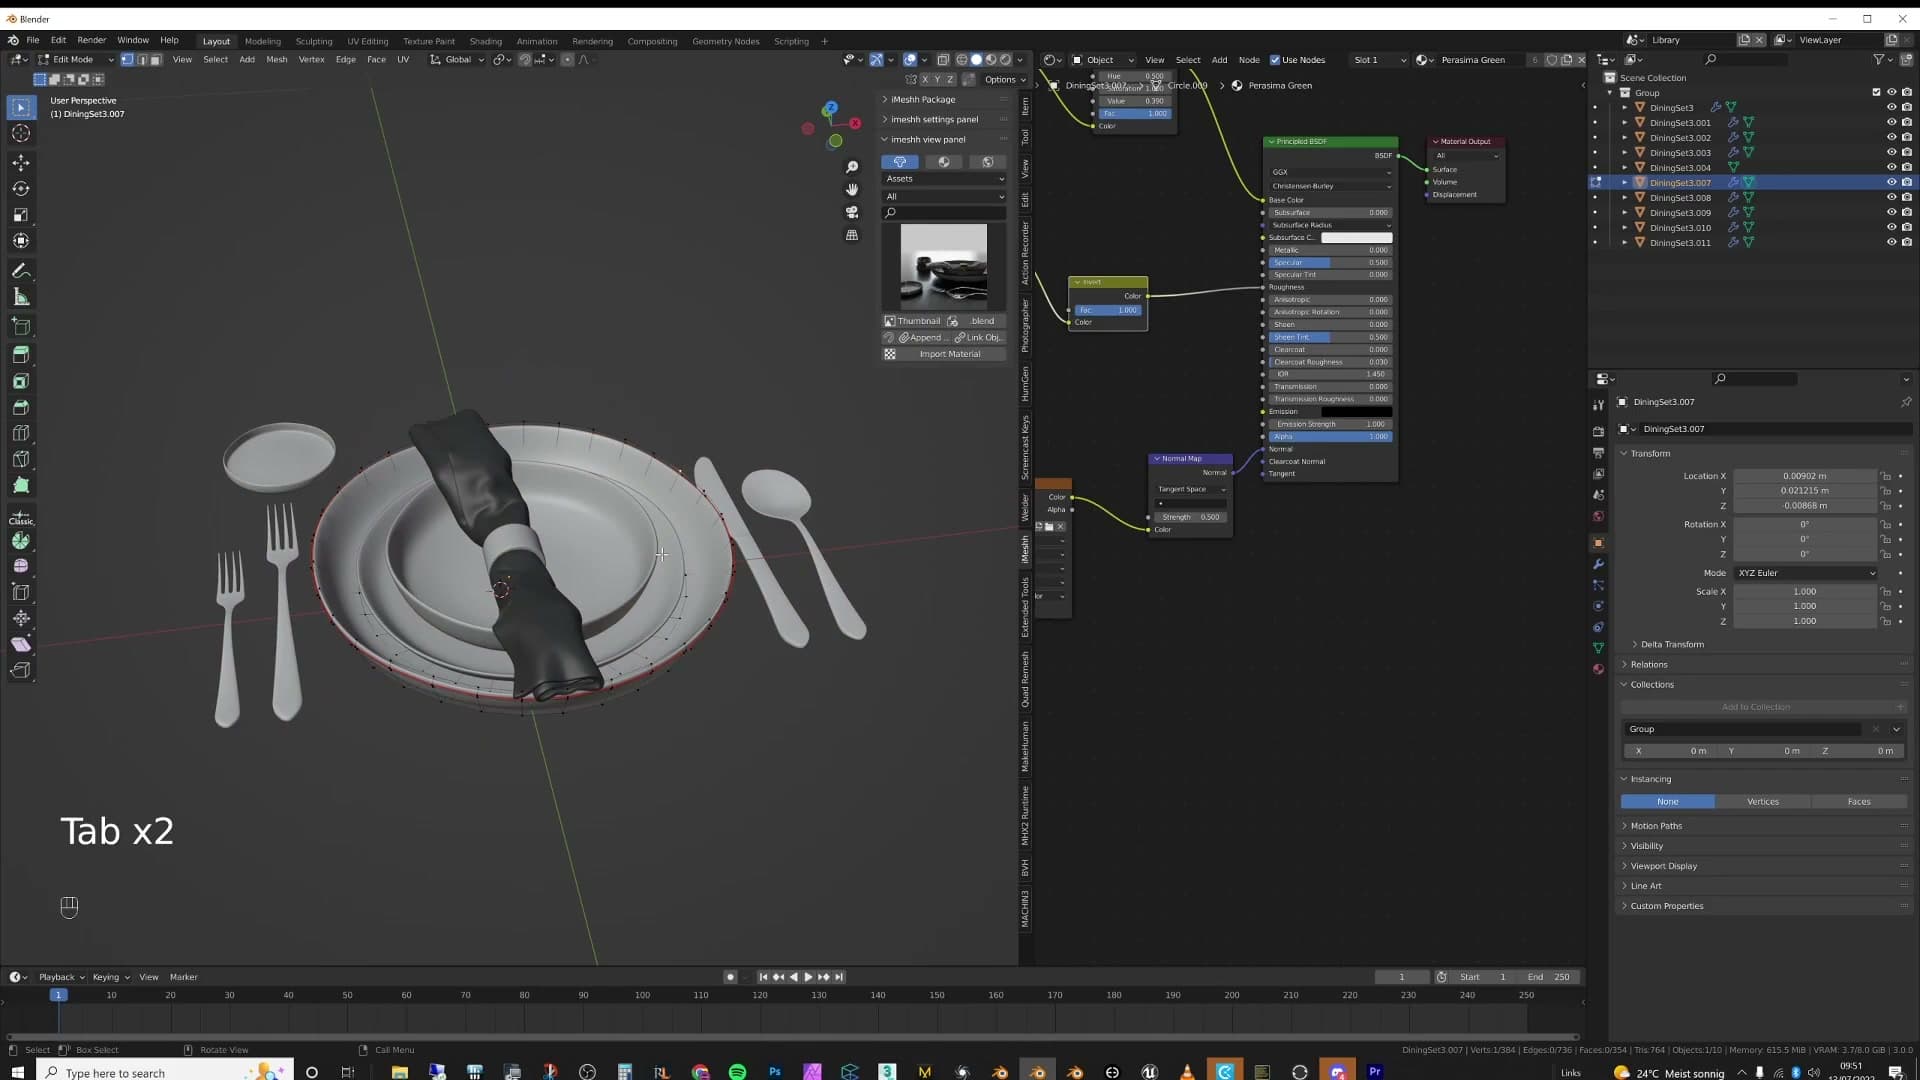
Editing is just as fast. Click on the instance and press Tab, and Blender jumps you into the Library scene with the source objects ready to edit. Change materials, remove a few plates, tweak the geometry. Whatever you need. When you're done, click off the object and press Tab again to drop back into your working scene, with the instance updated automatically.
Library scene organisation
The Library scene is what makes Quick Instances feel different from the manual collection-instance workflow. Your working scene only contains instances; the heavy source geometry lives in a separate Library scene that you only visit when you need to edit something.
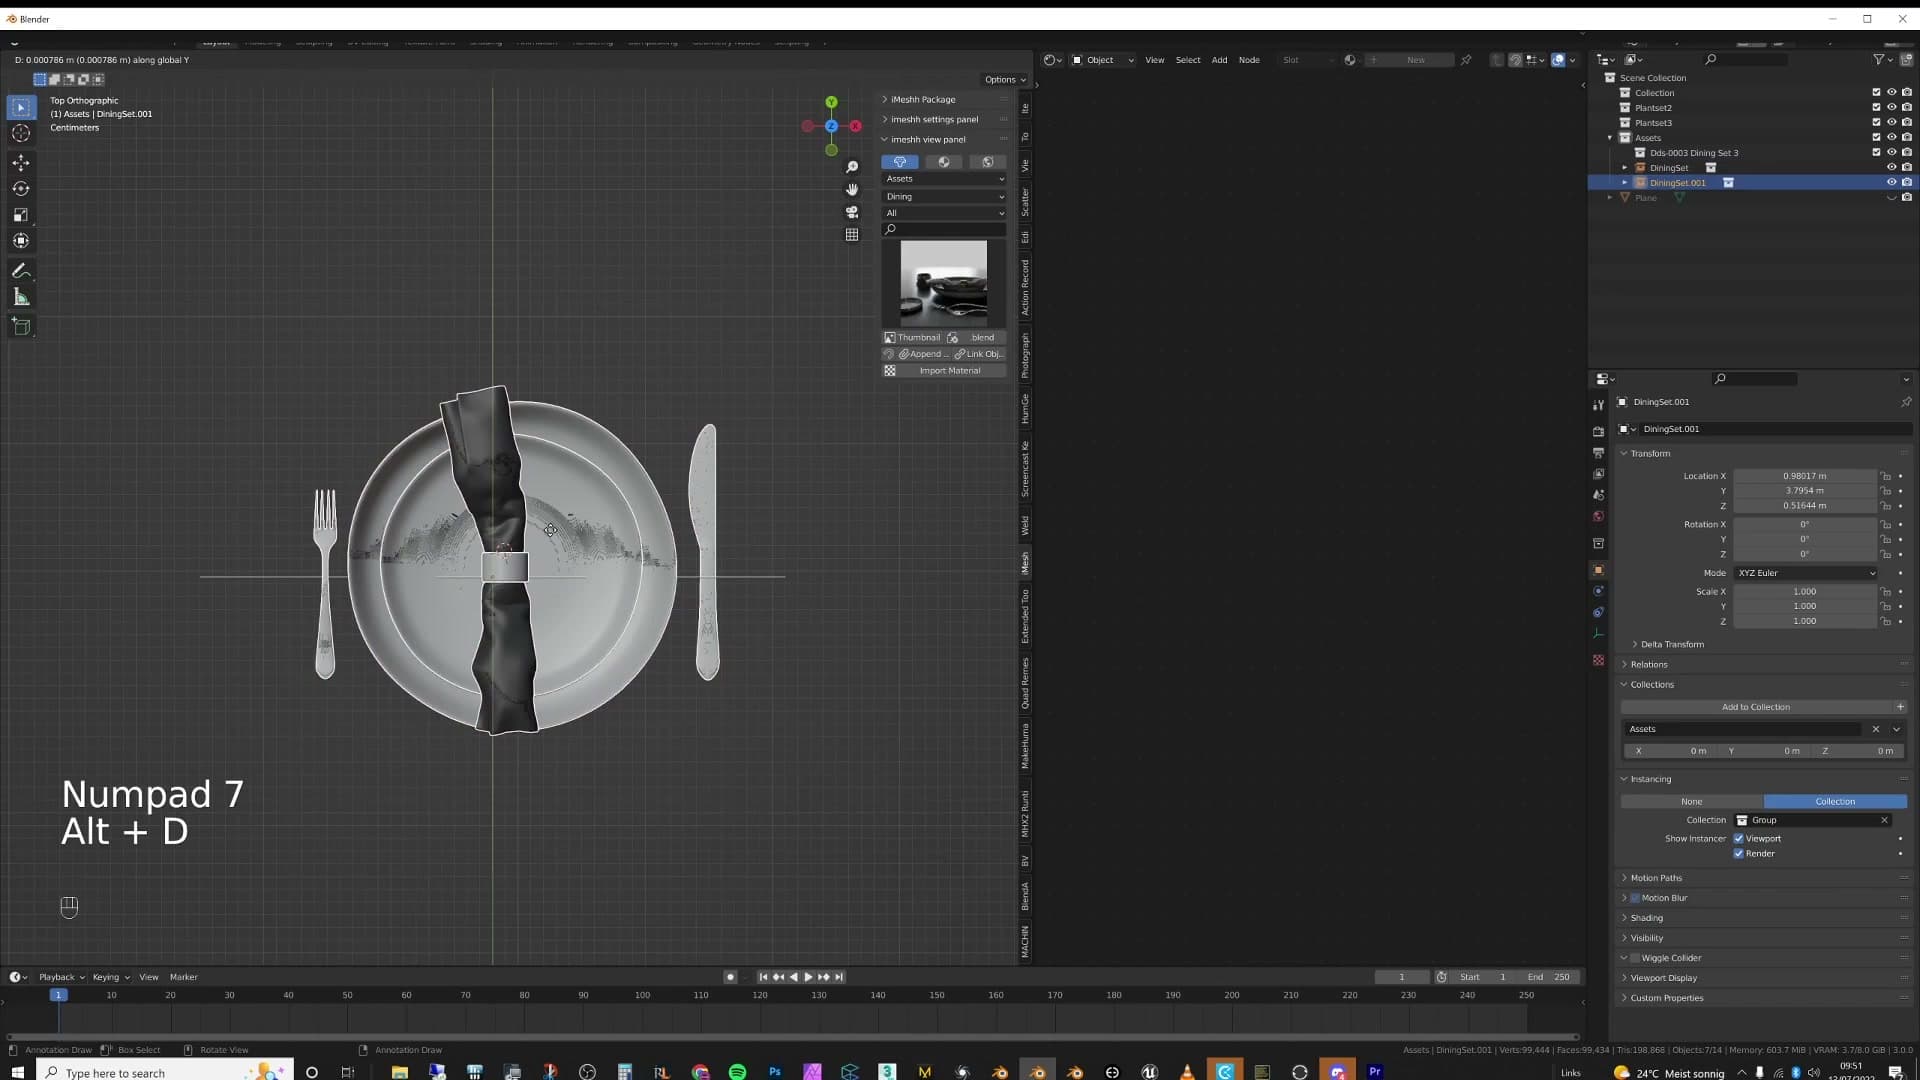
That separation removes two of the small frustrations from the previous section. You don't need to hide collections to keep the viewport clean, because the source objects aren't in your working scene at all. And you don't need to micromanage origin points, because the add-on centres each source automatically when it moves it across.
Restaurant table set example
The same workflow scales to anything you'd repeat across a scene. Take a restaurant set: a table laid with the same plates, glasses and cutlery you'll need to scatter across every table in the room. Select the whole arrangement and press Ctrl+G, and the entire group becomes one instance you can duplicate around the restaurant.
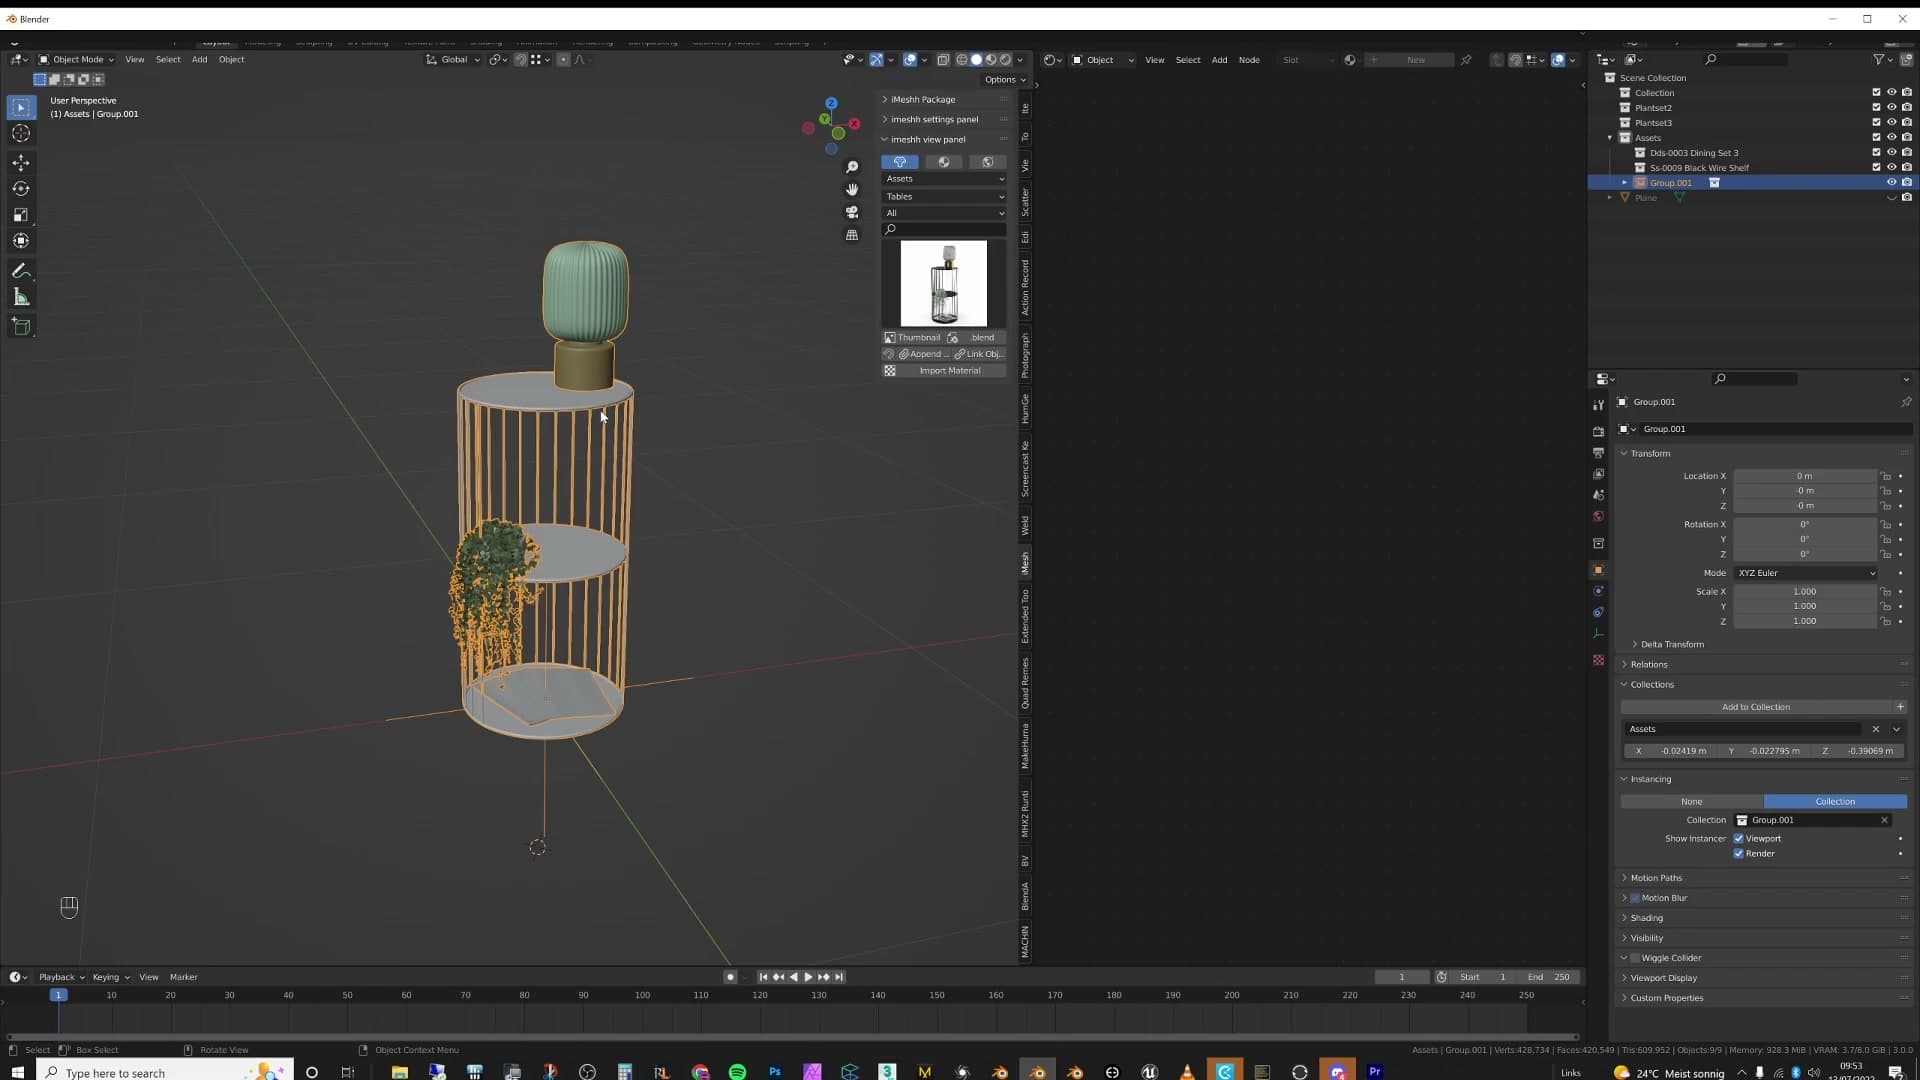
The one thing to watch is the origin. With a wider arrangement, the auto-centred origin can land somewhere awkward: fine for the source group, but inconvenient when you start placing copies. The fix is the same as in the manual workflow, just applied inside the Library scene.
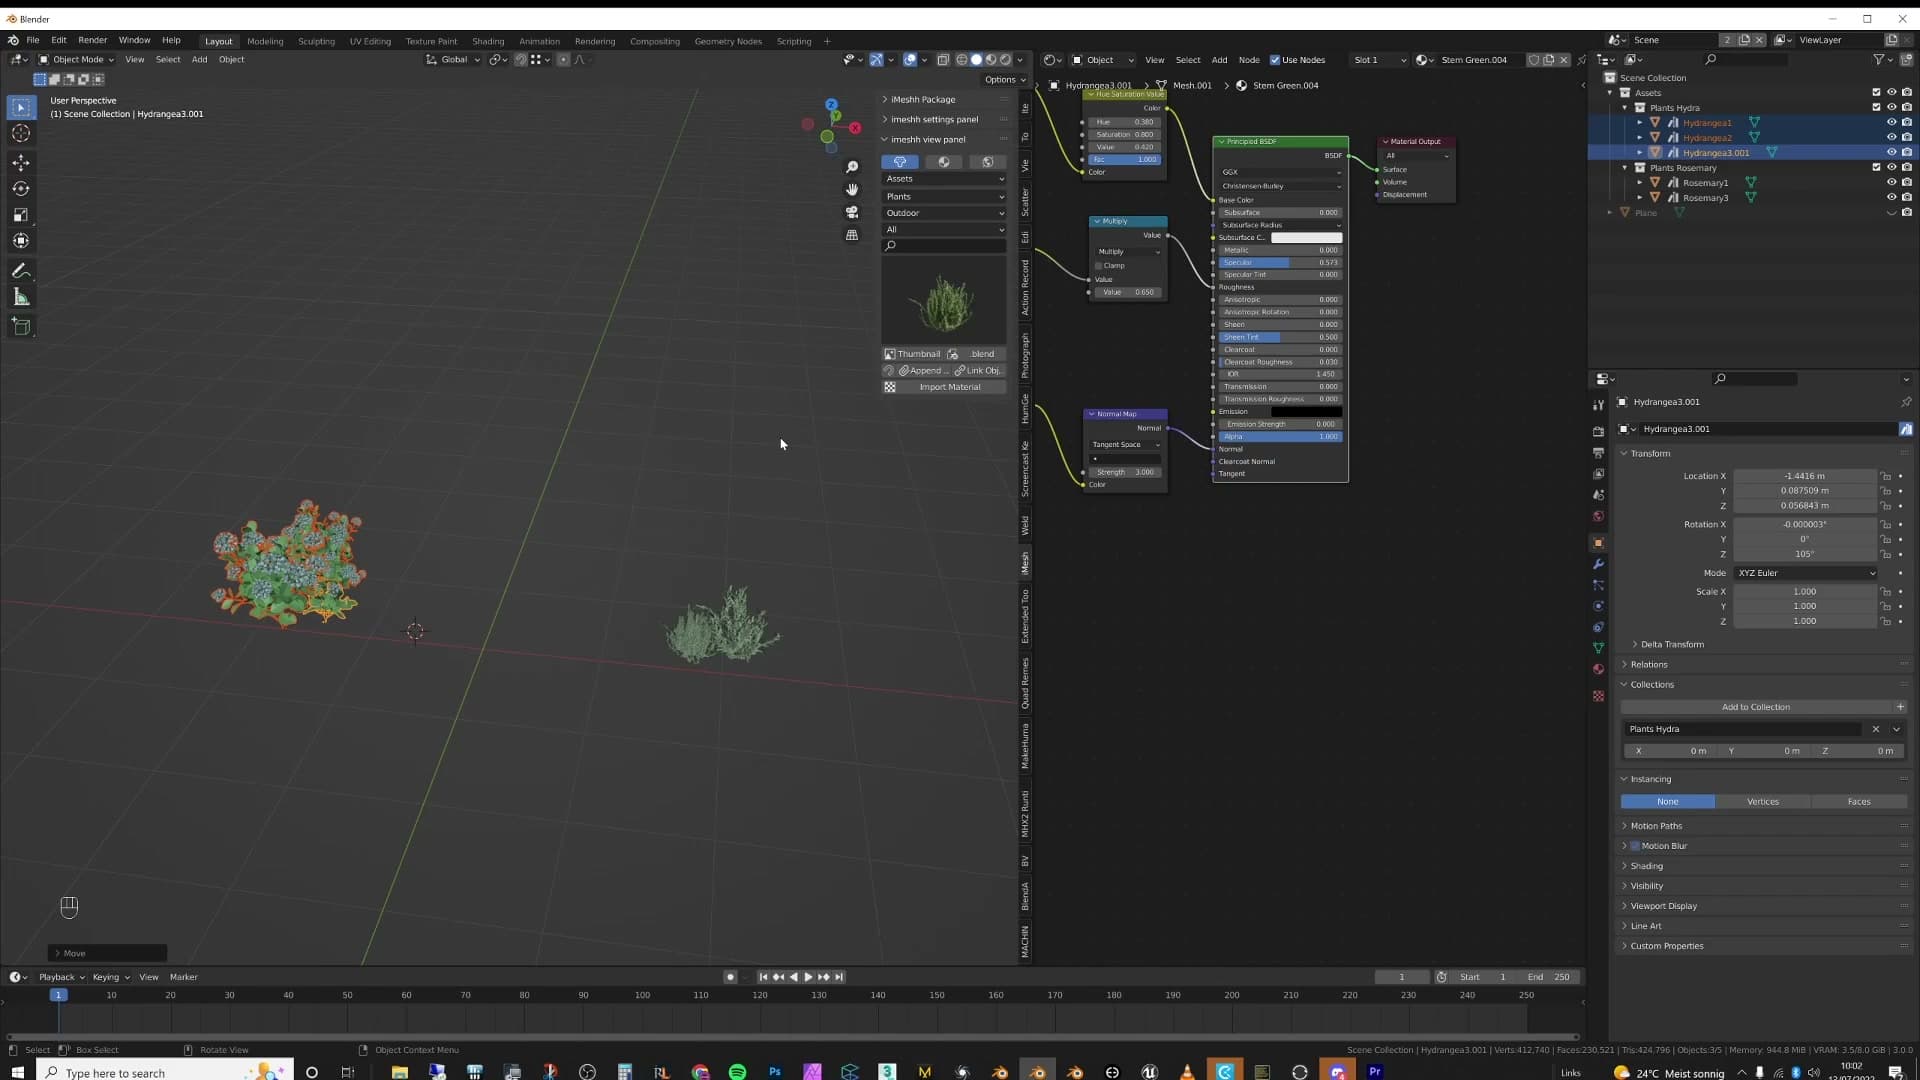
Press Tab to drop into the Library scene, select the object you want the pivot to sit on, and snap the 3D cursor to it. Then open Object → Collections, make sure the right collection is selected, and click Set Offset From Cursor. Press Tab again to return to the working scene and the instance will have the correct origin point.
Nested collection instances: an open question
Collection instances of collections that already contain sub-collections seem to ignore Set Offset From Cursor. The offset reverts to world origin. A working but clunky fix is to drop the source object into a temporary collection just long enough to bake an offset, then remove it.
The nested offset problem
For flat, single-collection instances the cursor-and-offset trick keeps working. Add a Collection Instance of the rosemary, watch it land at world origin, press Shift+S → Cursor to Selected, then hit Set Offset From Cursor from the Object → Collections panel. The new instance snaps into place exactly like every other example so far.
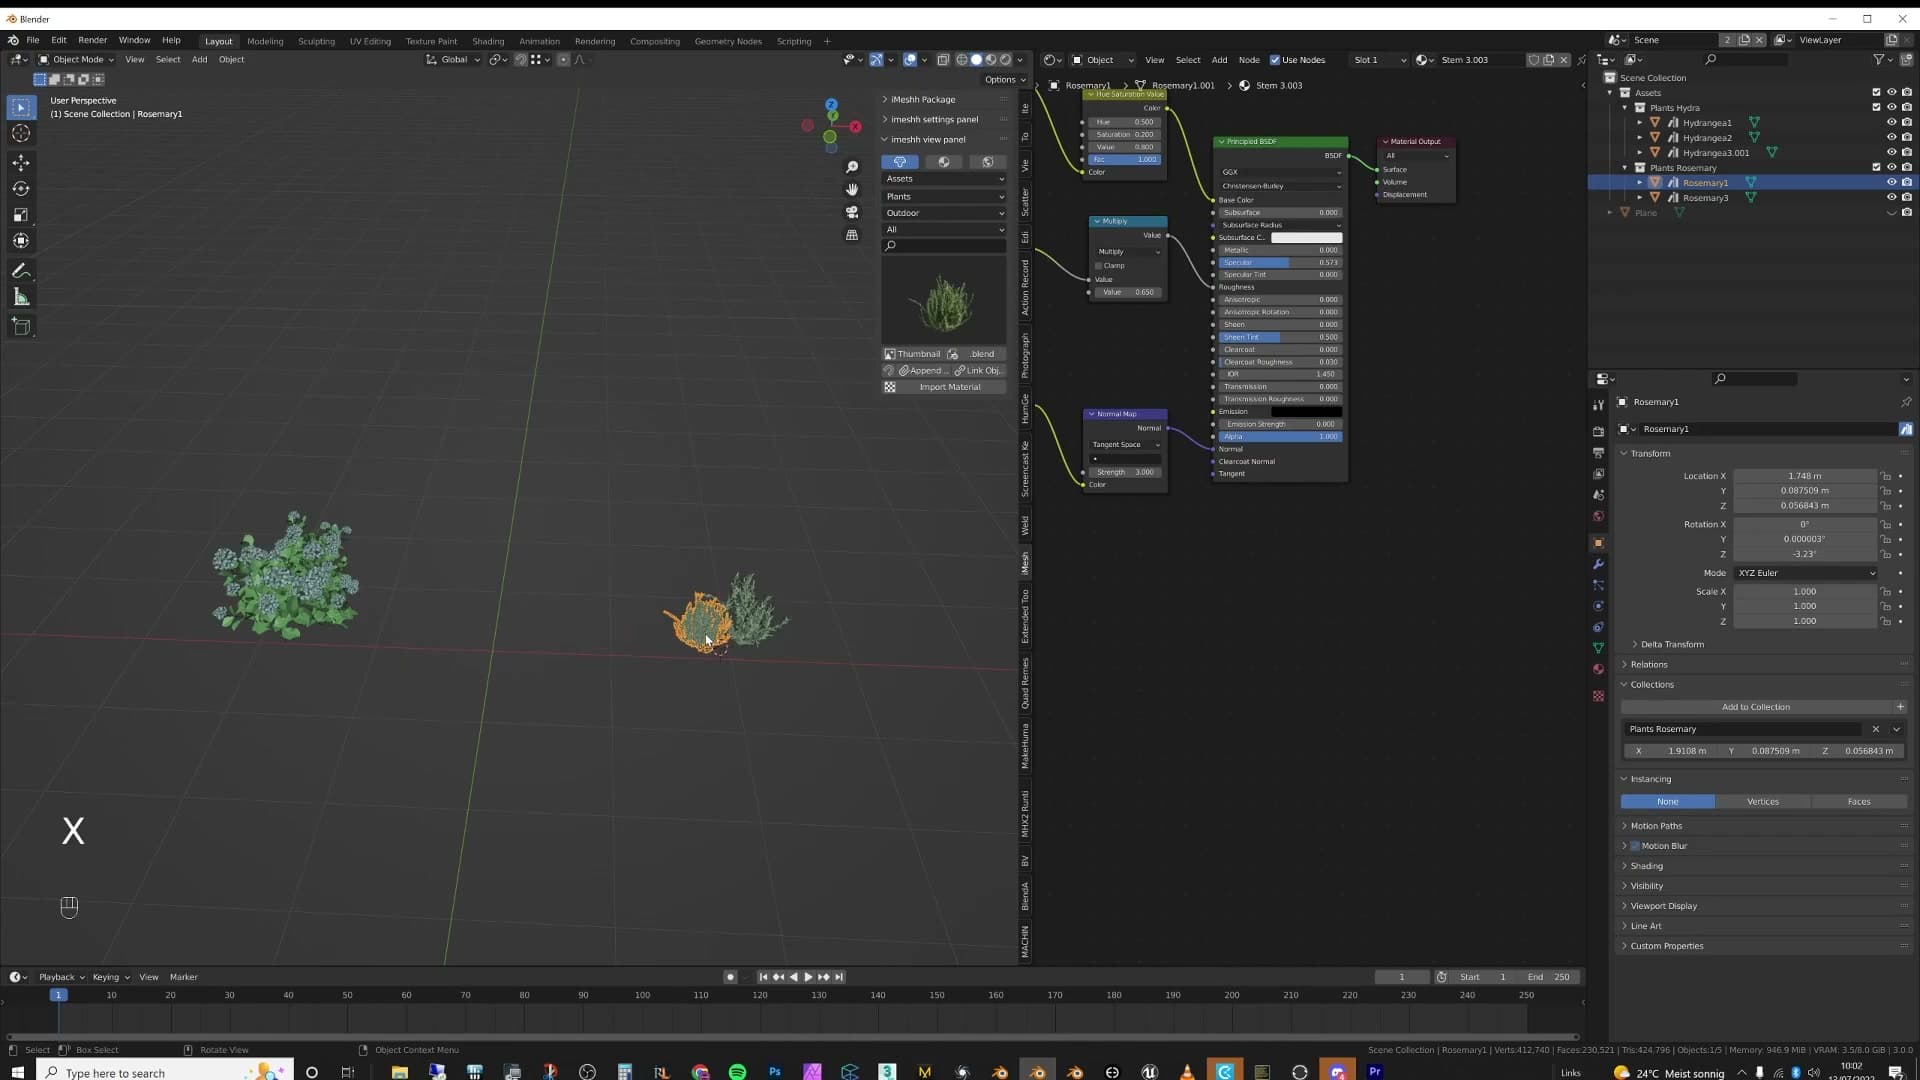
The problem appears the moment a collection contains other collections. Drop the rosemary collection and a second plant collection inside a parent collection, then instance the parent with Shift+A → Collection Instance. The new instance lands at the world origin rather than at the position you'd expect from the parent's contents.
Setting an offset on either of the child collections makes no difference. Whatever you bake into the rosemary or its sibling collection is invisible to the parent. The parent's instance keeps measuring from 0,0,0.
The temporary-collection workaround
The fix shown in the video is to bake an offset onto a temporary host collection and then strip the object back out of it. It is fiddly, but it works:
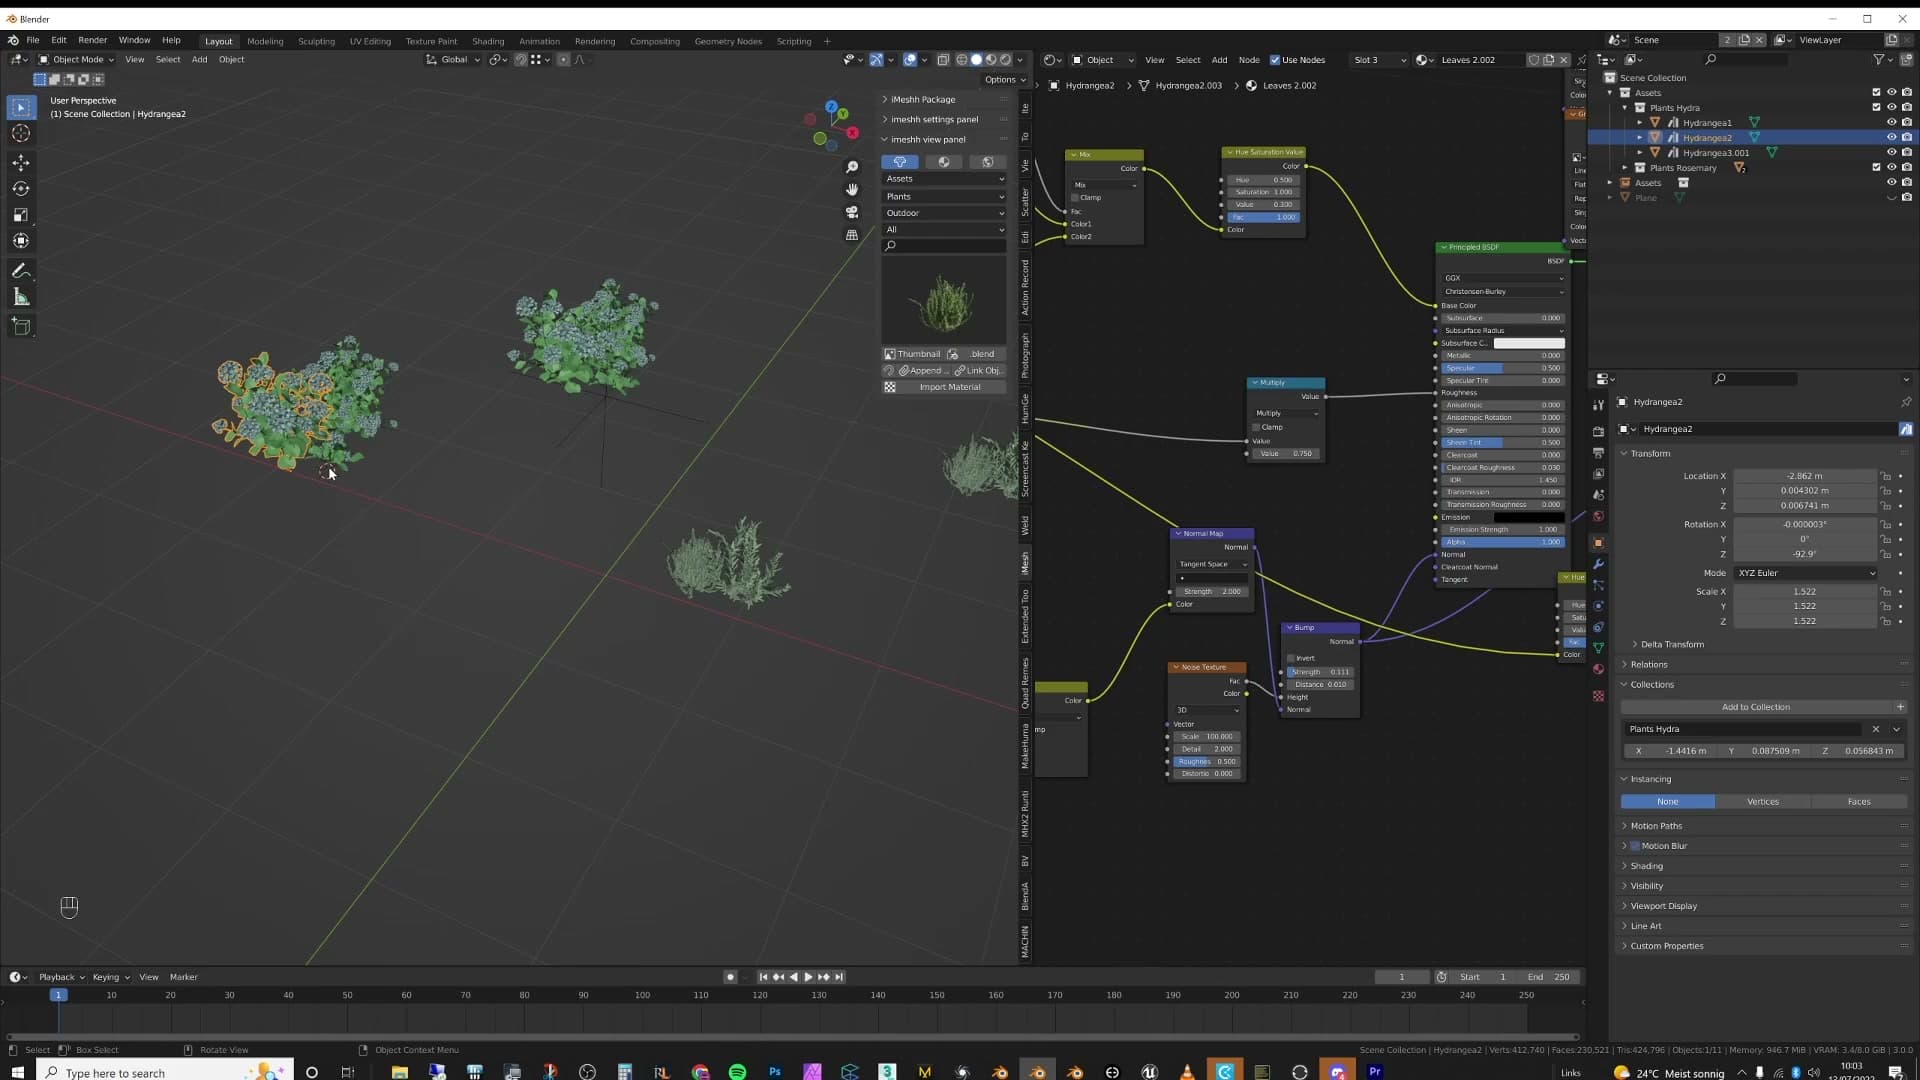
1. Select an object inside the nested structure.
2. Press Shift+S → Cursor to Selected so the 3D cursor sits where you want the instance origin.
3. Press M and move the object into a new collection called Assets.
4. With the Assets collection selected in Object → Collections, click Set Offset From Cursor.
5. The object is now linked into both its original collection and Assets. Remove it from Assets so only the original link remains.
After the round-trip the parent collection's instance honours the offset and there is no duplicated geometry left behind. I'll be honest about how this feels: "Is that the right way to do it? That feels a little bit wrong to me." Treat this sub-lesson as an open question rather than a settled technique. If you have a cleaner method for offsetting collection instances whose source is itself a collection of collections, I'd genuinely like to know.
Tools and credits
Everything mentioned in this tutorial, with links.
- Blender (the renderer this entire build runs in).
- iMeshh (studio platform for project management, client review, asset library, and invoicing). The asset library used in this tutorial is included with every iMeshh Pro plan.
- Poly Haven (free CC0 textures and HDRIs).
Pillar guide: Tips Tricks hub