Use an accounting platform from day one
Why archviz freelancers need a structured accounting tool, and how Xero stops the end-of-year scramble to reissue broken invoices.
Why DIY invoices break at year-end
This tutorial steps away from the art side of archviz and looks at the business plumbing instead. The work that keeps a freelance career running once the renders are out the door. You'll cover accounting, time tracking, software choices for new starters, hardware, and the part most archviz channels skip entirely: protecting your mental health, because a burnout cuts a career off faster than any missing skill.
The first piece of plumbing is an accounting platform, and it's the one new freelancers most often delay. If you've never run a business before, you probably don't know exactly what your country requires on an invoice. That's the trap. A dedicated platform already knows the local rules and lays out every field for you, so the first invoice you send is structured the same way as the one you'll send in year three.
Consider the alternative. You spend a full year hand-rolling invoices in a Word document, send them out to every client, and at year-end you realise you've been missing a mandatory piece of information the whole time. Now you have to go back to every client, reissue every invoice, and explain why your paperwork was wrong for twelve months running. It's messy, it's unprofessional, and it's entirely avoidable.
An accounting platform quietly handles all of that in the background. It creates invoices to your country's spec, tracks which ones are still outstanding, flags overdues so you can send a polite chase, and gives you a clean ledger of everything sent across the year. I have used one from day one and never stopped. It is the single piece of admin software I recommend before any other.
Xero and country-specific alternatives
The platform I use is Xero, and in my specific country it works wonders. Invoices, overdue tracking, reminders and reporting all sit in one place. Xero won't be the right answer everywhere, though, because accounting software is heavily localised: what's standard in one market may not exist in another, and the field requirements on a UK invoice are different from those on, say, a German or Brazilian one.

If Xero isn't an option where you are, run a quick Google search for an accounting platform in your specific country. You'll be hit by a long list of candidates. Pick one that pre-formats invoices to your local tax rules, so you get the same year-end safety net without having to manually check every line item against the legislation.
Track every billable hour
Why rounded estimates lose you twenty hours a month, and how per-project time tagging tells you which clients are quietly unprofitable.
Tagging time per client and per project
A single total hours figure for the month isn't enough on its own. The next layer is tagging: logging which client and which project each hour belongs to, so the data actually tells you something about your business rather than just your week.
Once you've tracked properly for a few projects, patterns emerge. Some clients consistently take longer than the quote assumed: more revisions, slower feedback loops, fiddlier scenes. Others are clean and fast. Without tagged time, both look identical on the invoice; with tagged time, you can see exactly which clients are quietly eating your margin and adjust your pricing or your scope accordingly.
Most time trackers let you set up projects ahead of time and switch between them with a click. If you spend the morning on one client's interior and the afternoon on another's exterior, you stop the first timer at lunch and start the second after. Each project's hours stay in its own bucket. That's the workflow that makes the per-client analysis possible in the first place.
Cap revisions with markup.io
Set a three-round amends limit upfront, then move corrections out of email chains and into visual mark-up on the actual image.
Three amends as a sensible default
Corrections are the part of the job I have always struggled with. Even after years in the industry, saying no to another round of amends never came naturally to me. The discipline that fixed it is picking a number, saying it out loud at the start of every project, and sticking to it.

How many rounds you cap at is up to you. Some artists run unlimited amends because their typical clients rarely come back; others would be financially destroyed by that policy. Pick the number that matches the rooms you actually deliver and the kind of clients you actually work with.
Three rounds is my personal default. The workflow that sits around it goes: build the base scene and send a very quick draft so the client can sanity-check the direction, then deliver one finished render with post-production as the first proper image. The two remaining rounds cover client amends, your corrections, and a final sign-off image. Anything beyond that gets quoted as paid work.
Using markup.io as the source of truth
Once you have a cap, you need a way to count rounds that both you and the client can see. I use markup.io for this. It is a platform built specifically for marking corrections directly onto an image.
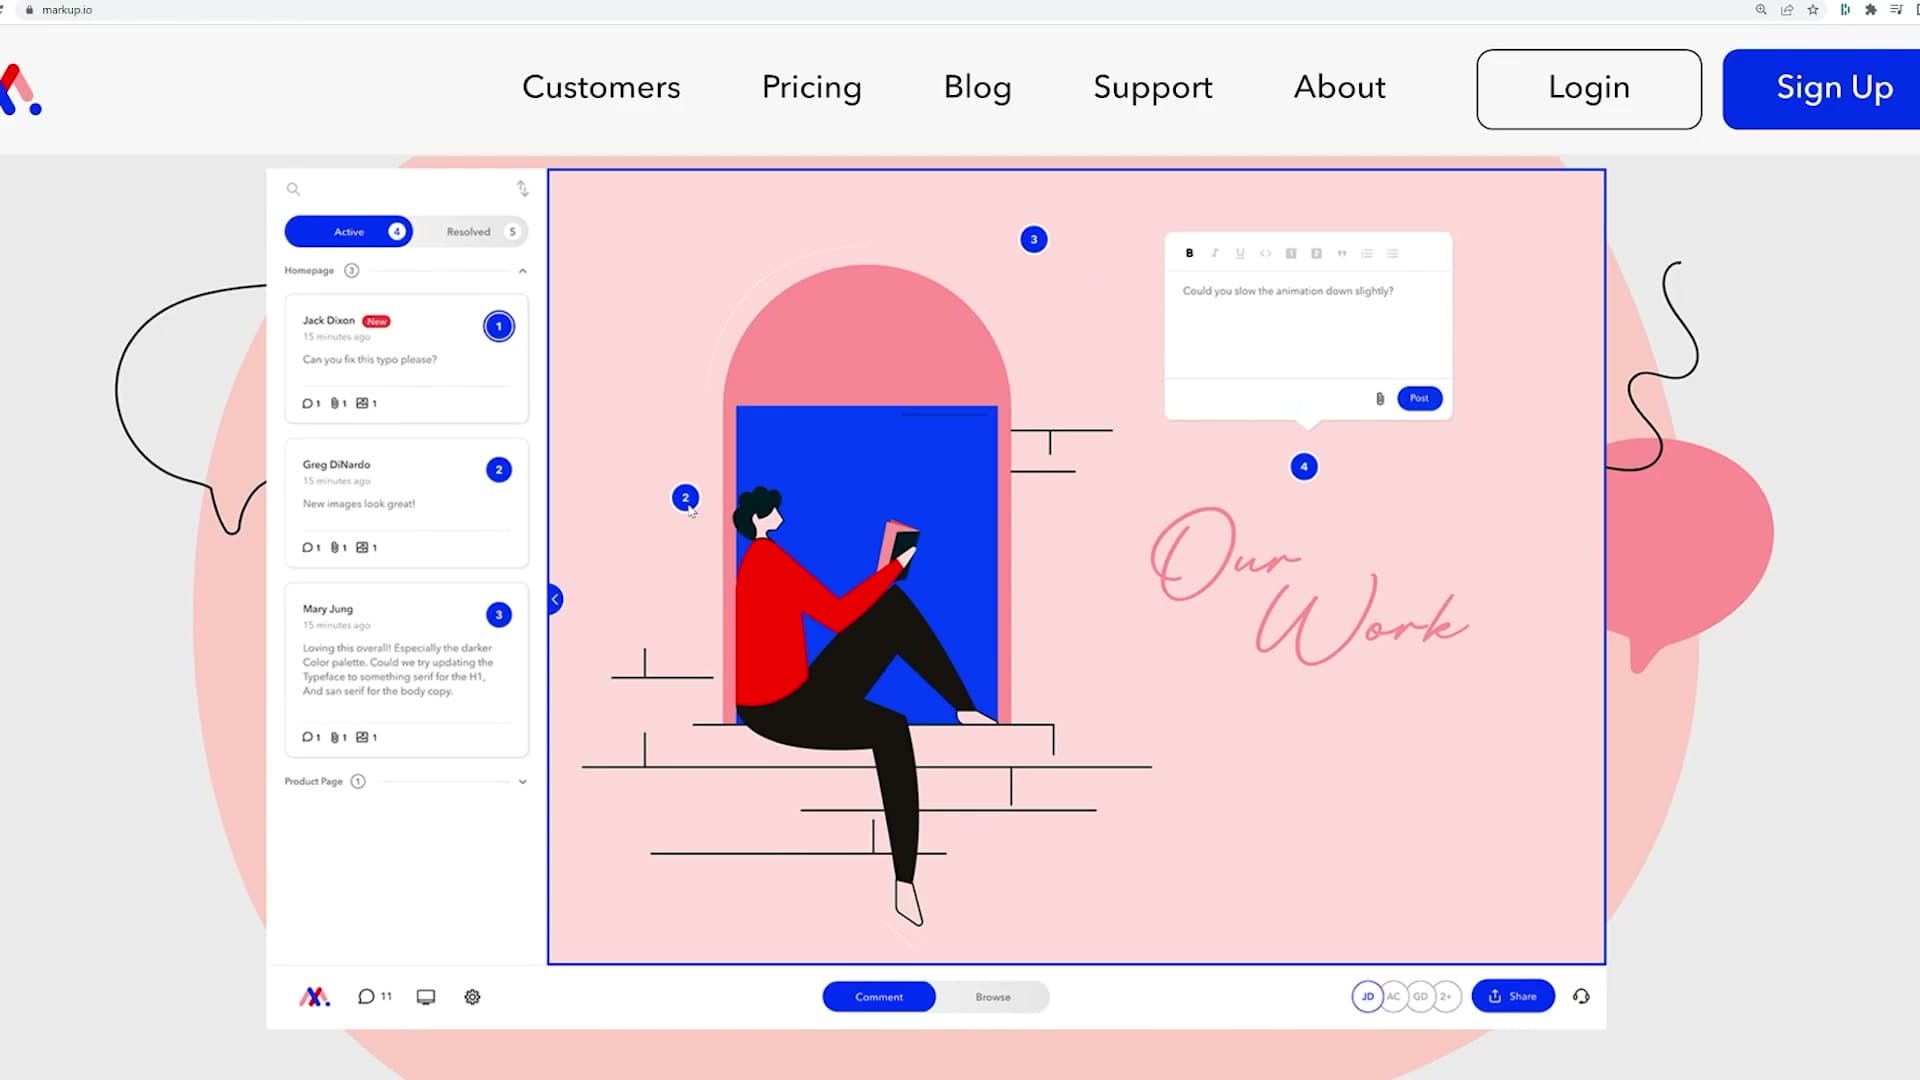
The flow is straightforward. When a render is finished, you post the image to the platform and share the link with the client. They open it in the browser and click anywhere on the image to drop a comment or marker: the wall colour, the rug position, the door handle they want changed. That collection of marks counts as one round of corrections.
You then make the changes, render the updated image, and post the next version. By the third image, both sides can scroll back through the history and see exactly how many rounds have been used. There is no debate about whether this is round two or round four. The platform itself is the source of truth.
Killing 'which door do you mean?' email chains
The alternative to a platform is email, and email is where amends quietly fall apart. A client sends a list of changes; you reply to confirm; they reply to your reply; you ask a clarifying question; they answer. Before anyone has touched Blender you are twenty emails deep. By round three nobody can remember what was asked for in round one.
The bigger problem is precision. Take a client asking to add a tree by the door in a room that has three doors. Which door? It is obvious to the client because they are picturing it in their head, but it is not obvious to you, and a written list cannot resolve it. Every clarification chews up another email.
Marking the correction directly on the image removes that whole class of question. The client clicks the door they mean, types tree here, and you can start working. These platforms also include a chat tied to the image itself, which is useful when a client is genuinely unsure of what they want. You can talk through options together rather than fire written lists back and forth.
Pick the right 3D software
Why Blender is the right starting point for new archviz freelancers, and what a 3ds Max licence plus a third-party renderer actually costs.
Start with Blender because it's free
Start with Blender. It is free, the toolset covers almost everything a new archviz freelancer needs to deliver client work, and the money you would otherwise have sunk into a commercial licence can go straight into courses, assets and add-ons instead.
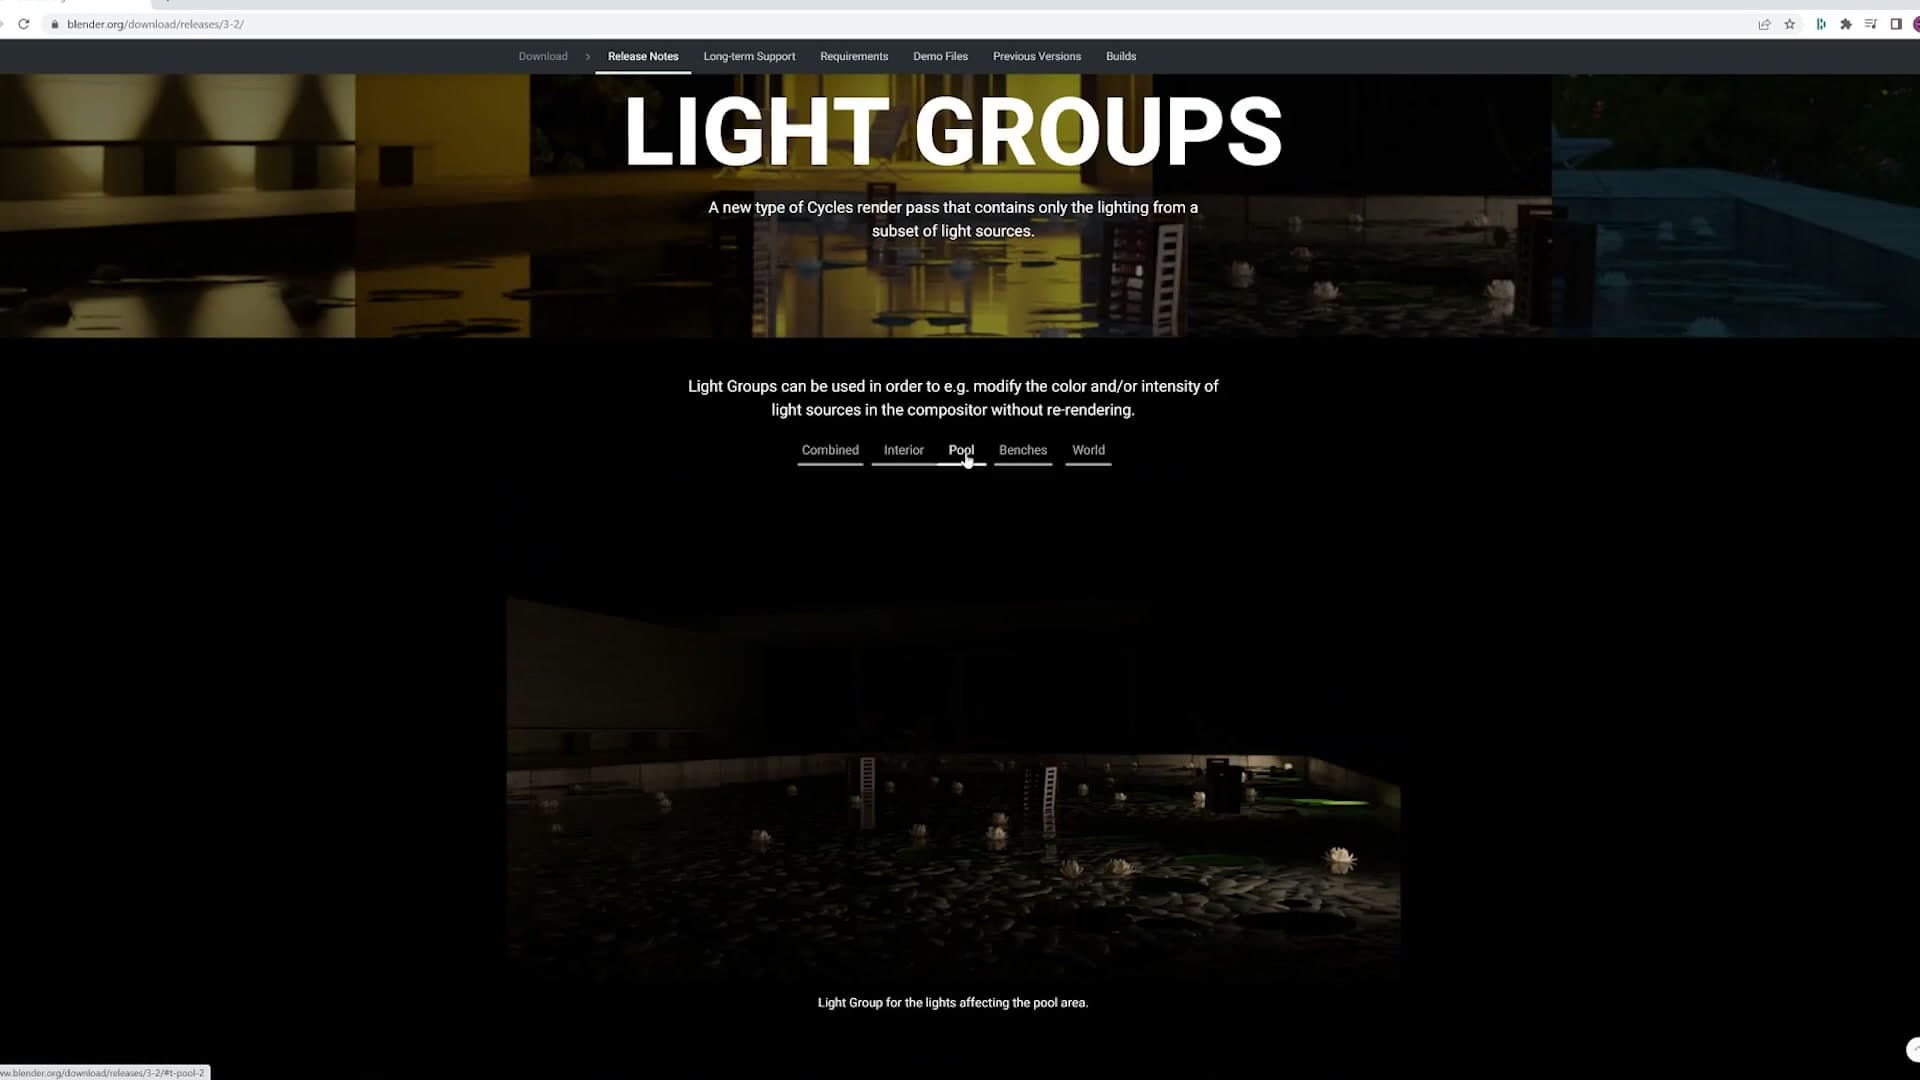
My own path is worth borrowing. I began in Blender and only learned 3ds Max later, on the side, once specific jobs required it. Moving between the two packages turned out to be mostly a matter of relearning where the buttons live. The underlying tools do broadly the same things. Tackling them in that order meant the craft was already in place before any licence fee kicked in.
Going the other way round is harder. Starting with 3ds Max means paying out before you have drawn a single wall, and you are learning the fundamentals of 3D on software that quietly assumes you are already earning a living from it. Blender lets you build the foundation for nothing; treat 3ds Max as a tool to bolt on later, and only if a client genuinely demands it.
The true cost of 3ds Max plus a renderer
If you do eventually need 3ds Max (usually because a studio you want to work with is locked into it), Autodesk's Indie licence is the sensible entry point. It costs around €350 per year (figures can shift slightly by region) and is valid for as long as your archviz earnings stay under roughly $100,000 a year. That is an unusually generous deal by 3ds Max standards; the software is otherwise notoriously expensive.
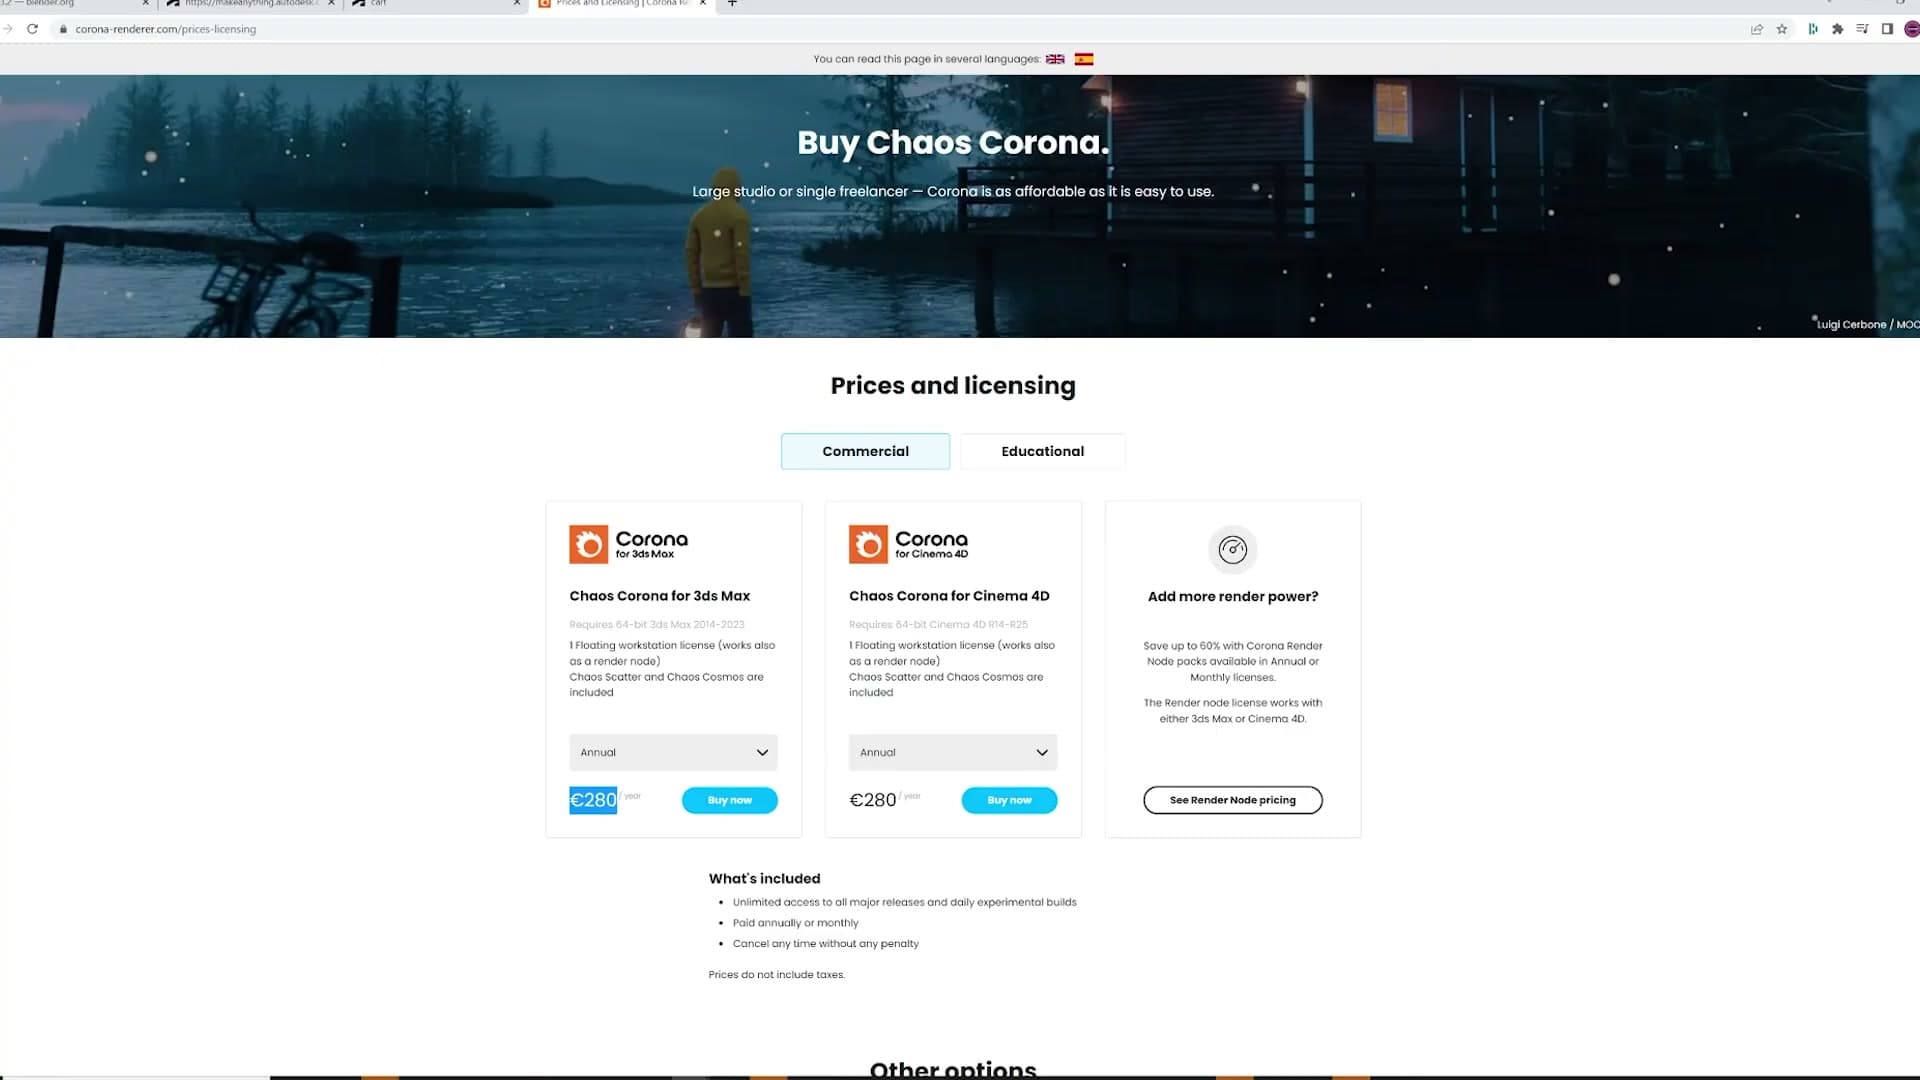
Then you still need a renderer. There is one built into 3ds Max, but in practice almost nobody ships final images out of it. Most studios pair 3ds Max with a third-party engine, and a good one tends to add around another €300 per year. By the time you launch the software for the first time, you are roughly €650 in for the year before a single project has been invoiced.
Now imagine pointing that same €650 at a Blender setup instead: courses, an asset library, a handful of well-chosen add-ons, perhaps a tutorial pack aimed at the specific renderer you want to learn. You end up with a far broader working foundation for the same money. The community helps too. Blender's user base is enormous, and almost any question you can think of has already been asked and answered a hundred times over, including a long back catalogue of archviz-specific tutorials on the iMeshh YouTube channel.
Build a reference board workflow
How to collect inspiration on Pinterest and keep it pinned to a second monitor with PureRef while you work.
Collecting references on Pinterest
Mood boards are one of those things worth preaching about. When you're starting out you simply aren't going to be as good as the artists already working in the industry, and the fastest way to close the gap is to study their images and use them as inspiration for your own.
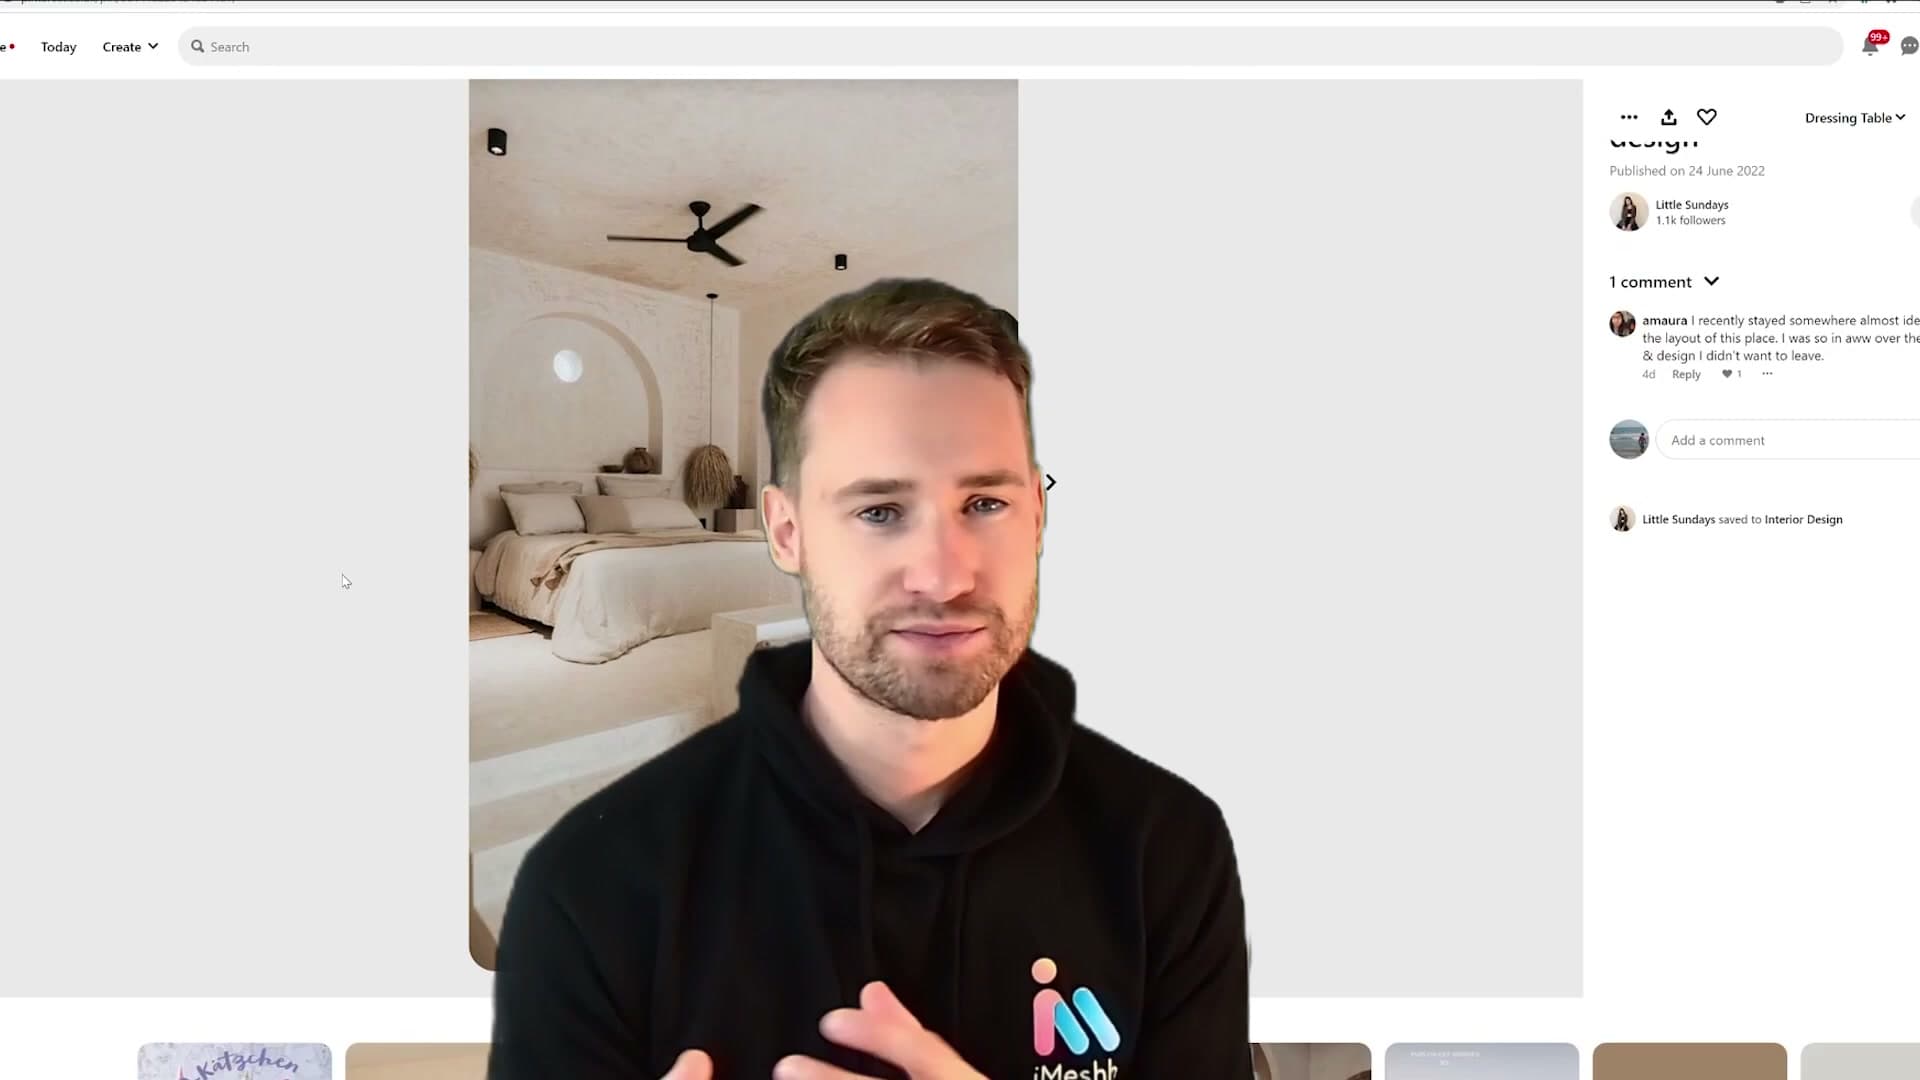
Pinterest is the tool to lean on here. Treat it as an always-on browsing habit rather than something you only open at the start of a project. Scroll through it regularly, and any time an image catches your eye, drop it into a board. Over time you end up with a deep, themed library of references waiting for you the moment a brief lands.
PureRef on a second monitor
Once a project actually kicks off, switch from collecting to working. The tool for that is PureRef, a very lightweight program designed for one job: holding reference images on screen while you work.
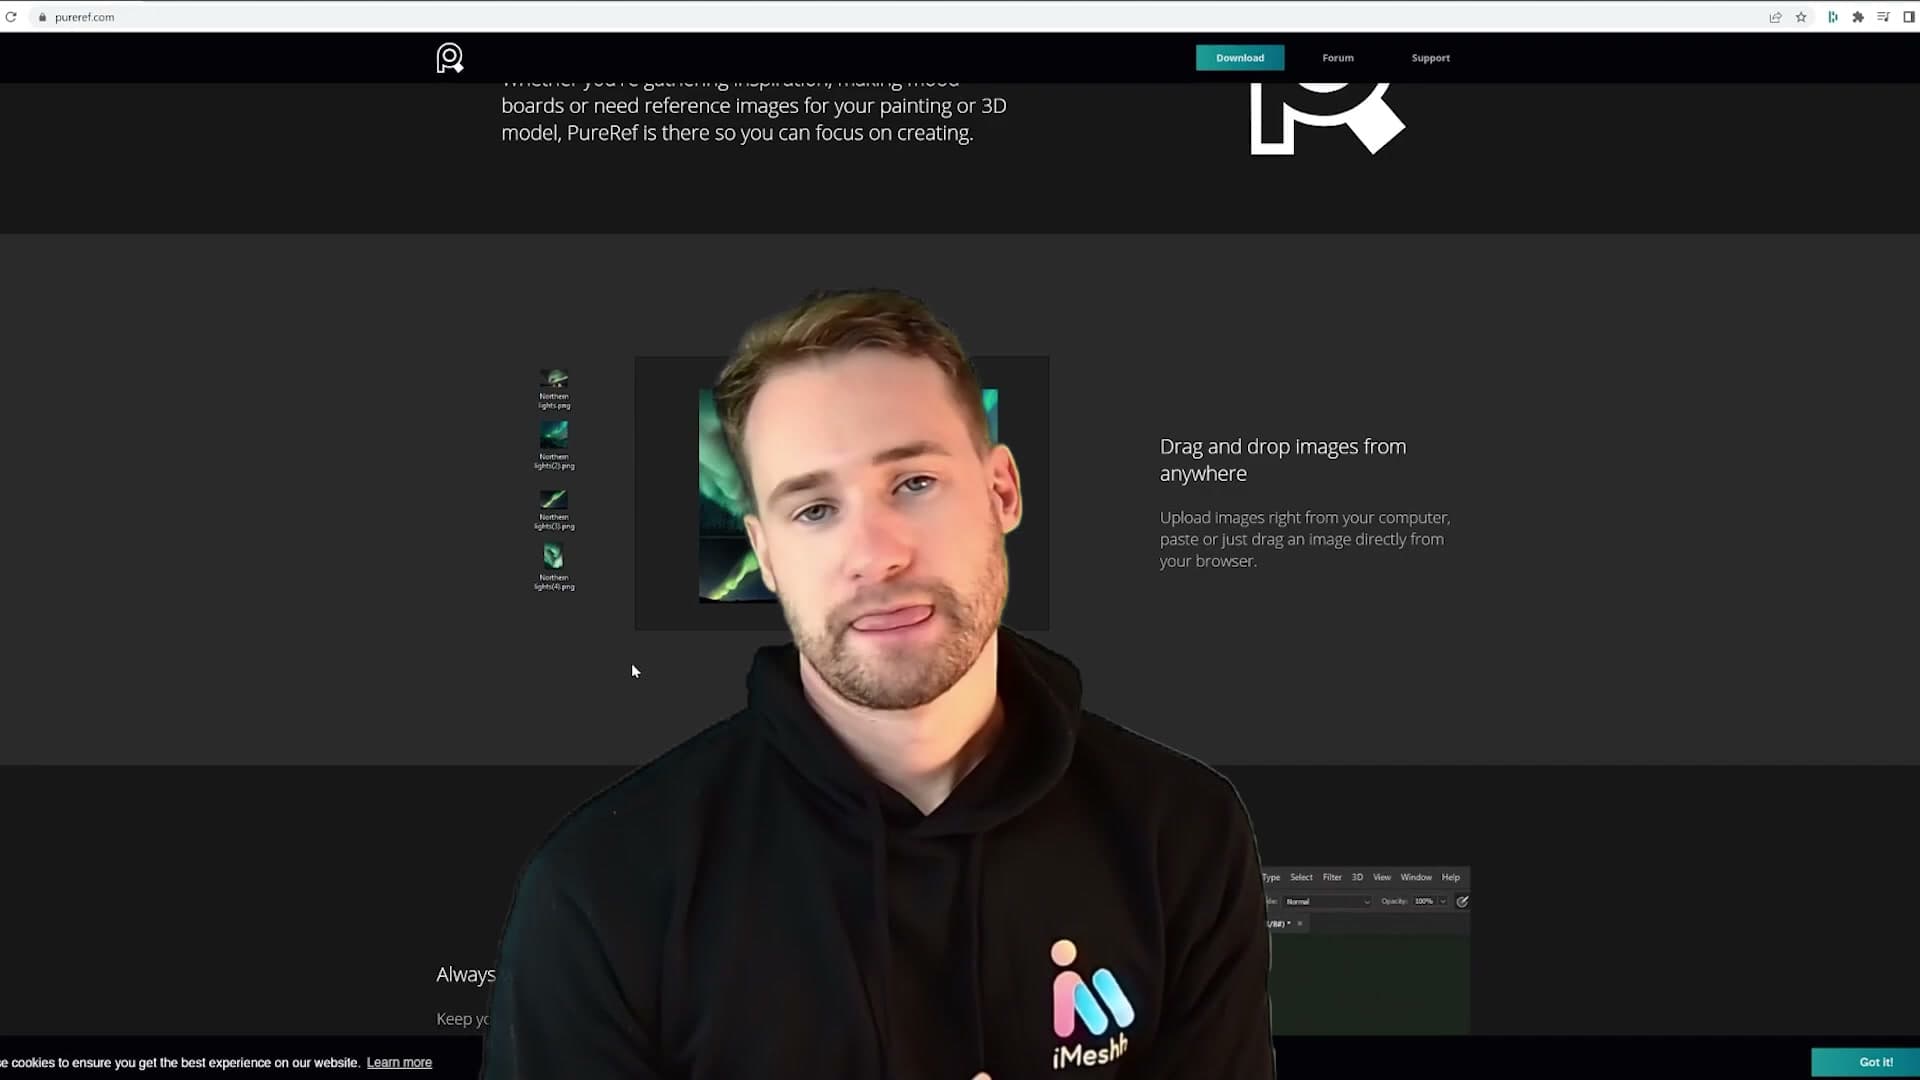
Drag the relevant Pinterest images straight into PureRef and park the window off to the side of your Blender viewport. With your references sitting next to your work-in-progress, you can glance at them constantly while modelling and lighting rather than alt-tabbing every two minutes to remember what you were aiming for.
Use Blender add-ons aggressively
If you're using Blender and not using add-ons, you're doing it wrong. Here's why, and where to find them.
The collections shortcut example
I recently released a YouTube video about collections, and the workflow without add-ons is genuinely fiddly. To turn an object into a reusable collection instance the normal way, you add the object to a collection, drop that collection back into the scene as an instance, hide the original object, then move the origin to the right point. Four discrete steps you'll repeat over and over across a single scene.
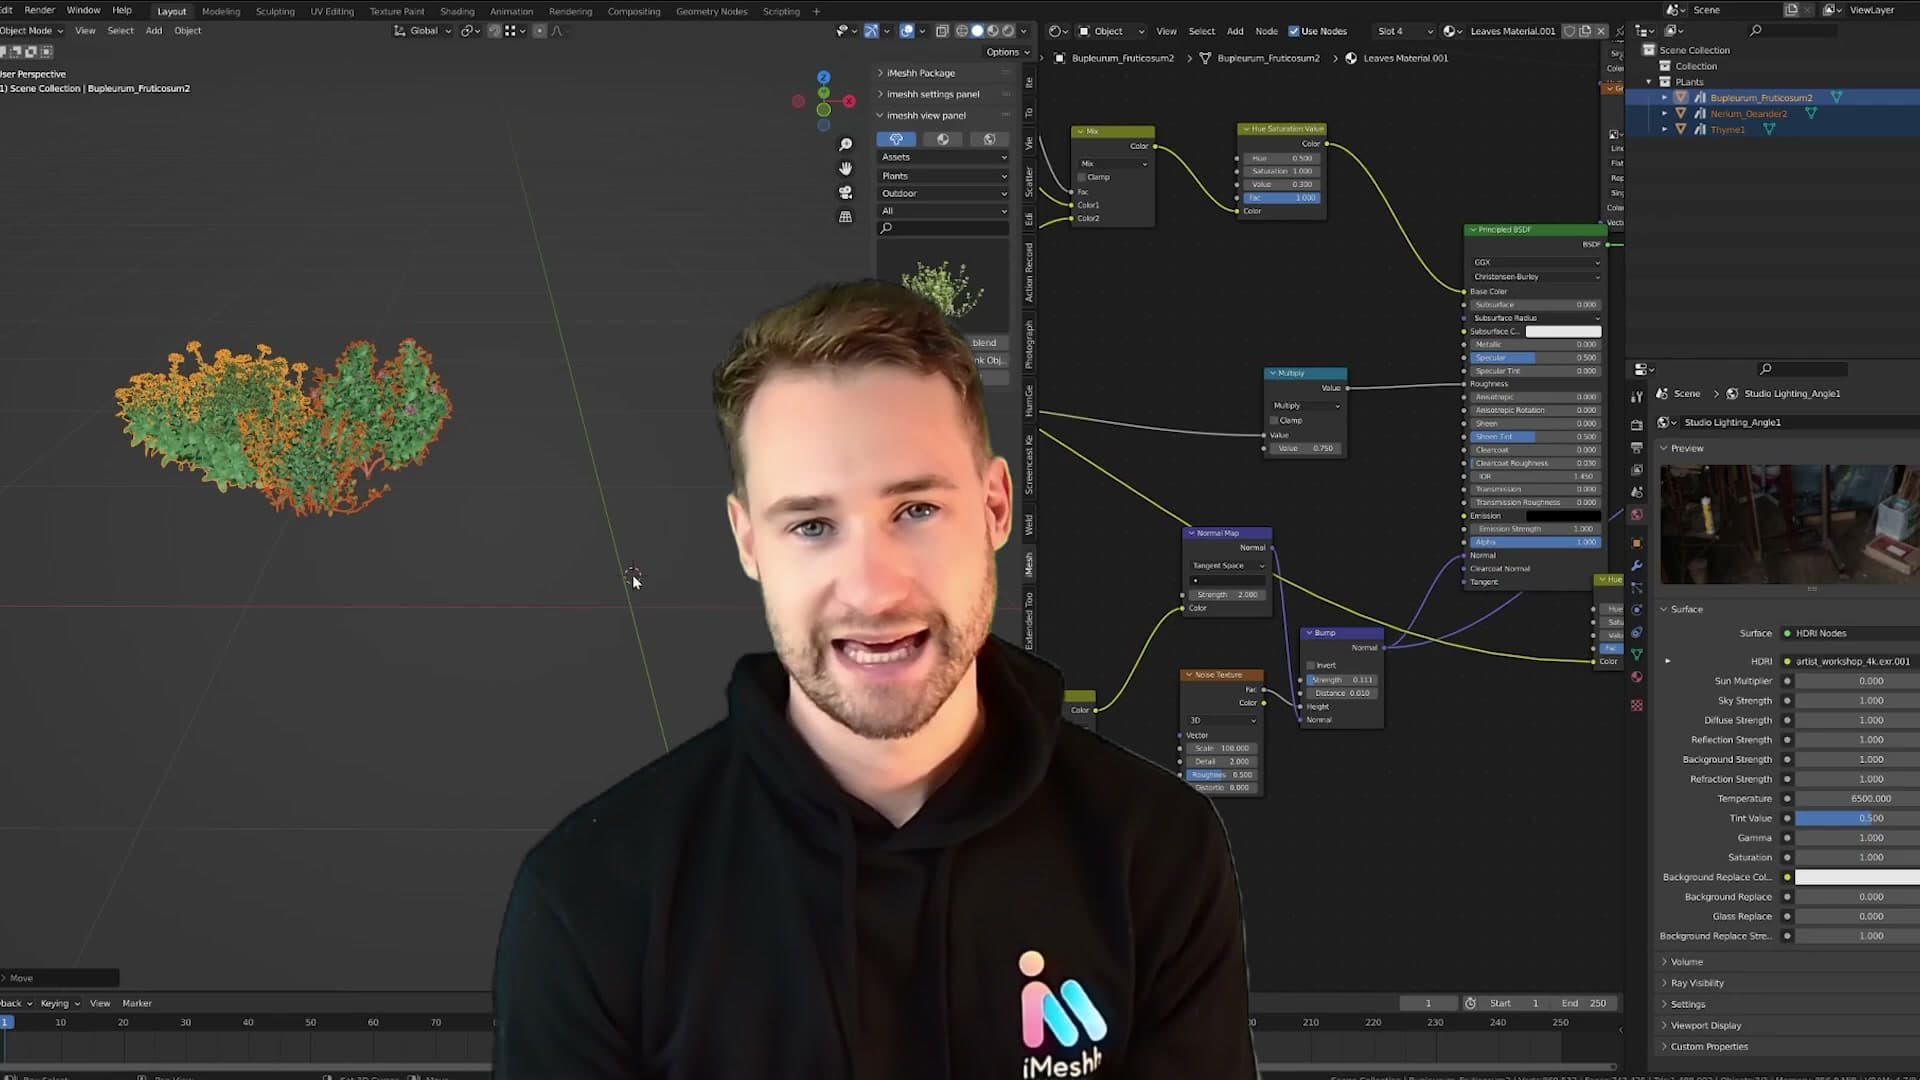
With the right add-on installed, that whole sequence collapses to a single shortcut: Ctrl+G. One key, and the collection is built, instanced, the original hidden, and the origin placed for you.
Multiply that across a project and the time saving is enormous. My blanket rule: if a task is taking you a long time, somebody has almost certainly built an add-on for it. There is an add-on for everything.
Where to find add-ons
Two places to look. Blender already ships with a pile of add-ons pre-built. Open the preferences, scroll through the list, and enable whichever ones sound useful for the work you do. Most of them are free and simply disabled by default.
For everything beyond the built-ins, my other go-to is Blender Market. Browse the add-ons section and see what takes your fancy.
Pay for 3D models, don't build them
The photographer analogy that explains why an archviz artist should buy furniture assets, not model every chair from scratch.
The 'photographer doesn't build the sofa' analogy
Should an archviz artist model every chair, sofa and lamp that appears in their renders? My answer is a firm no. There are huge pools of free and paid 3D models out there, and burning your hours building the same kit of furniture everyone else has already modelled is one of the most efficient ways to slow your career down.
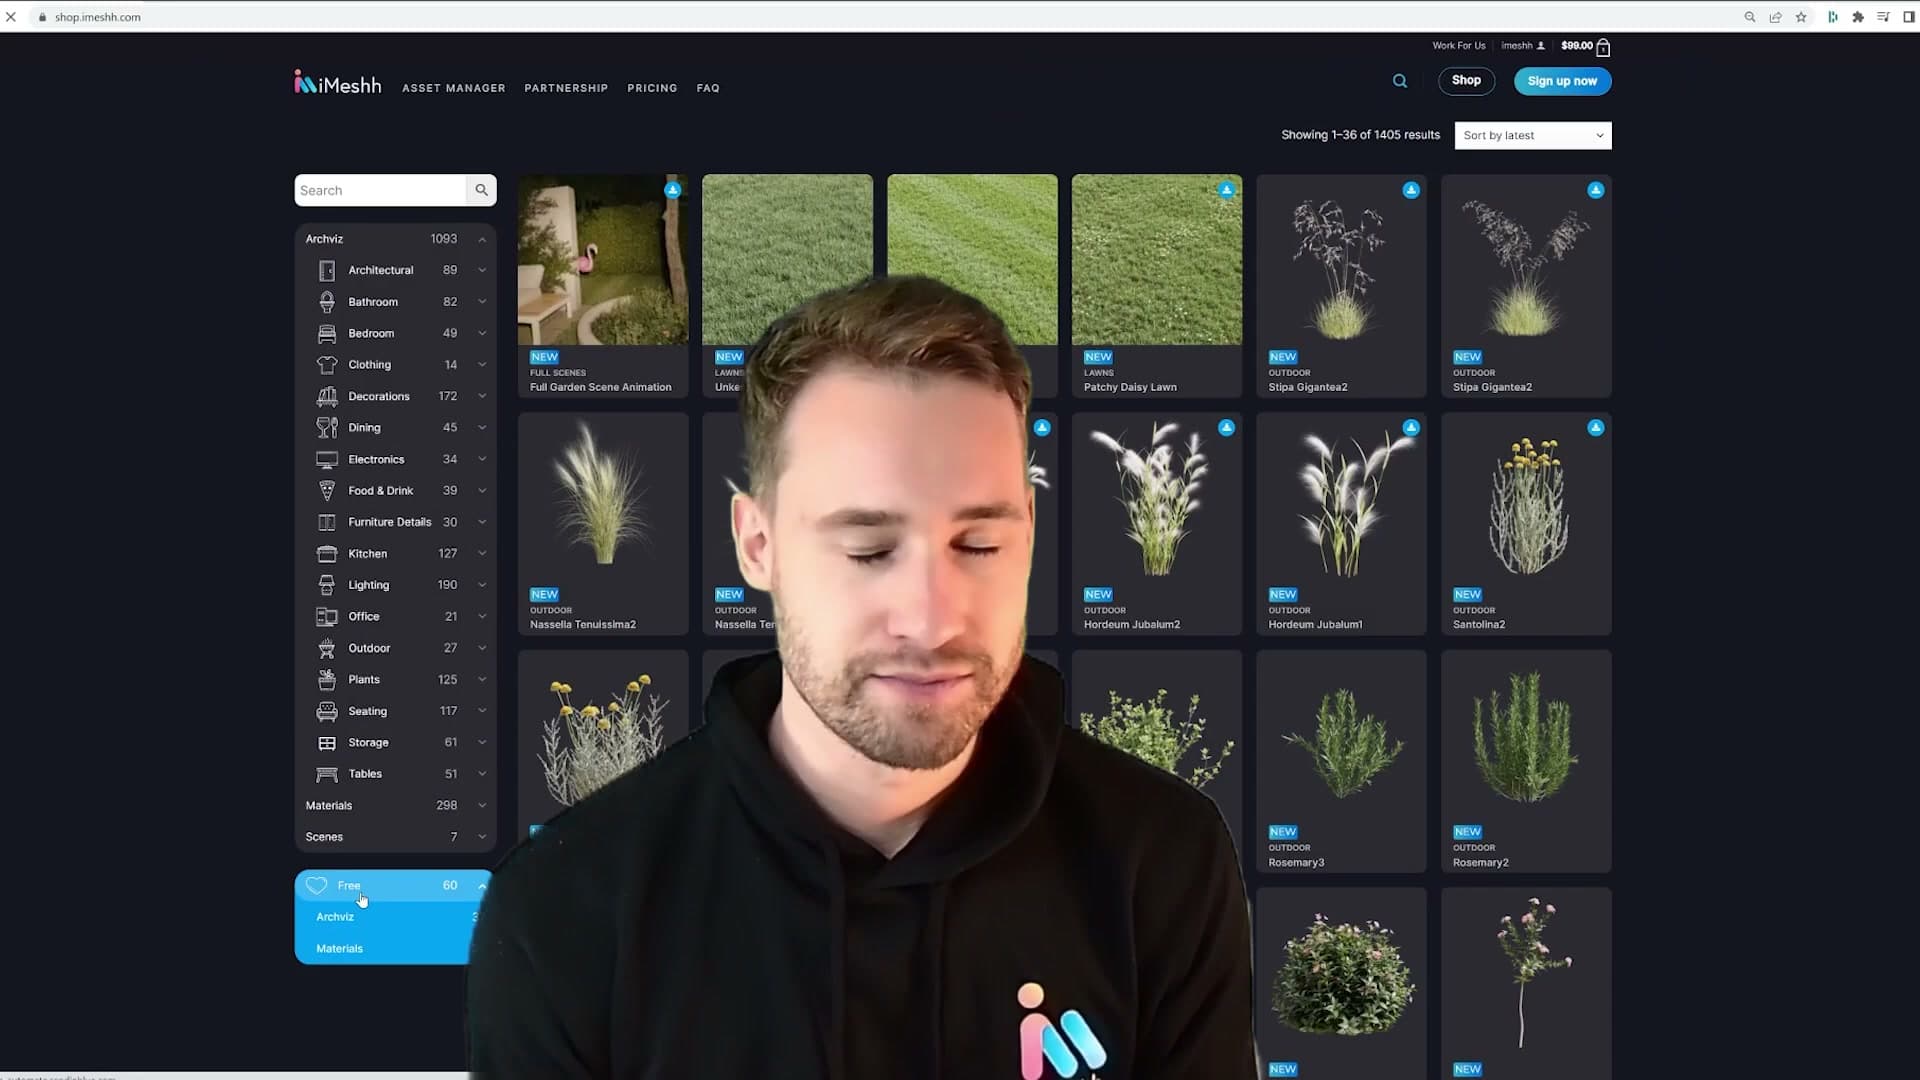
The analogy I keep coming back to: a client commissions you to produce a 3D image of a room, and at the same time hires a photographer to shoot the same space. Now picture the photographer turning around and saying, "Sure, but you'll need to give me two more months because first I have to build all the furniture." Nobody would tolerate that, because photographers are photographers, not carpenters.
Archviz works the same way. Your job is to deliver images, not to manufacture a virtual furniture catalogue from scratch every time a brief lands in your inbox.
When modelling skill still matters
There is one important caveat. I still think it is worth learning the basics of modelling, because sooner or later a client will ask you to modify a piece of furniture or build something genuinely bespoke that no library will ever carry. When that happens, you don't want to be helpless inside edit mode.
Where it goes wrong is when you try to model every single piece for your own scenes. By the time you've become good enough at furniture modelling to match what's already on the market, you've poured hundreds of hours into a skill that wasn't actually the one you were getting paid for. Those hours could have gone into lighting, composition and mood: the things that genuinely separate a forgettable render from a next-level image.
My reality check from working in studios: nobody on a professional team builds their own furniture. The senior artists are spending their time on the picture, not on the props.
The iMeshh asset library pitch
If you do need furniture, which as an archviz artist you will, that is where iMeshh comes in. The library sits at over 1,400 assets at the time of recording. The pitch is positioning rather than price: it is an instant starting kit rather than a shopping list of individual models.
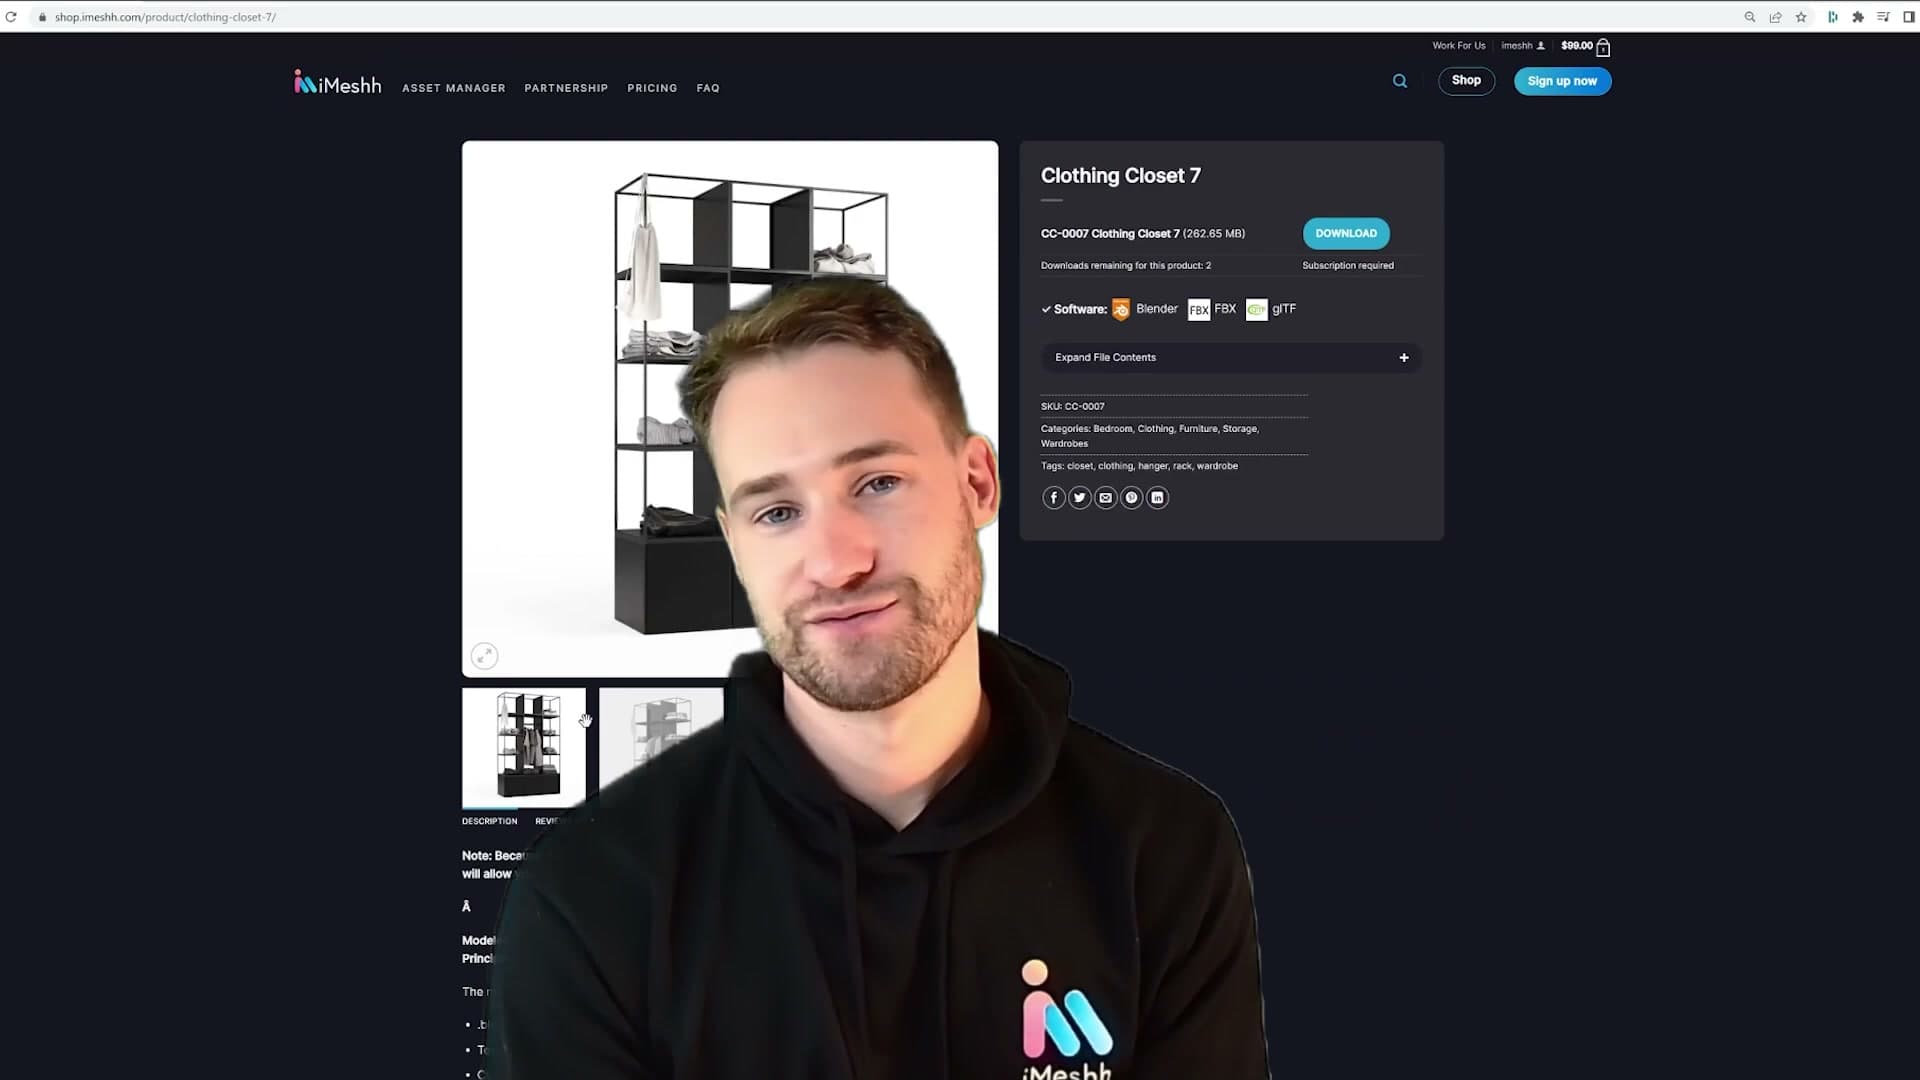
The market context is worth keeping in mind. Buying individual paid models tends to land somewhere around $5 to $20 each, so assembling a library of this size piece by piece would run into roughly $10,000 of spend. A subscription that bundles the whole catalogue collapses that into a single starting move so you can get on with actually making images.
Always finish with post-production
A pass through Photoshop or Affinity Photo lifts every render. Colour correction, contrast, and small grading tweaks are non-negotiable.
Photoshop vs Affinity Photo
Once an image is rendered and saved, there is almost always something you can do to it to make it better. My tool of choice is Photoshop. Not because it is objectively the right answer, but because I have used it for years and, honestly, it is my baby.
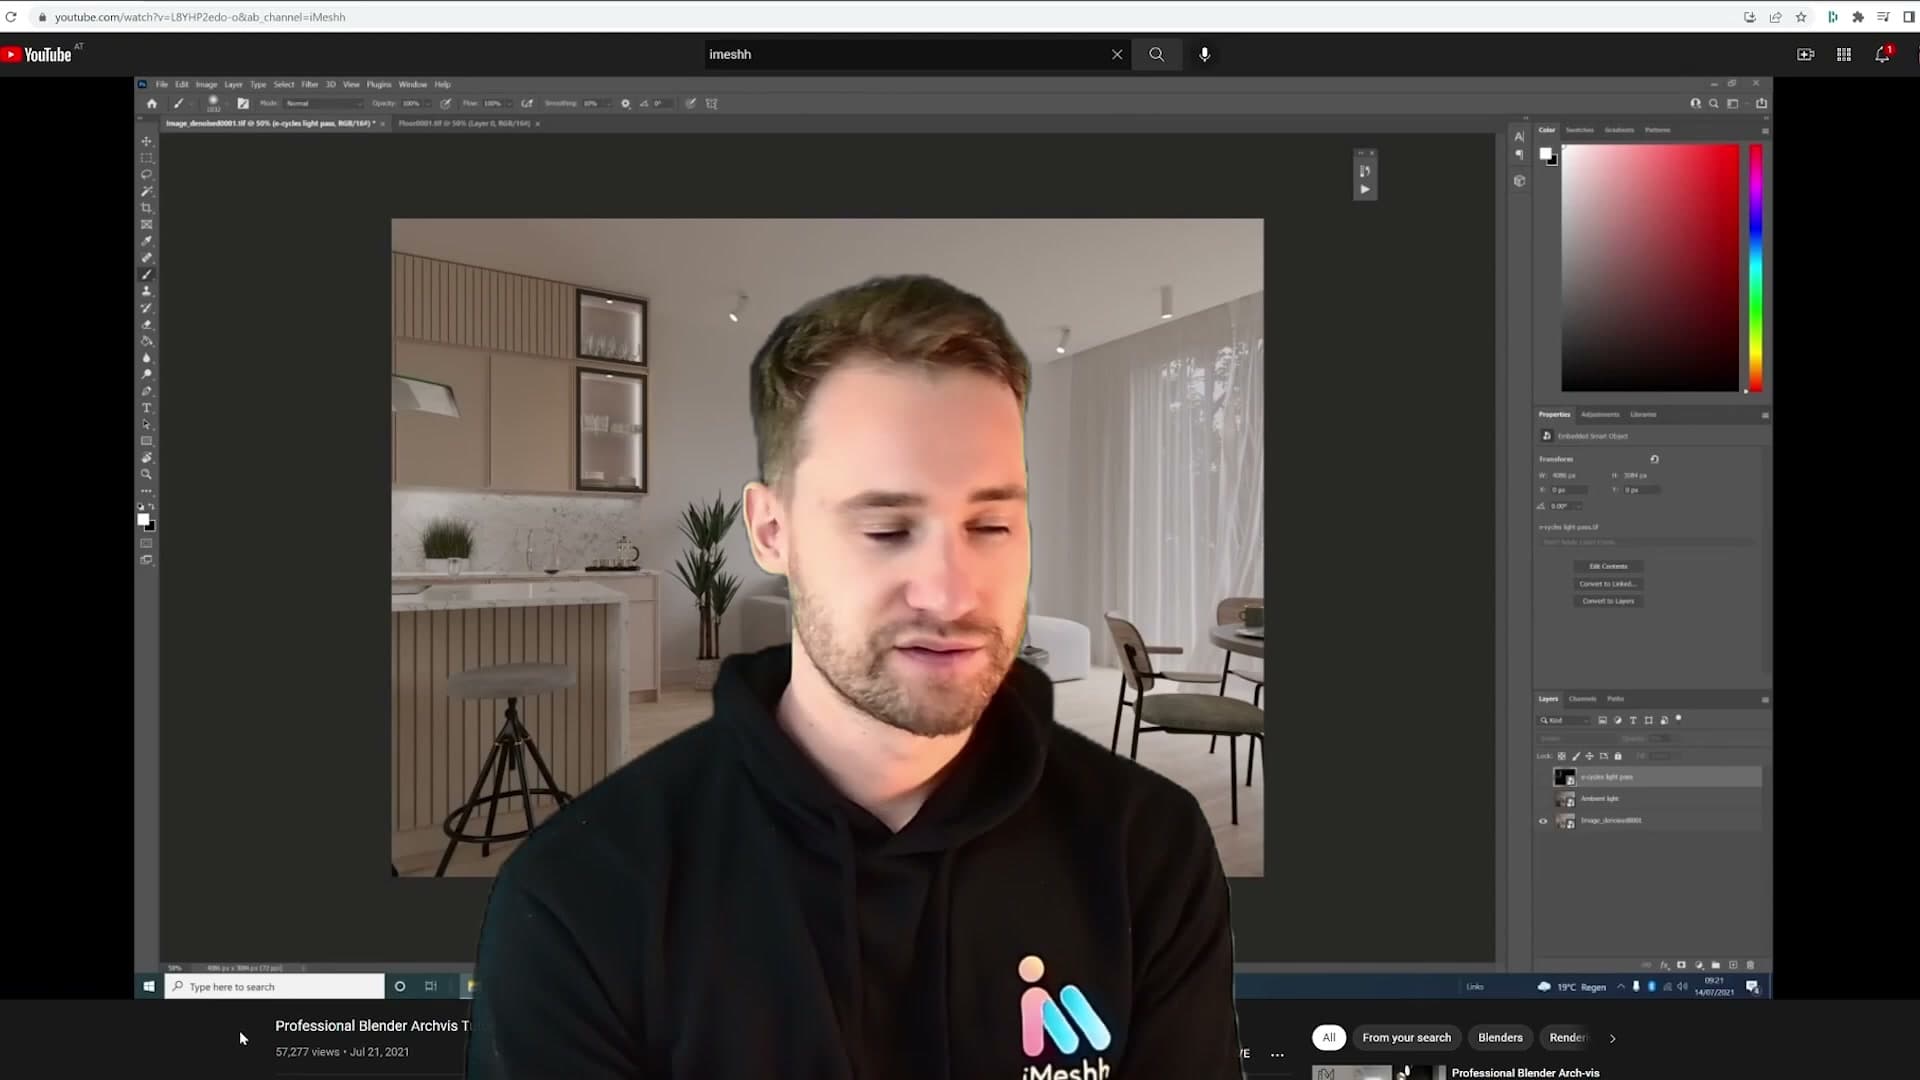
If a Photoshop subscription is not on the table, the recommendation is Affinity Photo. It is much, much cheaper, and at the time of recording it was sold as a one-off payment for life with ongoing updates included. That is a licensing model genuinely unusual for a professional piece of imaging software.
The takeaway here is not which app you pick. It is that you pick one. Both will get you to the same finished frame; the only thing that matters is having a post-production tool open at the end of every render.
Quick colour and contrast tweaks
You do not need an advanced retouching workflow to get the benefit. A slight colour correction and a small contrast bump will, every time, look better than the raw render straight out of Blender. Every time.
If you have never done a post pass before, search YouTube for archviz post-production tips and tricks and copy the basics. The techniques are not complicated, and even the most surface-level pass will lift the final image.
Protect your mental health
The chapter most archviz tutorials skip: asking for deadline extensions, sleeping on hard problems, and using meditation to defuse stress.
Ask clients for extended time early
Most archviz tutorials end where the render does. This one doesn't, because the part nobody talks about is the part that quietly ends careers. Burnout doesn't just cost you a project. Push hard enough for long enough and it can take you out of the industry altogether. I have been through it more than once, live with anxiety, and recovery has been slow. Even now, one job too many can still tip me over the edge because I have been there so many times before.
The first concrete tip is the one most freelancers refuse to use: ask your clients for more time. Deadlines slip in every creative industry, all the time. New clients especially make you feel like you can't be the one to delay things. You want to impress, you don't want to be the bottleneck. But the people commissioning the work have watched this happen with everyone they have ever hired.
Run the maths on the conversation before you avoid it. The worst thing that can happen is the client says no, and you are exactly where you already were. The best thing is they say yes, and you sleep that night knowing you have three extra days. That second feeling is better than almost anything else in this job. So ask, and ask early.
Sleep on the problem
The second tip is sleep, and it sounds obvious until you have ignored it. The trap is the feeling that you are one more attempt away from cracking the problem. Midnight passes, then 3am, then 5am, and by the time it is done your stomach is ready for breakfast and you are too fried to enjoy having solved anything.

What actually happens, and I reckon this holds every single time: you fight a problem for three or four hours late at night, give up, go to bed, and solve it within ten minutes of waking up. Your brain works on it while you sleep. You sit down with fresh eyes, try the thing you were too tired to consider the night before, and it works. Then you realise you have just saved yourself the three hours of sleep you nearly burned.
So the rule is simple: if you are approaching the point where you could probably sleep, sleep. Even with a deadline the next day, get up three hours earlier instead of working three hours later. Mornings are more productive than late nights, the back end of the day gets easier as the project closes out, and you don't burn the next two days recovering from one bad evening.
Guided meditation as a stress tool
The last tip is meditation. I will be upfront: I have not turned it into a routine and probably should. But on the days I do sit down for ten minutes, it works.

The setup is deliberately low-friction. If you have just woken up and you know the day ahead is going to be heavy, sit in the living room, pull up a guided meditation on YouTube, and follow along. Most of them run about ten minutes. That is it. You don't need an app subscription, you don't need a cushion, and you have not even opened Blender yet.
The longer-term benefit is more interesting than the immediate calm. Meditation trains your brain to take the stressful thoughts (the deadline, the client email you haven't replied to, the render that won't finish) and set them to one side so you can deal with the project in front of you. Over weeks and months, that habit compounds into a far more efficient way of handling pressure than letting things pile on top of you.
And if any of this lands hard, if you are reading at 2am with three deadlines stacked on top of each other, reach out. I have been through every one of these situations the hard way, and I am happy to talk to people who are in the middle of it.
Invest in the right hardware
Office chair, GPU VRAM, calibrated monitor, mouse and keyboard: the kit choices that keep the body and the renders working.
Get a proper office chair
I want to open the hardware section with the cheapest thing on the list that almost nobody upgrades early enough: the chair. I spent thousands of hours sat on a creaky, ripped blue office chair that gave my back no support whatsoever, and somehow kept going for years before I replaced it.
Swapping that out for a proper chair was the moment I realised how much damage the old one had been doing. At 30, the body starts giving honest feedback about choices that felt invisible in your twenties. A bad chair is one of the loudest.
You don't need a four-figure ergonomic throne to fix this. Even the cheaper IKEA office chairs are designed with some attention to ergonomics, and any chair that actually supports your lower back is a step up from the creaky one you inherited when you started freelancing.
My framing is blunt: yes, hardware costs money, but the investment in your back is worth more than any single job. Lose your back and the career stops. Buying the chair is just protecting the asset that does the work.
GPU VRAM is the Blender bottleneck
For Blender specifically, I rank the GPU and a fast hard drive as the two pieces of hardware that matter most. A fast CPU is nice to have, but high-core-count CPUs add up quickly and aren't where most of your render time is actually spent.
There's still a reason to spec the CPU sensibly though: it's your safety net. If your GPU runs out of VRAM mid-render, a machine with plenty of system RAM and a decent CPU can fall back to a CPU render and still finish the frame. It will be slower, but you'll deliver the job. That beats missing a deadline because the scene wouldn't fit on the card.
On the GPU itself, the rule is simple: always pick the highest-VRAM version of whatever card you can afford. I use the RTX 3060 as my example and you should take the 12 GB SKU over the smaller-memory variants every single time.
My shorthand for the whole section is that Blender has a VRAM problem, so buy as much of it as your budget allows. There are plenty of detailed hardware guides online for the rest of the build. This is the one rule I want you to leave with.
Monitors, mouse and keyboard
My main monitor is a relatively cheap panel, but I have run a colour calibration pass over it so the colours I am grading to are actually accurate. A calibrated cheap monitor will serve archviz work better than an uncalibrated expensive one, because every colour decision you make on a drifting display has to be redone when the client sees it on theirs.

Alongside it sits a second, smaller monitor used for everything that isn't the 3D viewport: mood boards, PureRef references, social media, Spotify, Photoshop palettes. Having a dedicated patch of screen for the supporting cast means your main display stays clean for Blender, and you can work two things at once without alt-tabbing all day.
My mouse is a Logitech MX Master, which I call the best mouse I have ever owned. The pitch isn't complicated. It is the one most creative professionals end up on, with side buttons and a free-spinning wheel that map nicely to Blender navigation.
For the keyboard, I moved to a mechanical board after years of suffering with a cheap one whose keys kept getting stuck, including, painfully, the shift key, which triggered Windows' Sticky Keys popup mid-shortcut. Mechanical keyboards are noisier (my viewers can hear it in every video), so if you go that route, pick quieter switches. But for a program as hotkey-driven as Blender, having a keyboard that actually responds to every keystroke isn't a luxury.
Closing thoughts
That's the full ten-tip list. I hope at least some of it has been useful. If you want to talk any of it through, message iMeshh directly. I am genuinely up for the conversation.
My parting advice is the same theme that runs through the rest of this: get some sleep, turn up to work well-prepared, and tell your clients no when they're asking for too much. Good luck with the career.
Tools and credits
Everything mentioned in this tutorial, with links.
- Blender (the renderer this entire build runs in).
- iMeshh (studio platform with project management, client review, asset library and invoicing). The asset library used in this tutorial is included with every iMeshh Pro plan.
- Poly Haven (free CC0 textures and HDRIs).
Pillar guide: Tips Tricks hub