Reference setup and blocking the sofa envelope
The time-lapse opens with a reference image dropped into the viewport and a single cube scaled to match the overall sofa footprint. This blocked-out volume defines the seat depth, back height, and arm width before any cushion detail starts. The entire piece is sized in proportion to this one primitive.
Dropping in reference and matching scale
The build opens with a single reference photograph dropped into the viewport: the sofa you're aiming to recreate, parked off to one side so you can sight against it as you work. Nothing else is loaded yet; the reference is the only thing on screen besides the default cube.
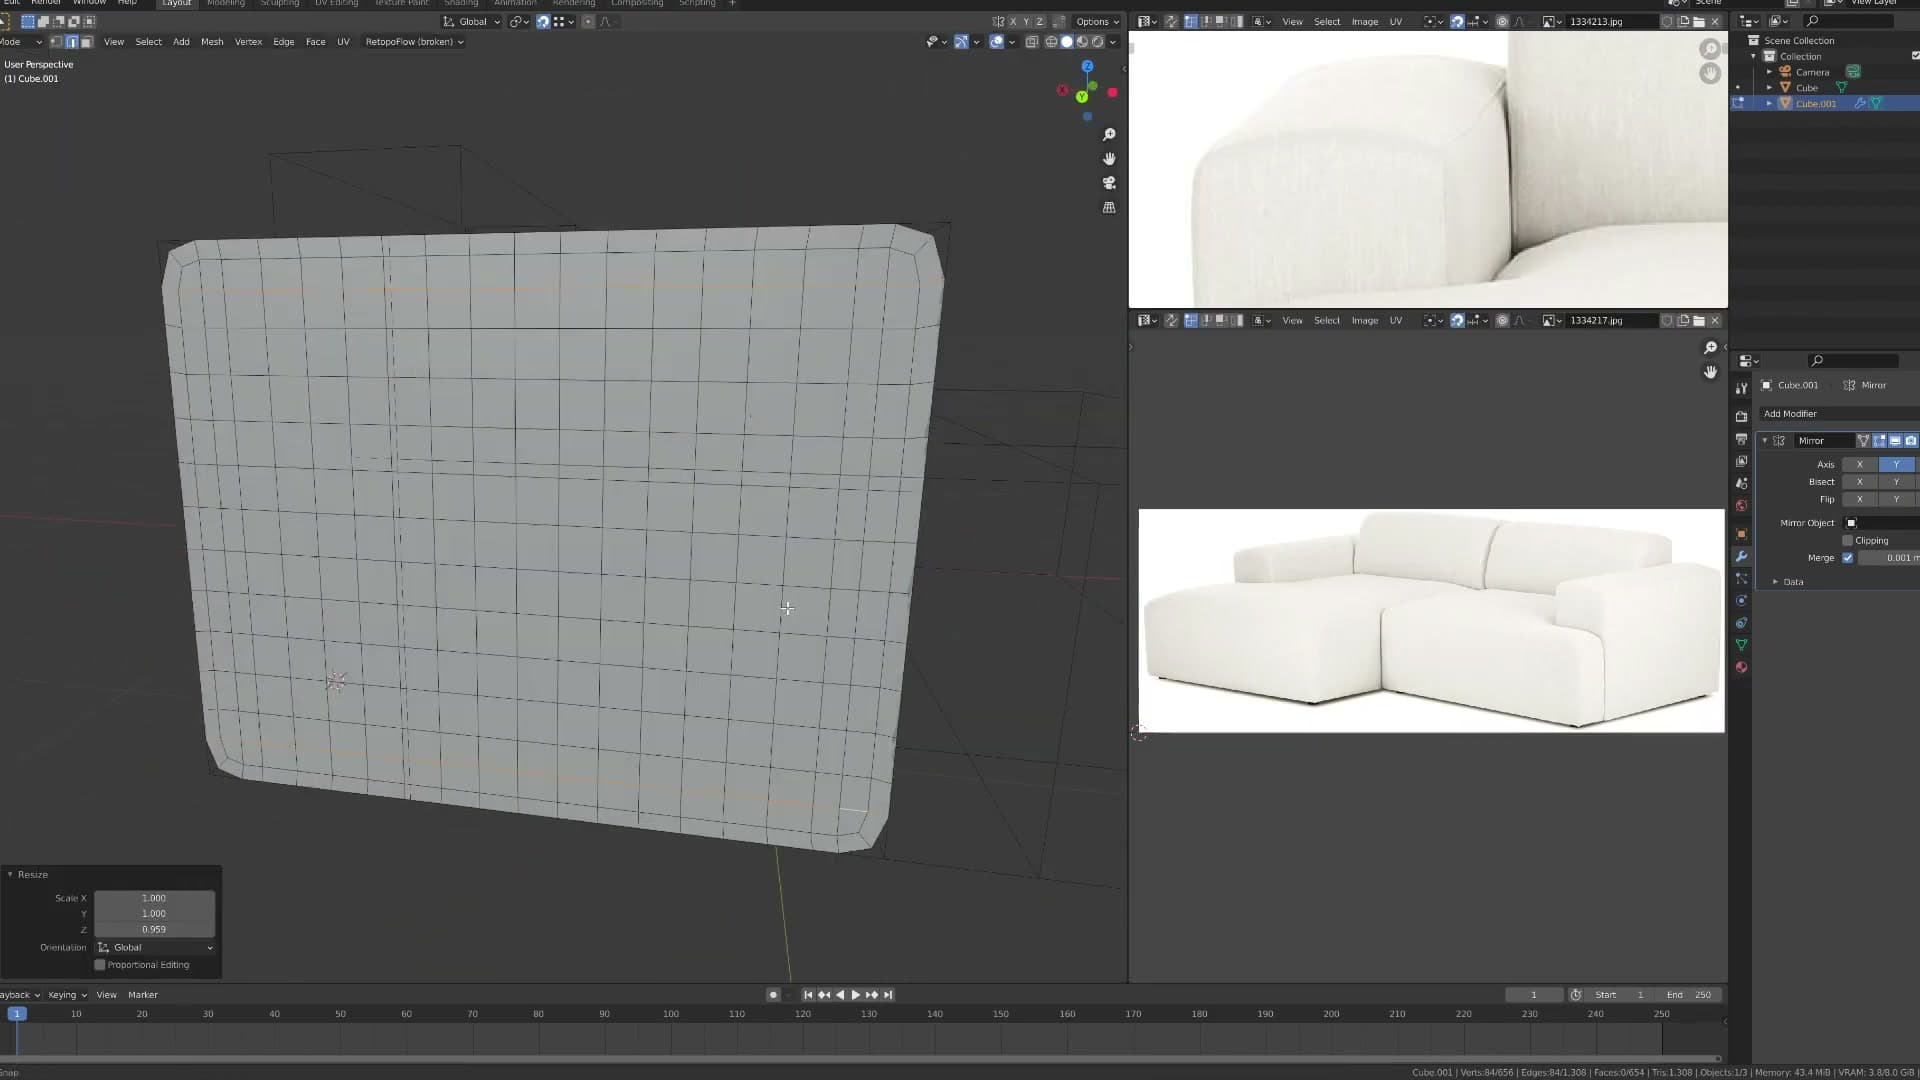
From there, the cube does all the early work. Scale it on each axis until it matches the overall footprint of the sofa in the reference: roughly the right width, the right depth, and the right total height including the backrest. Cushion divisions and arm thickness can wait; this primitive only exists to lock the envelope.
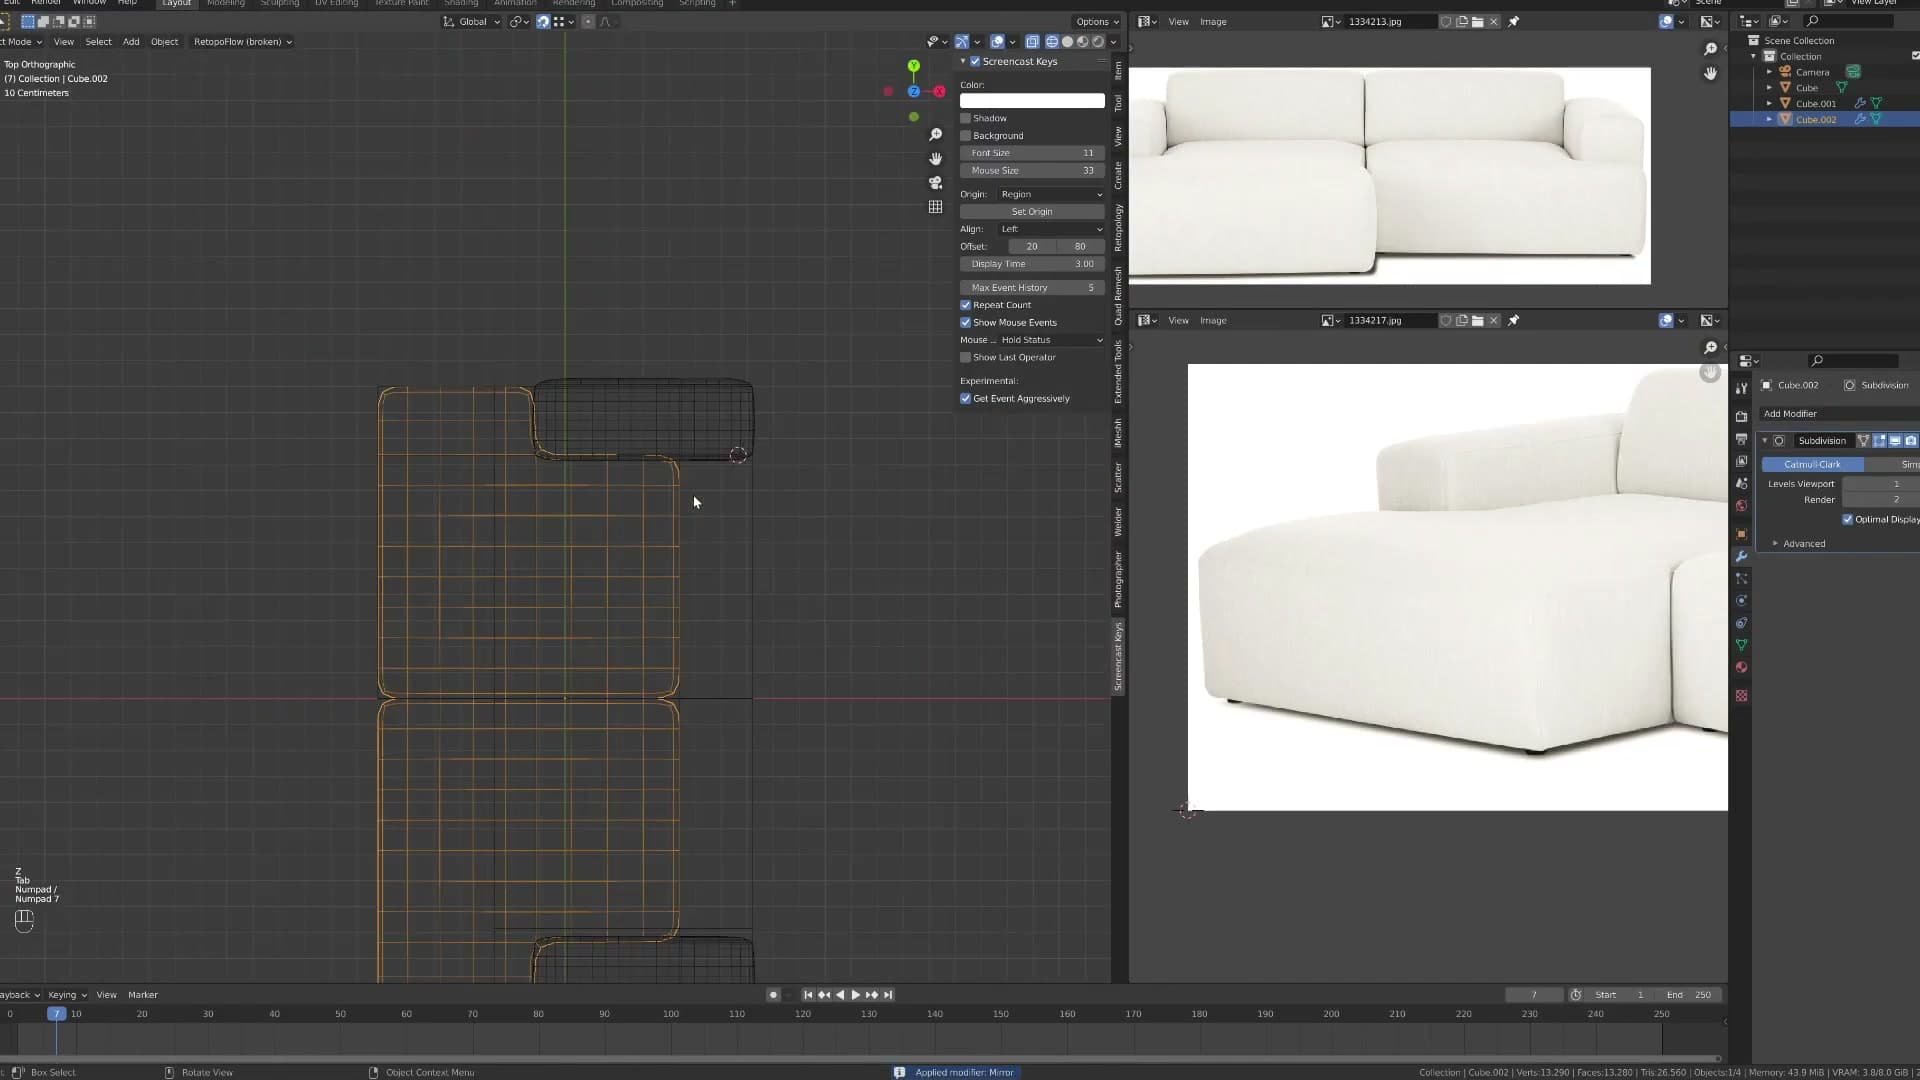
That envelope is the most important decision in the entire piece. The seat depth, back height, and arm width all cascade from this one block, so getting it proportioned correctly against the reference now saves rescaling every component downstream.
Splitting the block into seat, back, and arms
With the envelope sized, the next pass divides it into the three zones the upholstery will eventually occupy. Add loop cuts horizontally to separate the seat base from the backrest, and vertically to mark where the arms break away from the seat. The cuts are deliberately placed where the cushion seams will sit later.
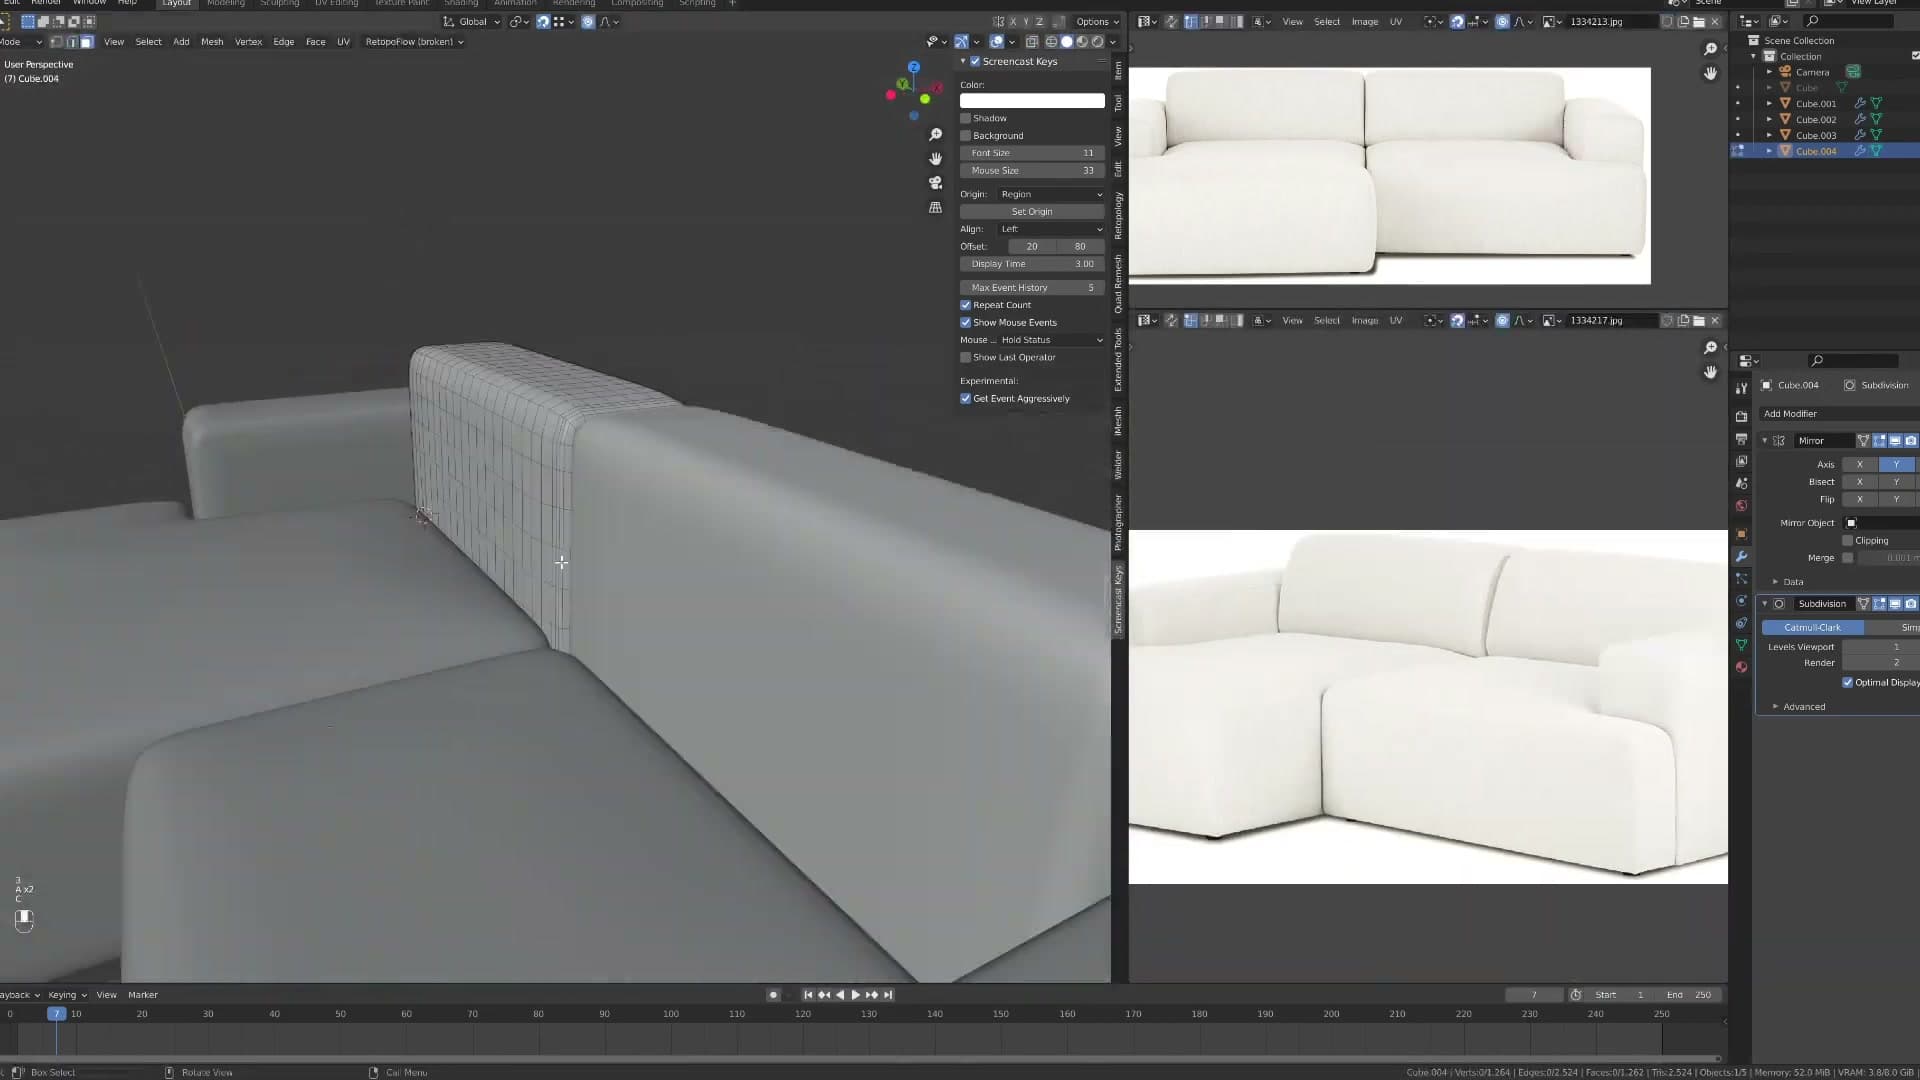
Once the loops are in, select the back and arm faces and extrude them outward to give each zone its own slab of geometry. The single primitive now reads as three connected volumes (base, back, and arms) sitting in the right proportions before any cushion sculpting begins.
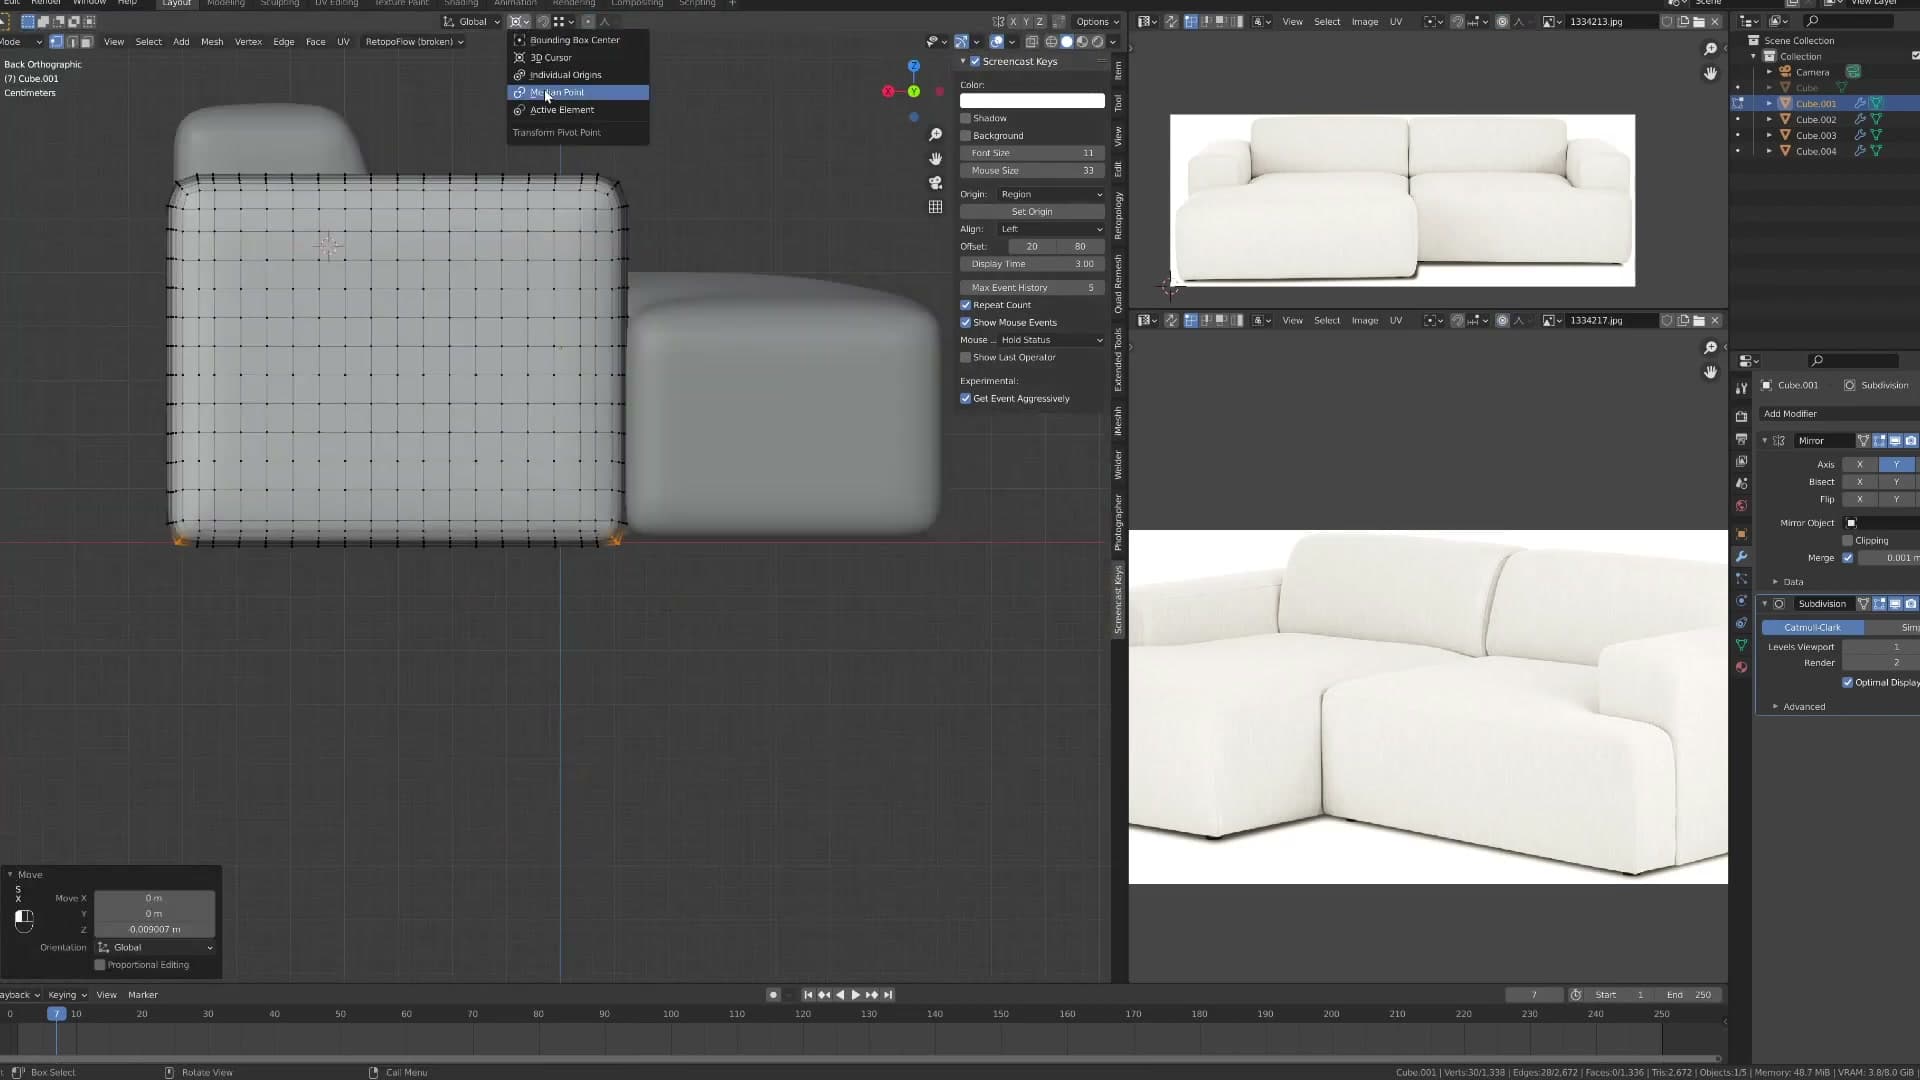
Keep this stage purely about silhouette. The blocky look is intentional; subdivision, bevels, and per-cushion detail all come later, once the seat and back cushions are broken out as their own objects.
Building the sofa frame and base box
With the silhouette established, I focus on the structural frame: the rigid box the cushions sit on. Edges are bevelled lightly to suggest upholstered corners and a Subdivision Surface modifier is added to soften the form without losing the boxy archviz silhouette.
Bevelling the frame edges for soft corners
With the silhouette established in the previous module, I shift to the structural frame: the rigid base box that the seat and back cushions will eventually sit on. Before any subdivision goes on, the hard 90-degree edges need a small bevel so they read as upholstered fabric rather than bare timber.
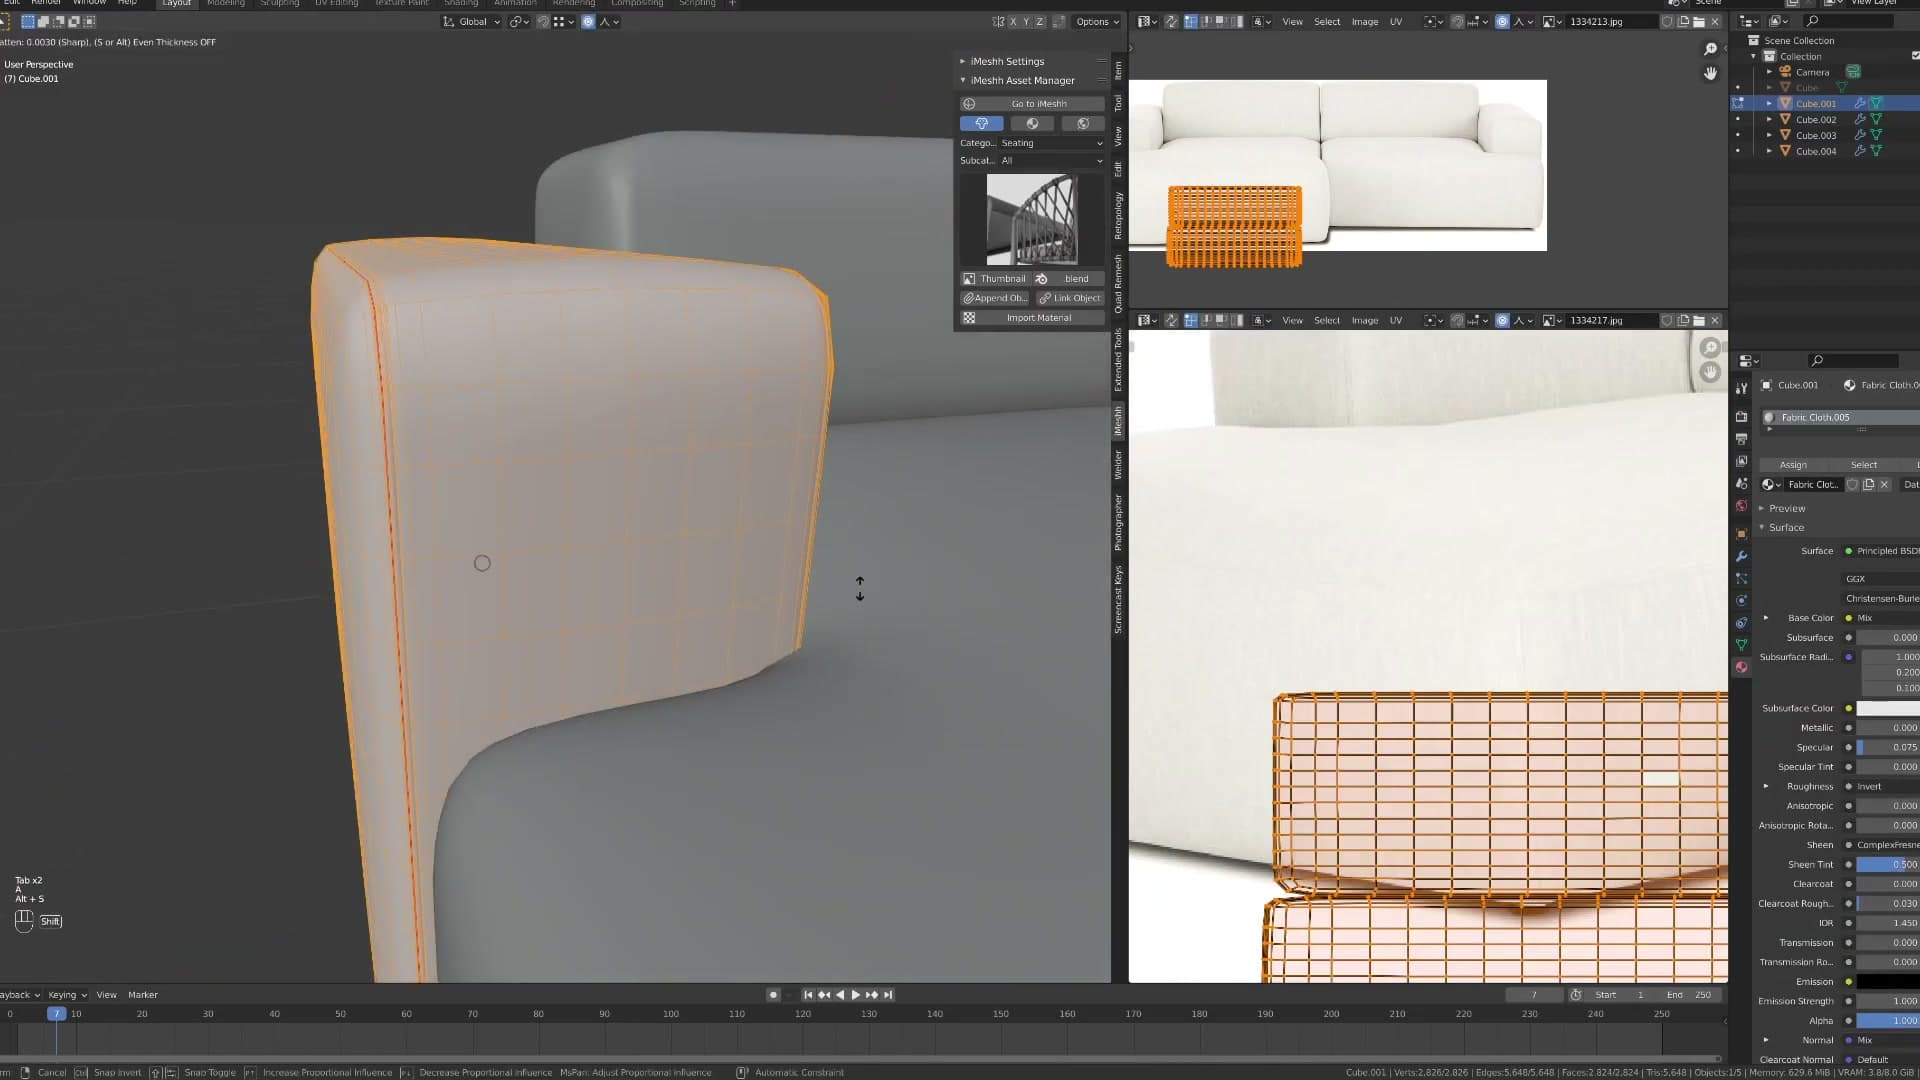
A Bevel modifier is added to the frame with two segments and a small width value. Two segments is the minimum needed to give the next modifier in the stack something to round cleanly; the width stays low so the frame keeps its boxy archviz proportions instead of bloating into a pillow.
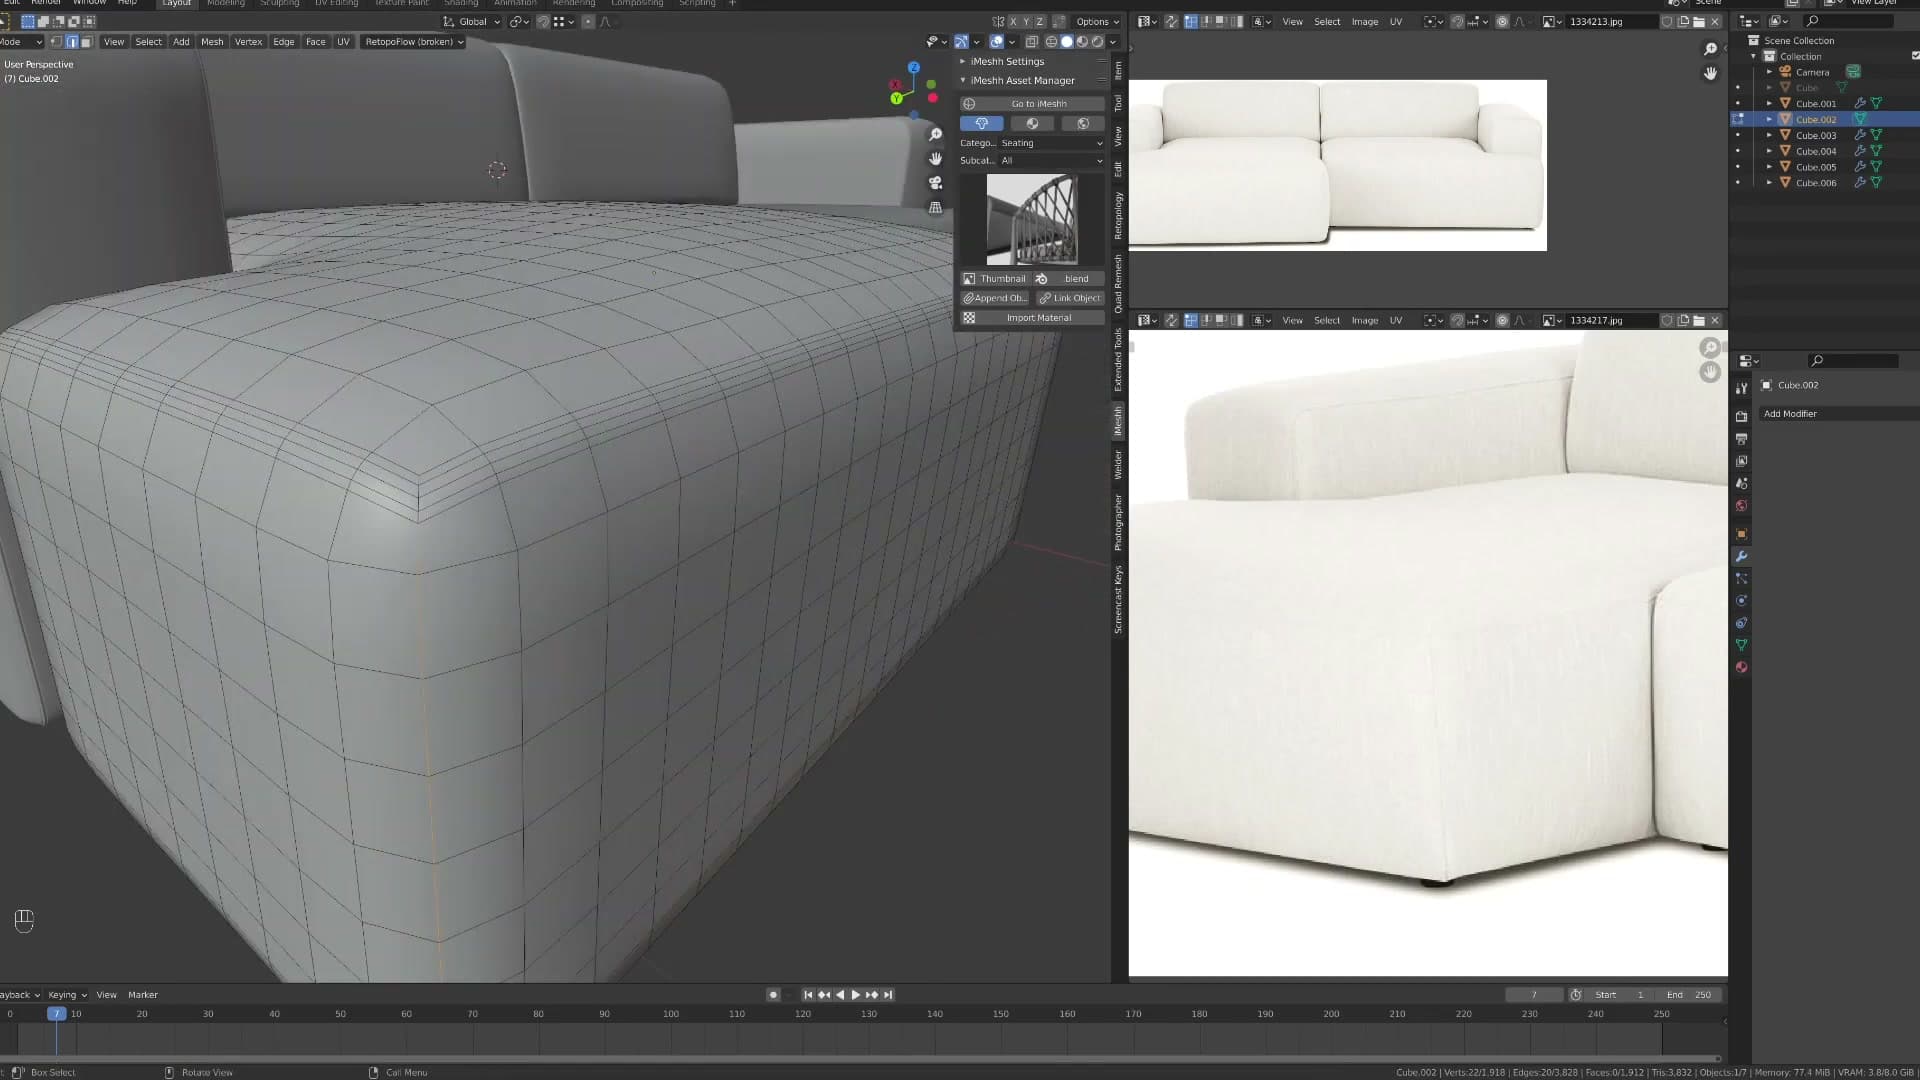
Once the modifier resolves, the corners soften into a gentle round-over while the overall rectangular footprint stays intact. That subtle change in edge profile is what separates a piece of furniture from a primitive cube.
Adding Subdivision Surface to inflate the upholstery
A Subdivision Surface modifier is layered on top of the Bevel and set to level 2 in viewport. The frame inflates from a sharp-edged box into a softly padded form, still recognisably rectangular but with the rounded upholstered feel that fabric-covered furniture has in reality.
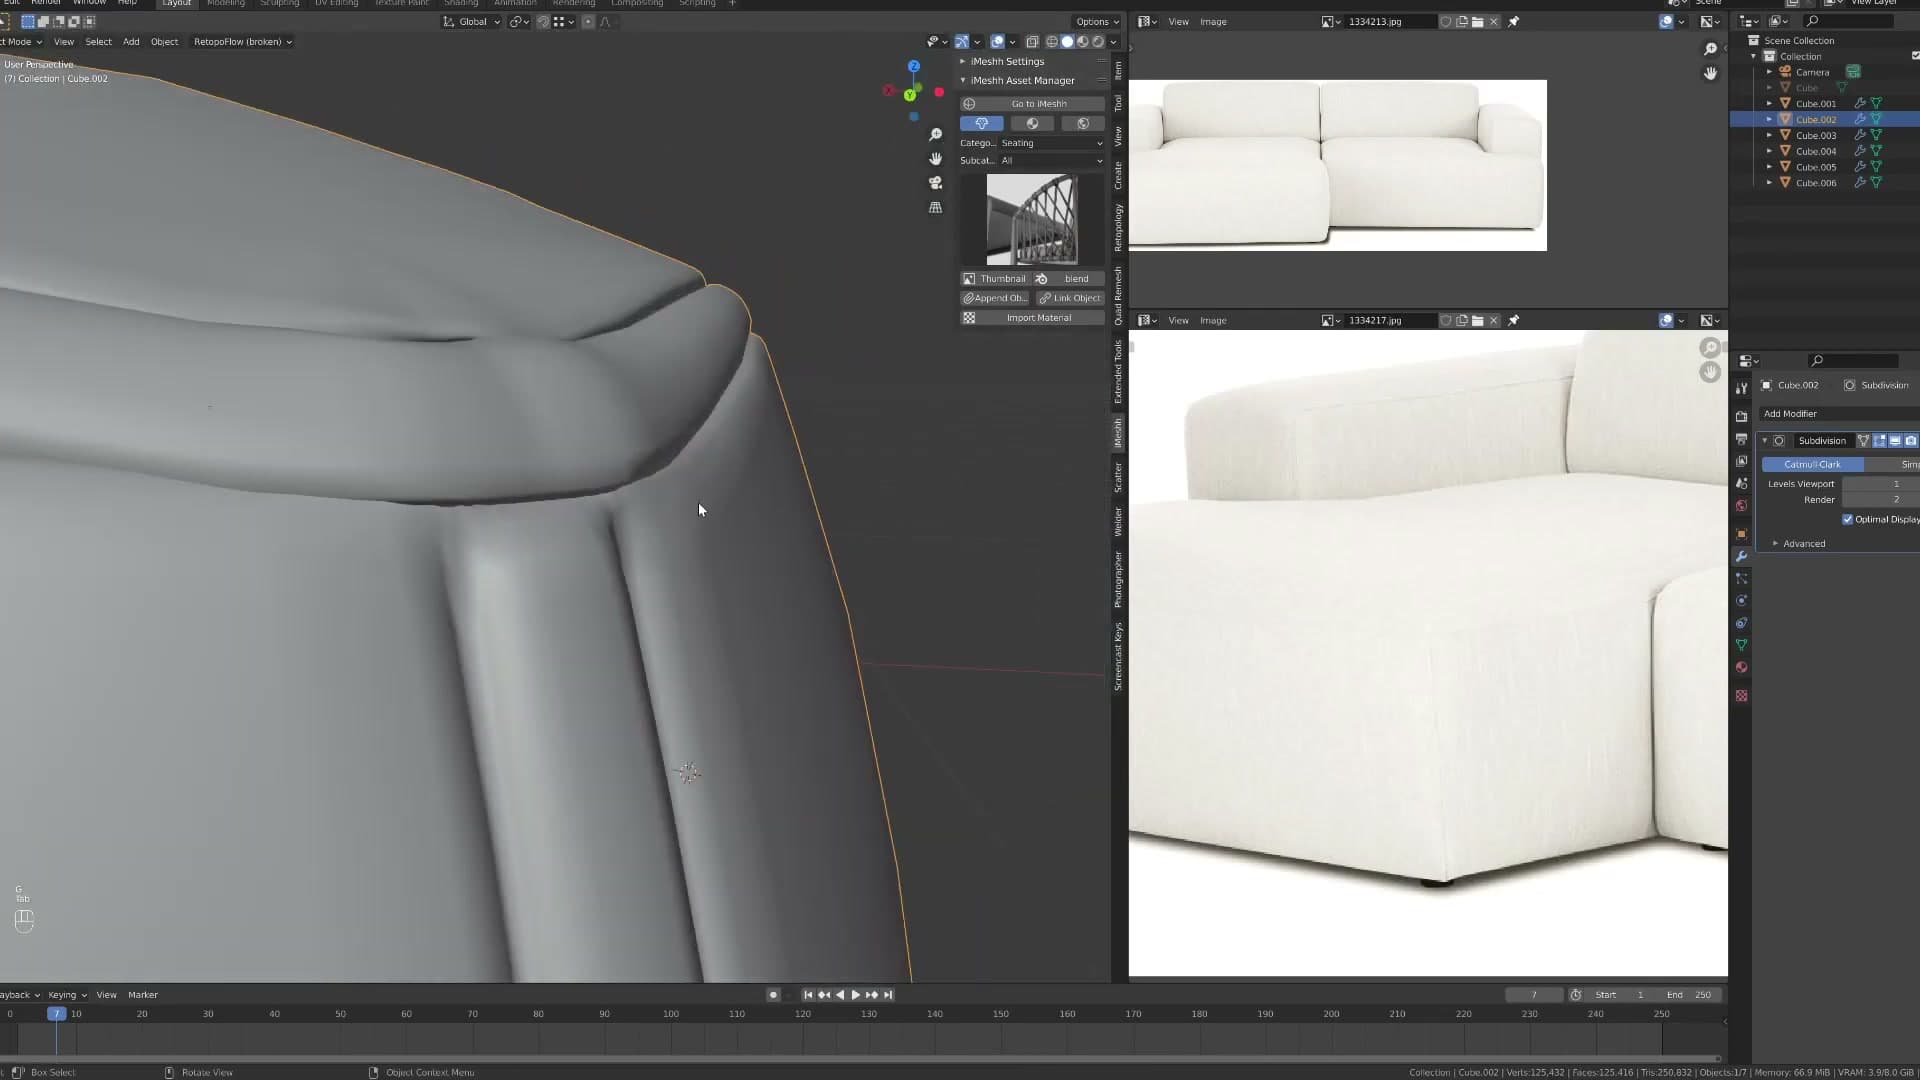
The problem with Subsurf alone is that it rounds everything indiscriminately, including the seam lines where the upholstery wraps tight around the frame and should stay relatively crisp. Edge creases go on those cushion seam edges to anchor them in place. The Subsurf still smooths the broad surfaces, but the creased edges hold their definition.
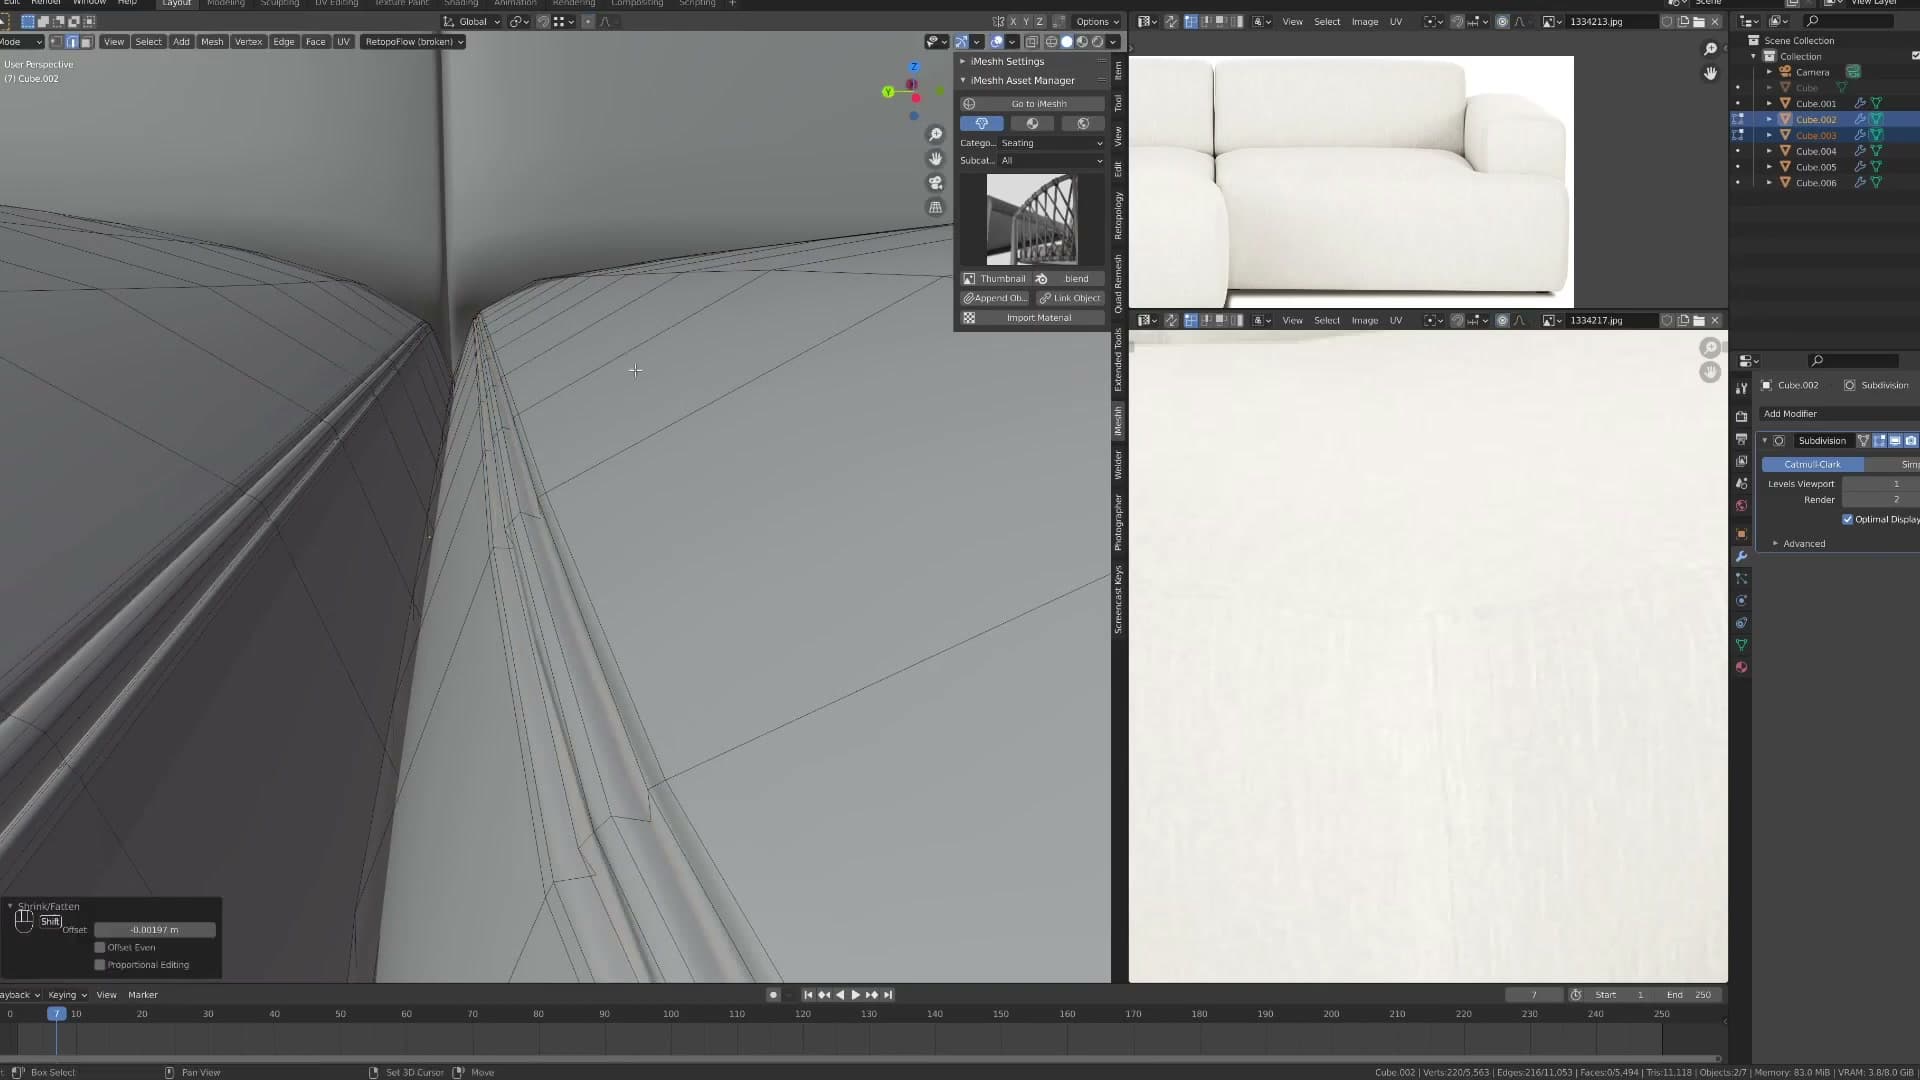
That two-modifier stack (Bevel feeding Subdivision Surface, with selective edge creases pinning the seams) is the foundation every cushion, arm and back element will reuse later in the build. Establishing it cleanly on the frame first means the rest of the workflow is just variations on the same recipe.
Modelling the seat cushions
Seat cushions are detached from the frame and modelled individually, giving each one its own Subsurf and Bevel stack. I add slight scale variation and a hint of sag on the front edge so the row of cushions reads as soft fabric rather than a single carved block.
Separating each seat cushion as its own object
With the silhouette blocked out and the seat slab split off from the frame, the next move is to break that slab into individual cushions. In Edit Mode, the faces belonging to each cushion are selected as a contiguous island across the top of the seat envelope.
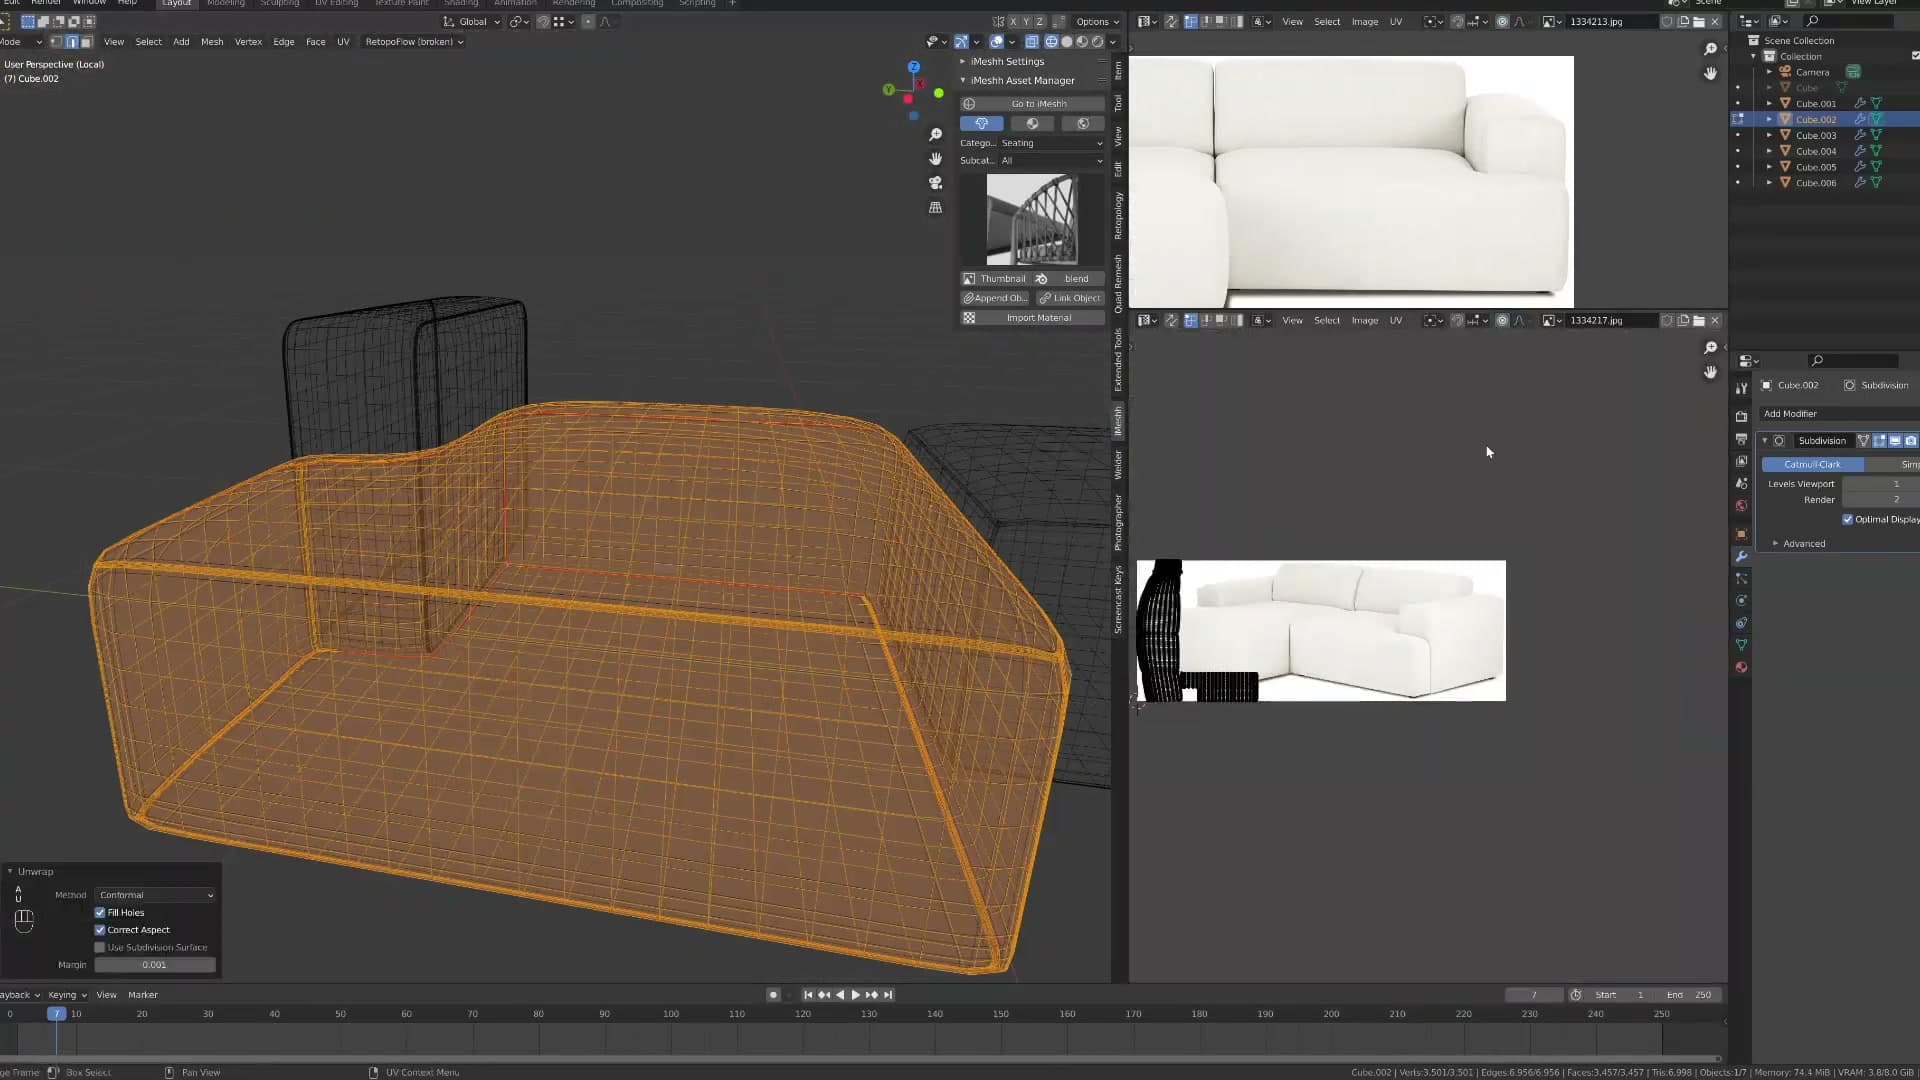
Once a cushion's faces are highlighted, separate them by selection (P → Selection) to spin them out as a new object. Repeat for the second and third cushions until each seat pad has its own entry in the Outliner.
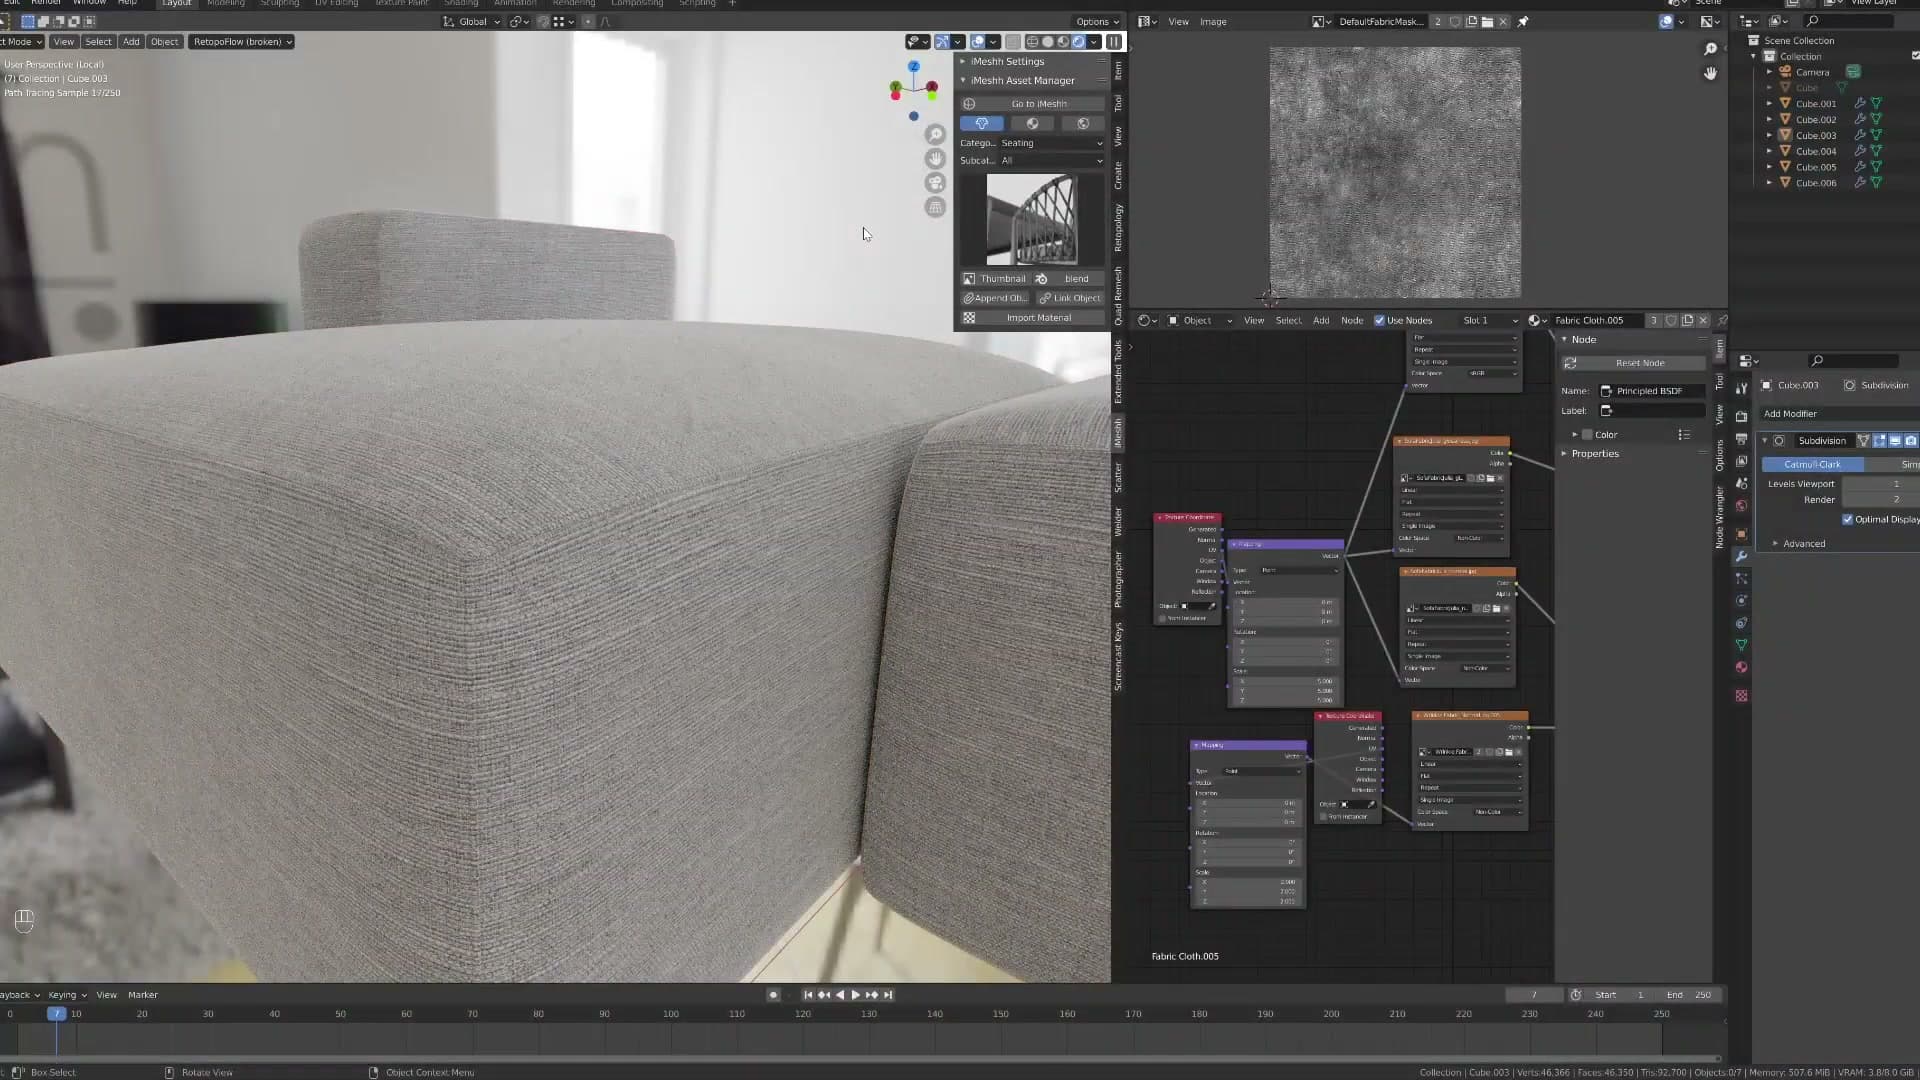
Splitting the cushions like this opens up the rest of the module. A single merged seat mesh would force you to balance Subsurf and Bevel settings across every pad at once; three discrete objects let each cushion carry its own modifier stack and take its own scale, rotation, and sag without dragging its neighbours along.
Shaping the cushion silhouette with proportional editing
Now that the cushions are independent, you can shape them one at a time. Enable proportional editing, grab the front edge of a cushion, and pull it down slightly so the leading lip droops. That small sag is what reads as soft, lived-in upholstery instead of a stiff geometric block.
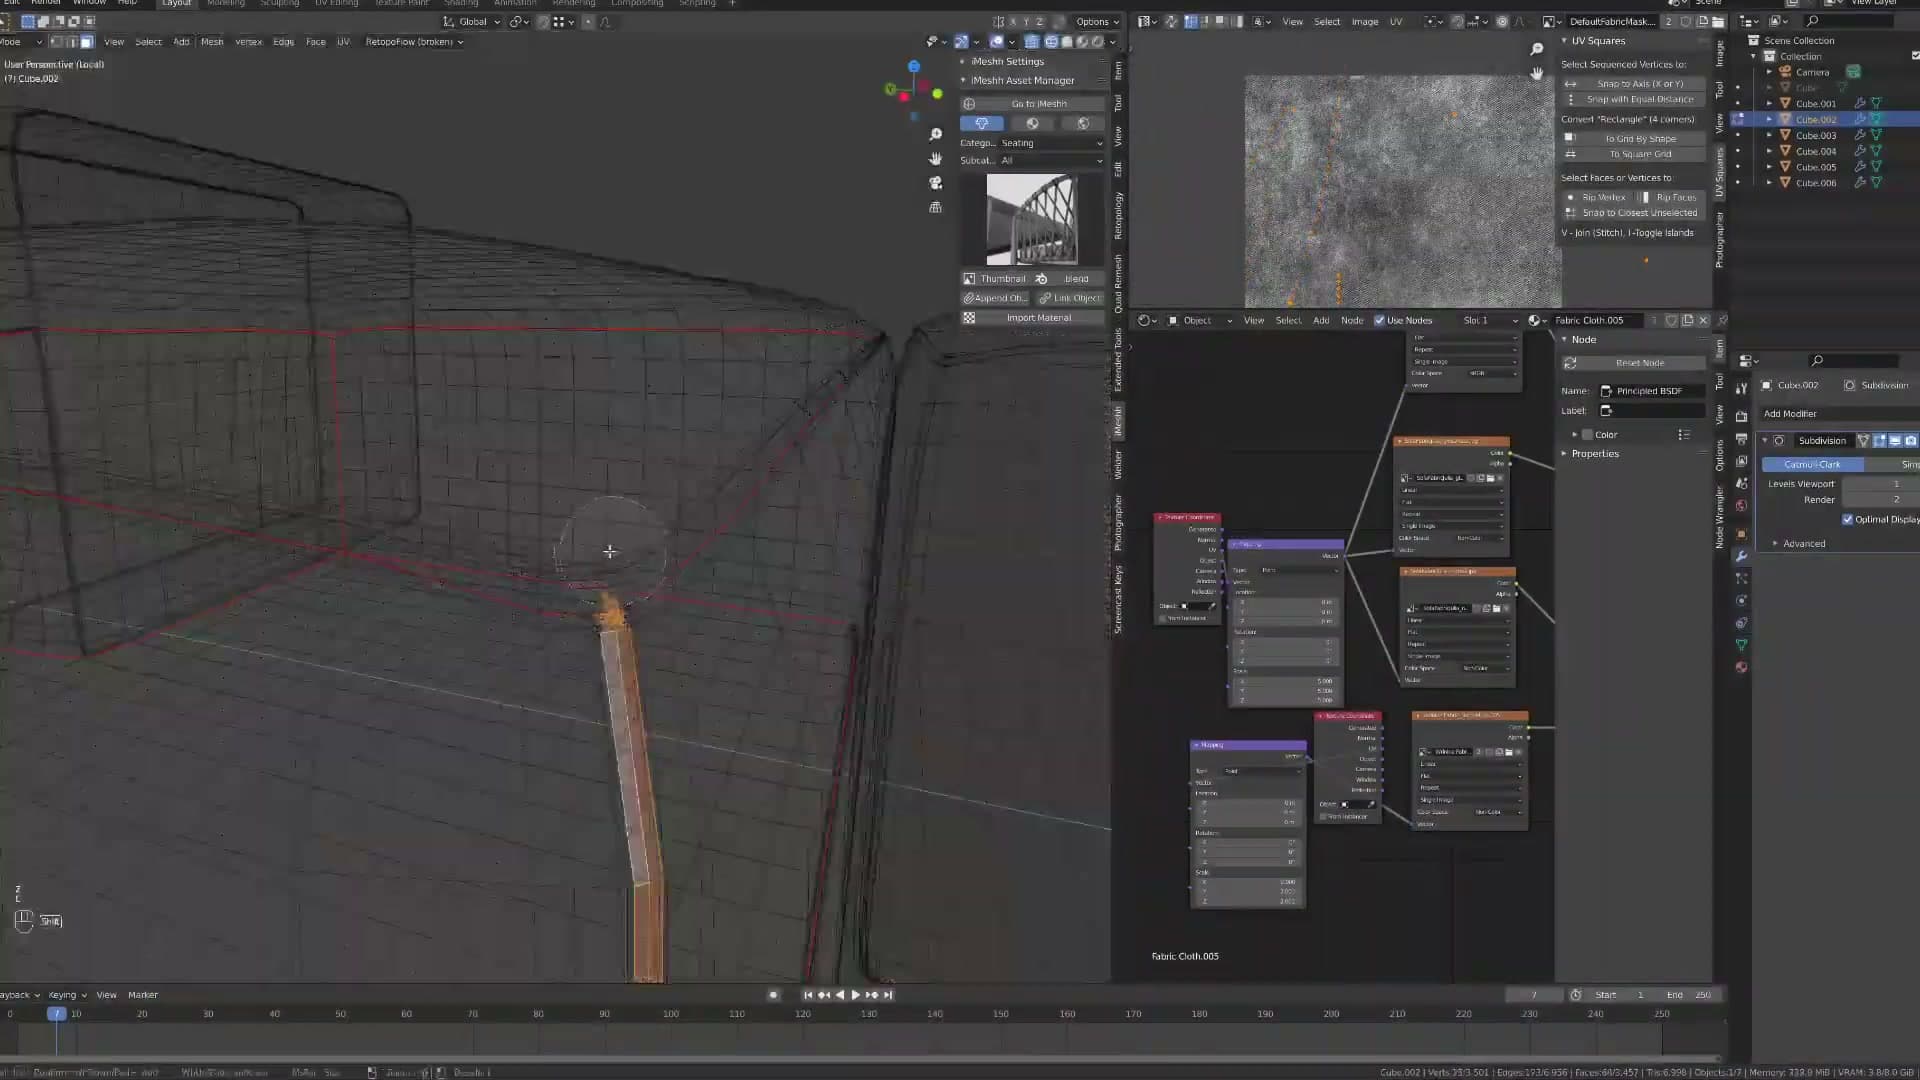
The falloff radius is the dial that sells the effect. Too tight and the front edge creases sharply; too loose and the whole cushion deflates. Scroll to dial the influence in until only the front portion of the cushion is moving while the rear stays anchored to the frame.
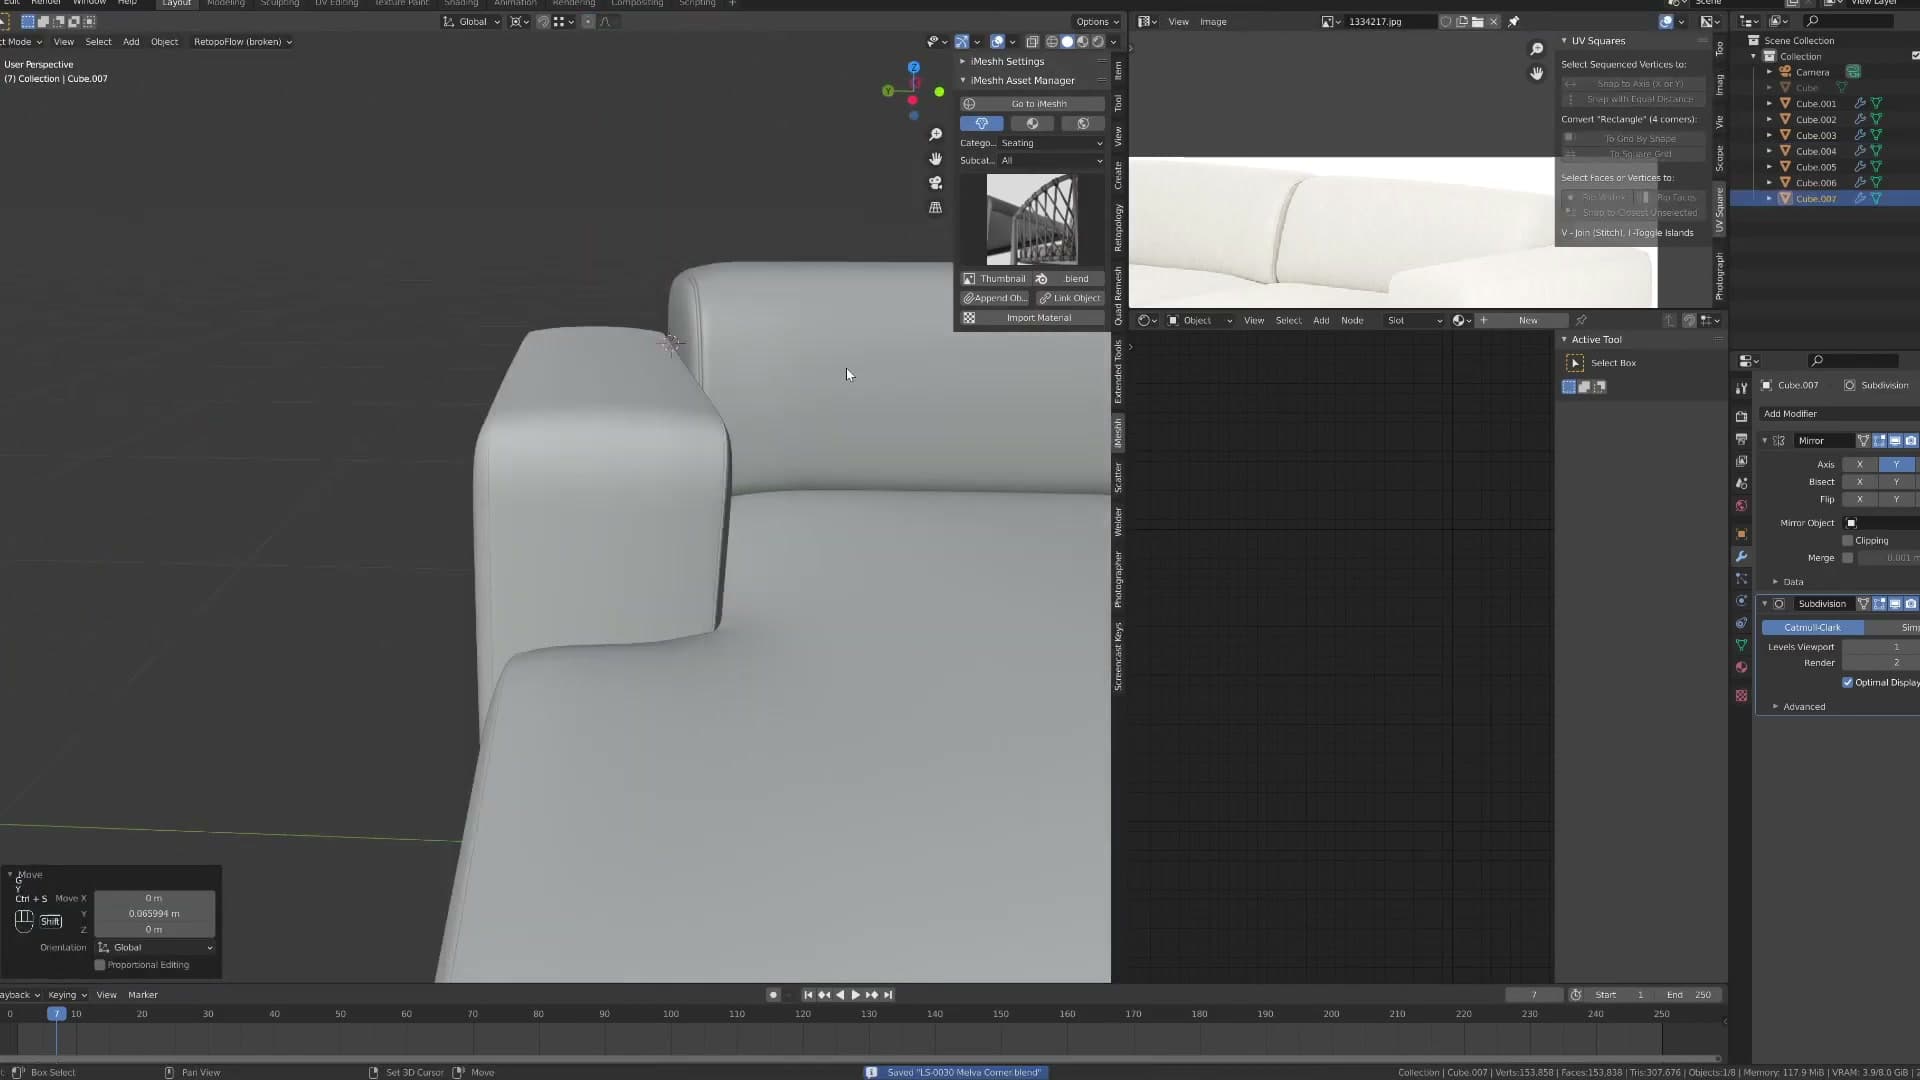
Once the silhouette feels right, give the cushion a small scale tweak and a couple of degrees of rotation around the vertical axis. Repeat with different values on each of the three cushions so the row doesn't read as identical clones. Just enough variation that the eye registers them as three separate, settled pieces of fabric rather than one extruded block.
Backrest and arm cushions
Attention moves up the sofa to the backrest pillows and the arm caps. The same separate-object strategy applies here: each back cushion gets its own slight tilt and squish so the back row reads as relaxed pillows rather than a flat panel.
Building the back cushion row
With the seat row settled, I move up to the backrest. The same separate-object discipline applies here as it did to the seat cushions: each back pillow is its own mesh so you can sag, scale, and rotate them independently rather than wrestling a single merged panel.
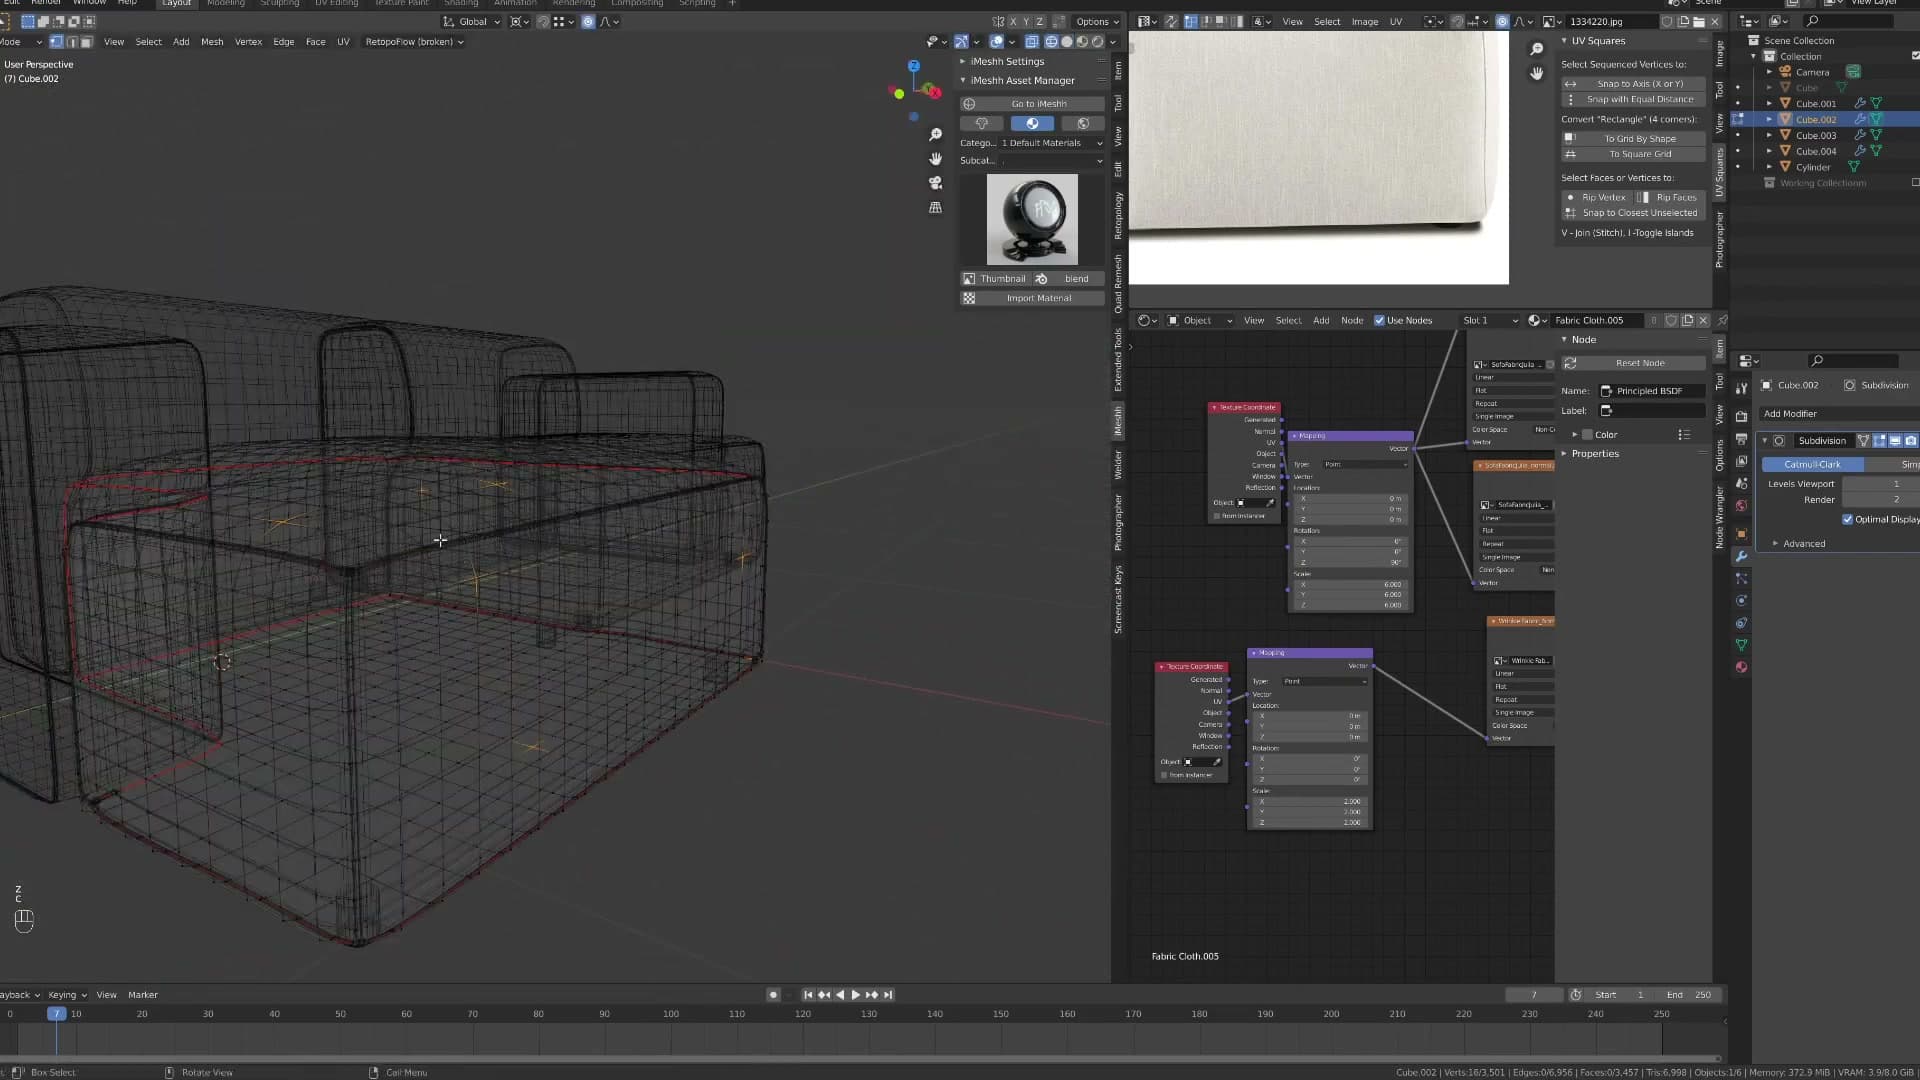
Block the first back cushion from a fresh cube. Scale it to fill the slot between the frame's back uprights, push it down against the seat cushions so the upholstery reads as resting against them rather than floating, and apply the same modifier stack you used on the seats: a light edge bevel feeding a Subdivision Surface so the corners inflate softly without losing the piped edge.
Once the first pillow looks right, duplicate it twice along the length of the sofa to build a row of three. Keep them as separate objects so each one stays editable on its own.
Then break the symmetry. Rotate each pillow a degree or two off the vertical, squish one slightly more than its neighbours, and offset the heights so the row reads as relaxed pillows that have been leaned on rather than a uniform back panel. Small, irregular tilts sell the cushions far more than perfectly aligned copies.
Shaping the arm upholstery
The arms are next, and they follow the same logic as the cushions: model one side cleanly, then mirror. Start the arm cap from a cube sized to the width of the sofa frame, then shape the top edge into a soft rounded profile so the upholstery reads as padded rather than boxed.
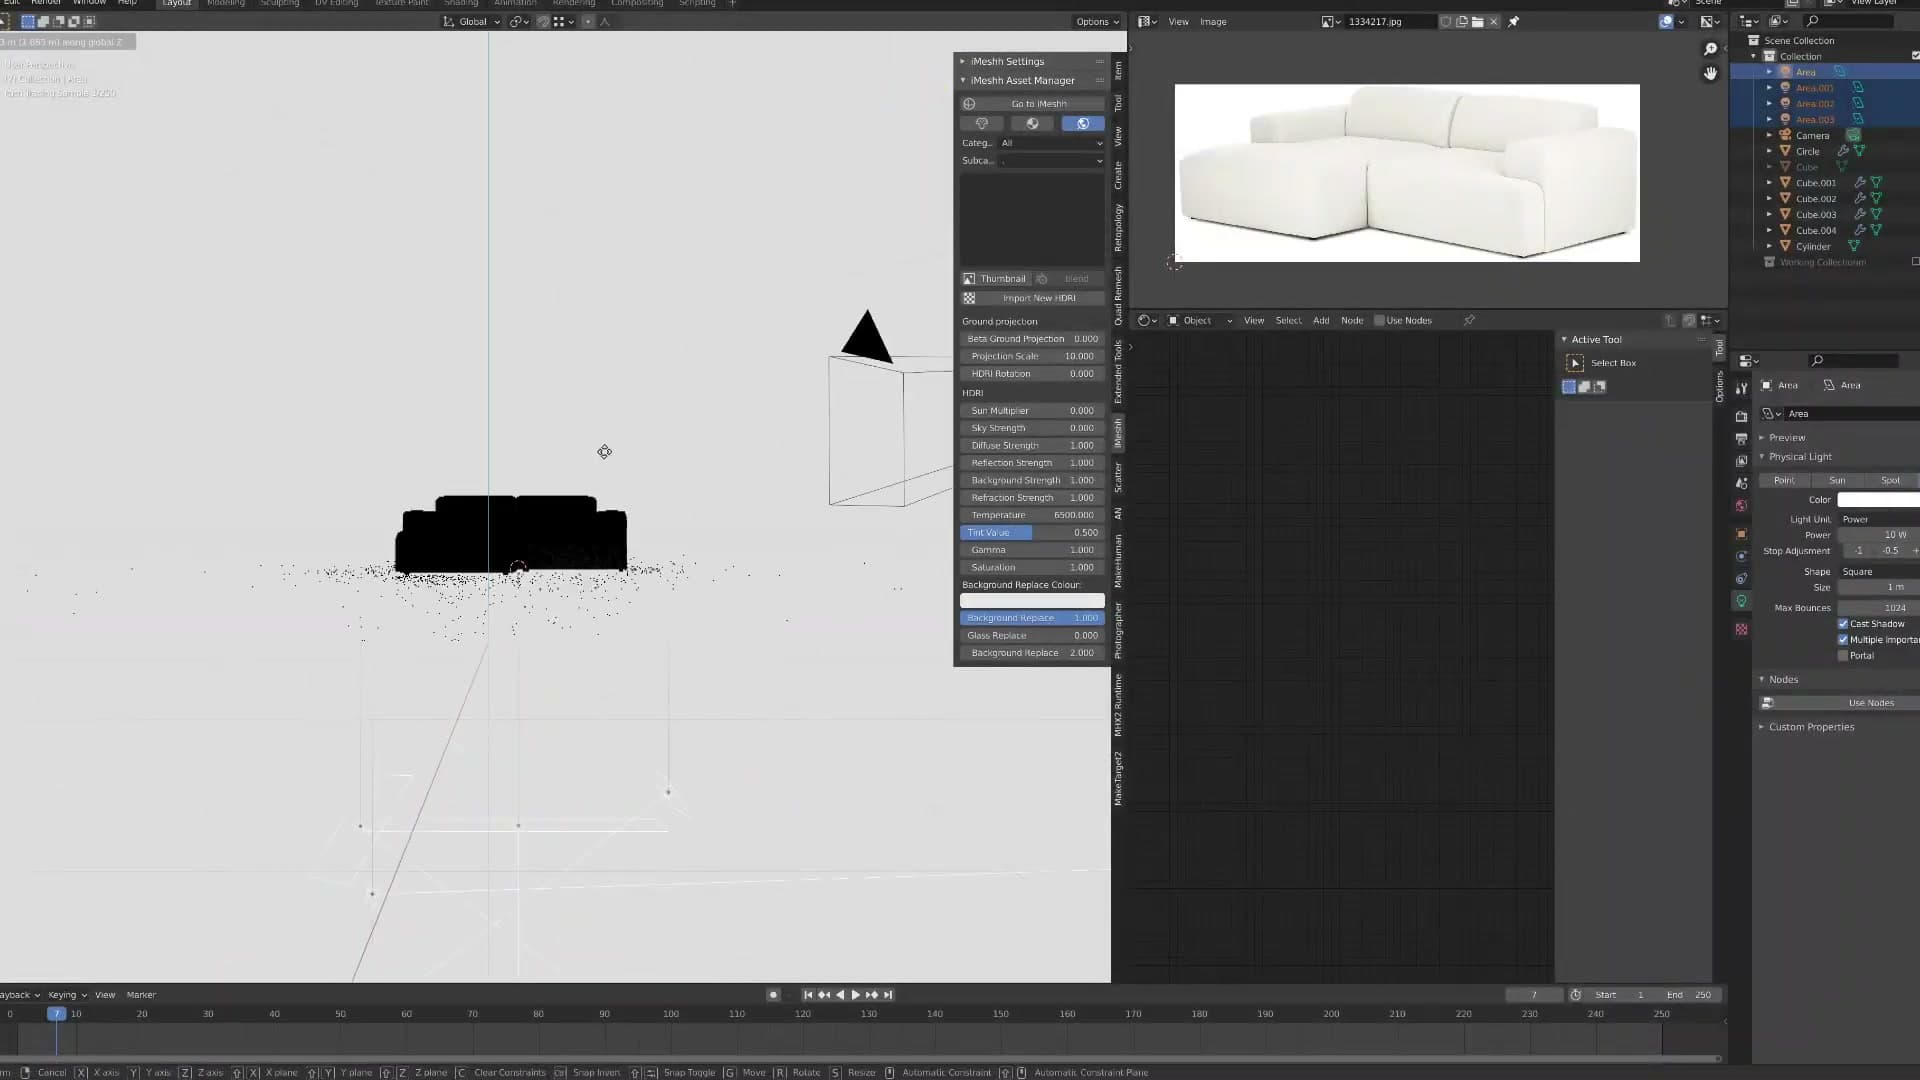
Tuck the fabric line down where the arm meets the seat. A small inset loop along that seam gives Subsurf something to grip, which keeps the tucked-in crease defined once the modifiers smooth everything else out. Bevel and Subdivision Surface go on the arm in the same order they sit on the cushions.
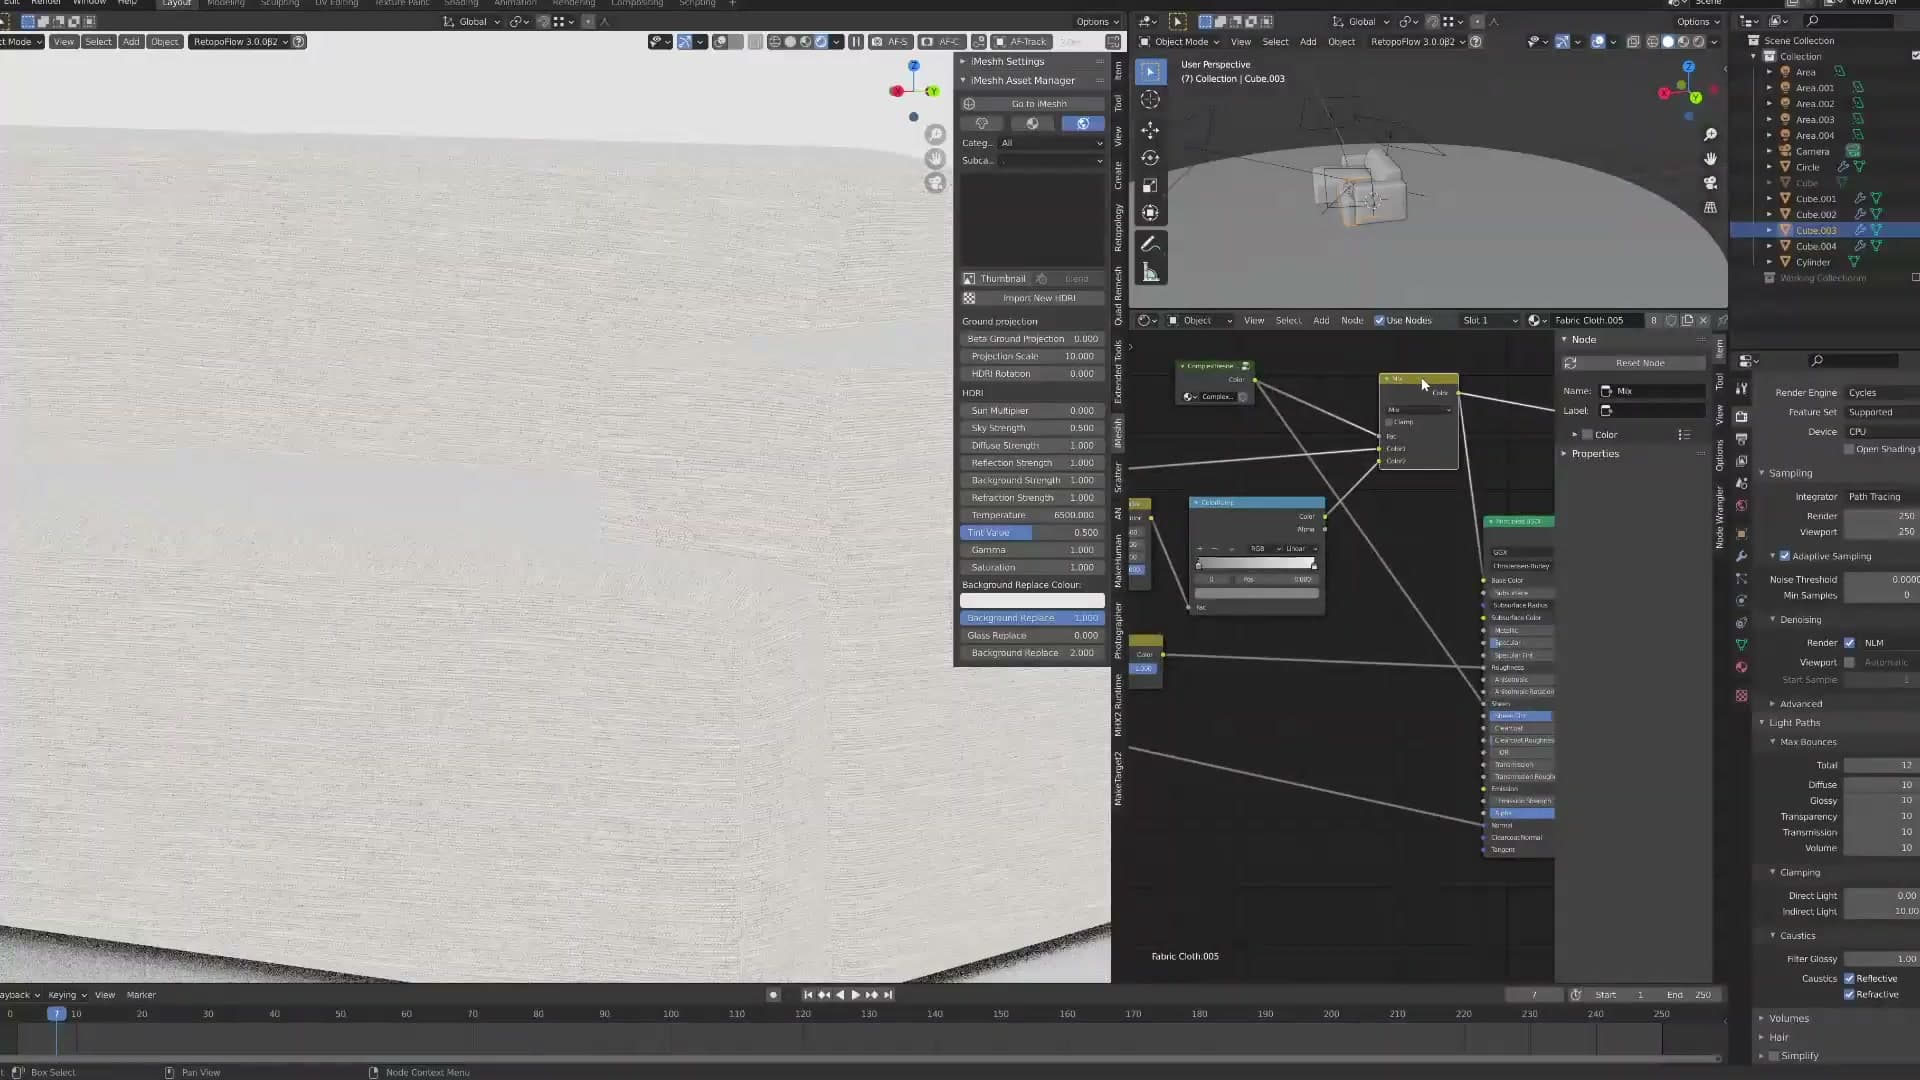
When the near arm looks right, mirror it across the sofa's centre axis to produce the far arm. Mirroring guarantees the two sides match exactly. Any tweak you make to the source arm carries straight through to its twin, so you only have to refine the shape in one place.
Adding piping and stitched seams
The detail pass introduces the piping that runs along every cushion edge. Rather than model it as geometry, I trace a bezier curve along each seam and give it a small circular bevel object, instantly producing clean tubular piping with consistent thickness.
Tracing piping curves along cushion seams
With the cushions blocked out and inflated by Subsurf, the detail pass turns to the piping: the slim tubular trim that traces every cushion seam. Modelling it as mesh geometry would mean lofting tubes, joining them, and re-flowing topology around every corner. Instead, I reach for a Blender curve.
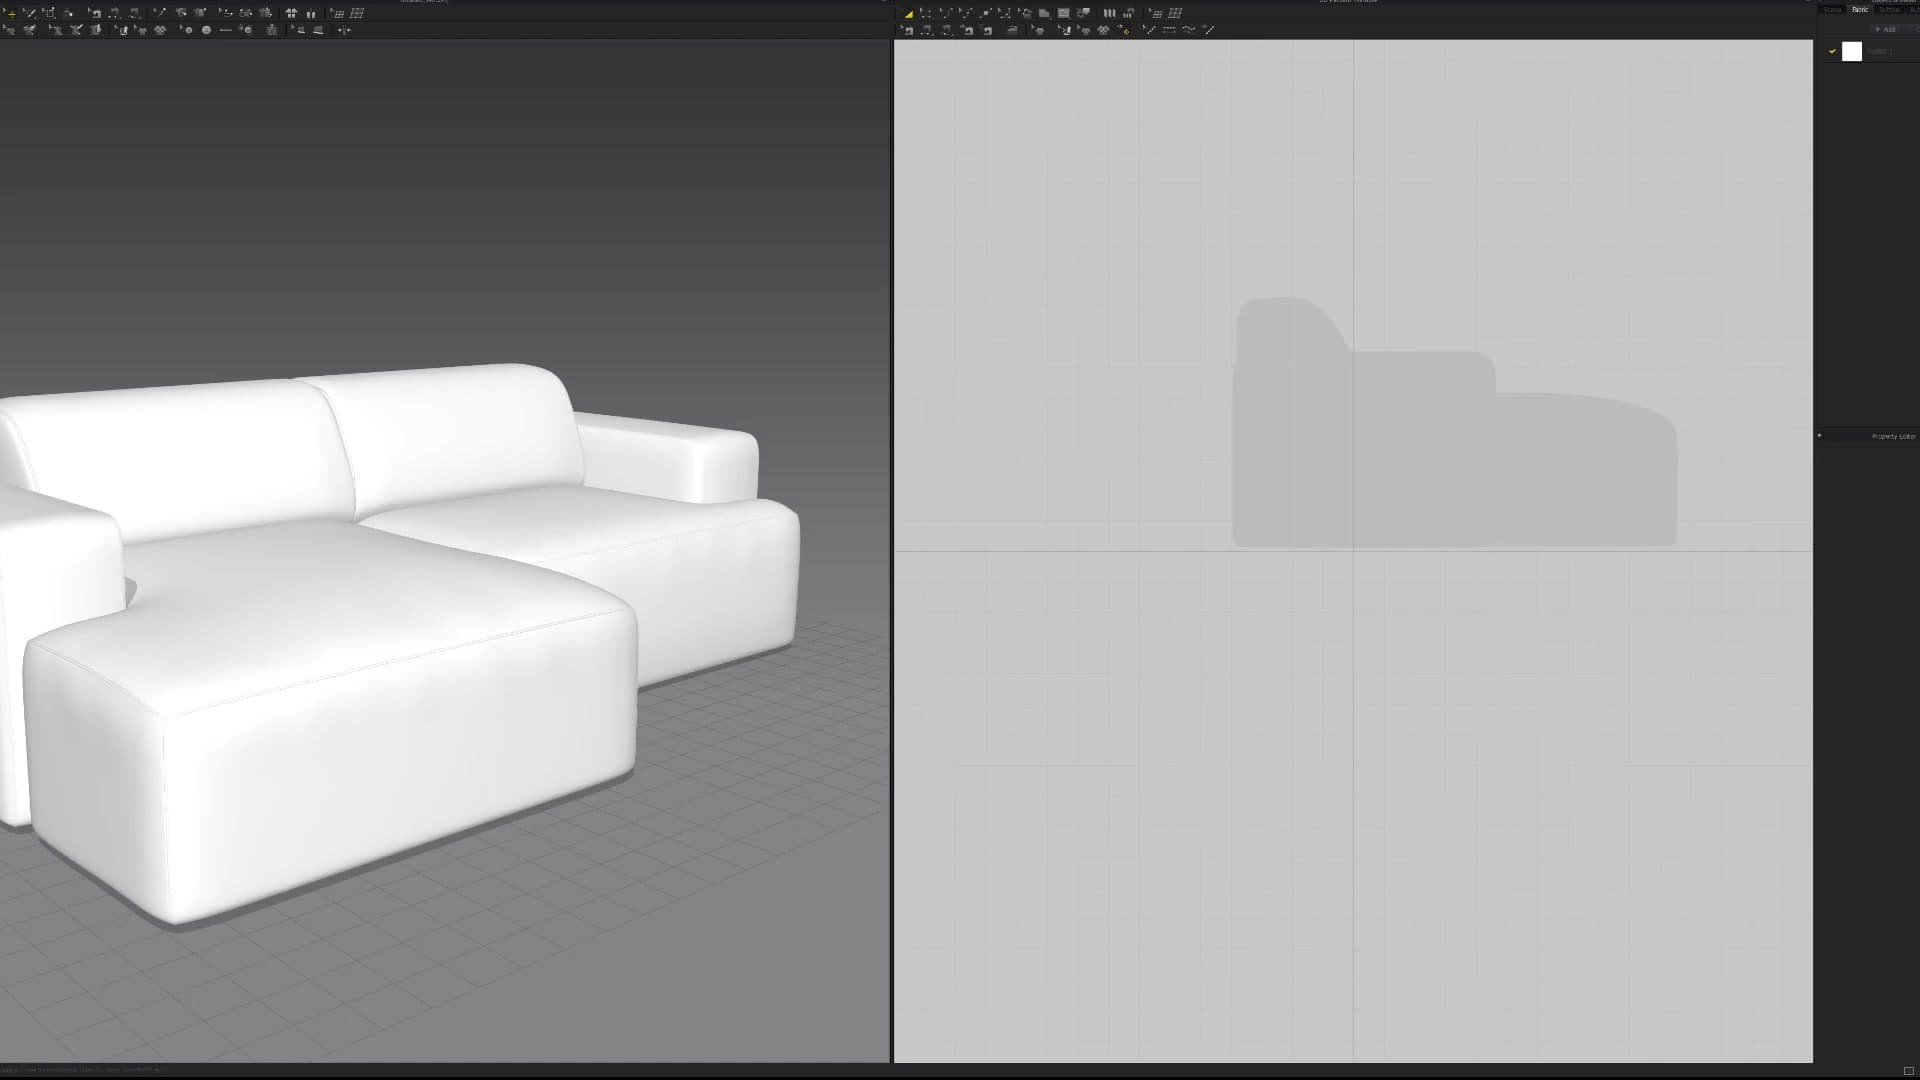
Add a bezier curve in the viewport and drop into edit mode. Place each control point along the cushion's seam, letting the smooth handles flow naturally around the corners so the path mirrors where real piping would sit on an upholstered edge.
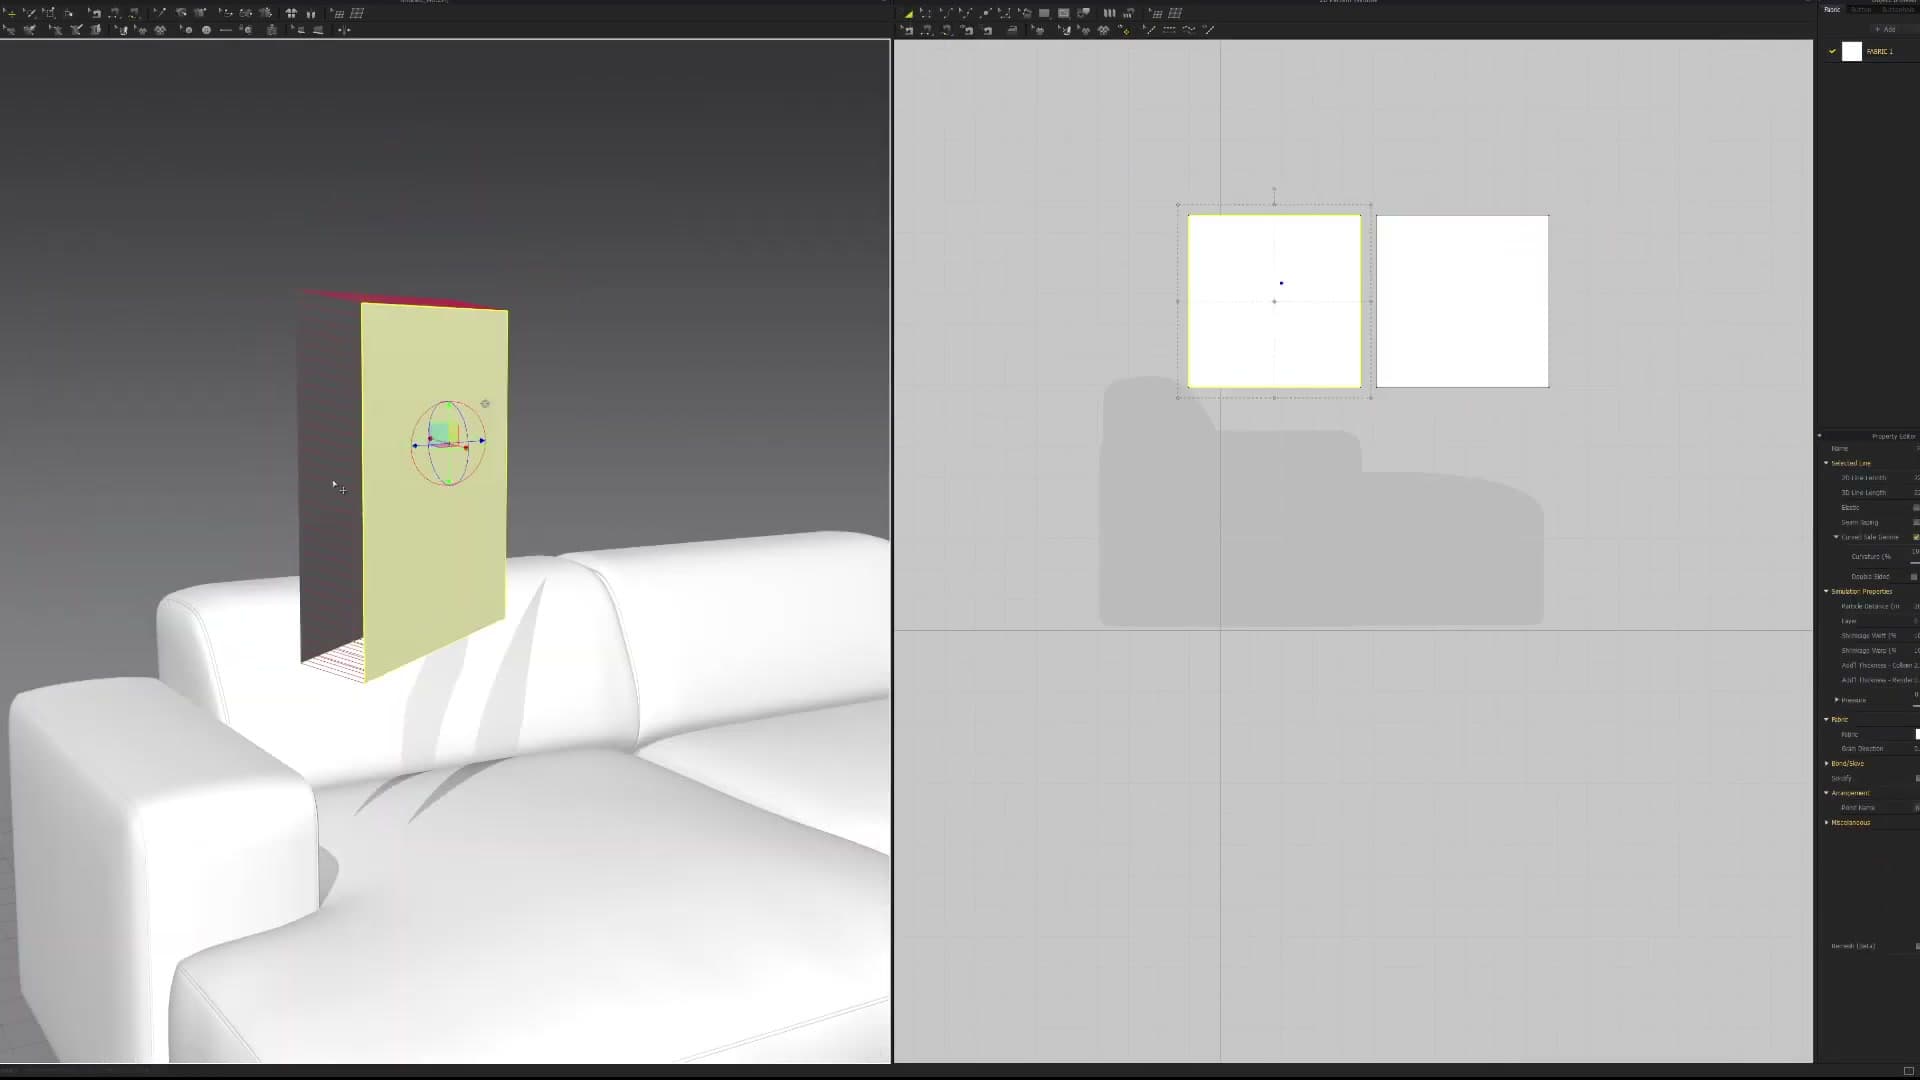
To turn the path into tubular piping, add a small circle to the scene and assign it as the curve's bevel object in the curve properties. Blender extrudes the circle along the curve to produce a clean tube with perfectly consistent diameter. The piping is generated instantly, with no manual modelling required.
Repeating piping across every cushion edge
With the first piping curve set up, the same approach repeats for every other visible seam. Duplicate the curve, drop into edit mode, and re-route its control points along the next cushion's edge. The bevel object follows automatically, so every run of piping shares the exact same cross-section and thickness across the whole sofa.
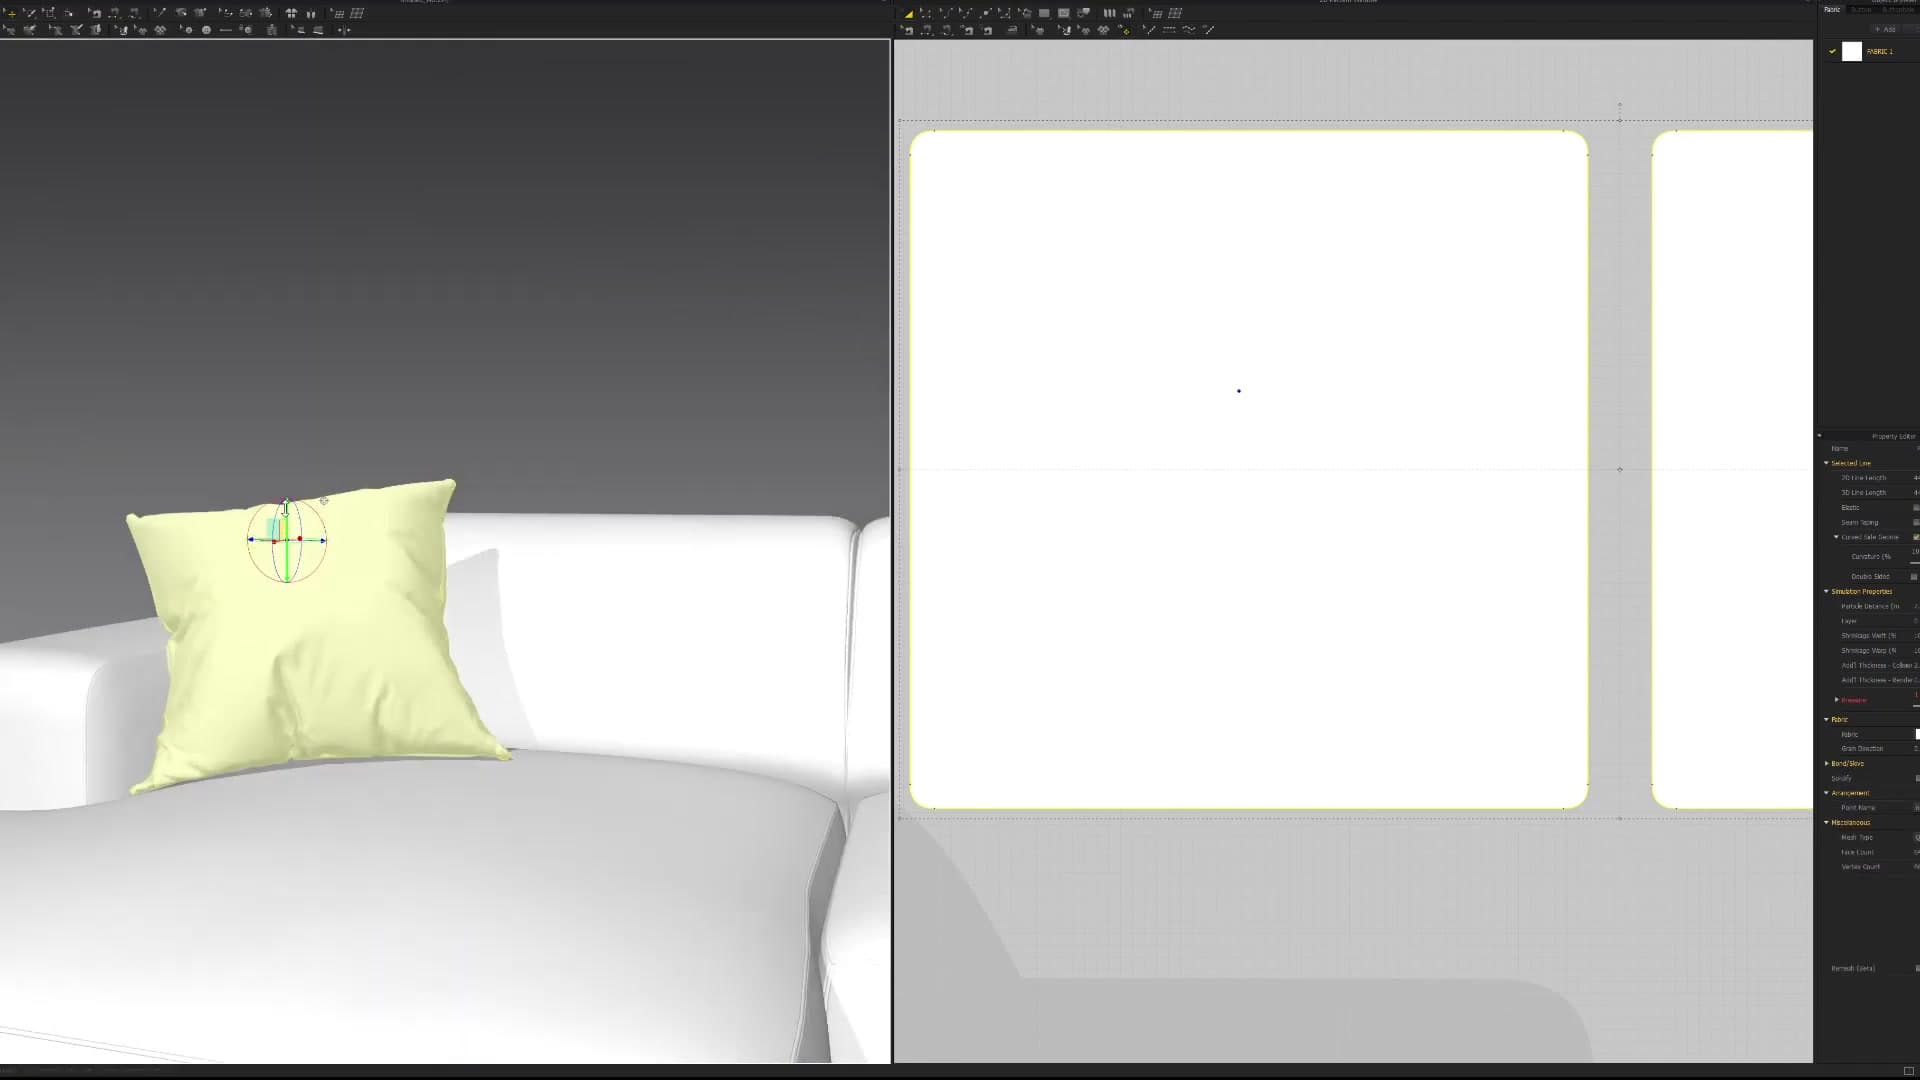
Work systematically around the upholstery: the front and back edges of each seat cushion, the perimeter of each back cushion, and any visible join where two panels meet. Because each piping run is its own curve object, you can adjust the path or swap the bevel circle later without disturbing the cushions underneath.
Legs, finishing touches, and final render
The final stage adds a short set of tapered legs as a separate sub-assembly that could be swapped for hairpin or block legs later. A neutral material preview is dropped onto the whole sofa to confirm the silhouette reads correctly before the asset is exported.
Modelling and placing the legs
Build the legs as their own sub-assembly rather than welding them into the seat base. Start a single leg from a cylinder, apply a slight taper from top to bottom, and bevel the bottom edge so the foot reads as a turned shape rather than a flat-cut tube.
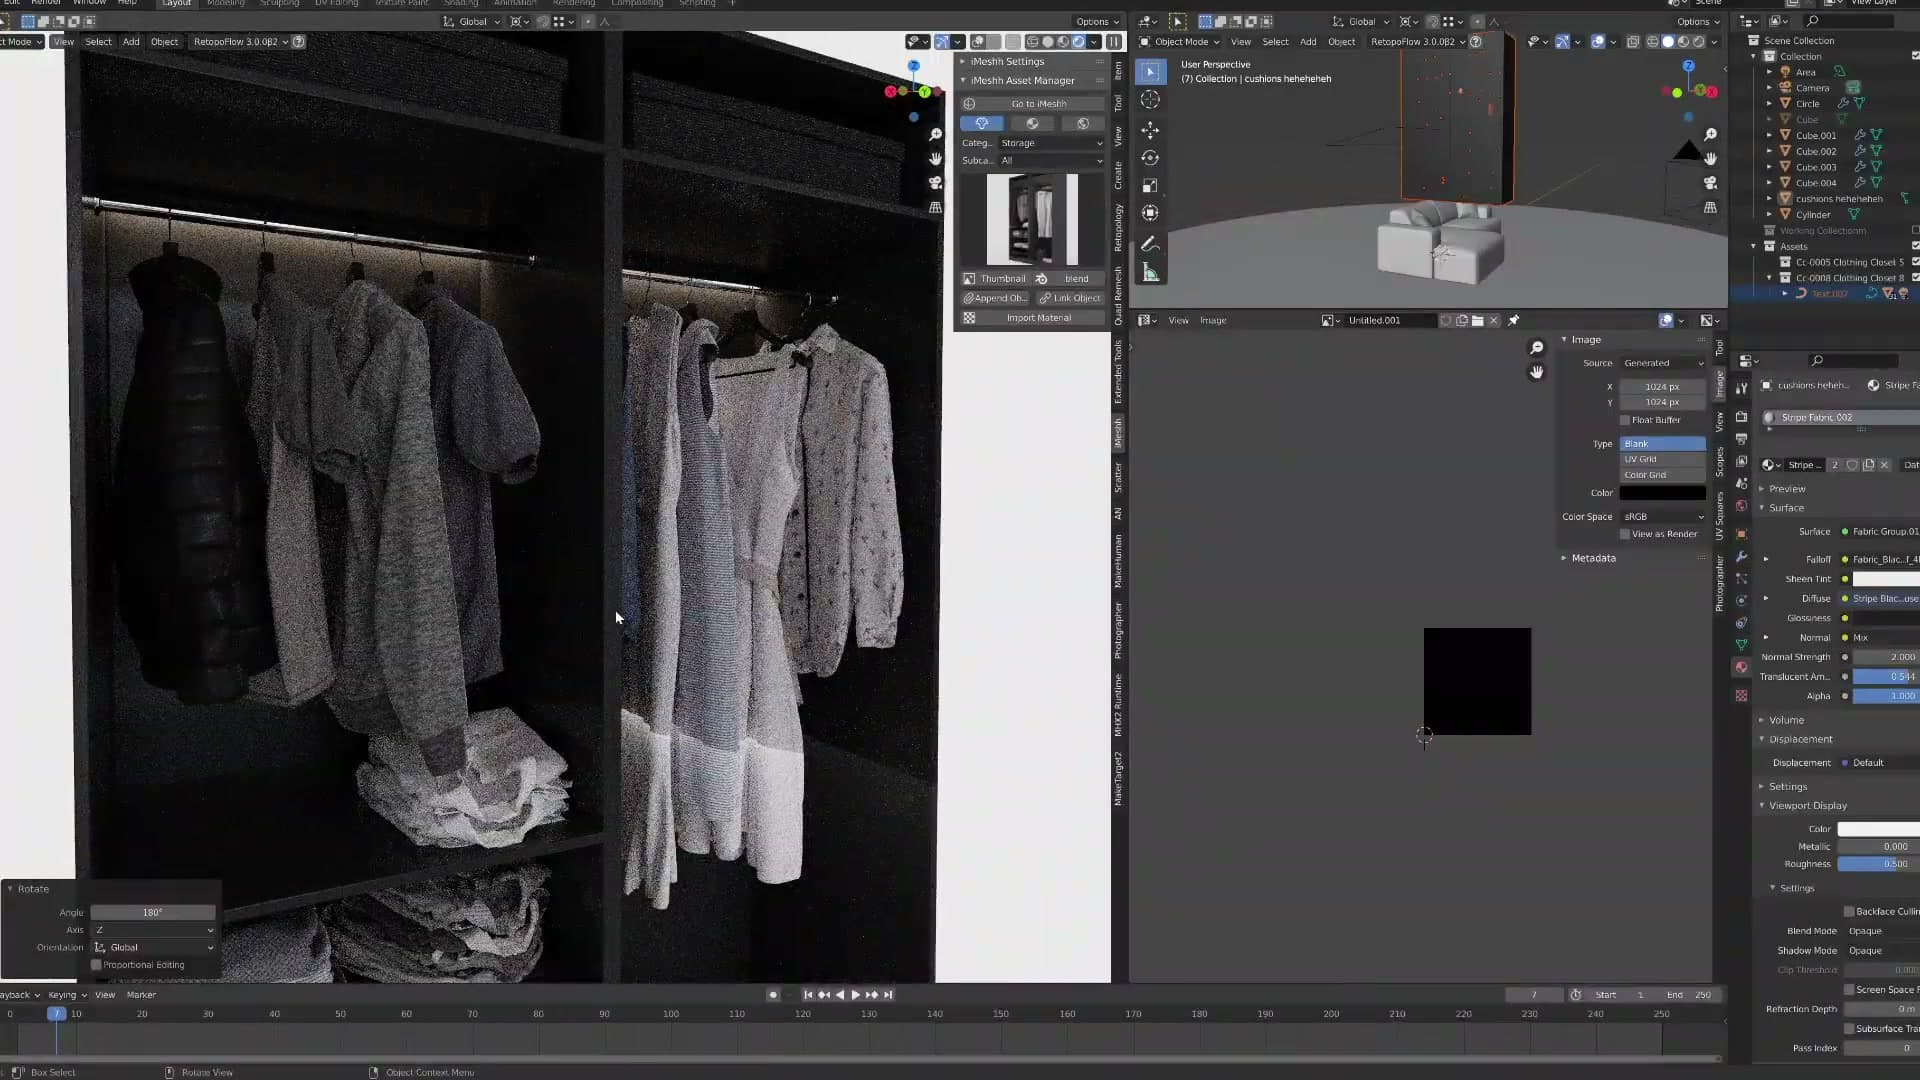
With one leg finished, duplicate it to each corner of the frame so four matching legs sit underneath the sofa. Parent the legs to the body so they follow the sofa as a single asset when it gets dropped into a scene.
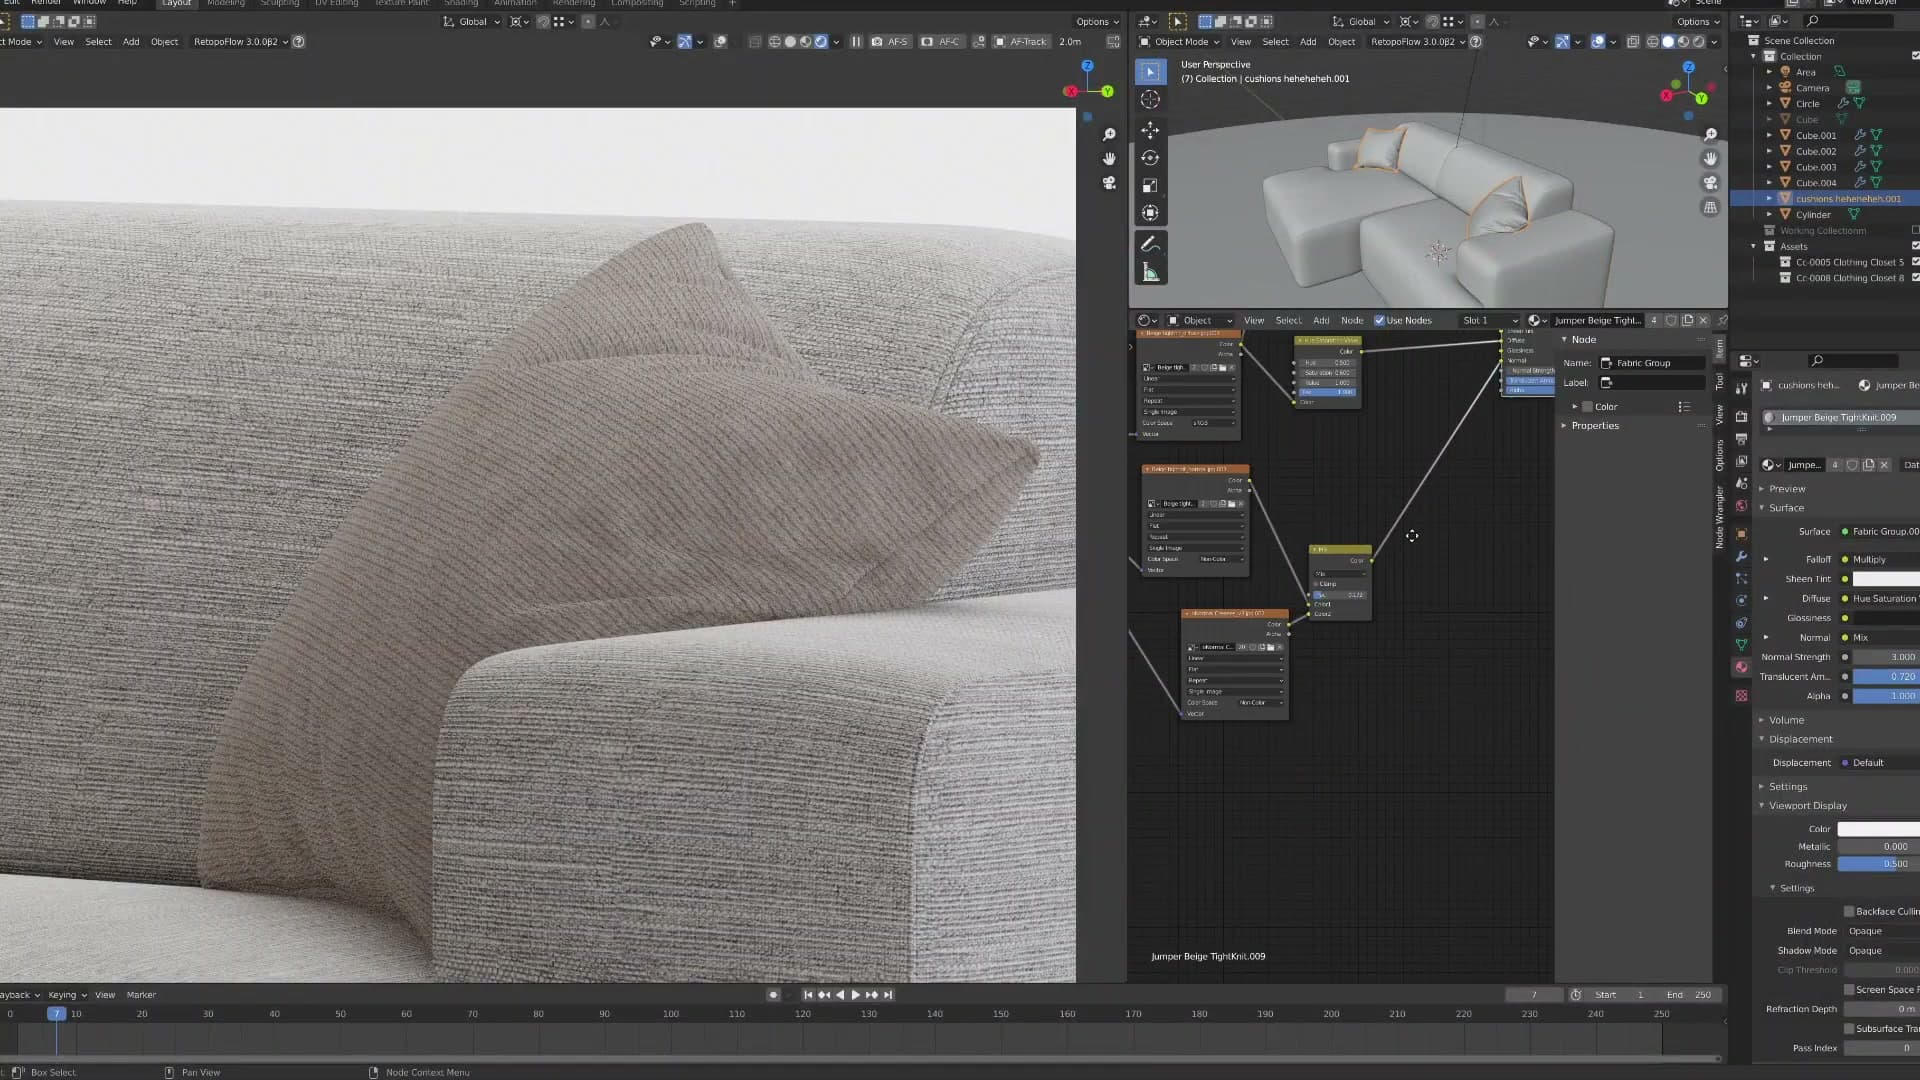
Keeping the legs as a separate object pays off later. Because they are not stitched into the upholstery geometry, the tapered set can be swapped out for hairpin or block legs without re-cutting the seat base or touching the cushions.
Final material preview and turntable
Before calling the asset finished, drop a neutral fabric material onto the whole sofa as a preview pass. The aim is not a final shader. It is a uniform tone across every part so the silhouette can be read without colour or pattern getting in the way.
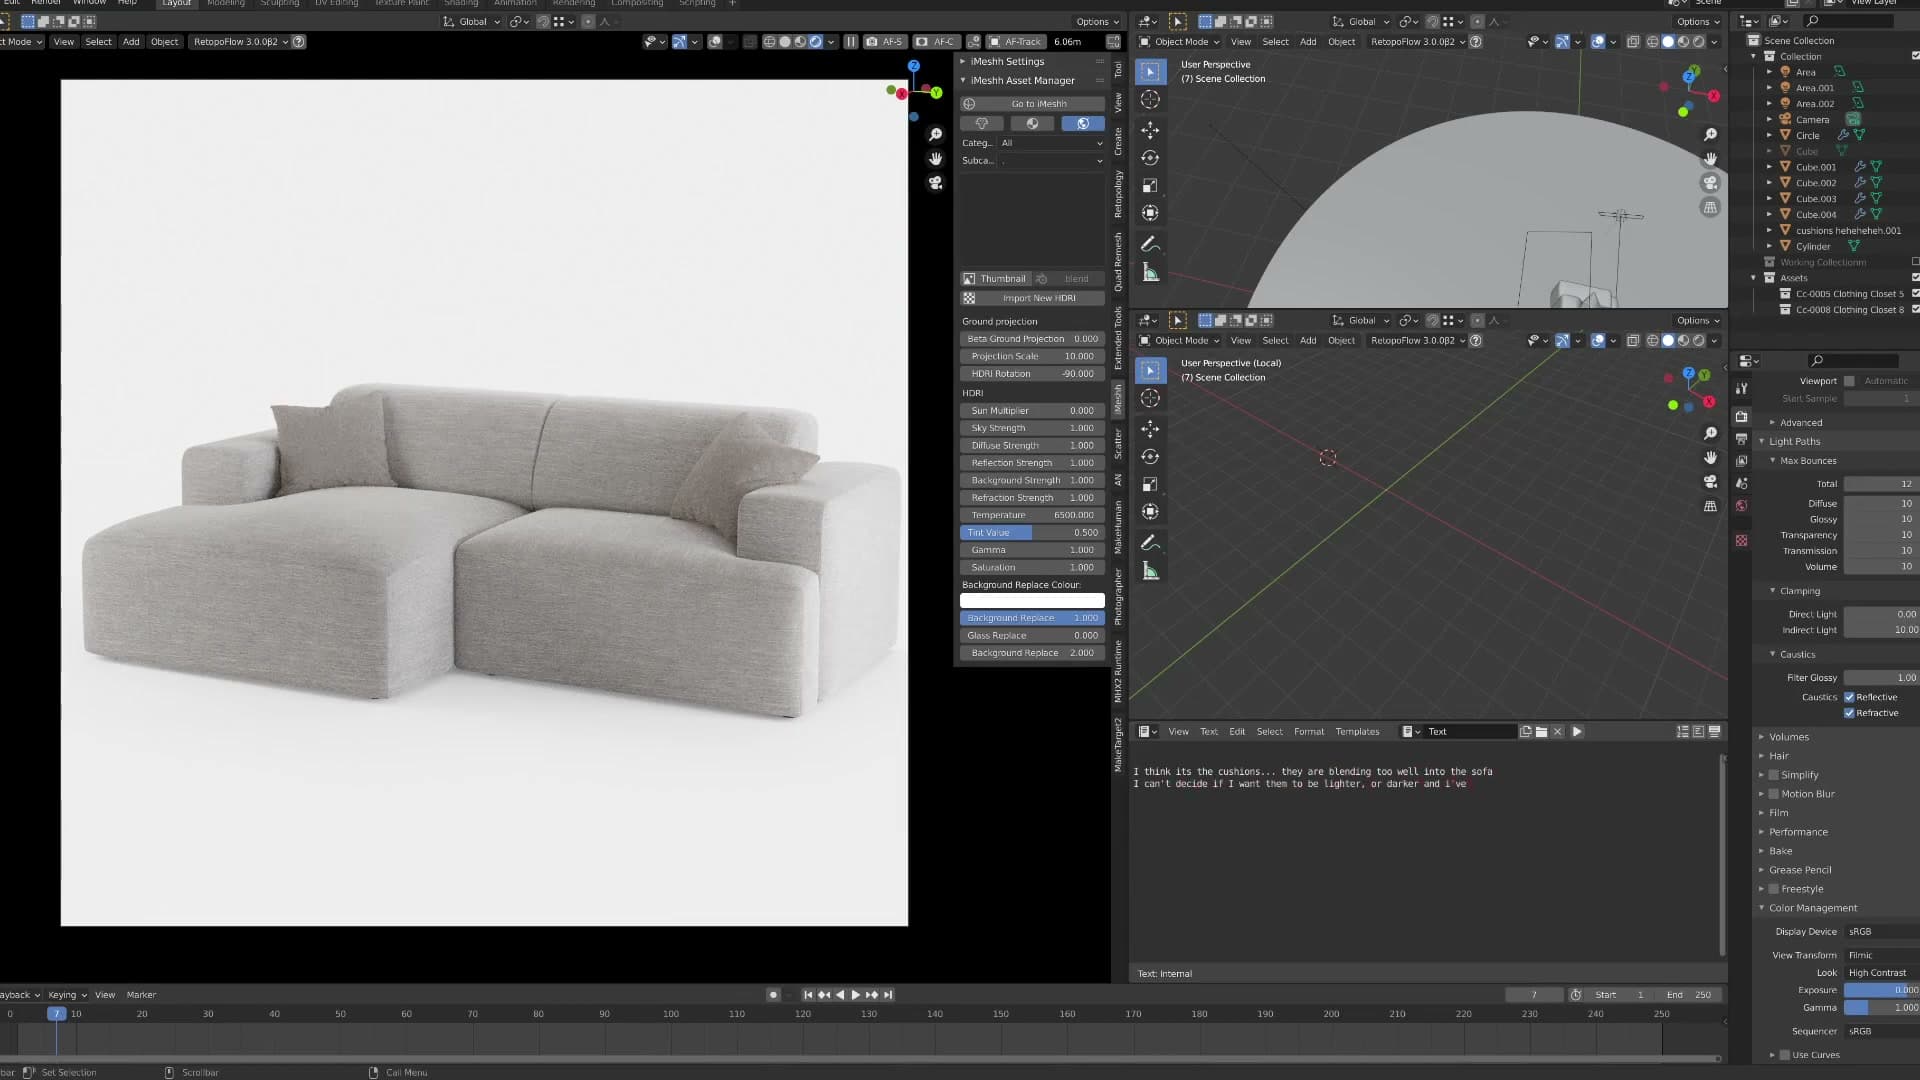
Spin the finished sofa on a turntable to check the front, side, and back profiles in one pass. A leaning leg, an asymmetric cushion, or a missing run of piping shows up immediately when the camera rotates around the model.
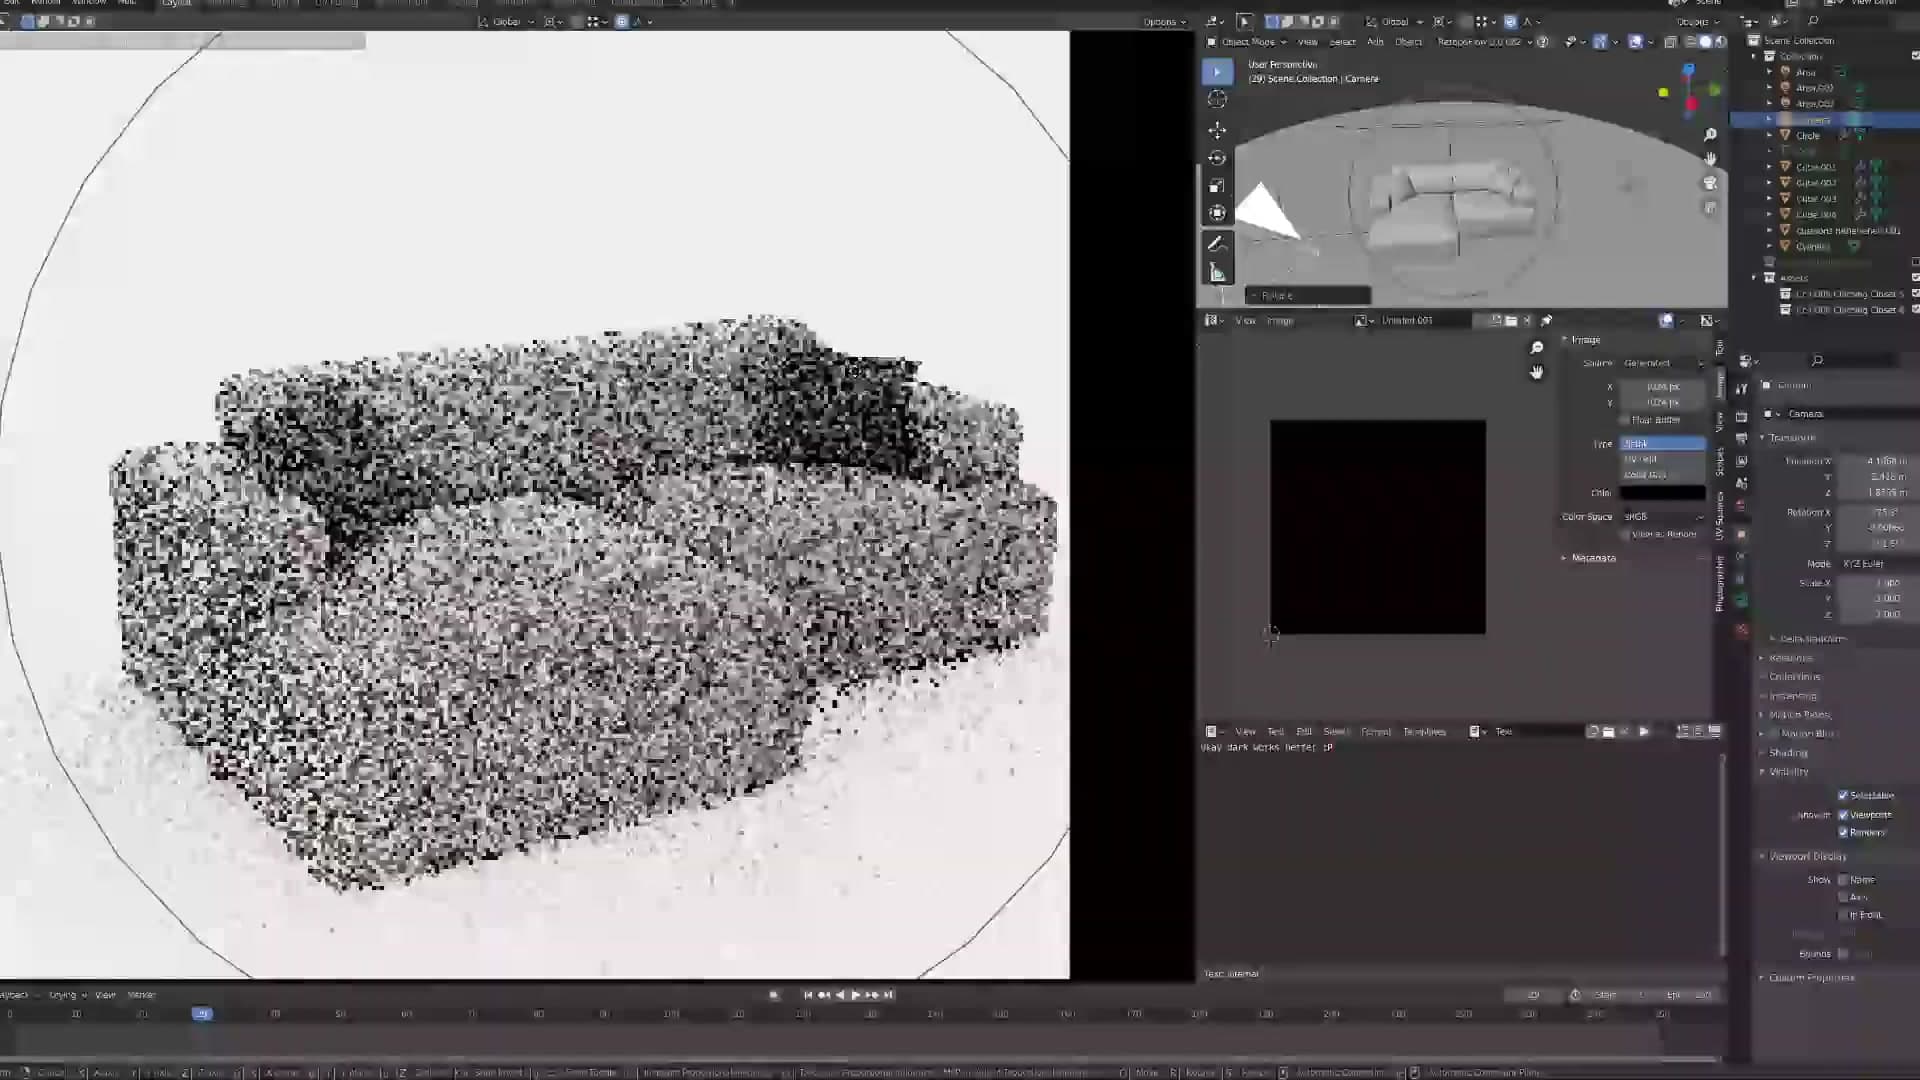
With the silhouette confirmed, the sofa is ready to leave the modelling file and head into an archviz scene as a reusable library asset.
Tools and credits
Everything mentioned in this tutorial, with links.
- Blender (the renderer this entire build runs in).
- iMeshh (studio platform: project management, client review, asset library, invoicing). The asset library used in this tutorial is included with every iMeshh Pro plan.
- Poly Haven (free CC0 textures and HDRIs).
Pillar guide: Modelling hub